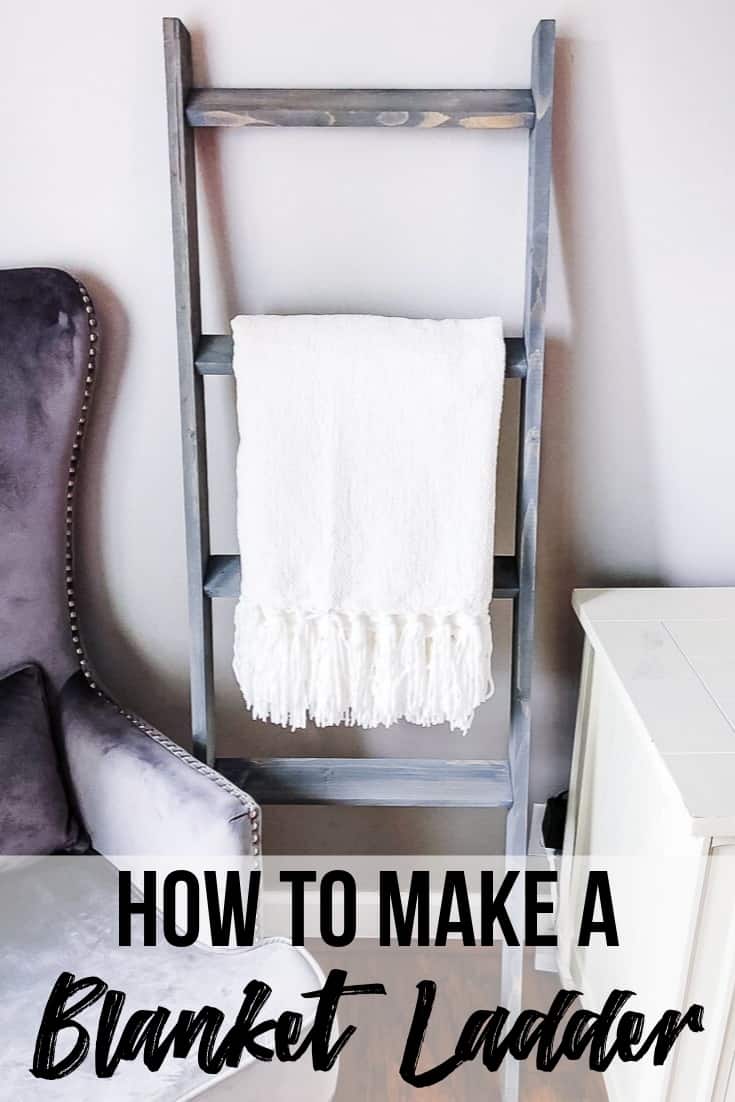
This DIY blanket rack is so easy to make, you don't even need power tools! I'll show you how to make a blanket ladder for under $10 in this simple tutorial!

At our house, we prefer to keep the thermostat turned down lower and cuddle up under blankets when the weather gets cooler. But they just end up in a pile on the couch!
This simple blanket rack keeps them all within arm's reach, and you can make it for less than $10 in materials!
This project is so easy, you could make it without any power tools (except a drill, because let's not get crazy! 😉 ) I'll show you how to make it two different ways, depending on the tools you have available at home.
Check out more blanket storage ideas here!
This post contains affiliate links for your convenience. Purchases made through these links may earn me a small commission at no additional cost to you. Please visit my disclosures page for more information.
Materials Needed
Power Tools Method
- Two 1x3 boards
- Miter saw or circular saw
- Random orbit sander
- Tack cloth or rag to remove sanding dust
- Drill
- Countersink bit
- Measuring tape
- Wood glue
- 1 ½" flat head wood screws
- Paint or stain
- Paint brush
No Power Tools Method
- Two 1x3 boards
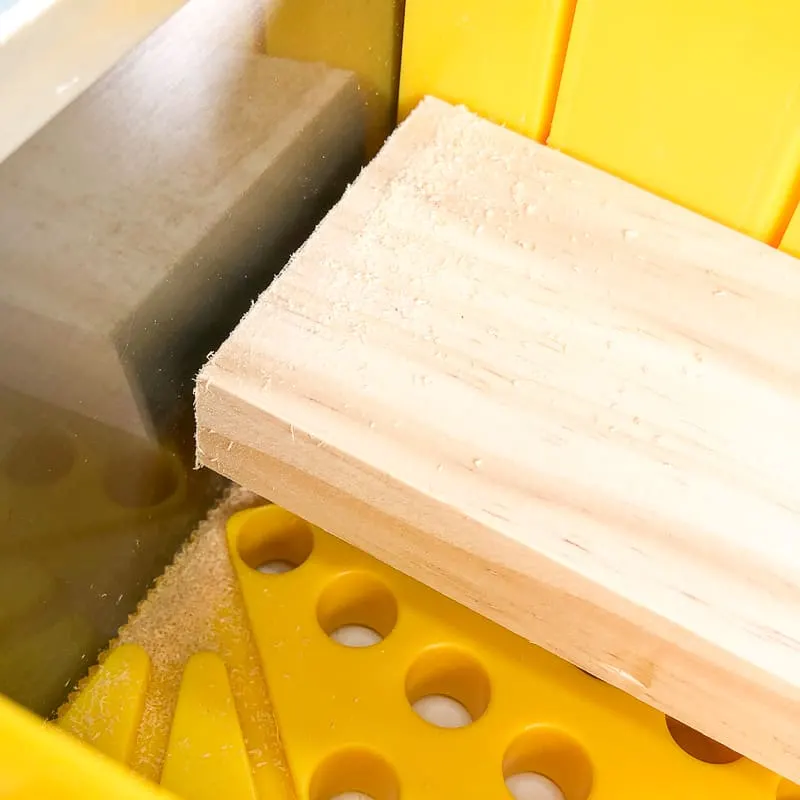
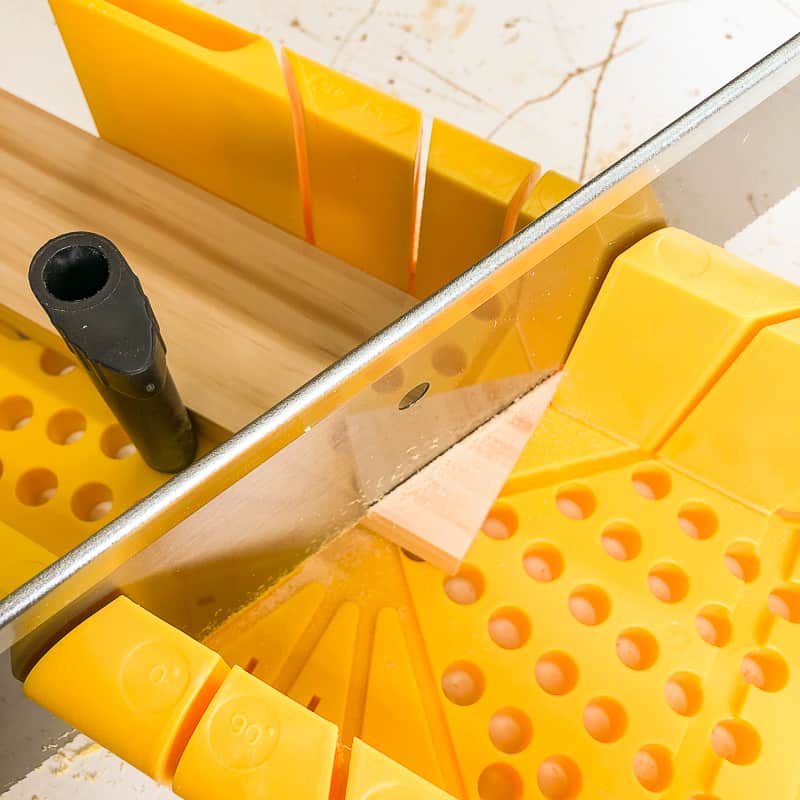
- Miter box with hand saw
- Sandpaper or sanding block
- Tack cloth or rag to remove sanding dust
- Drill
- Countersink bit
- Measuring tape
- Wood glue
- 1 ½" flat head wood screws
- Paint or stain
- Paint brush
How to Make a Blanket Rack
Cut the wood
There are a lot of different ways to cut these pieces, depending on what tools you have at your disposal.
- Miter saw (learn how to use one here)
- Circular saw (use this jig or a square as a guide to make straight cuts)
- Jigsaw (not the best choice, but will work in a pinch!)
- Miter box and hand saw (learn how to use a miter box here)
- Track down someone at the hardware store to cut the pieces for you.
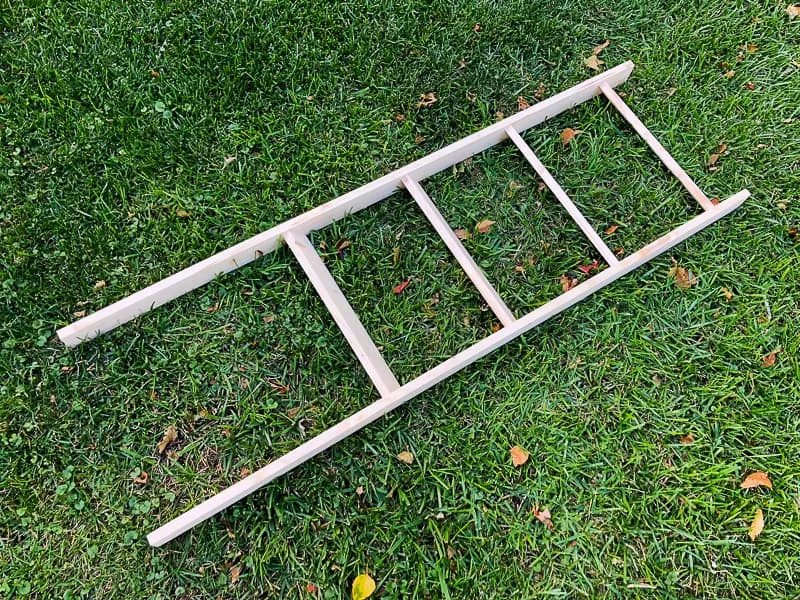
However you cut them, you'll need two 5 foot long pieces and four 17" pieces. Cut the two longer pieces from the full boards first, then cut the shorter ones from the leftovers.

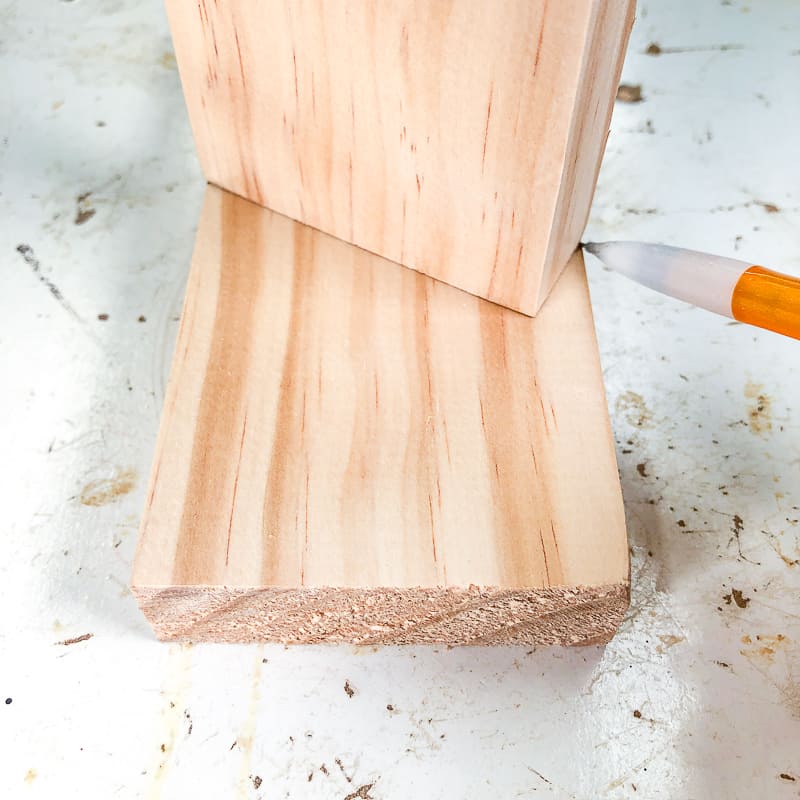
If you prefer to have the bottom of the ladder flat against the floor, cut one end of the 5-foot-long pieces at a slight angle.

Sand the cut pieces
It's much easier to sand all the pieces when they're flat. You can use a random orbital sander, or regular sandpaper and a sanding block.
Start with 80 grit sandpaper to remove splinters from the cut ends and any scratches in the wood. Then work your way up to 150 then 220 grit for the final sanding.
Remove any dust
No matter which way you sand, you'll always end up with a thin film of sawdust all over the pieces. If you don't remove it properly (and no, blowing it off isn't enough!), it will ruin your paint or stain later on.
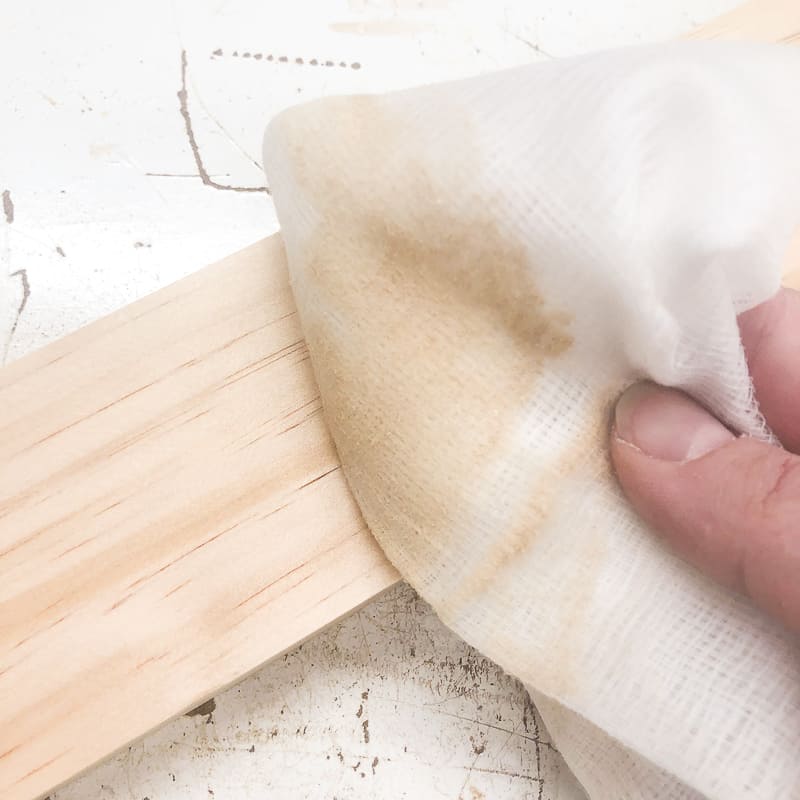

You can use a slightly damp rag, a microfiber cloth or a tack cloth to get rid of all the sanding dust. The tack cloth is my personal favorite because the sticky film on the cloth traps the dust rather than just pushing it around.
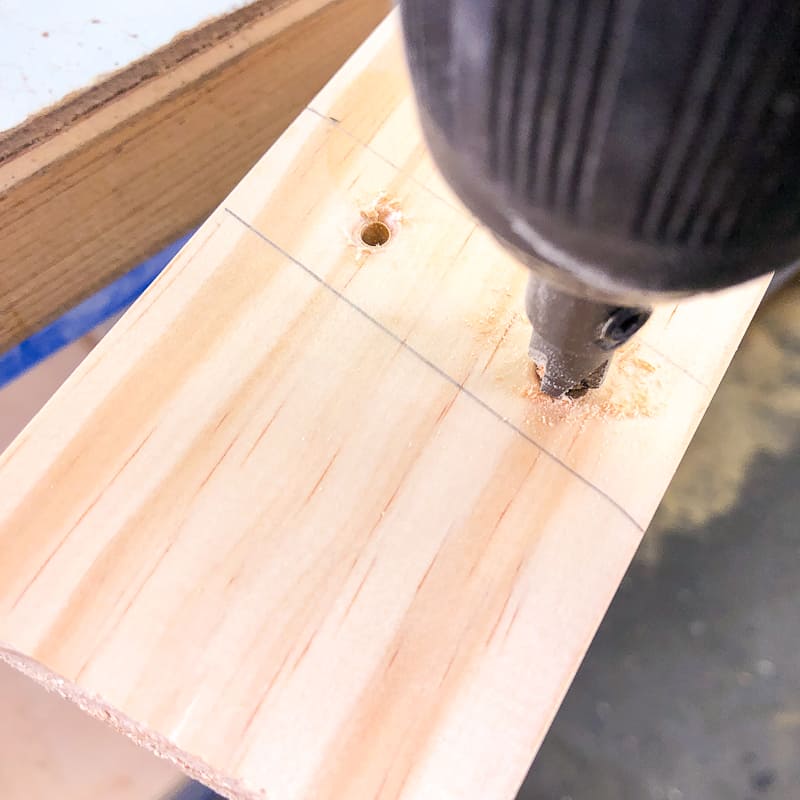
Mark the position of each rung
Measure and mark a line 3 inches down from the top. This is where your top rung will be. Place the first rung with one corner on that mark, then pivot it until the opposing corner lines up with the other edge of the board.

Mark both sides of the board, then remove the short piece. Repeat for each of the remaining rung, each 12" apart. If you prefer, you could also position the rungs straight across like a real ladder.


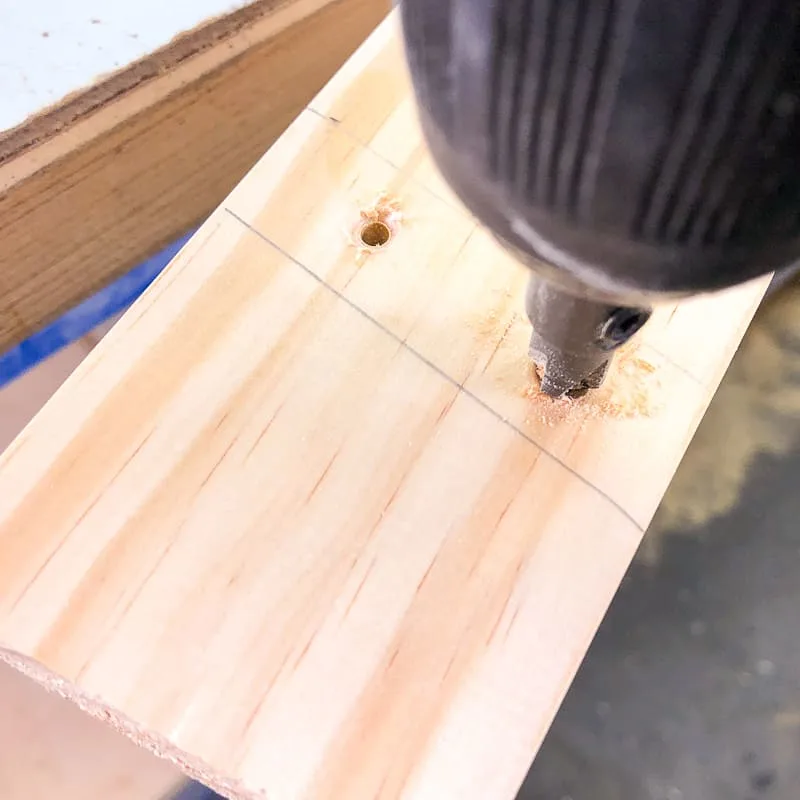
Drill countersink holes
With those marks, now you know exactly where to drill the holes for the screws! I recommend countersinking the screws so that the heads are set below the surface of the wood.
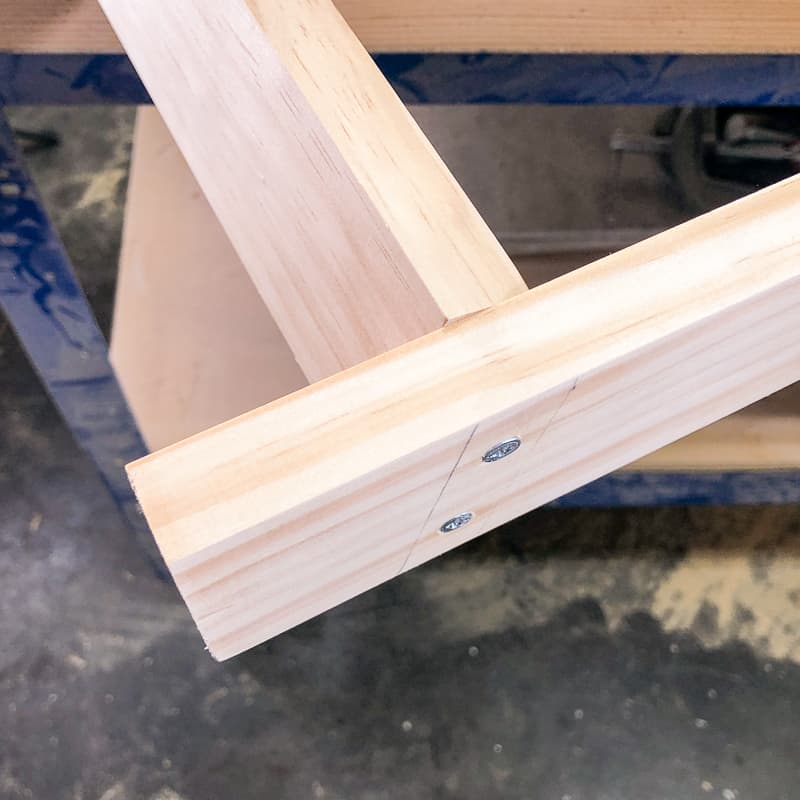
Glue and screw the rungs to the sides
Apply wood glue to one end of a 17" rung and align it with the holes you drilled in the sides. Screw the rung to the side piece with 1 ½" screws. Repeat for the other side, making sure the two sides are even.

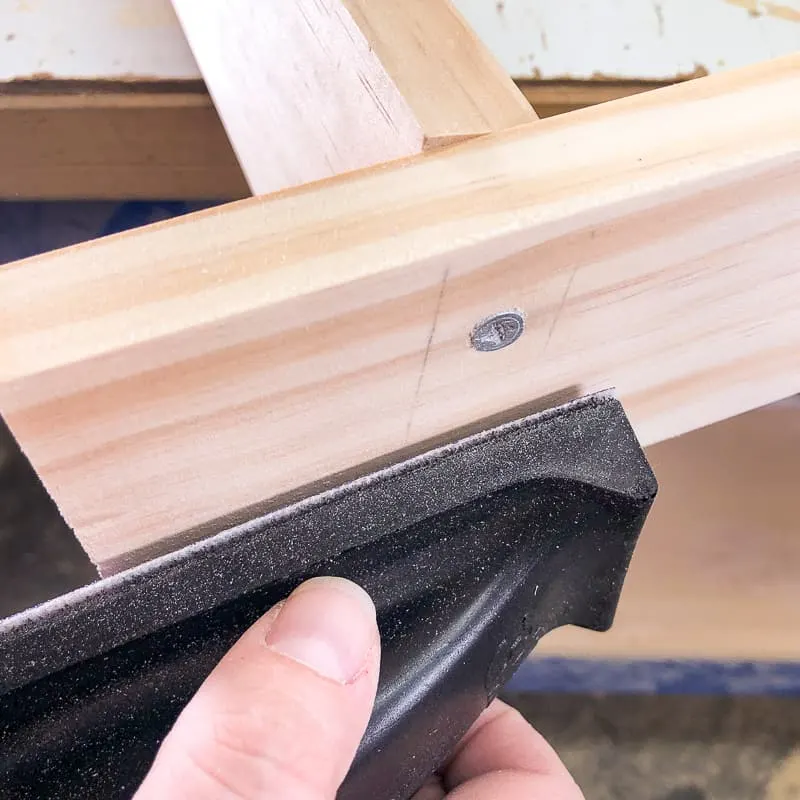
Sand off any markings
Once all the rungs are installed, use sandpaper to remove your markings. It's like an eraser for wood! 🙂

Apply paint or stain
Your finished blanket rack is ready for paint or stain! I left space at the bottom instead of a fifth rung so I can add a basket for pillows on the floor underneath.

I used Varathane's Weathered Gray stain, since I had some left over from my grey wood stain color samples post. Apply the stain with a brush, then wipe off excess with a rag. You may want to apply wood conditioner first to prevent blotchiness on woods like this pine.

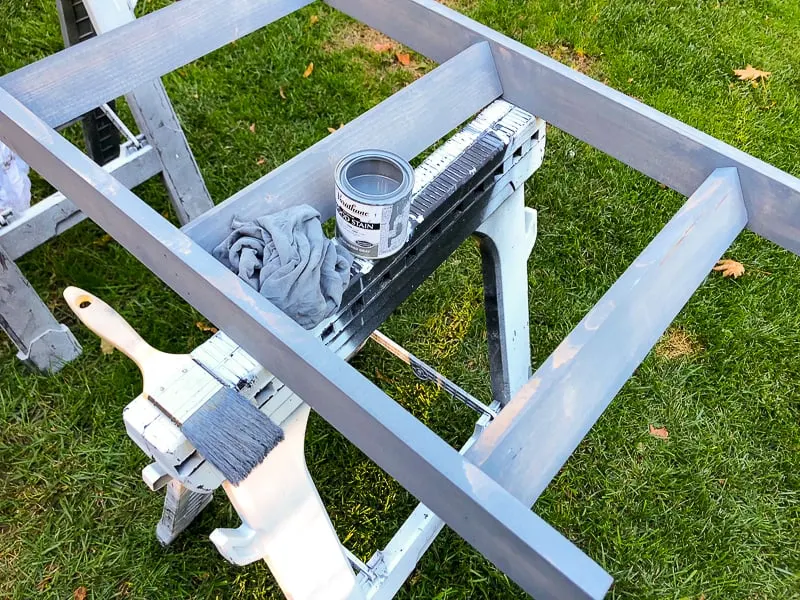
Once the stain is dry, you can apply polycrylic or polyurethane to protect your blankets from stain rubbing off onto them.
Display your blankets in style!
This cozy corner is the perfect spot for my new blanket ladder! The shorter height keeps it in proportion to the rest of the furniture, and the grey stain fits in with the color scheme beautifully!
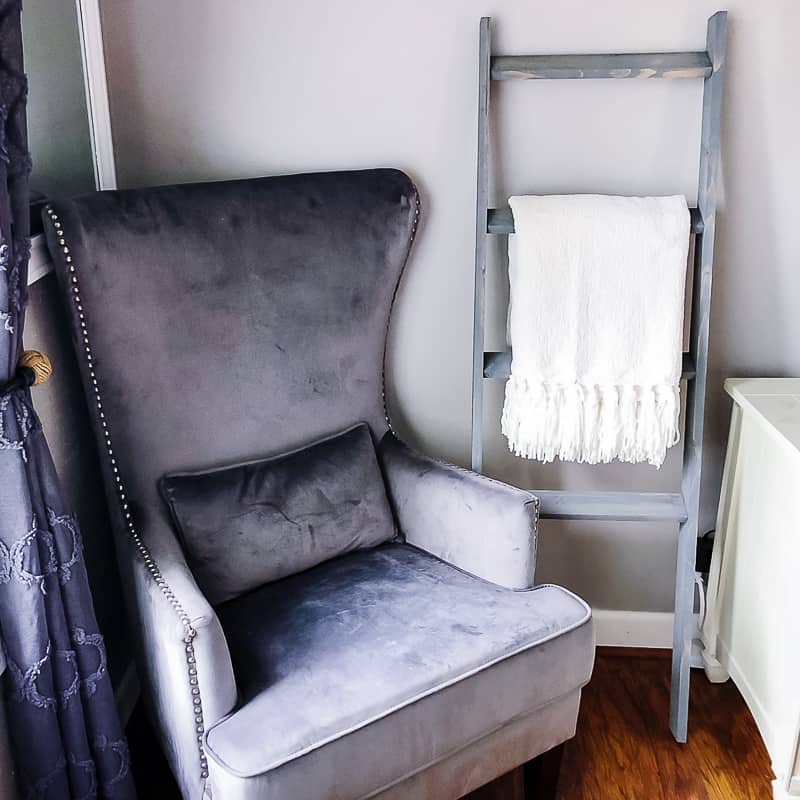

Now the hunt is on for more blankets and the perfect basket to keep underneath for throw pillows. Bring on fall! 🙂
Check out these other easy woodworking projects!