Custom frames can be expensive, unless you make them yourself! I'll show you how to frame a poster for under $10 in any size or color!
Finding the perfect poster to adorn your walls is only half the challenge. Don't cheapen that amazing concert poster or art print by hanging it with sticky putty or a plastic frame!
I'll show you how to frame a poster for less than $10 with real wood that you can customize to any size and color.
Check out these other DIY picture frame ideas for more inspiration!
This post contains affiliate links for your convenience. Purchases made through these links may earn me a small commission at no additional cost to you. Please visit my disclosures page for more information.
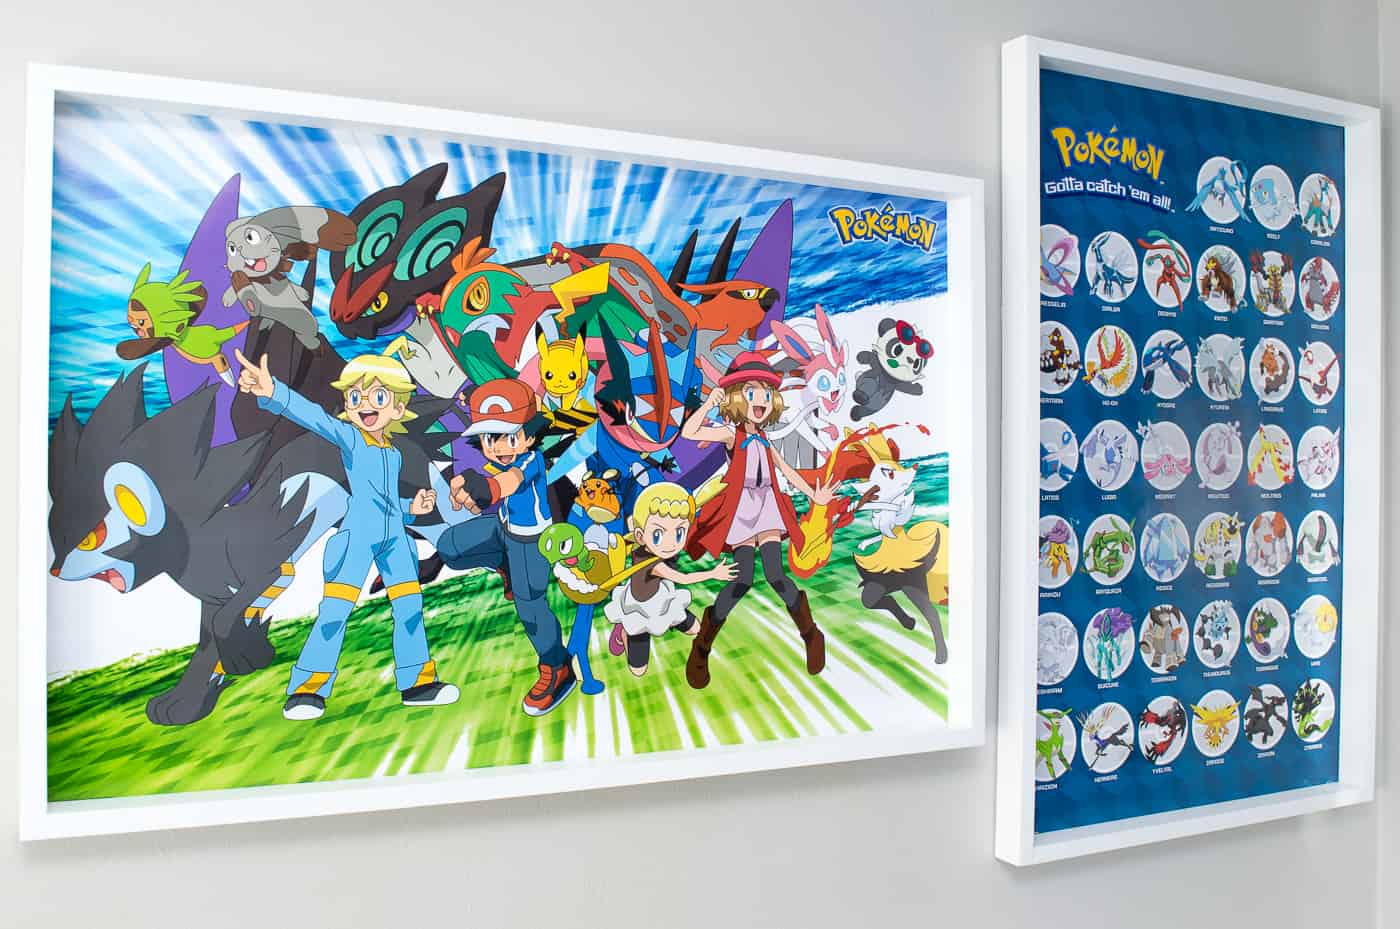
I've been working hard to make my son's bedroom into the Pokemon paradise he desires. I started with a stuffed animal zoo to house all his plush friends. Then I created pokeball shaped curtain tie backs and an area rug. Now, his rolled-up Pokemon posters will finally go up on the wall!
Materials needed to make a poster frame
- Poster
- Two 1 x 2 boards
- I like to use pre-primed fingerjoint trim boards because they've already been sanded down and primed for me.
- Check that your boards are straight before purchasing!
- 1 ½" wood screws
- Countersink drill bit (optional)
- Wood filler (optional)
- Paint or stain
- Staple gun
- ¼" staples
- Sawtooth picture hanger
How to Frame a Poster
Don't forget your safety gear when woodworking! Here are my recommendations for safety glasses and ear protection. No excuses!
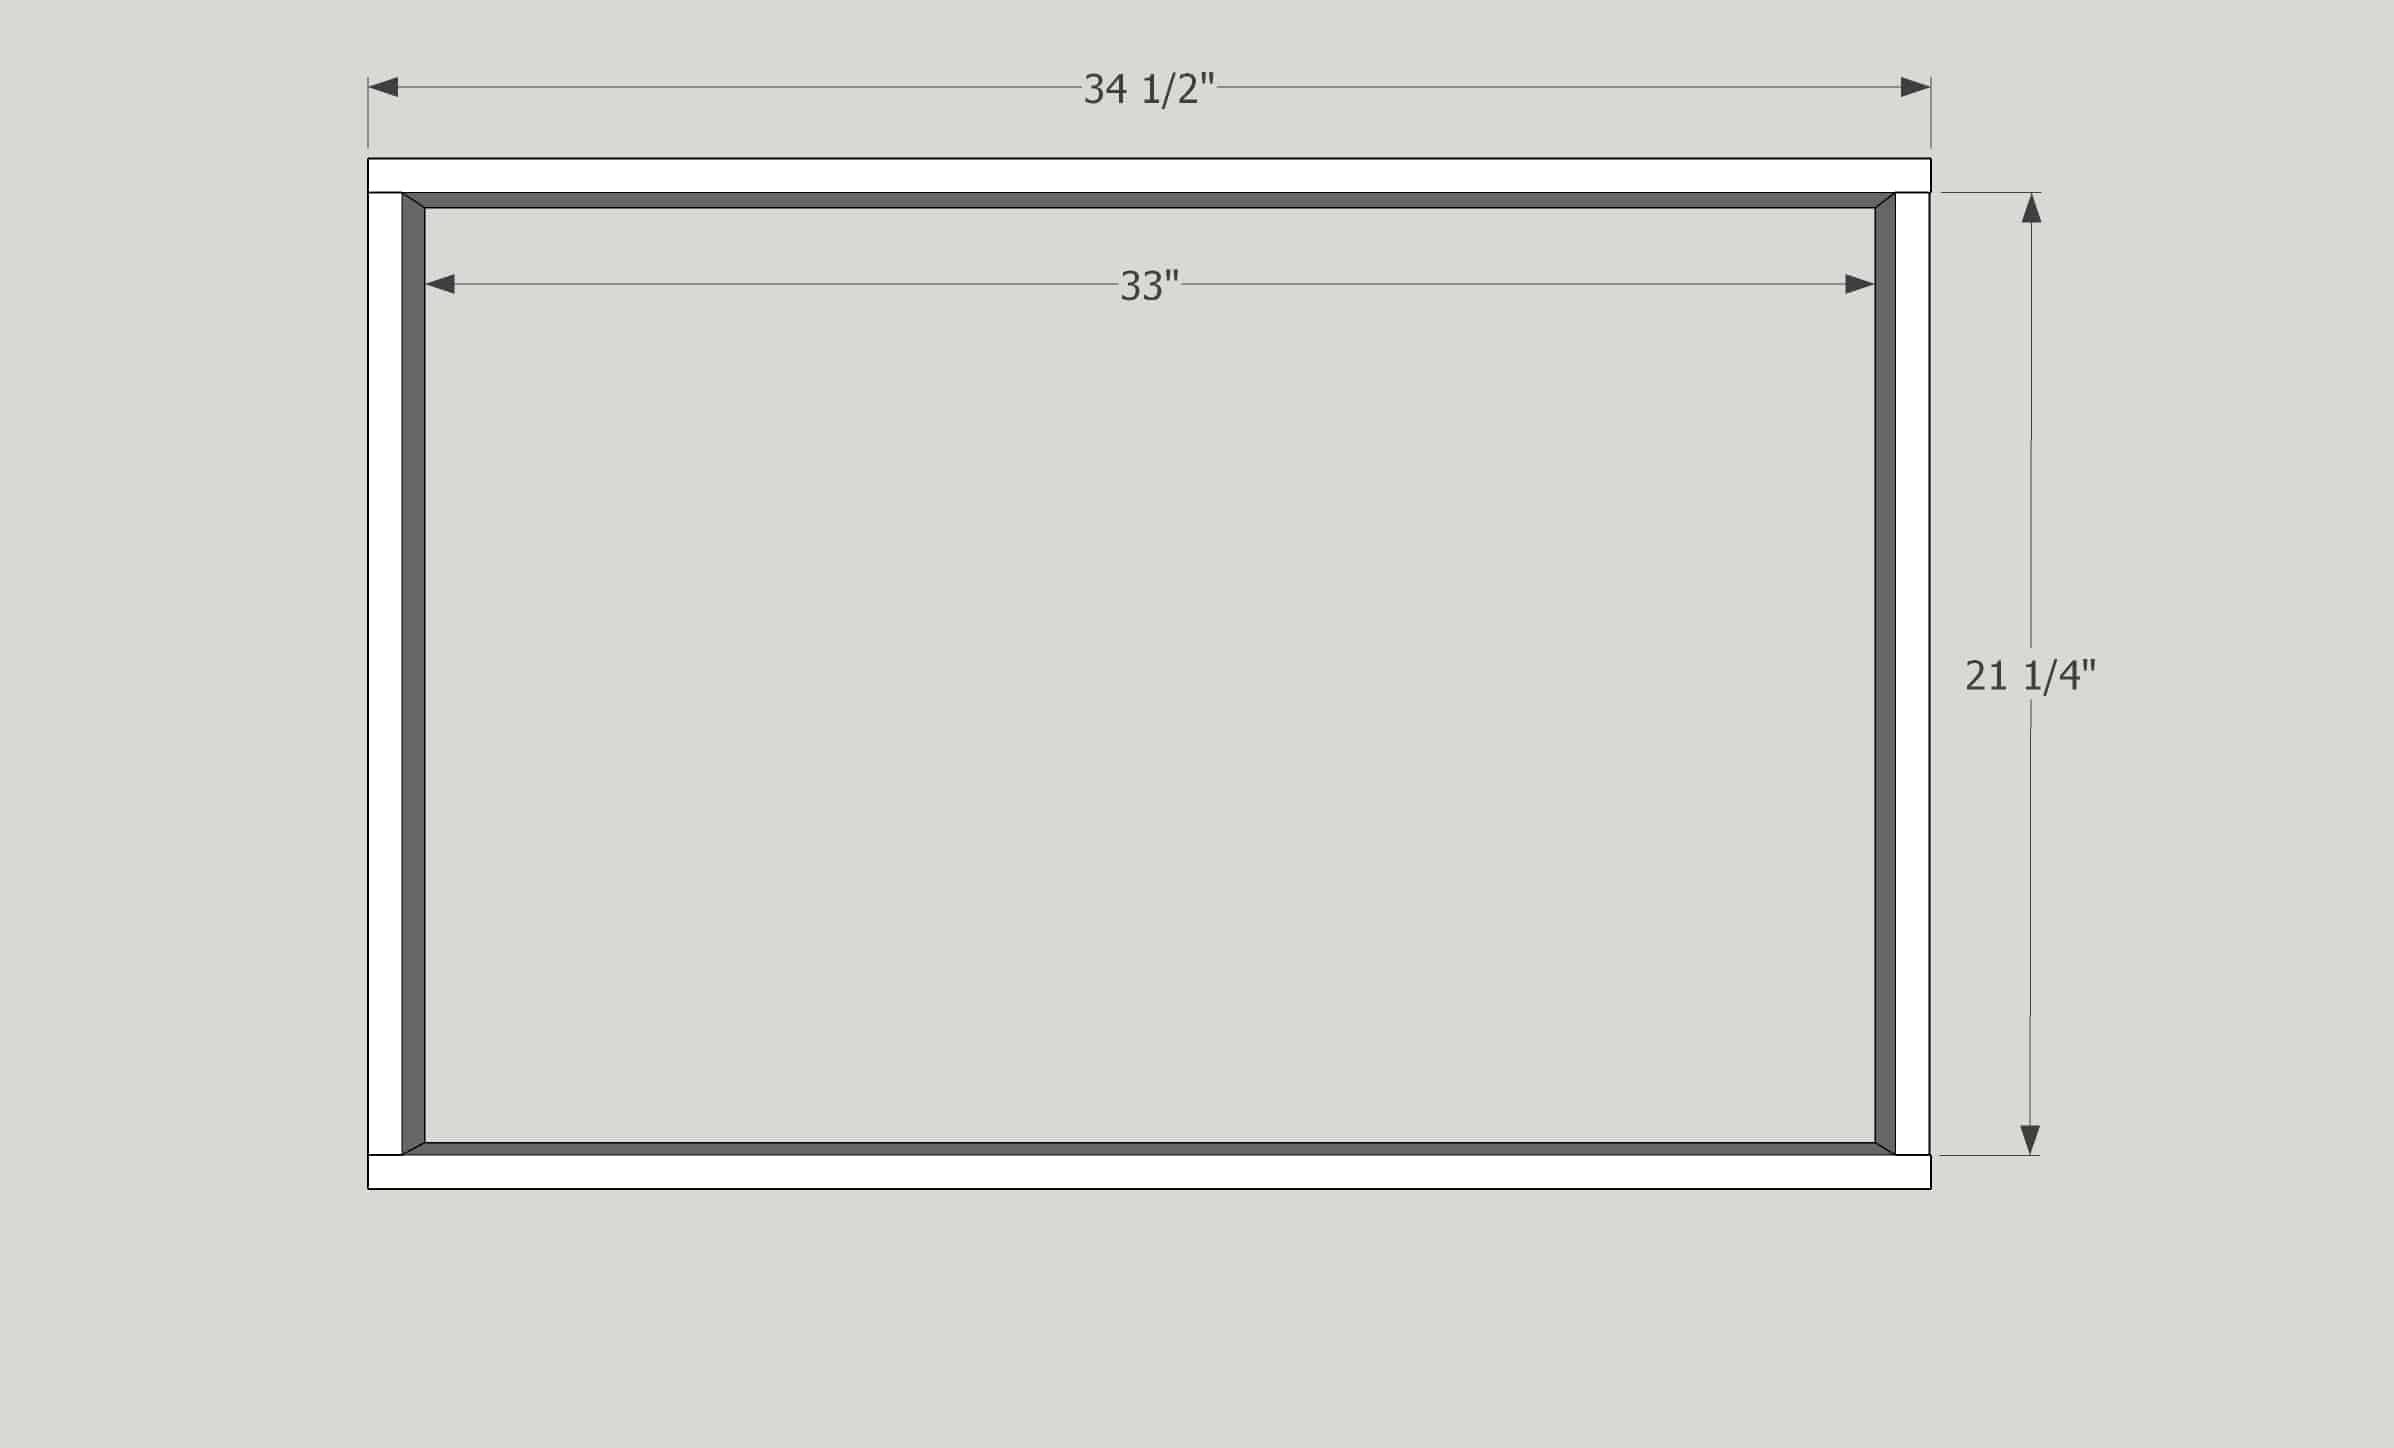
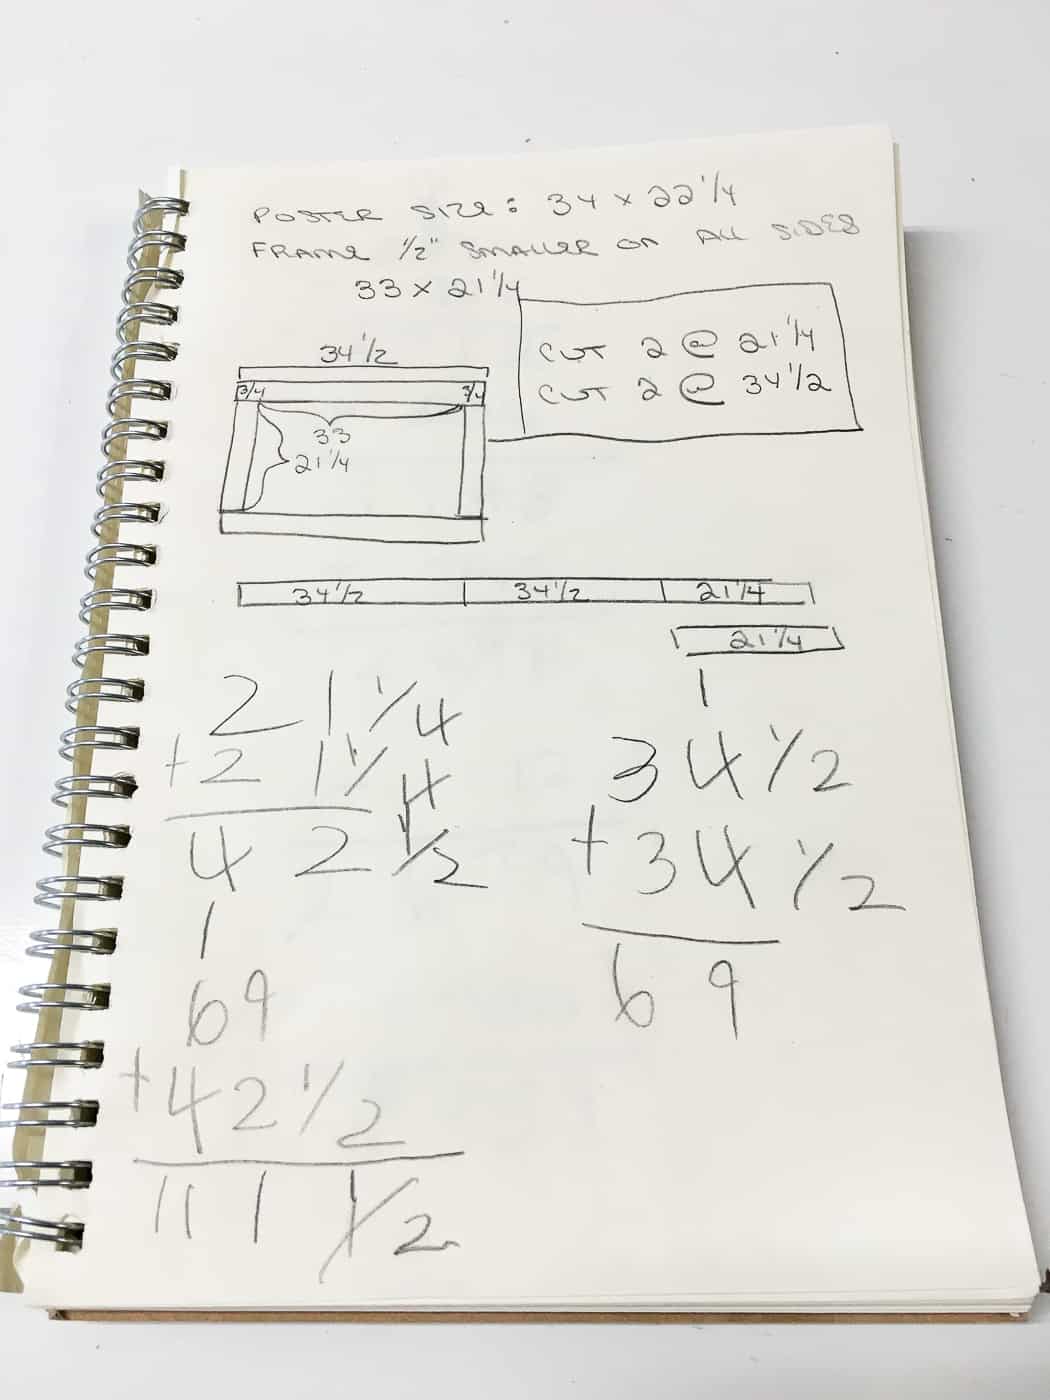
Determine the poster frame size
Start by measuring your poster. I'll be framing two that are both 34" x 22 ¼". Subtract 1" from each dimension to determine your interior frame size.
Decide which way you want your 1x2's to face out from the wall. I went with a shadowbox effect by standing the 1x2's on end to create a deeper frame. Add 1 ½" to the longer sides to cover the ends of the short boards. If you're creating your frame with the wider side facing out, you'll want to add 3" instead.
I had my son calculate how many inches of wood we would need for one poster. See, kids? Math is useful outside of school!

Cut and predrill the boards
Cut two pieces for each length. You could use a handheld saw in a miter box, or even have this done at your home improvement store!
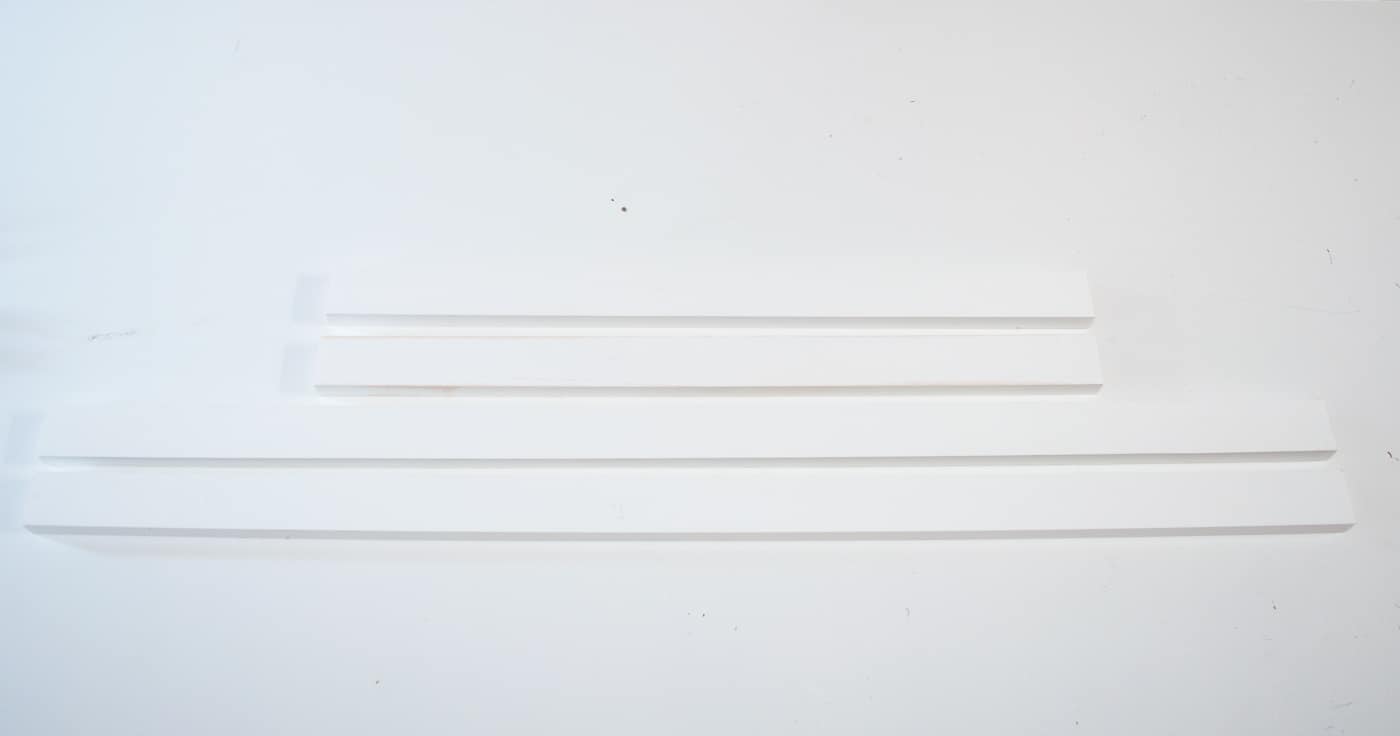
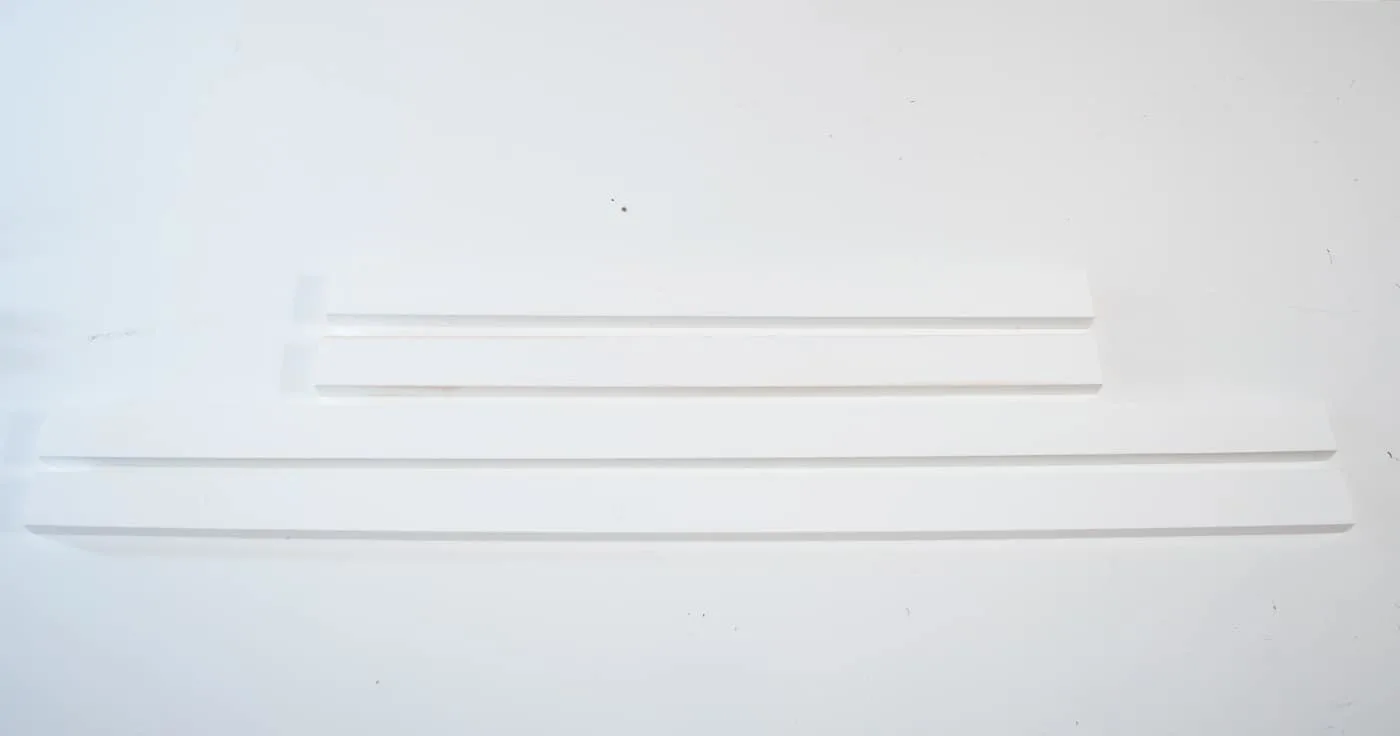
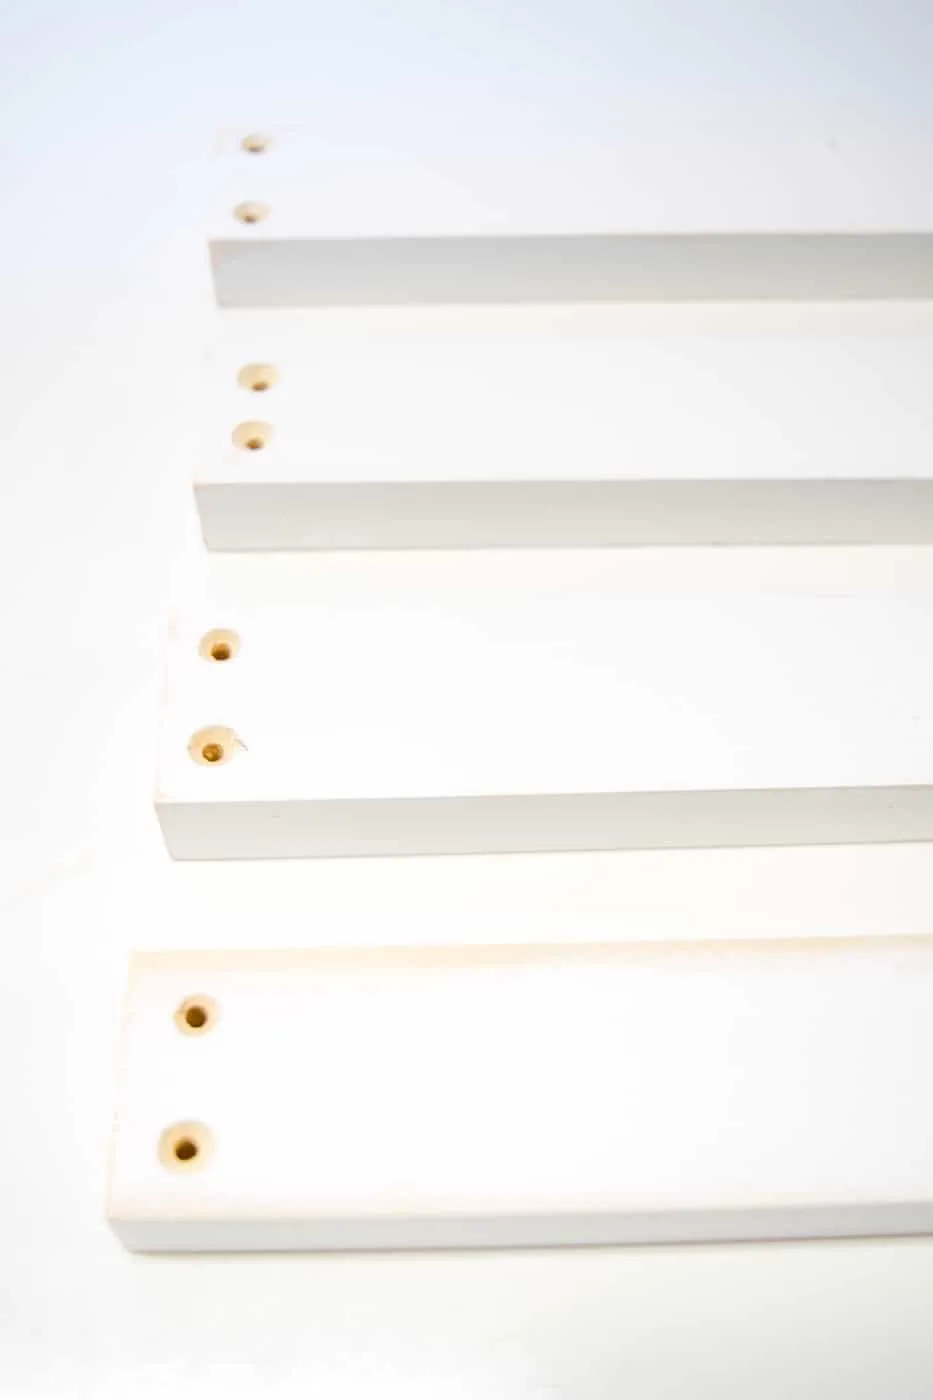
If you want to hide the screw heads, use a countersink drill bit to predrill holes. You can learn more about how to countersink screws here. Otherwise, regular pre-drilled holes are fine. Drill two on each end of the long pieces (I'm making two frames, which is why there are four pieces pictured below.)

Assemble the frame
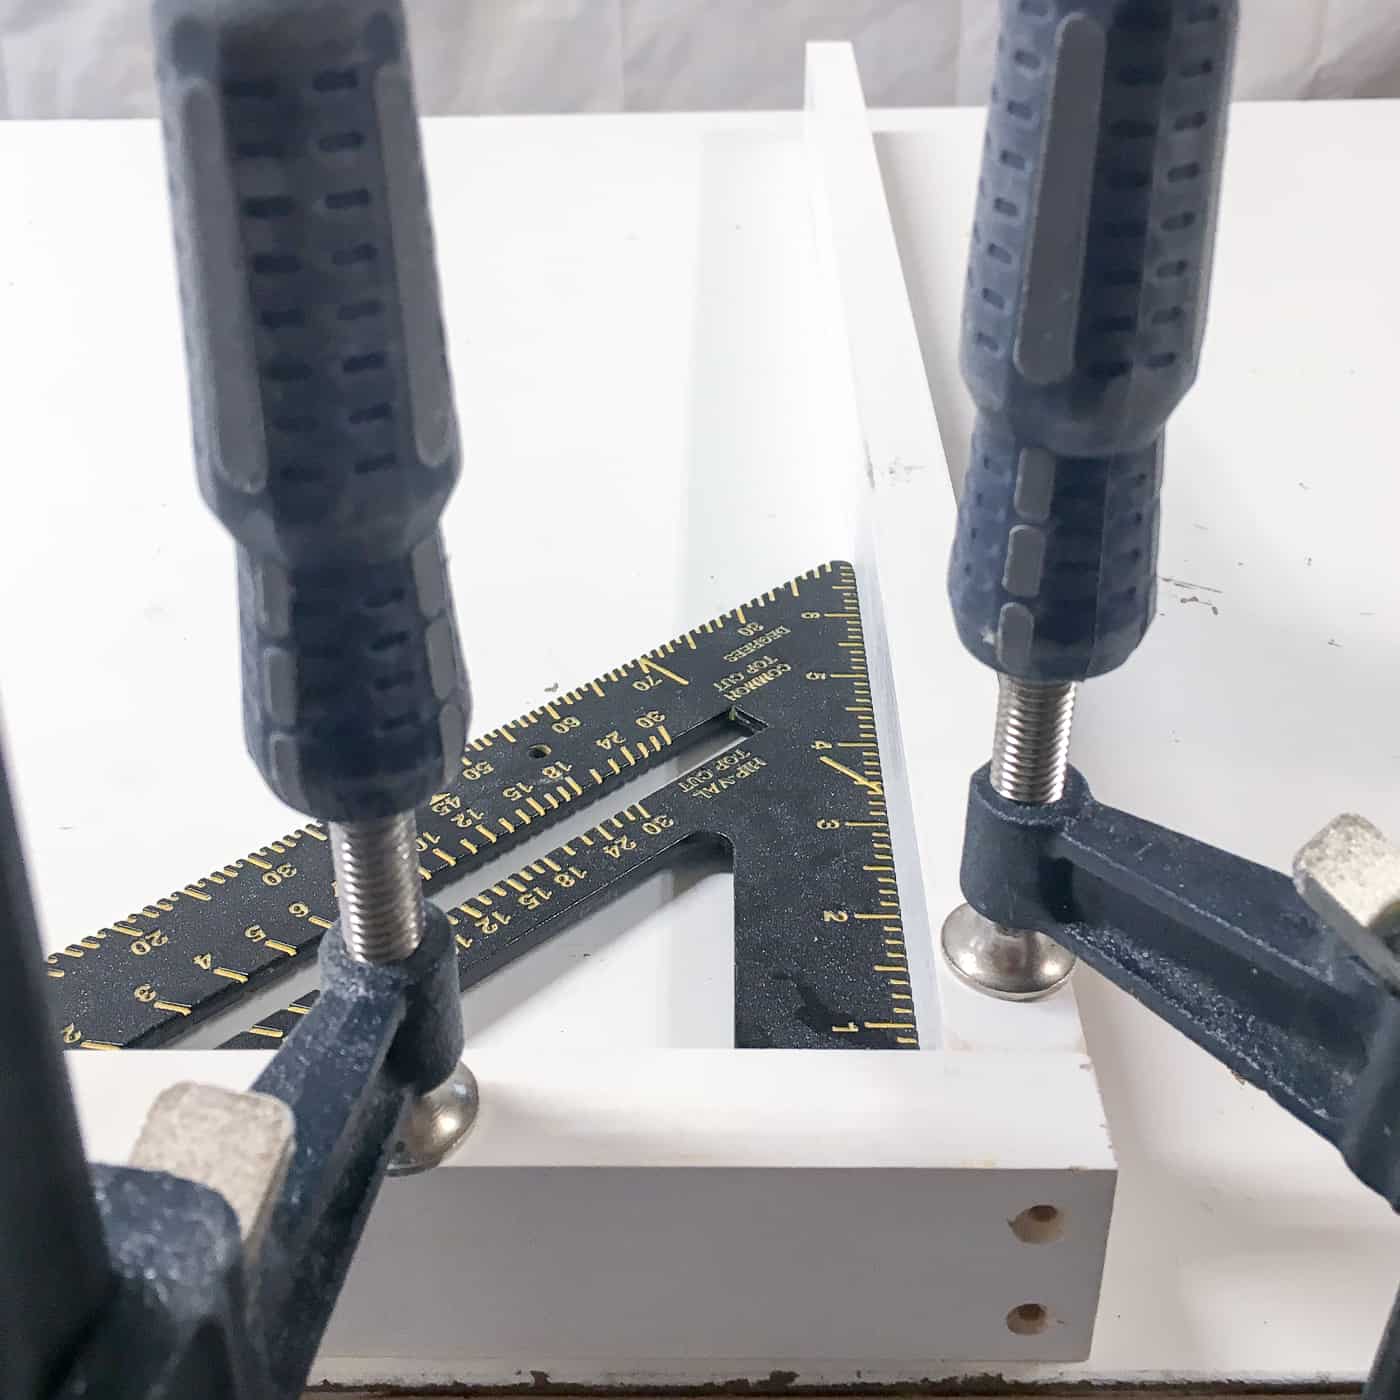
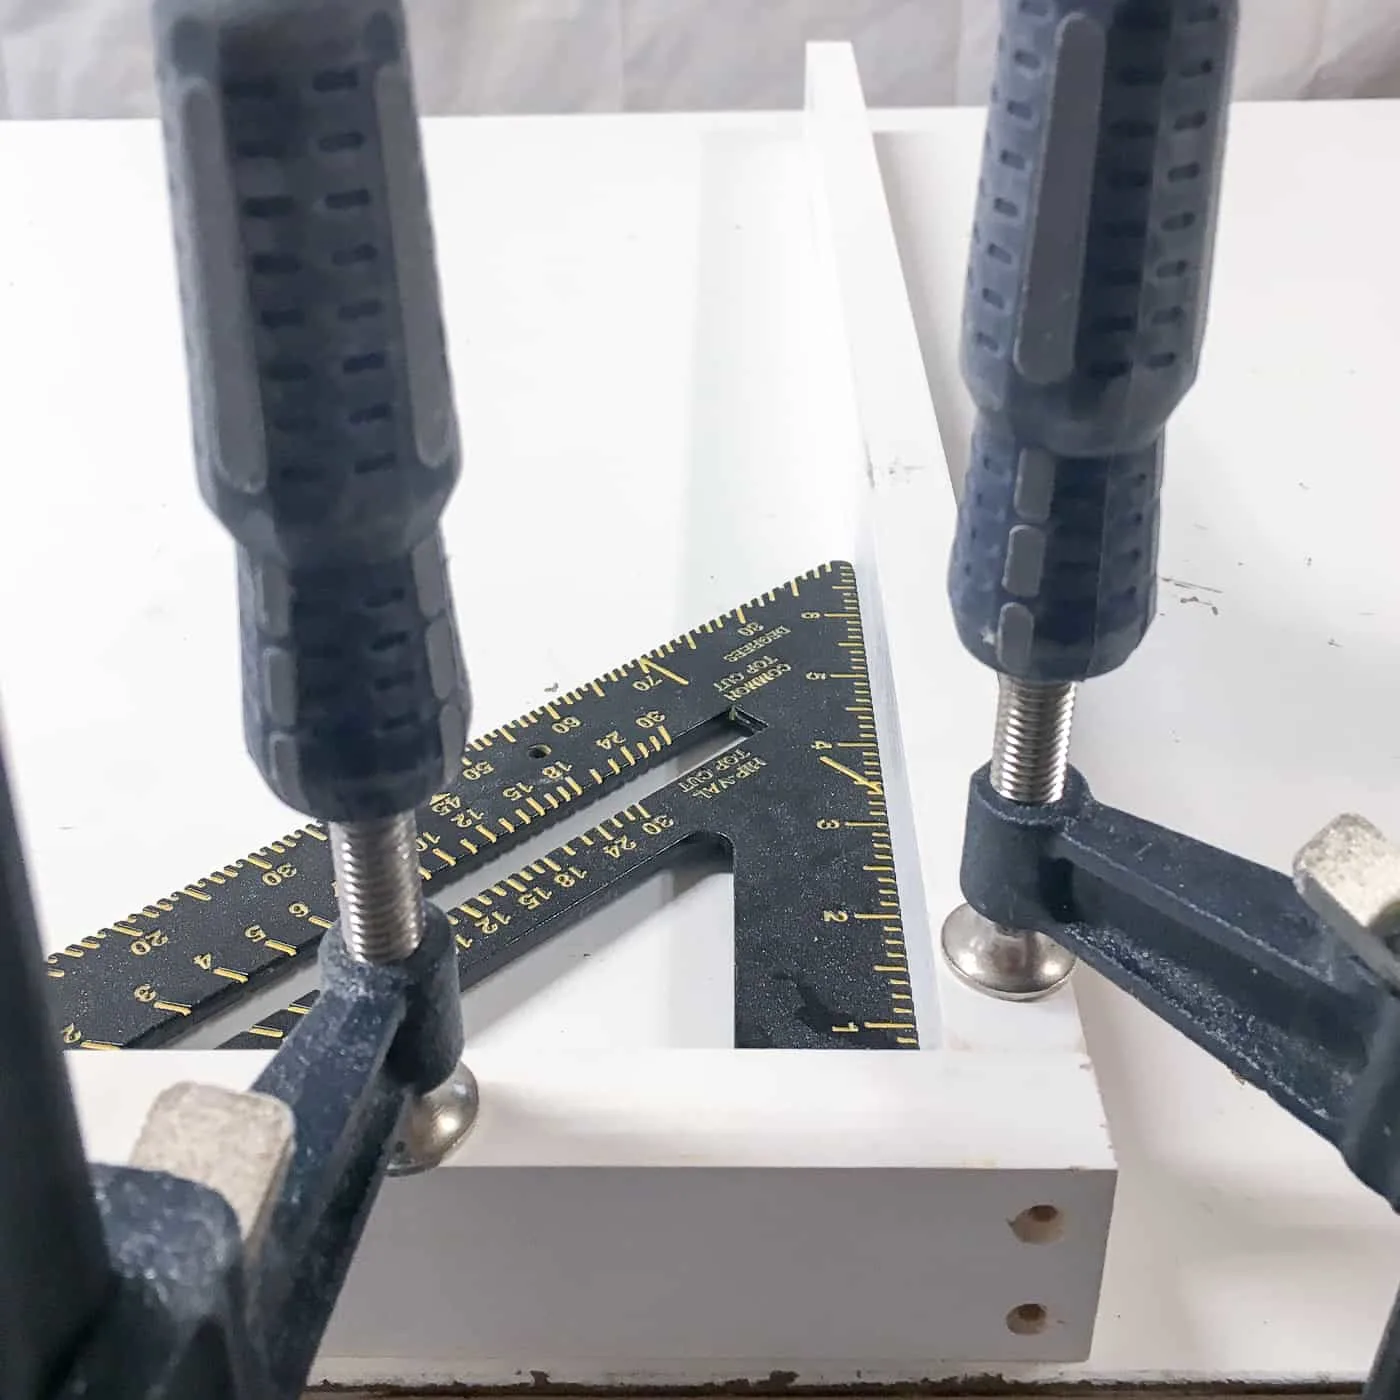
Line up all the pieces so the predrilled holes to into the ends of the undrilled sides. Make sure your corners are square and the edges are flush. I like to use clamps to hold everything in place while I'm joining pieces together.
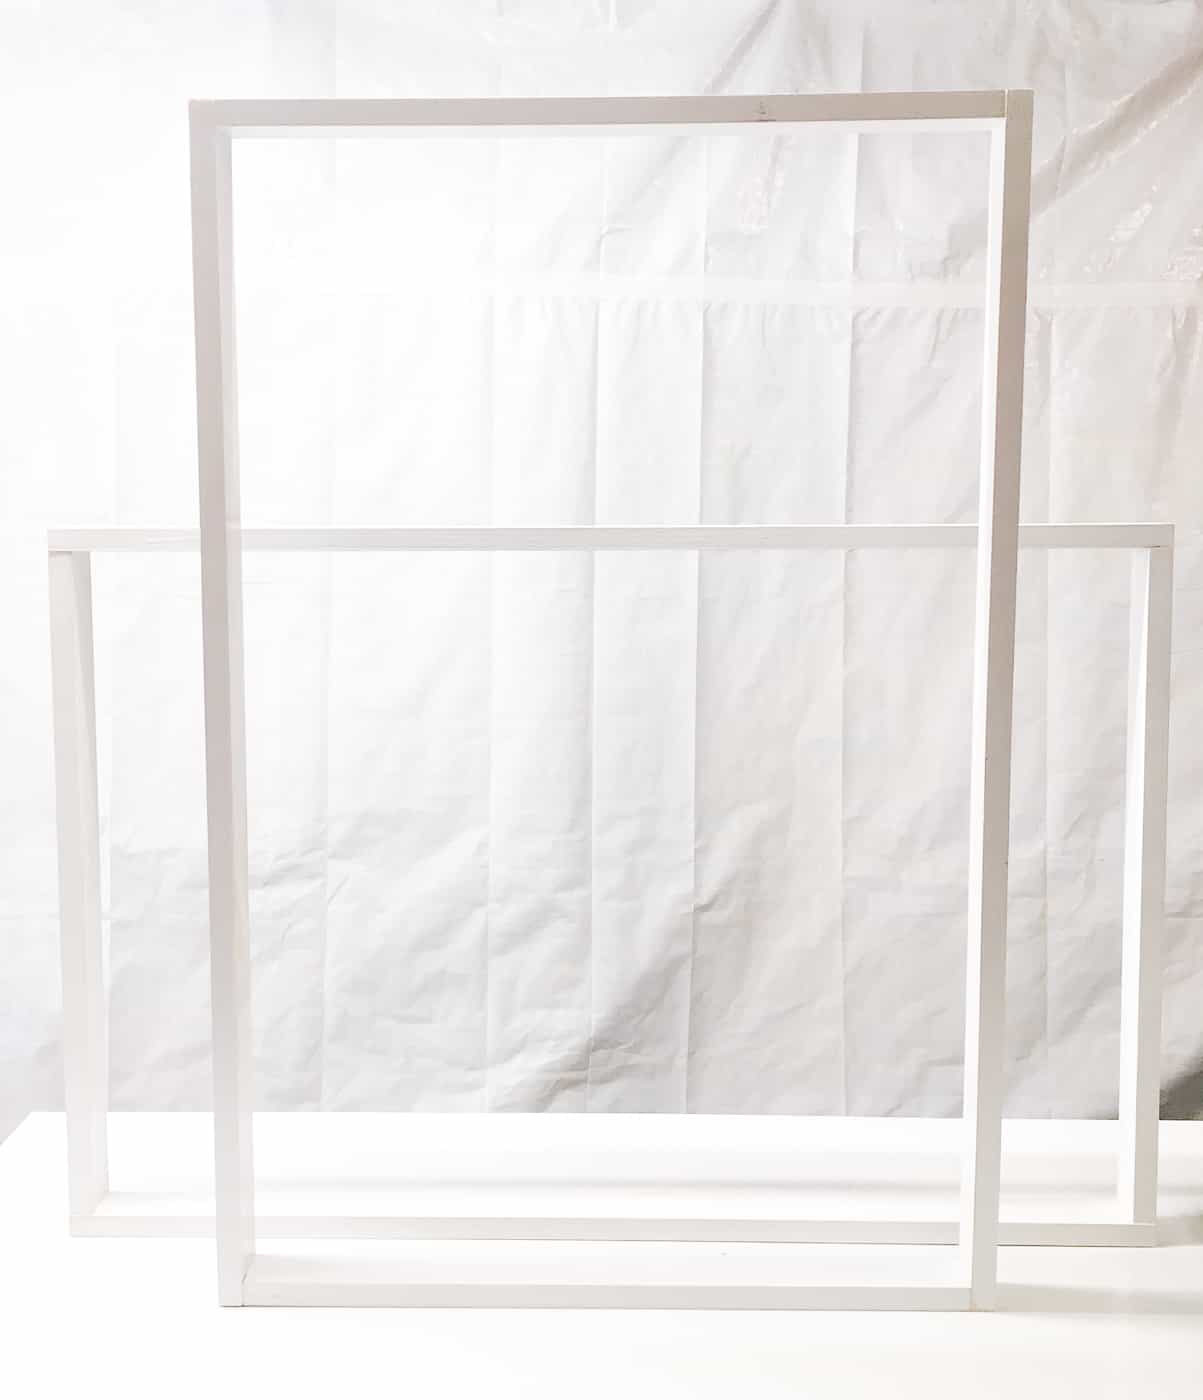
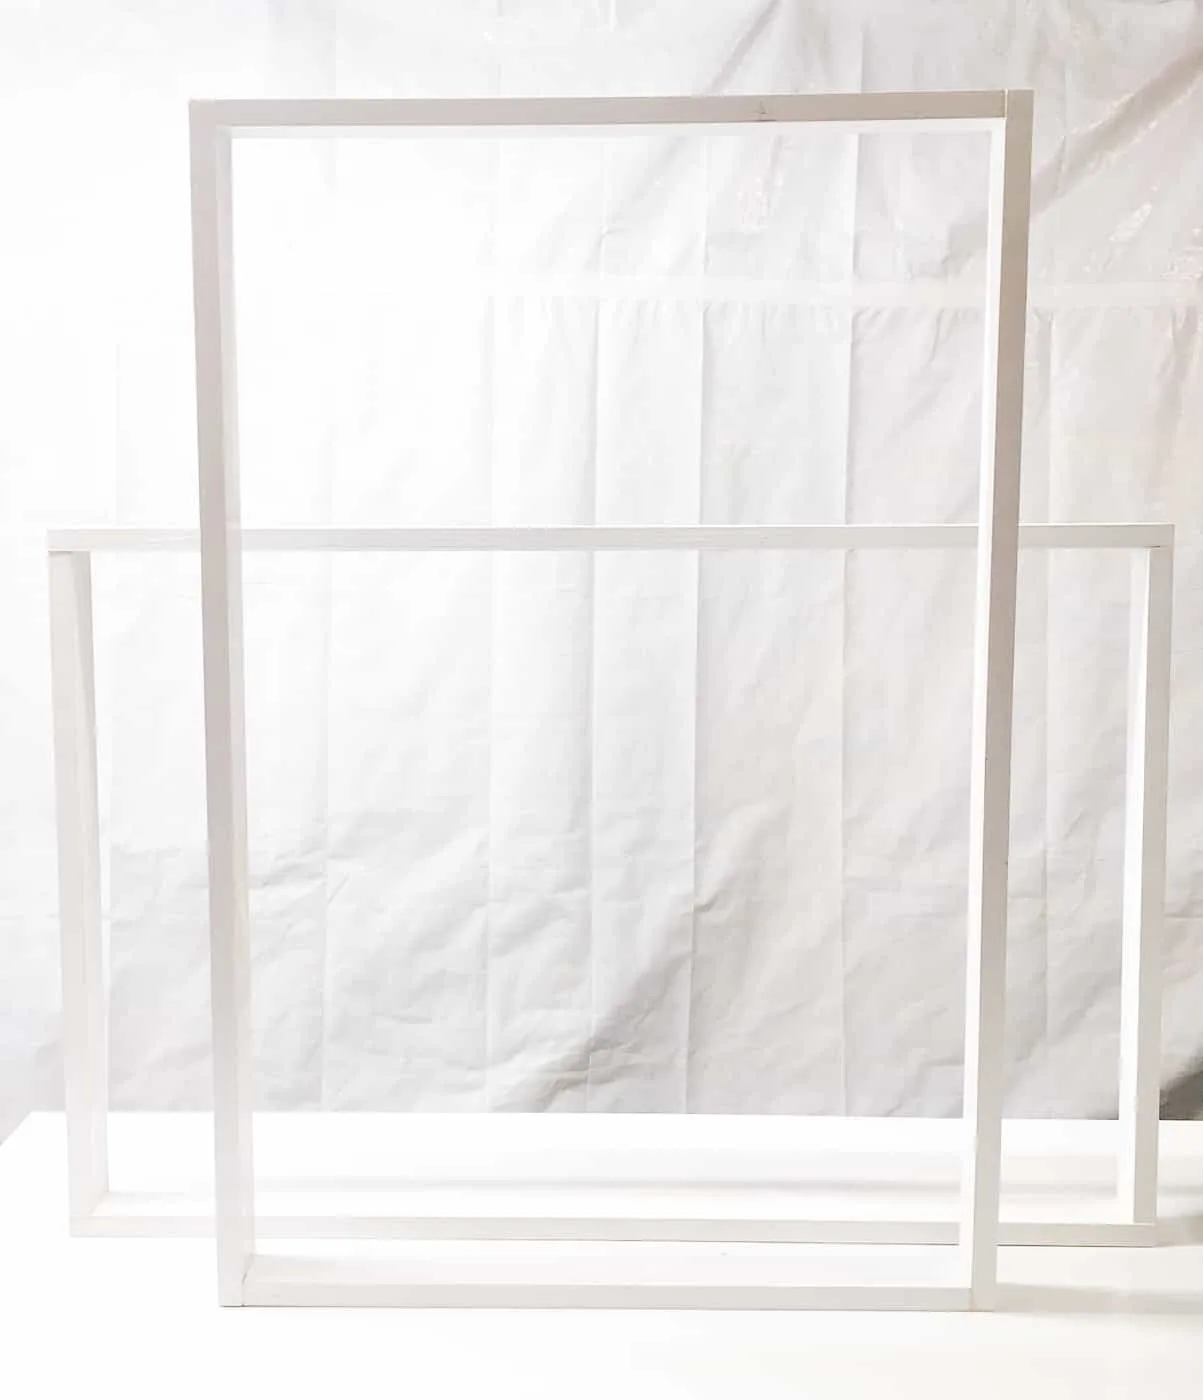
Your frames should look like this when finished.
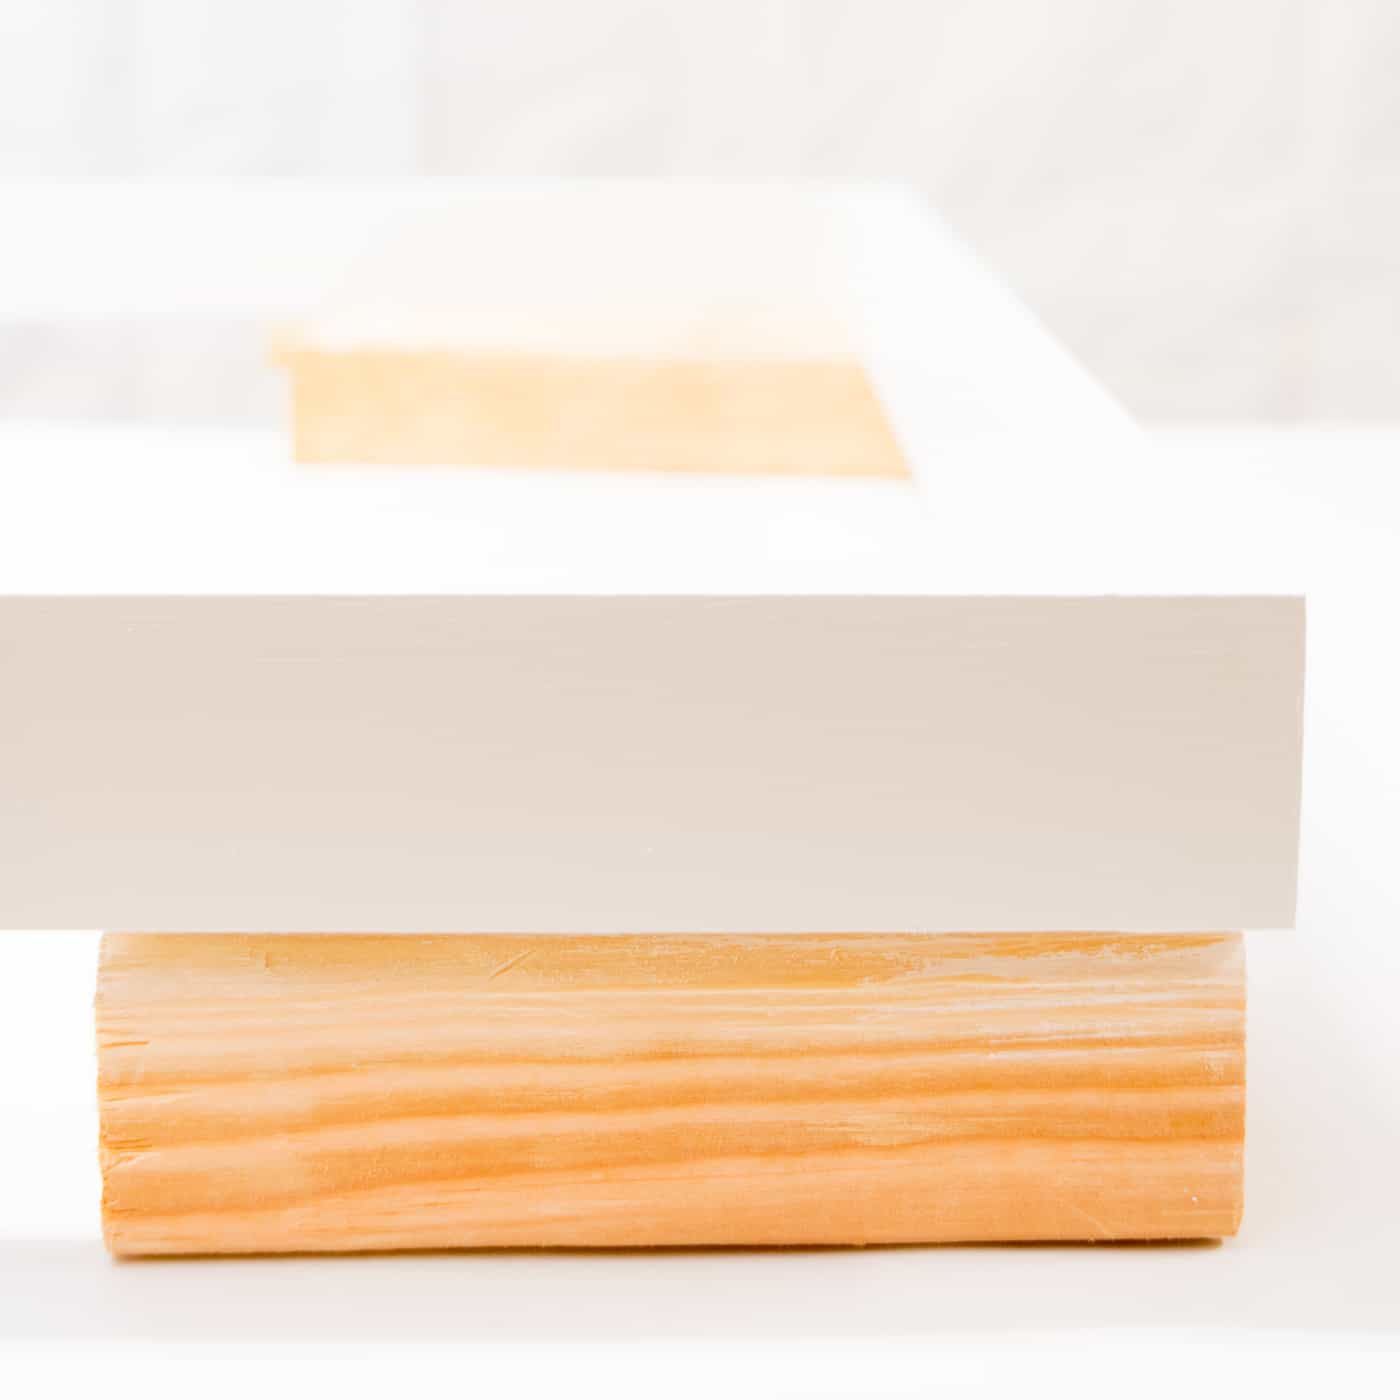
Sand and paint the frames
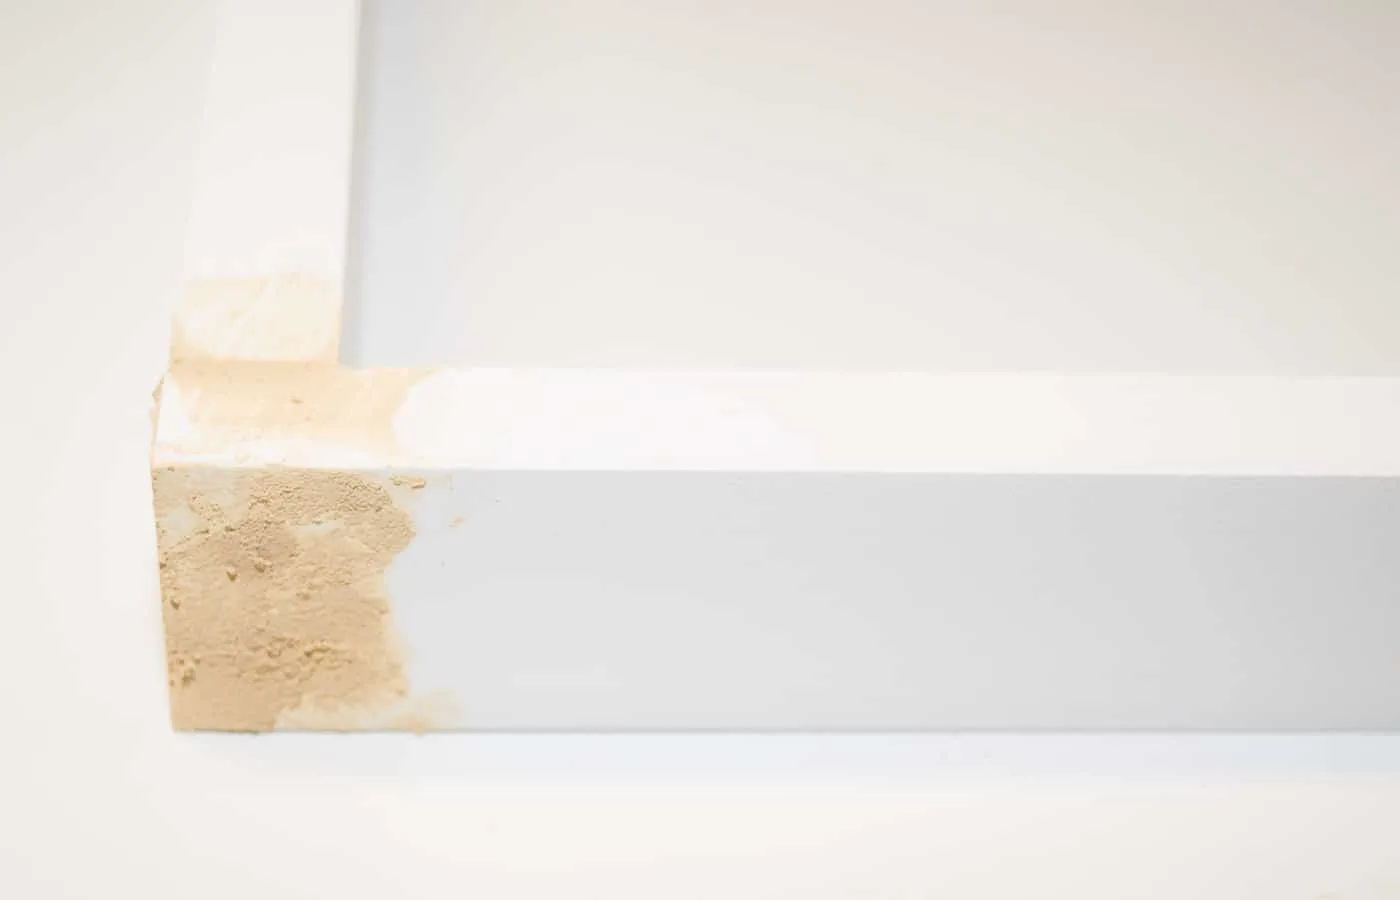
I wanted to hide my screws and seams so the poster frame looked like one solid piece. Use wood filler to cover up any holes or gaps, then sand everything smooth when dry.
You can skip this step if you like, especially if you're staining your frame. "Stainable" wood filler sometimes takes stain differently than the wood, and will be obvious in your finished project. You could also use wood putty that matches your wood species for a better color match.

Remove any sanding dust from your poster frame, then paint or stain. I went with basic white because there are a lot of colors going on in these Pokemon posters! Prop up the corners so you can paint all the way to the edge.

Attach the poster to the back of the frame
When your paint or stain is dry, flip the poster frame over so the back is facing up. Lay your poster upside down on the frame, using tape to keep it in place. Staple around the perimeter with ¼" staples.


Attach a sawtooth picture hanger to the top, and hang it on the wall!
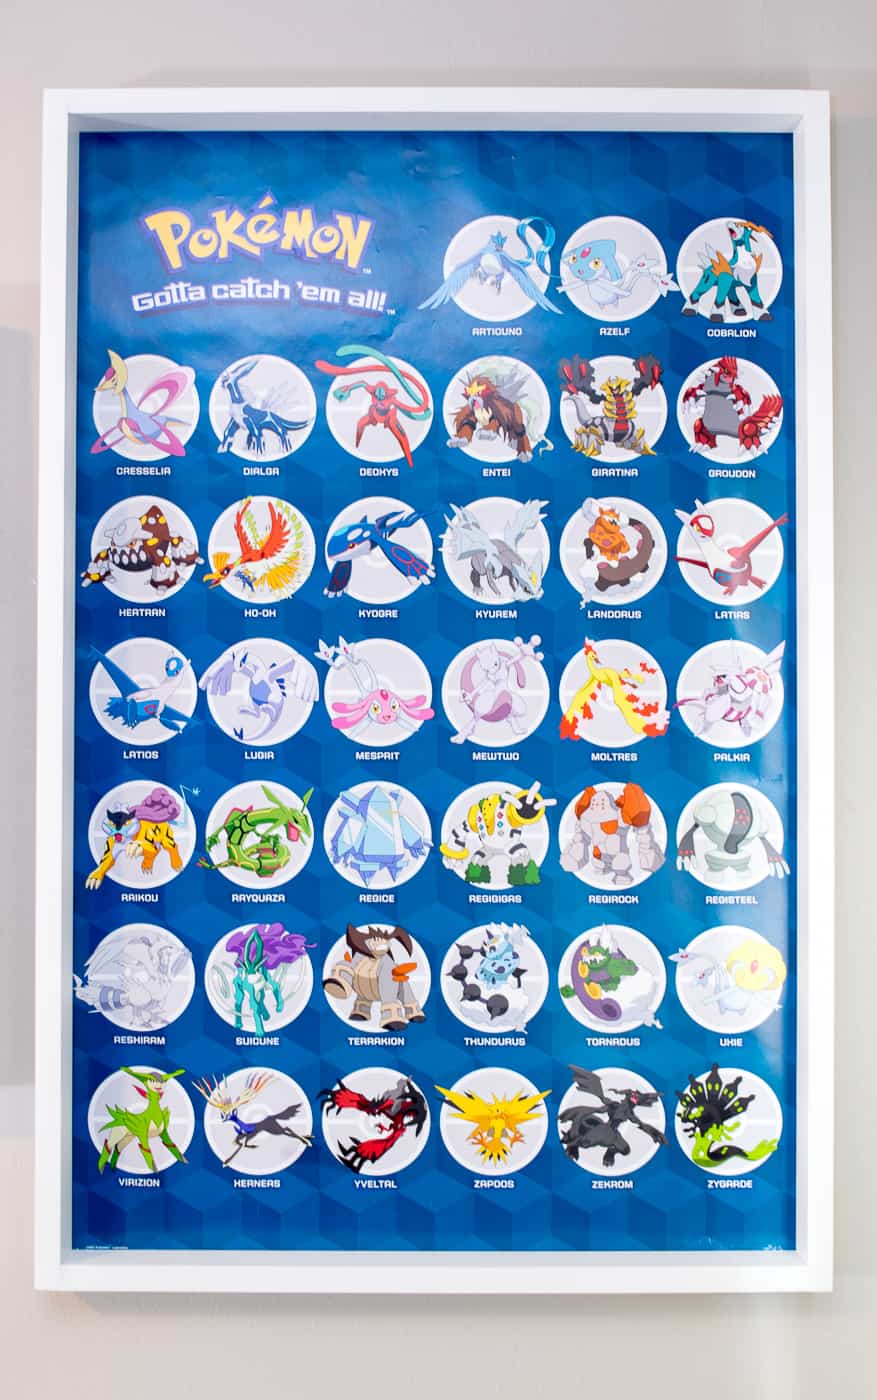
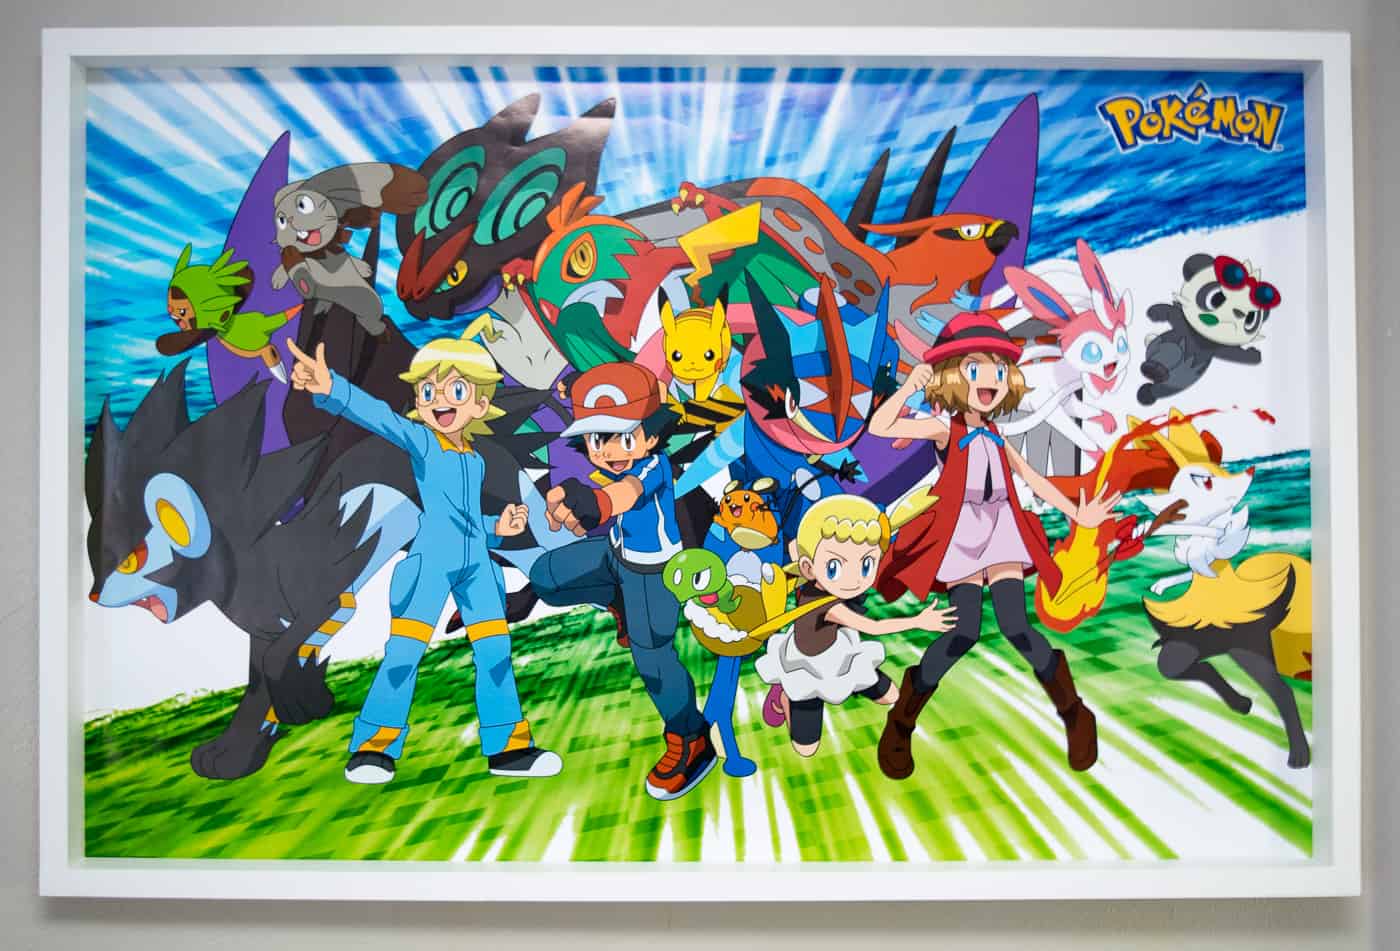

Looking for these Pokemon posters for yourself? You can find the horizontal one here and the vertical one here.
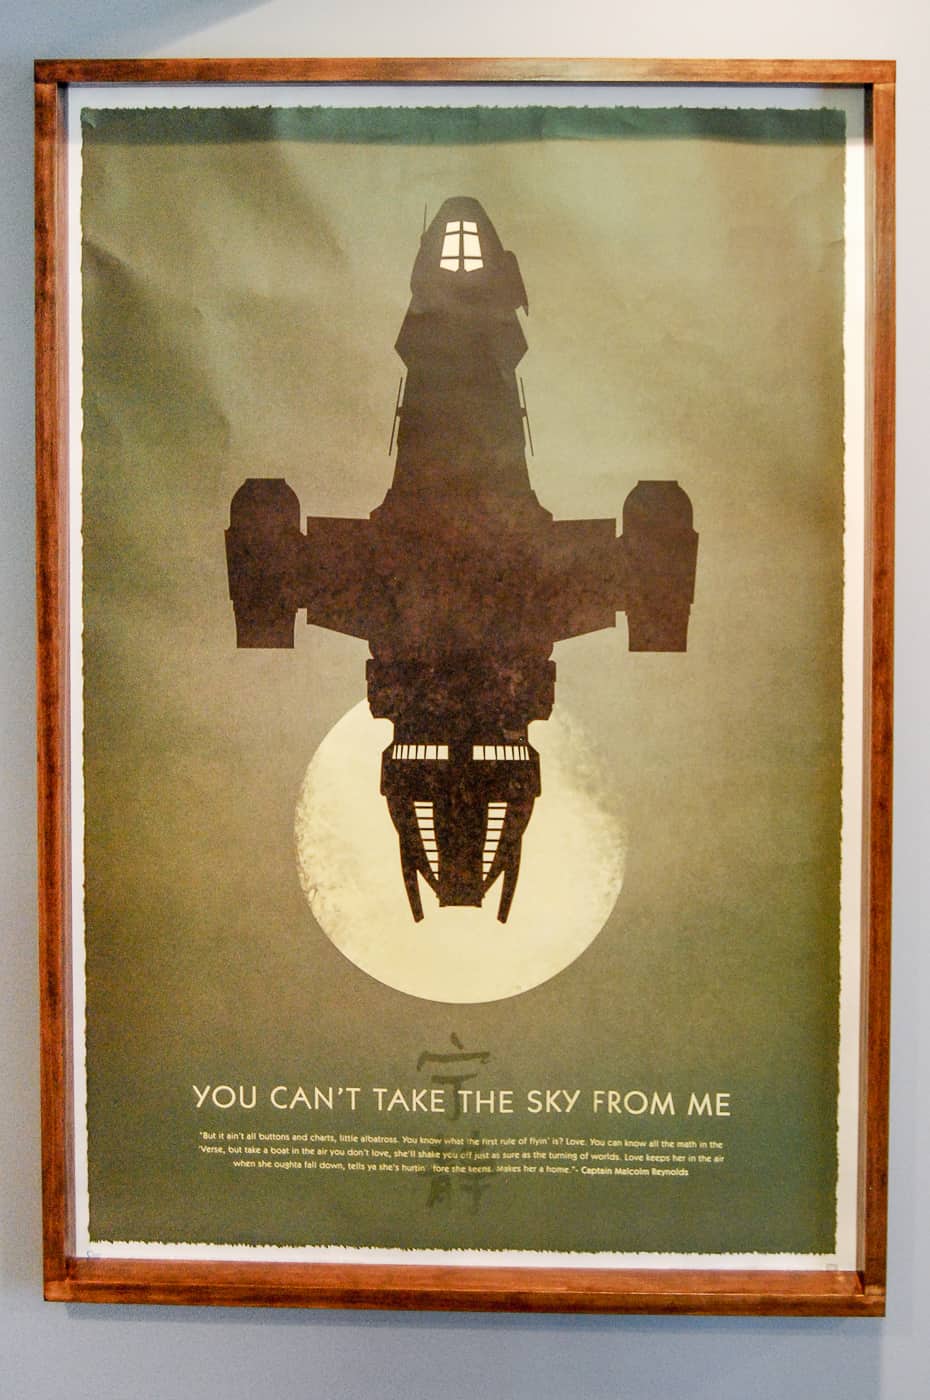
I made a stained version of this poster frame a couple years ago. Just changing the finish gives the frame a whole new look!
Check out these other DIY wall decor ideas!


Erlene
Sunday 8th of July 2018
I hate to admit it, but I used those plastic poster frames in my kids room...lol. The wood does look a lot nicer though. Thanks for sharing your build tutorial on Merry Monday. Pinned.
Sheri
Sunday 8th of July 2018
These frames are so quick and easy but look awesome. Thanks for sharing at the To Grandma's House We Go DIY, Crafts, Recipes and More Wednesday Link Party! Pinned!
SusIe
Thursday 23rd of March 2017
Love this! Our little is only just two, so not into Pokémon yet. But I'll save the idea for any other posters for in the future.