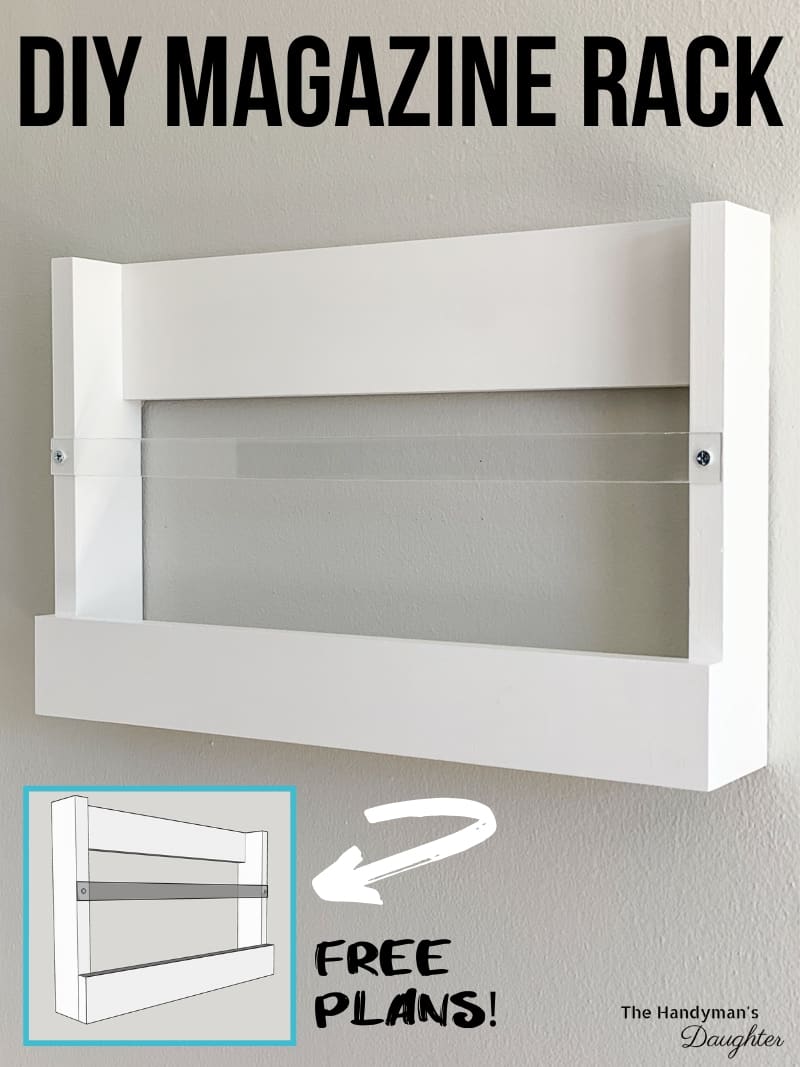
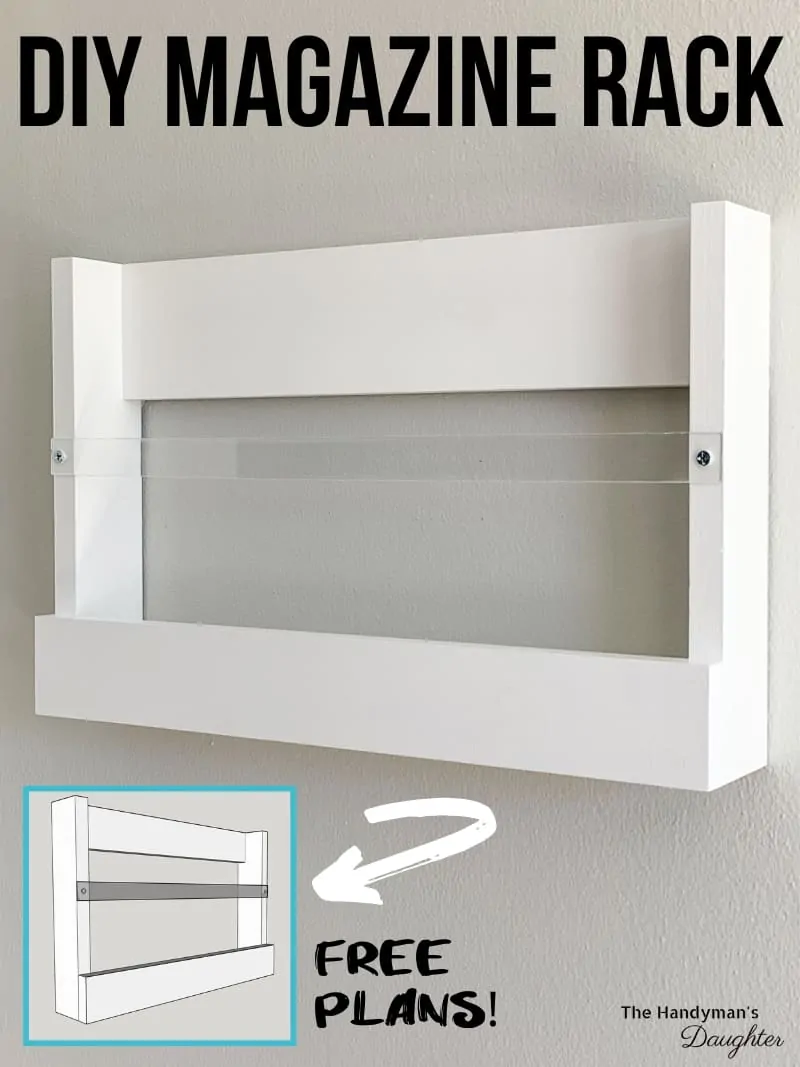
You can make this easy DIY magazine rack with a single 1x3 board! Get the free woodworking plans for this simple DIY magazine holder and start building!

I just reorganized my huge scrap wood collection, and dug out these short pre-primed pieces from the bottom of the stack. At first, I thought they were too small for anything useful and I was about to toss them in the trash.
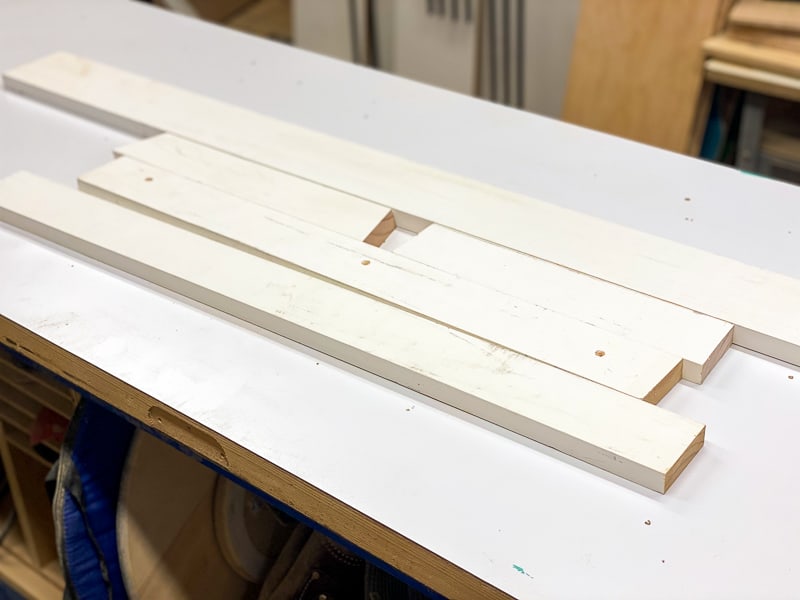

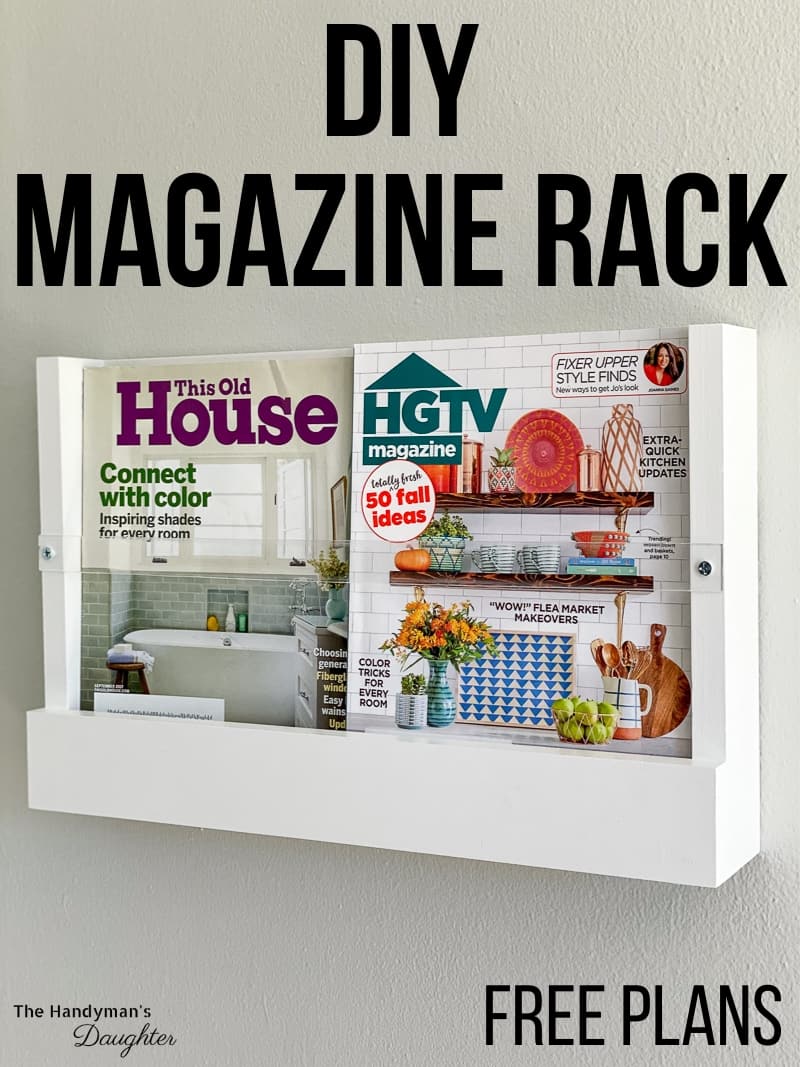
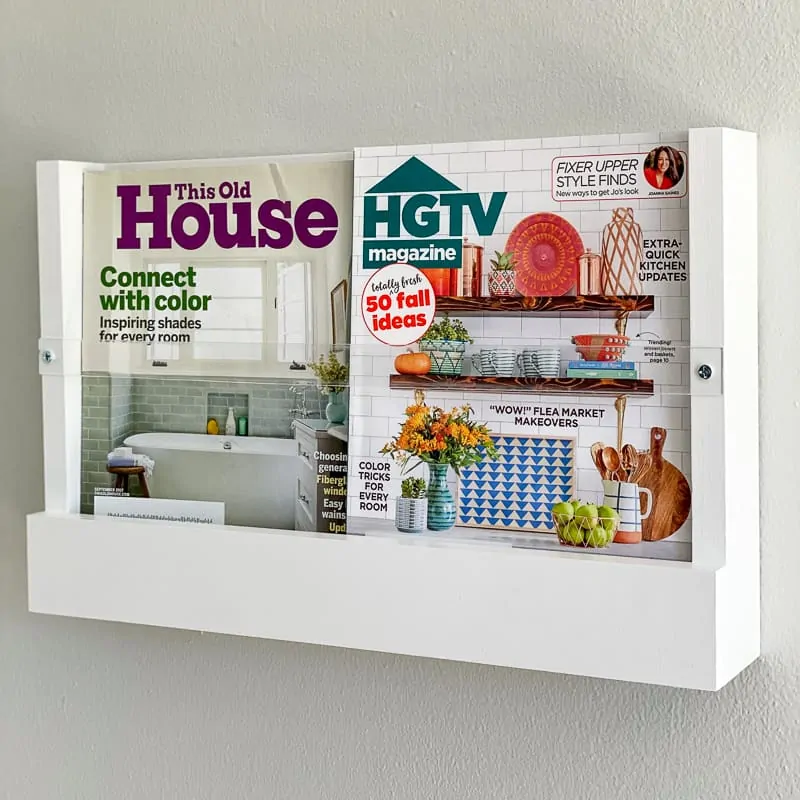
But after playing around with them a bit, I came up with this simple project! We usually keep all our magazines in a stack on the coffee table, where they get ignored. 🙂 But in this new holder, the covers all face outward so you can easily find magazines to browse through!

It's also deep enough to store a few cookbooks on the end of the kitchen cabinet. I plan to make another one to keep our favorites on standby.
This is an easy project that anyone can make, even if you don't have any power tools! All you'd need is a miter box and a drill to make this simple DIY project!
This post contains affiliate links for your convenience. Purchases made through these links may earn me a small commission at no additional cost to you. Please visit my disclosures page for more information.
Materials Needed
- One 1x3 board
- Pocket hole jig
- 1 ¼" pocket hole screws
- Drill
- Countersink bit and 1 ¼" flat head screws
- I used a brad nailer and 1 ¼" brad nails instead of countersinking screws.
- Wood glue
- Wood filler
- Miter saw or circular saw
- Paint
- Acrylic or leather strip (optional)
- Hanging hardware or Command strips
How to Make a Magazine Rack
Download the Free Woodworking Plans
Before you start gathering your materials, download the plans for this project by clicking here. It includes the cut list, 3D models of each step, and a handy checklist to keep you on track!
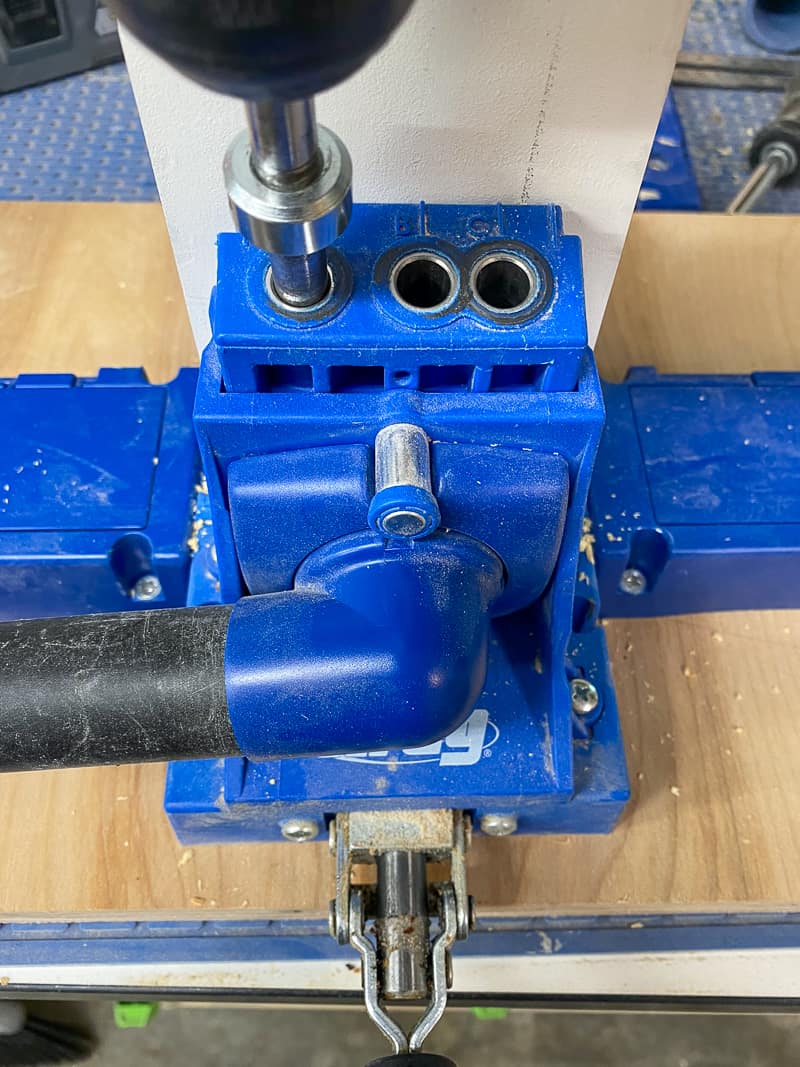
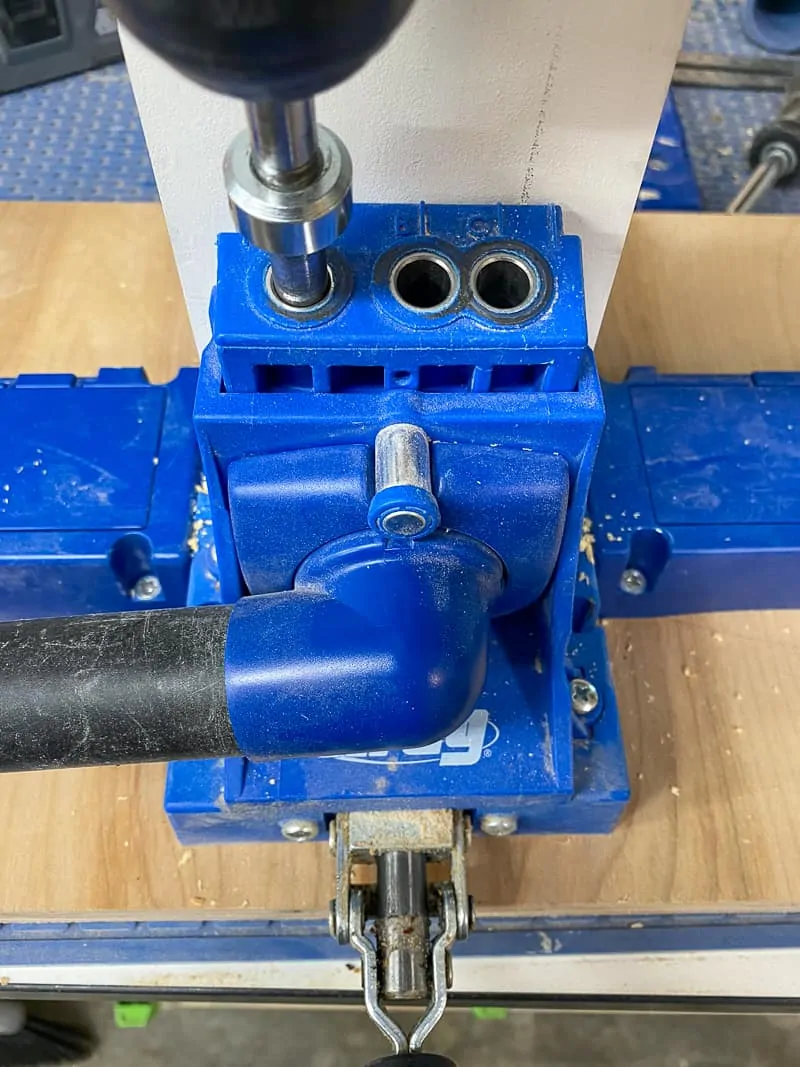
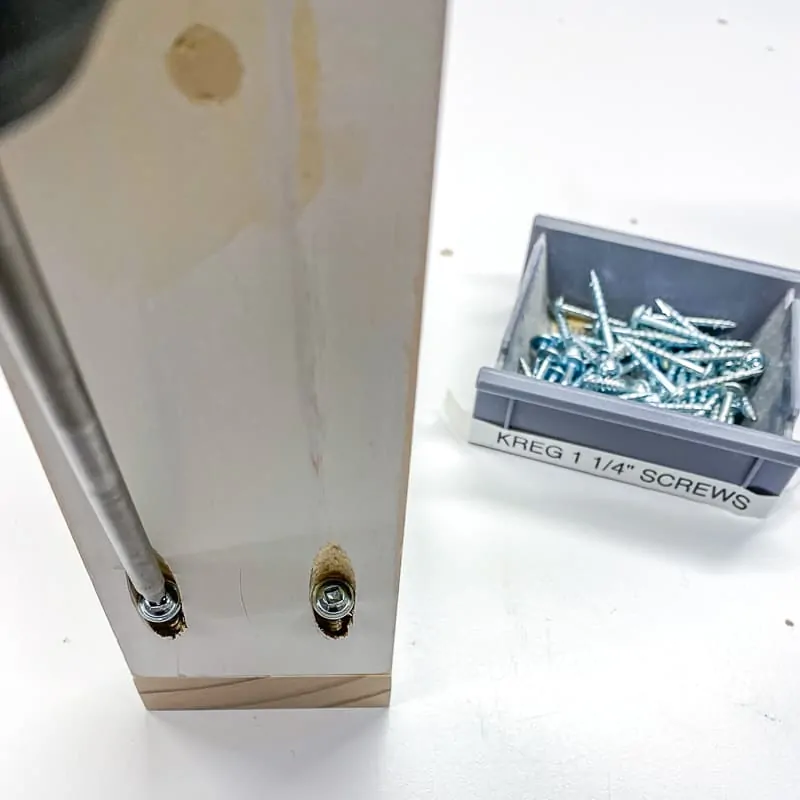
Drill Pocket Holes
You can assemble this magazine rack without pocket holes, but you'll have exposed screws or holes to fill later. Pocket holes hide the joinery so your finished project looks more polished! You only need to drill holes in the bottom and back pieces.
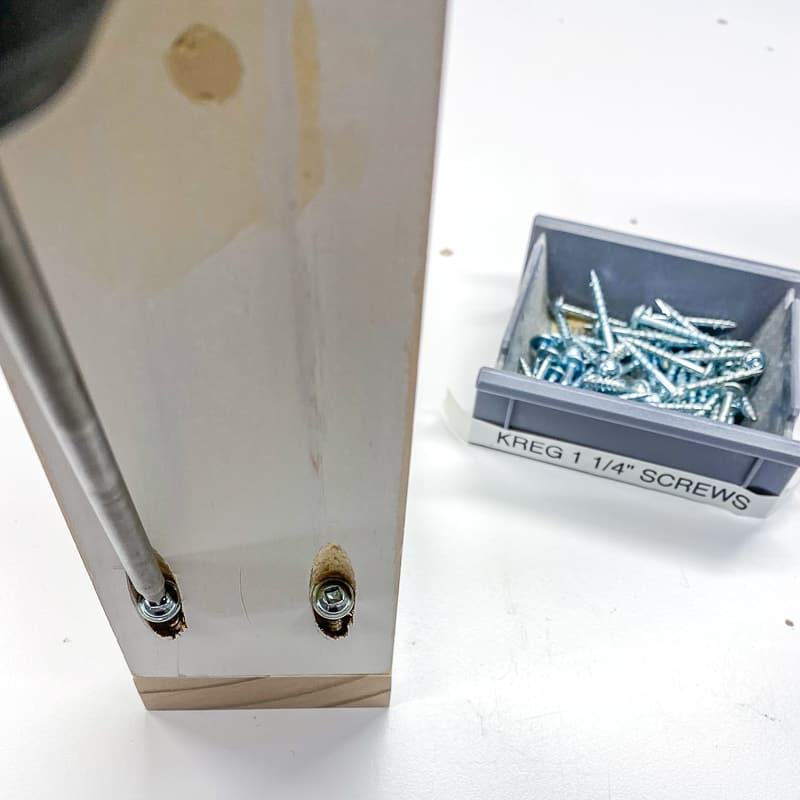
Attach Bottom to Sides
Apply glue on both ends of the bottom piece. Then attach the sides to the bottom with 1 ¼" pocket hole screws.
Attach Back to Sides
The back piece should fit snugly between the two sides, now that the bottom is attached. Apply wood glue to both ends, then attach the back flush with the top and back edge of the side pieces.
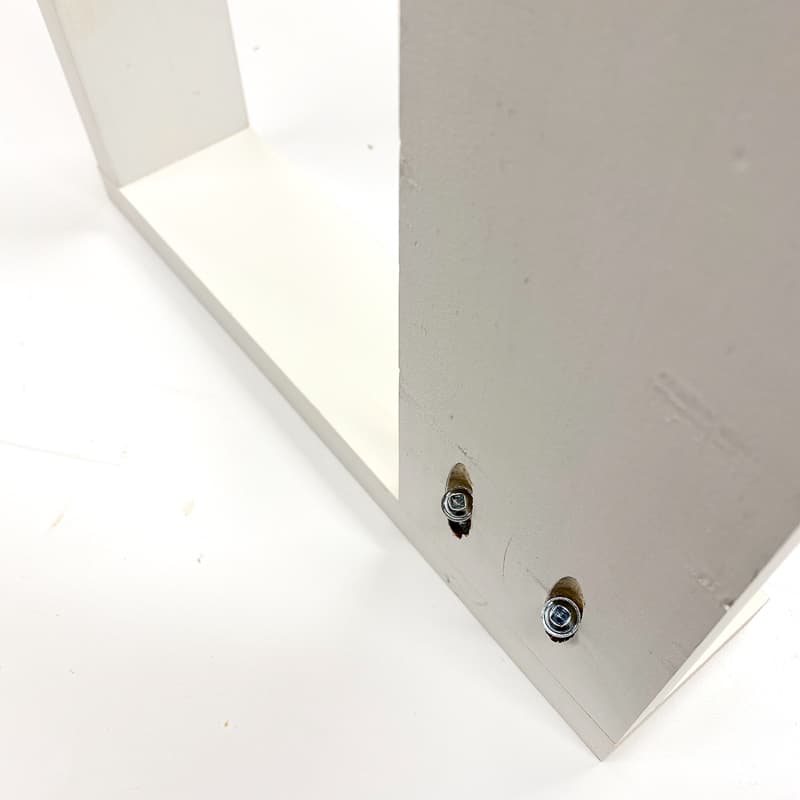
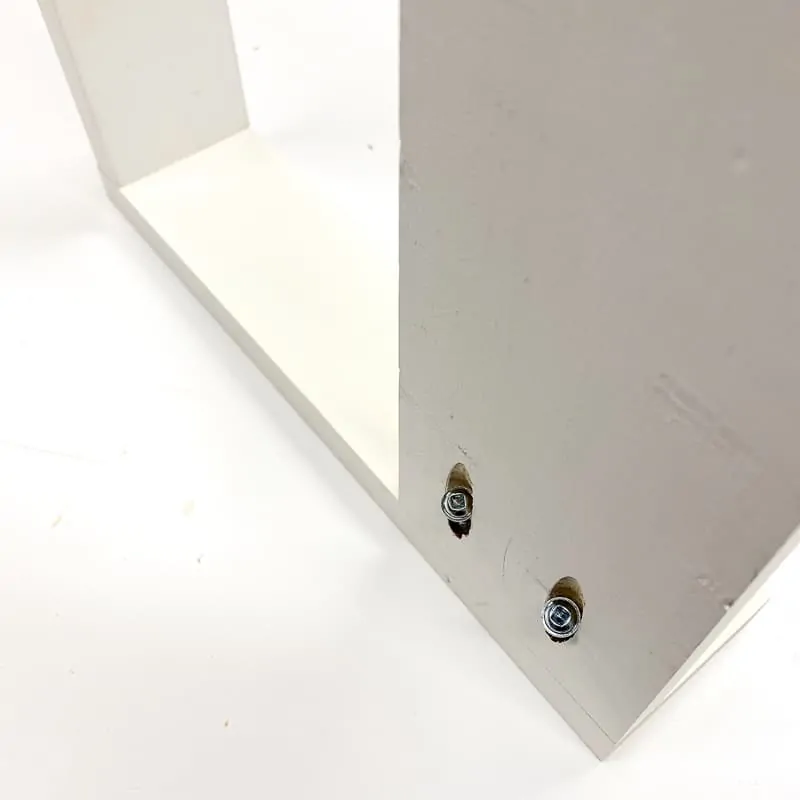
My back piece is actually 1x4 (another random scrap piece I found), but a 1x3 would work too. At this point, the magazine rack should look like this...
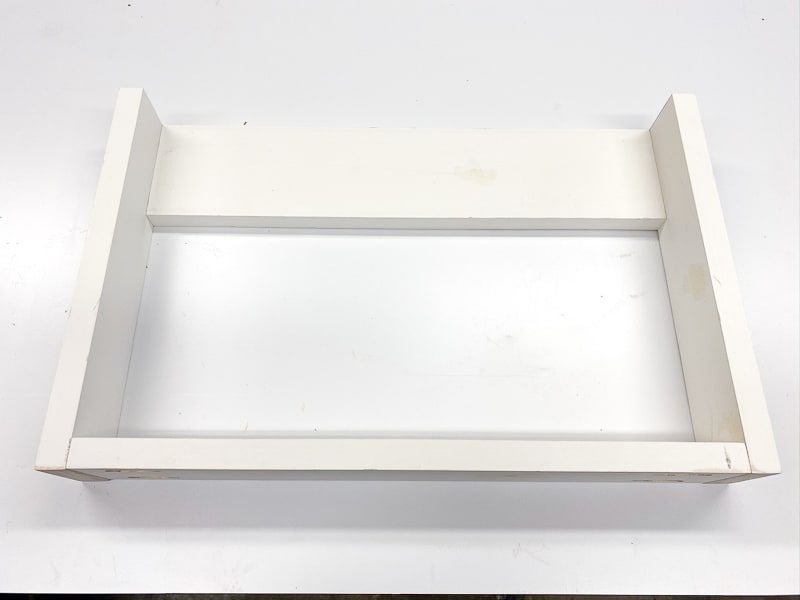
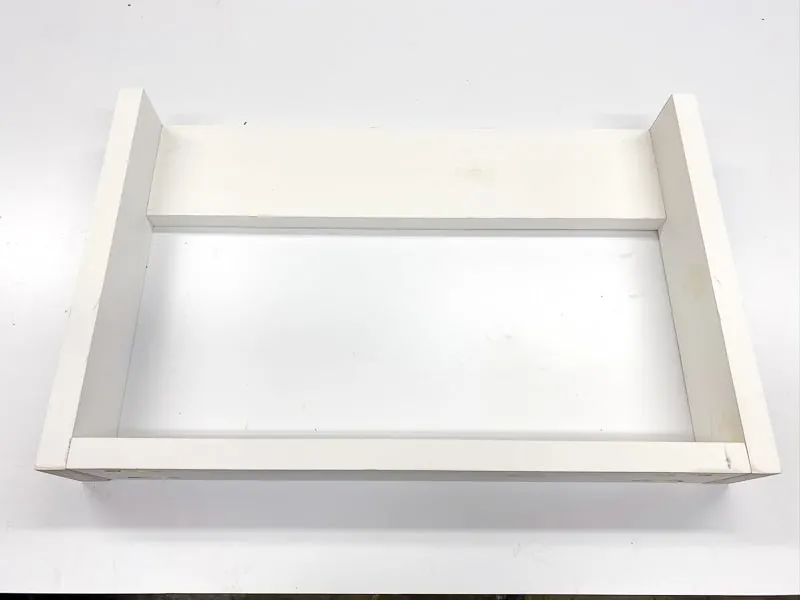
Attach the Front
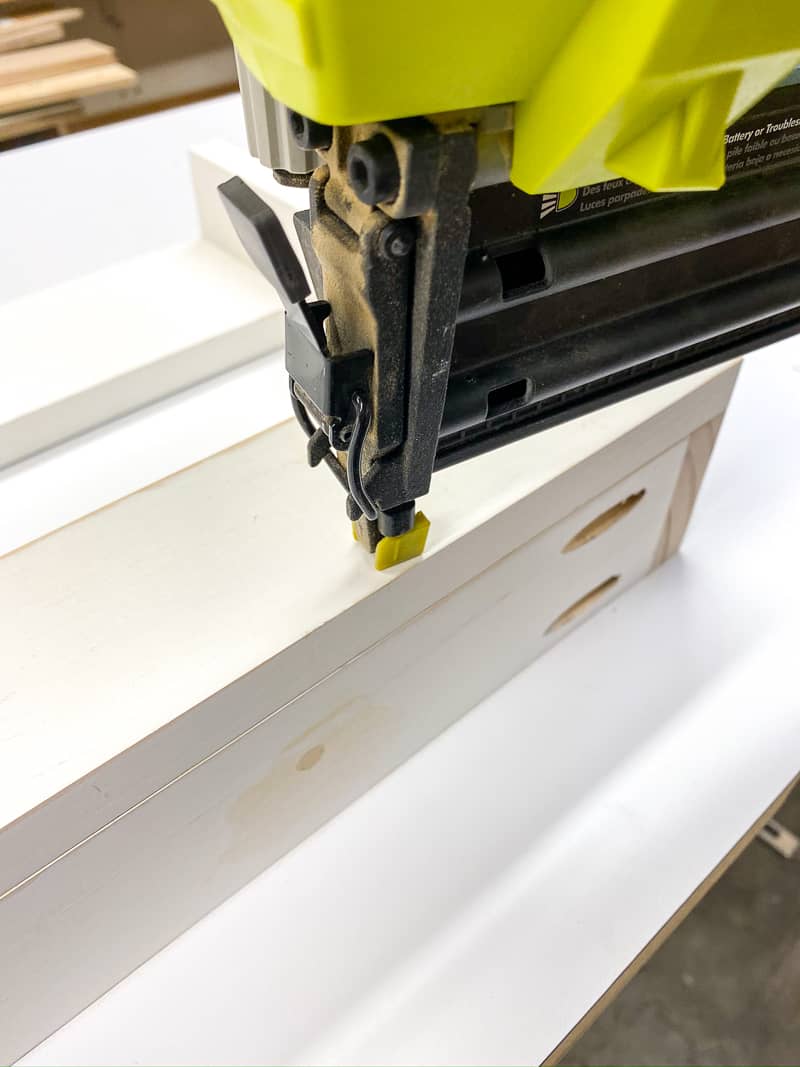
Cut the front piece to fit exactly across the bottom and sides. Then apply wood glue along the front edge.

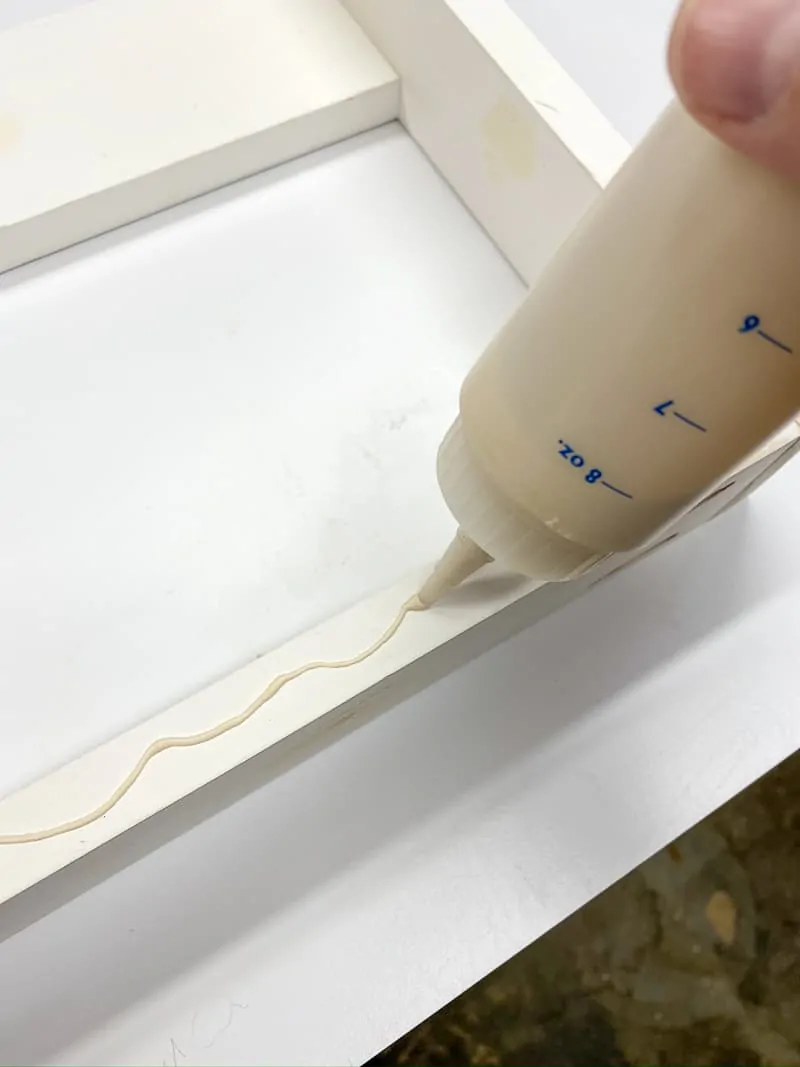
Line up the front piece with the bottom and sides, then tack it in place with brad nails. If you don't have a brad nailer or pin nailer, you can countersink screws instead.

You can also add another front piece further up to prevent the magazines from falling out. I'm adding a clear acrylic strip across the front instead to make it less bulky. You'll see how I did that below.
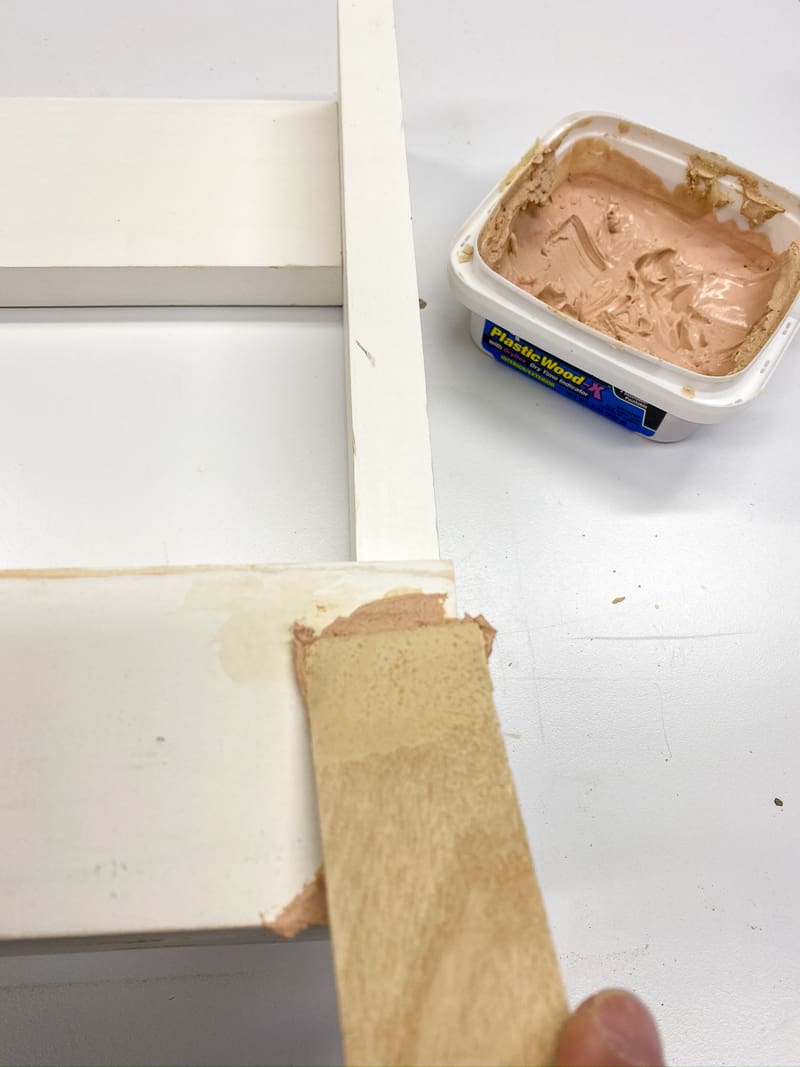
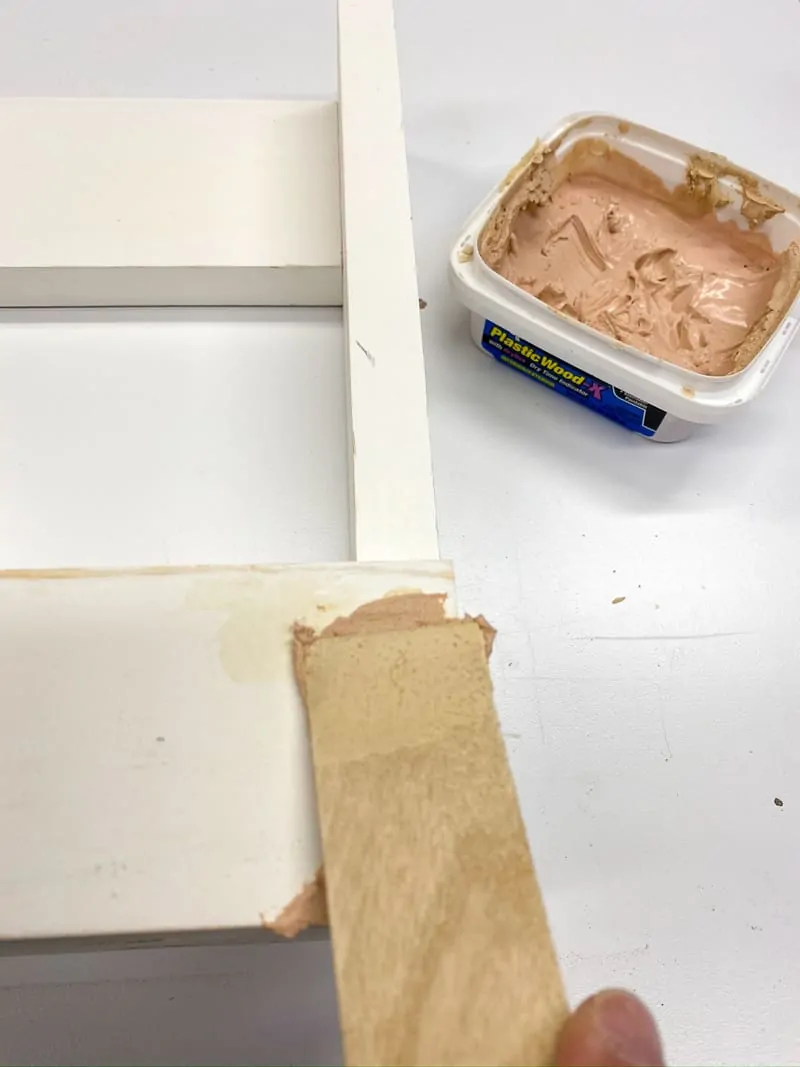
Fill Holes and Paint
Use wood filler to hide any nail or screw holes, then sand it smooth when dry.
Now give the whole thing a few coats of paint! I went with my default white paint, Decorators White by Benjamin Moore.
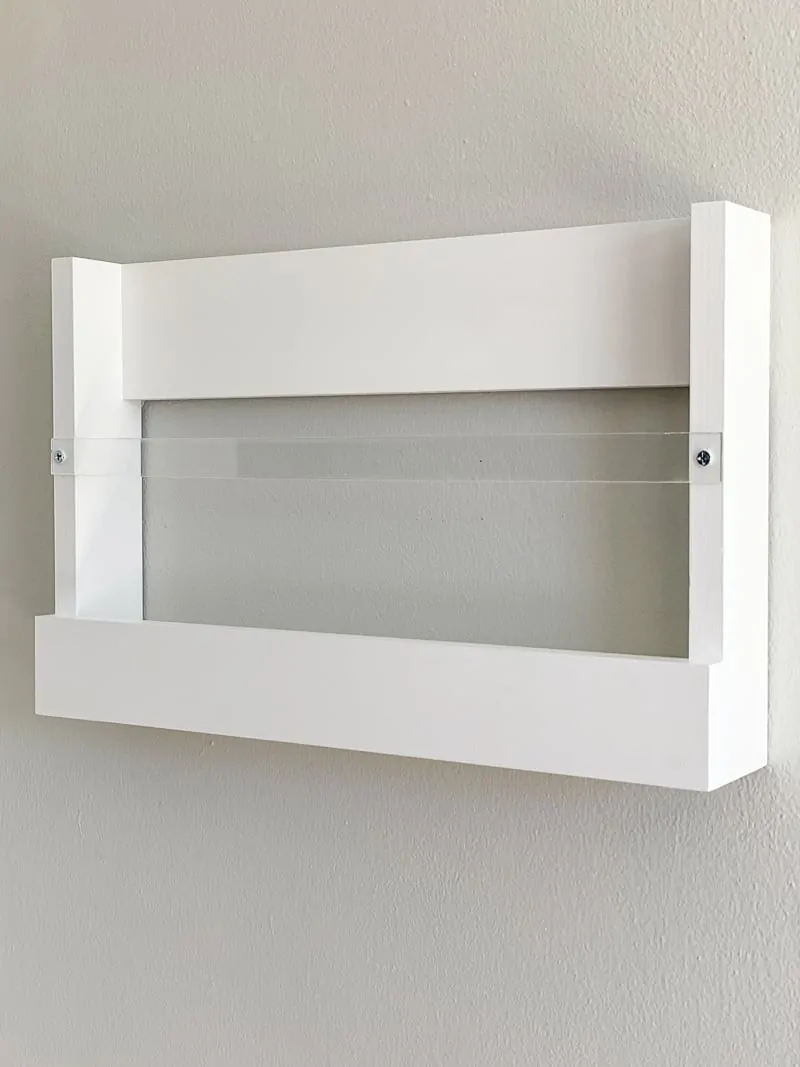
Add Acrylic Strip (optional)
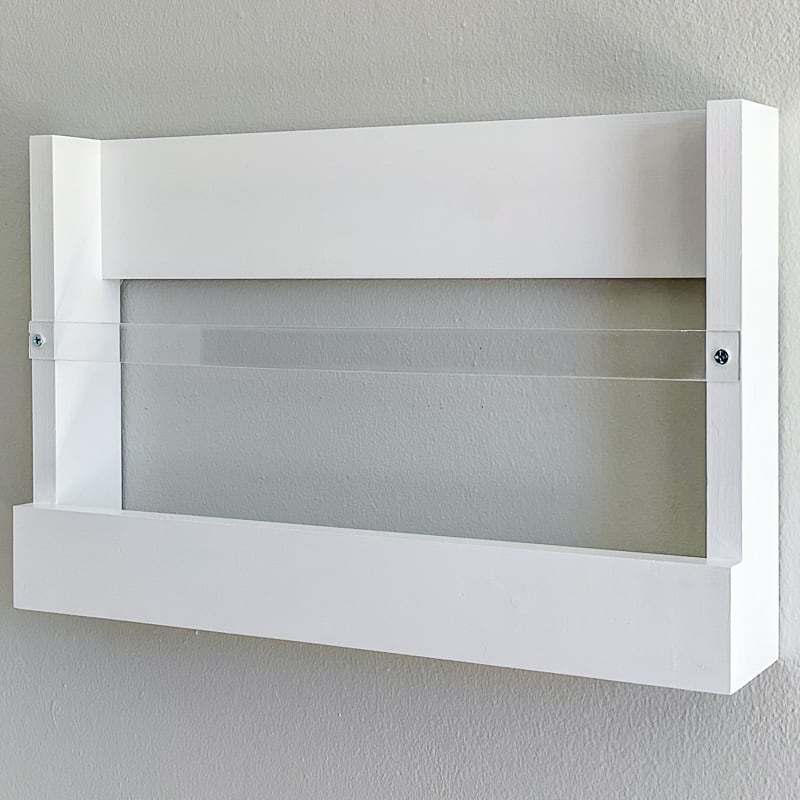
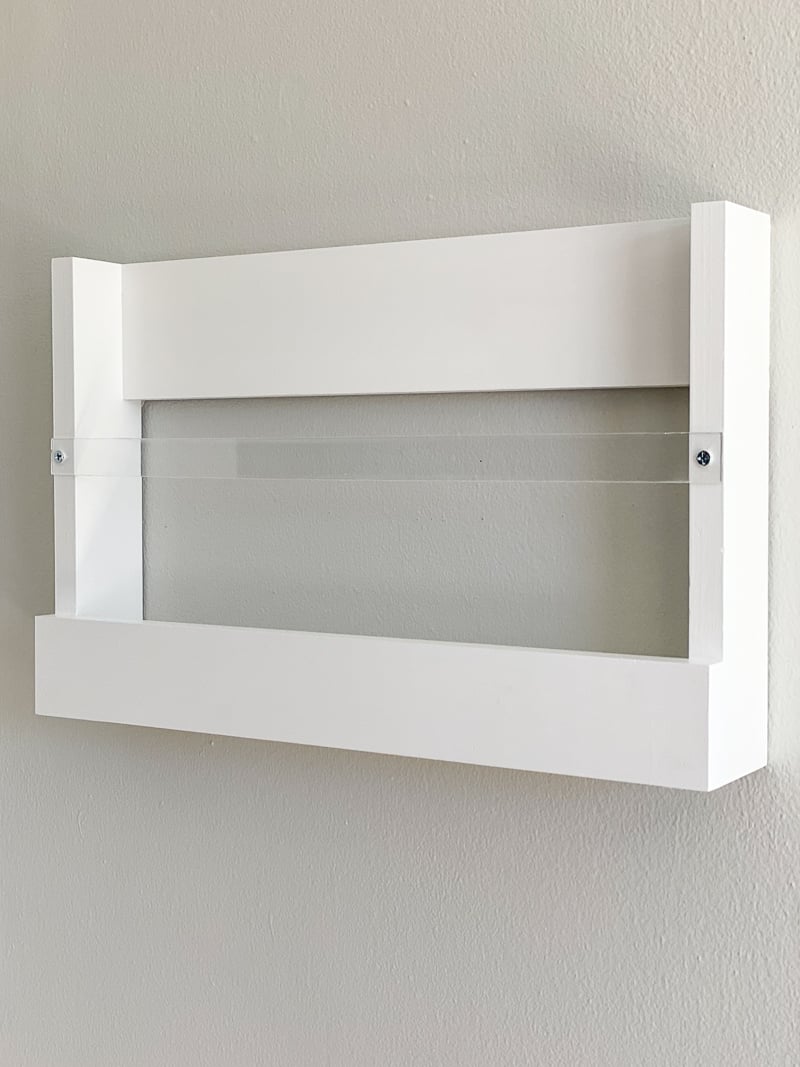
Similar magazine racks use a metal rod or leather strap across the front to keep the magazines from flopping forward and falling out. I especially liked the sleek, streamlined look of this one!


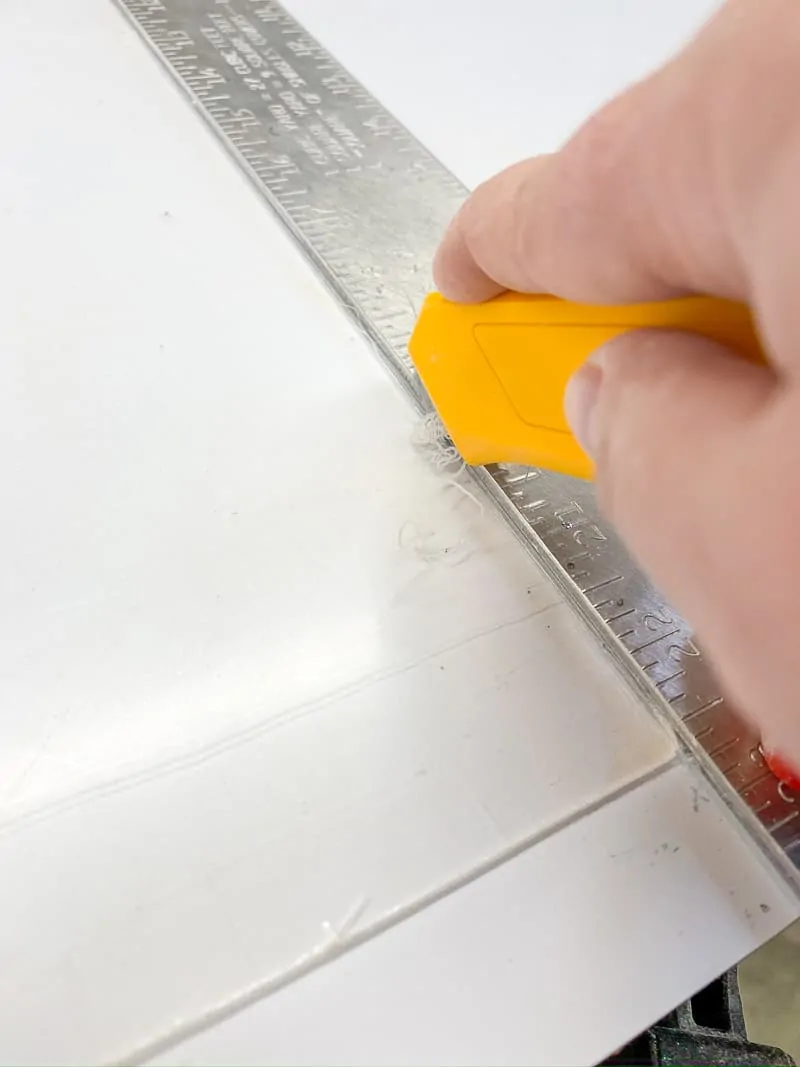
I didn't have anything like that laying around, but I DID have some leftover acrylic from my Lego bin project! I cut a 1" strip to go across the front (you can learn how to cut acrylic here!)

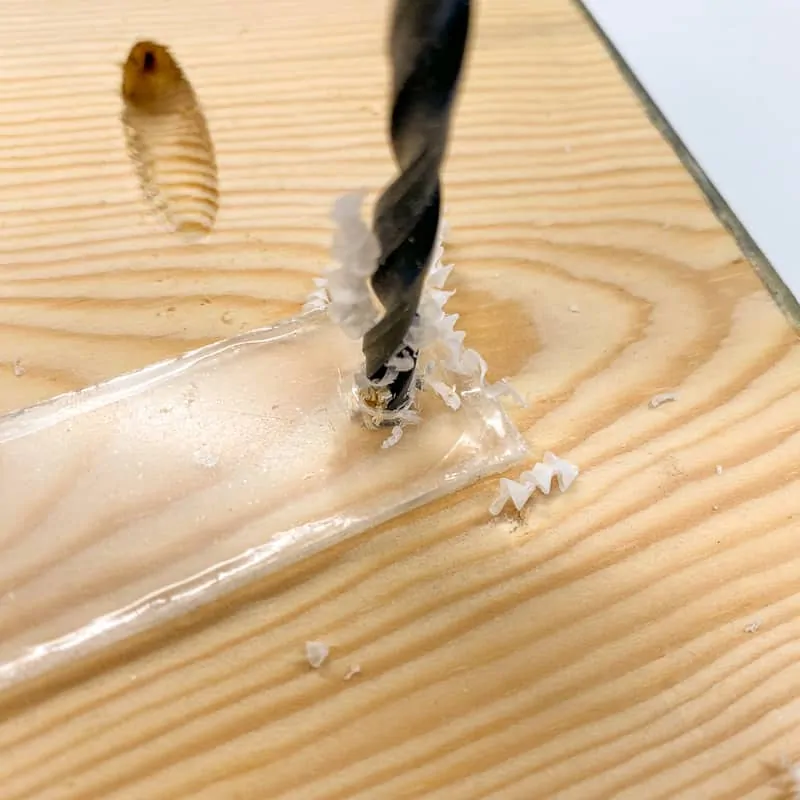
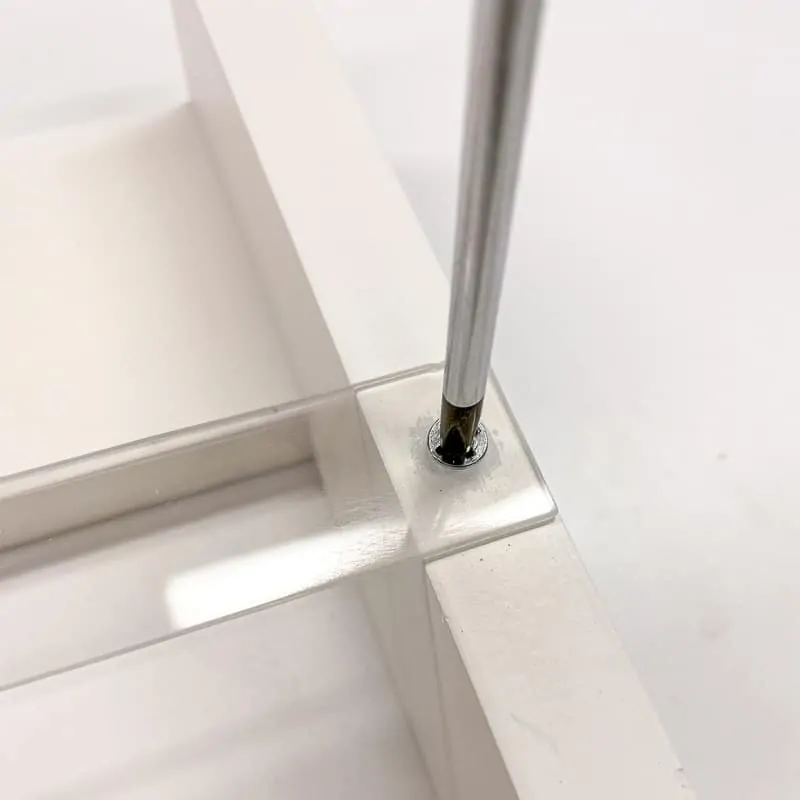
Then I predrilled the holes for the screws. Make sure the holes are slightly larger than the diameter of the screw shaft, and go slow or you'll chip or crack the acrylic. Put a scrap piece of wood underneath to prevent blow out.

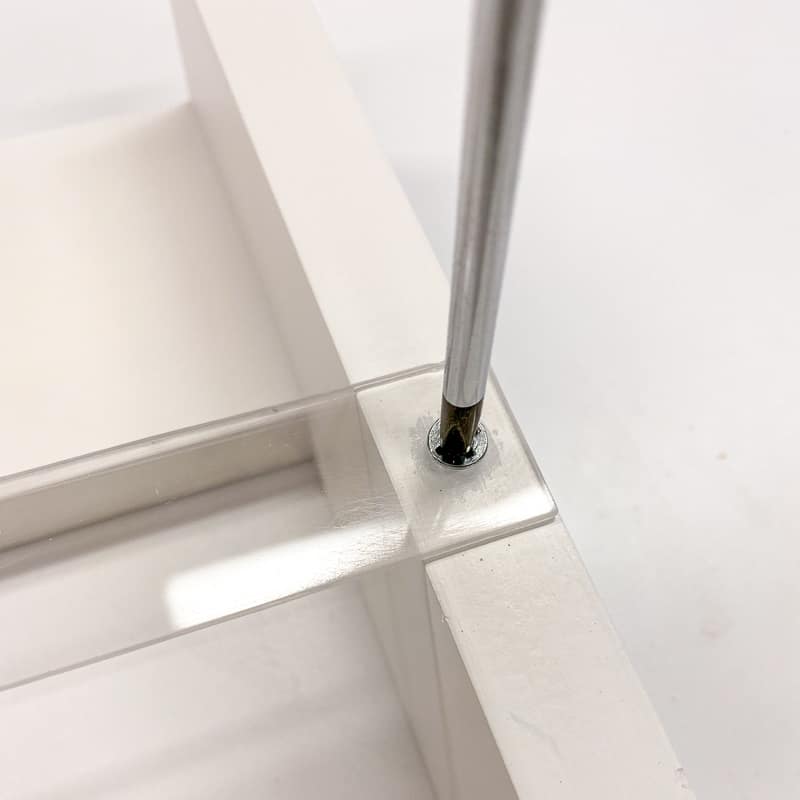
Sand all the cut acrylic edges, then use small wood screws to attach it to the front. Pan head screws would be a better choice here, but I only had these ones on hand. If it makes that blotchy area underneath like you see here, back off the screw slightly and it should clear up. I prefer to tighten these screws by hand so I don't accidentally crack the acrylic.
Mount your new DIY magazine rack to the wall
You can use any kind of mounting hardware to attach your magazine rack to the wall. I love using these Velcro-style Command strips for lightweight items like this. They hold up to 16 pounds, which is more than enough for your favorite magazines!
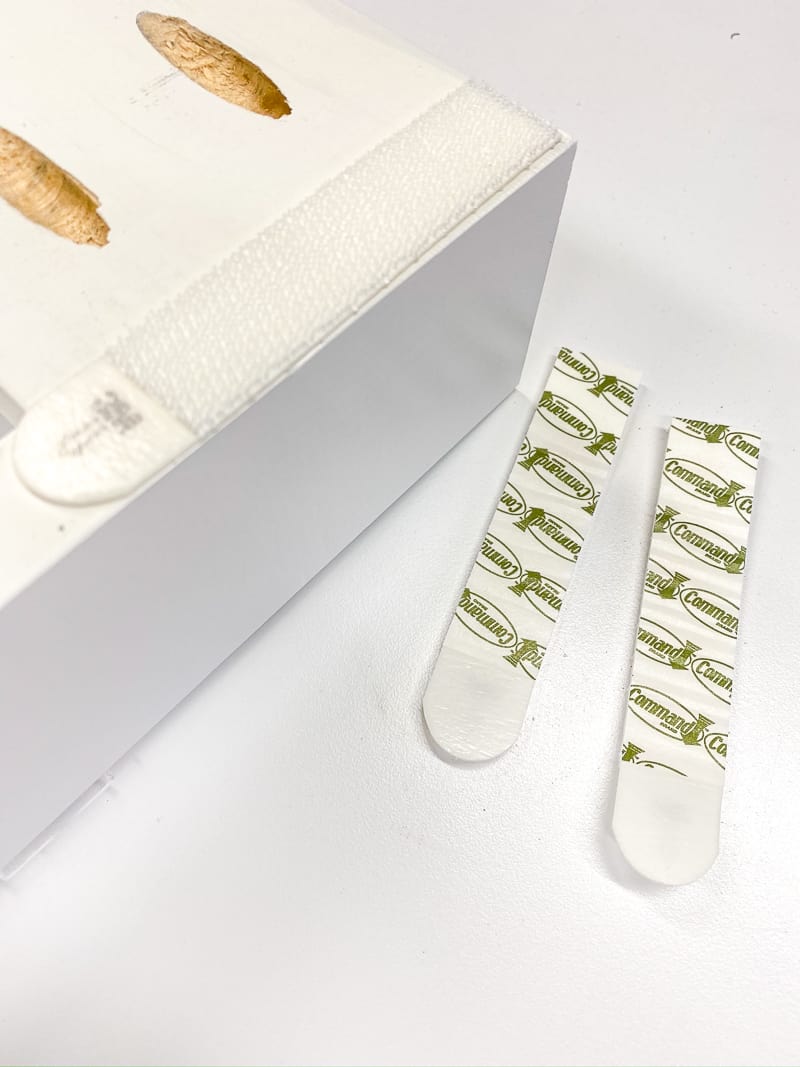
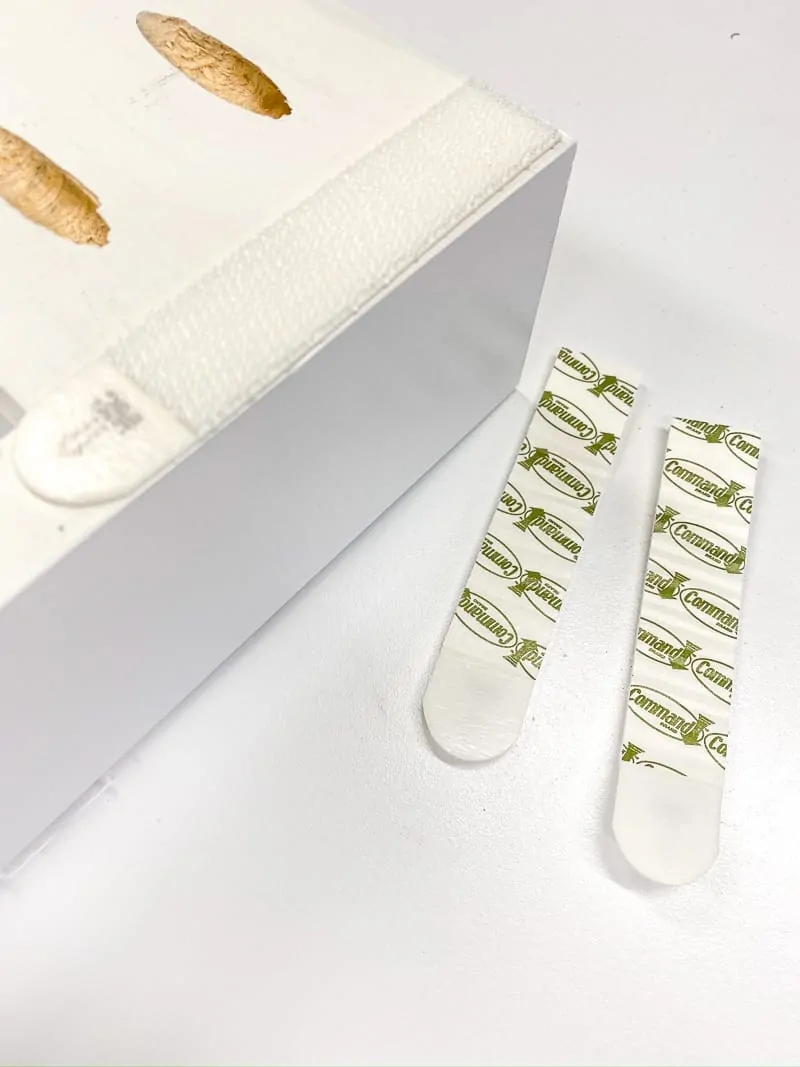
Use a level to get it straight, then just press the whole thing to the wall!
Now load it up with the latest issues of your favorite magazines (or cookbooks)! I love how you can see the entire cover through the clear acrylic strip (so I can be reminded that I have yet to read the fall issue of HGTV Magazine...)

Random side note: One of my projects will be featured in Better Homes & Gardens magazine next month! You can find it in the I did it! section of the June 2020 issue. I'm so excited, and now I'll have a place to display it! 🙂
Are you planning to tackle this project? I'd love to see it! Feel free to send me a photo, or tag me on Instagram to show off your hard work!
Check out these other easy DIY projects!