Learn how to install an outdoor light fixture on vinyl, metal or wood lap siding with a simple mounting block so your light stays straight!

Our backyard gets really dark at night. With winter approaching, I decided to replace the bulb in the shed porch light with a dusk-to-dawn bulb that turns on when the sun sets.
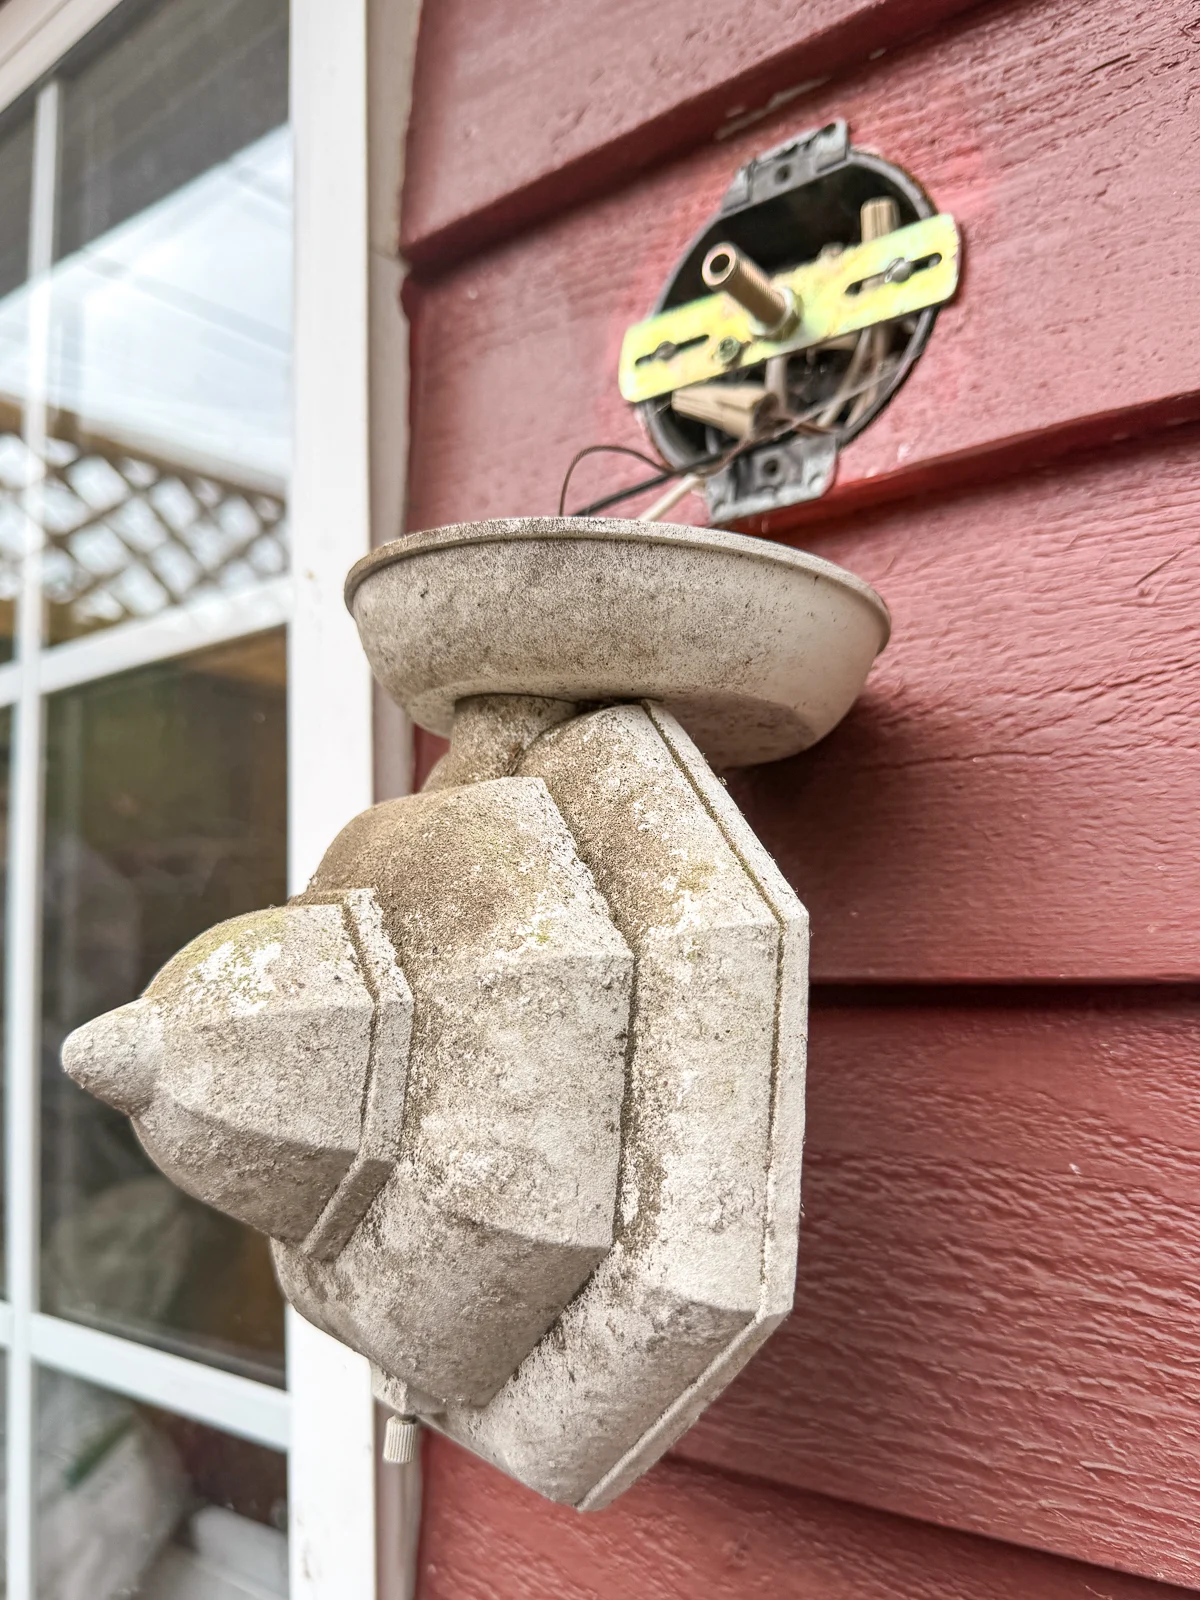
But when I went to unscrew the bracket that holds the glass in place, I dropped the tiny rusted metal piece in the leaves below! I still haven't found it. Sigh.
I didn't want to leave the bulb exposed, and the old fixture was pretty ugly (and really dirty!) So I decided to replace the light fixture instead of cobbling together a new bracket.
Here's how I installed it!
This post contains affiliate links for your convenience. Purchases made through these links may earn me a small commission at no additional cost to you. Please visit my disclosures page for more information.
Tools and Materials Required
Gather up everything you need before you start, so you're not running to the store halfway through the installation (like I did!)
Tools You'll Need:
- Screwdrivers: Both flathead and Phillips, because you never know what kind of screws the old fixture used. Magnetic tips help prevent lost pieces!
- Ladder: Depending on how high the light is and how tall you are, you'll likely need a ladder to reach the fixture. The top step is also handy for storing all your supplies within arm's reach!
- Wire strippers: You may need these to prepare your electrical wires for the new fixture.
- Voltage tester: Always check that the power is completely off before starting an electrical project!
Materials You'll Need:
- New light fixture: Seems obvious, but make sure you've got the new unit and it's the right fit for your outdoor space. This is the one I got.
- Lever nut wire connectors: You can use those plastic wire nut twist things, but these lever nuts are sooooo much better!
- Mounting bracket: Some new fixtures come with this, but double-check just to be sure.
- Mounting block (optional): If you have lap siding, this mounting block will help you install your light fixture straight on the wall.
- Exterior caulk: You'll want to seal up any gaps so moisture or insects don't get inside.
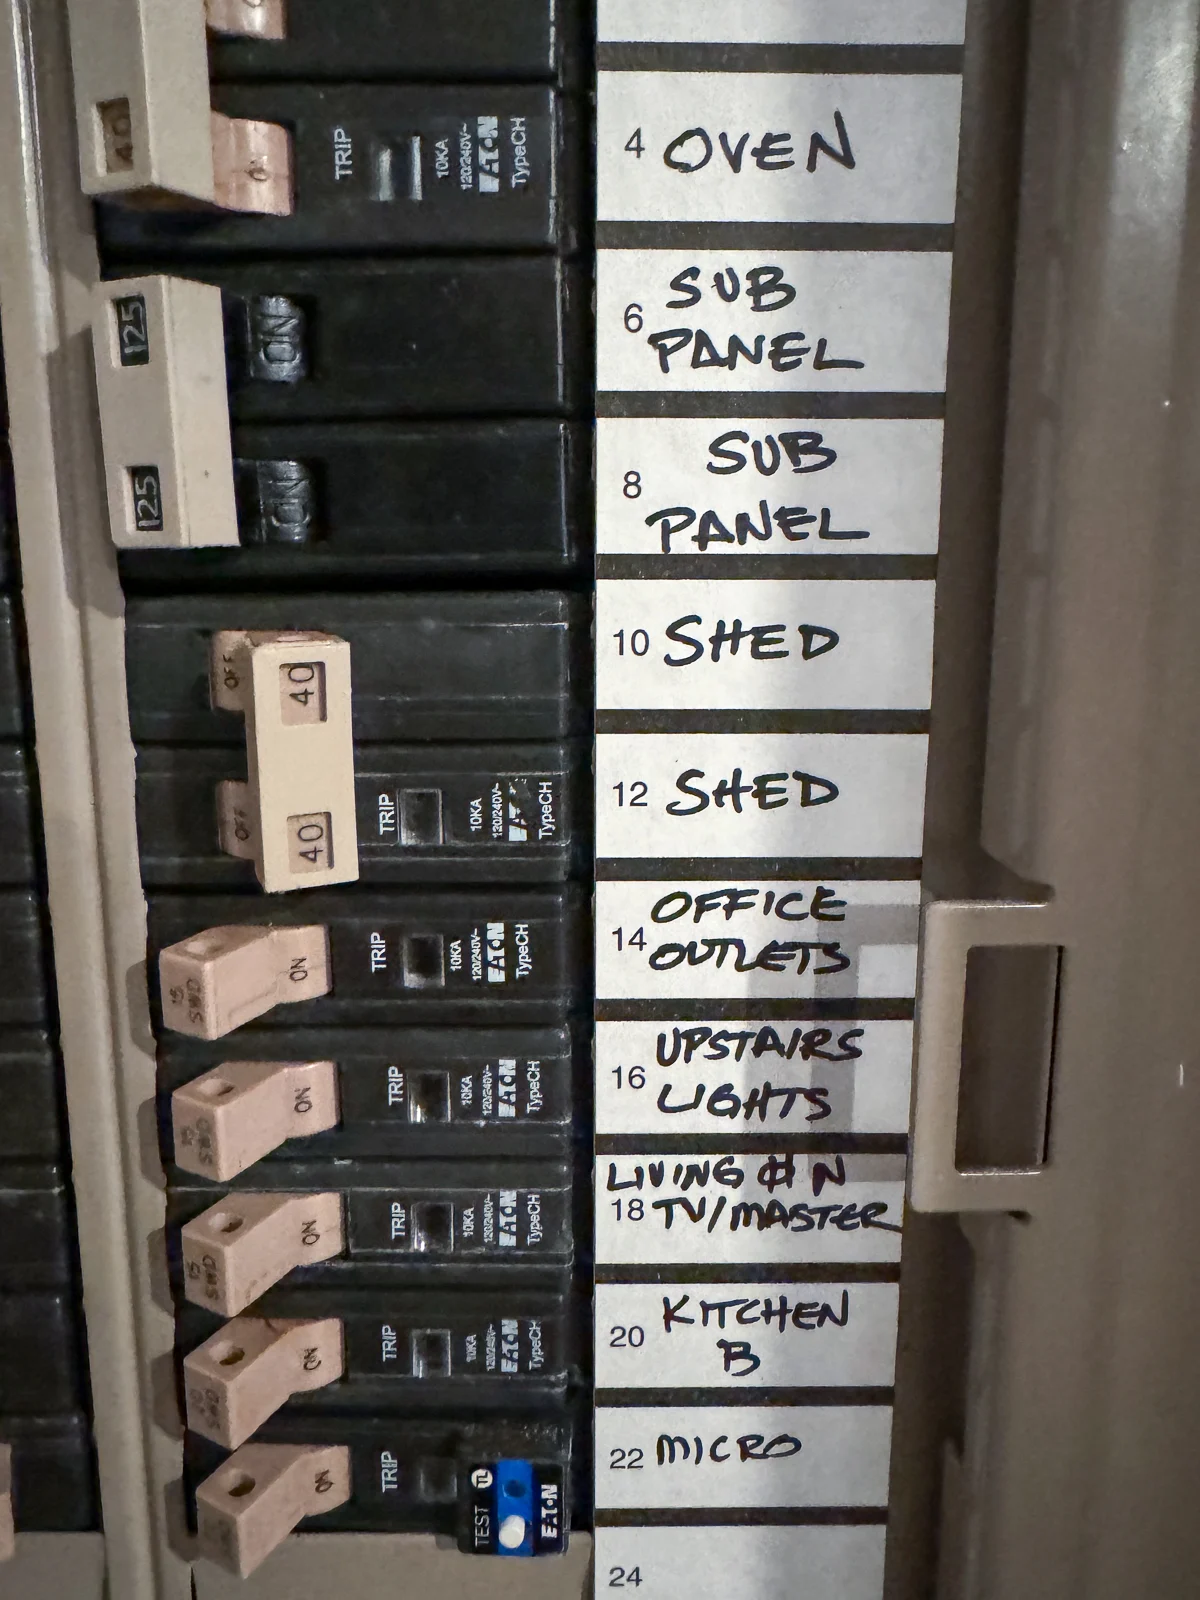
Turn off the power at the breaker box
Before starting any electrical project, it's super important to turn off the power to the circuit you're working on. We just had our panel replaced recently, and everything was clearly labeled. It used to be a guessing game to figure out which breaker turned off what!

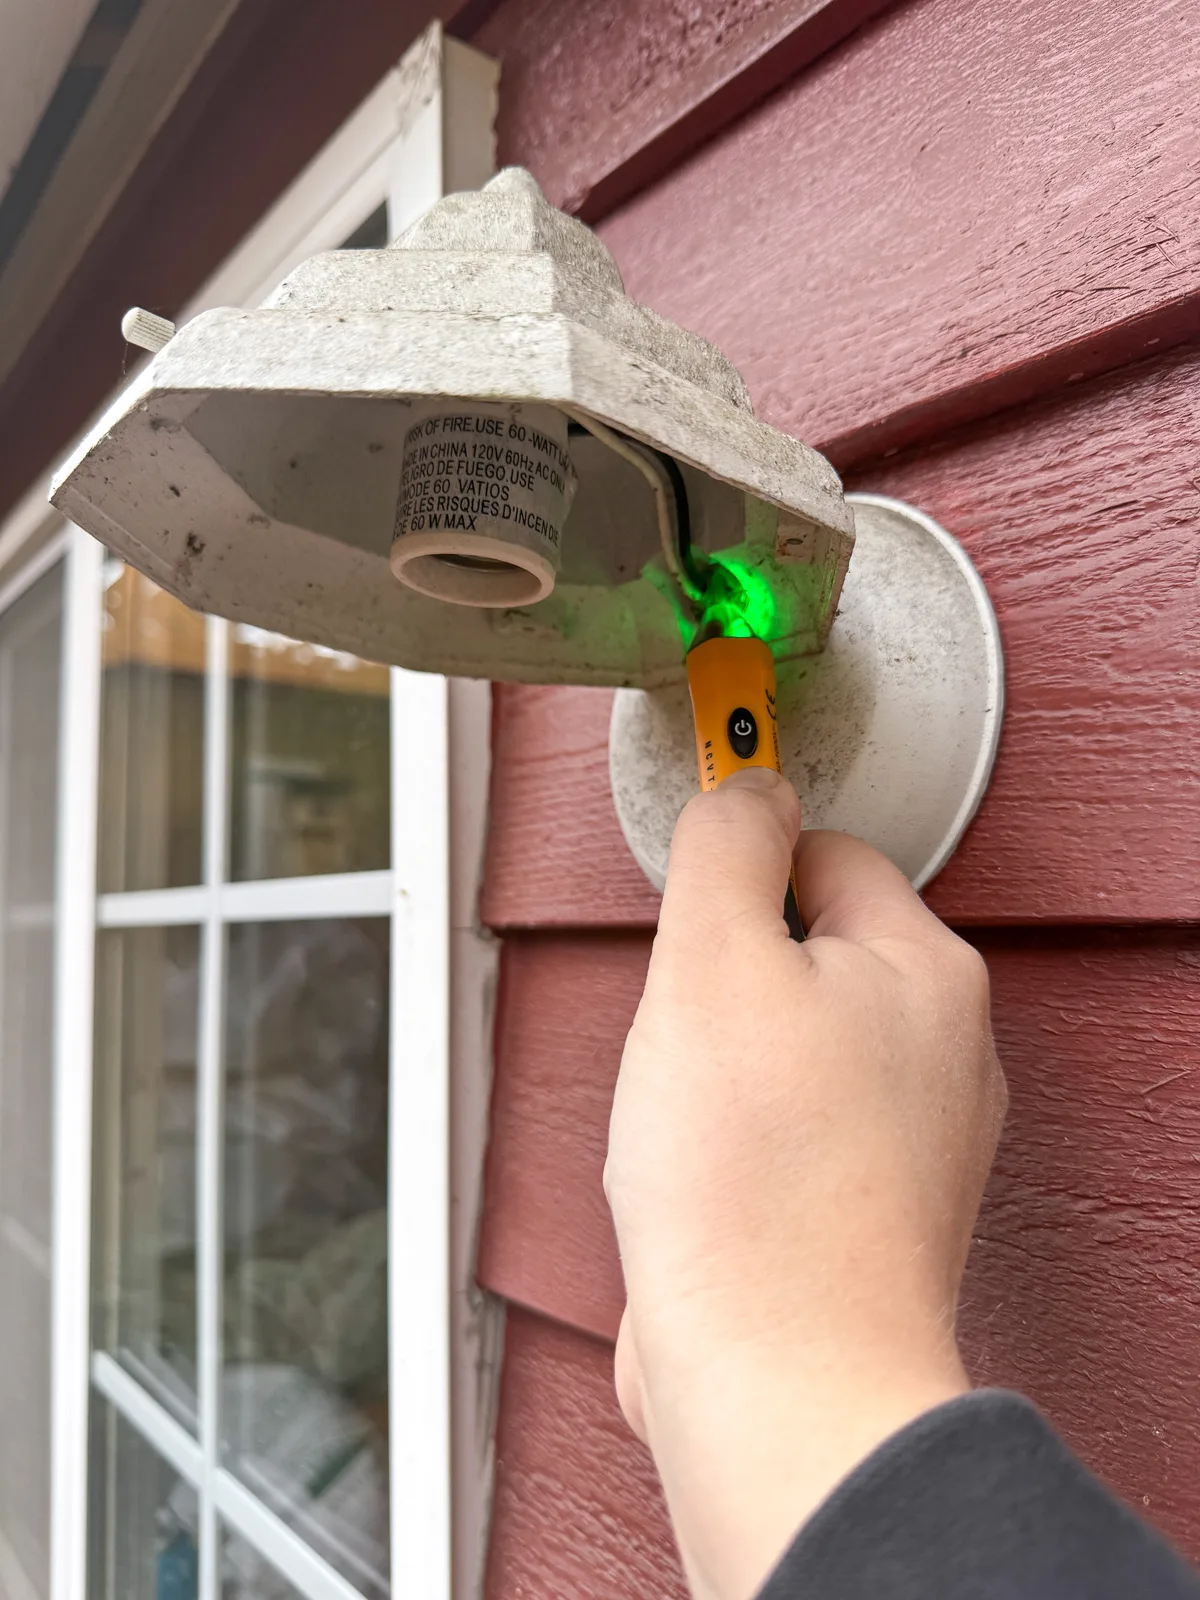
Always double check that the power is completely off to your light fixture with a voltage tester. Green means you're good to go!

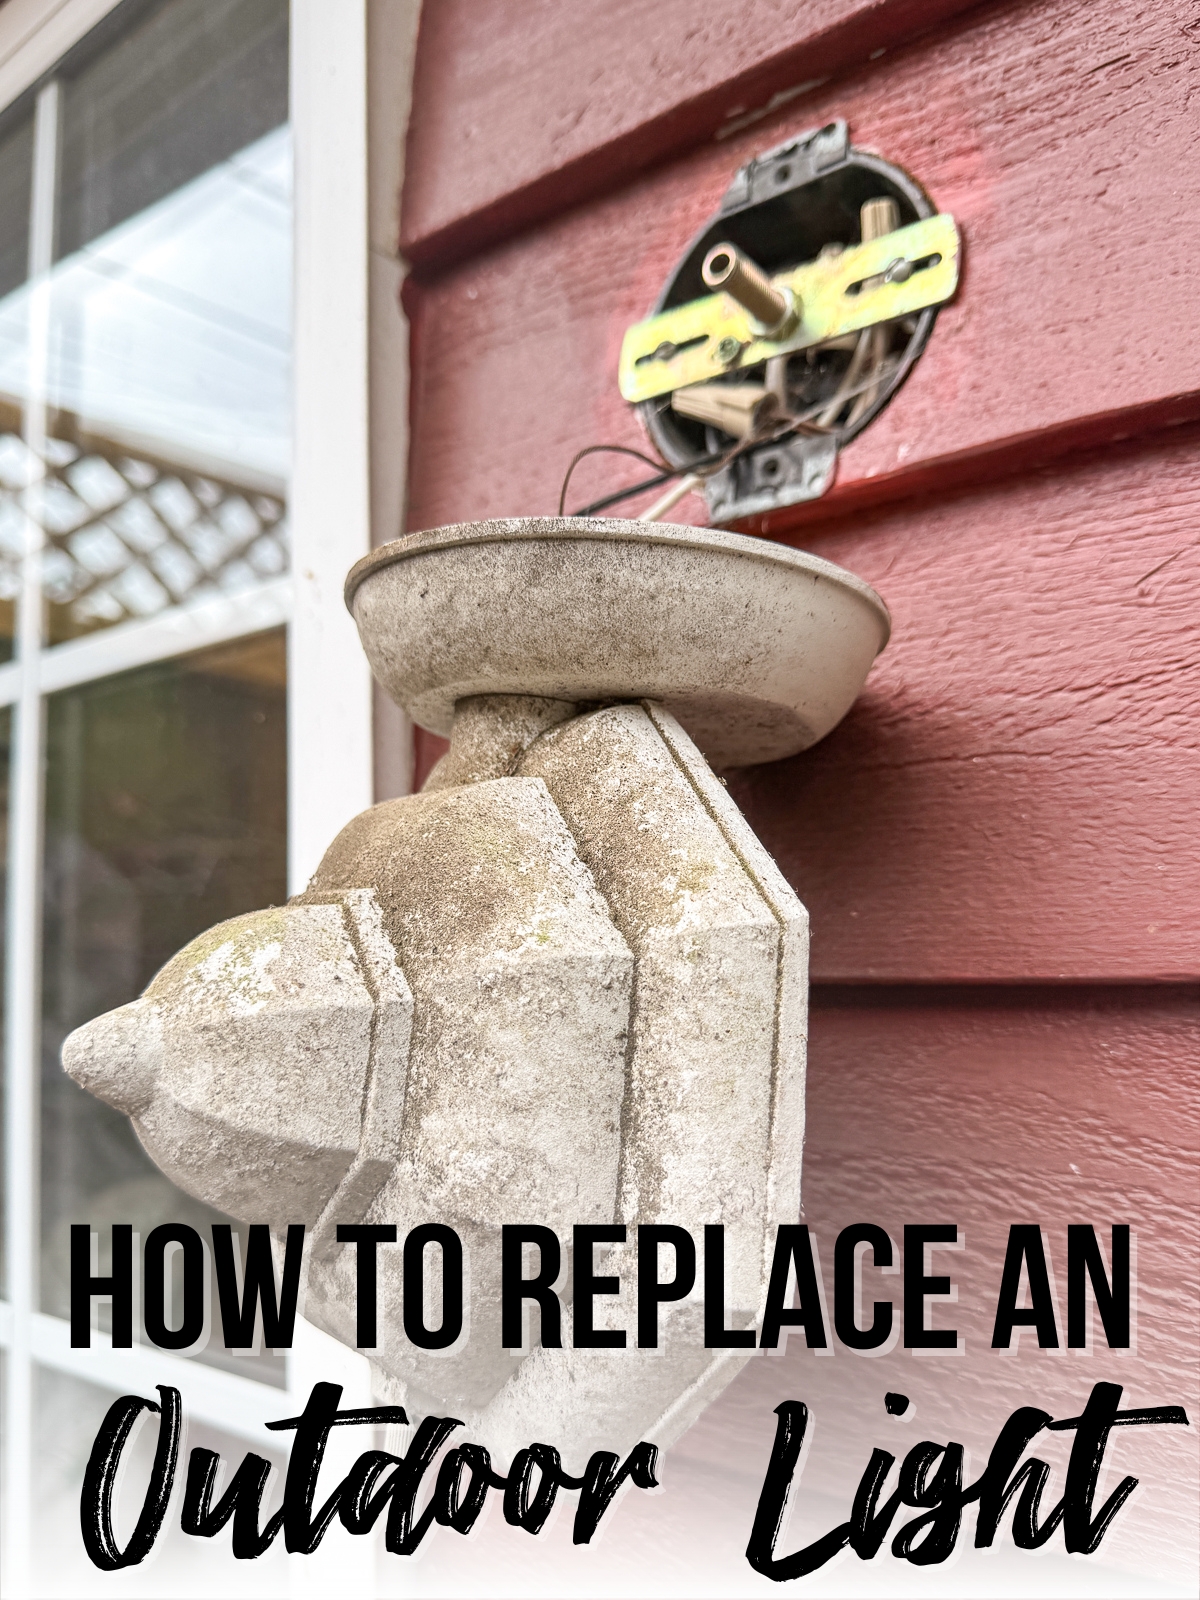
Remove the old light fixture
There should be one or two small knobs on the front of the light fixture that hold it on the mounting plate. Unscrew the knobs and pull the light off the mounting plate to expose the electrical box behind it.

Unscrew the mounting plate from the electrical box to make it easier to pull out the wires. You'll probably need a different one for your new light fixture anyway.

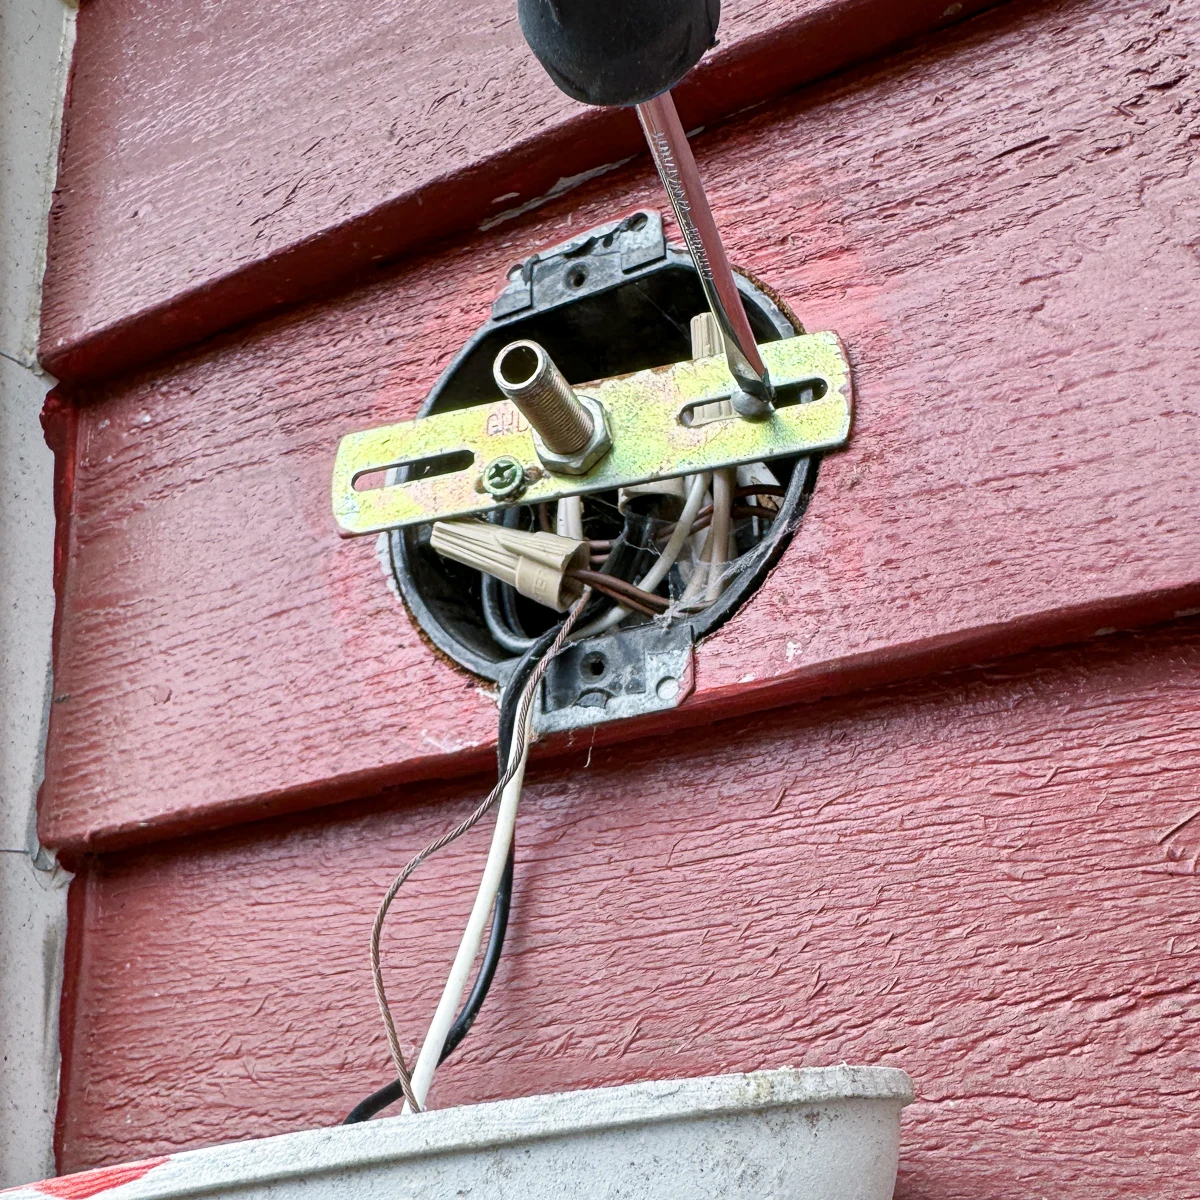
Turn the wire nuts counterclockwise to separate the light fixture from the wall. This light is connected to a second one on the other side of the shed, which is why there's two sets of black, white and copper wires. Yours will probably only have one of each.

Install a mounting block on the siding (optional)
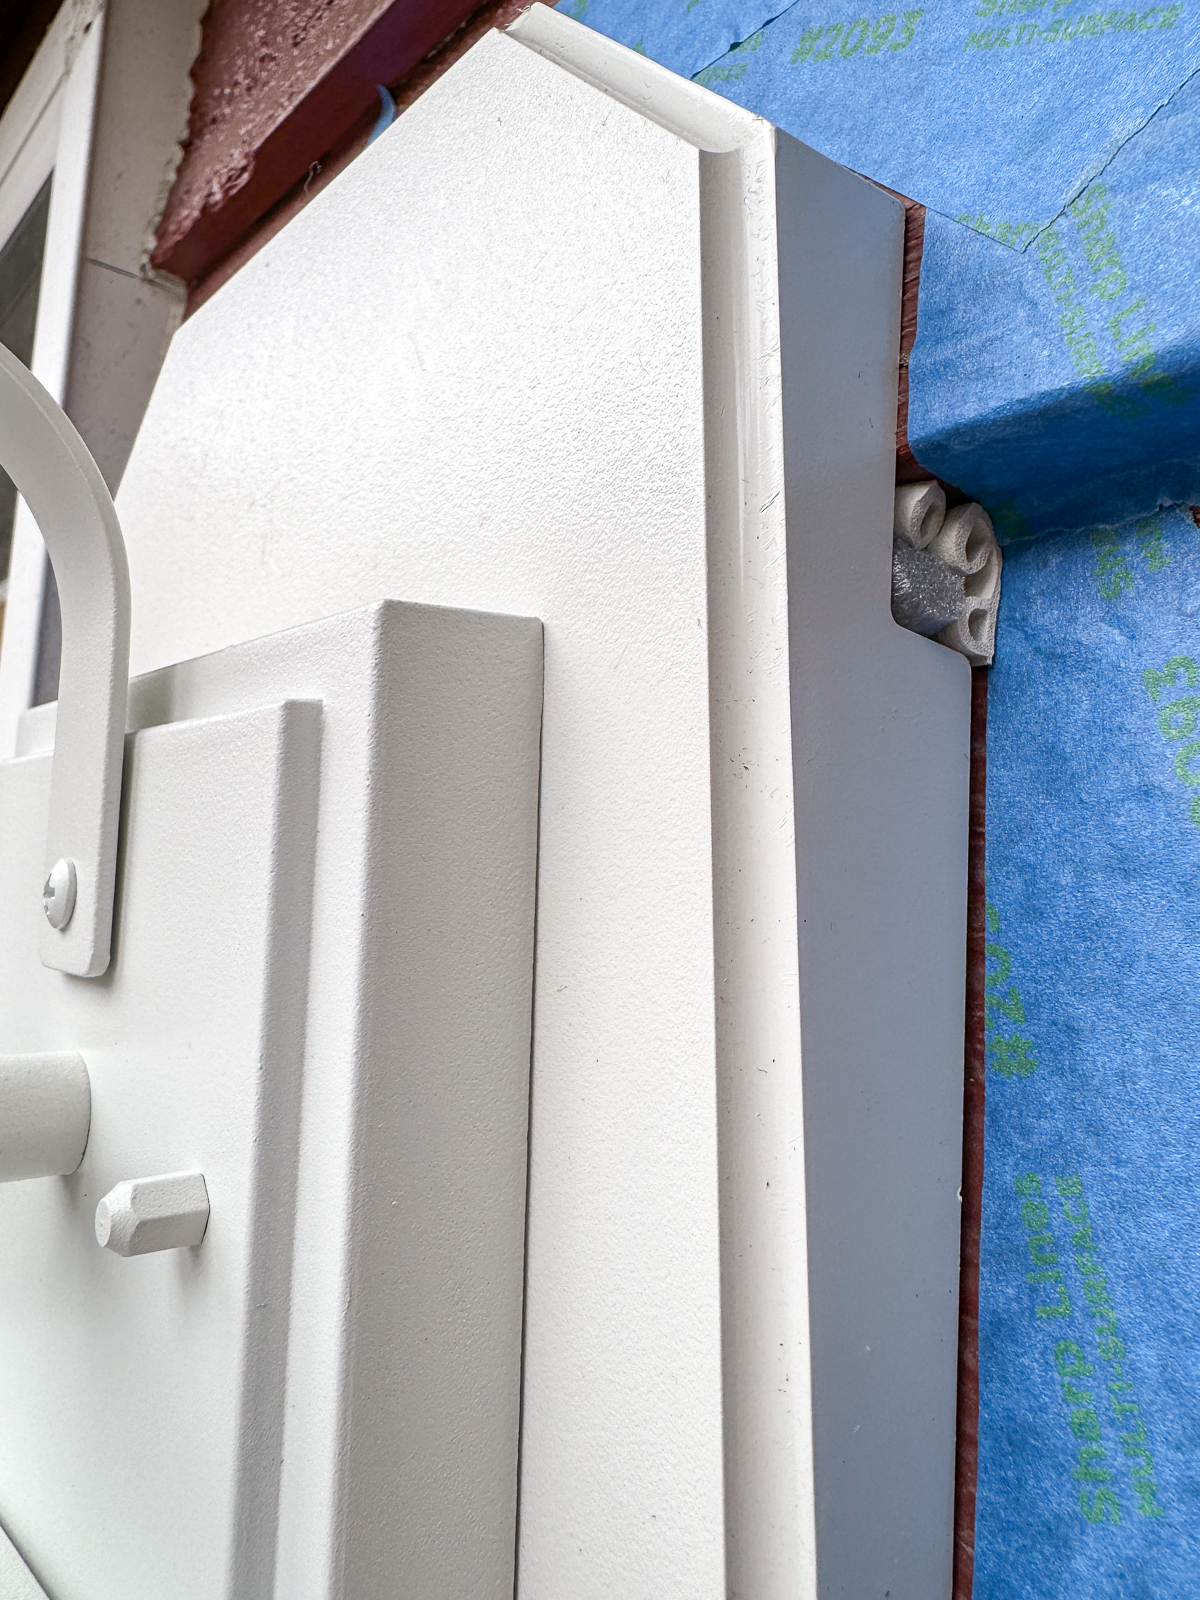
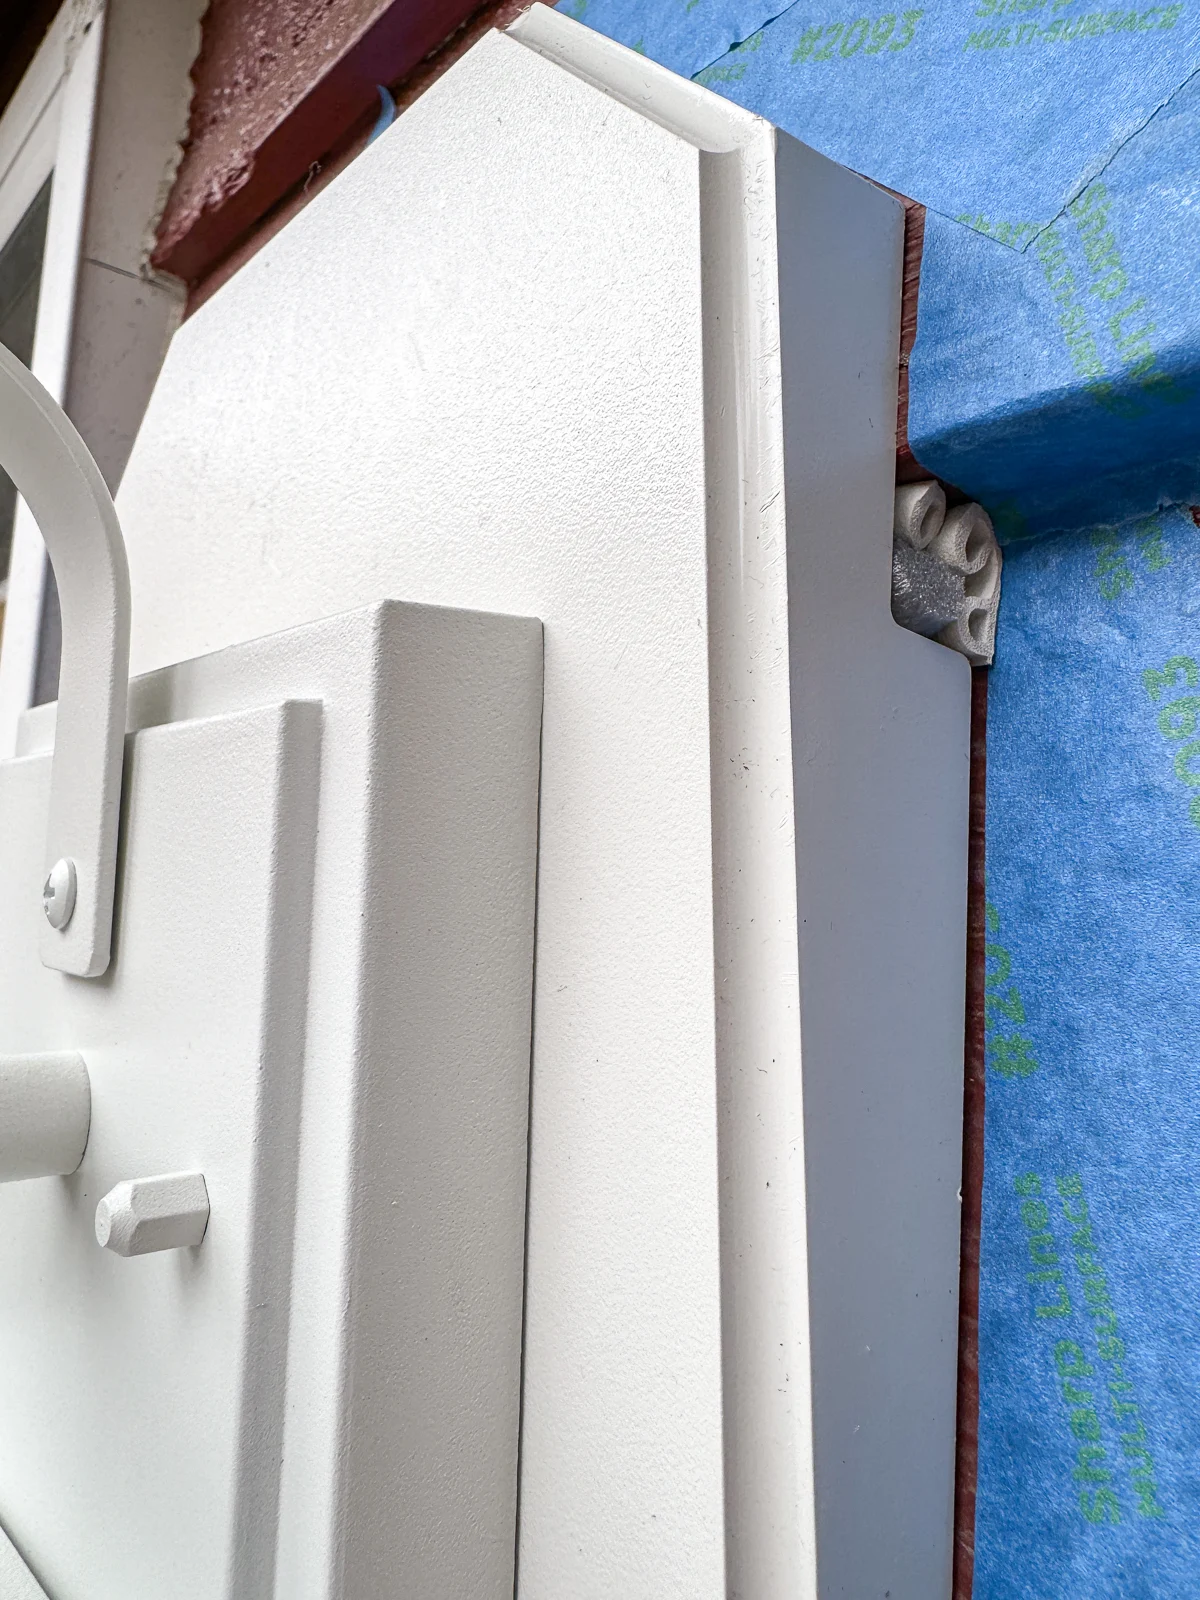
The old light fixture sat flush on the siding, but the new one is a little bigger and would have a huge gap at the bottom. The slant of the siding also makes the light tilt back, which looks weird.

These mounting blocks are the perfect solution! They have little notches on the back that match the profile of 4" siding, so the light fixture can be mounted straight without any gaps. Except our siding is 5", not 4"...sigh.

We were supposed to get a big rainstorm in just a few hours, so time was of the essence. I decided to leave the mounting block as is and caulk the gap instead. I may go back and cut the notches on the back deeper to fit the profile better.
You're supposed to screw the mounting block into the studs. This is wooden siding, so I could screw it in anywhere! The pre-drilled holes didn't line up with the siding, so I drilled my own.

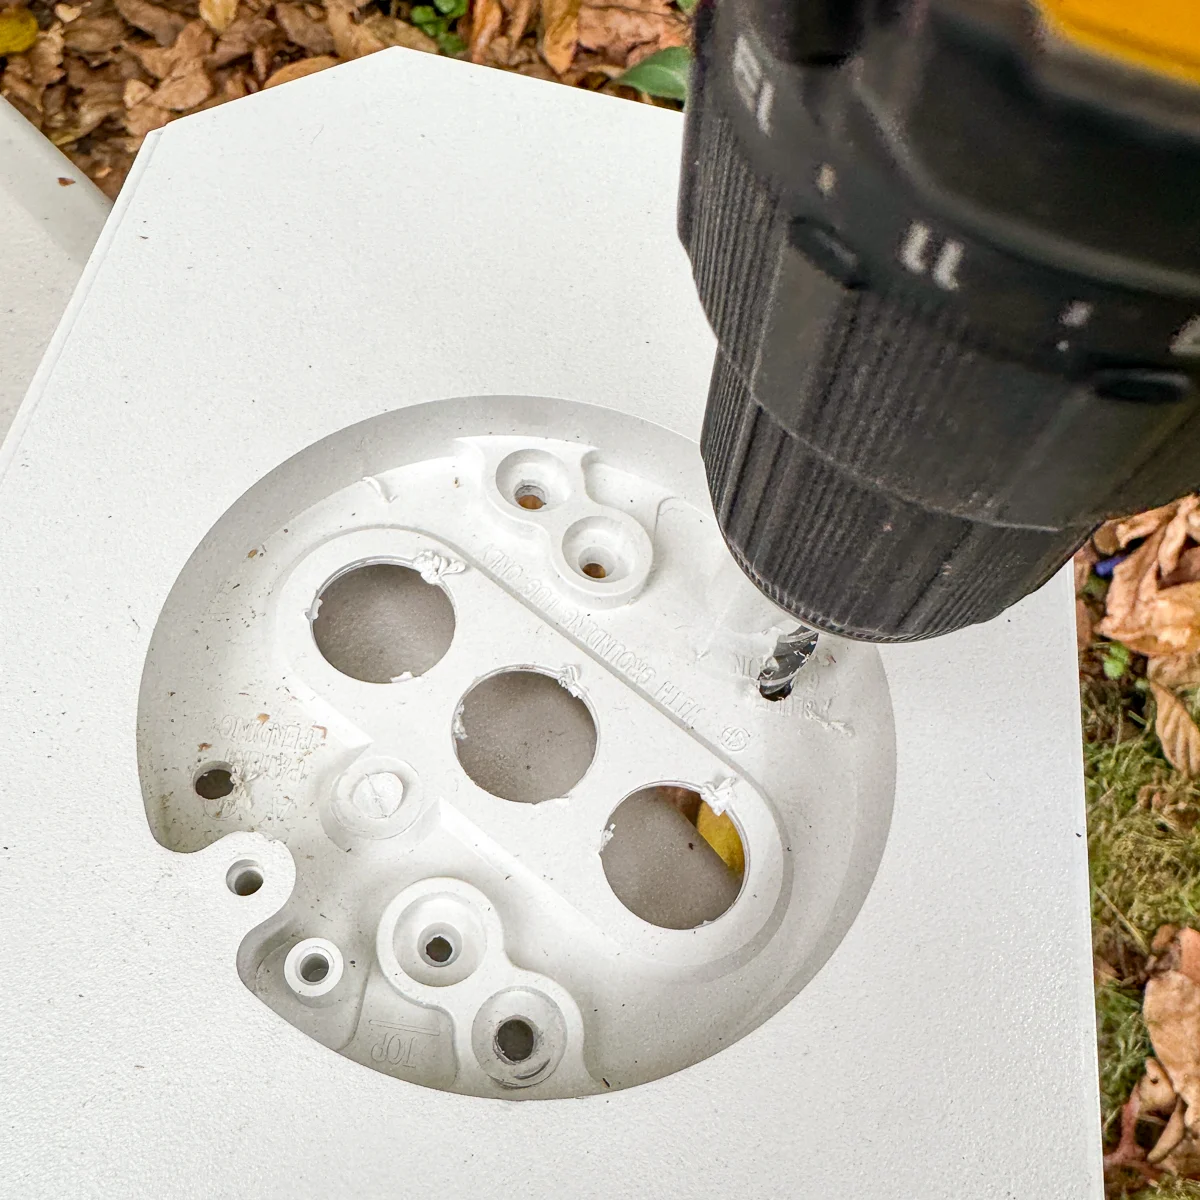
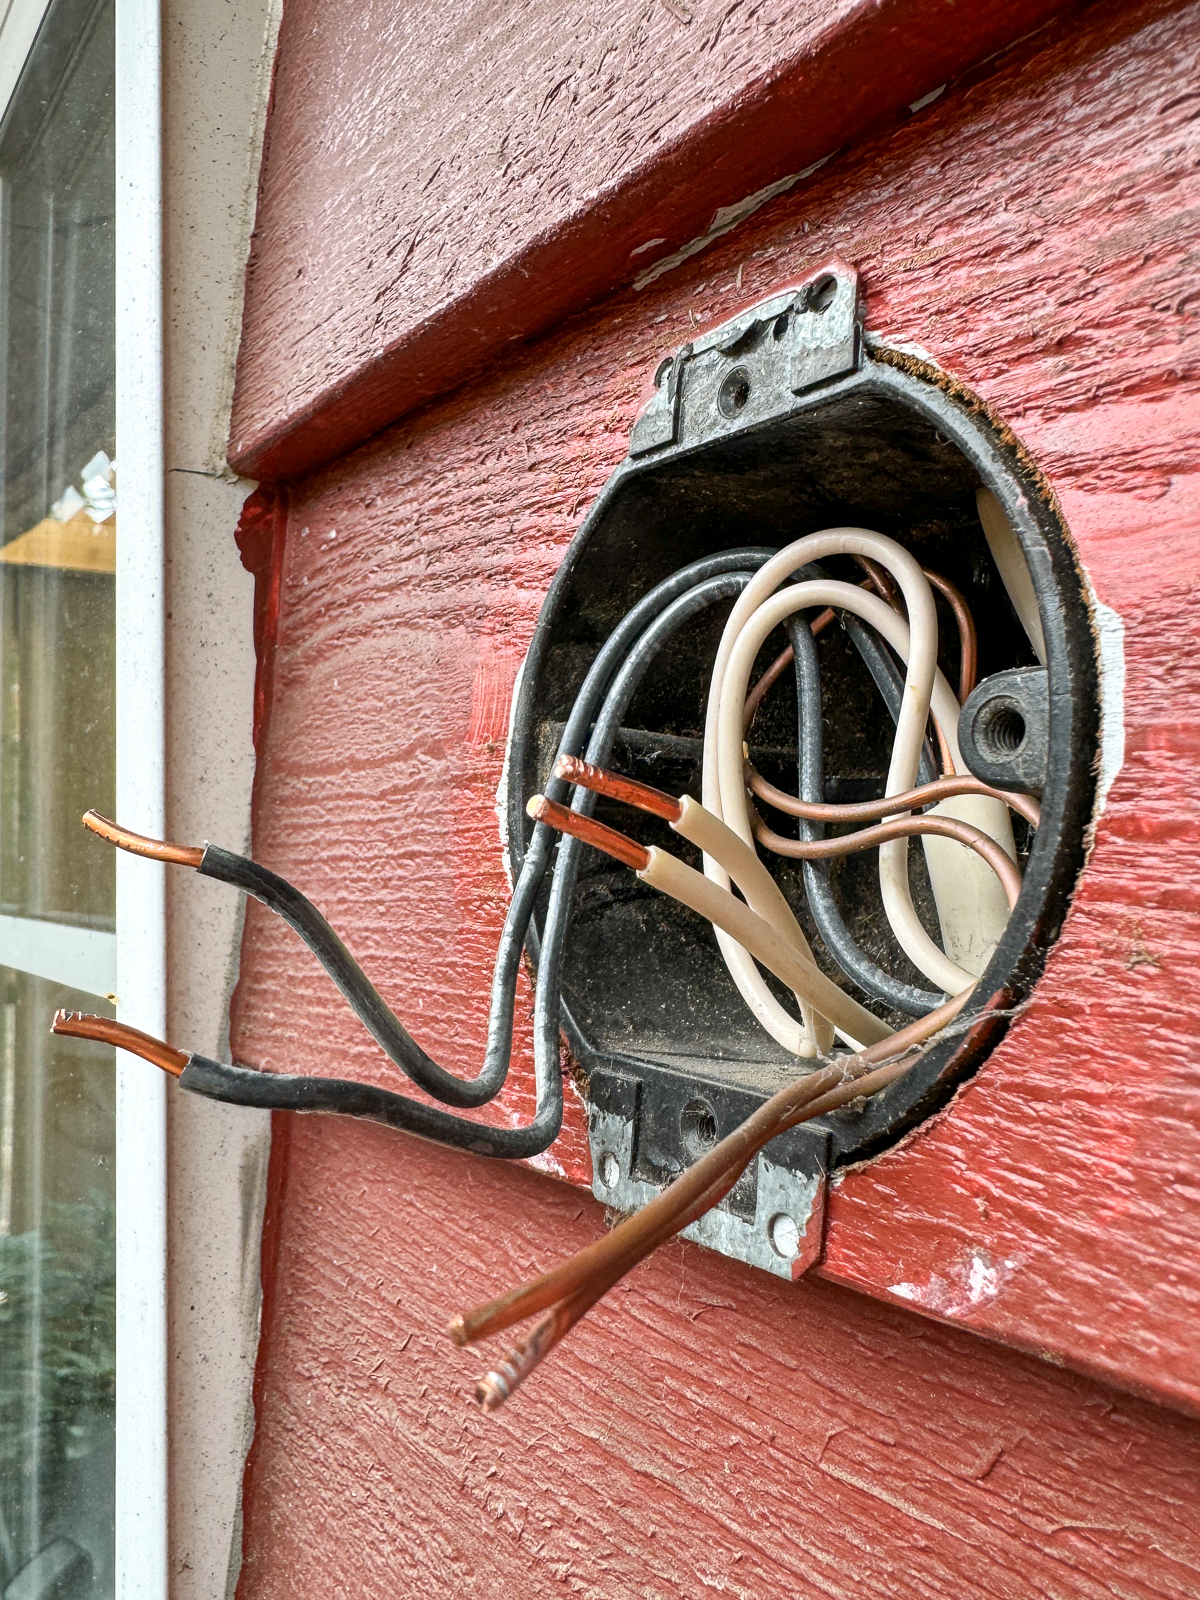
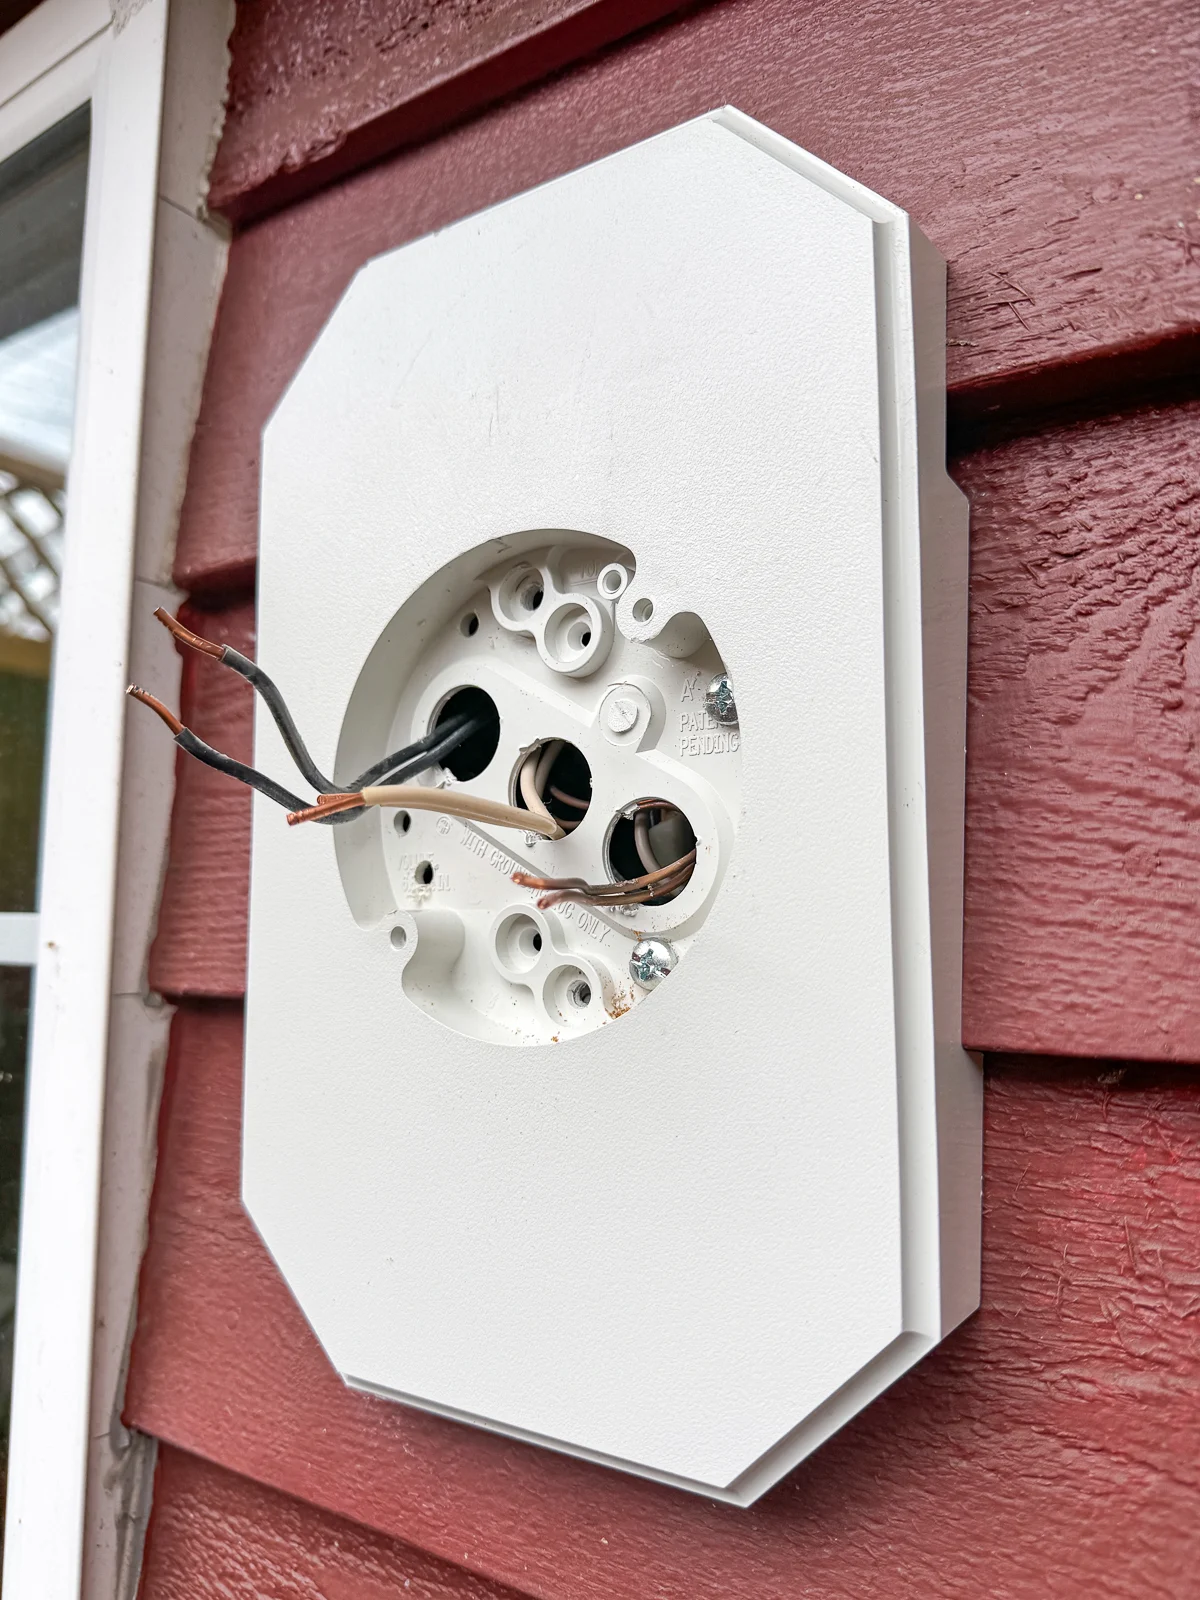
It took a few more holes before I finally hit the siding and got the mounting block secured with screws. Each set of wires is pulled through their own knock-out hole in the middle of the box.

Attach the mounting plate
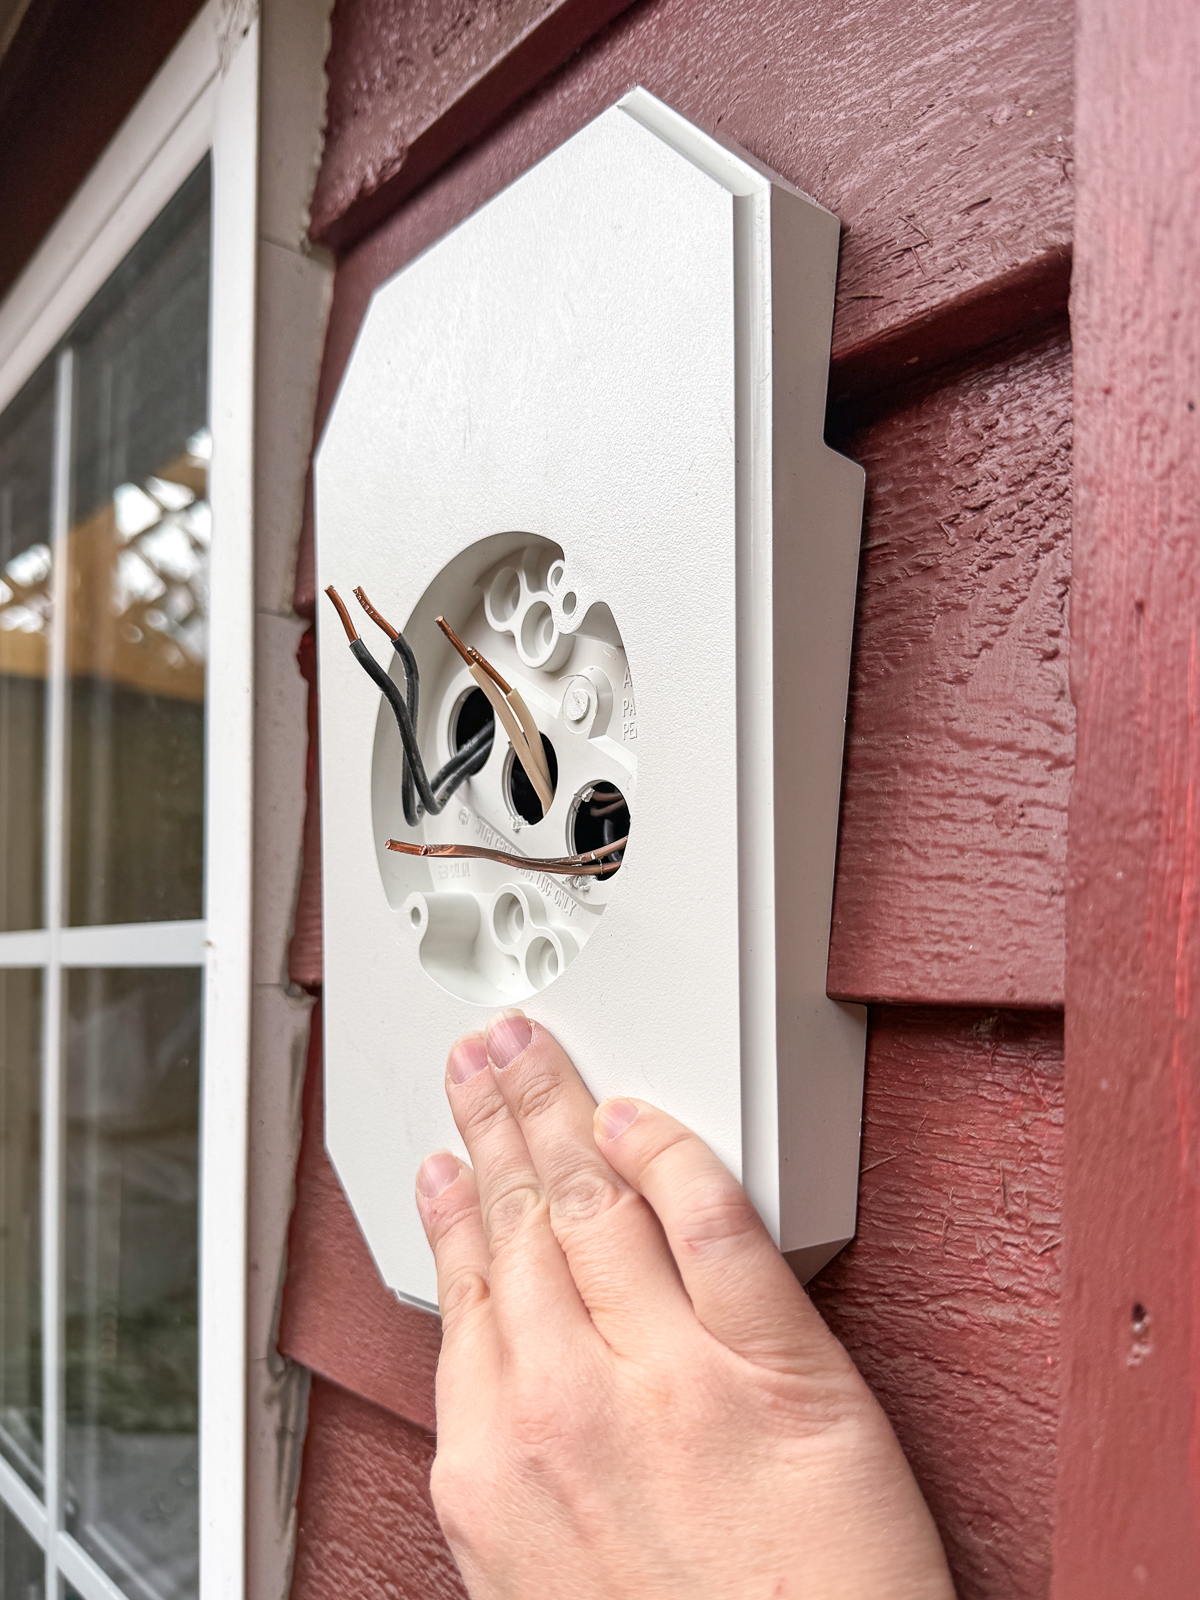
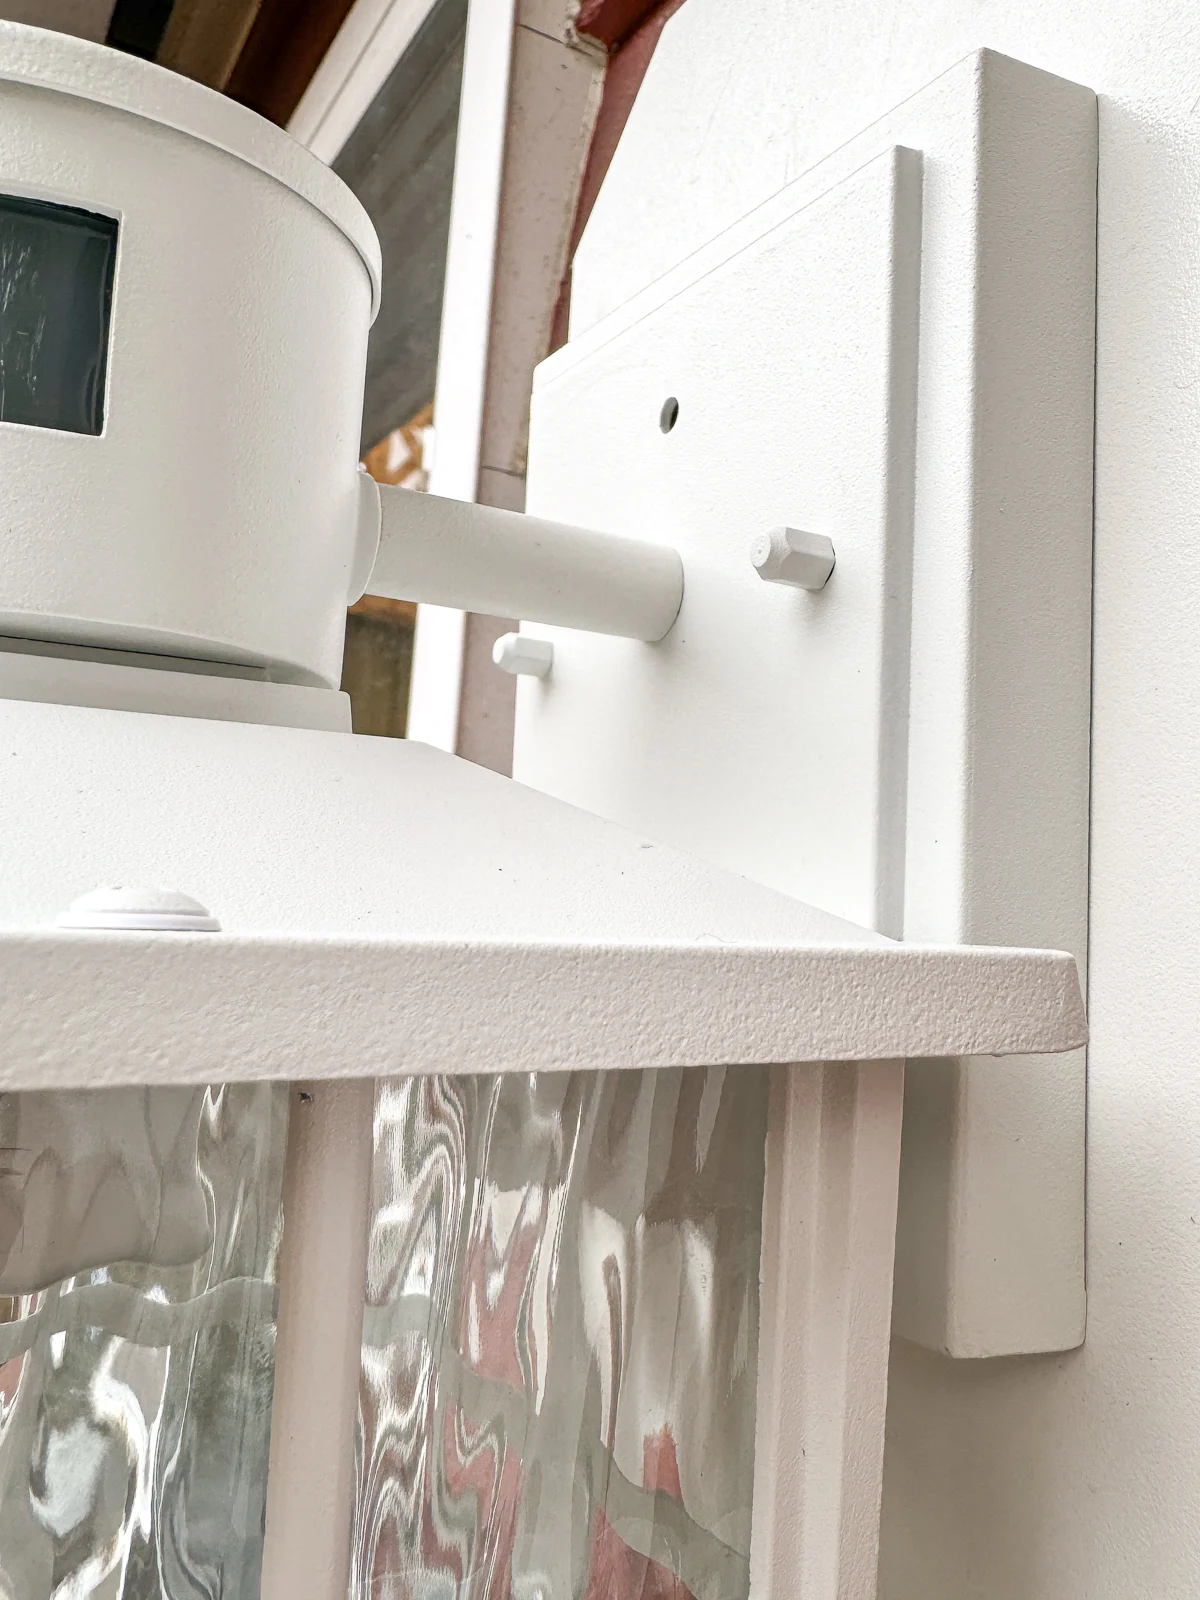
The mounting block has two screw locations for the mounting bracket. If you're not using a block, attach the mounting plate across the electrical box.
This mounting plate has two pieces that pivot on a screw in the middle so you can adjust the position. The two long screws on the sides should face out towards you.
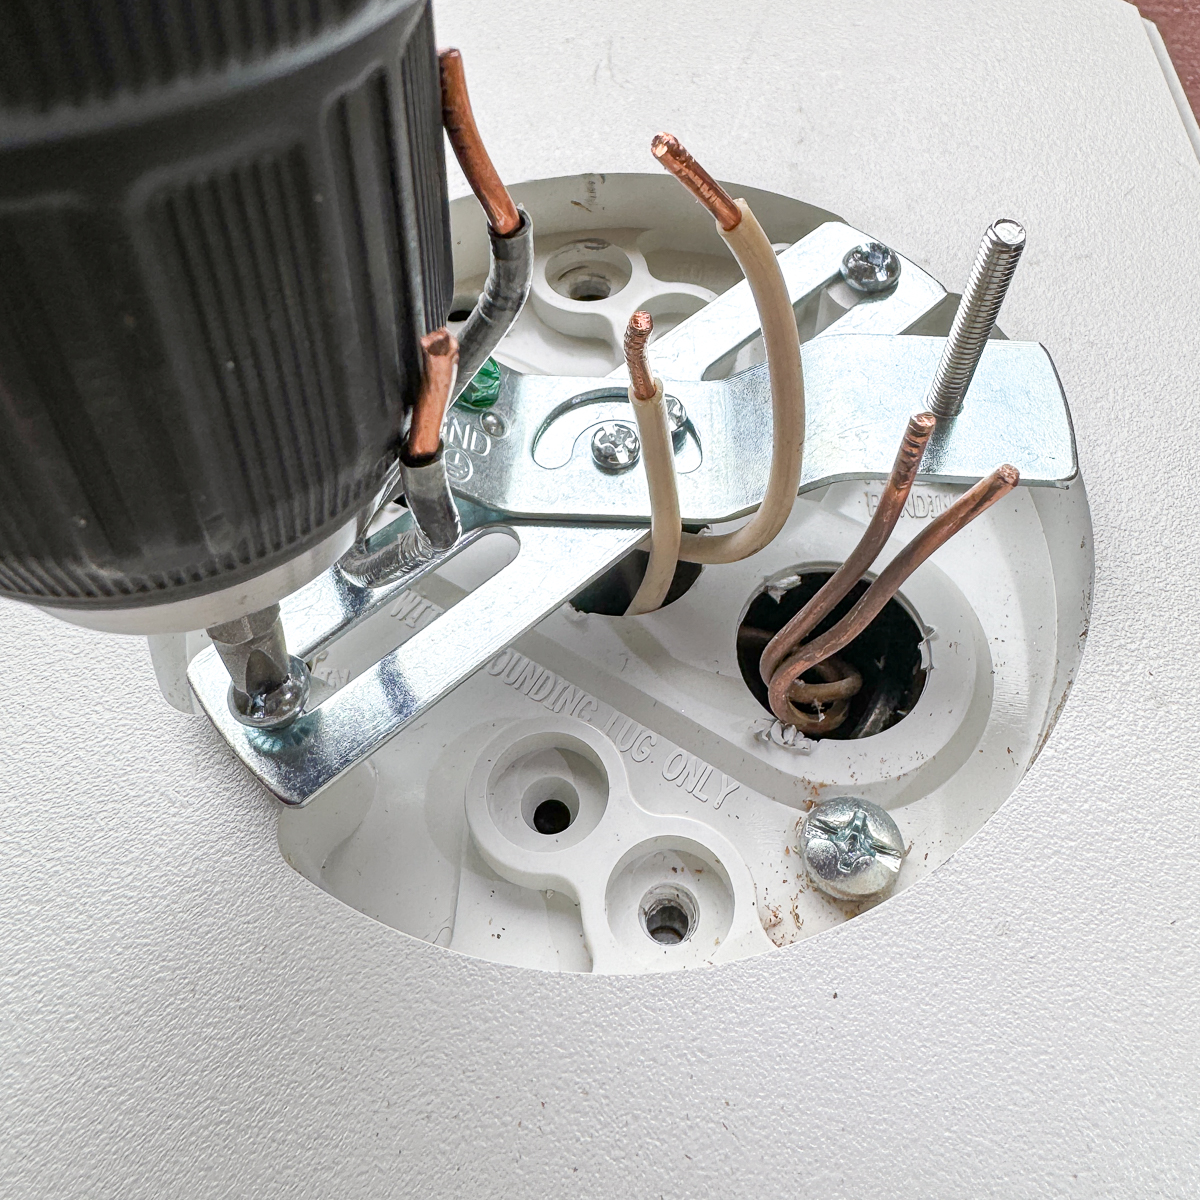
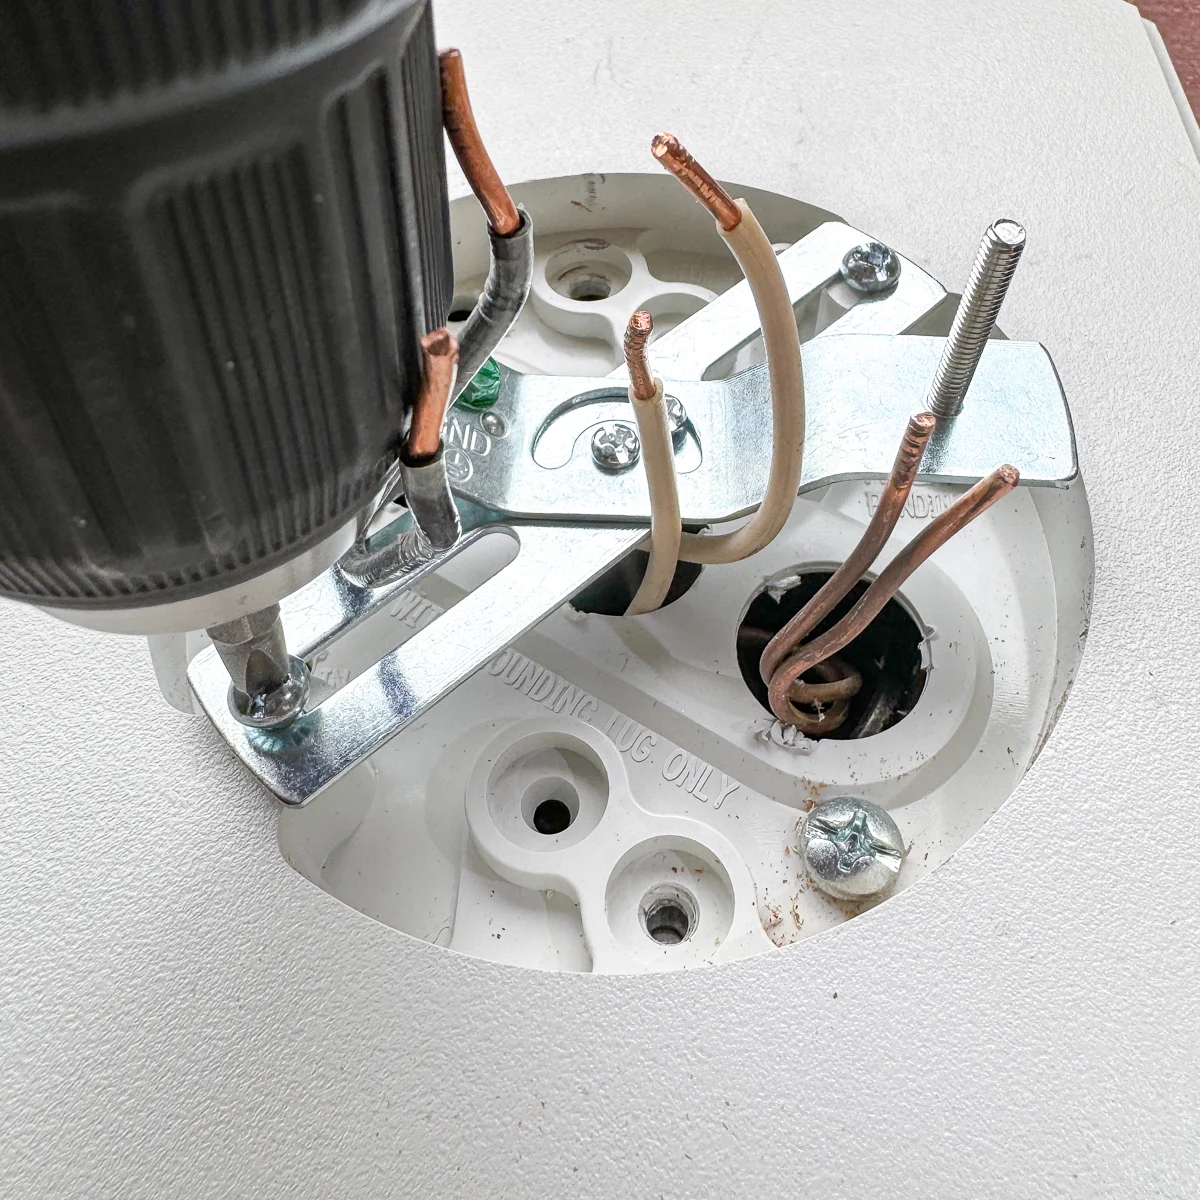
Once you have the bottom plate secured to the electrical box, adjust the top one with the long screws so they're level, then tighten the middle screw. This will hold the light fixture straight and securely.
Connect the light wires to the wall wires
Electrical work like replacing light fixtures used to make me nervous, but two things really helped me get over my fears.
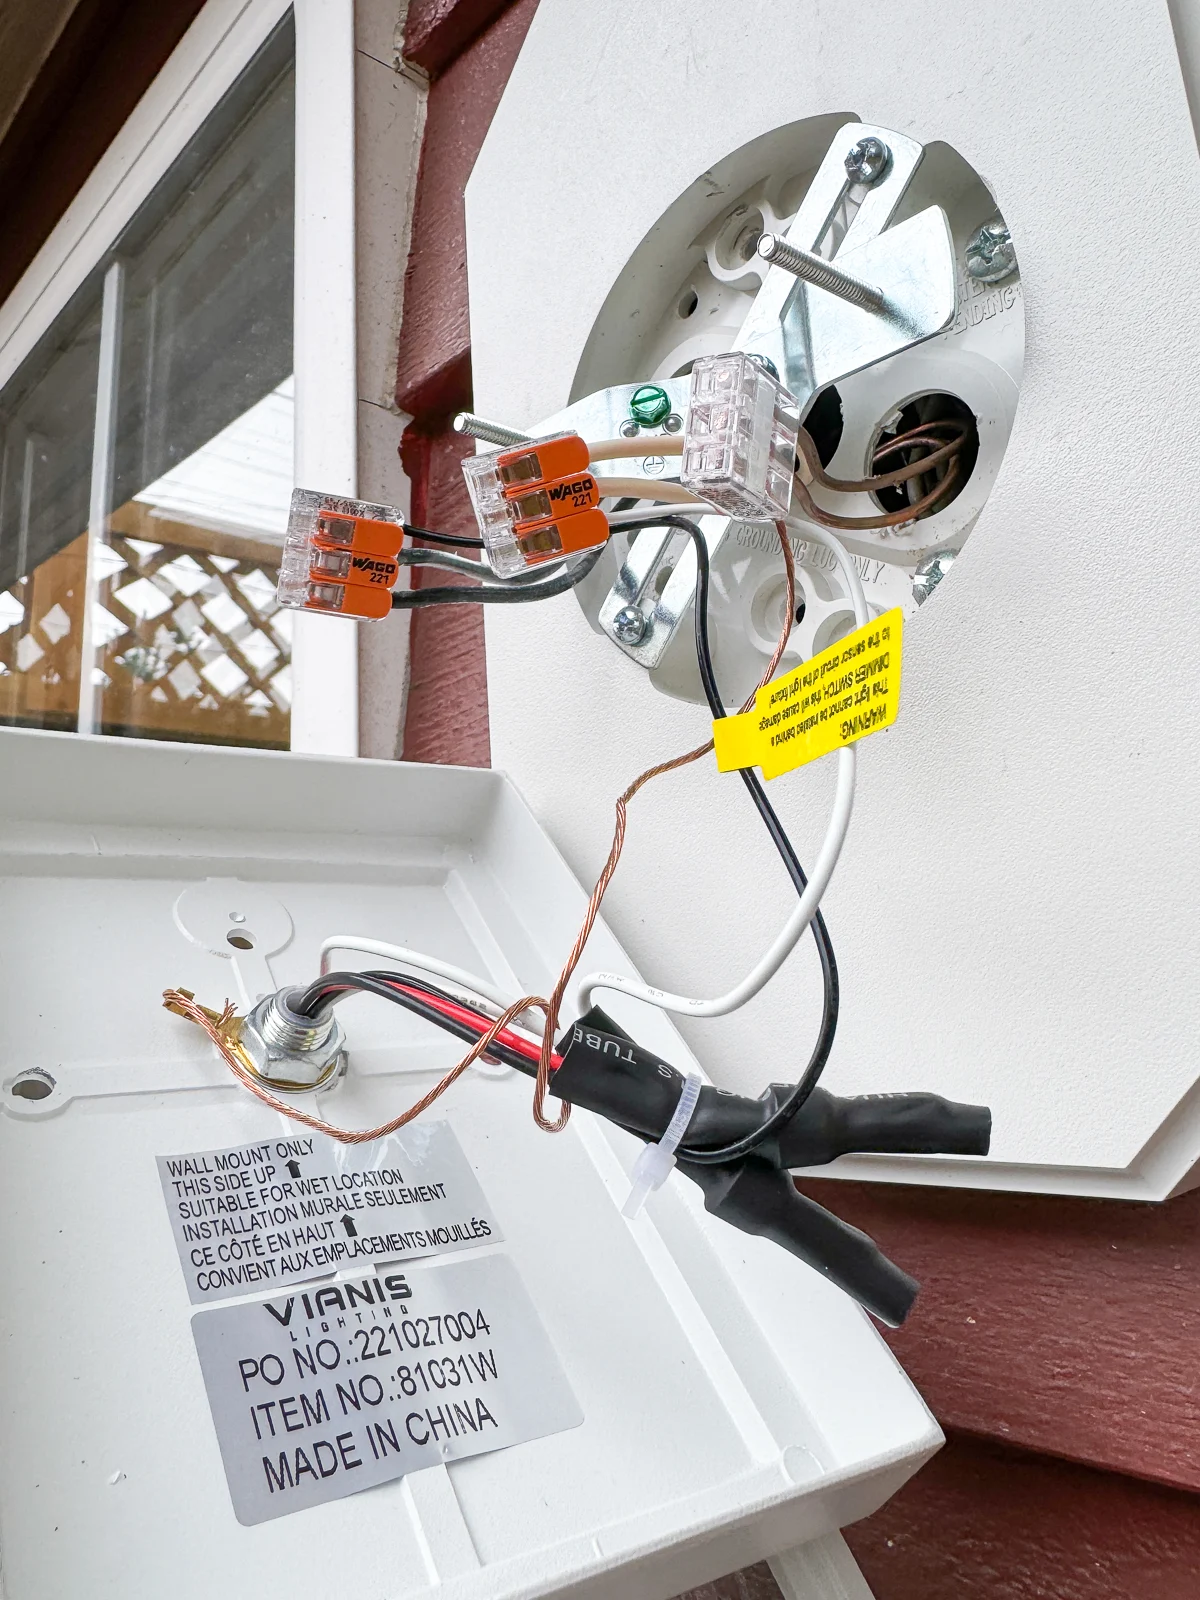
First was just seeing how simple it is to connect everything together with color coded wires. Black goes with black, white goes with white, and the bare copper ones go together or to the ground screw.
The second thing that eased my mind was these little lever nut wire connectors. I always had a hard time getting a secure connection with those cheap plastic wire nuts. These things make it almost fool-proof!

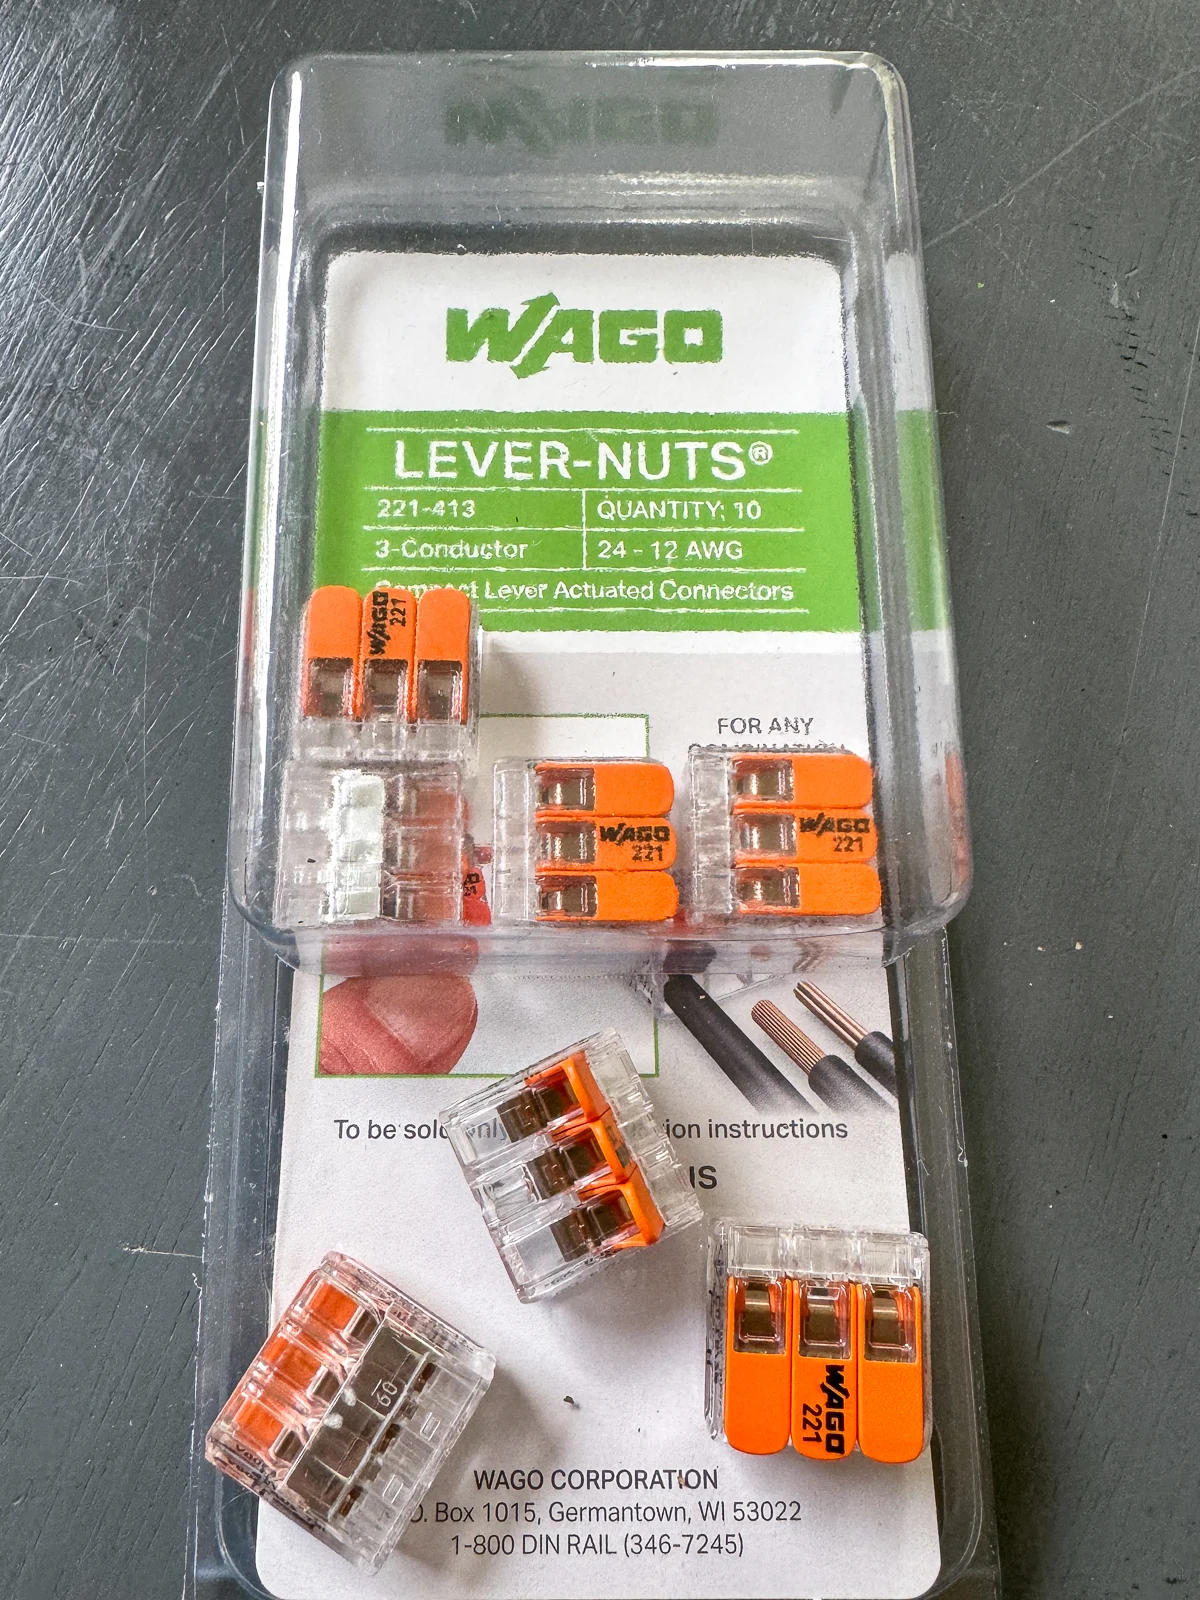
No more struggling to get all those wires twisted together in one hand while holding the light fixture with the other! You just stick the wall wires into each slot and lock it down with the lever. If the exposed wire is too short, you can use wire strippers to cut off more of the plastic coating. Leave one lever open for the light fixture wires.
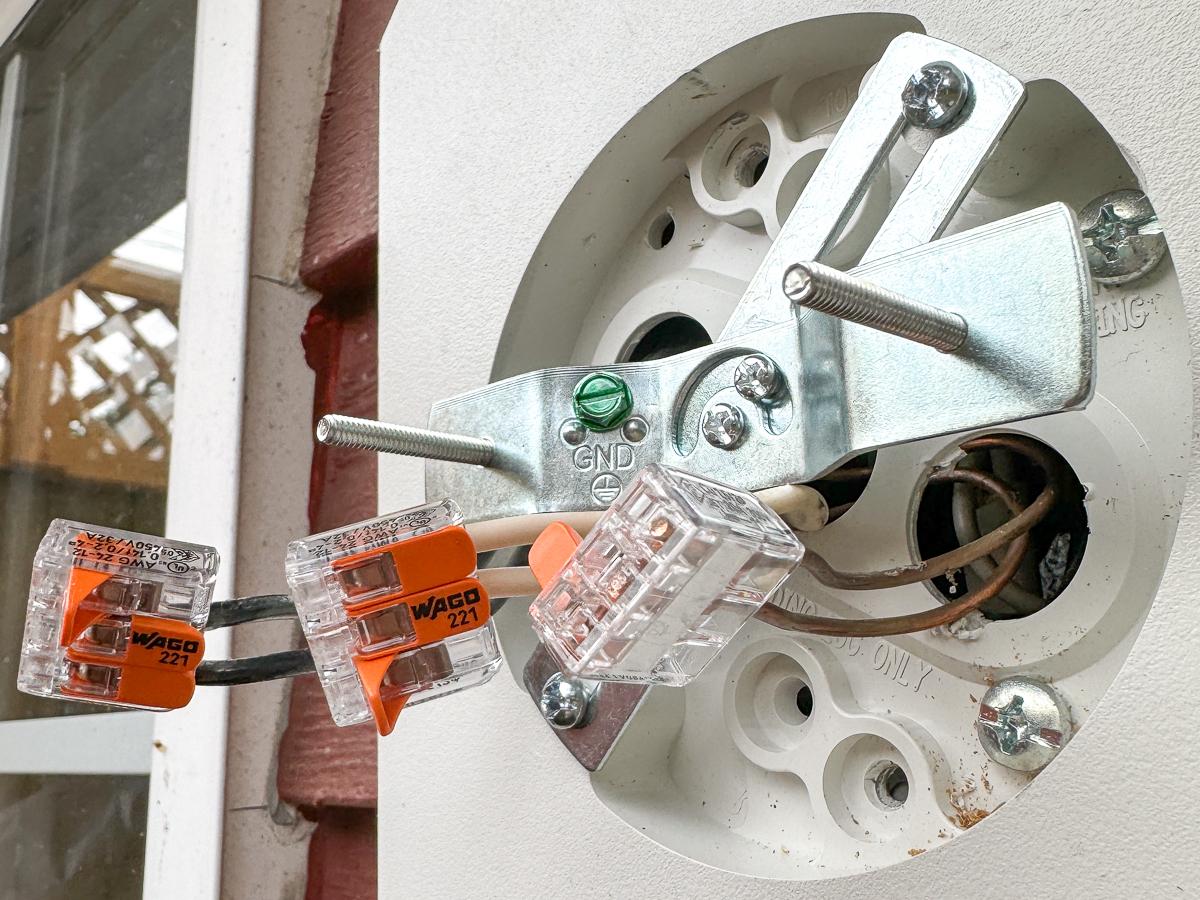

It's so much easier to poke the corresponding wire into each slot and lock it down with one hand! The connections are all tight, so you can let the light fixture hang from the wires while you grab the pieces to attach it to the mounting plate.

Attach the light fixture to the mounting bracket
After all the electrical connections have been made, bend the wires back into the electrical box. It can be a tight fit, especially when you have multiple wires that are really stiff!
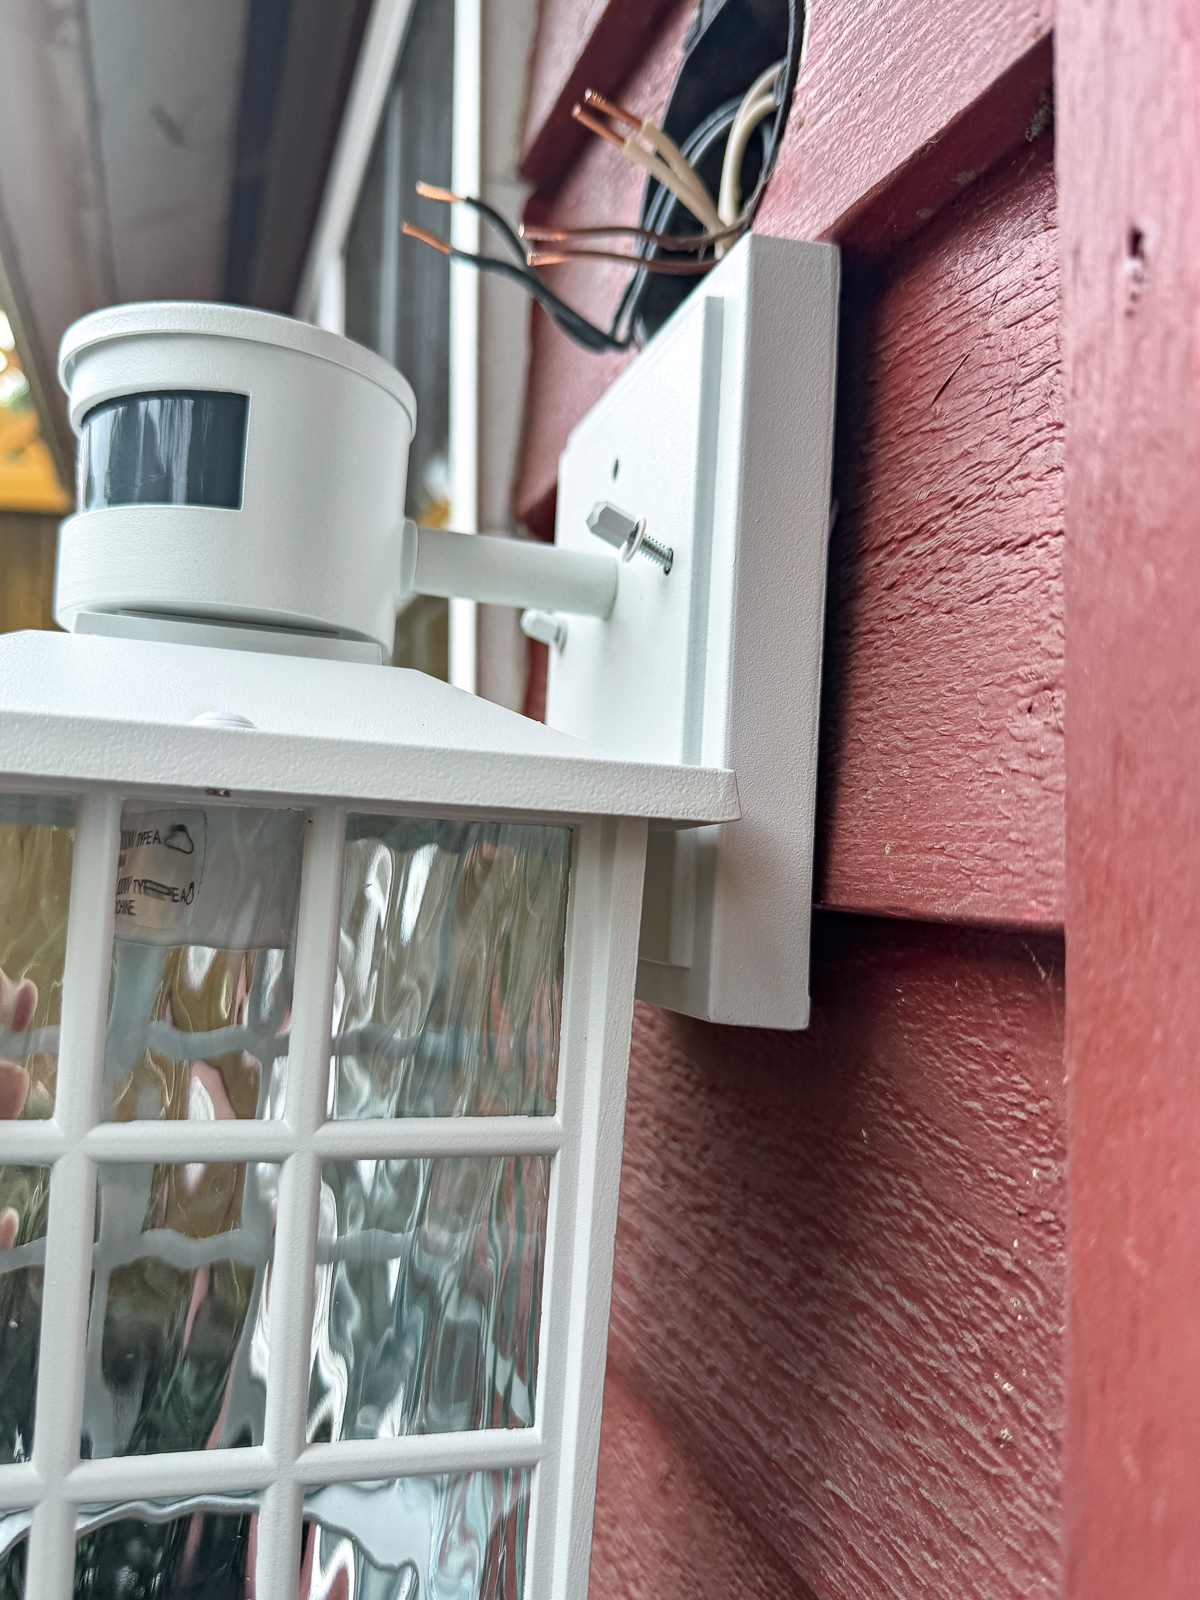
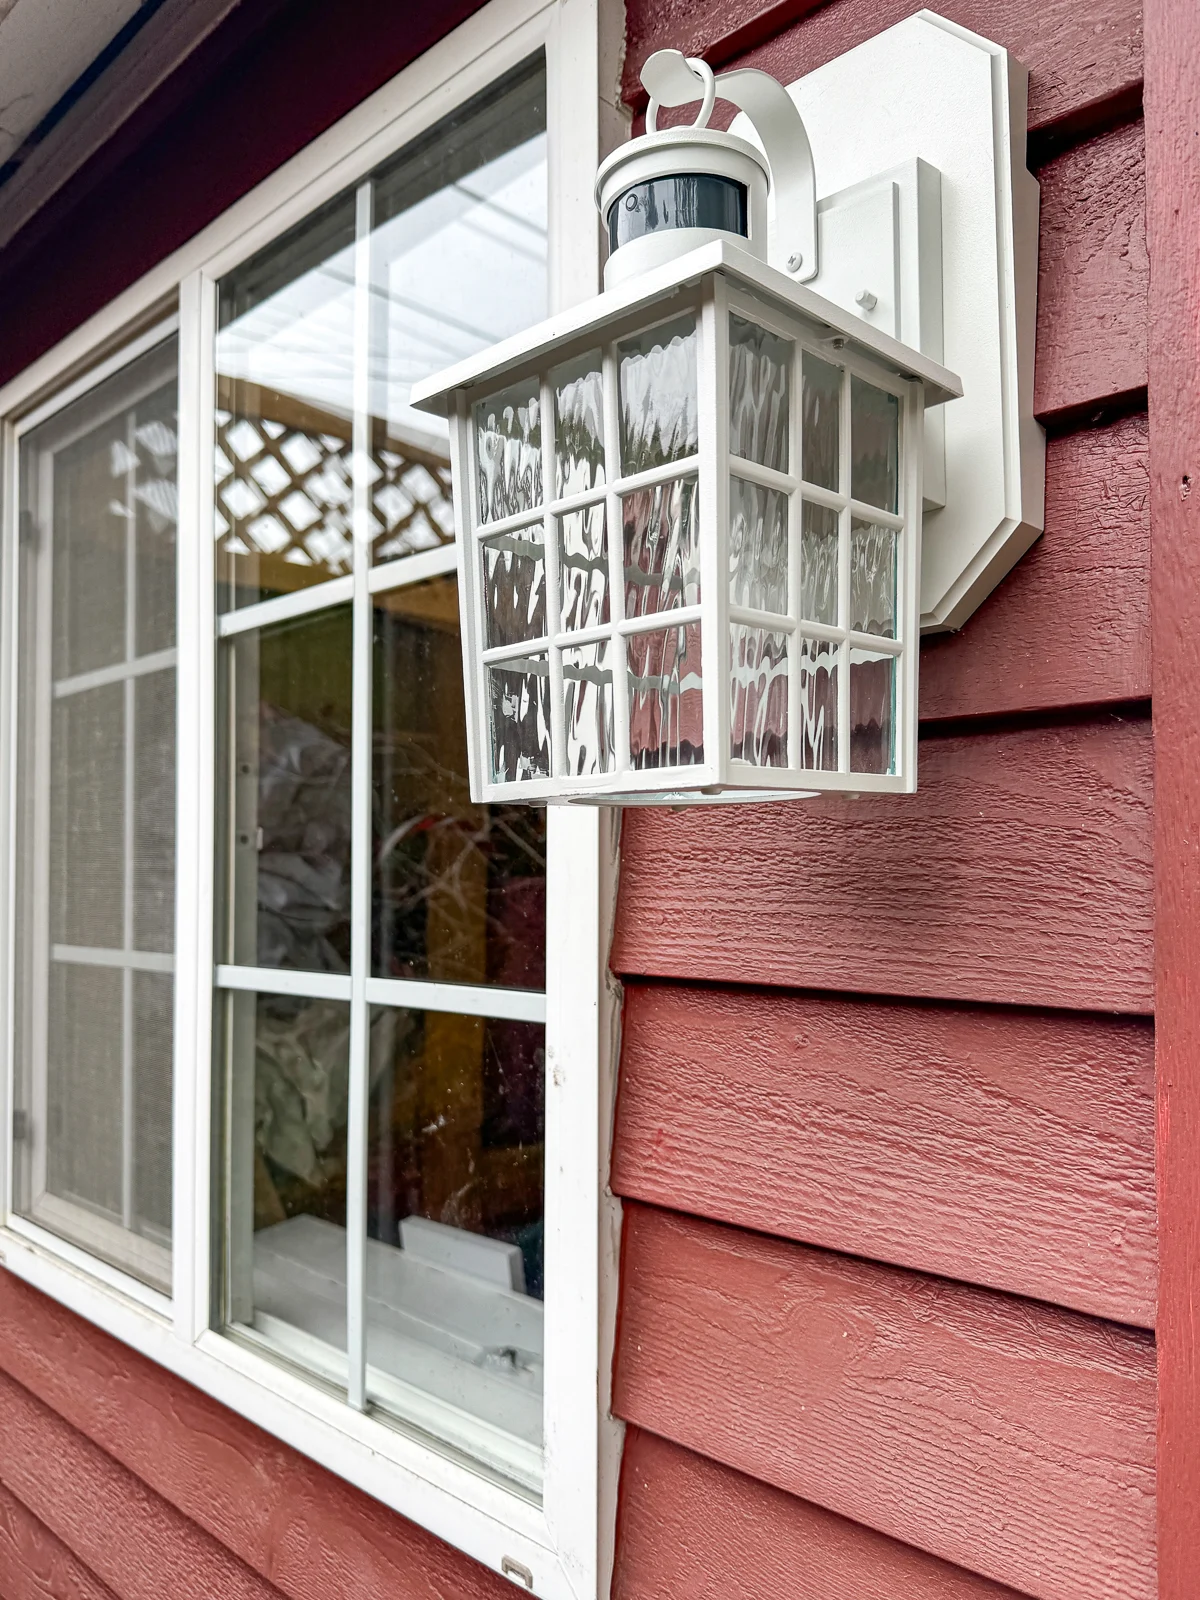
Once all the wires are tucked back into place, slide the long screws through the holes in the back of the light fixture. Screw the decorative nuts onto the ends to secure the new light fixture to the wall.
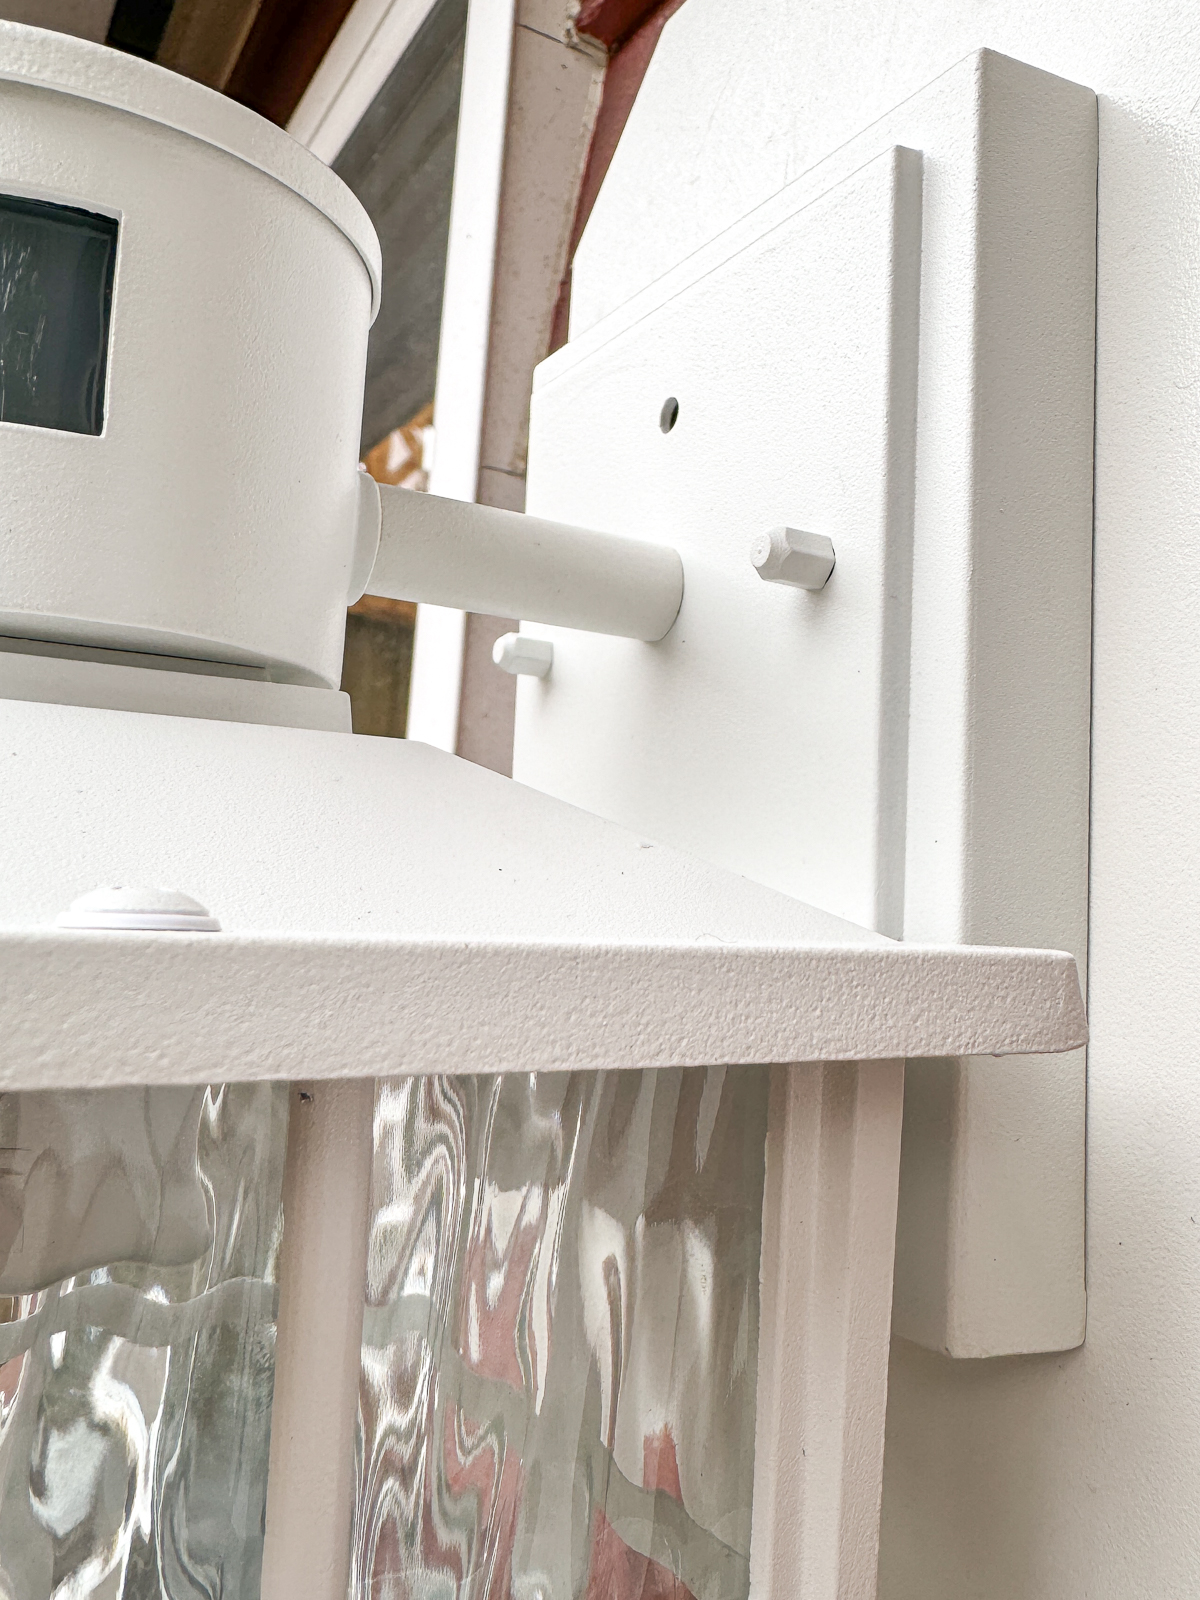
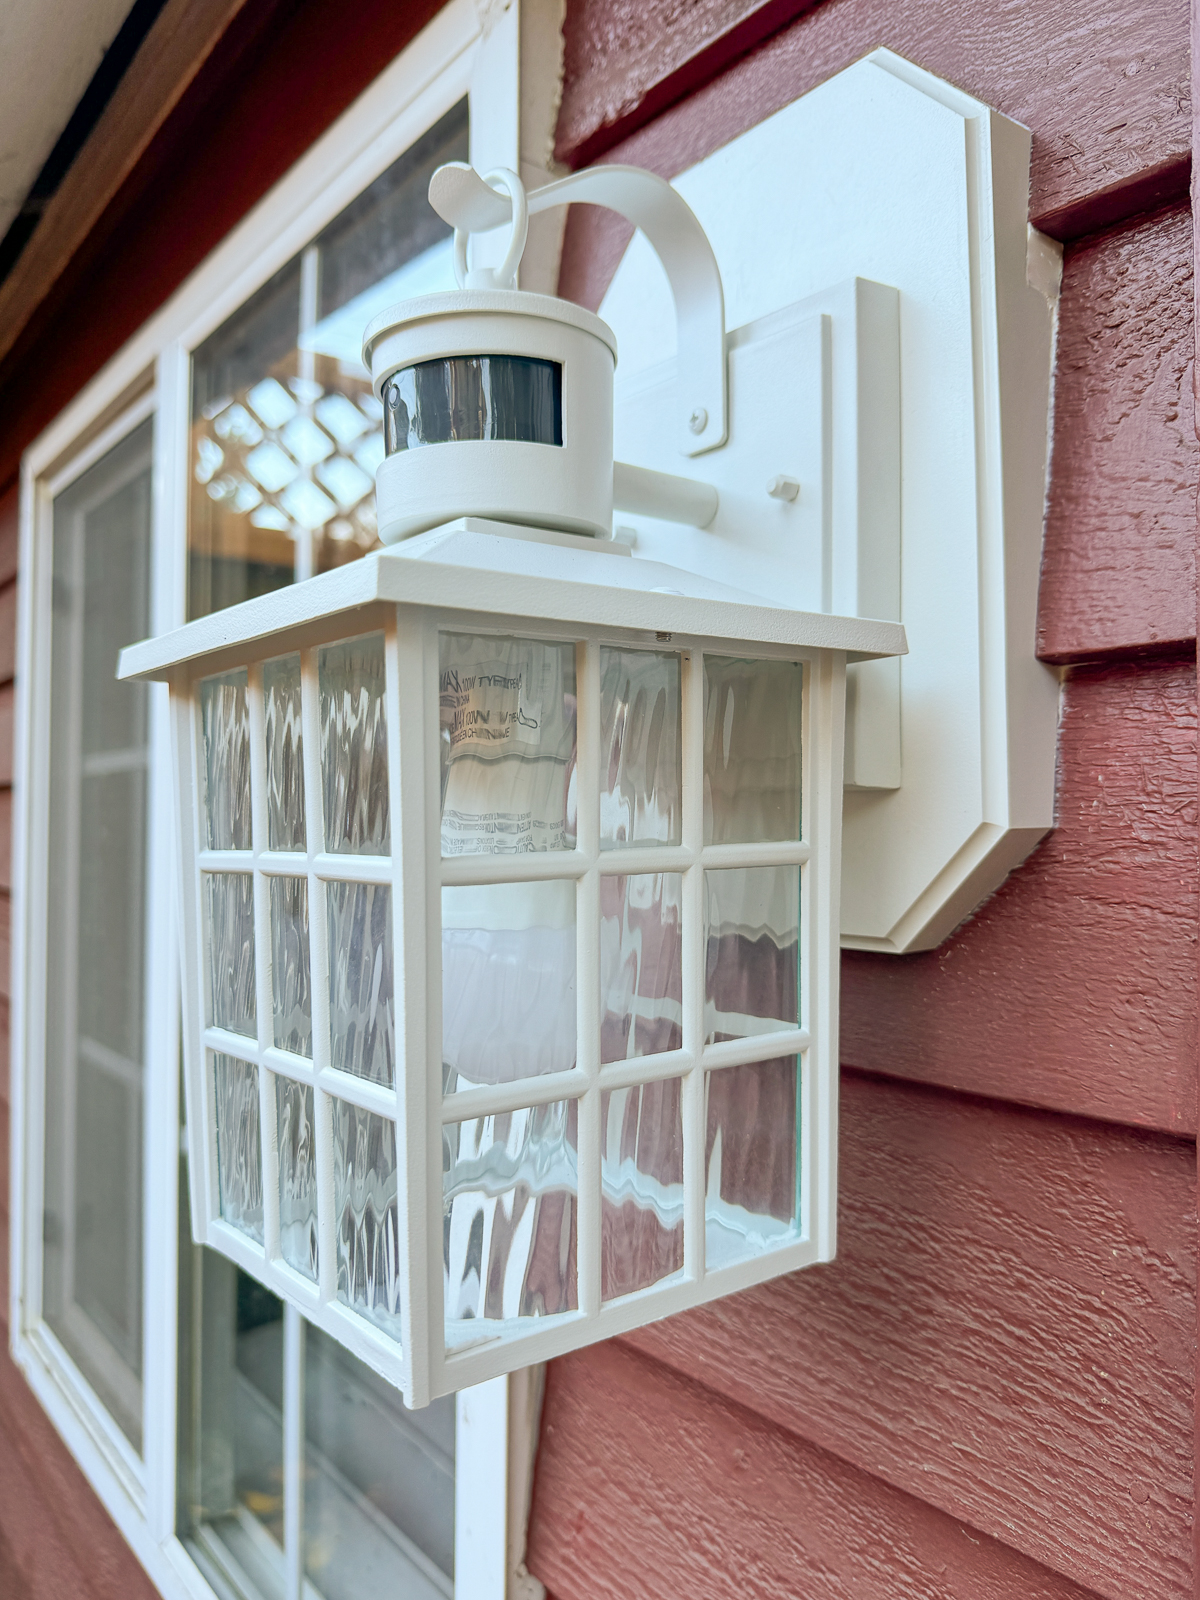
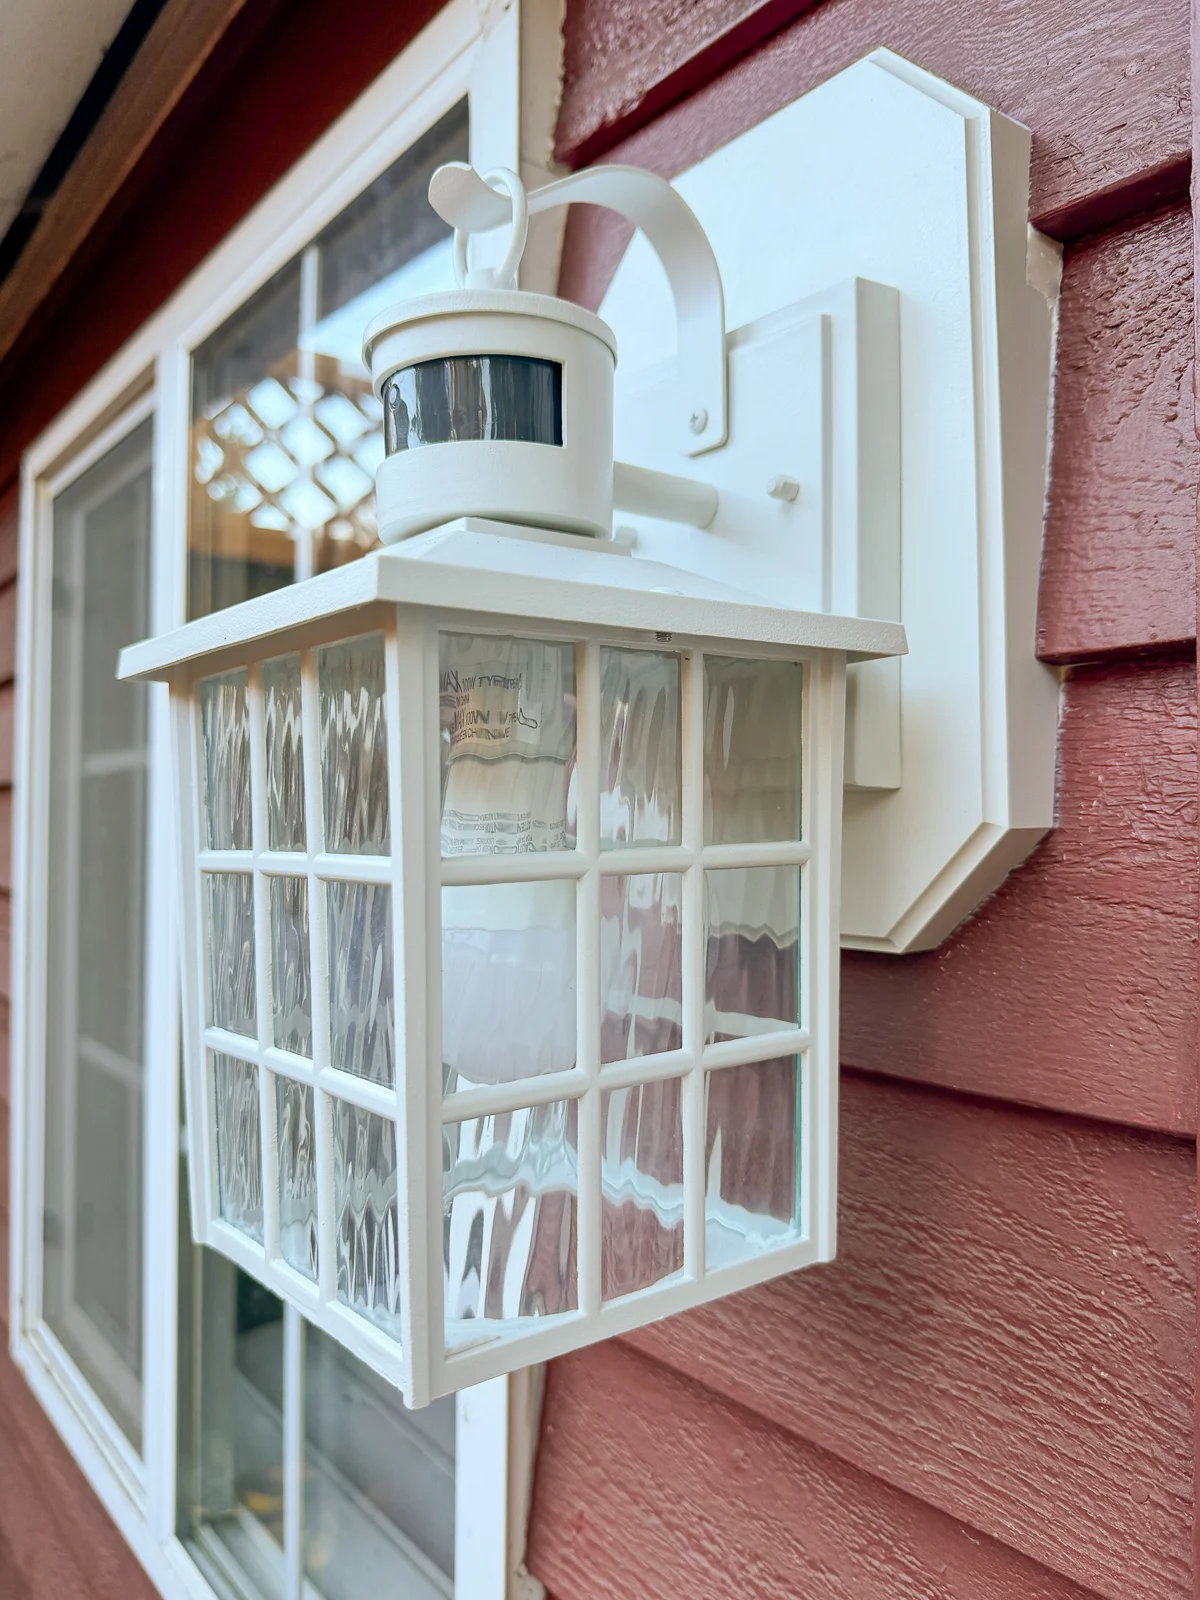
See that hole at the top? I forgot to attach the little hook that makes it appear like the lantern is hanging, so I had to take it off again to install that part. Now it looks pretty good!

Test the light
You still need to caulk the seams before you can call this project complete, but you should test the light first. Screw a light bulb into the socket, then flip the switch at the breaker box to restore the power.
Flip the light switch on the other side of the wall to turn on the light. If it turns on, you made all the connections properly! If not, turn off the power at the breaker and check your work.
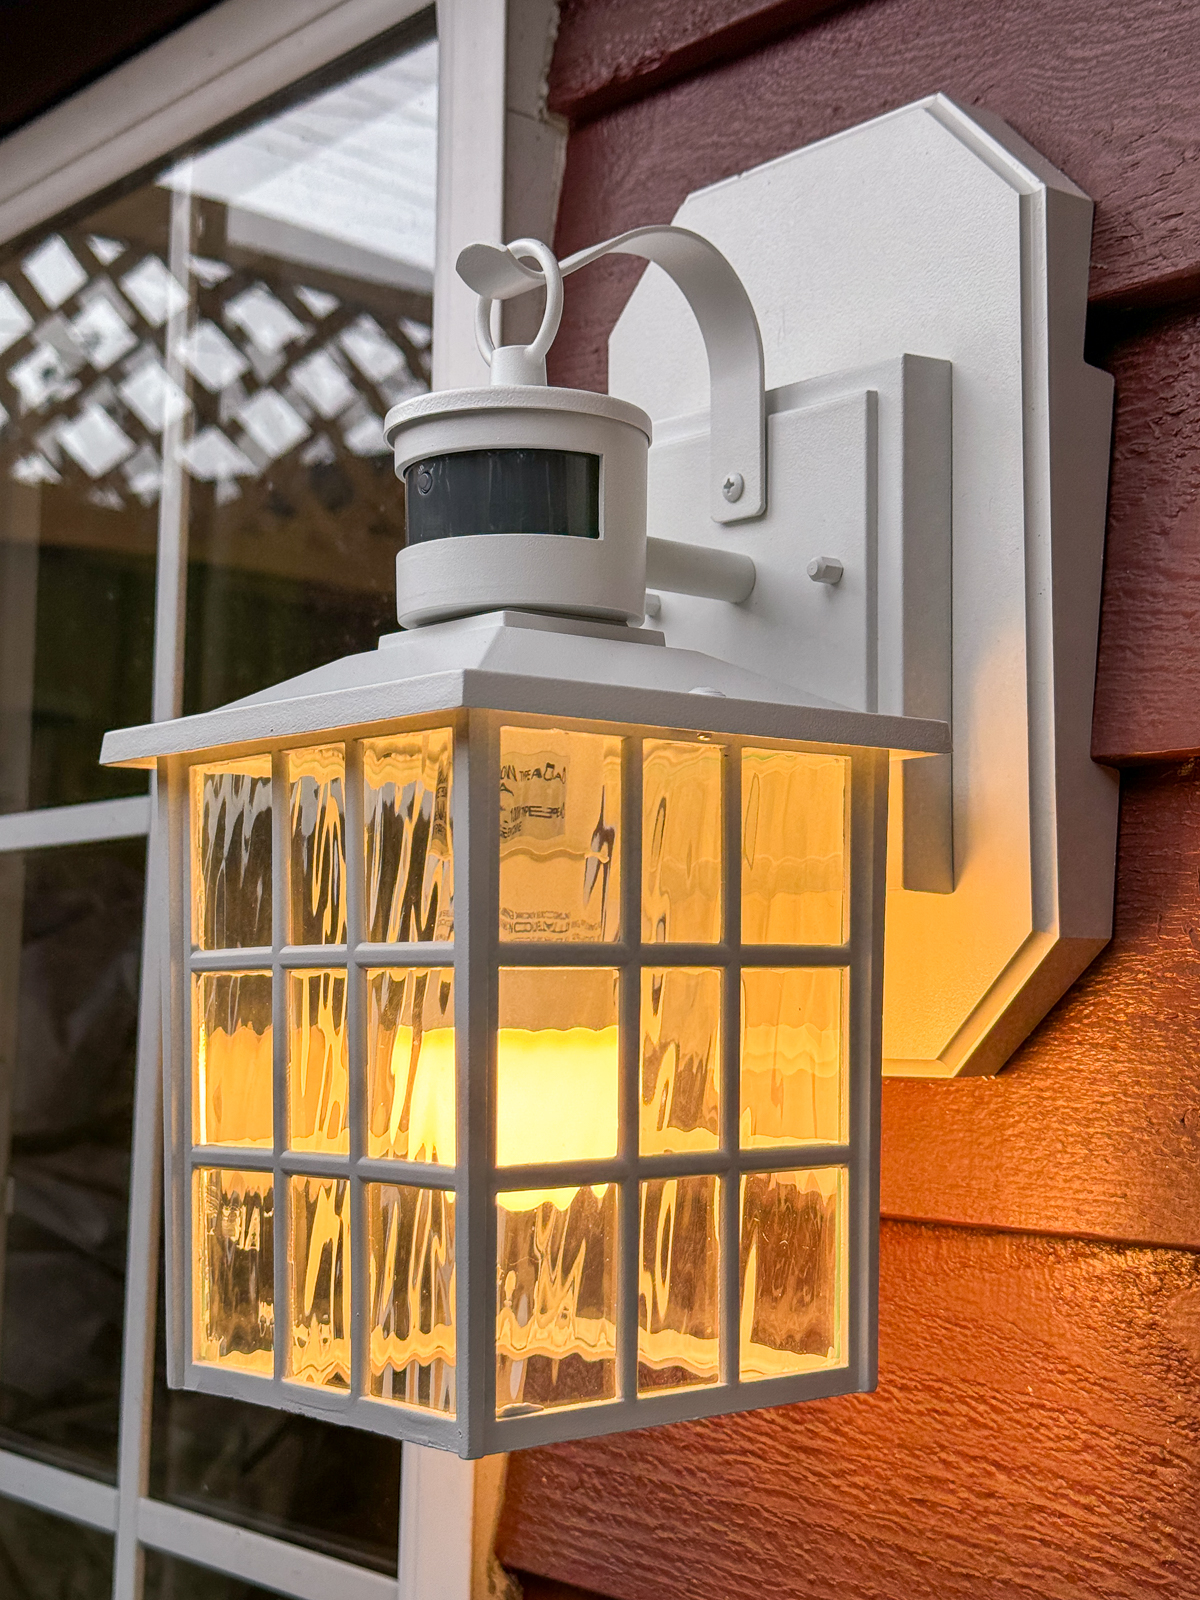
This particular light fixture has a few different settings for the motion sensor and dusk-to-dawn feature. I programmed it so that it automatically turns on when it starts getting dark, but only at 30% brightness. When it senses motion, it turns up to 100% power. So cool!
Caulk the seams
You really don't want moisture or insects to get behind your outdoor light fixture and mess up your electrical system. I also had that issue with a gap at the top of the mounting block that needed to be fixed.
After taping off the outside edge with painter's tape, I filled the hole with a combination of adhesive weather stripping and caulk backer rod. The weather stripping prevents the backer rod from falling inside the mounting block. It's not pretty, but it'll be covered in caulk soon enough.
Seal up all the gaps with exterior caulk, leaving the bottom open so moisture can drain if necessary. Check out my tutorial on how to use a caulk gun if you're never done this before.
It's not the most perfect caulking job in the world, but it was starting to rain! I used paintable caulk, so I can go back and touch up the smears later on. Plus, it's on the shed, not by the front door where we'll see it all the time!
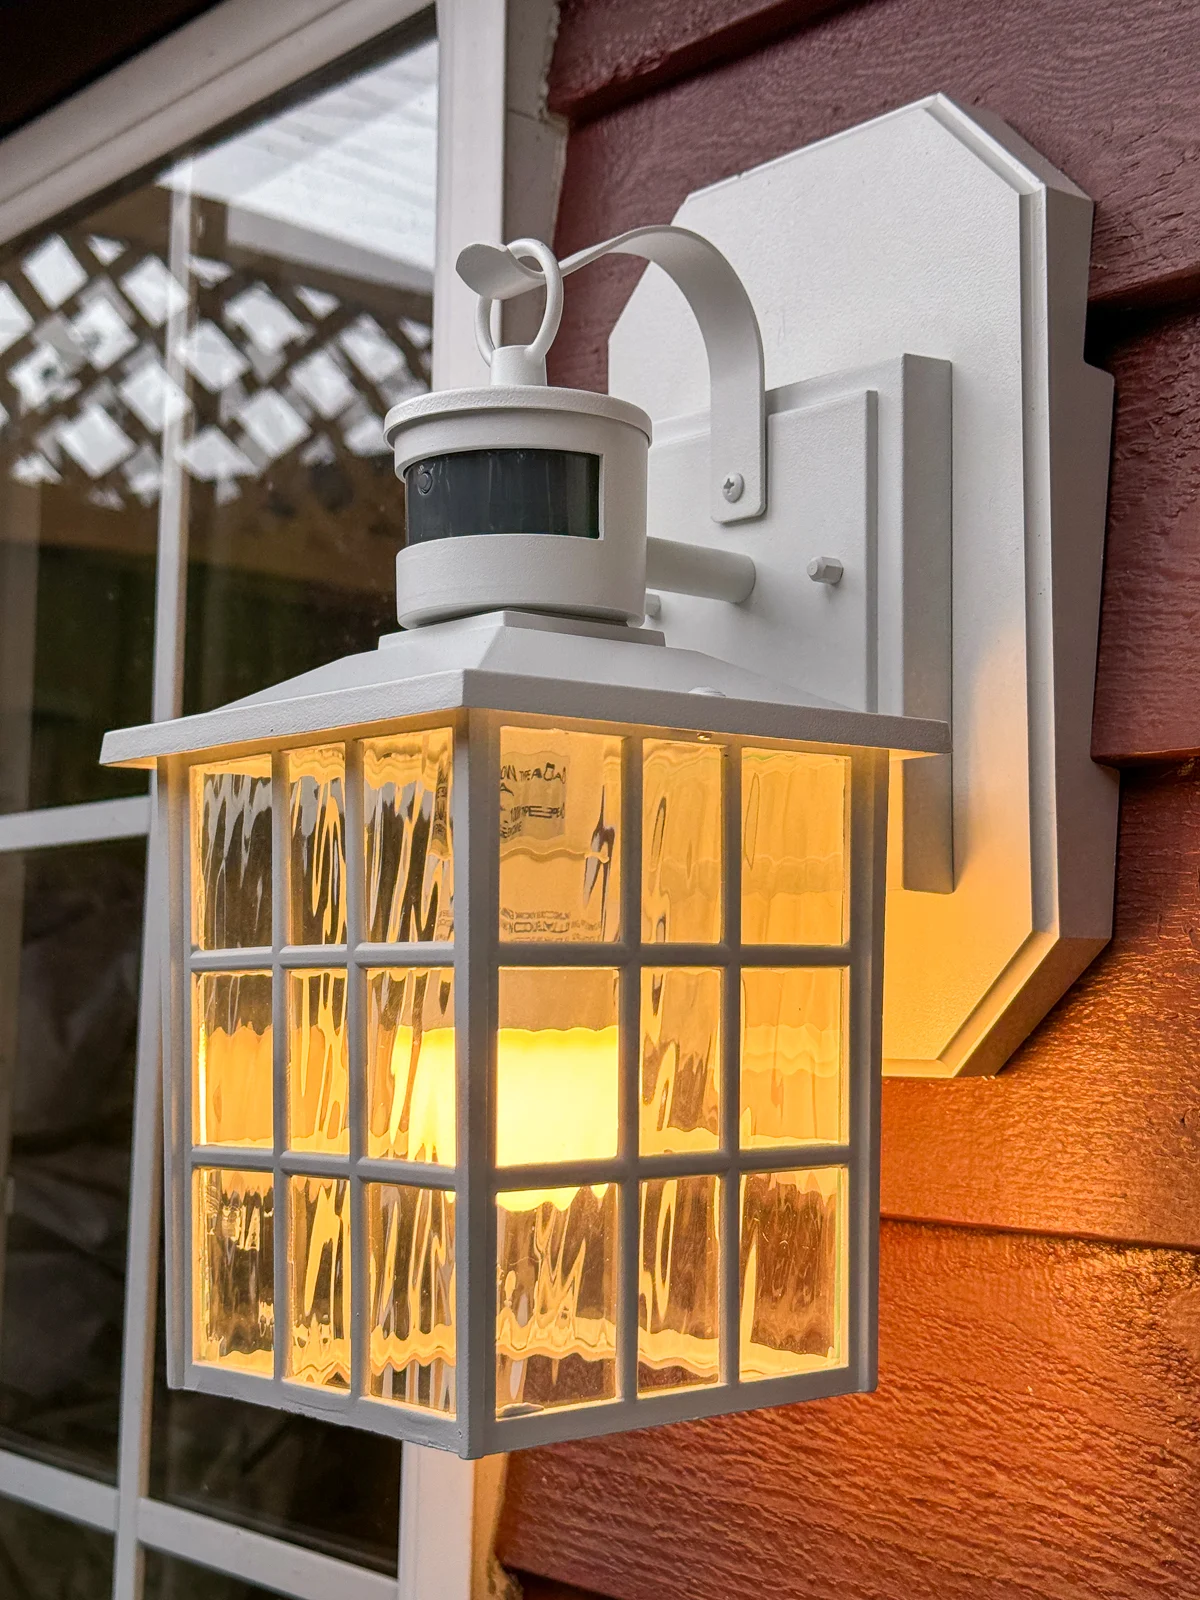
I'm so glad I finally took the time to replace this outdoor light fixture! We walk through the backyard to take out the trash, and it's so dark back there at night!
Now the light turns on automatically in the evening, but stays dim until you walk outside. This is one of those kinds of projects that I wish I had done much sooner!
Check out these other home improvement tutorials!