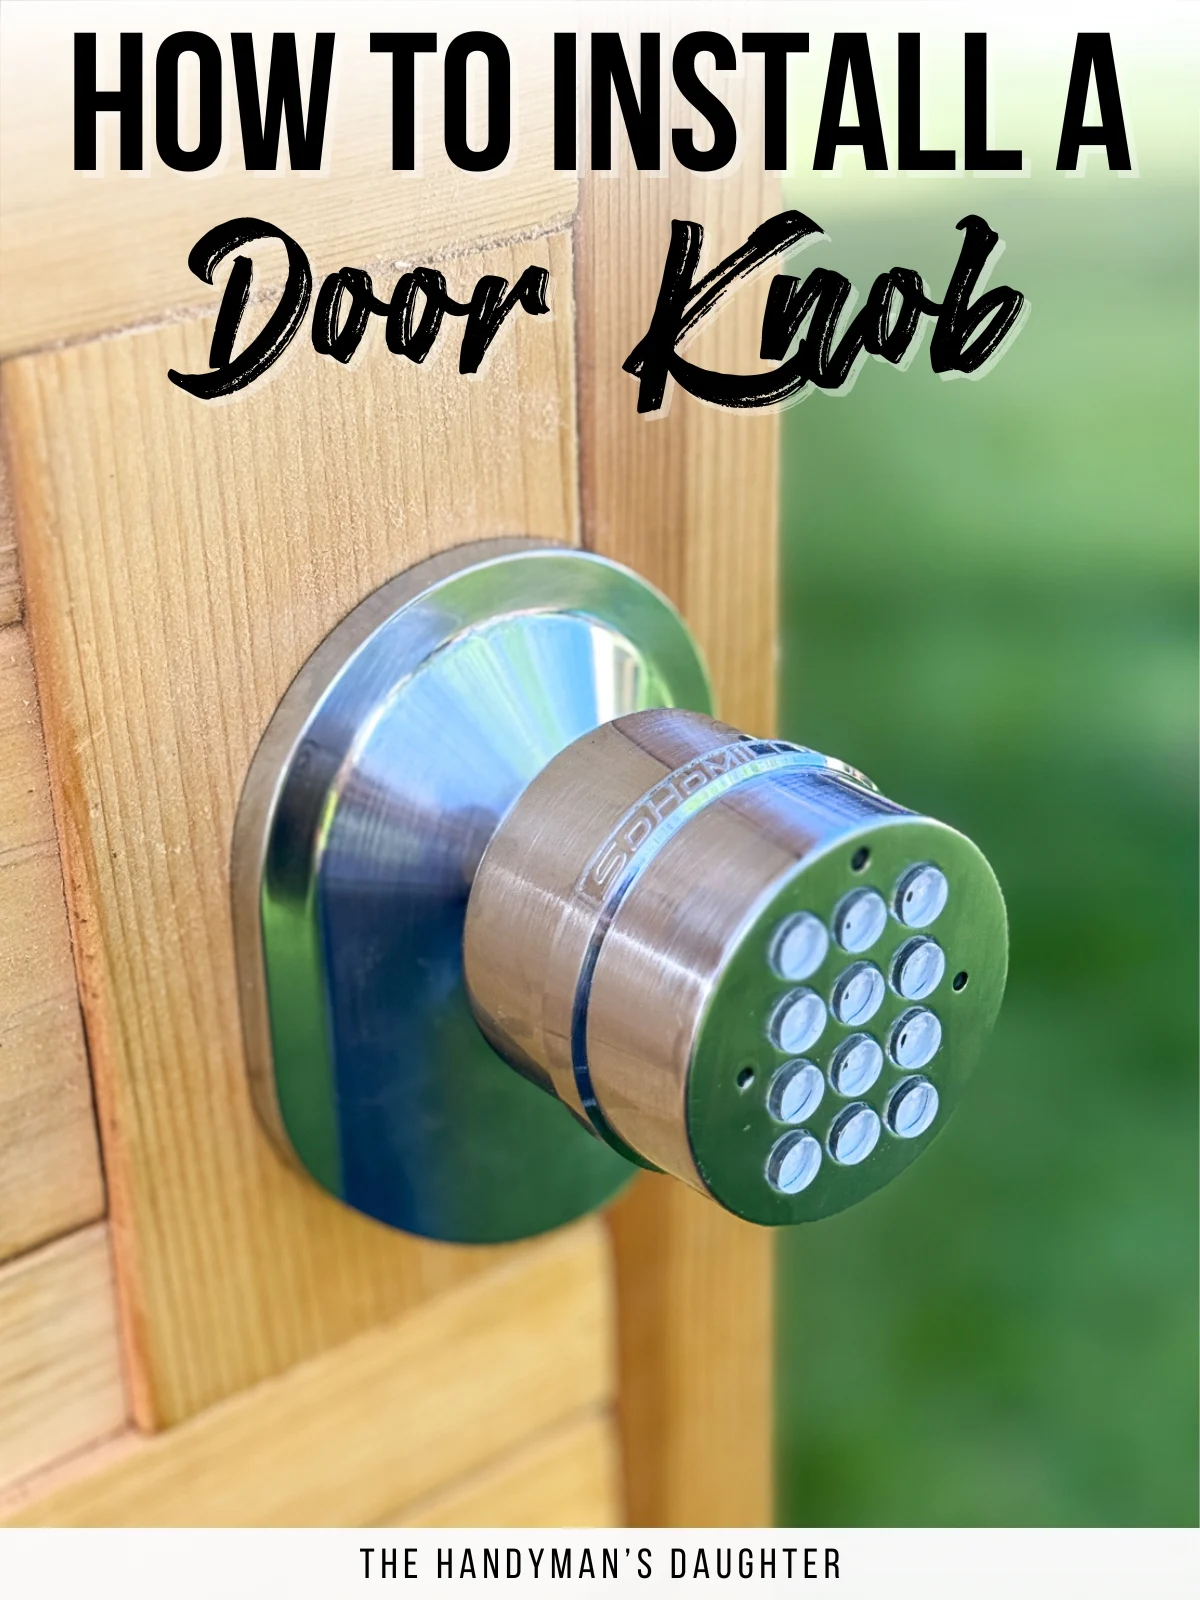
Learn how to install a door knob in a few easy steps! In this tutorial, I'm replacing a standard door knob with a door knob with a keypad.

After years of planning, we finally built a greenhouse in our backyard! This gorgeous space will be used both for growing plants (obviously) and as an indoor/outdoor living room during Seattle's dreary winter months.
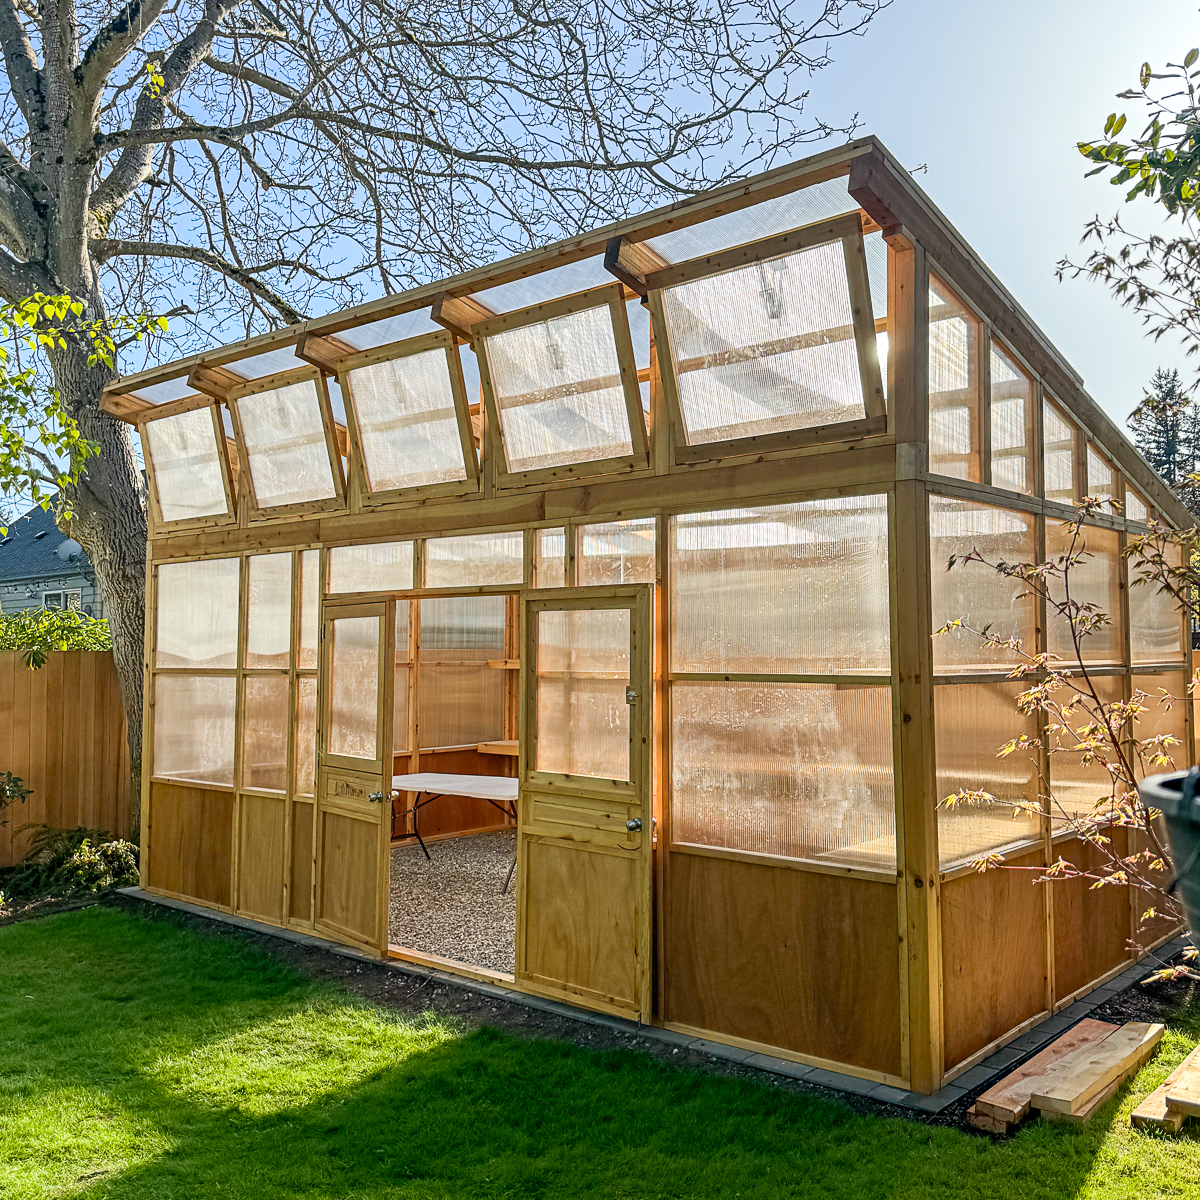

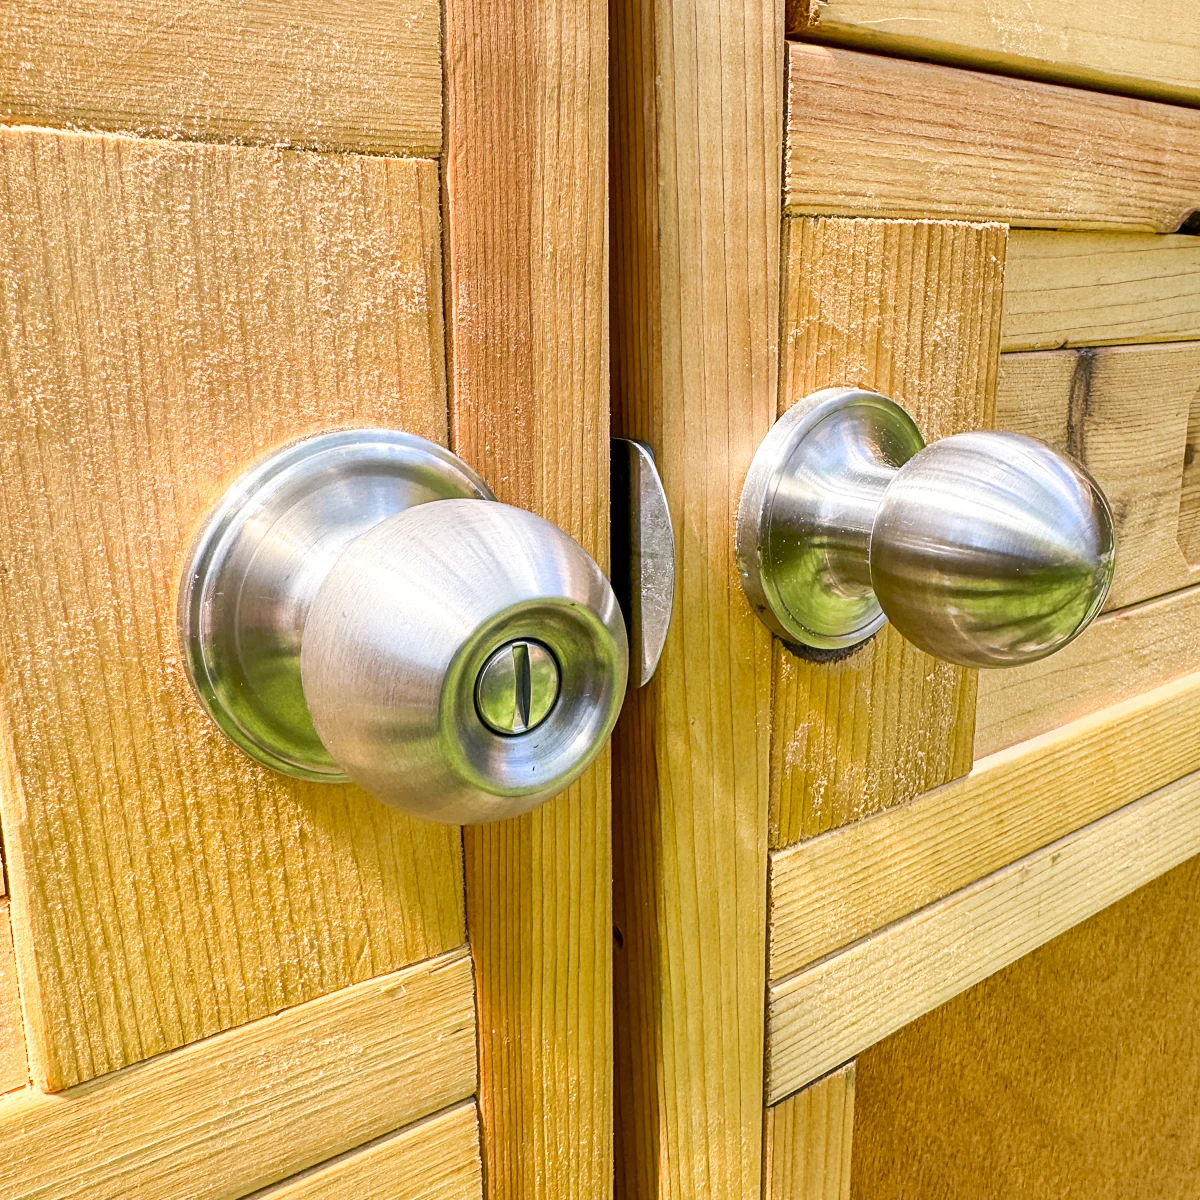
We're super happy with how the build turned out, but there was one tiny detail that I knew I needed to change immediately...the door knob. We opted for double doors, and the manufacturer used standard privacy door knobs that could be opened with a flat head screwdriver. Not ideal!

So after bringing in all my plants and seedlings, the next order of business was installing a new door knob with a keypad. I'll be able to get in the greenhouse without keys, and it will lock automatically behind me when I leave. Perfect!
Here's how I installed it!
This post contains affiliate links for your convenience. Purchases made through these links may earn me a small commission at no additional cost to you. Please visit my disclosures page for more information.
Tools and Materials
- New door knob
- I got this one, which has the keypad right on the knob instead of a deadbolt
- Philips head screwdriver
- Drill and drill bit (if you need to drill pilot holes for the screws)
Remove the old door knob
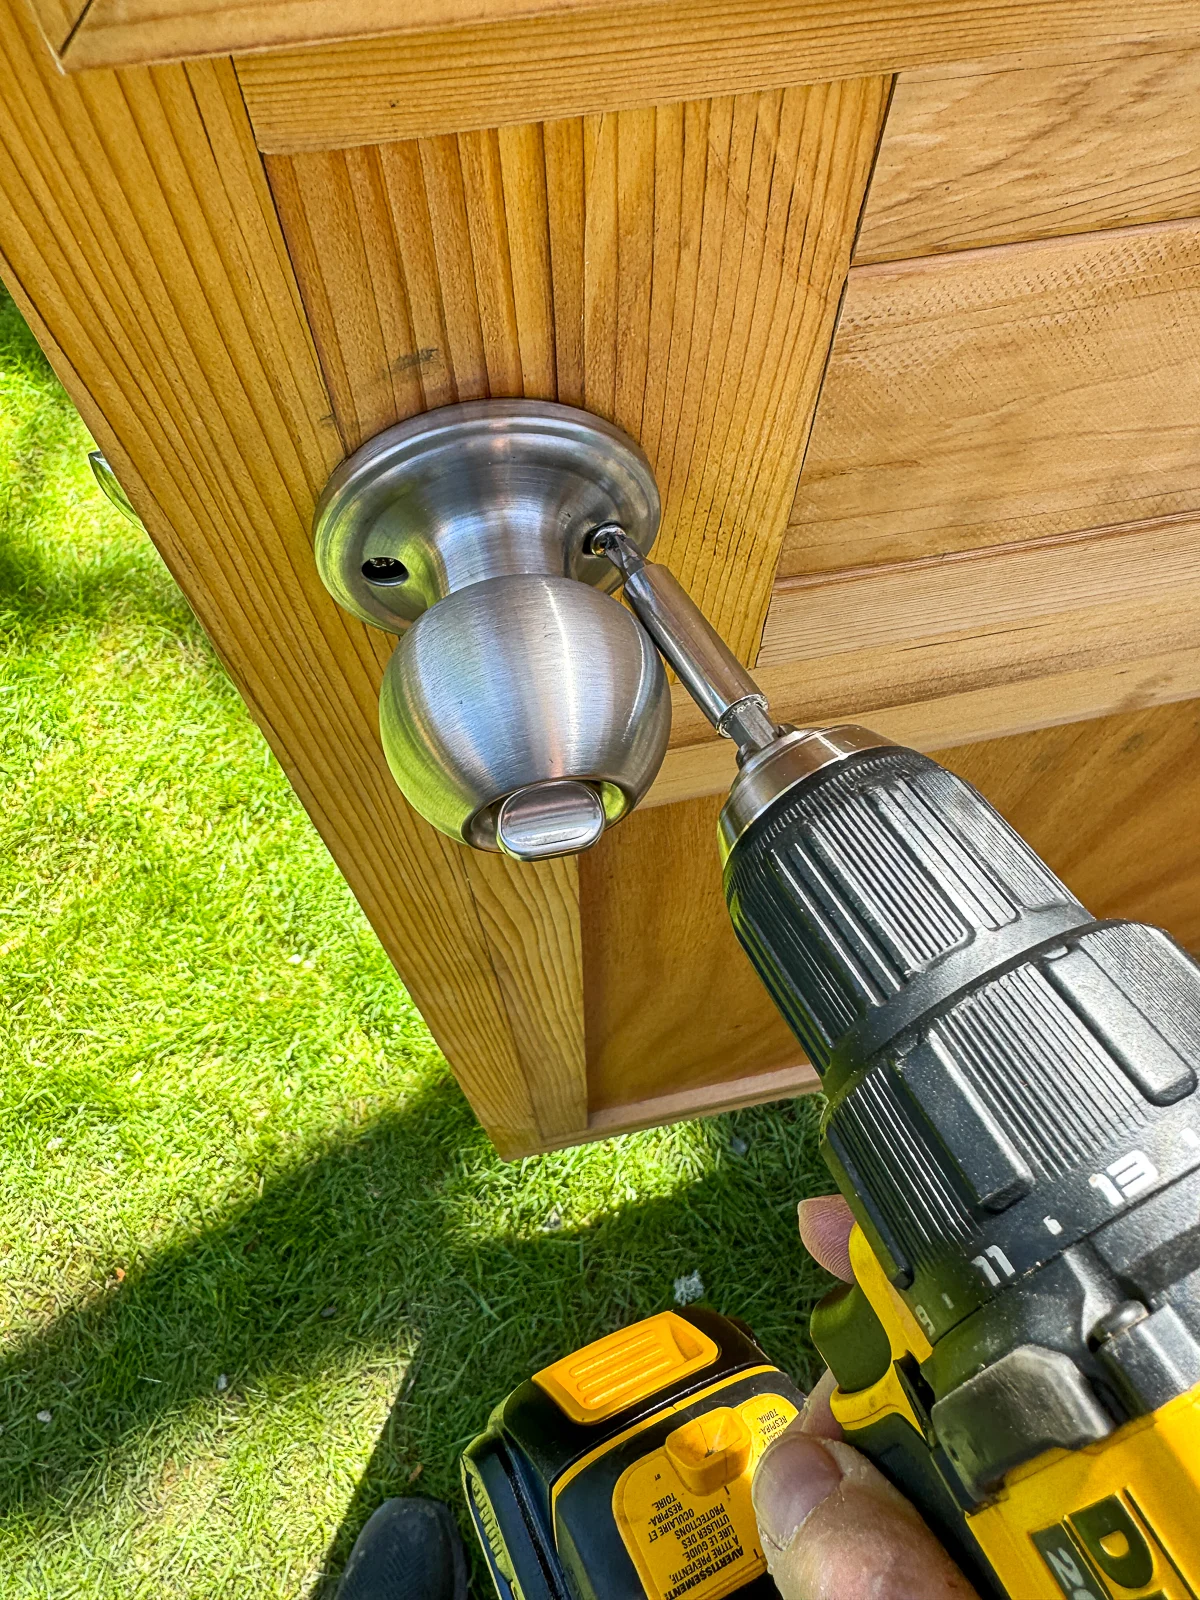
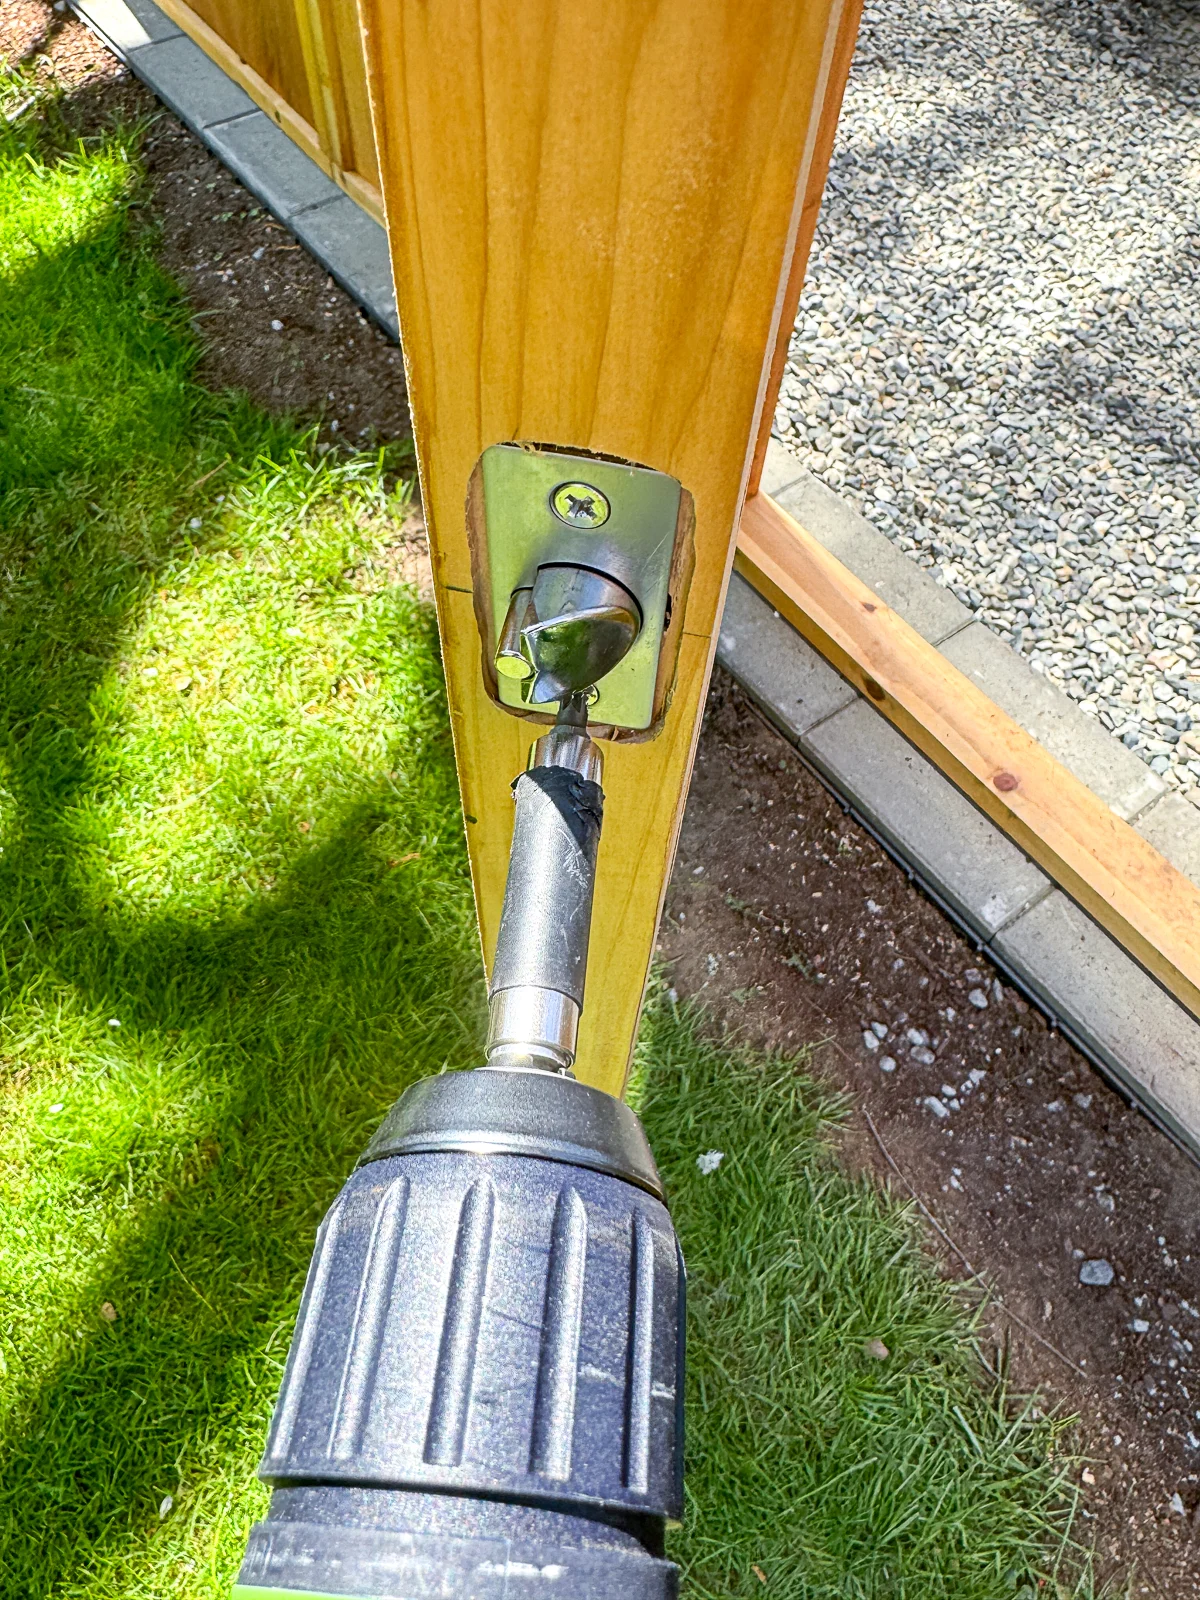
On the inside of the door, there should be two screws that hold both sides of the knob securely to the door. Use a matching screwdriver to back out the screws.
I used a drill here, but a hand screwdriver would be better to avoid stripping the screws or damaging the side of the knob.

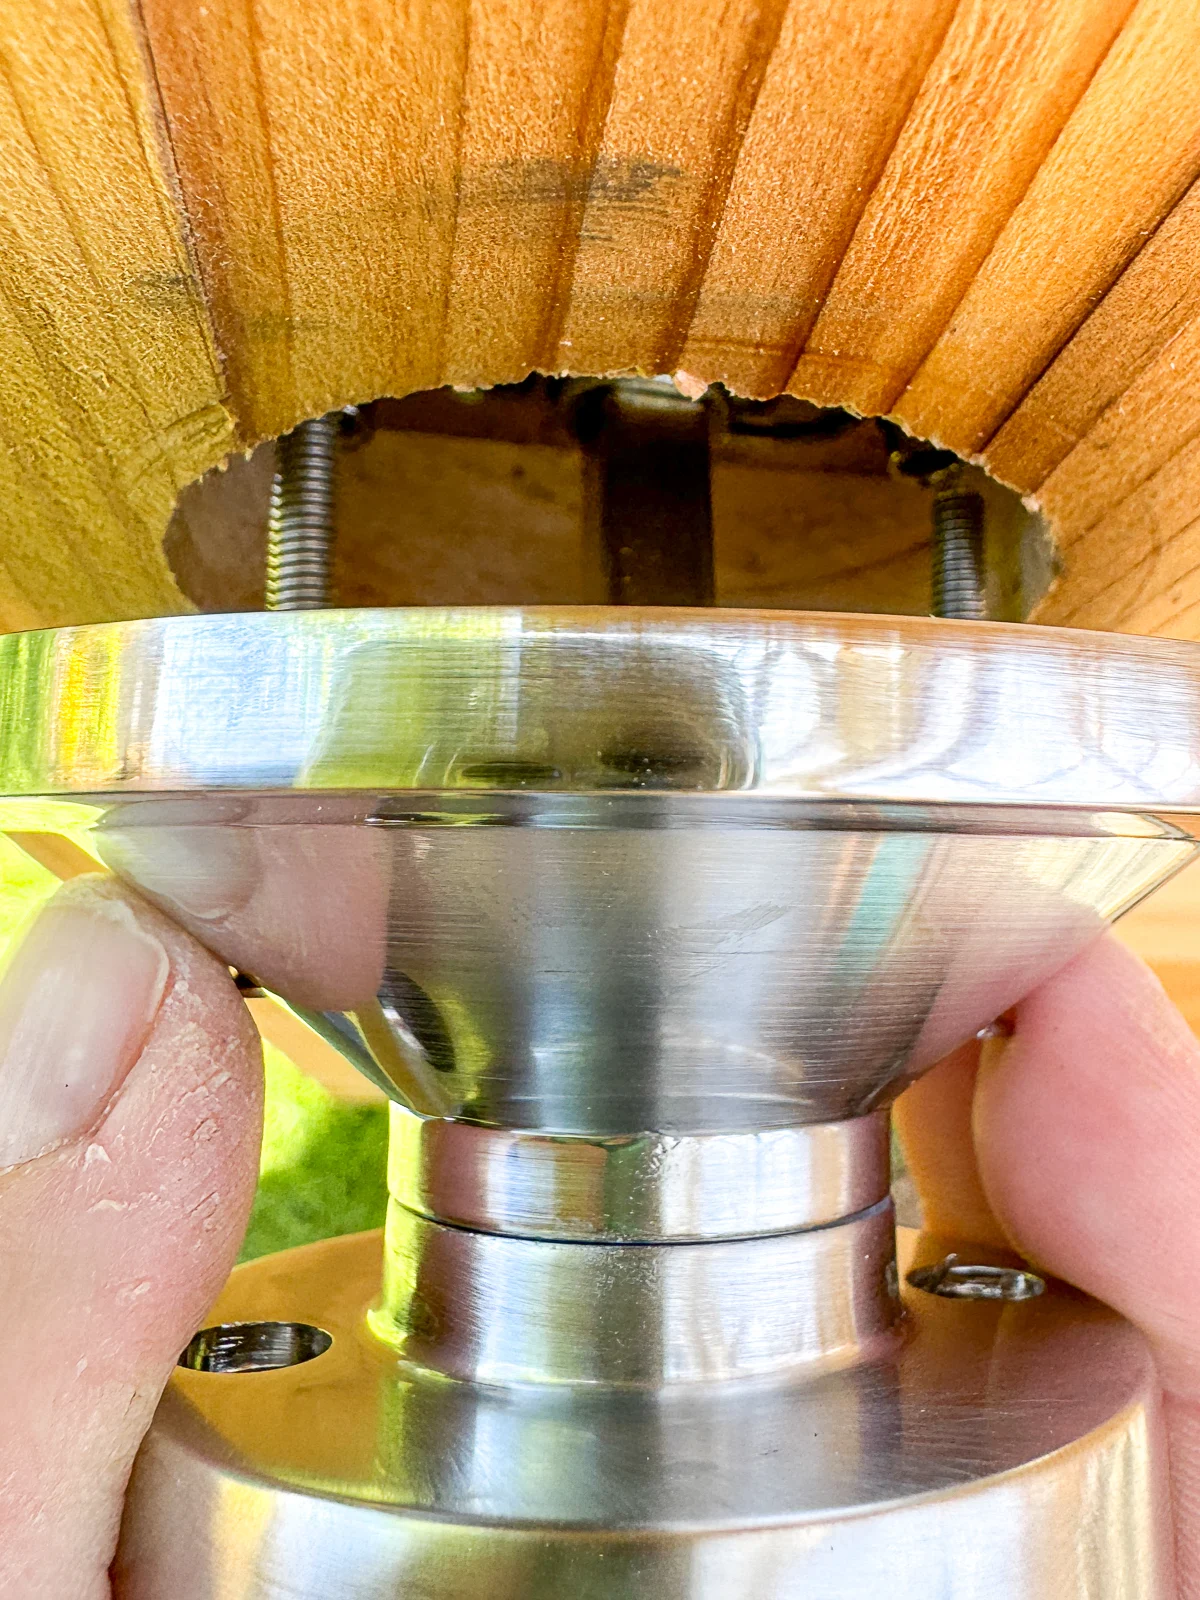
Once the screws are removed, you should be able to pull the back of the knob off the spindle. Then pull the front of the knob out from the latch.

Then you can unscrew the latch from the side of the door and pull it out.
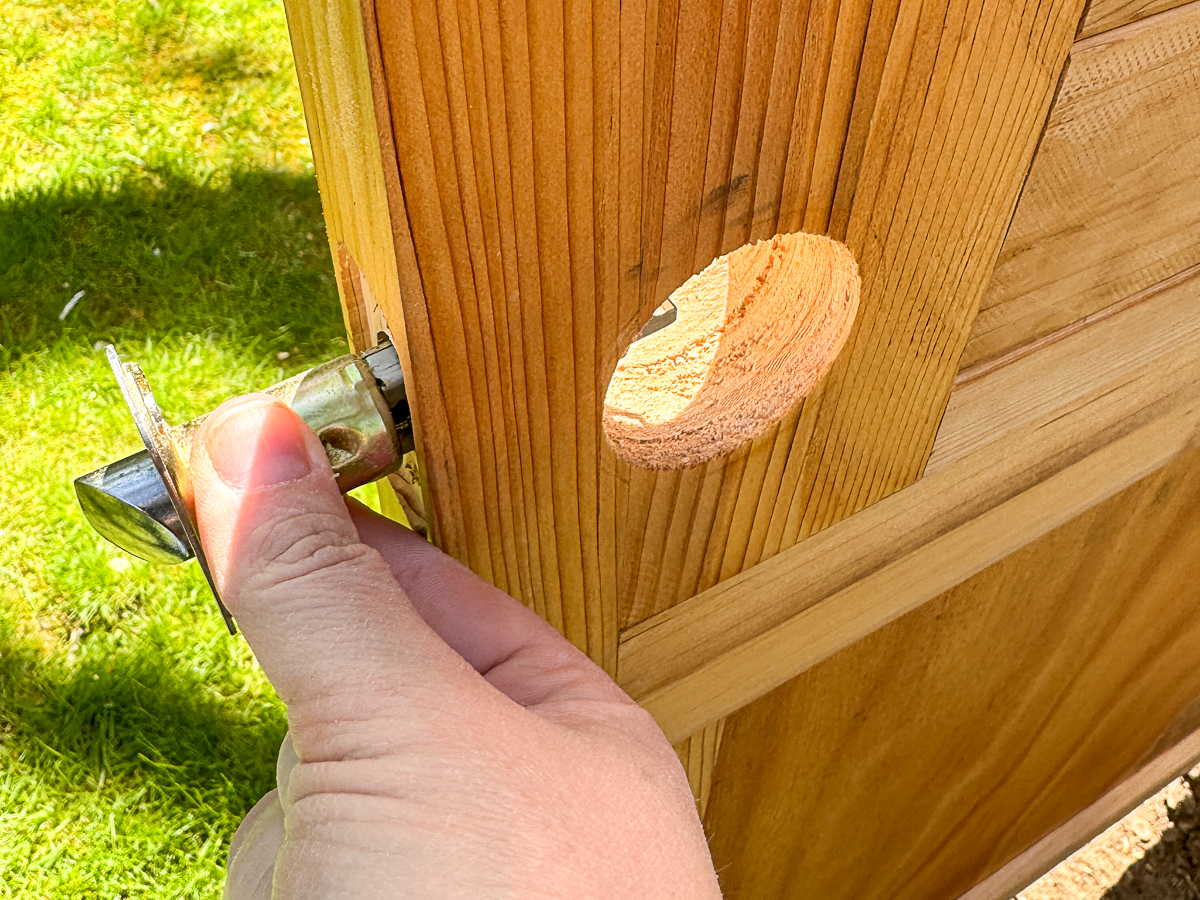

You may not need to replace the strike plate on the door frame. They're all pretty much the same, but if you're changing colors, you can remove the old one.
Install the new door latch
Now you do the entire process in reverse, starting with the latch. Make sure the angled side is facing towards the door frame, and slide it into the hole.
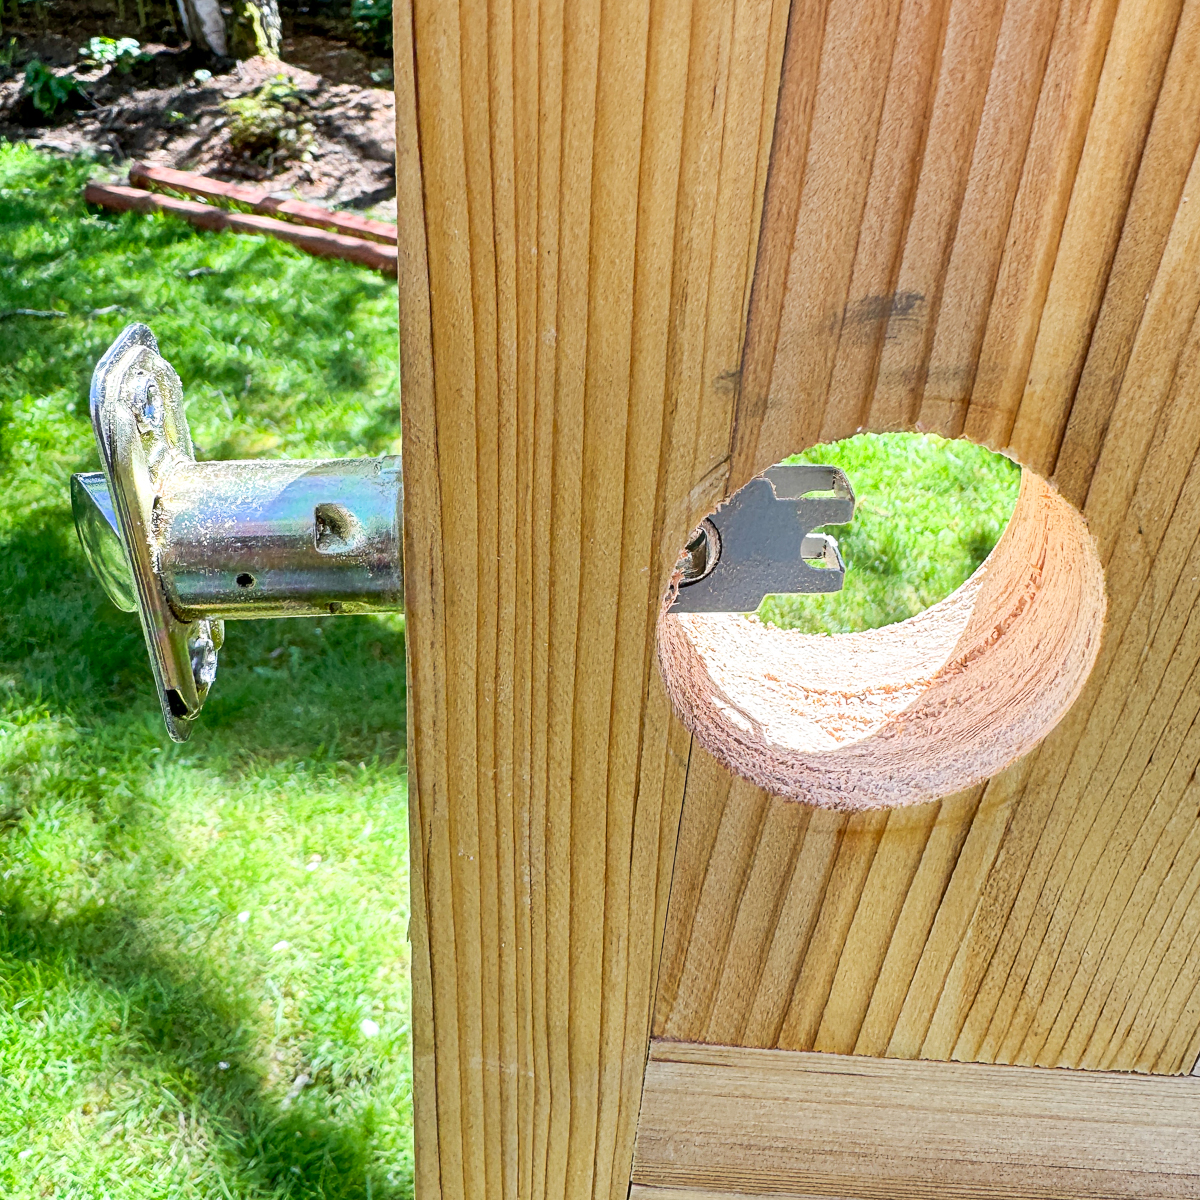

Then screw the plate to the side of the door. As you can see, the recessed hole in my door has rounded corners, while the plate is rectangular. I was able to fit it in there, but if yours doesn't, you can chisel out the corners to make them the same size.

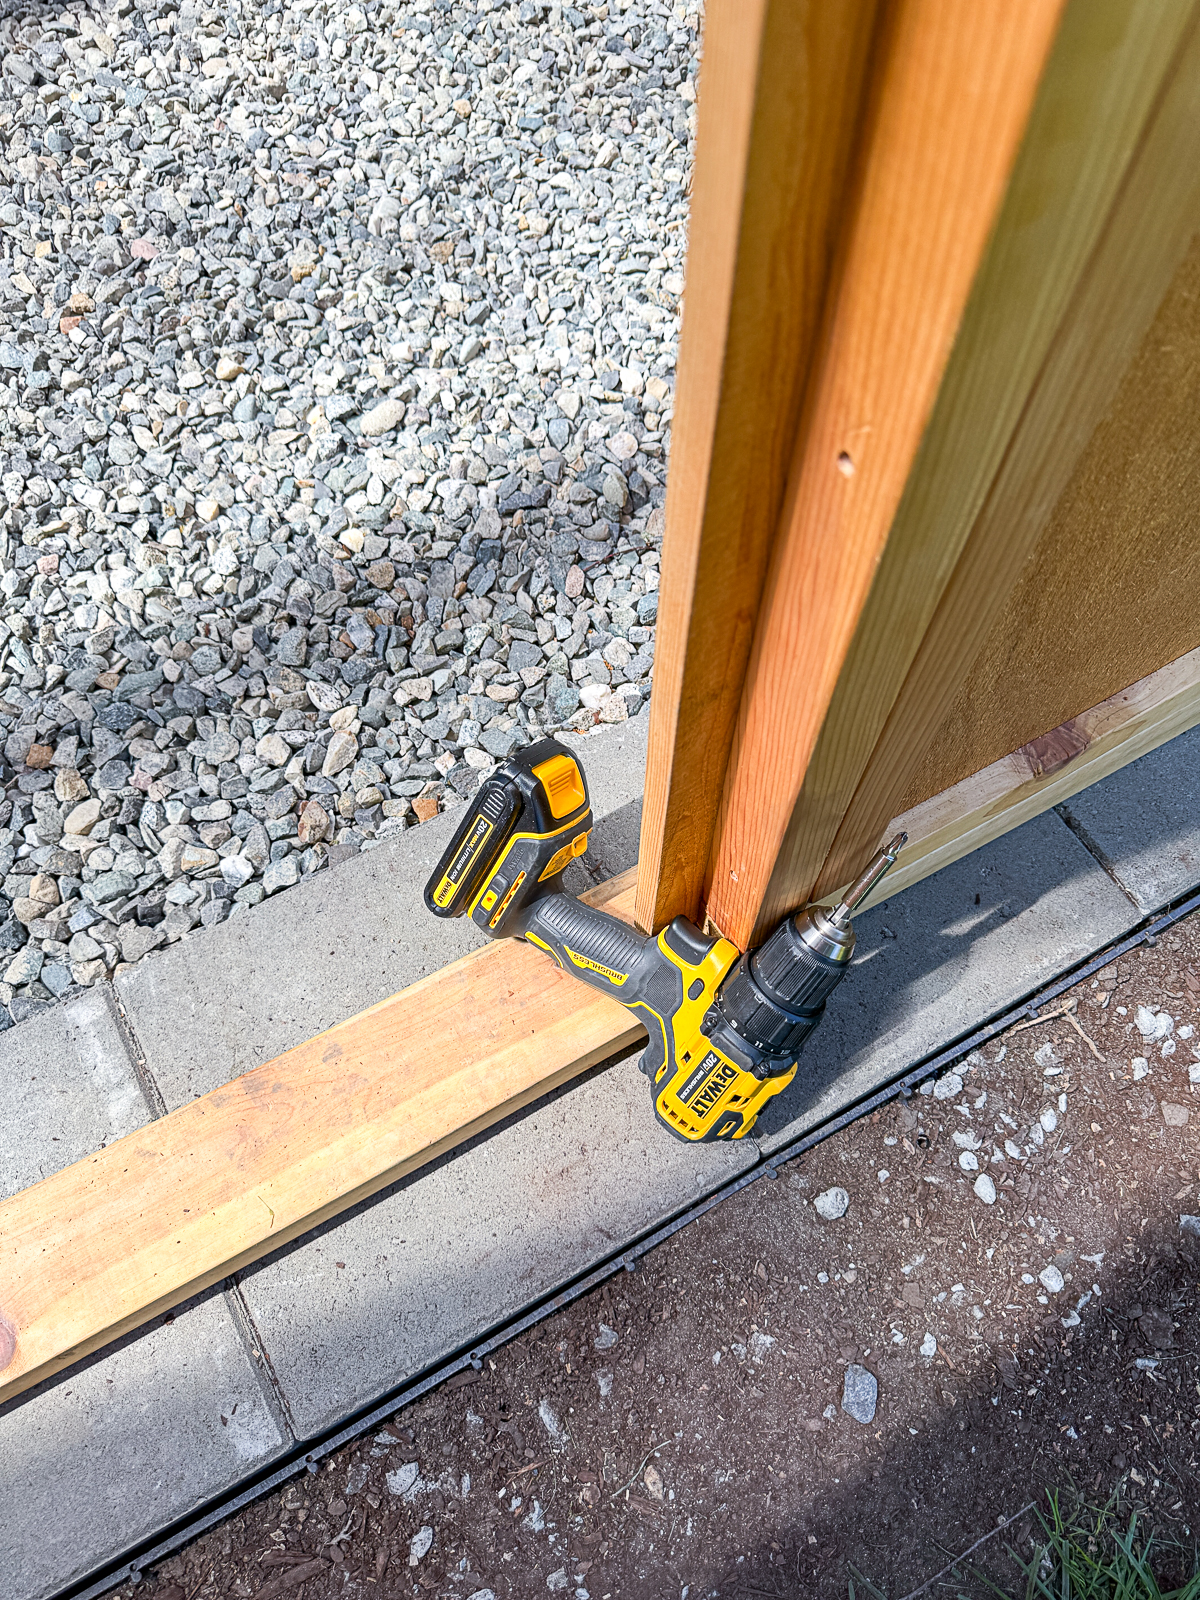
A word of caution: don't let the door close with the latch in place without a knob! It can be a real pain to get the door open again. I used my cordless drill as a doorstop to prevent it from closing.

If you find yourself locked out of the room without the knob attached, watch this video to get back inside!
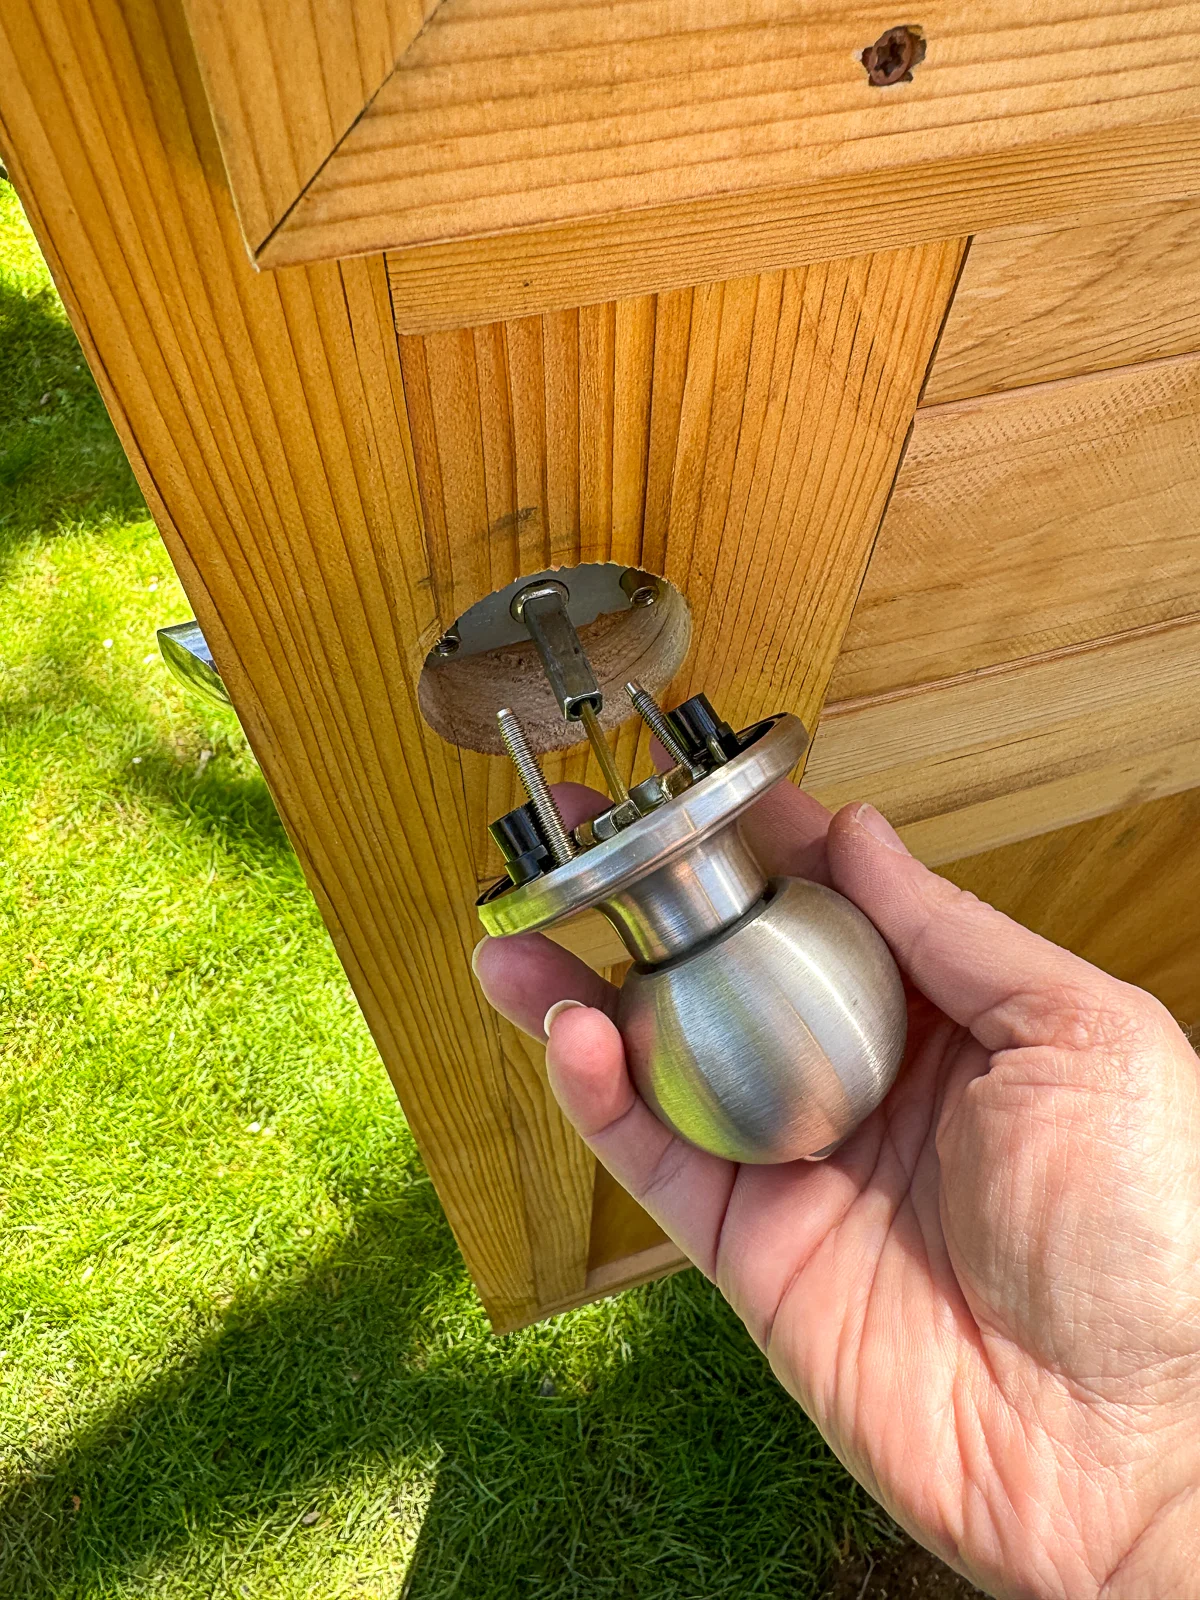
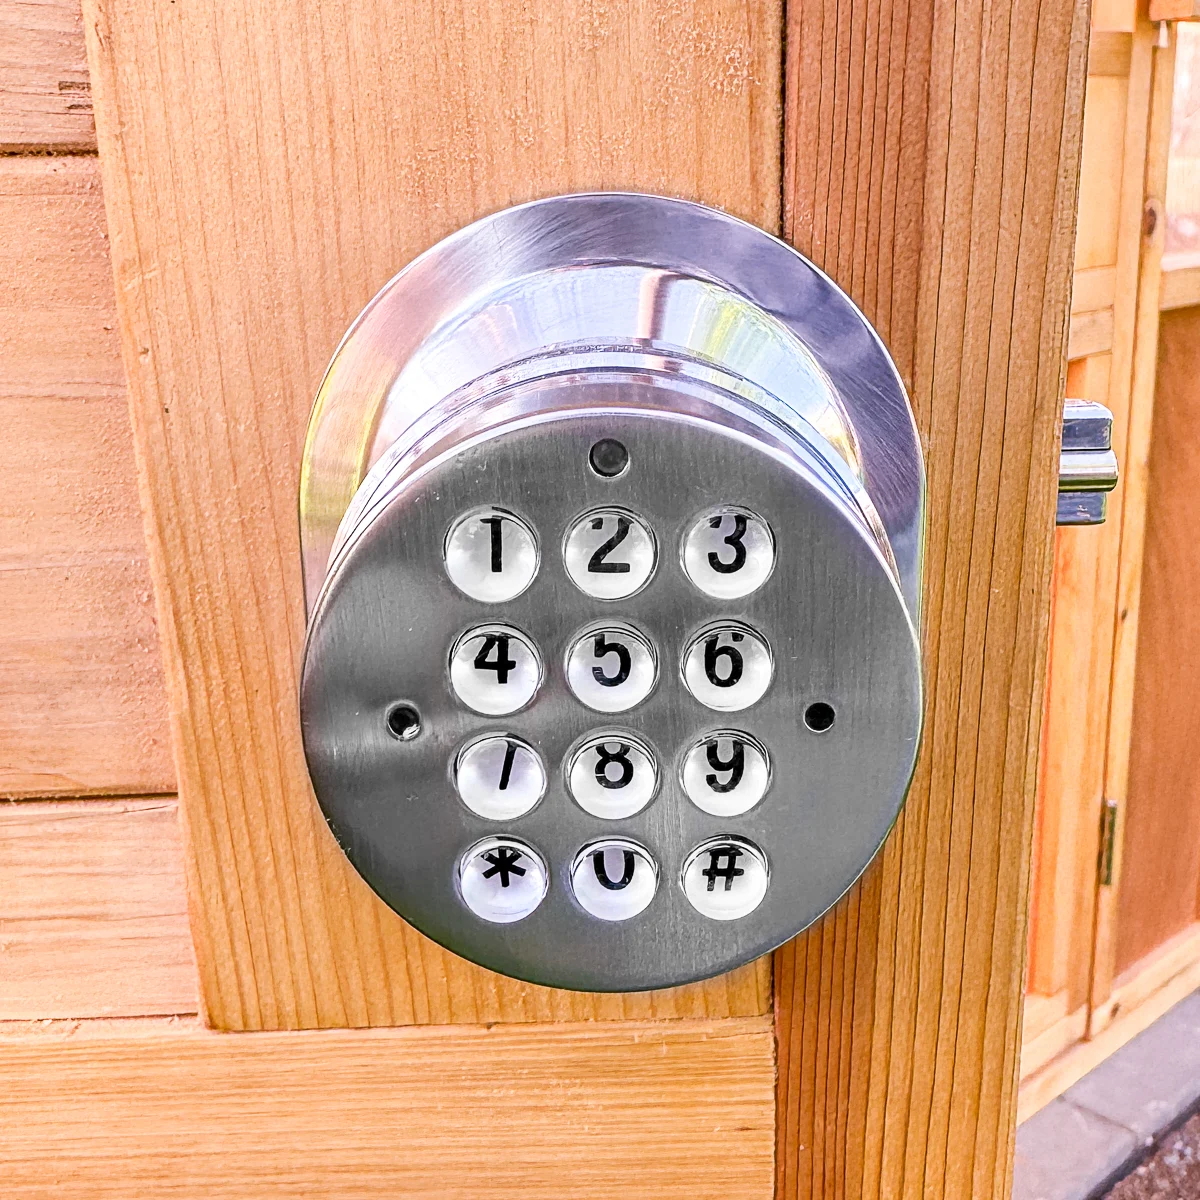
Insert the front door knob
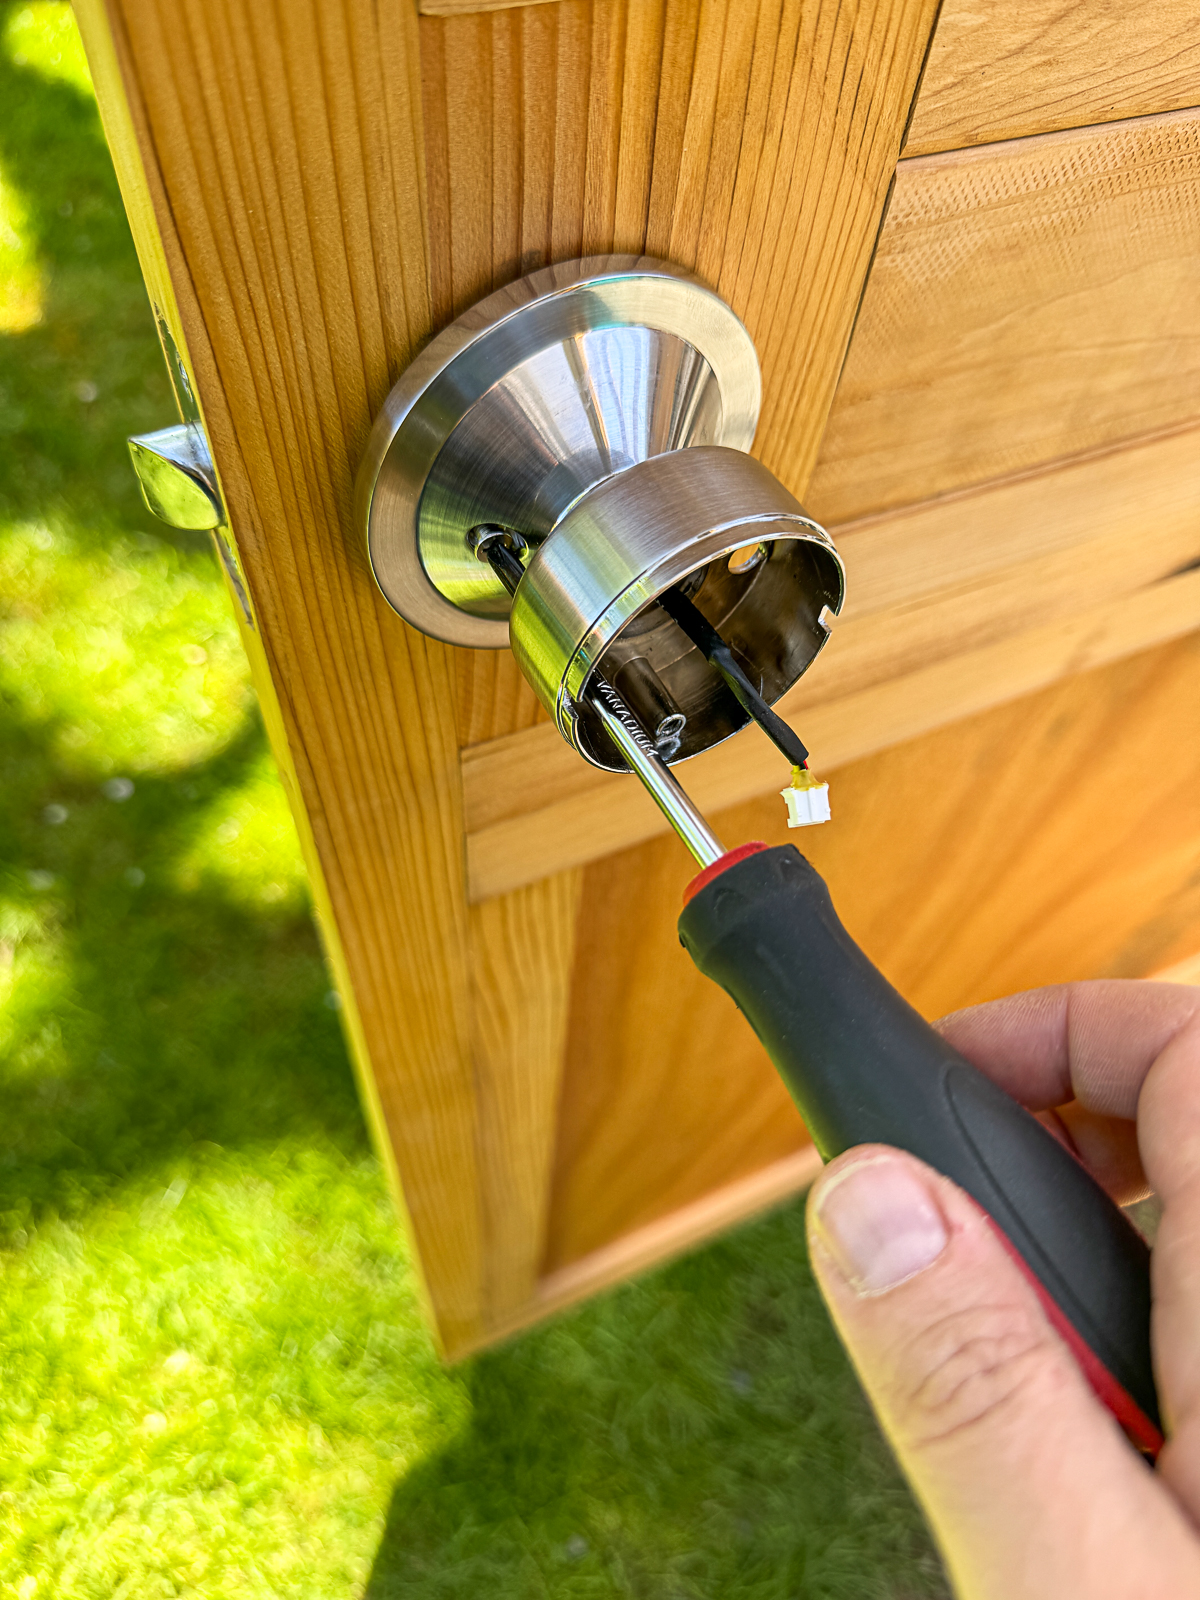
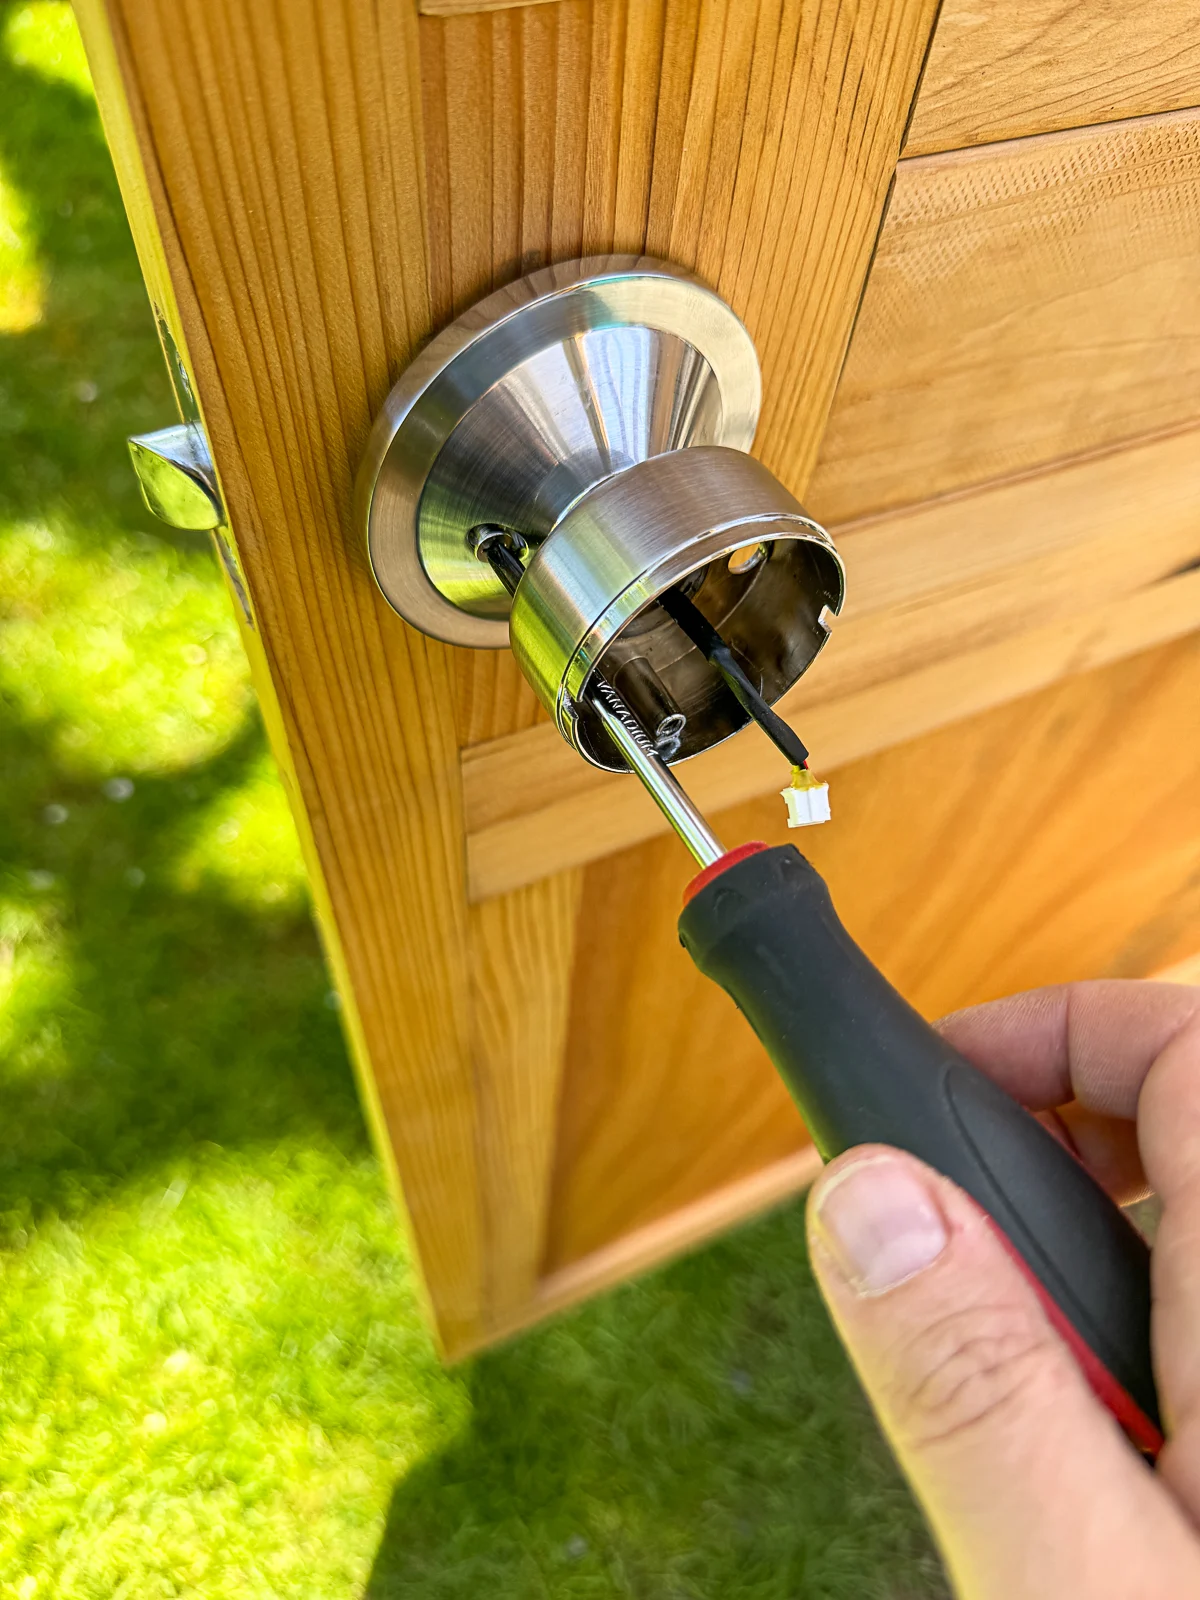
My door knob has a keypad on the front, and a battery pack on the back. First, I carefully threaded the power connector through the hole in the center of the latch.


Then I lined up the two rods on the back of the knob with the two holes on either side of the latch. Check to make sure that the numbers on the keypad are facing the correct way!

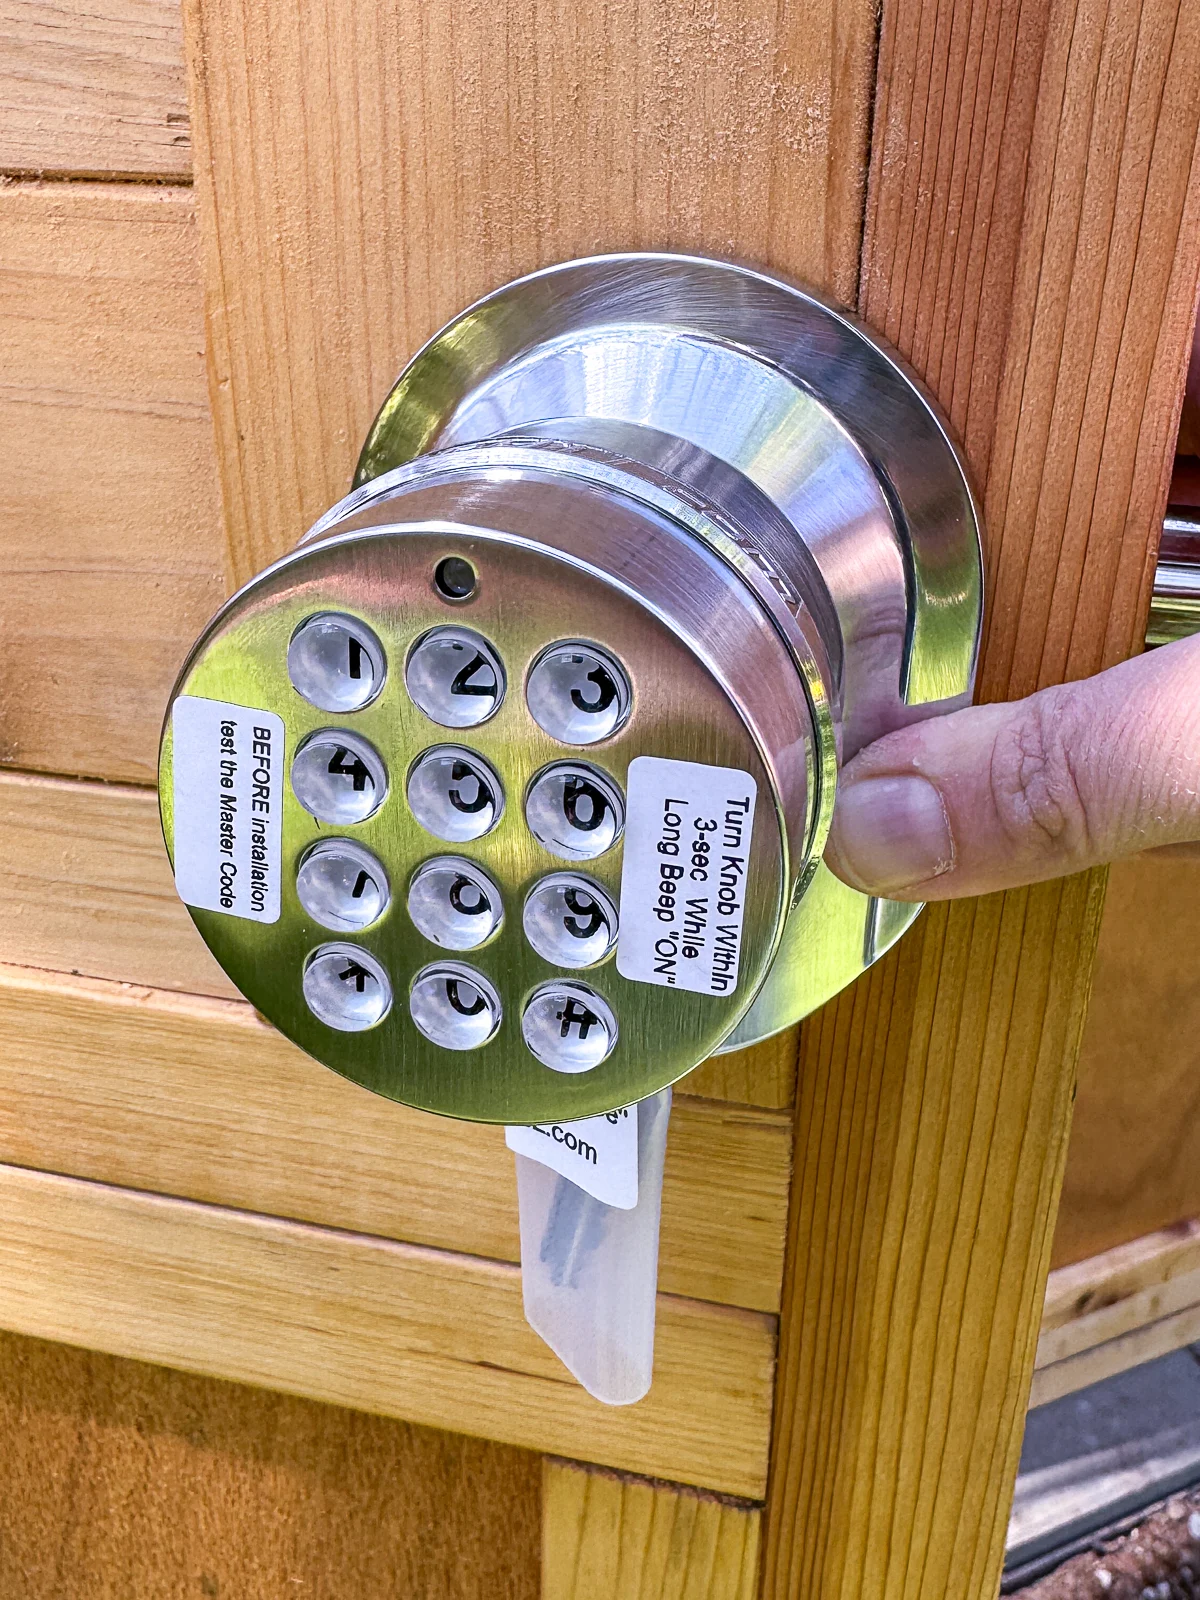
One thing I liked about this particular keypad door knob was that it came with an emergency key. I kept it looped on the front knob until I was sure that everything was installed correctly and the new code worked before storing it safely inside the house.
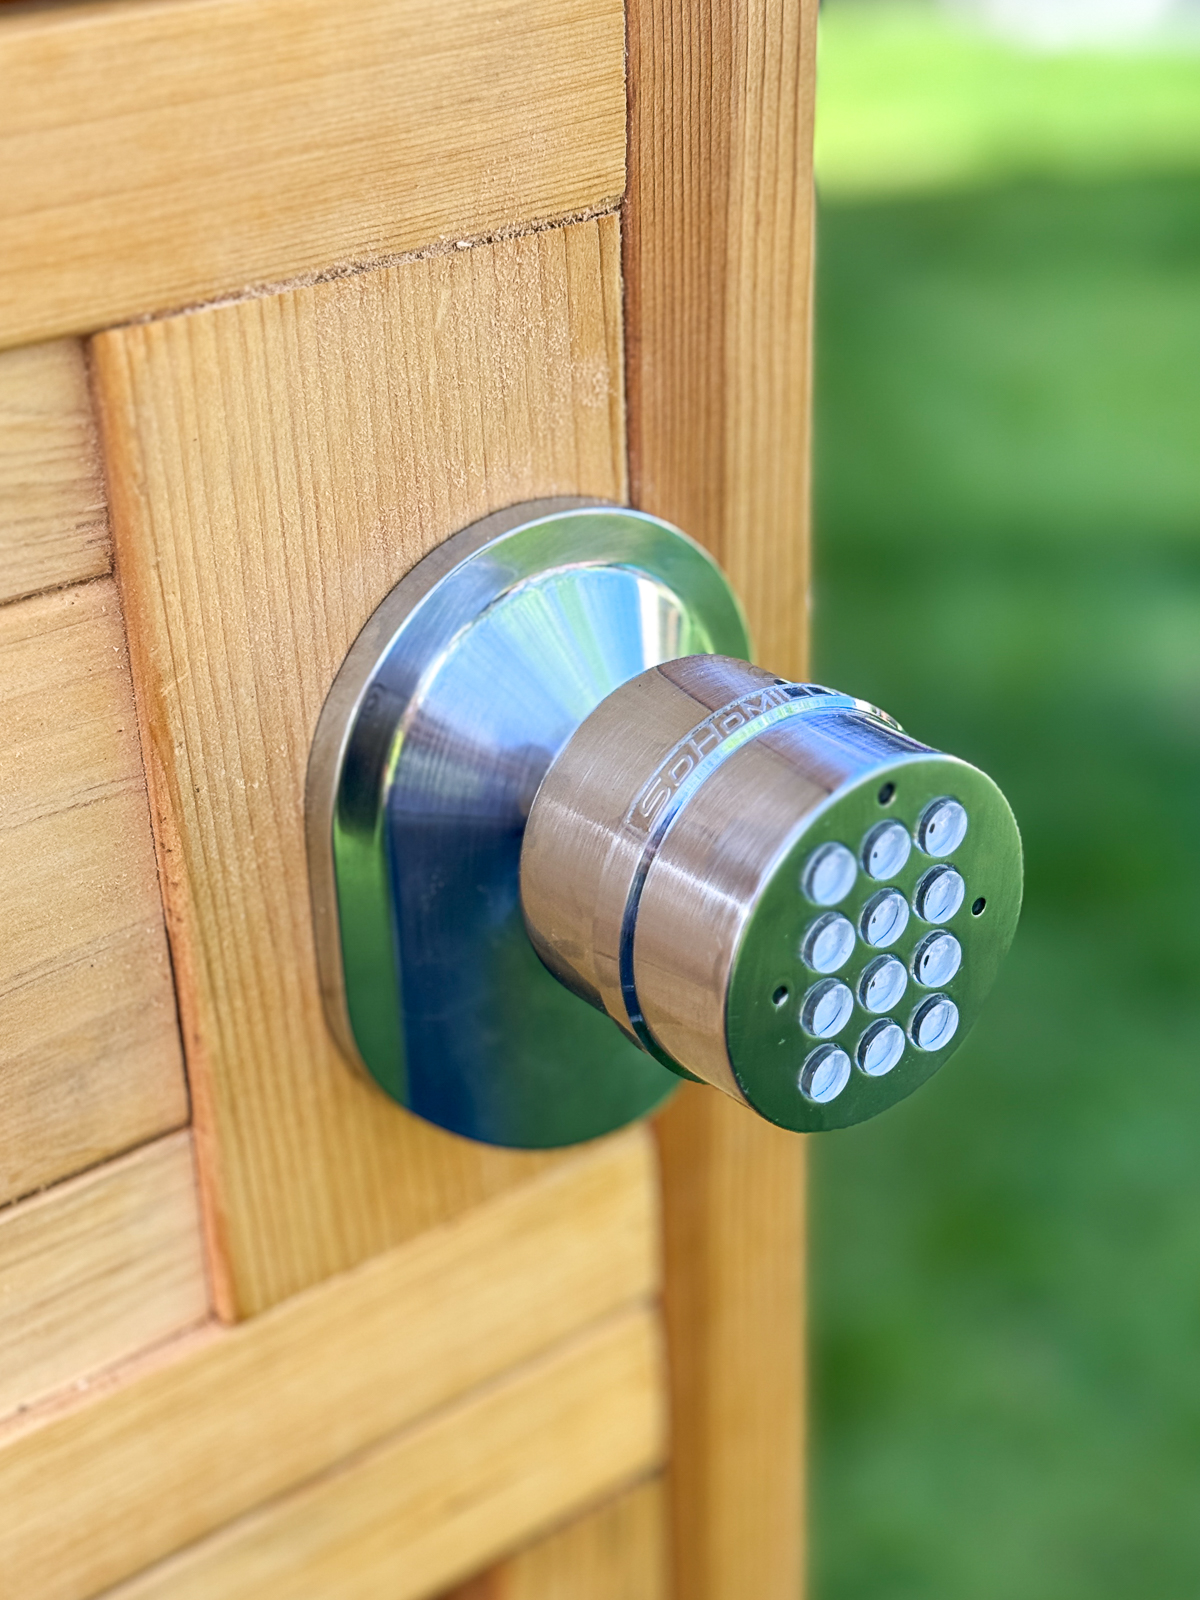
Attach the back door knob
Pull the wire through the hole in the middle of the back knob so it can connect to the battery.
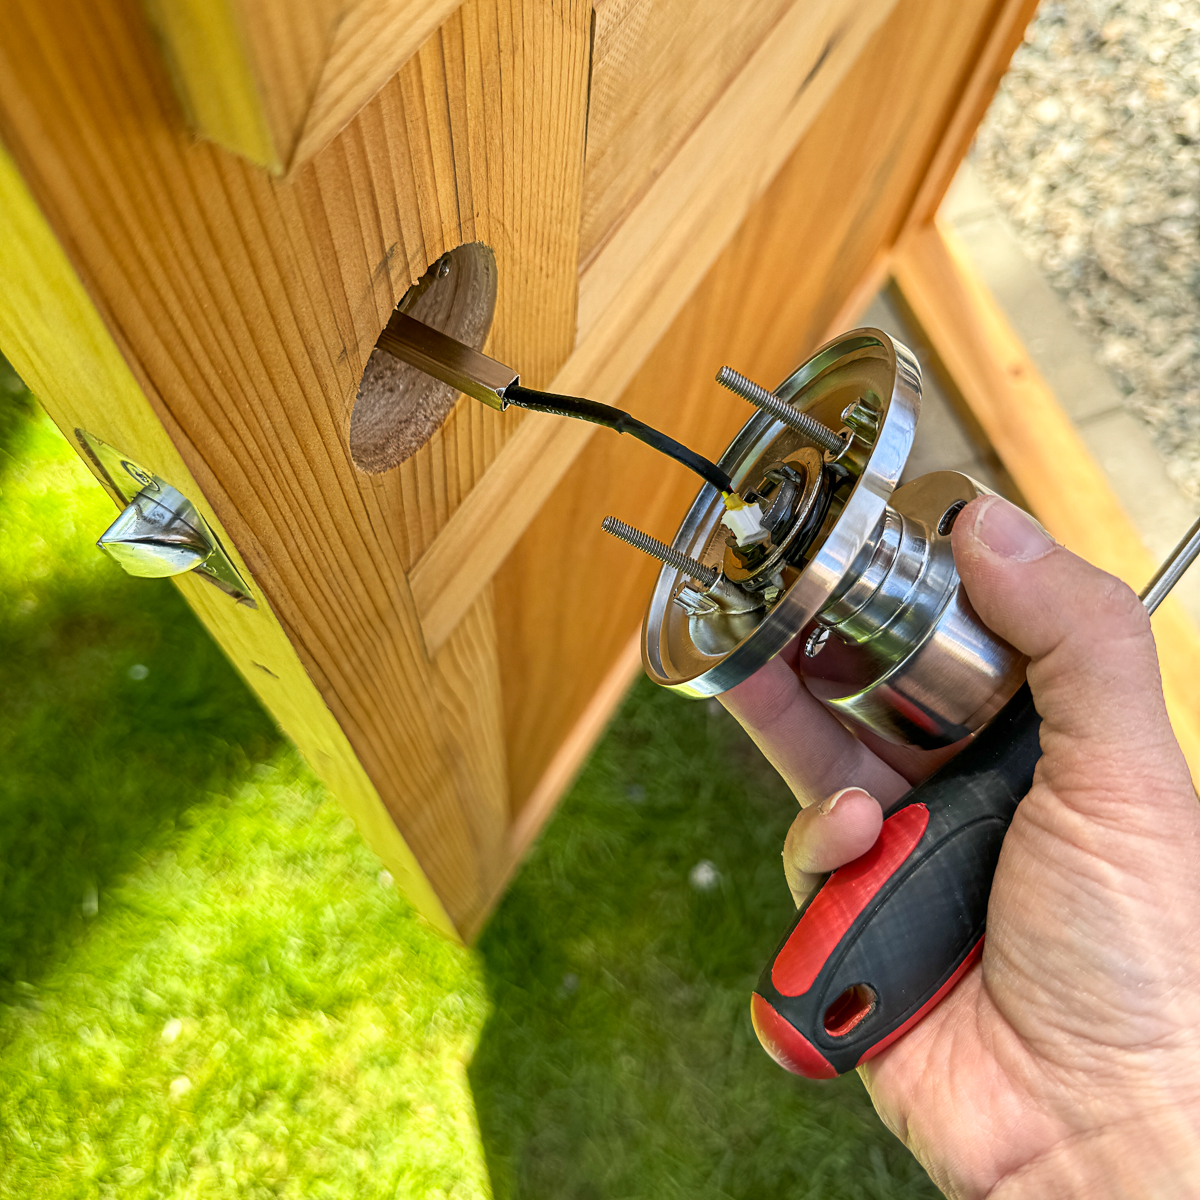

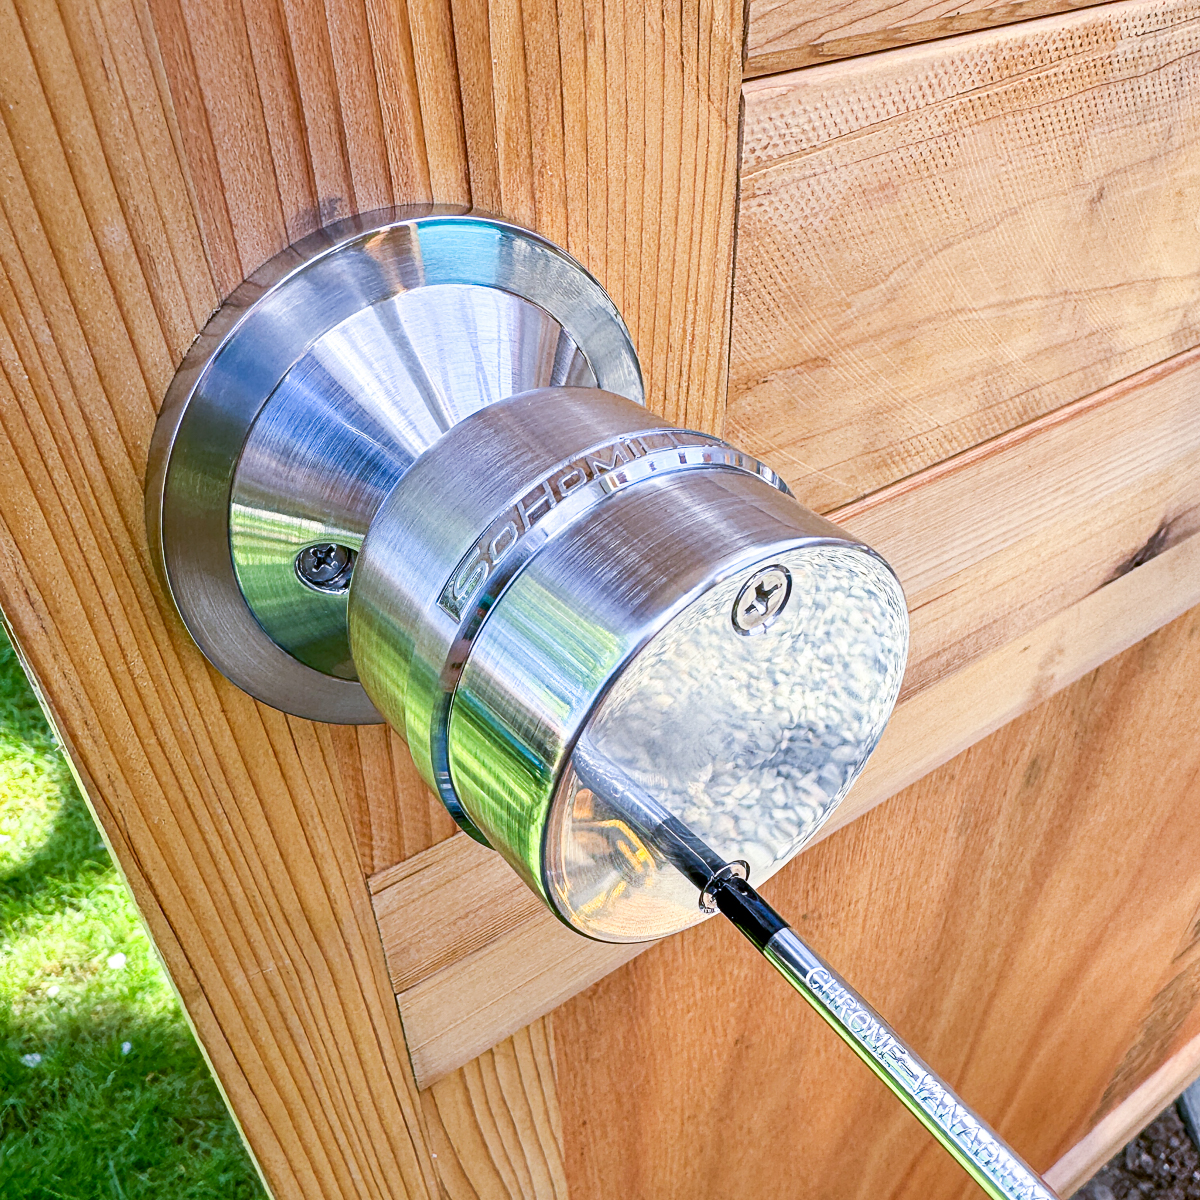
Then line up the screws with the rods from the front knob. It helps to angle the knob down so you can see where they connect, then turn the screw with your fingers a few times until it catches.
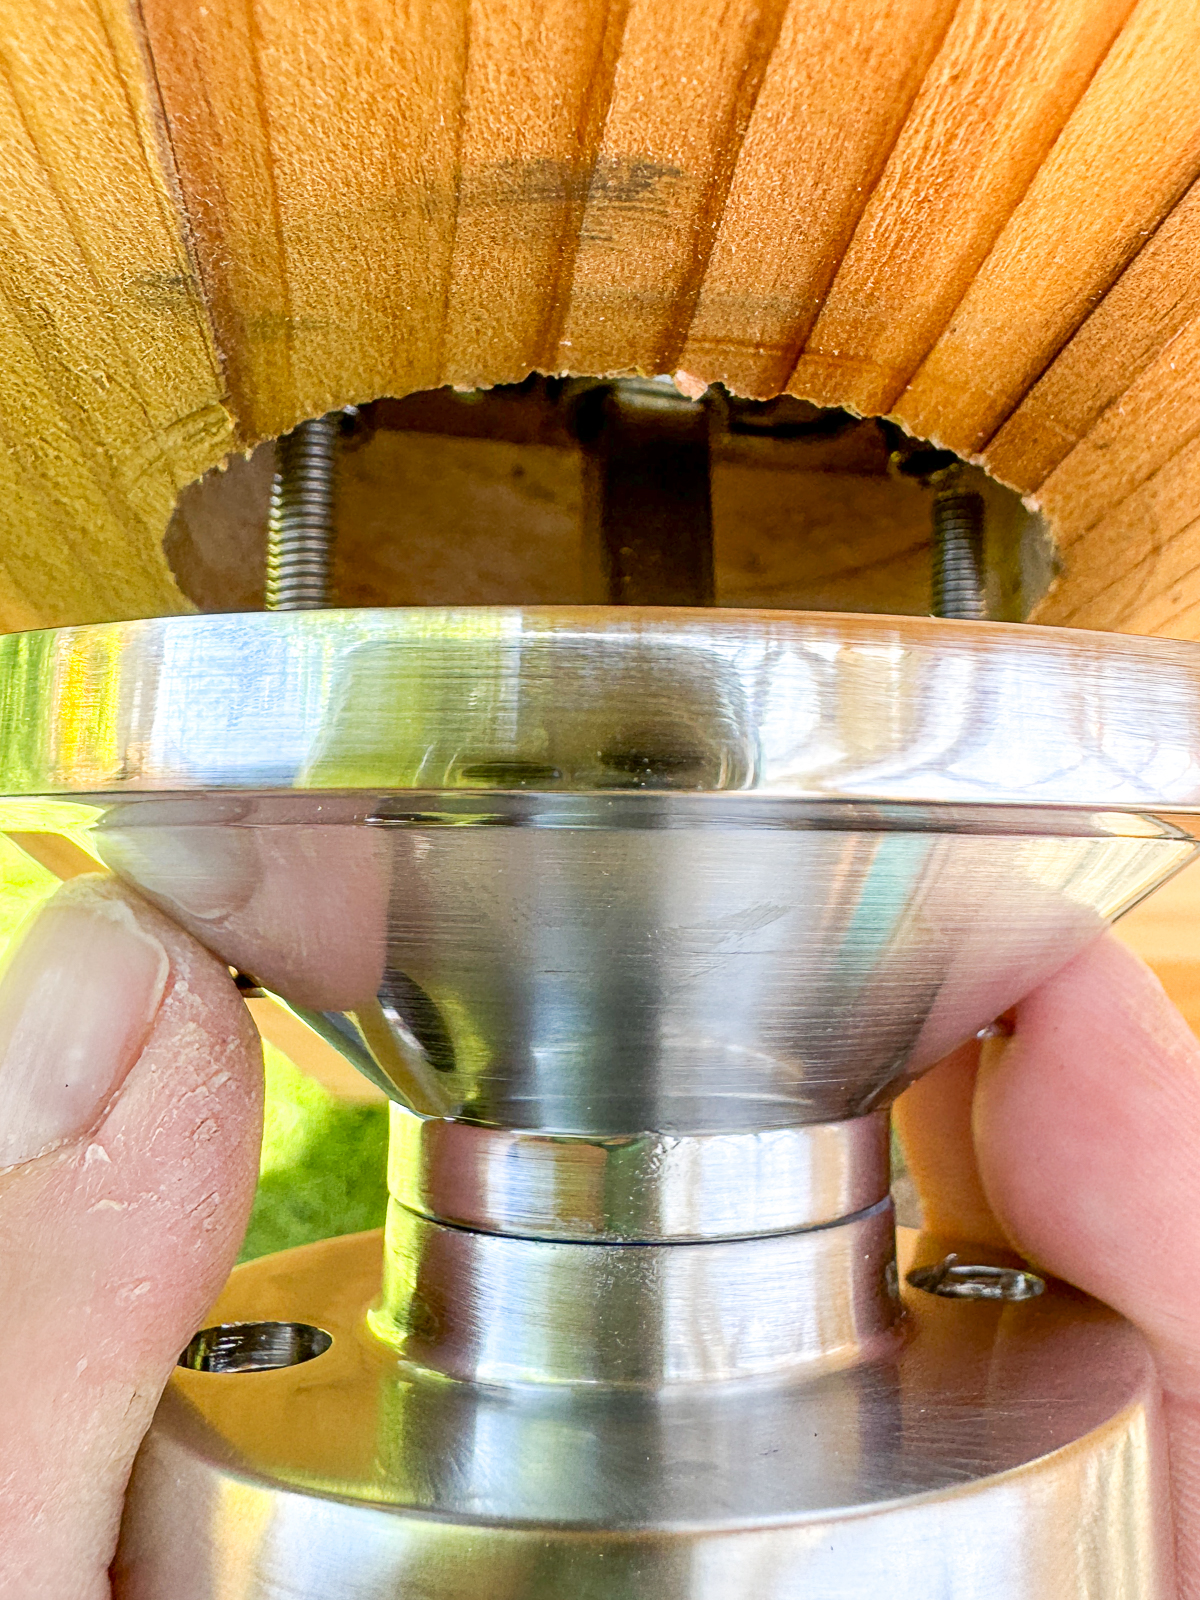
Then you can tighten the screws to secure the knob in place. I like how this knob has holes through the back, so you can screw it in straight!
If you're installing a regular door knob, you're done! But if it has a keypad, you'll need to attach the battery.
Attach the battery pack (optional)
This keypad door knob uses 4 AAA batteries to power the lock. After inserting them, connect the battery pack to the door knob wire.


Then line up the screw holes with the holes inside the knob and secure the battery pack in place.

Check your manual to see how to change the code from the generic master code to your own personal combination. This one can also change the default from auto-locking to require a button press to lock.

Now my greenhouse is secure! I feel much better knowing that the door automatically locks, so I don't have to run out at bedtime to check the lock!

Check out these other easy home improvement projects!