Learn how to repair drywall anchor holes for a flawless wall finish that's ready for a fresh coat of paint with this step-by-step guide.

Are you ready to change up your decor, but discovered a bunch of holes in the drywall from wall anchors and screws? Or maybe you moved the hook for that hanging plant closer to the window, and now there's a gaping hole in the ceiling? Ugh!
Don't worry, repairing drywall anchor holes isn't as hard as you might think. It just takes a little time and patience to get a flawless wall finish that's ready for a new coat of paint!
To fix anchor holes, you first need to sand any raised areas. Then, generously fill the hole with a joint compound or spackle and allow it to dry. After sanding the wall flat, paint over the patch job to make everything invisible!
Also, if you haven't already, check out my guide to seven types of hollow wall anchors - this will help you understand how they work and the hole they will leave behind.
This post contains affiliate links for your convenience. Purchases made through these links may earn me a small commission at no additional cost to you. Please visit my disclosures page for more information.
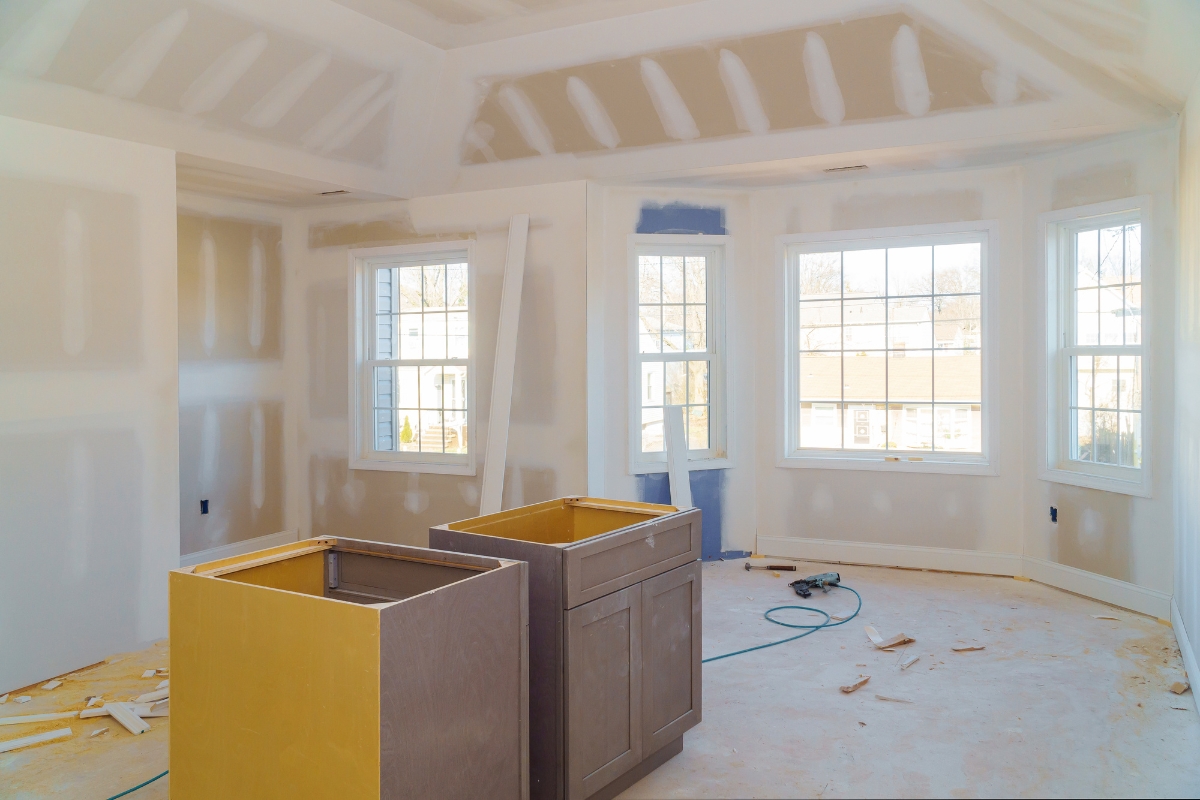
I'm starting off the New Year by giving our backyard shed a complete makeover! It was marketed as an artist studio when we bought the house, and it has heat, carpeting, pendant lighting and a huge picture window that overlooks the backyard. It's way too nice to be just storage!

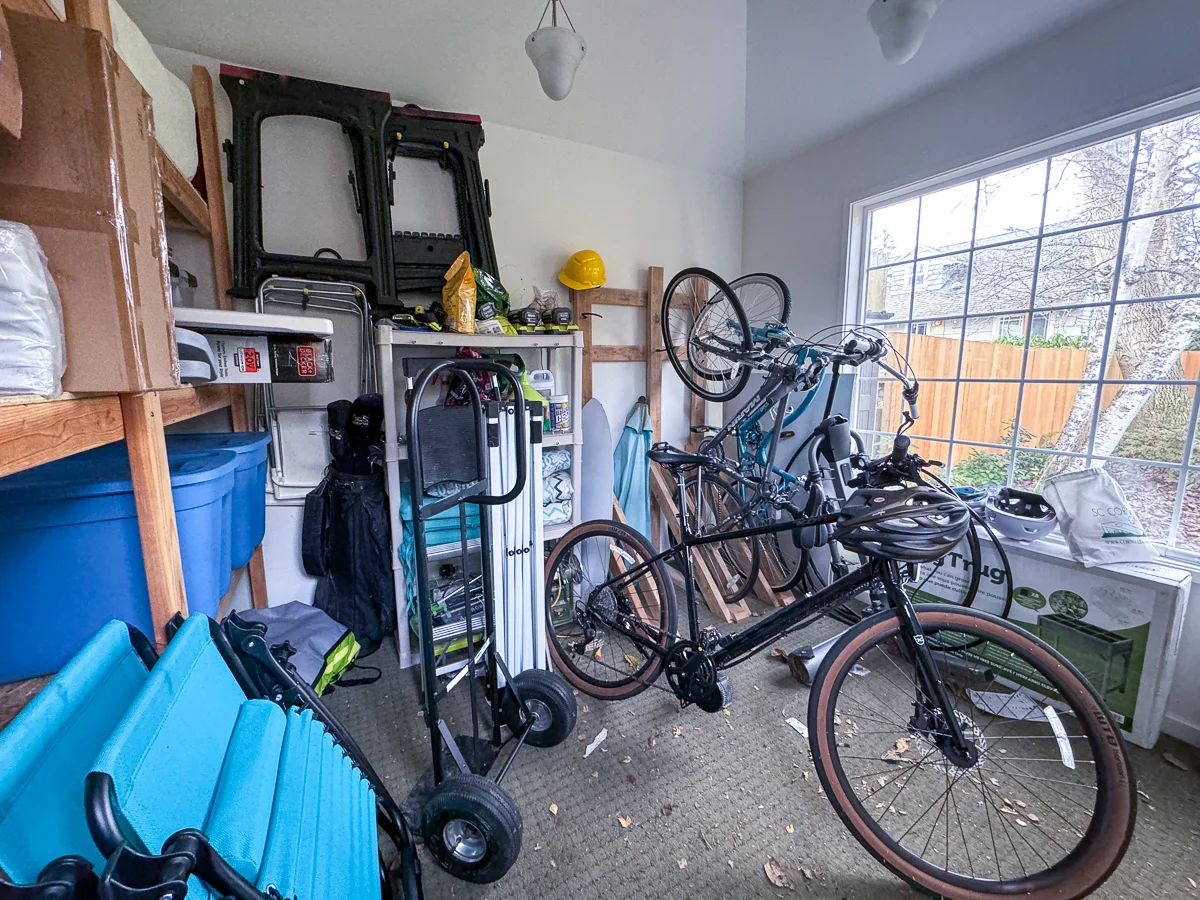
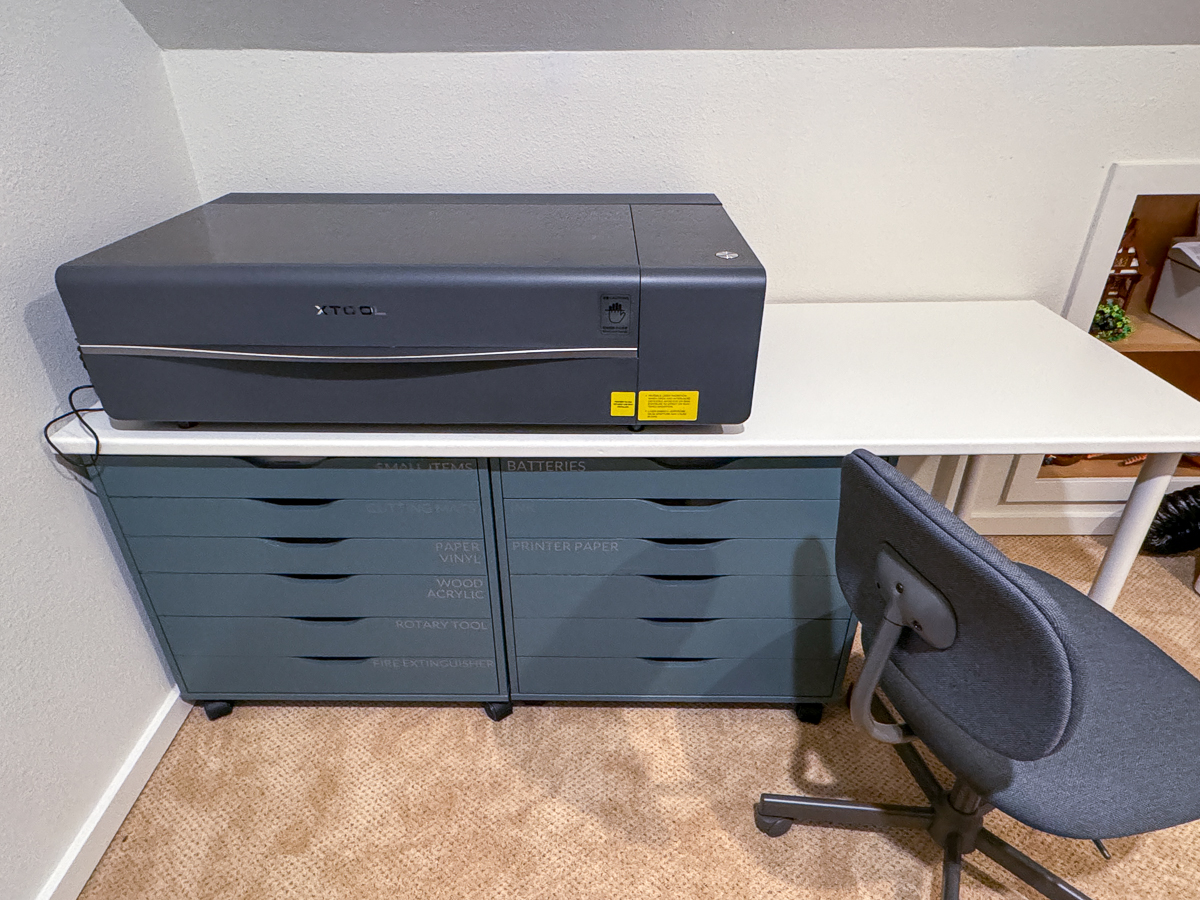
I'm turning the shed into a maker space, so I can use my xTool P2 laser cutter and my new 3D printer without dealing with fumes in the house. I can't wait to transform this bonus space and get our guest room back!

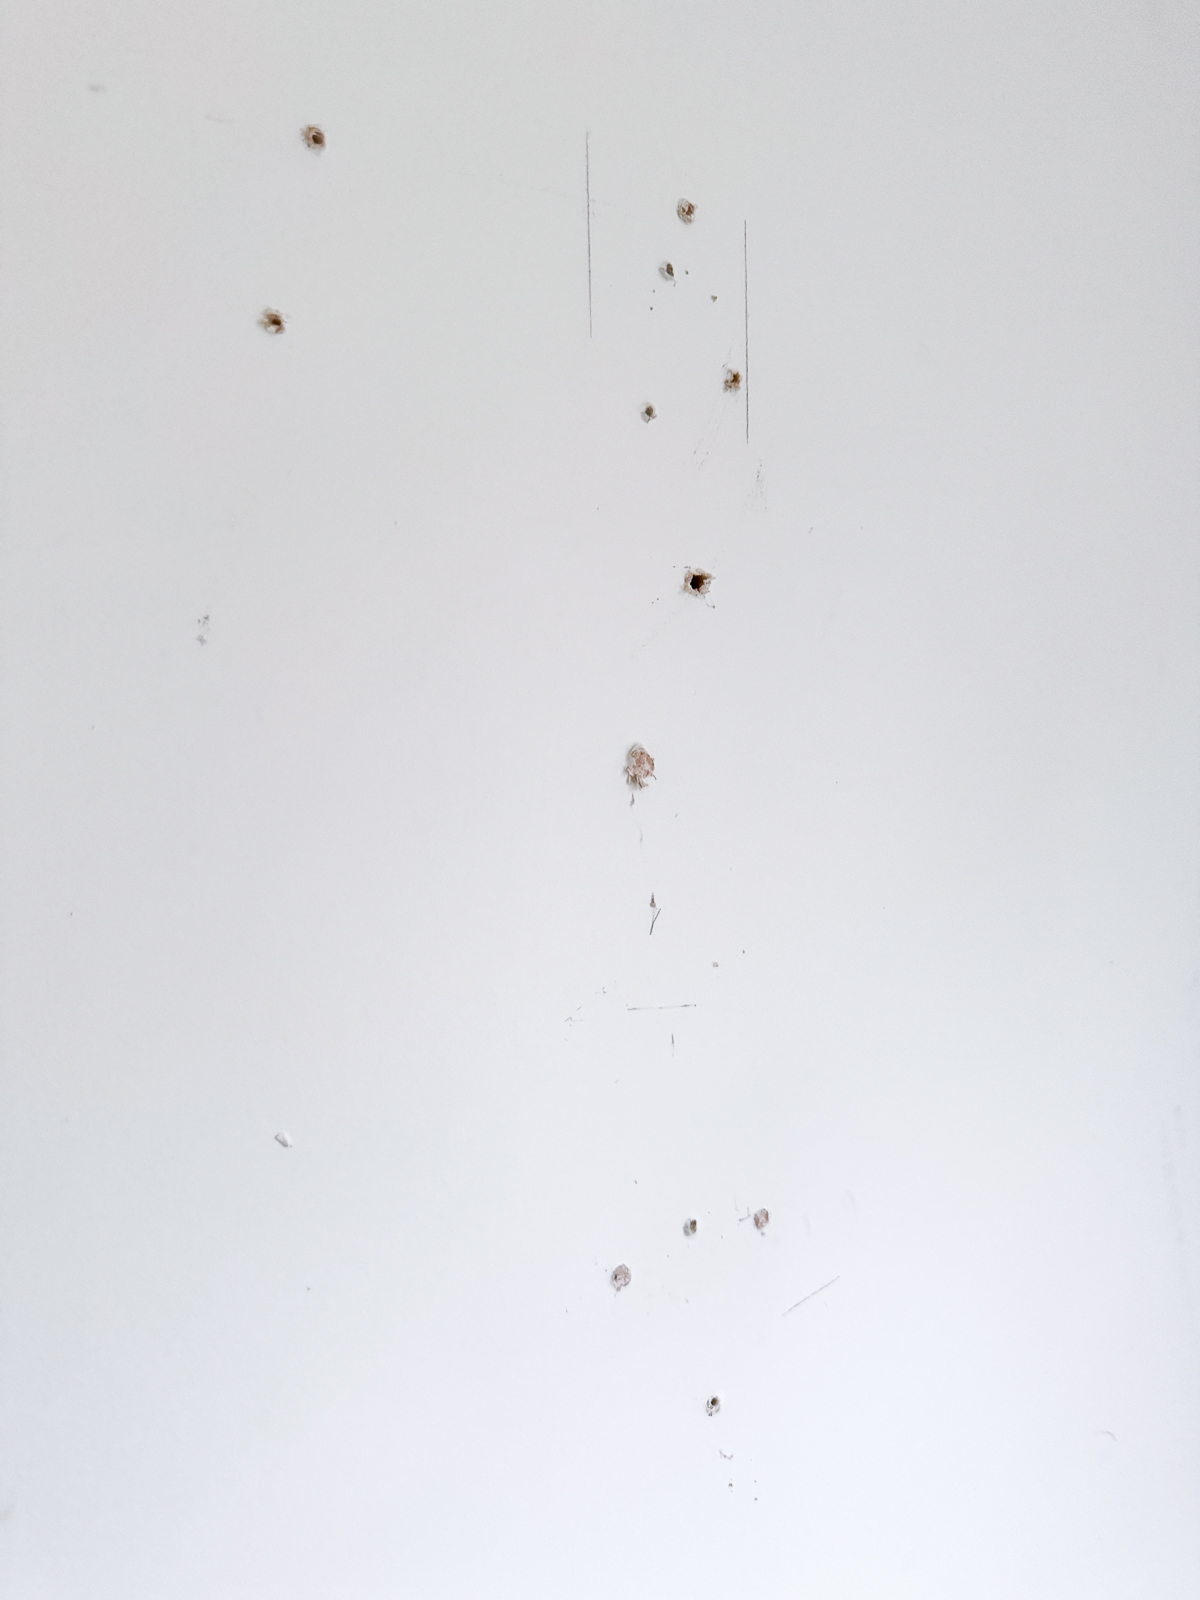
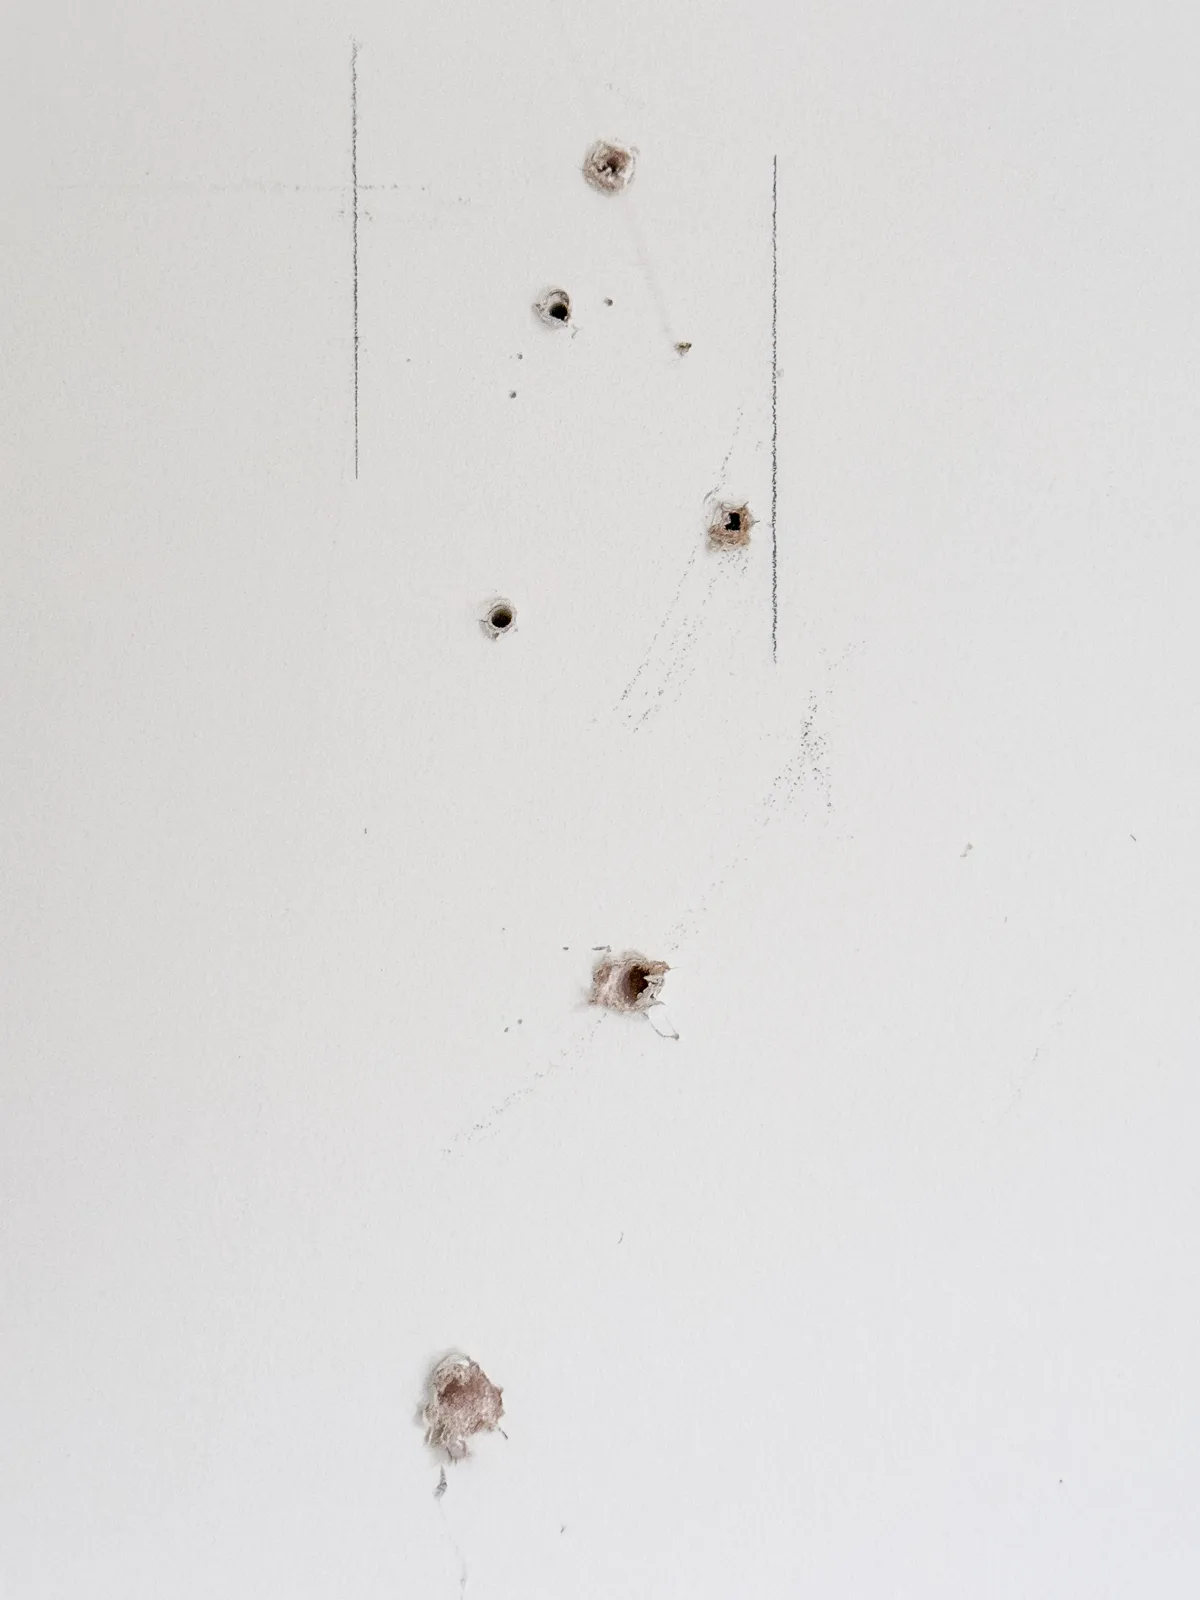
I plan to put that desk along the back wall of the shed, so I needed to move the bike rack to the opposite corner until I build something to store them in outside. But I unearthed a TON of screw holes in the drywall behind it! Ugh!
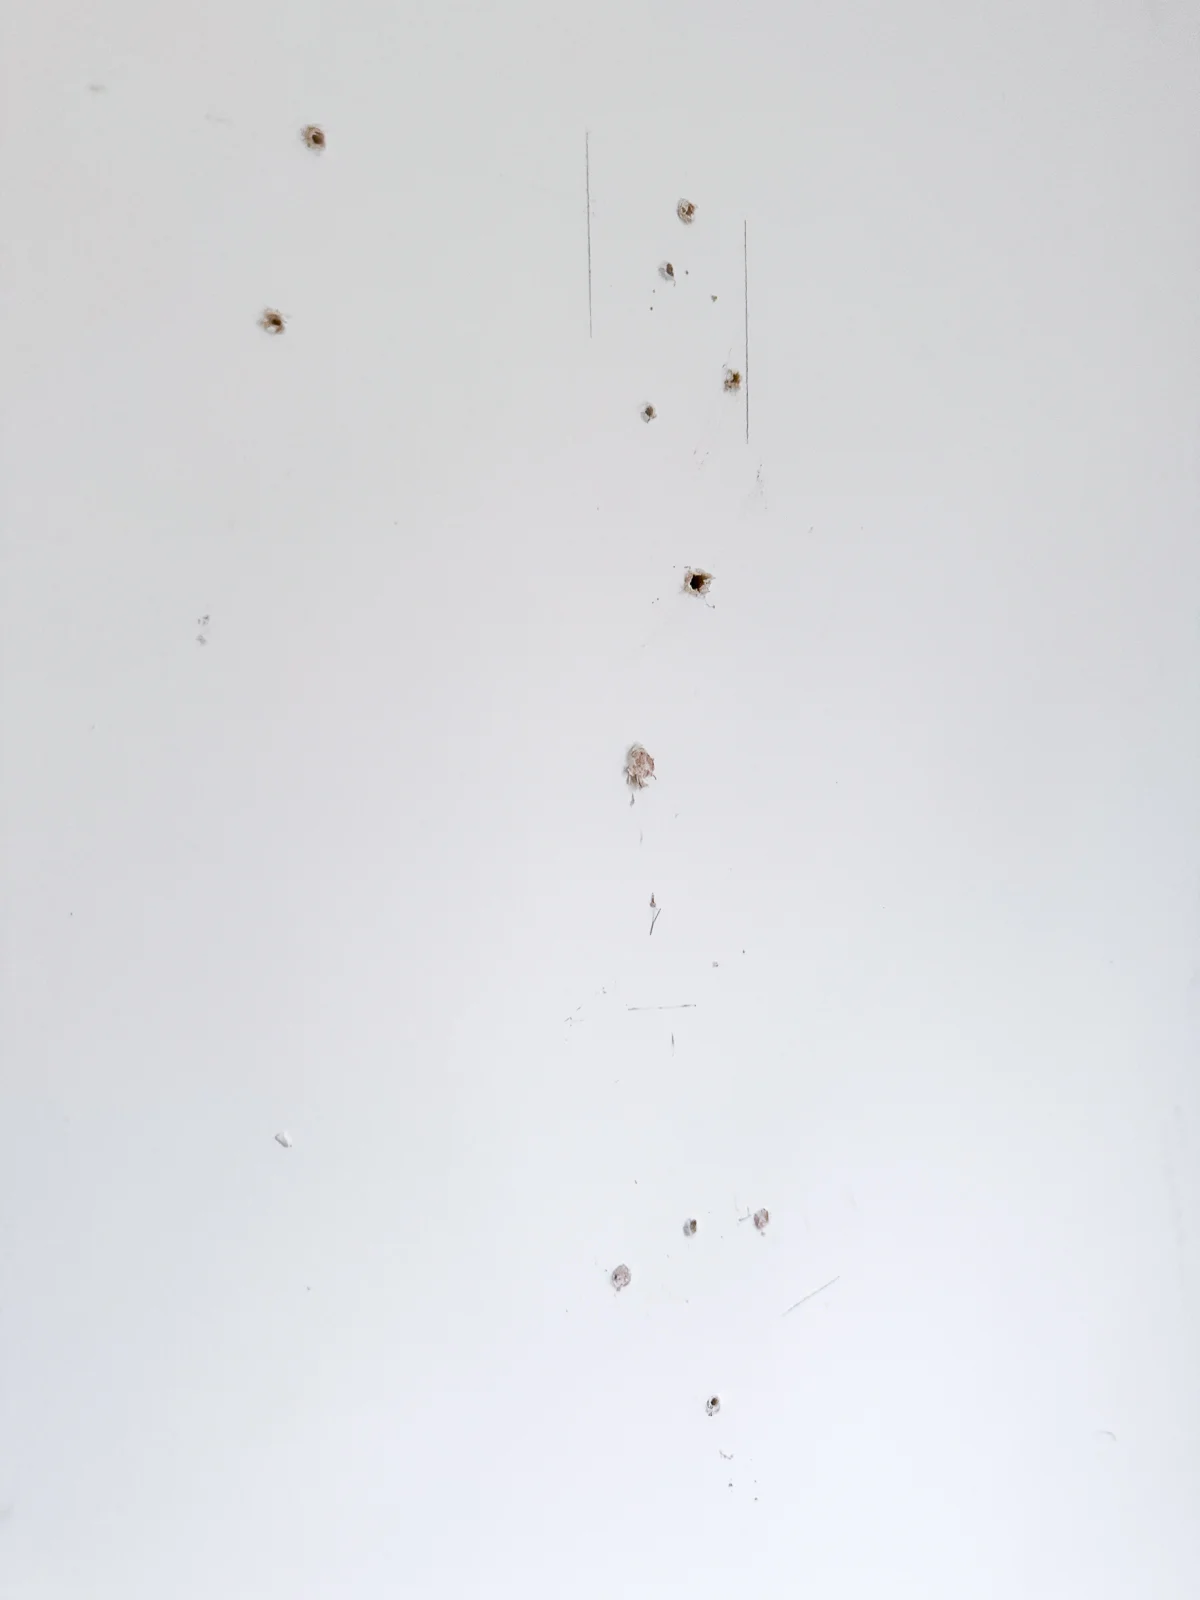
Before I can paint, I need to repair the drywall anchor holes and get the wall flat again. Here's how!
Materials Needed
Before patching those holes, ensure you have the right equipment. In fact, it might be smart to create a "drywall first aid kit" so you have everything ready to go the next time you need to make a repair.
Here are the materials you'll need:
- Joint compound or non-shrink spackle
- Sanding sponge
- 6" drywall knife
- Plastic putty knife
- Utility knife
- Microfiber cloth or tack cloth
Note on safety: Wear a dust mask if doing extensive sanding, especially if you're using drywall mud. That stuff is super fine, and you don't want it coating your lungs!
Choose the Right Filler
Some people say you should only use drywall joint compound on holes for the best results. Others stick with spackle, which dries quickly and is made specifically for this type of repair. So which one should you choose?
I use joint compound if I'm repairing a larger hole in the wall that requires a mesh or drywall patch. For smaller holes from anchors or screws, I stick with spackle. Here's why...
Spackling
One of the biggest benefits of patching walls with spackle is that it dries really quickly. This one is my favorite, because it changes from pink to white when it's dry in about an hour.


However, sometimes you can see a texture difference after painting over spackle. This is most apparent if you don't prime over it first, because the patch will absorb paint differently than the surrounding area.
Spackle also has a tendency to shrink as it dries, so you're left with a divot instead of a flat surface. This is easy to fix with a second coat, but it adds another hour or so to the project.

Joint Compound
Joint compound, or mud, is what professionals use to fill the seams between sheets of drywall. It's thinner than spackle, which allows it to flow easily over gaps and holes. It's also easy to sand, so the transition disappears.

However, it can be runny and messy, especially if you don't mix it properly. For a small patch, it's easier to buy premixed joint compound that is ready to go right out of the container.
Drywall compound takes MUCH longer to dry. You'll typically be waiting until the next day to paint unless you crank up the heat to speed up the process.
Clean and Prepare the Holes
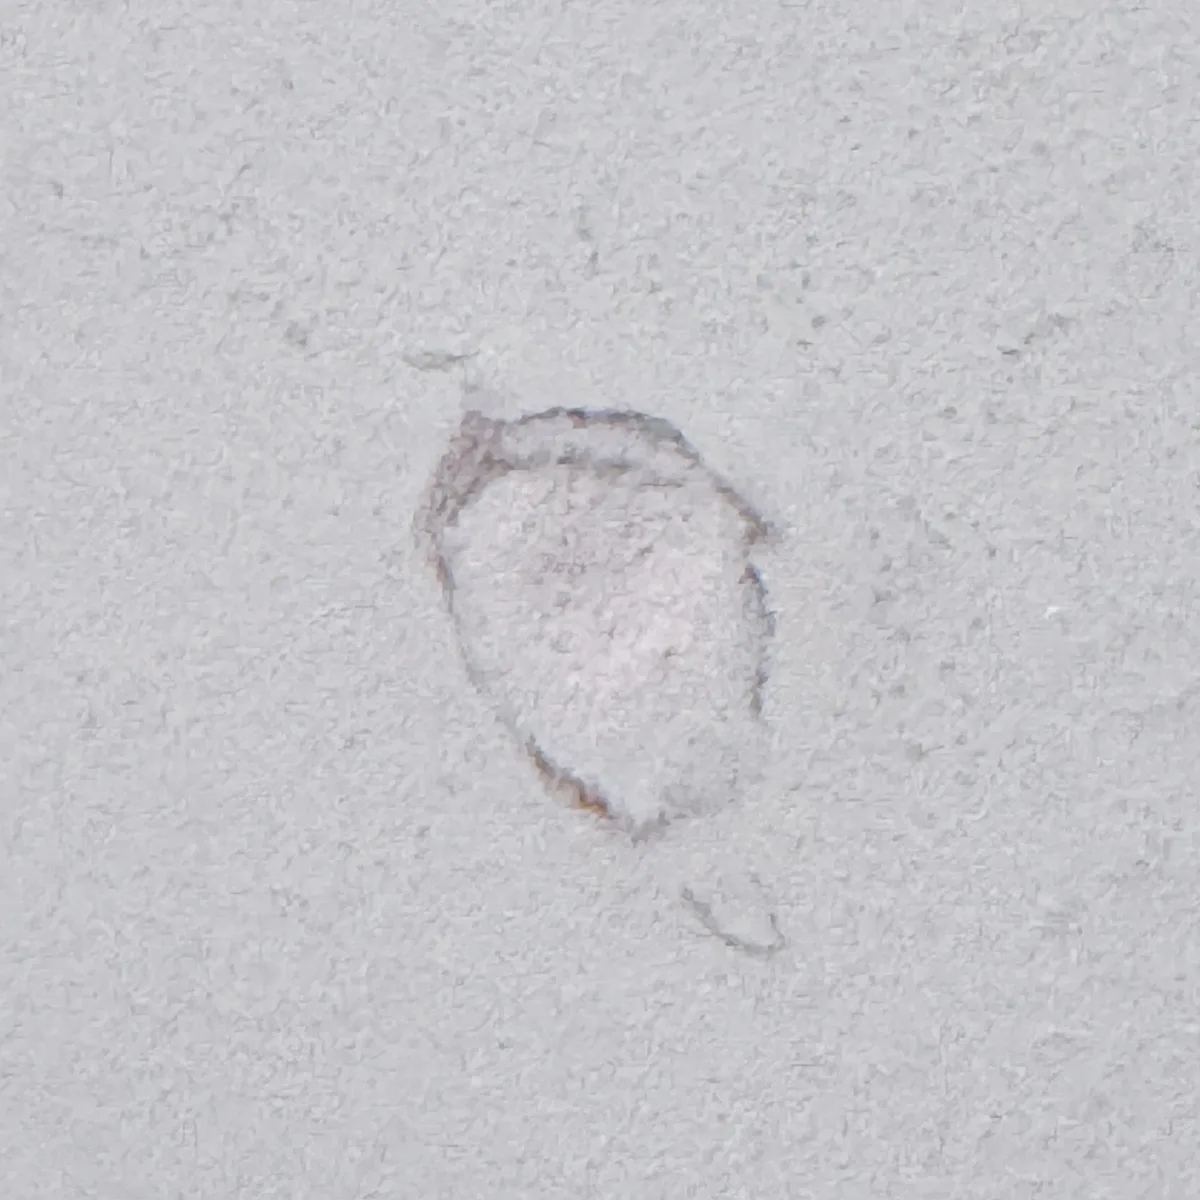
After you're pulled out the drywall anchors from the wall, you'll probably be left with holes that are loose, crumbling or sticking out. Any broken bits will cause your patch job to fall out or leave you with a lumpy finish.
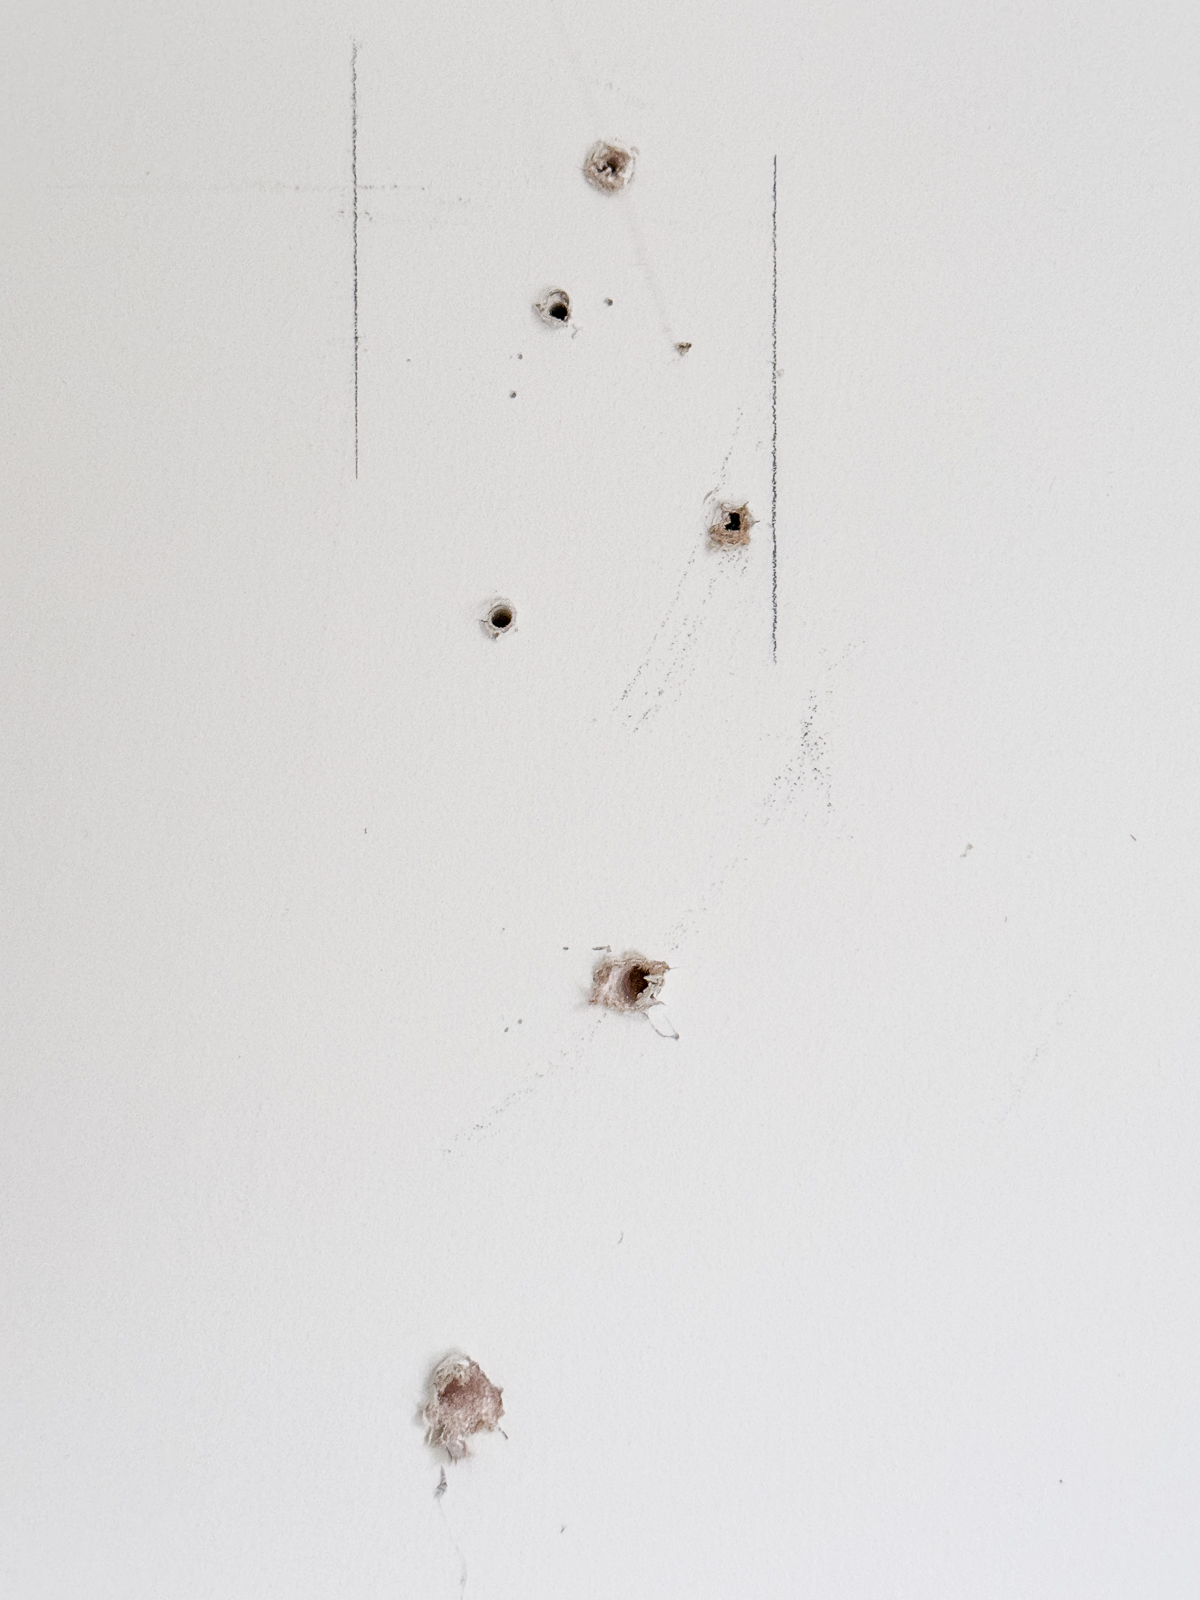
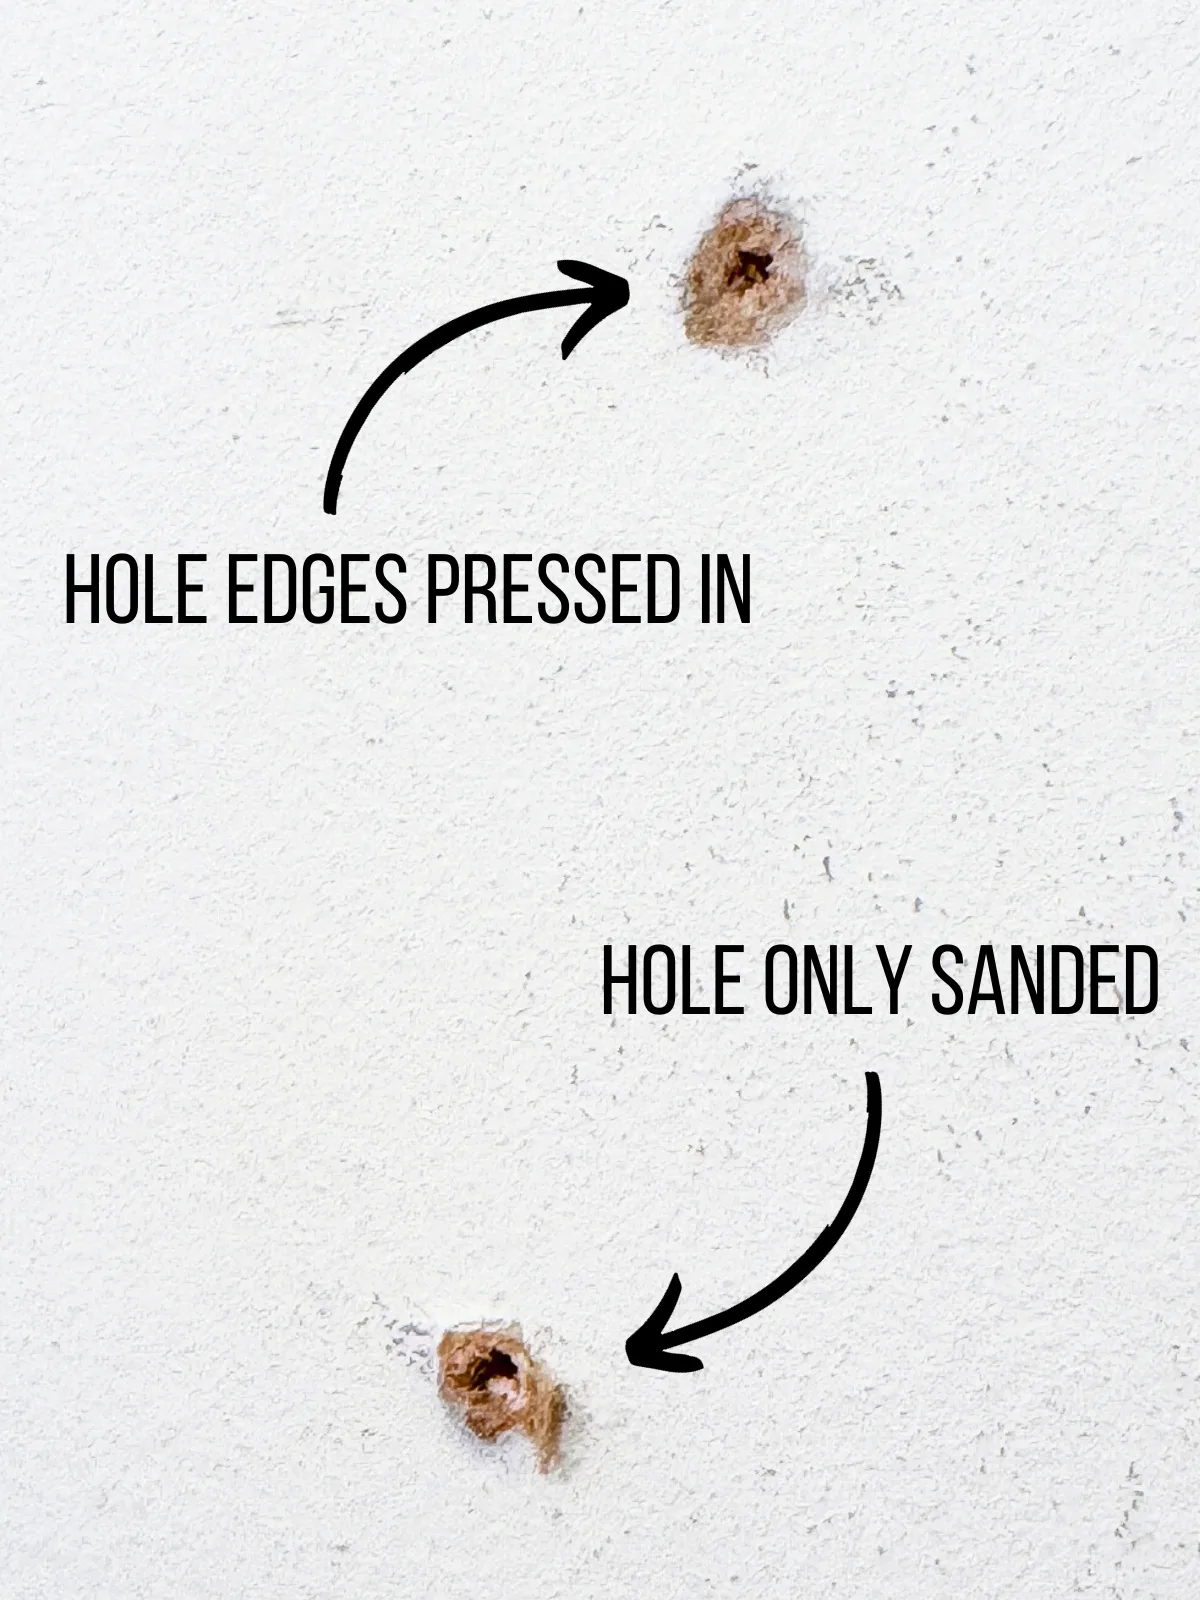
Use a razor blade to cut around the edges if needed. I like to use the sharp edge of a drywall knife to knock down any high spots and push the paper back into the hole.
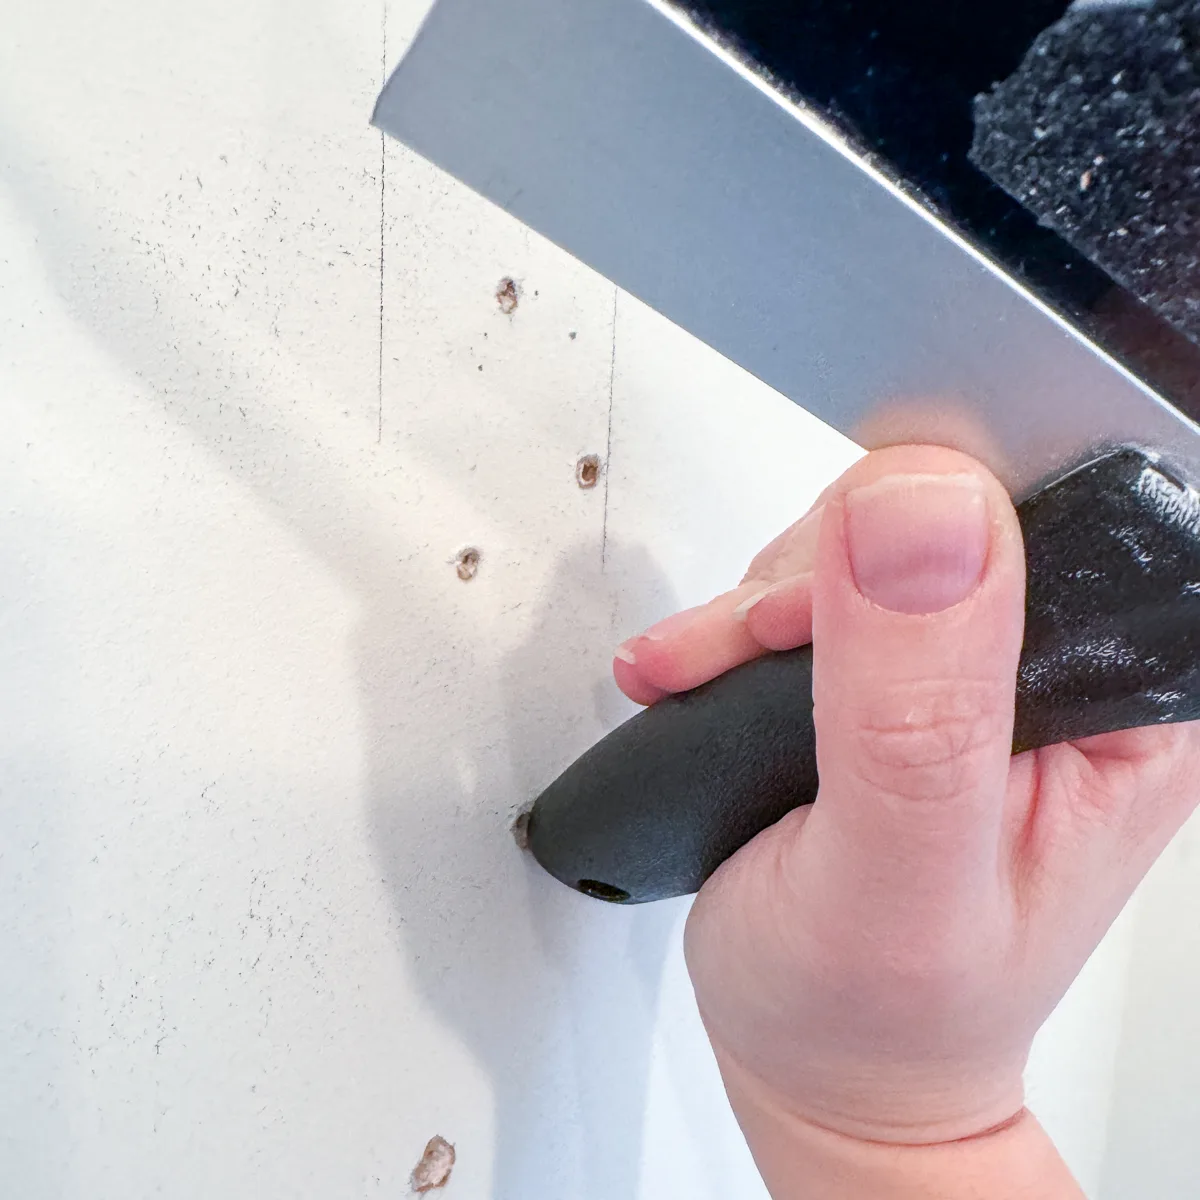
Next, use the rounded handle of the drywall knife to press in the outside edge of the hole. This will create a divot, similar to the one formed by drywall screws, which is easier to fill smoothly. You can also use the round handle of a screwdriver for this step.

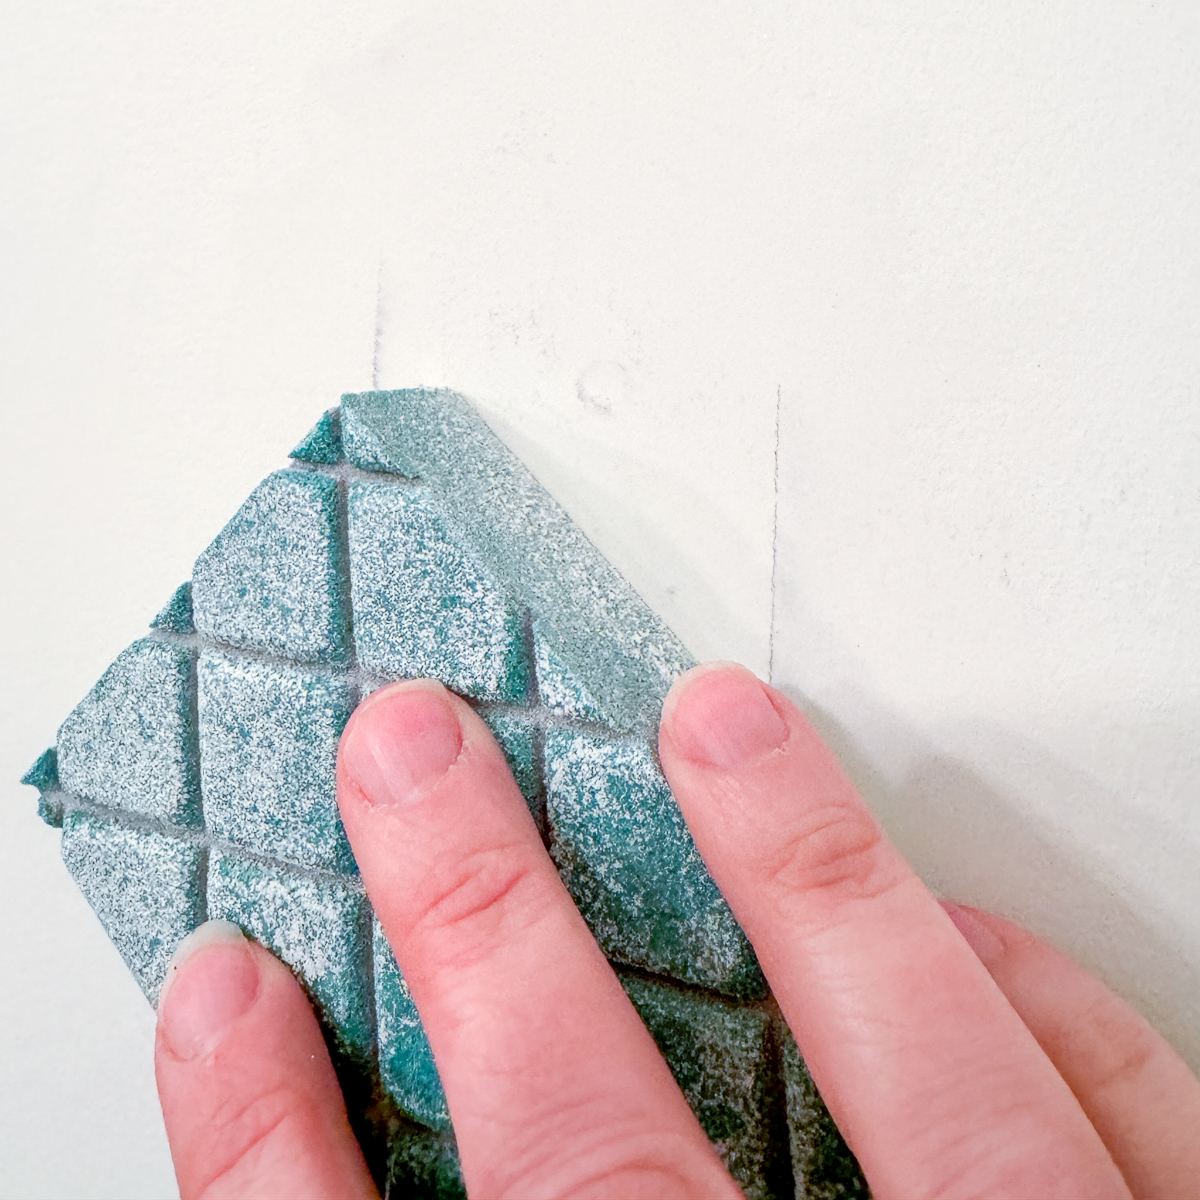
Finally, sand the surrounding area smooth with a sanding block. Keep the block flat against the wall, so you don't accidentally create new grooves in the drywall surface.
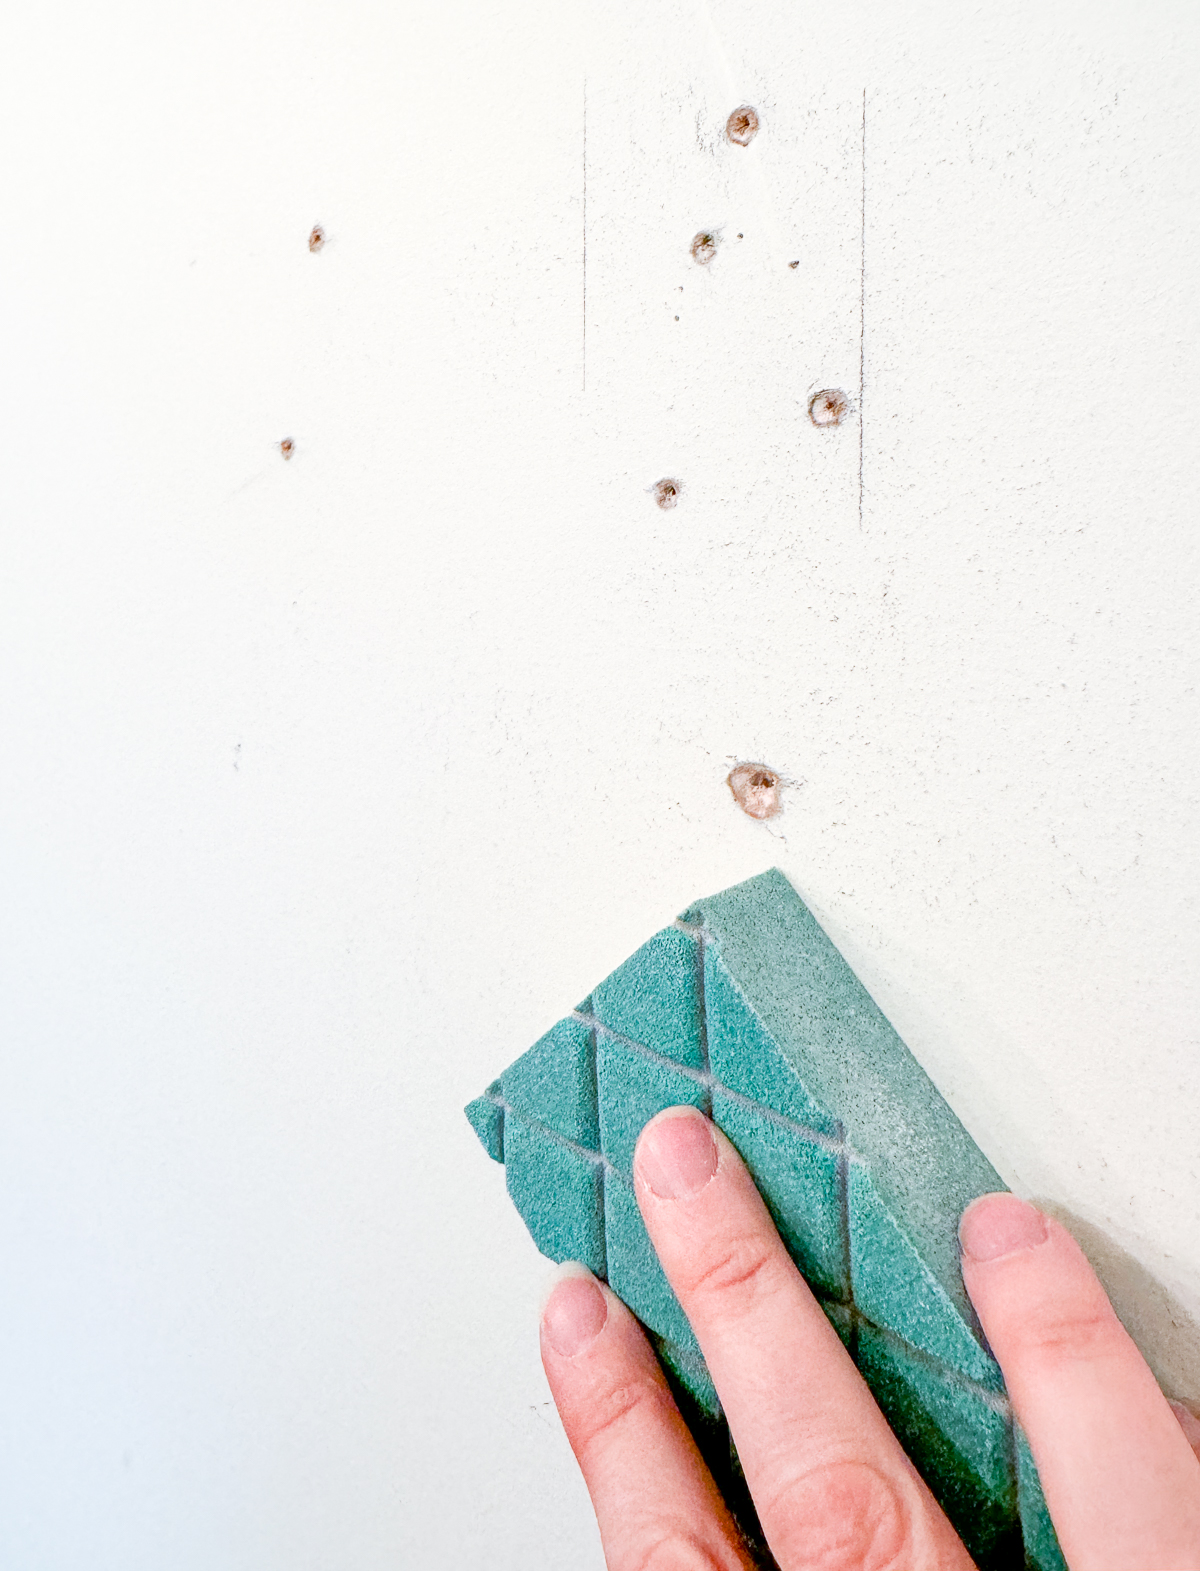
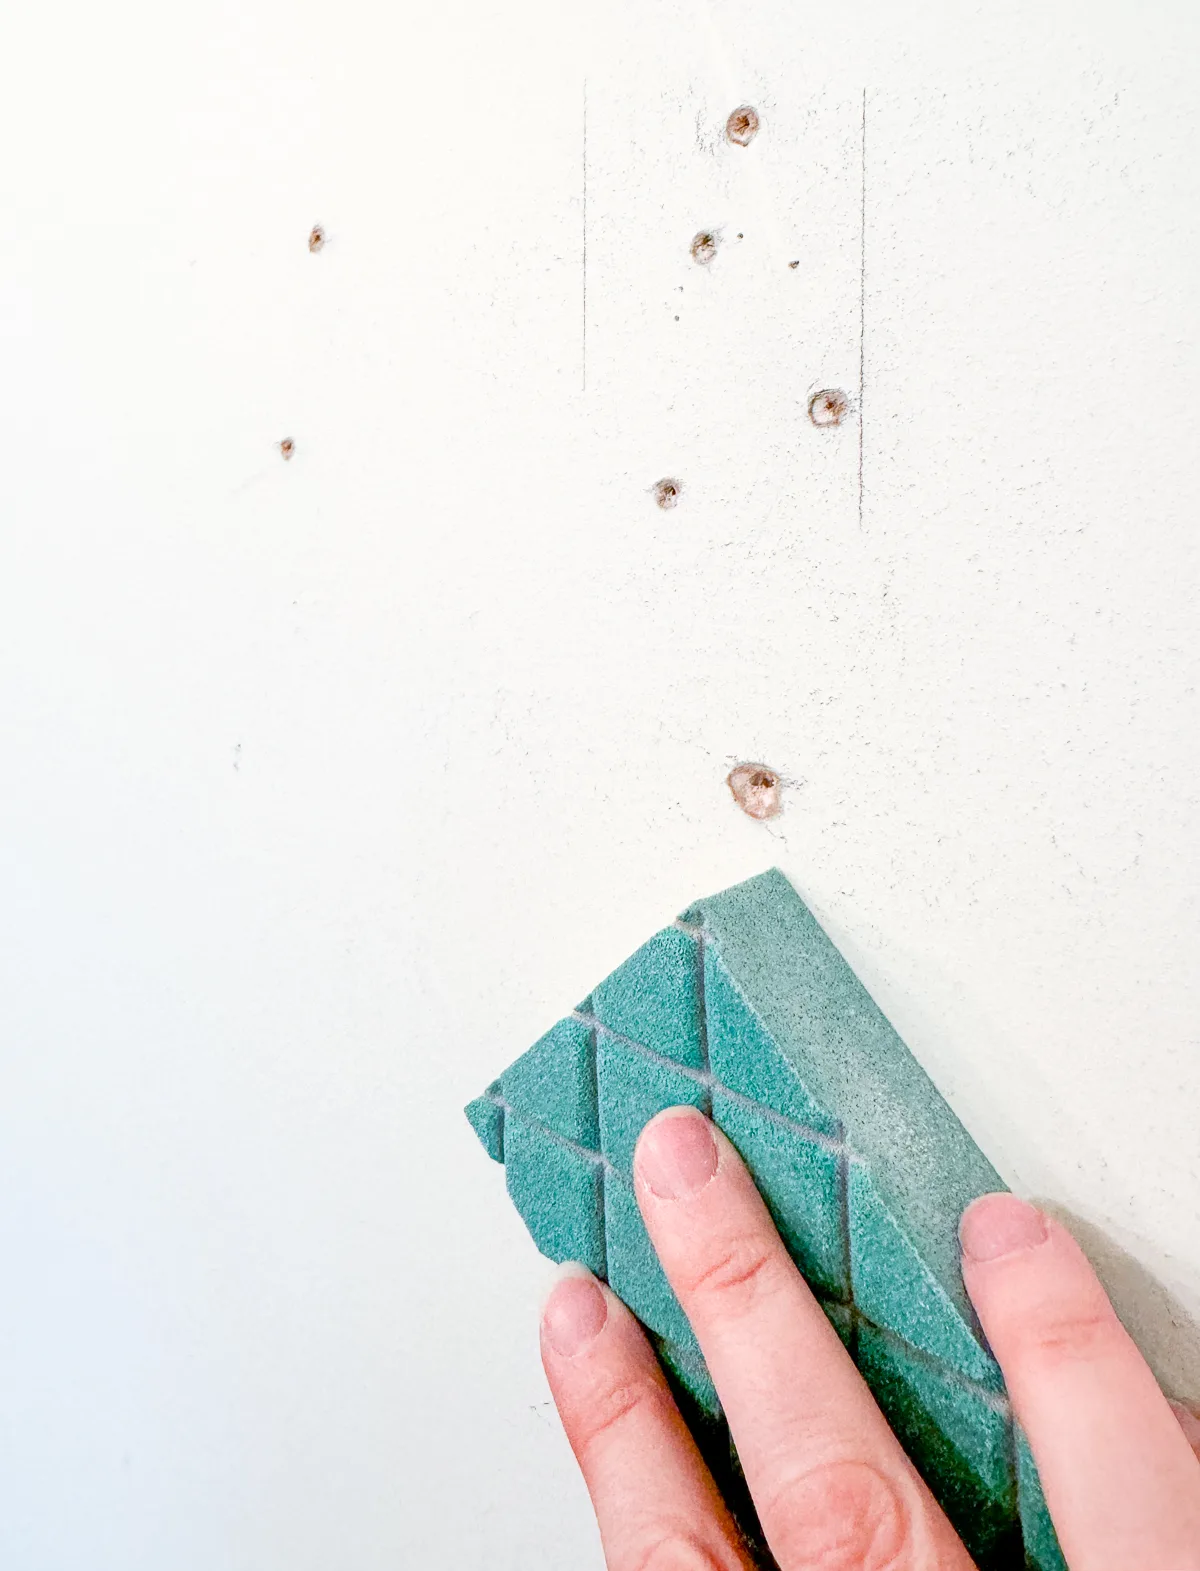
Sanding alone can pull out the paper around the edge of the hole and leave a "volcano" on the surface that is obvious after painting. Take the extra seconds and press in those edges!

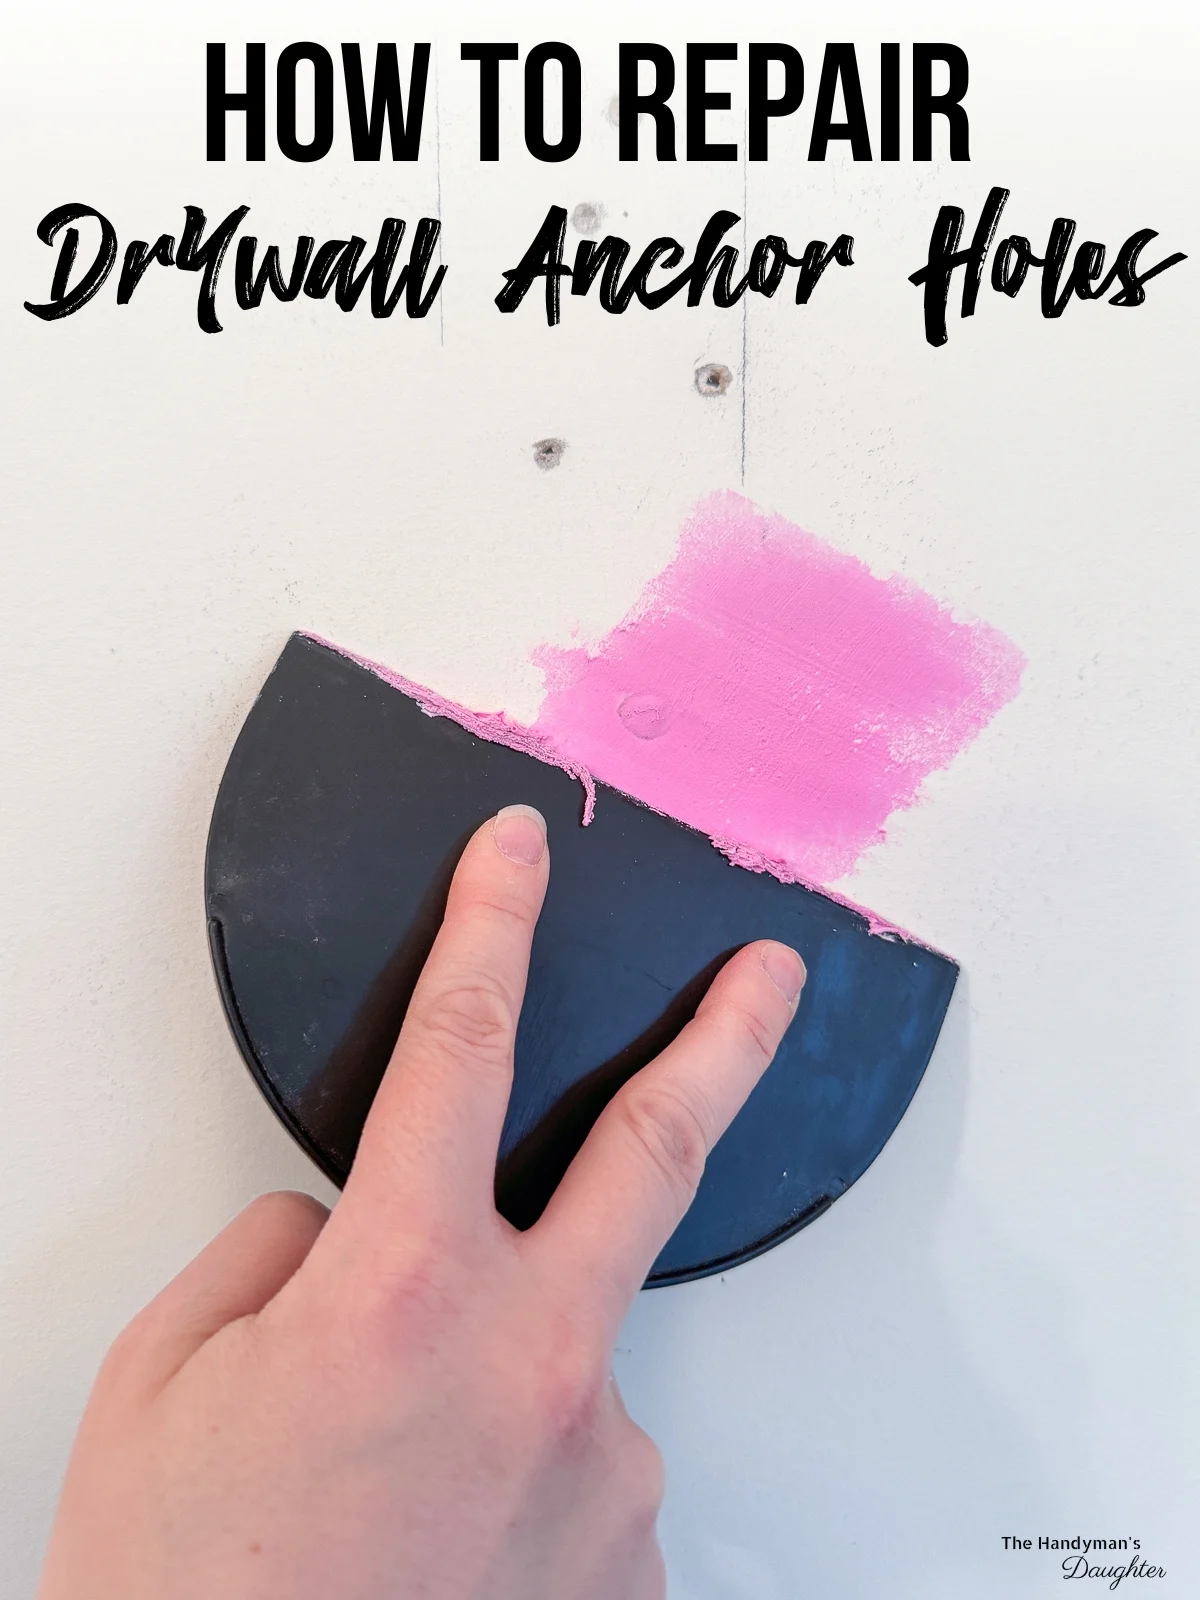
Spread the Drywall Mud or Spackle
Time to fill those holes! Scoop up some of the joint compound or spackle with your putty knife and spread it over the hole. I place one finger on either side of the plastic knife, so there's more pressure on the edges than in the middle.
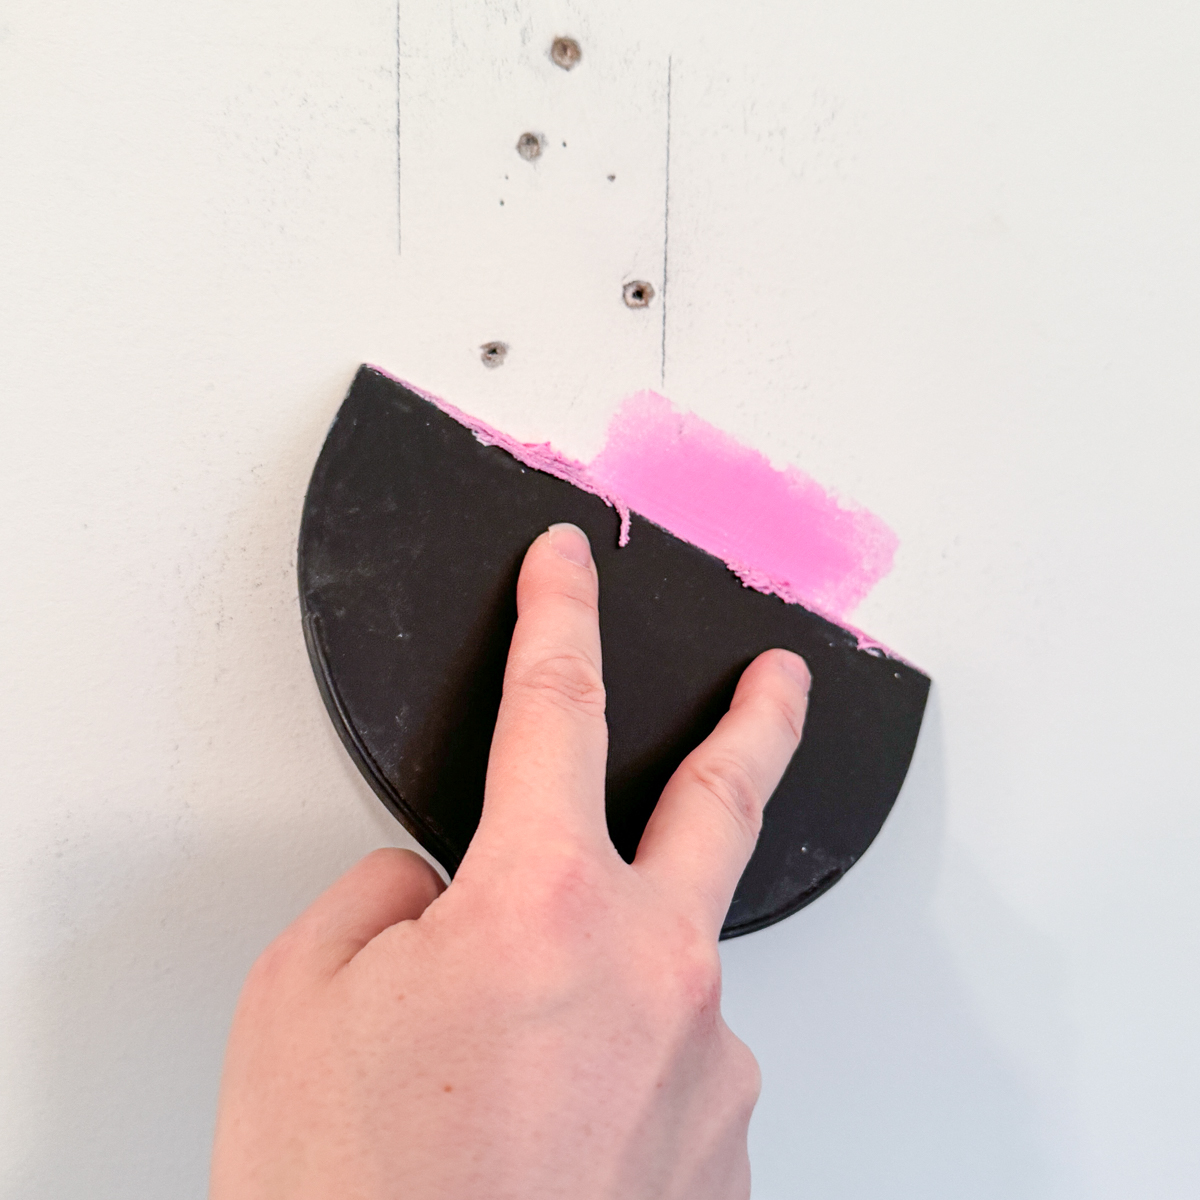
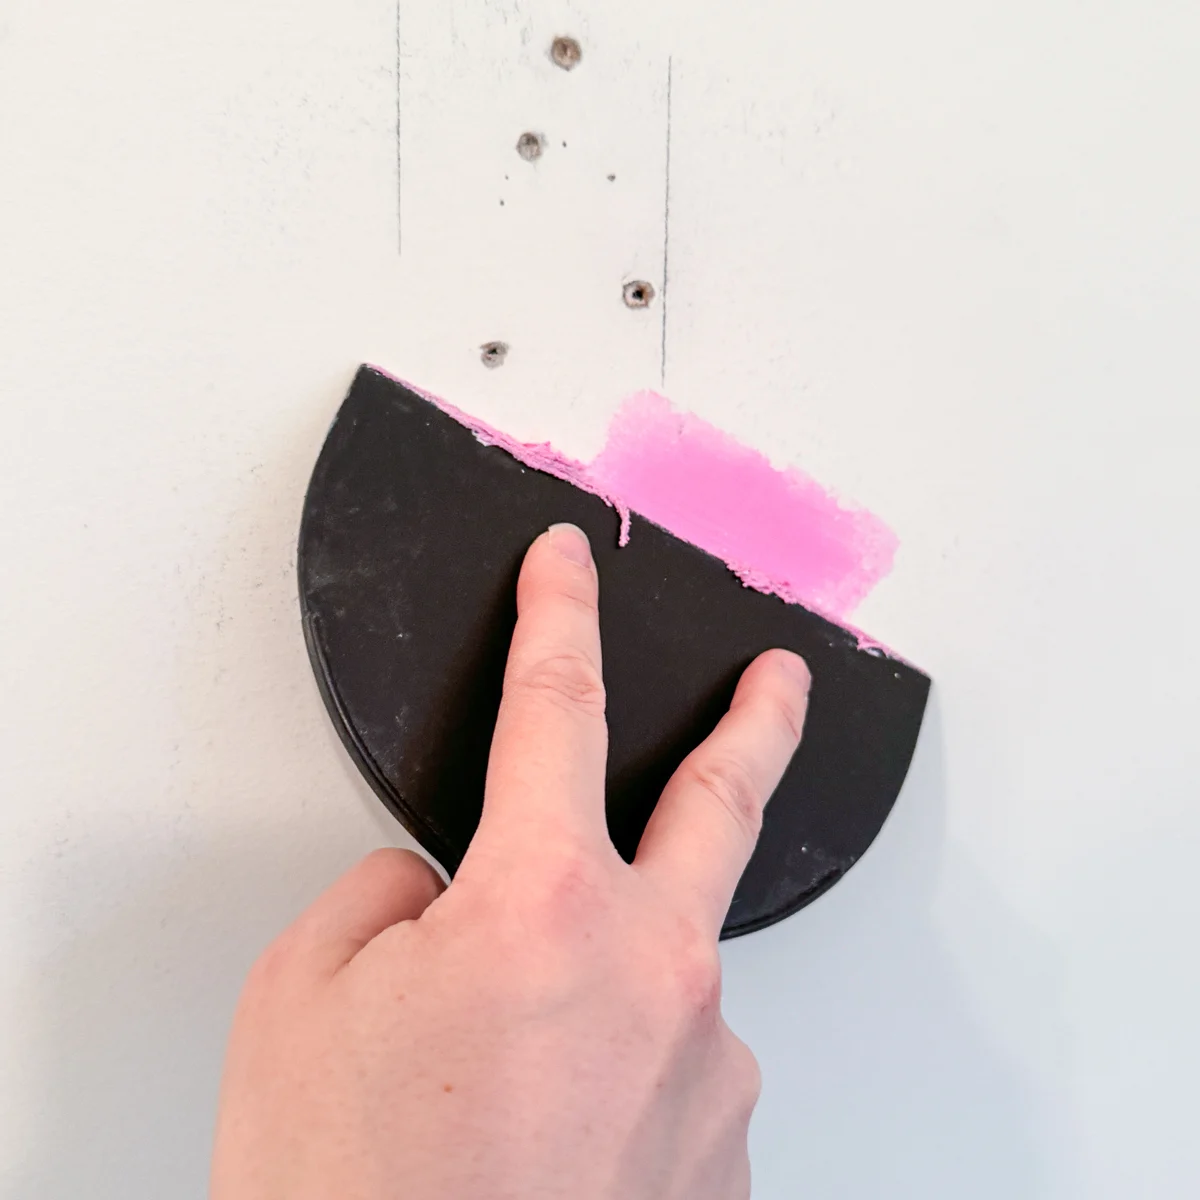
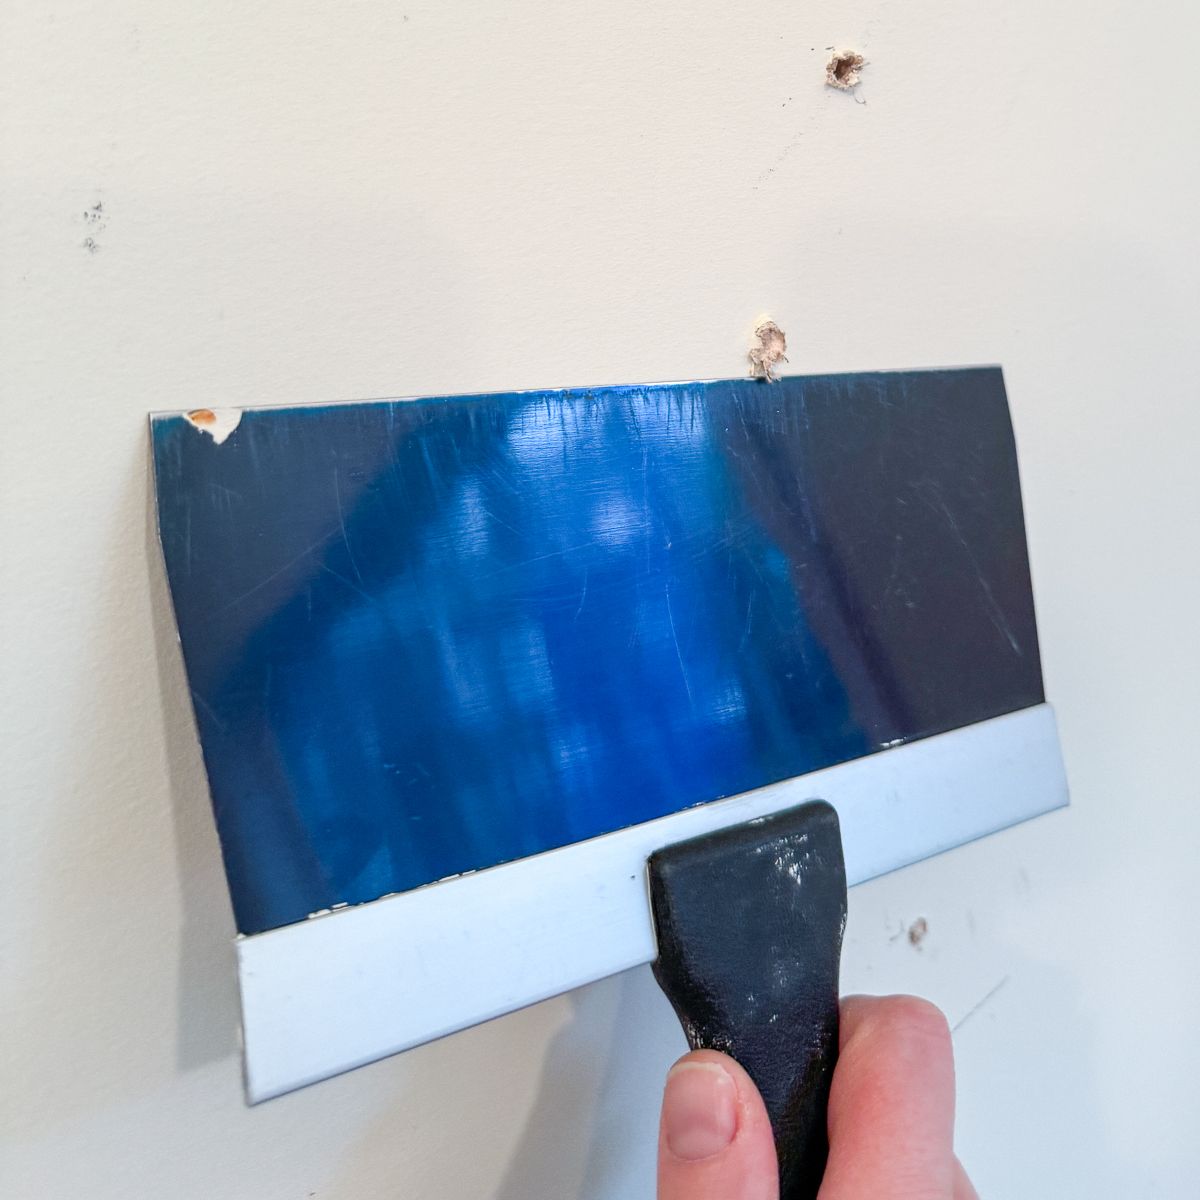
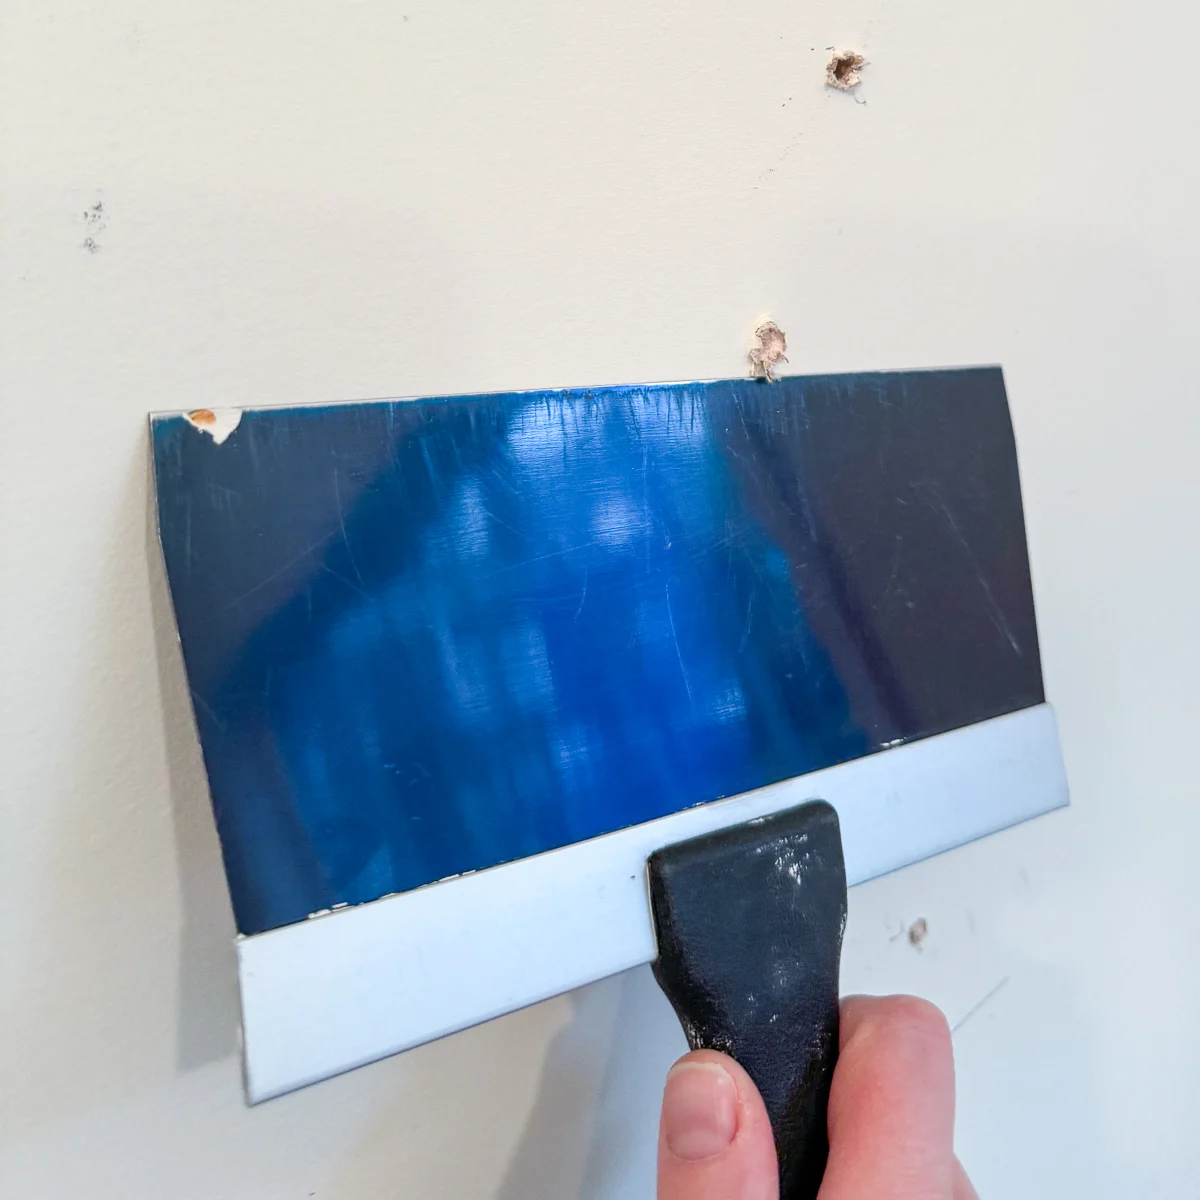
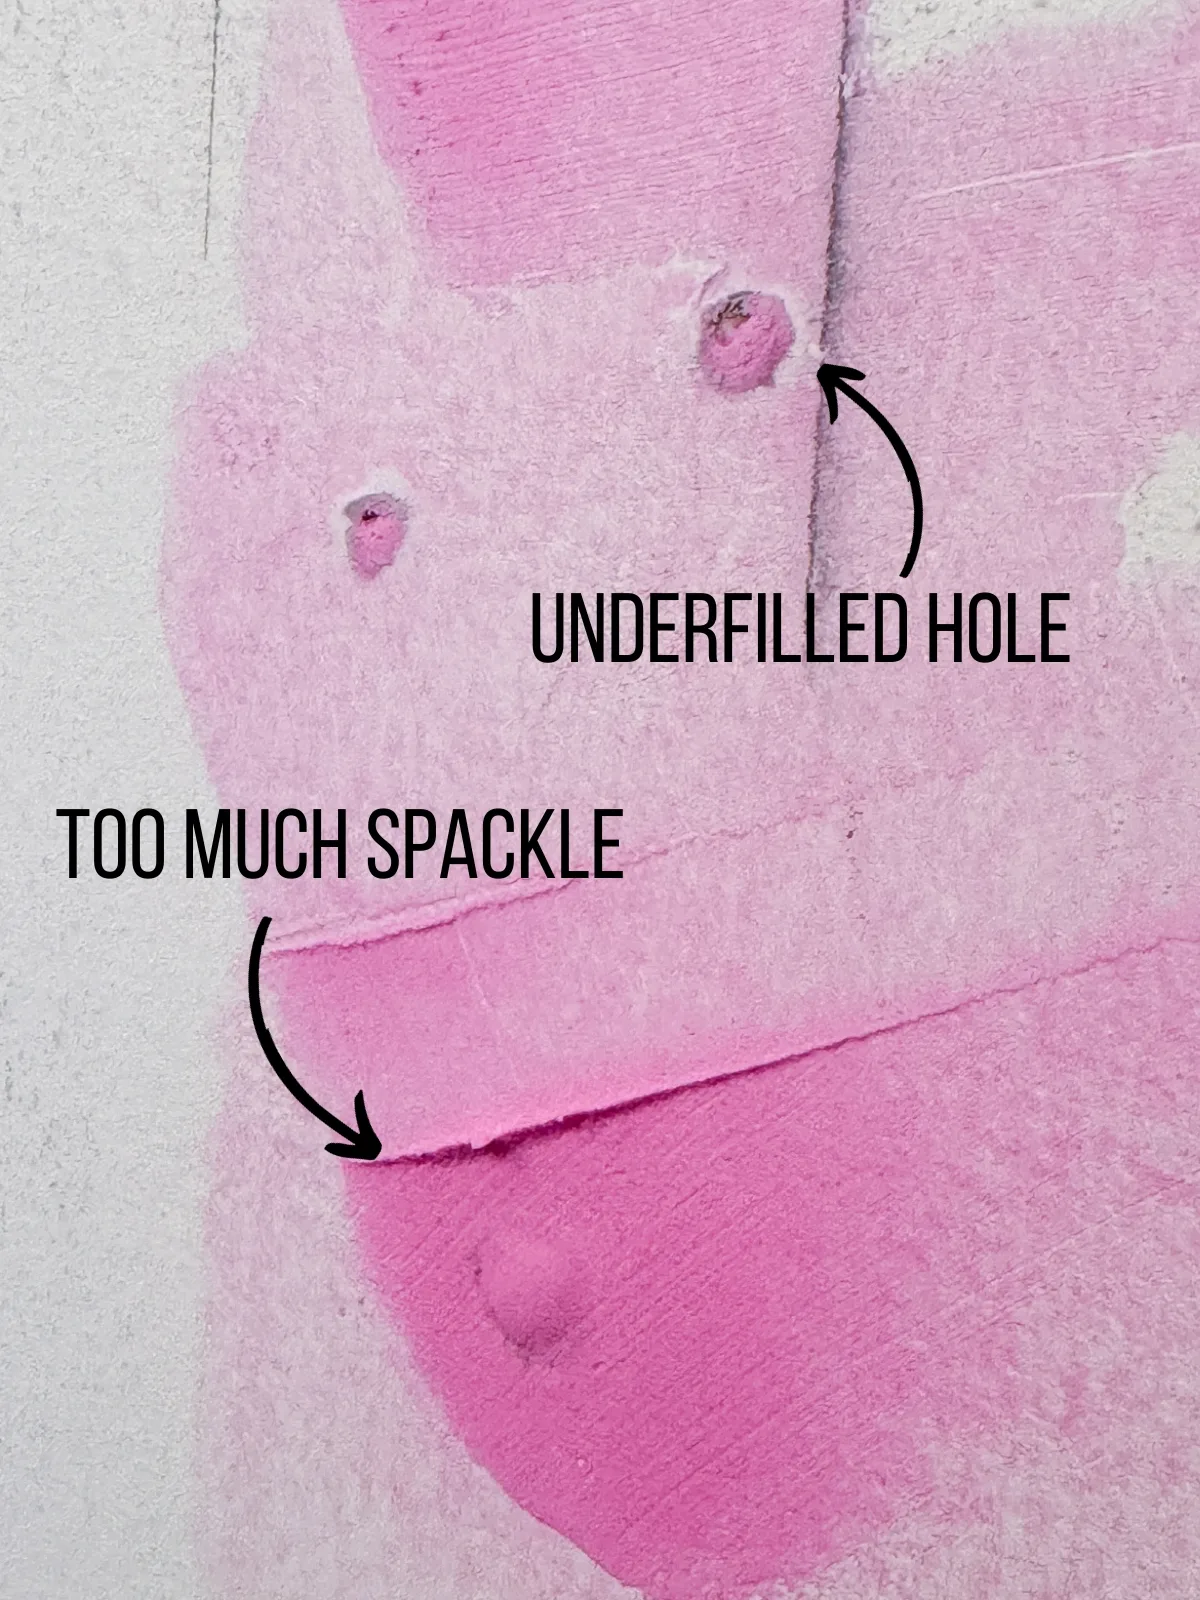
Scrape across the hole from different angles, so you don't end up with empty spots like the top two holes shown below. You also don't want to leave too much spackle on the surrounding drywall like the bottom hole, or you'll have more to sand down later.

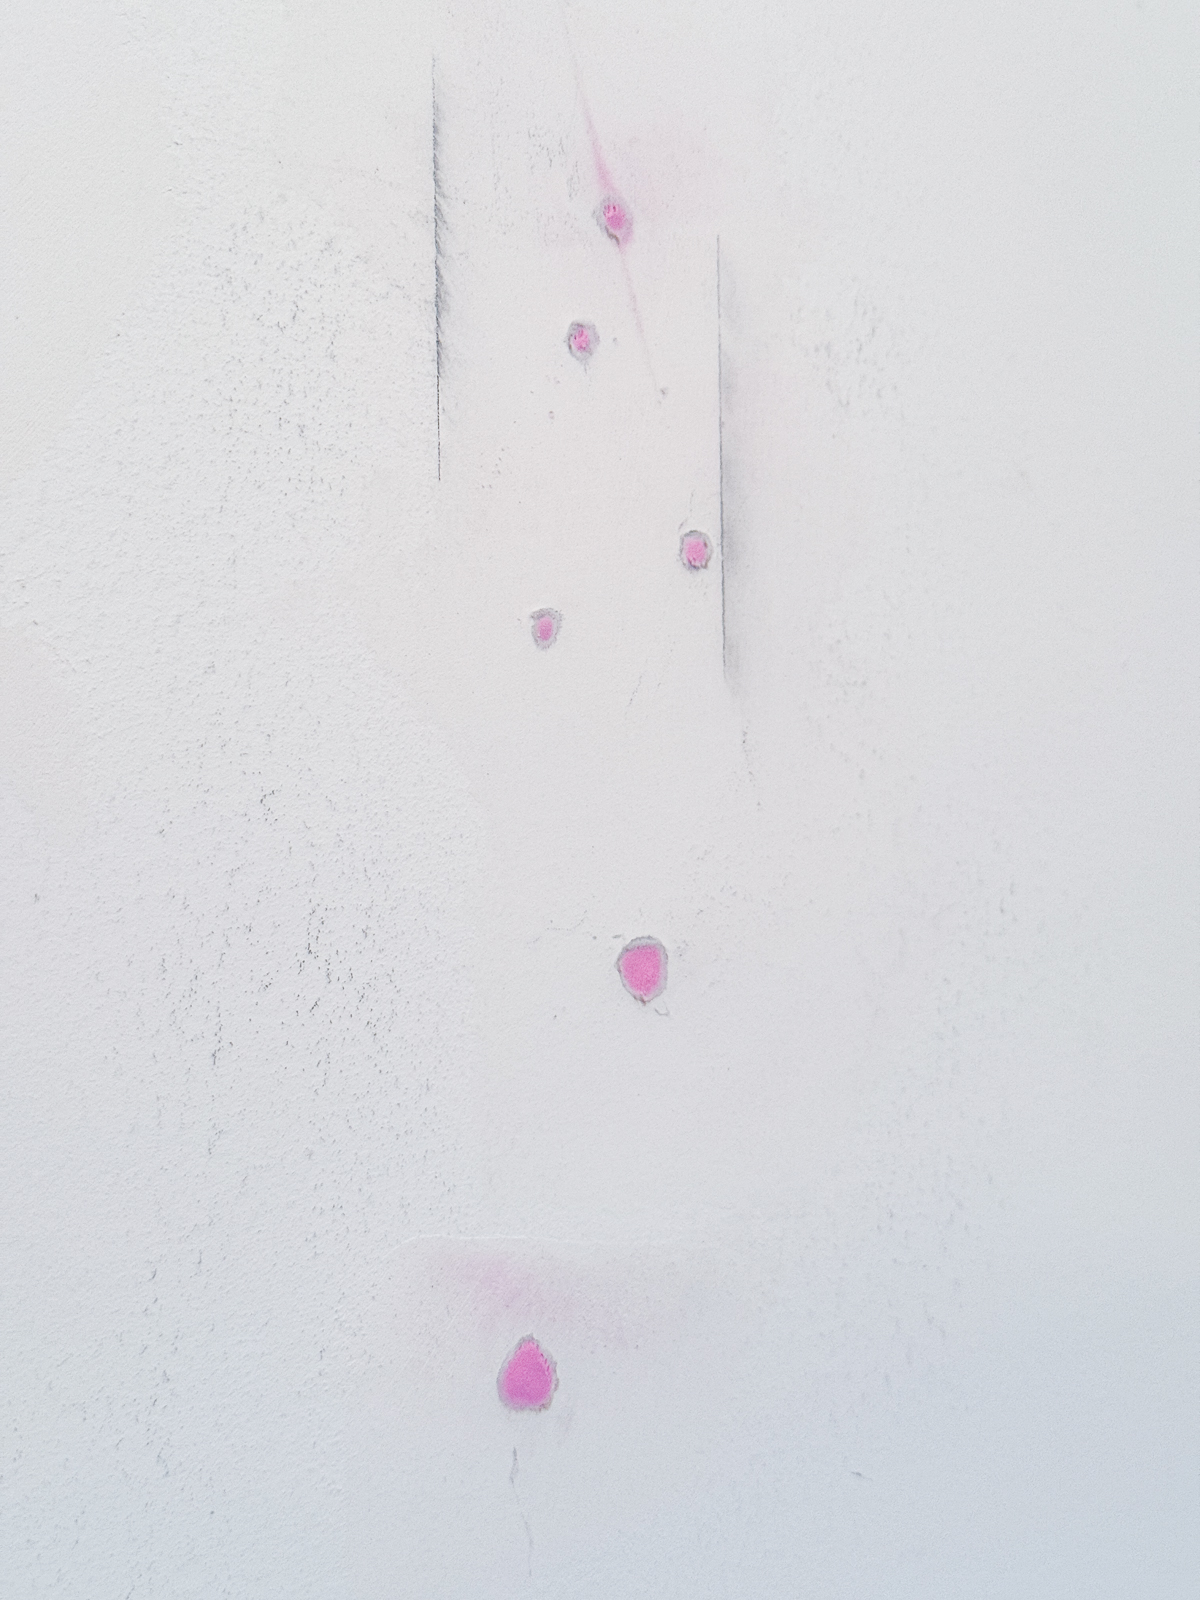
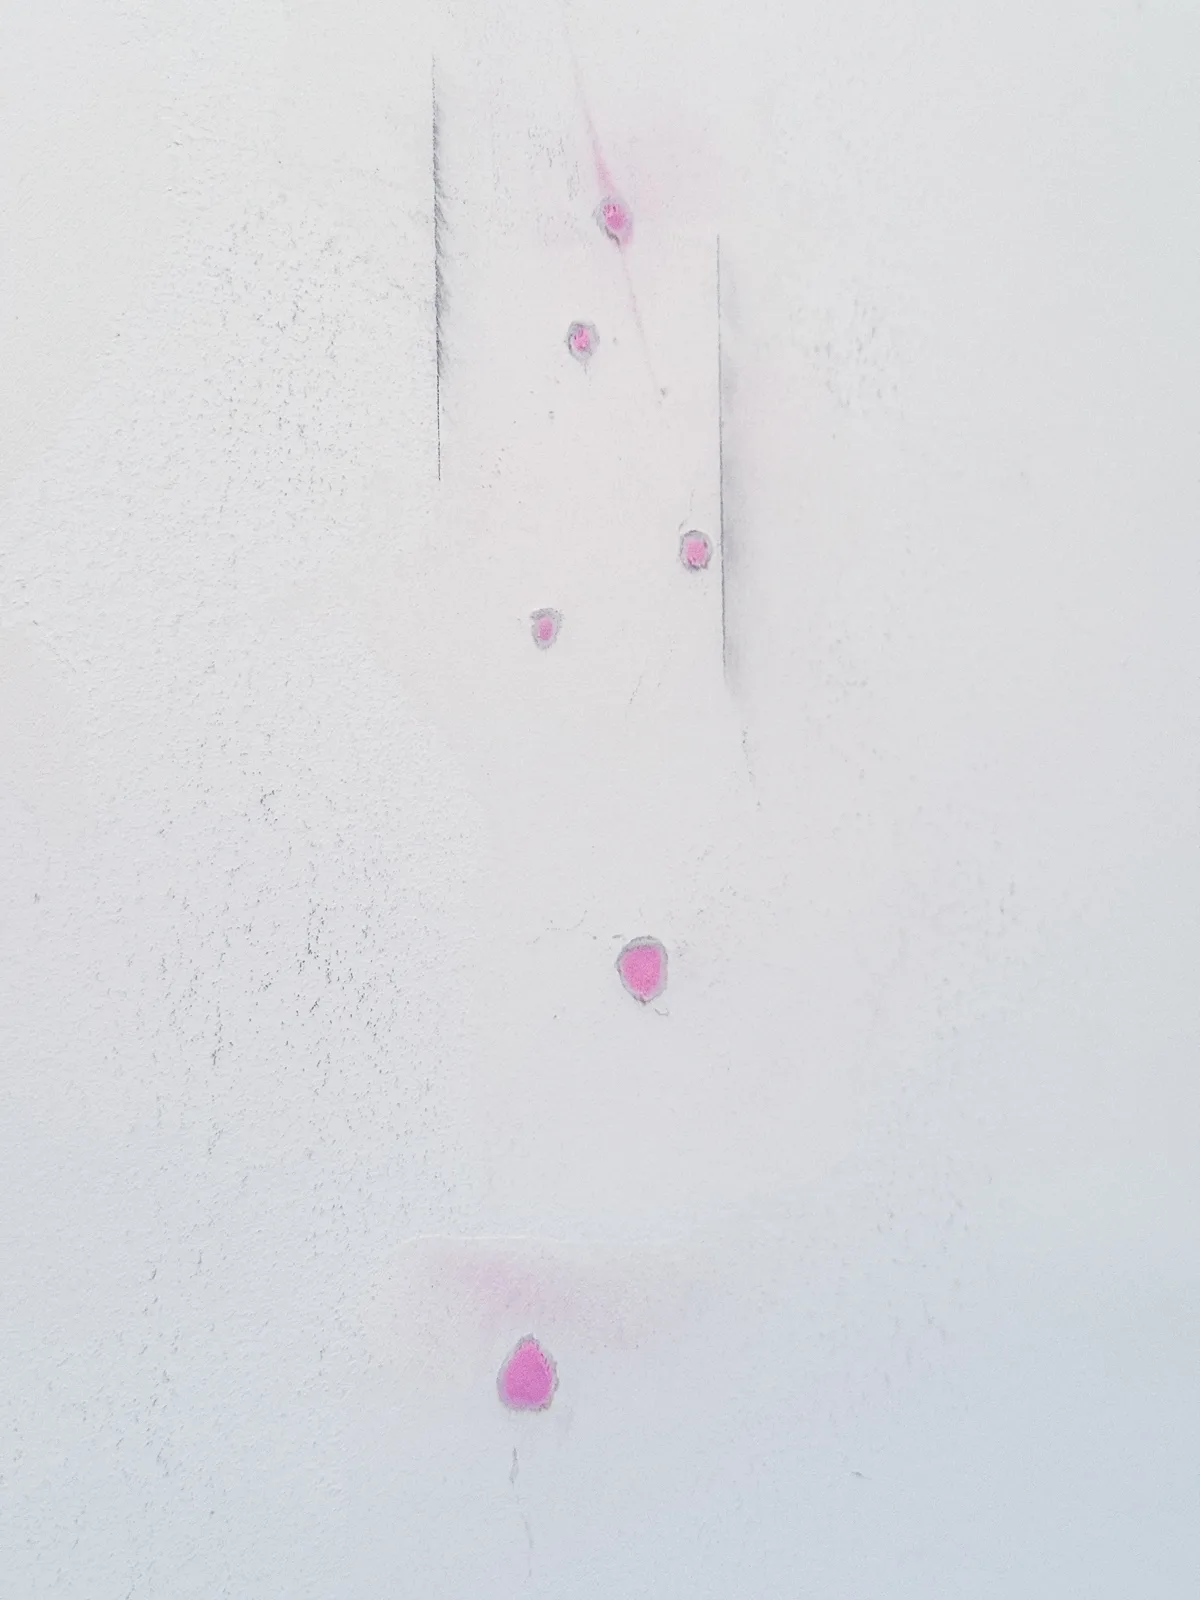
The pink spackle will quickly turn to white as it dries on the surface. The holes take about an hour or so to fully dry. Be patient!
If you're using joint compound, you'll want to feather out your edges so there's not a distinct line around the hole. The video below shows you how!
Sand the Patch Smooth
Allow the compound to dry fully. If you're using drywall mud, this can take up to a day. Don't try to sand damp joint compound, or you'll ruin the smooth surface!
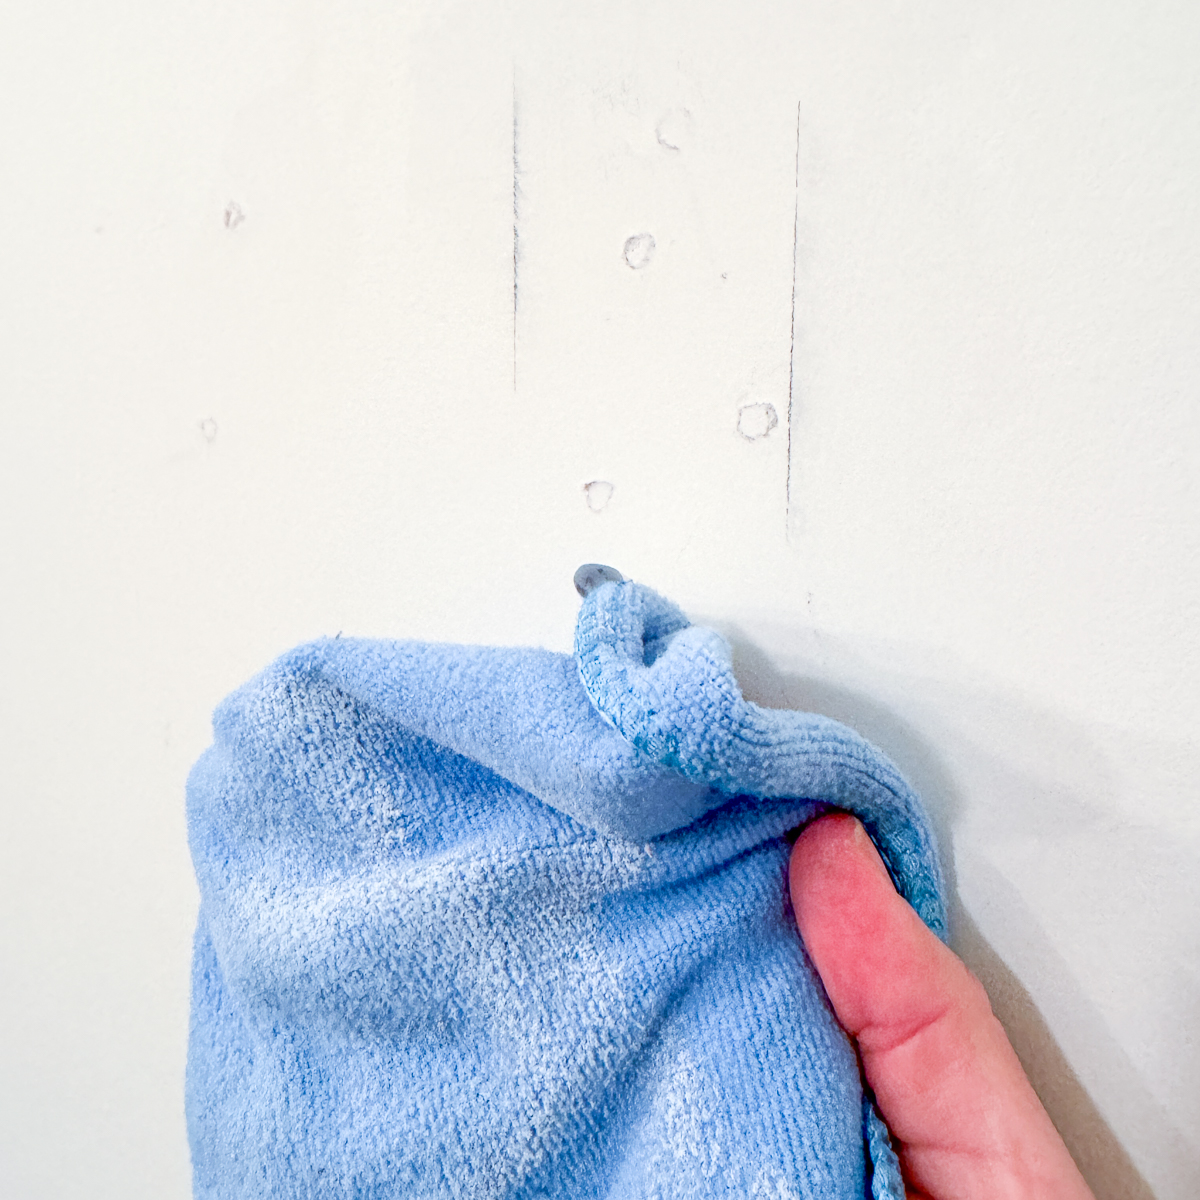
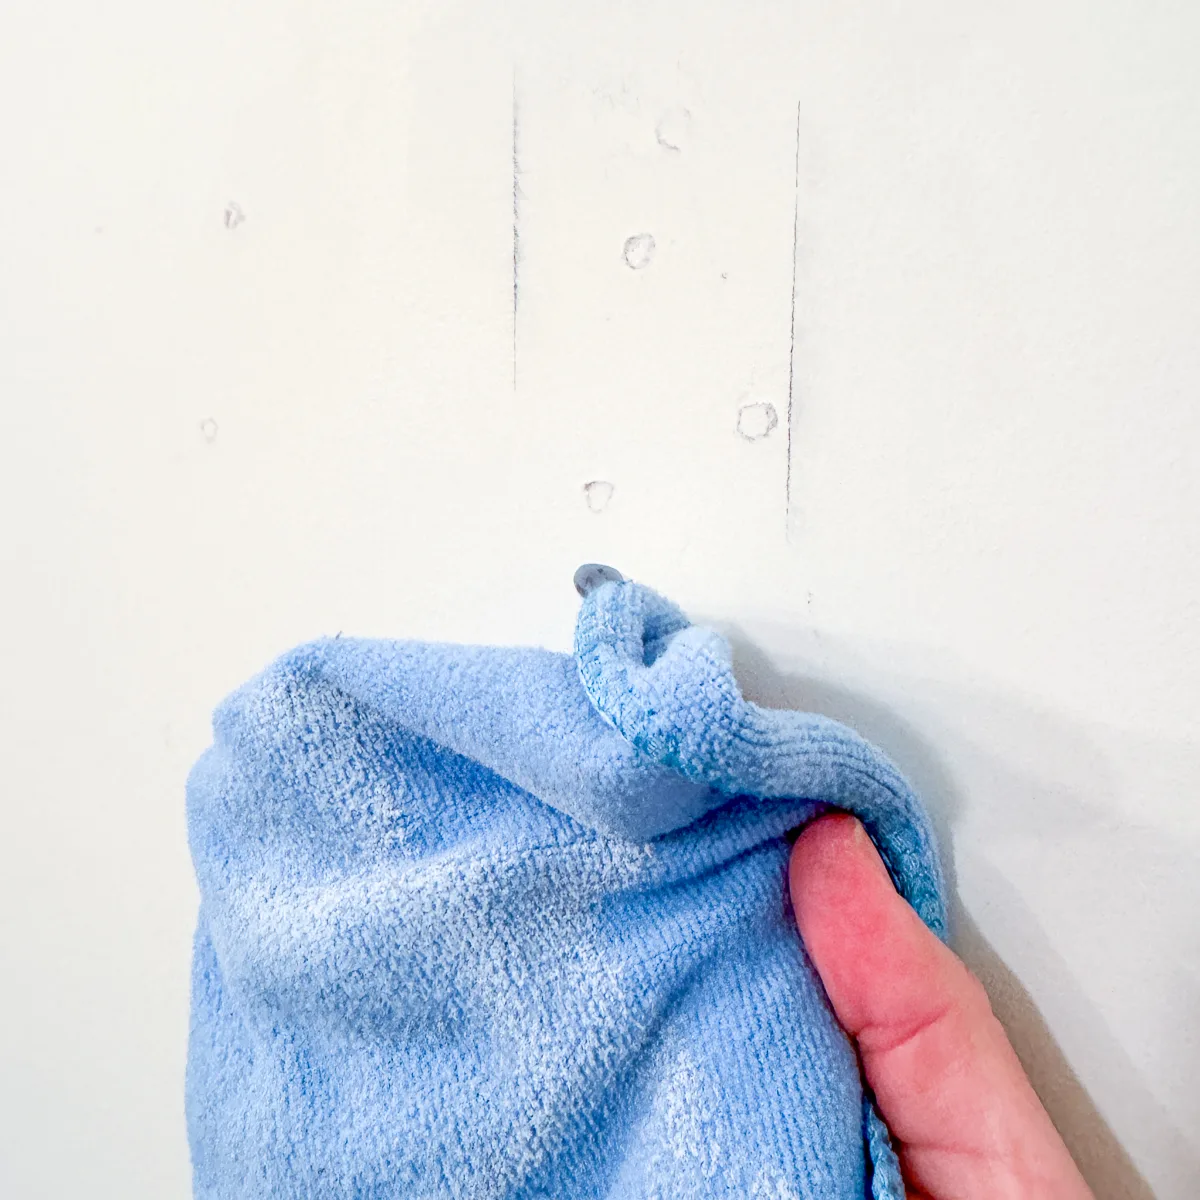
I prefer a sanding block over just a sheet of sandpaper, because it stays flat on the surface. Just lightly sand over the hole, removing any high spots and blending the patch into the surrounding area.

Remove the sanding dust with a microfiber cloth. This can reveal areas that may need a second coat of spackle, which may not be obvious when filled with dust!
Even spackle that says it doesn't shrink usually does. It gets sucked into the hole, leaving a divot on the surface.
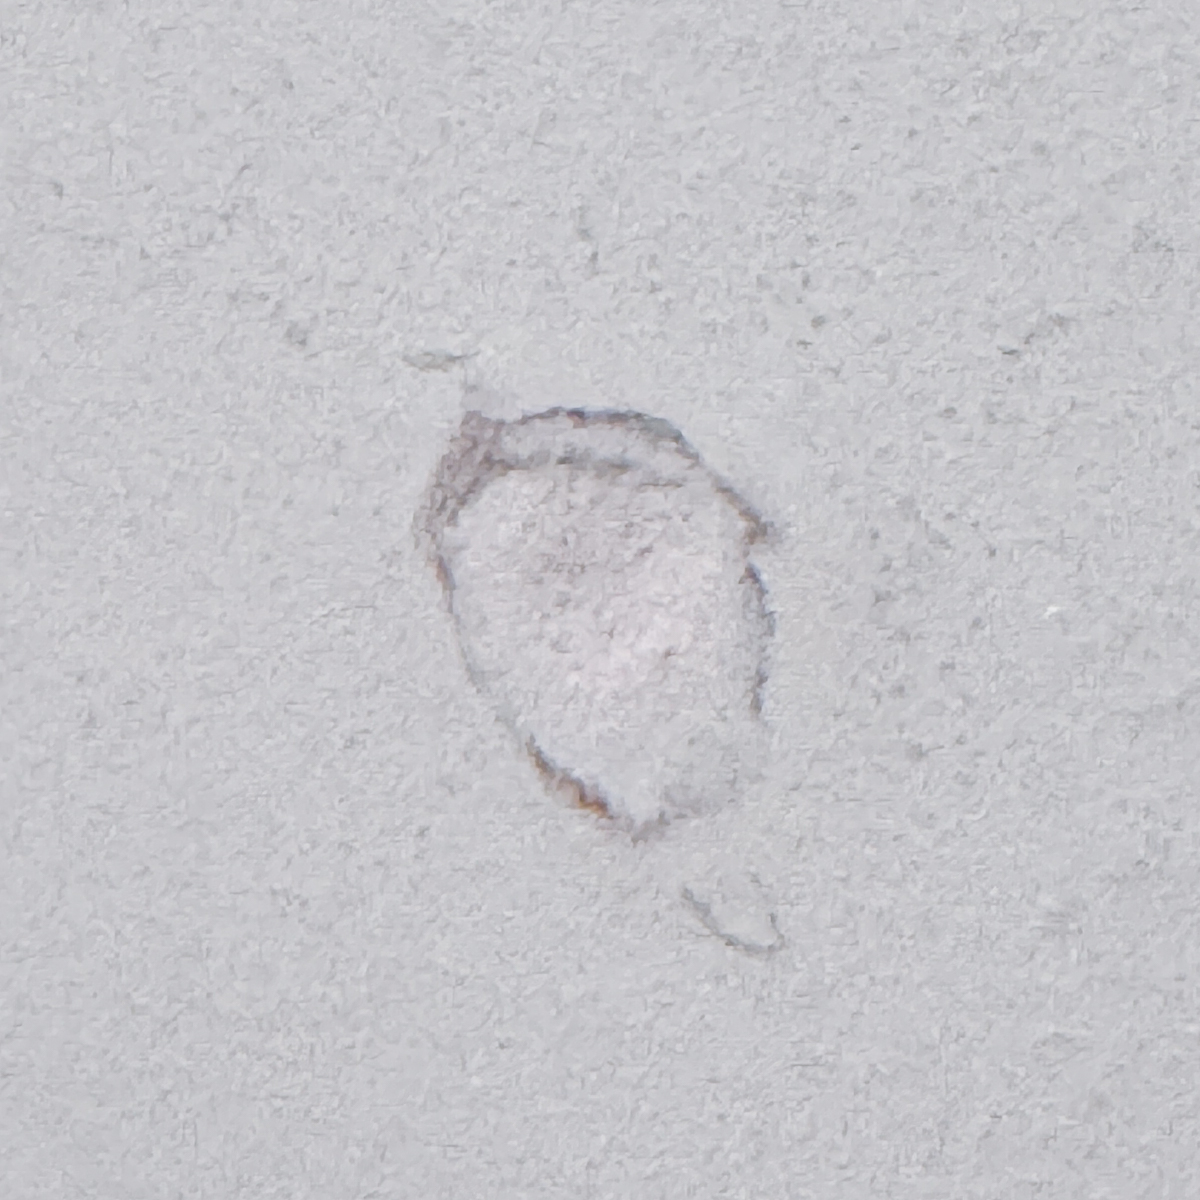
Use your fingers to feel for any divots that may not be obvious now, but will stick out like a sore thumb when you paint over it. Apply a second coat of spackle to those areas, and repeat the sanding process.
Now you have a perfectly flat wall that's ready for a fresh coat of paint! You may need to prime the area first, especially if you used drywall mud, or the sheen might appear different from the surrounding area. The spackle I used has primer built in, so it's ready to go!
Next week, I'll show you how to get crisp, clean edges between two different colored walls, and a few tricks for the ceiling too! Stay tuned!
Ready for the next step? Check out these painting tutorials!