These DIY garage shelves are cheap and easy to make, and give you plenty of storage in a small footprint! Get these garage shelves plans and start building!

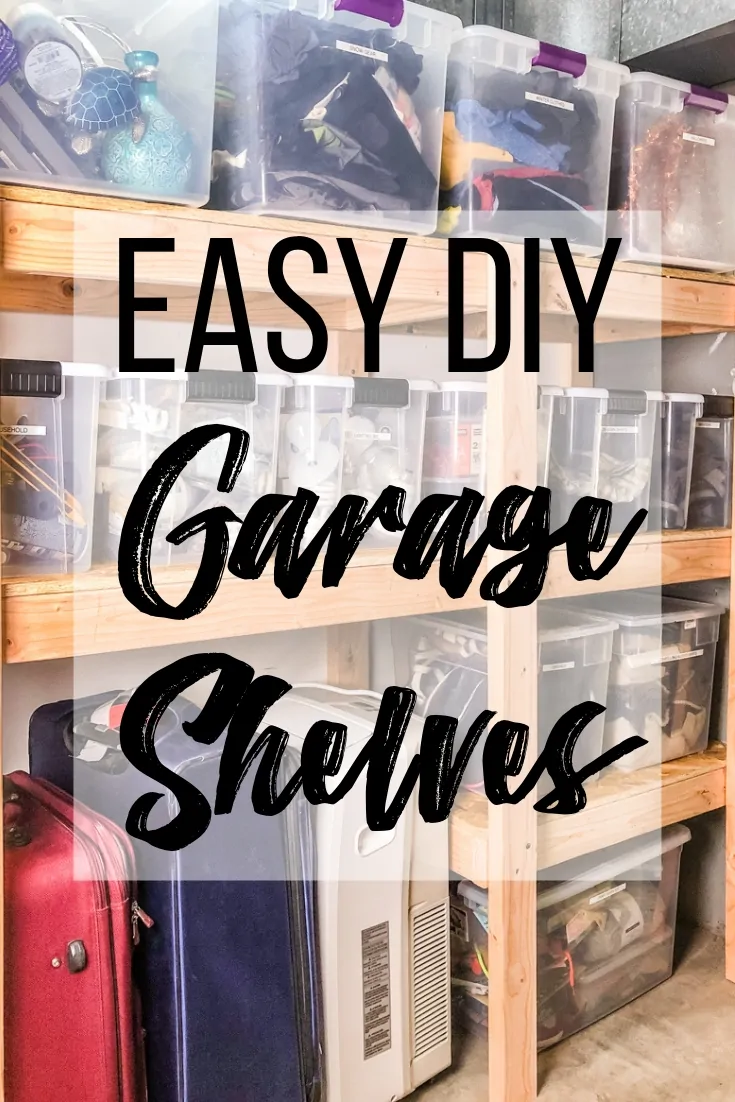
Garage shelves don't have to cost a fortune! These DIY garage shelves are super easy to make yourself, and each set of 4 foot long shelves will only set you back $30!
I've included three different configurations in my woodworking plans, so you can choose the best size and shape for your garage.
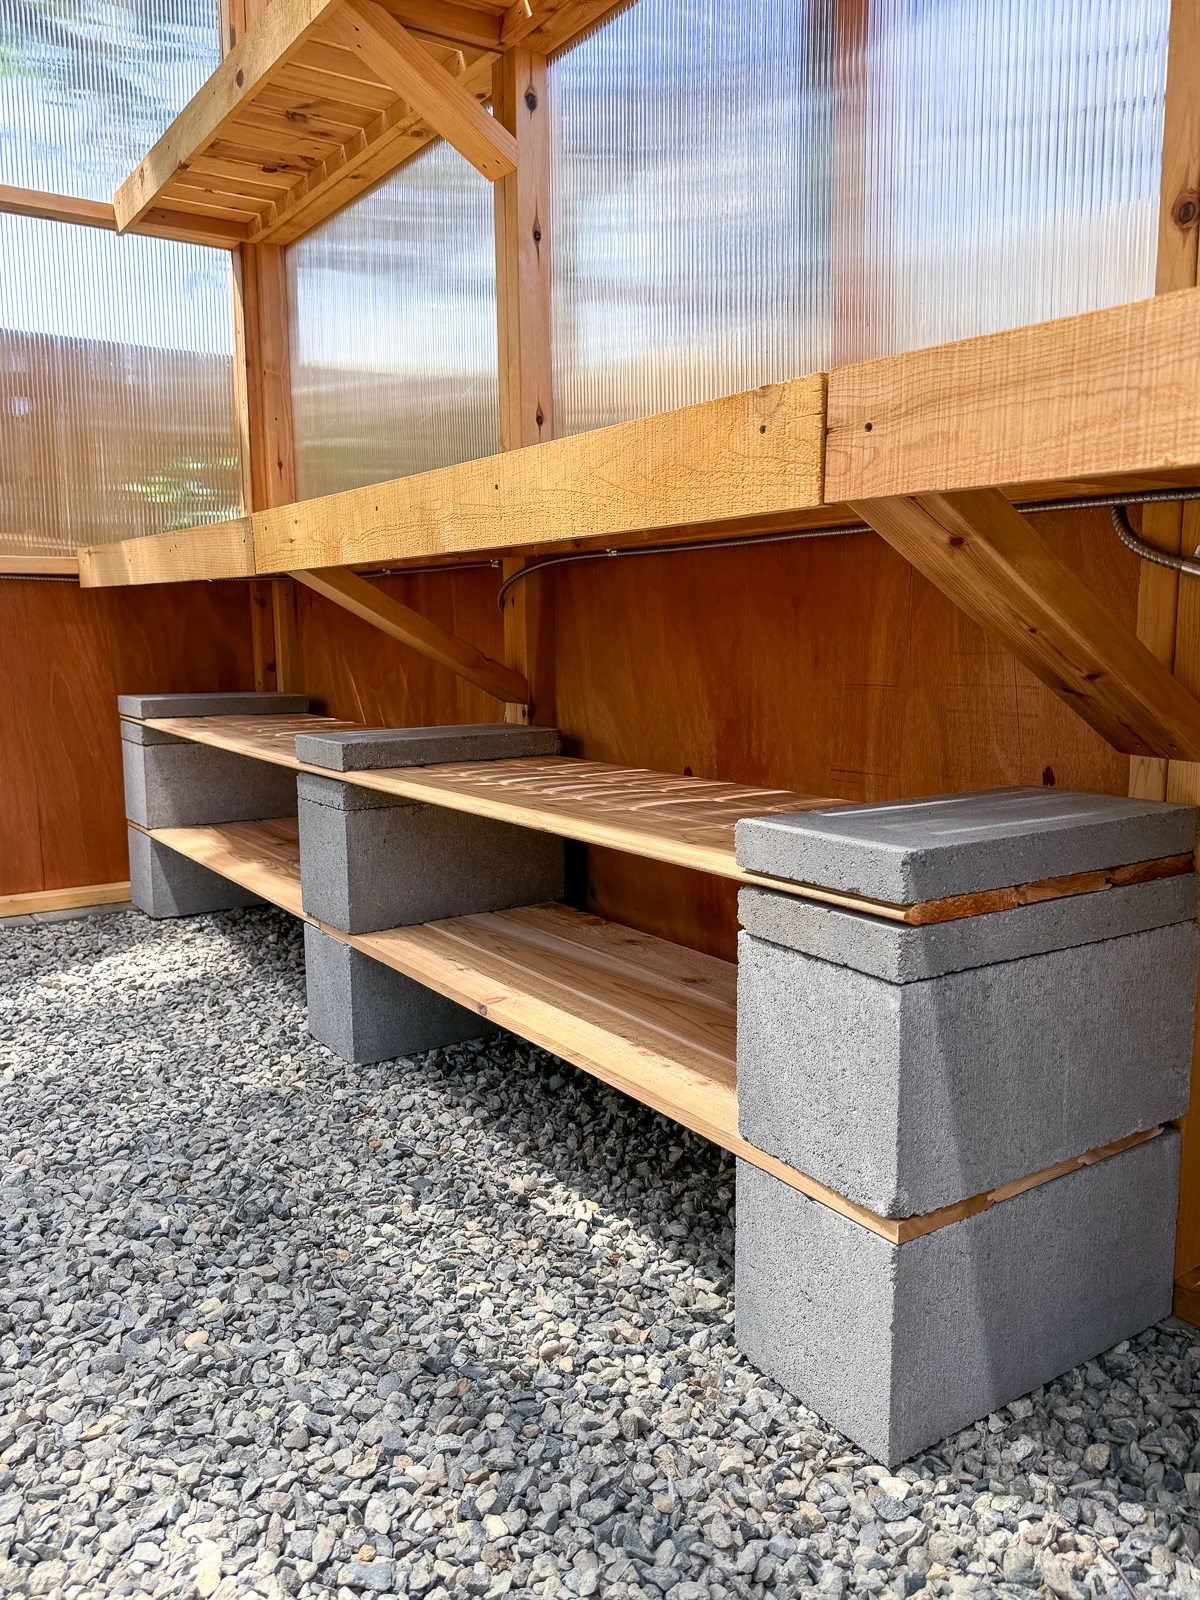
You may remember these DIY storage shelves I made for our backyard shed a few years ago. They're the perfect size for those giant plastic bins, and are great for storing camping gear and Christmas decorations.


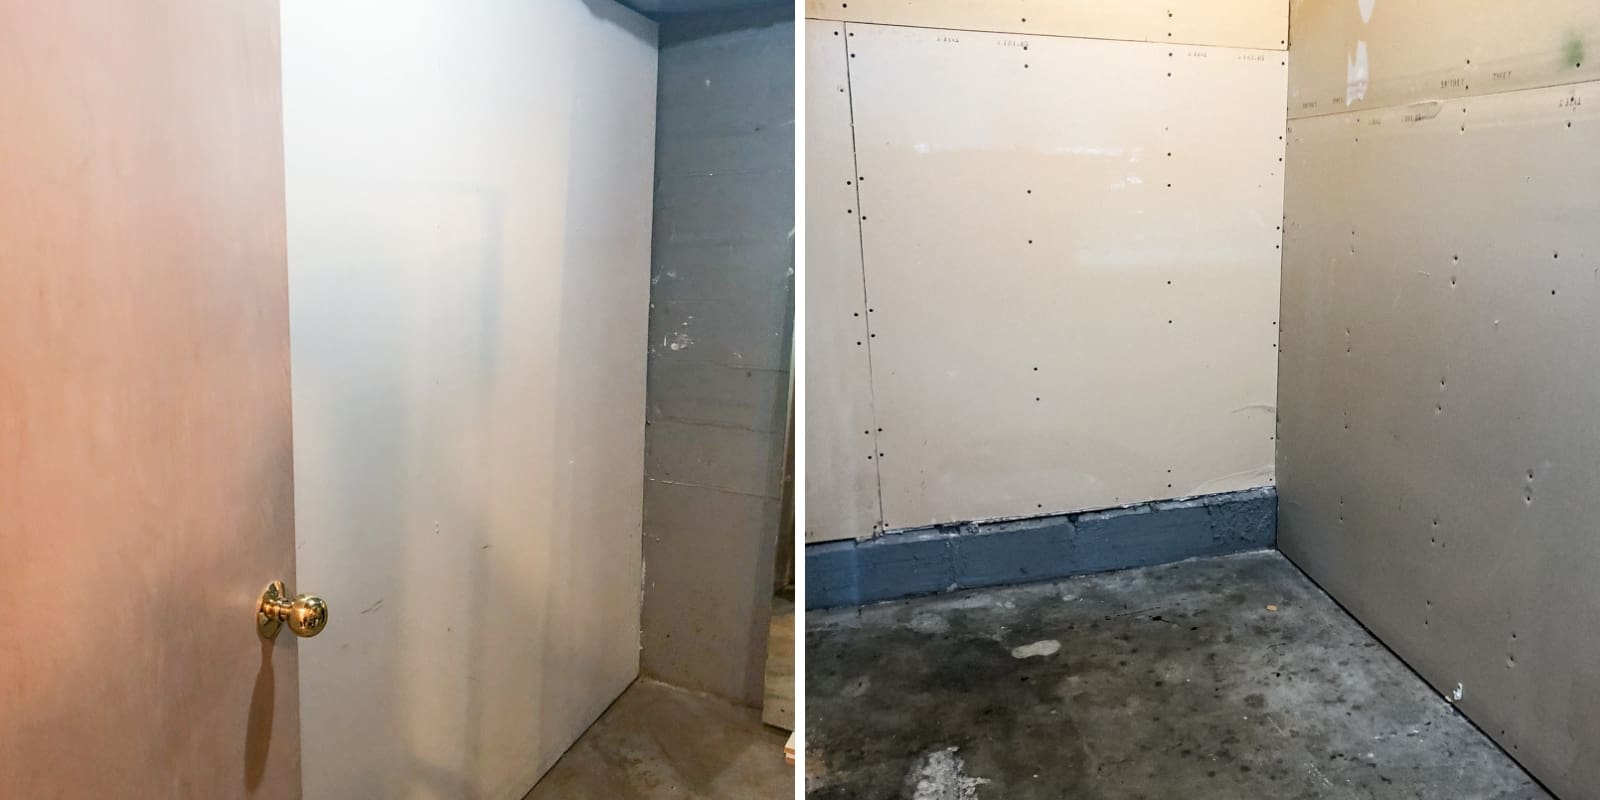
While this is great for off-season stuff we don't use very often, we don't want to trek out to the backyard all the time. So our furnace room off the garage continued to be a dumping ground for all.the.things!
When our water heater sprung a leak and soaked everything on the floor, I knew it was time to clear out the clutter and build some new garage shelves!

Want even easier shelves that don't require any power tools to build? Check out these DIY cinder block shelves!

This post contains affiliate links for your convenience. Purchases made through these links may earn me a small commission at no additional cost to you. Please visit my disclosures page for more information.
I custom sized my garage shelves to fit these smaller, clear boxes for the lower shelves and these larger ones for the top shelf. Obviously, you can change the dimensions to fit your own space!
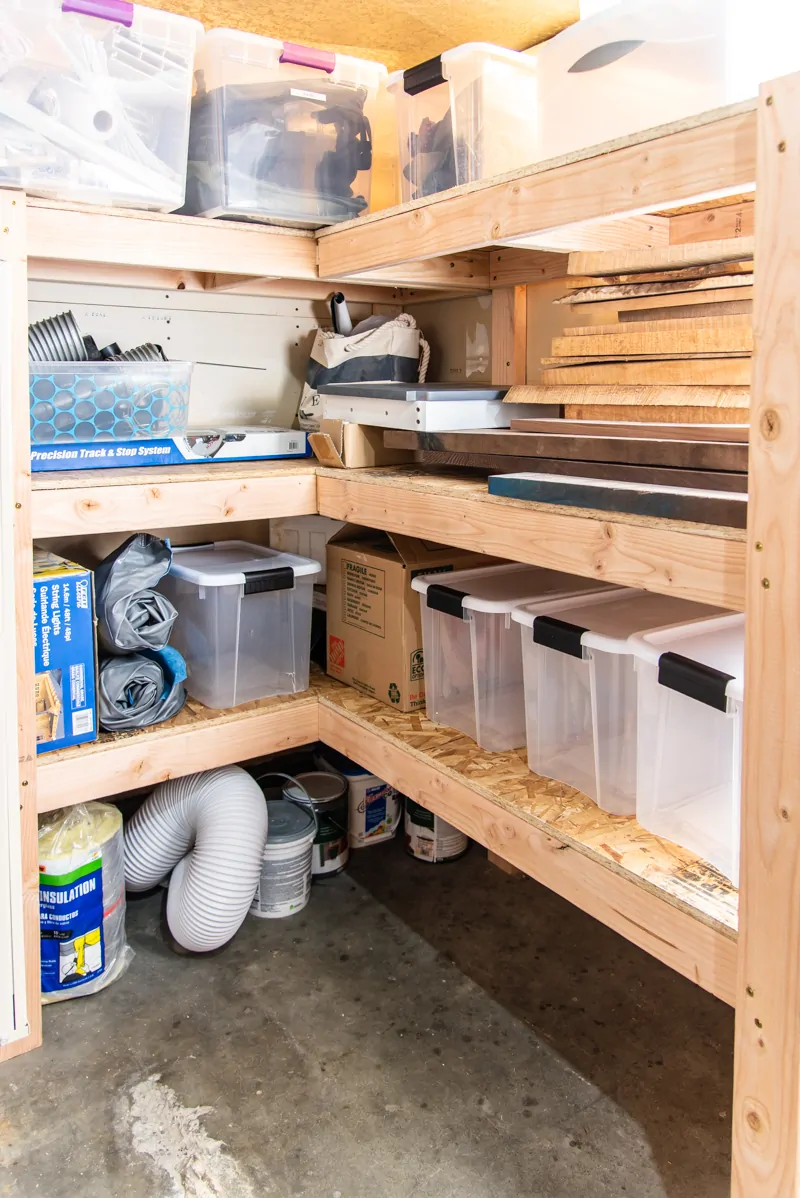
There are two 4-foot-long shelving units joined together to create corner shelves on one side of the furnace, and a longer 6-foot-long version along the other wall. I've included both of these sizes, plus details on how to make the corner unit and suitcase storage area, in the woodworking plans.


To make this project as cheap as possible, I used 2x4s and OSB instead of plywood. You can't even buy a set of plastic shelves for the price of these sturdy 2x4 garage shelves! You can use plywood instead and make them fancy with edge banding, but it will cost you $$$!
Let's get building!
Materials Needed for DIY Garage Shelves
For one set of 4-foot-long shelves:
- Seven 2x4x8' wall studs
- One sheet of ⅝" oriented strand board (OSB)
- One box of 2 ½" screws
- Pocket hole jig
- Check out my article comparing the Kreg Jig K5 and R3 to decide which one is right for you!
- 2 ½" pocket hole screws
- Right angle drill attachment (optional, but really helpful!)
- Speed square
- Drill
- An impact driver works great for getting those screws through thick 2x4s!
- Level
- Clamps
- Saw (miter or circular)
- Sander and sandpaper
How to Build Garage Shelves
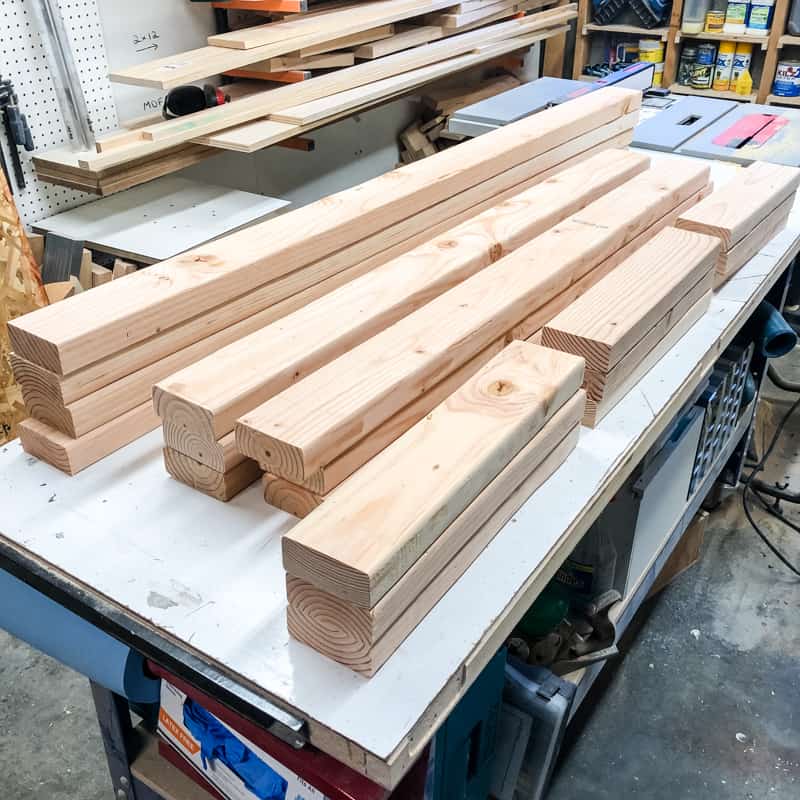
Cut the pieces to size
If you don't have a table saw at home (or don't have the room to cut down huge sheets of OSB like me!), get those pieces cut at the home improvement store instead. This also makes it a lot easier to transport everything home! For one set of 4-foot-long shelves, you'll need three strips of OSB.
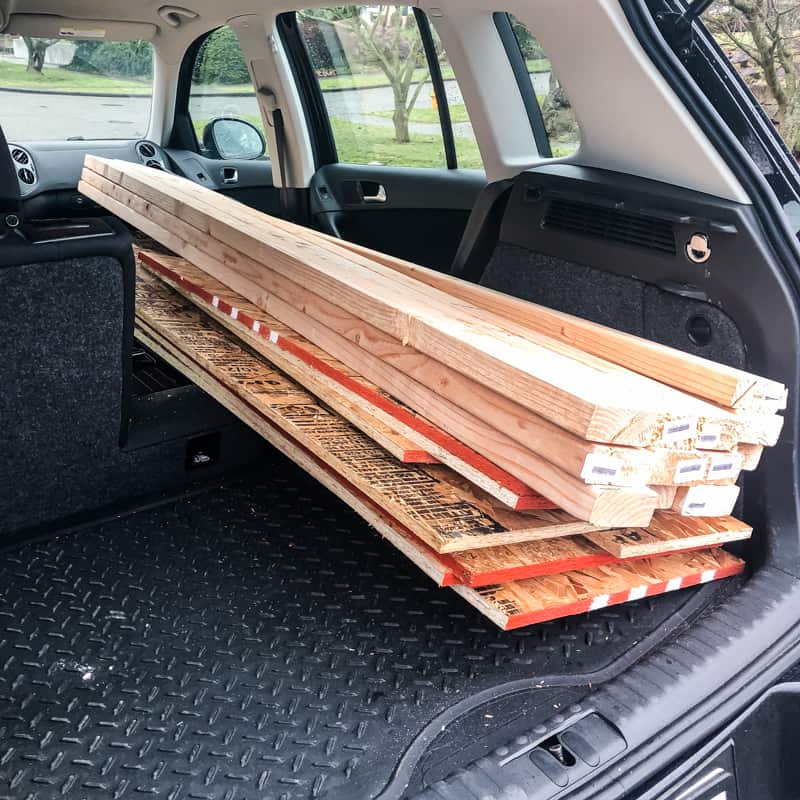

The 2x4's are easy to cut with a miter saw or circular saw (you can use a circular saw guide or the Kreg Square Cut to help you make straight lines).
If you cut a 2x4x8' board exactly in half, you'll get two almost 48" pieces. The blade cuts away about ⅛" (which is called the kerf), but it's nothing to worry about in a rough build like this. No one is going to notice that your sides are 1/16" off!

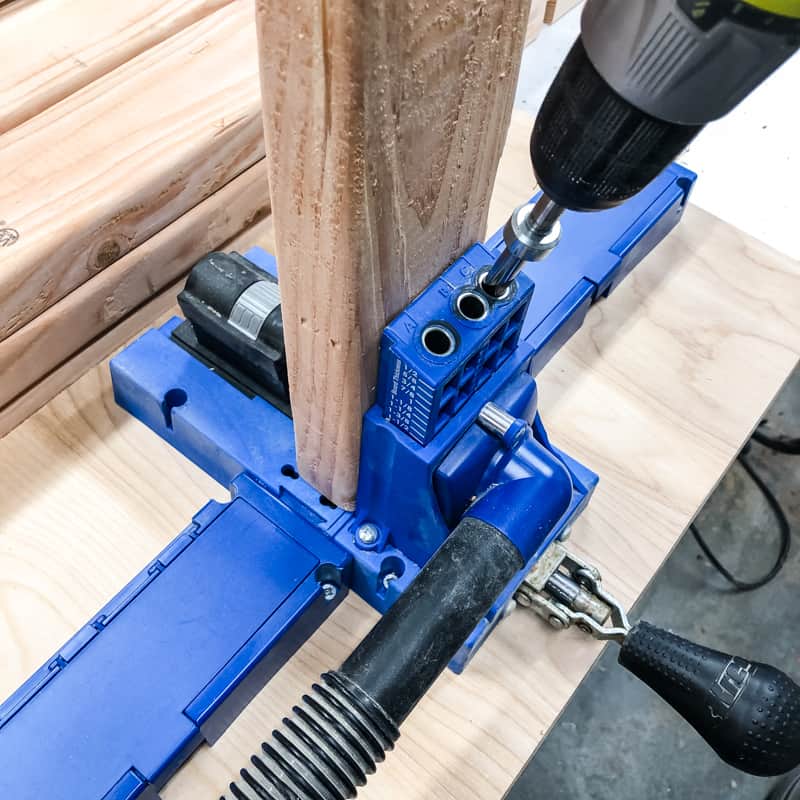
Drill pocket holes (optional)
You don't necessarily need to build these garage shelves with pocket holes, but the end product will be much stronger if you do. If you don't have a pocket hole jig, you can just drill through the front and back pieces and into the end grain of the shorter pieces with 3" screws.
Drill two pocket holes in both ends of each of the shorter pieces. The board thickness should be set to 1 ½", and the screw length set to 2 ½" on the drill bit. Check out my ultimate guide to pocket holes if you're not familiar with this type of joinery.

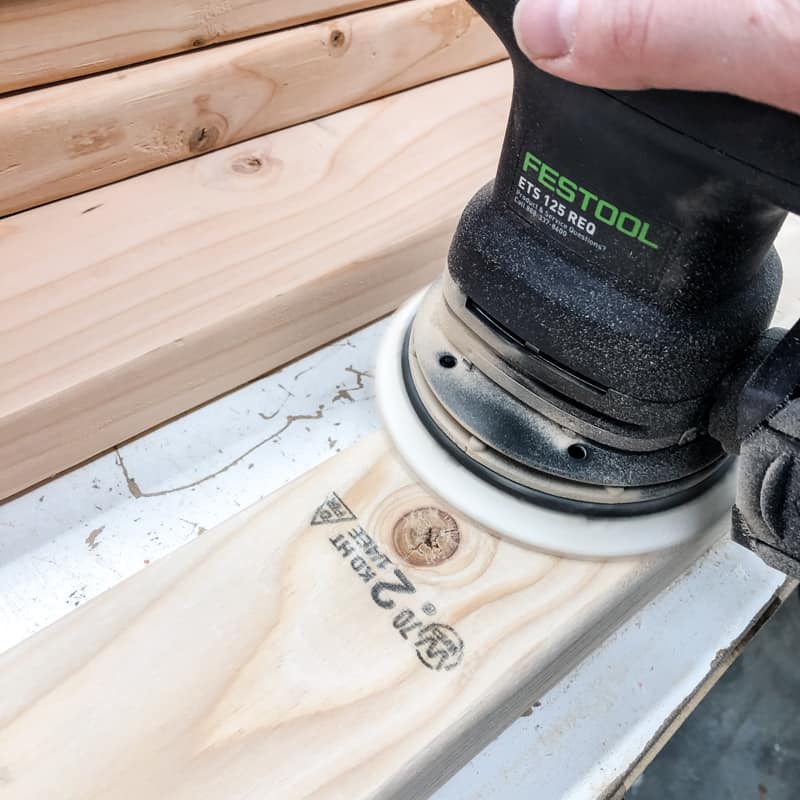
After drilling the pocket holes, give all the boards a quick sanding with 80 grit sandpaper. You're just knocking off the rough spots and splinters, not creating a perfectly smooth surface. These are quick and dirty garage storage shelves, after all!

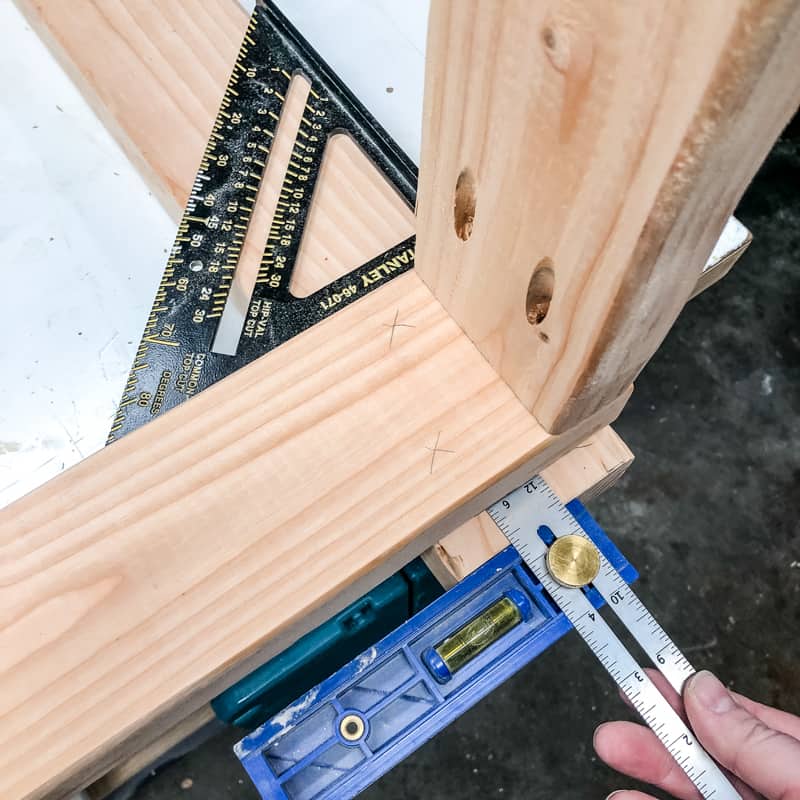
Assemble the back of the garage shelves first
Lay two of the leg pieces down flat on the ground or on the workbench, parallel to each other. Mark a line ⅝" down from the top of each leg (to fit the OSB shelf), then position the first 48" piece like a rung of a ladder underneath that line. Check that the first "rung" is square to the legs.
There's going to be four screws going into each corner, so you need to plan their placement before you start drilling so they don't run into each other. Balance a cross support at the end of the 48" piece, then mark the spots for the screws. Stagger their placement slightly to prevent twisting.

Screw each rung into place with 2 ½" screws.

Attach the cross braces
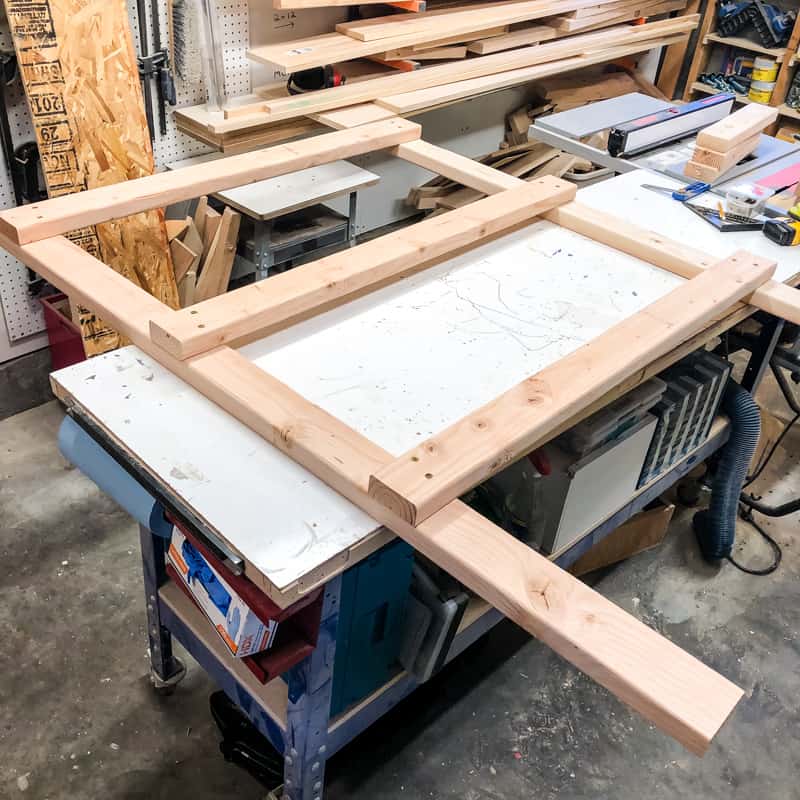
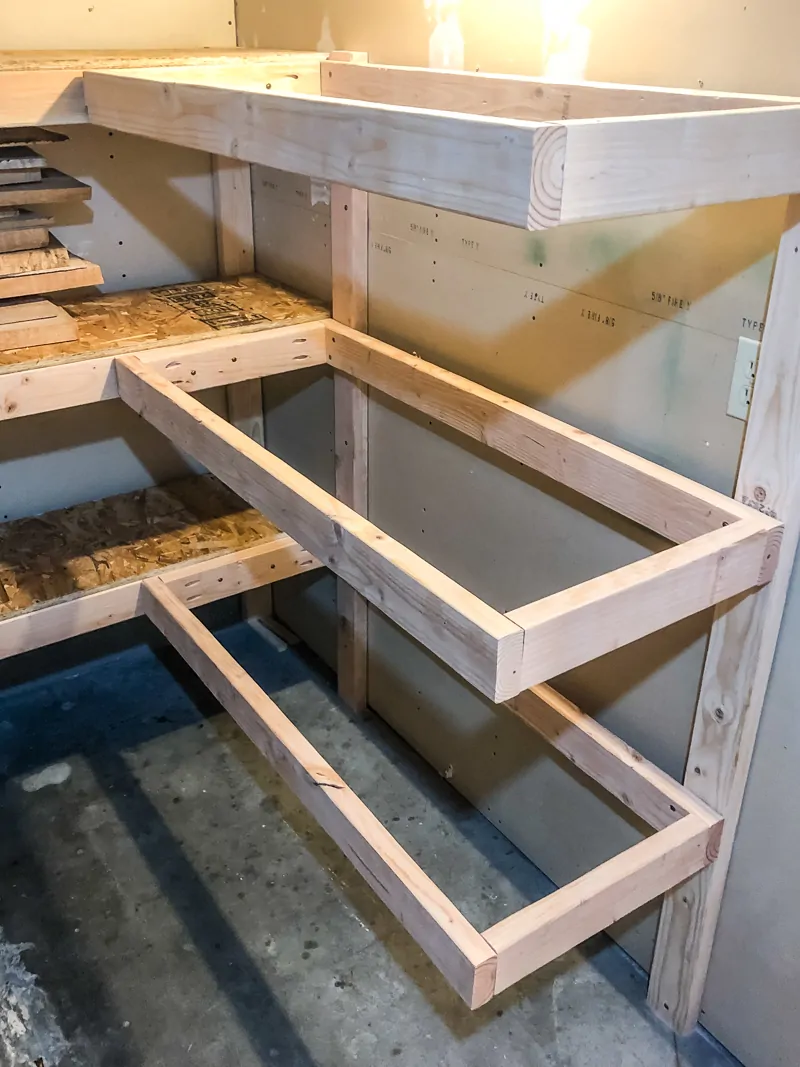
Screw the cross braces to each end of the 48" pieces with the pocket holes facing inward. Then add a center support roughly in the middle (you can see in the photo below that I forgot to add these pieces, but luckily I realized my mistake before the shelves went up!)
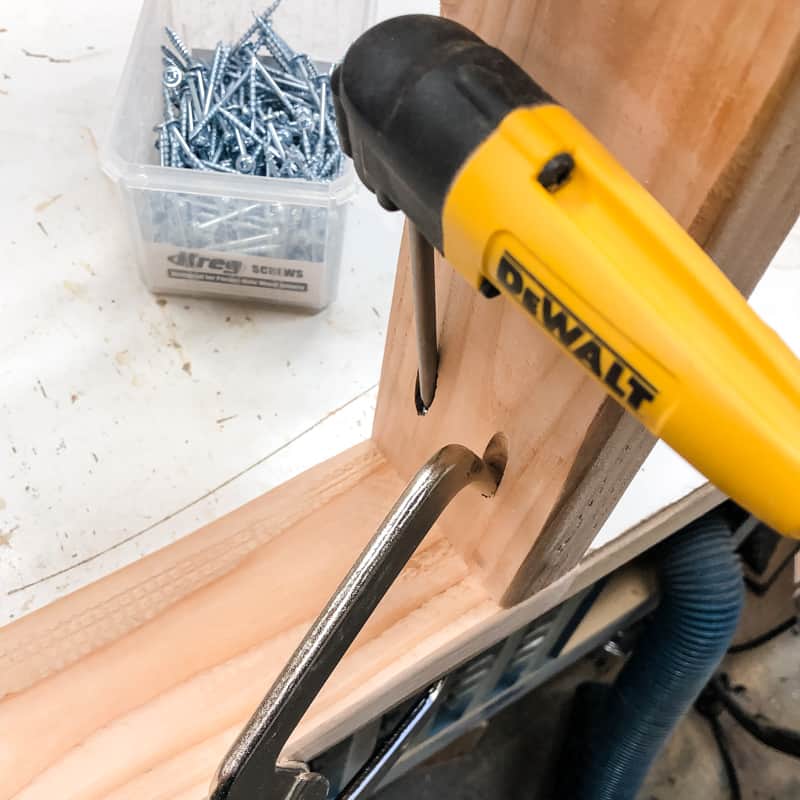
Place the remaining 48" pieces on top of the cross braces that are sticking up. A pocket hole clamp and right angle drill attachment makes it much easier to screw these pieces together!

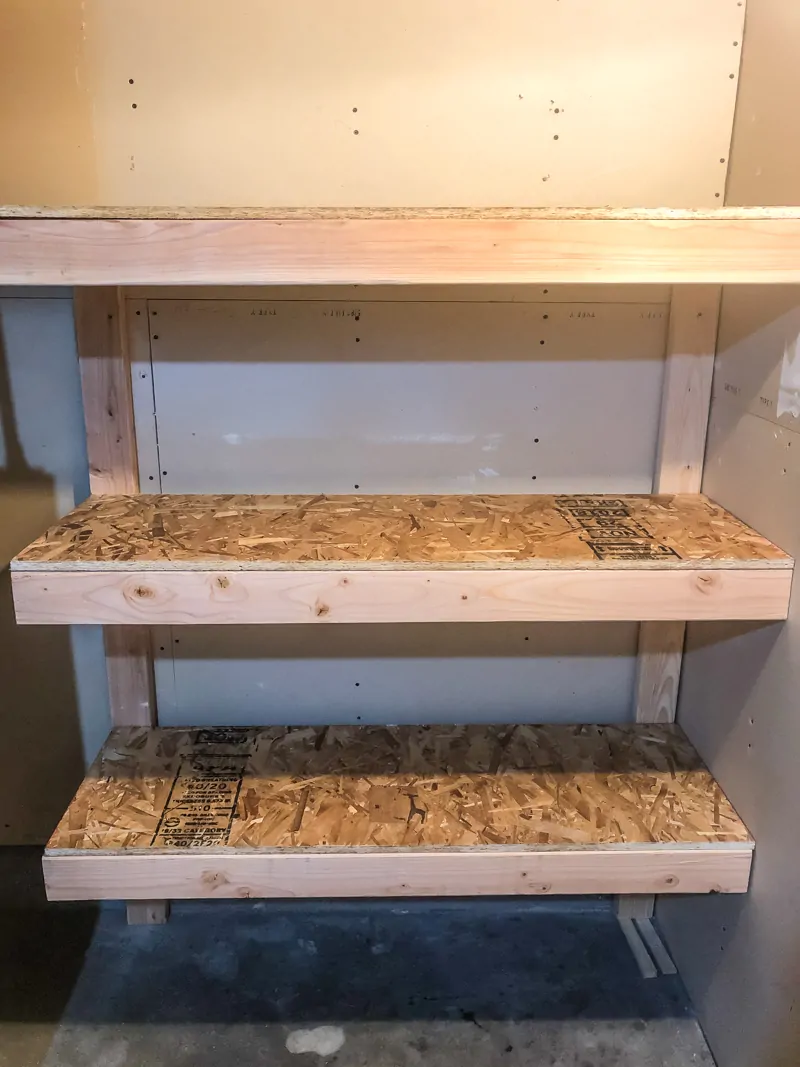
When complete, the back and shelf frame should look like this.


Attach the front legs
Garage floors aren't always level, so I found it easier to attach the shelf frame to the wall first, then attach the legs to the front. This way, you can custom fit the front legs to the slope of your garage floor!
If you'd prefer to make free-standing garage shelves, you can always remove the screws from the wall once the legs are in place. We live in earthquake country, so I'm leaving mine attached. The last thing we need is for the shelves to topple into the furnace during the next big one!
Check that the shelves are level, and use shims to adjust the height if necessary. You can see that the back corner was a little lower than the rest of the floor. 🙂 Screw the back legs to the wall at the studs.
Slide the OSB sheets on top of the shelves, and nail them into place if desired. The front legs should hold them in place, so you can skip this step if you want.

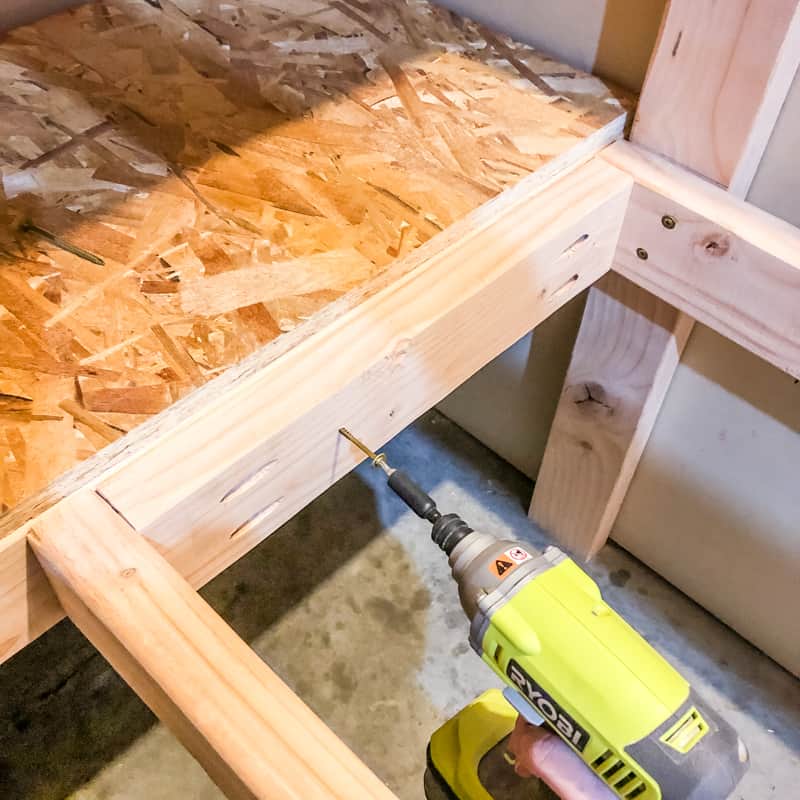
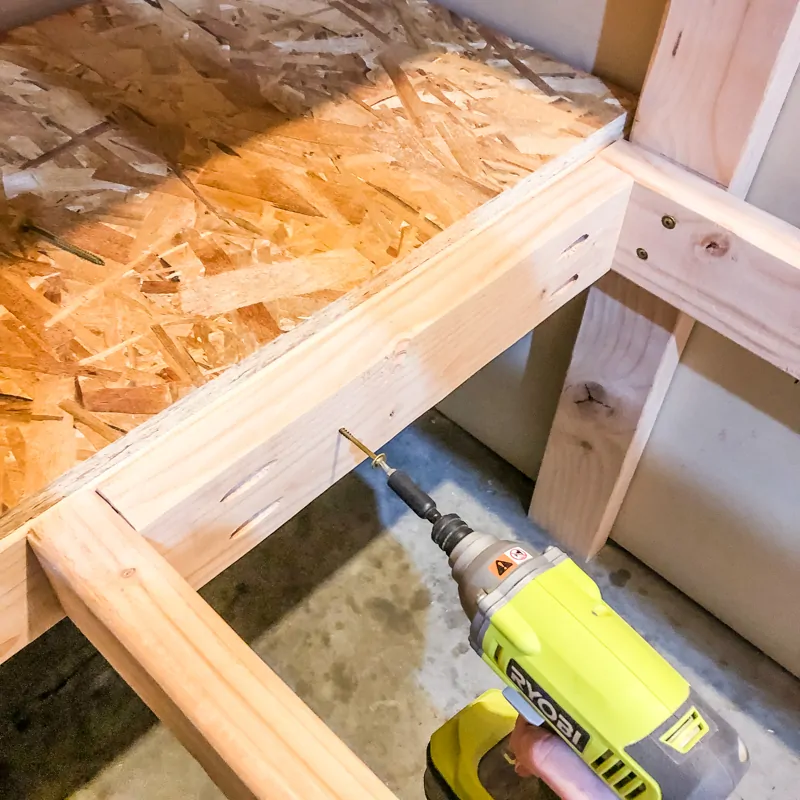
Screw the remaining two legs to the front of the shelves. Don't forget to leave enough space for the pocket hole screws already in the wood!
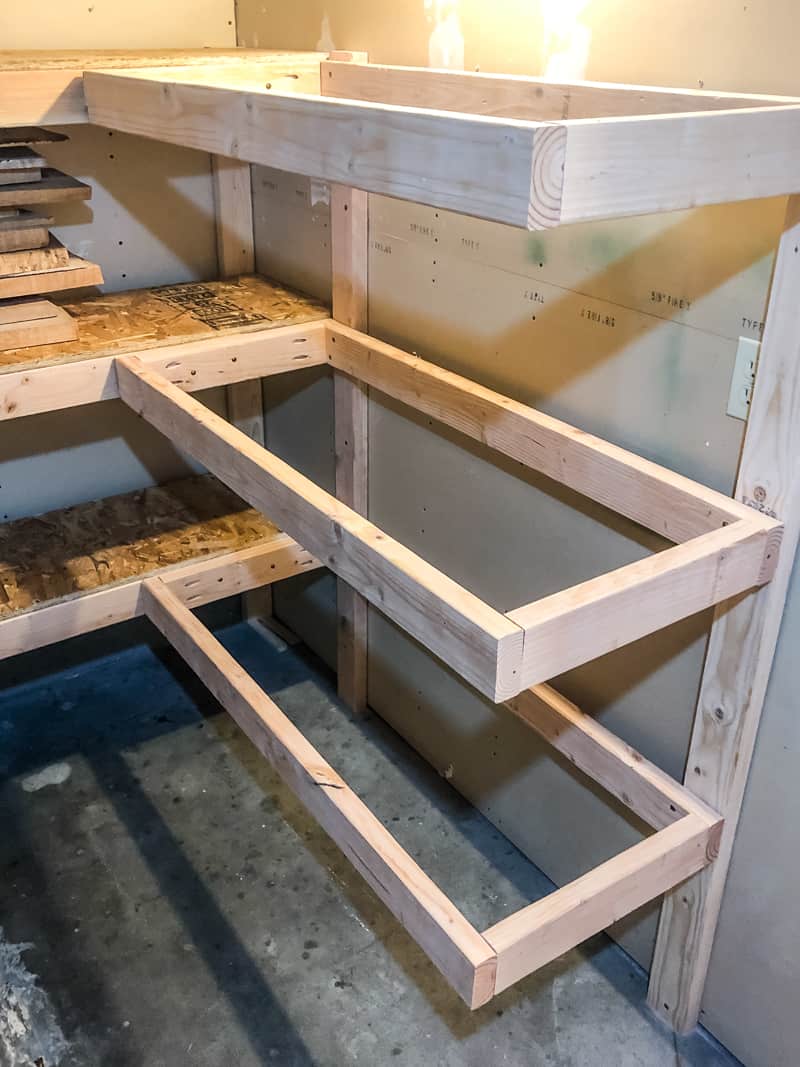
How to make corner storage shelves
If you want to make corner storage shelves, leave off the leg where the two sets of shelves meet. This side will be supported by the adjoining shelves instead.
If you keep all your measurements the same, the shelves should line up at the corners. Repeat the same process for attaching the shelves to the walls, then screw the front legs into place.
The instructions for the corner shelves are also included in the woodworking plans!
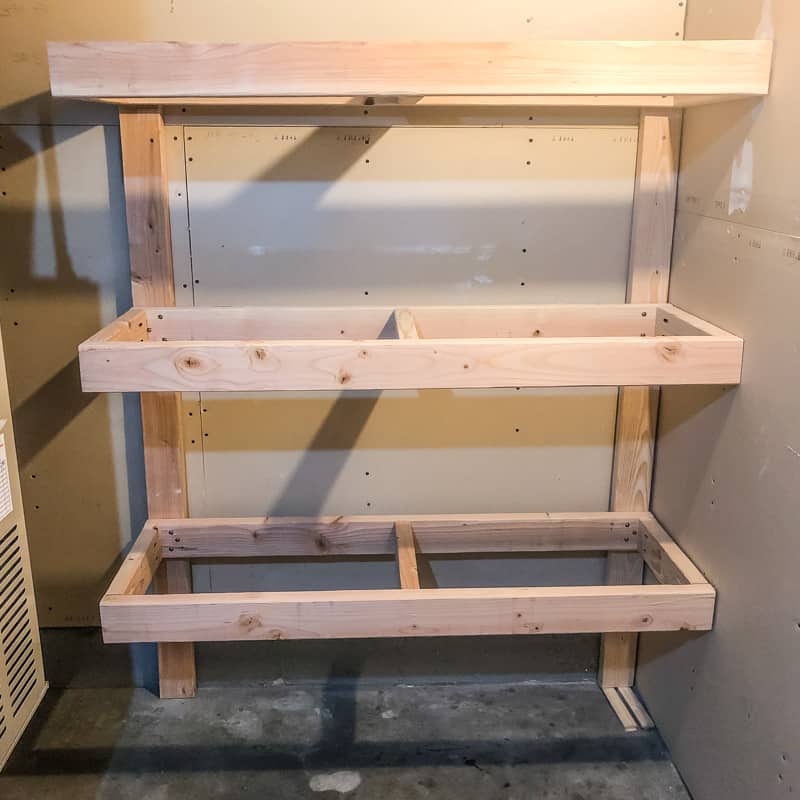
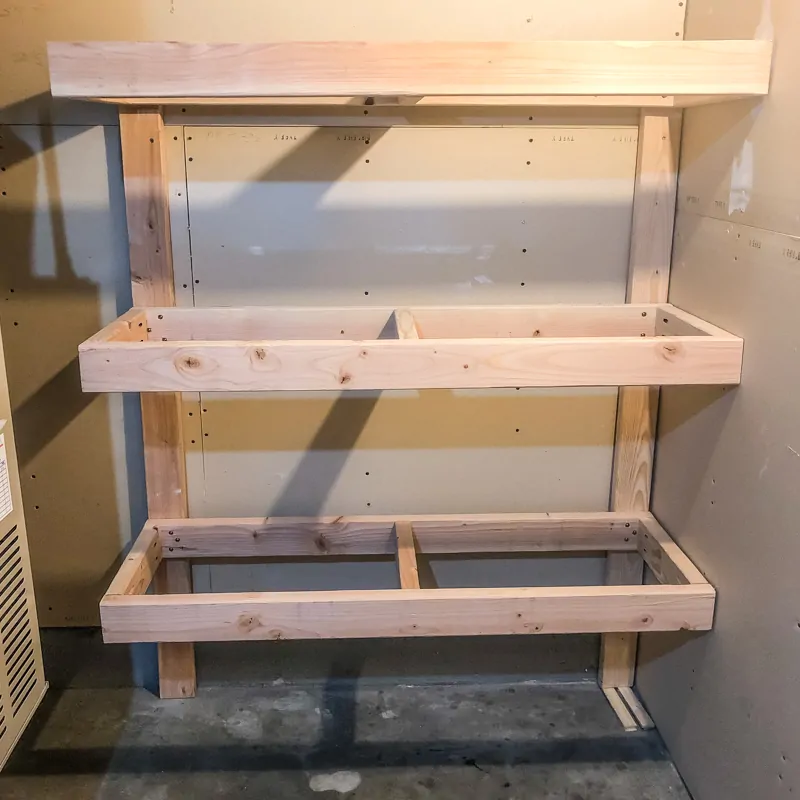
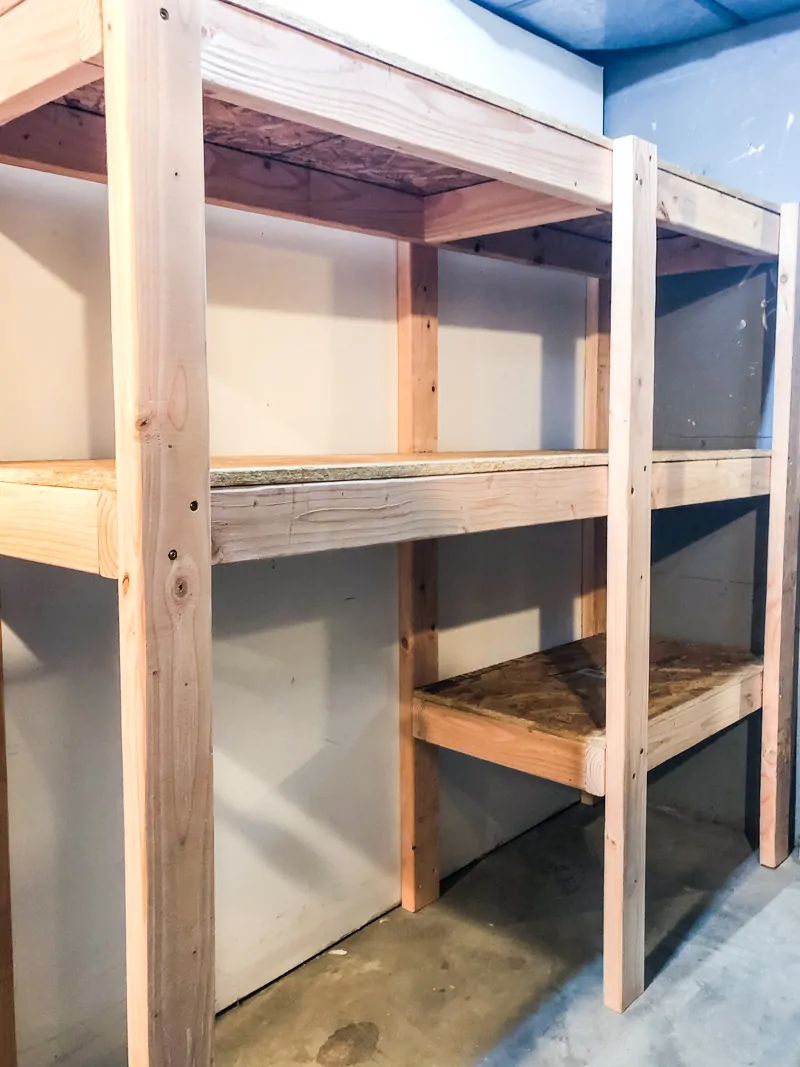
Customize your garage shelves to fit larger items
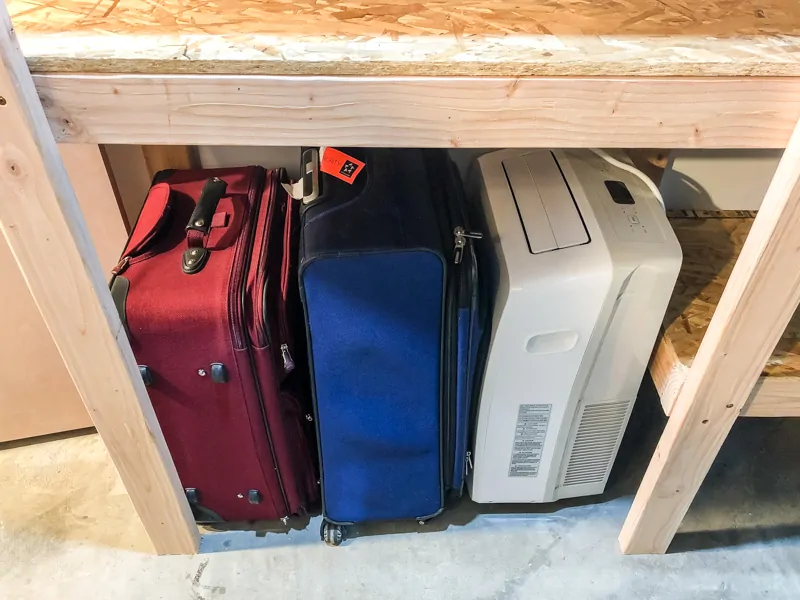
My goal is to keep the floor completely clear in this area so we can always get to our stuff. But our suitcases and a portable air conditioner won't fit! So on the longer side of the furnace room, I customized the shelves with a smaller bottom shelf.

Now everything can roll right in, and they save precious floor space outside the shelves.

Download the woodworking plans for more details on how to make this set of shelves!
Load up your new DIY garage shelves!
It's amazing how much storage you can get in a tiny footprint! This set of garage shelves is less than 20" deep and about 6 feet long.
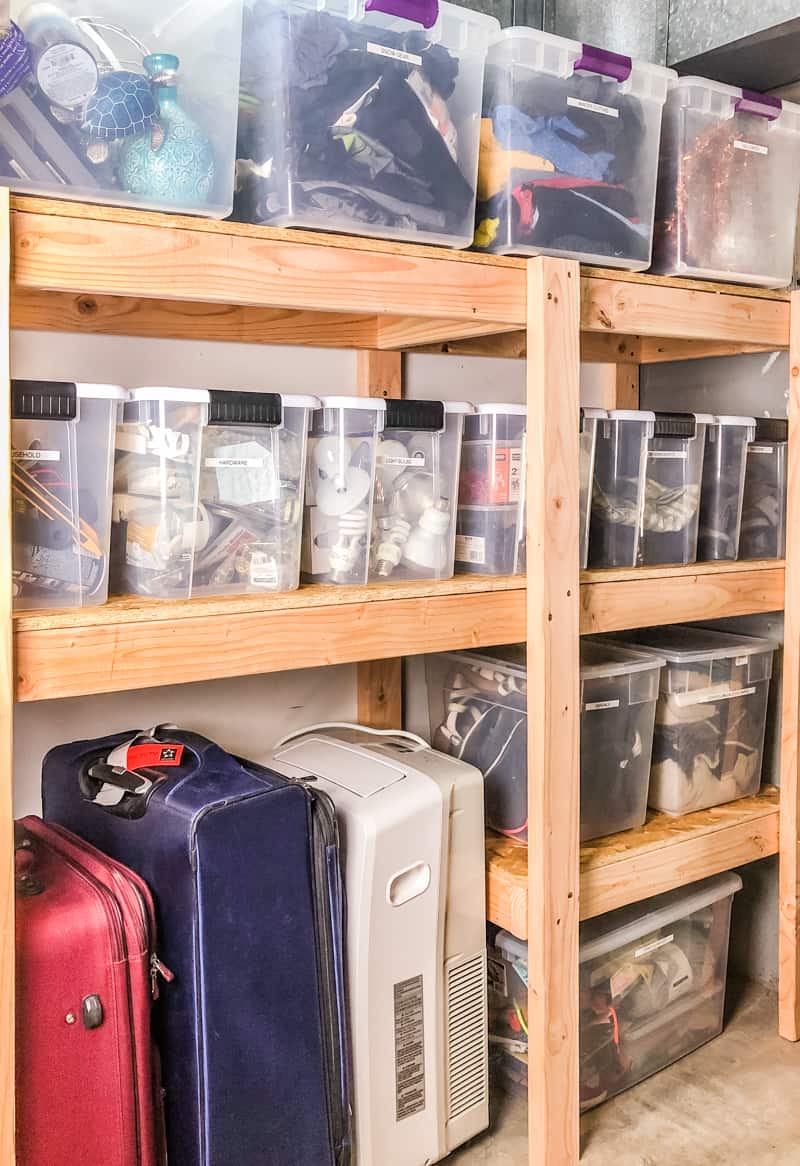

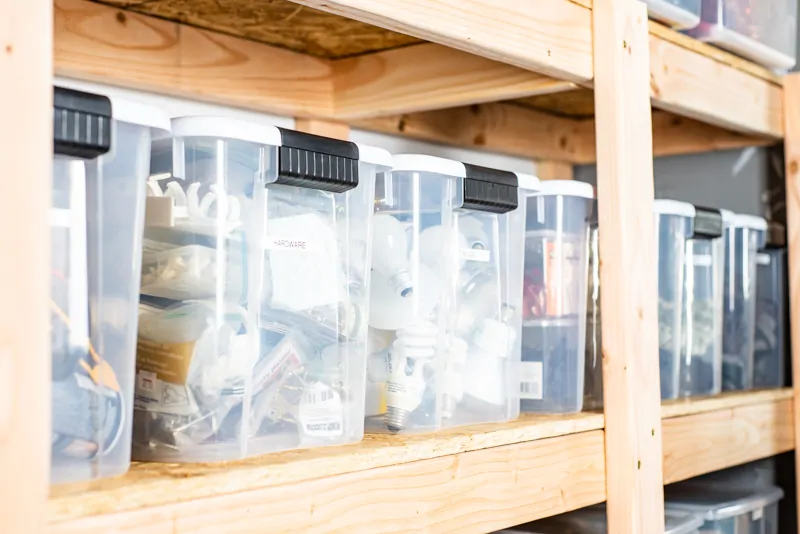
After a week of sorting and purging all our old junk, everything left went into these clear plastic bins. The lids click into place to protect the contents from sawdust from the workshop, and each one is clearly labeled to make stuff easier to find! Larger bins sit on the top shelf with a tiny bit of an overhang.

We got rid of so much stuff when we cleared out the room, we ended up with a bunch of empty bins, although I'm sure they'll fill up in no time! I'll be storing all my gallon paint cans on the floor underneath (as soon as I can dig them out of the workshop!)

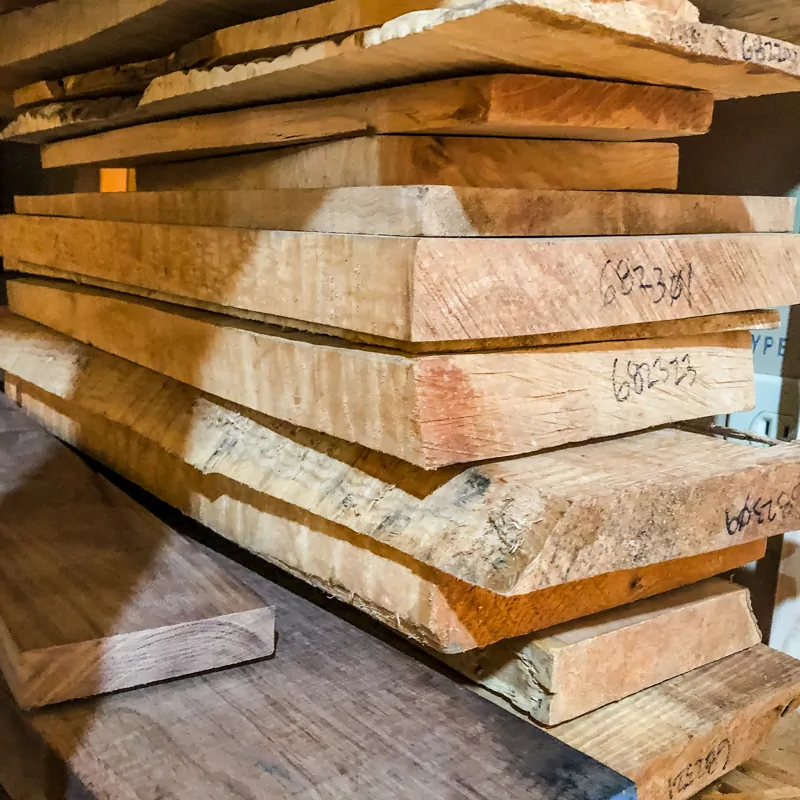
I'll be moving more things from the workshop into this space, like these smaller pieces of hardwood I've been hoarding collecting. Mmmm, curly maple . . . 🙂

These DIY garage shelves give us so much more storage space than before, and help keep everything organized. Now there's no excuse for allowing junk to pile up on the floor!
Check out these other DIY storage ideas!
Emily
Friday 22nd of March 2019
Our garage needs this so bad! Just another thing to add to our growing DIY to-do list!!