This easy DIY strawberry planter has space for 18 plants, and an optional watering tube to keep them growing all summer long! This compact strawberry tower is perfect for balconies and patios with its space-saving vertical design. Get the woodworking plans to make your own!
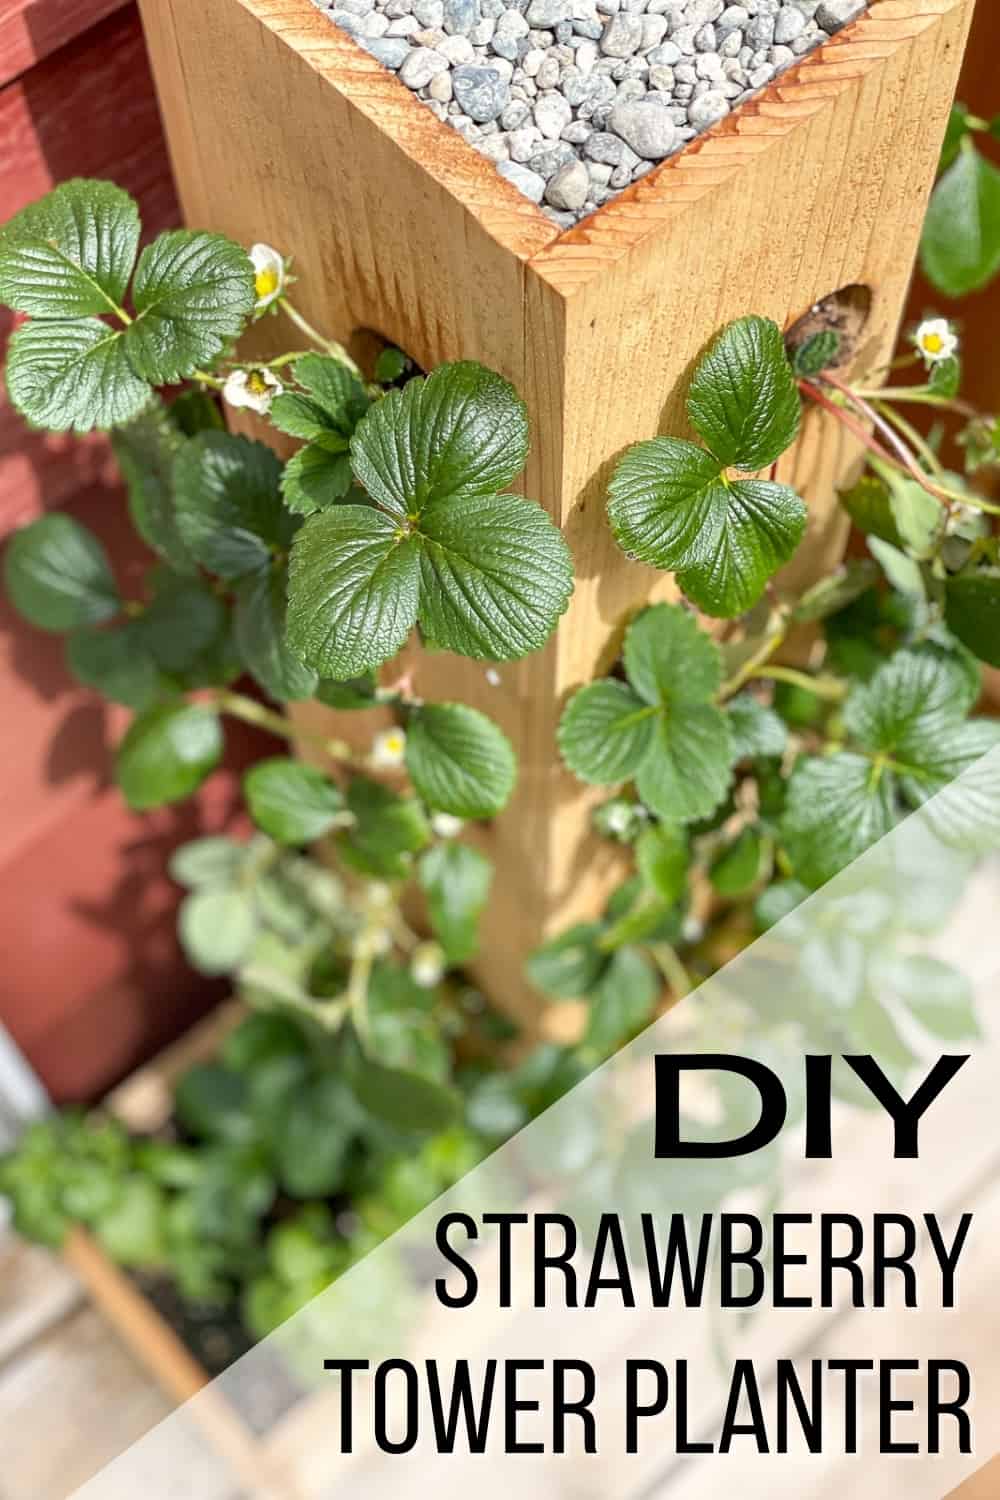

Do you want a constant supply of strawberries all summer long? You'll need more than just a few plants to grow enough fruit to make it worth the effort. This vertical strawberry planter takes up less than two feet of space, but packs in lots of plants for lots of berries!
Strawberries also need a LOT of water, especially during hot weather. The soil can dry out quickly in a small planter, leading to shriveled fruit and yellow leaves. You can use either a water reservoir tube down the center of the planter, or drip irrigation to give your plants consistent water throughout the summer.
This post contains affiliate links for your convenience. Purchases made through these links may earn me a small commission at no additional cost to you. Please visit my disclosures page for more information.
Materials Needed for DIY Strawberry Tower
- Three 1x6 cedar fence pickets
- One 1x4 cedar fence picket
- 1-2" diameter PVC pipe and caps (optional)
- You can also use a soaker hose hooked up to a drip irrigation system for more consistent watering.
- 2" diameter hole saw
- Drill
- Brad nailer and 1" brad nails
- You could also use 1" exterior wood screws, but you'll need a small drill bit to predrill the holes to prevent cracking the wood.
- Exterior wood glue
- Clamps
- Potting soil
- Strawberry plants
How to Build a Strawberry Planter
Before you start, download the woodworking plans for this vertical strawberry planter by clicking the box below. These printable plans include a cut diagram, 3D models of each step, and detailed instructions in a checklist format so you can keep track of your progress!


Cut the boards to size
I recommend using cedar fence pickets for this project. Cedar is weather and rot resistant, so it will hold up to years of strawberry crops! Don't use pressure treated lumber, which can leech chemicals into the fruit. You can learn more about cedar vs pressure treated lumber here!
Cut the four sides of the strawberry tower, plus the front and back of the bottom box, according to the cut list in the woodworking plans. I used a miter saw for this, but you could use a circular saw or even a hand saw with a miter box.
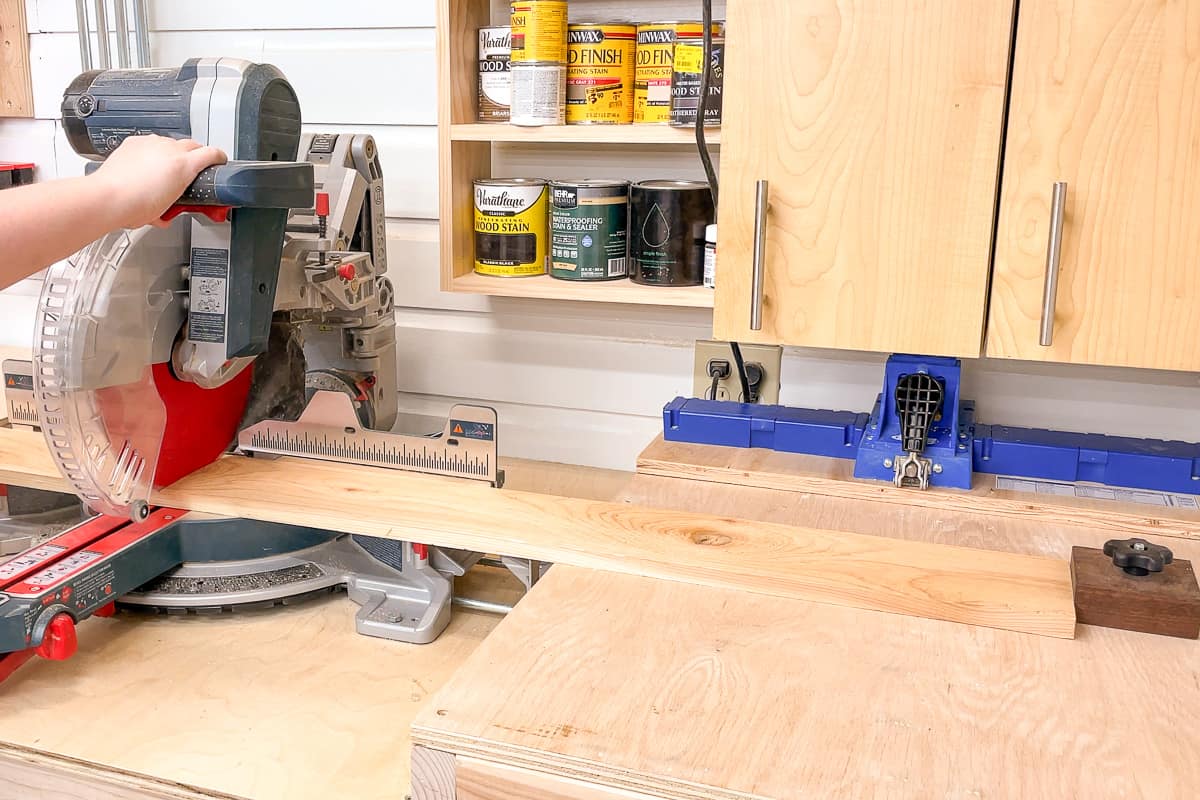

Wait to cut the other pieces until most of the planter is assembled. You'll want to cut them to fit the exact dimensions of the tower.
Drill the holes
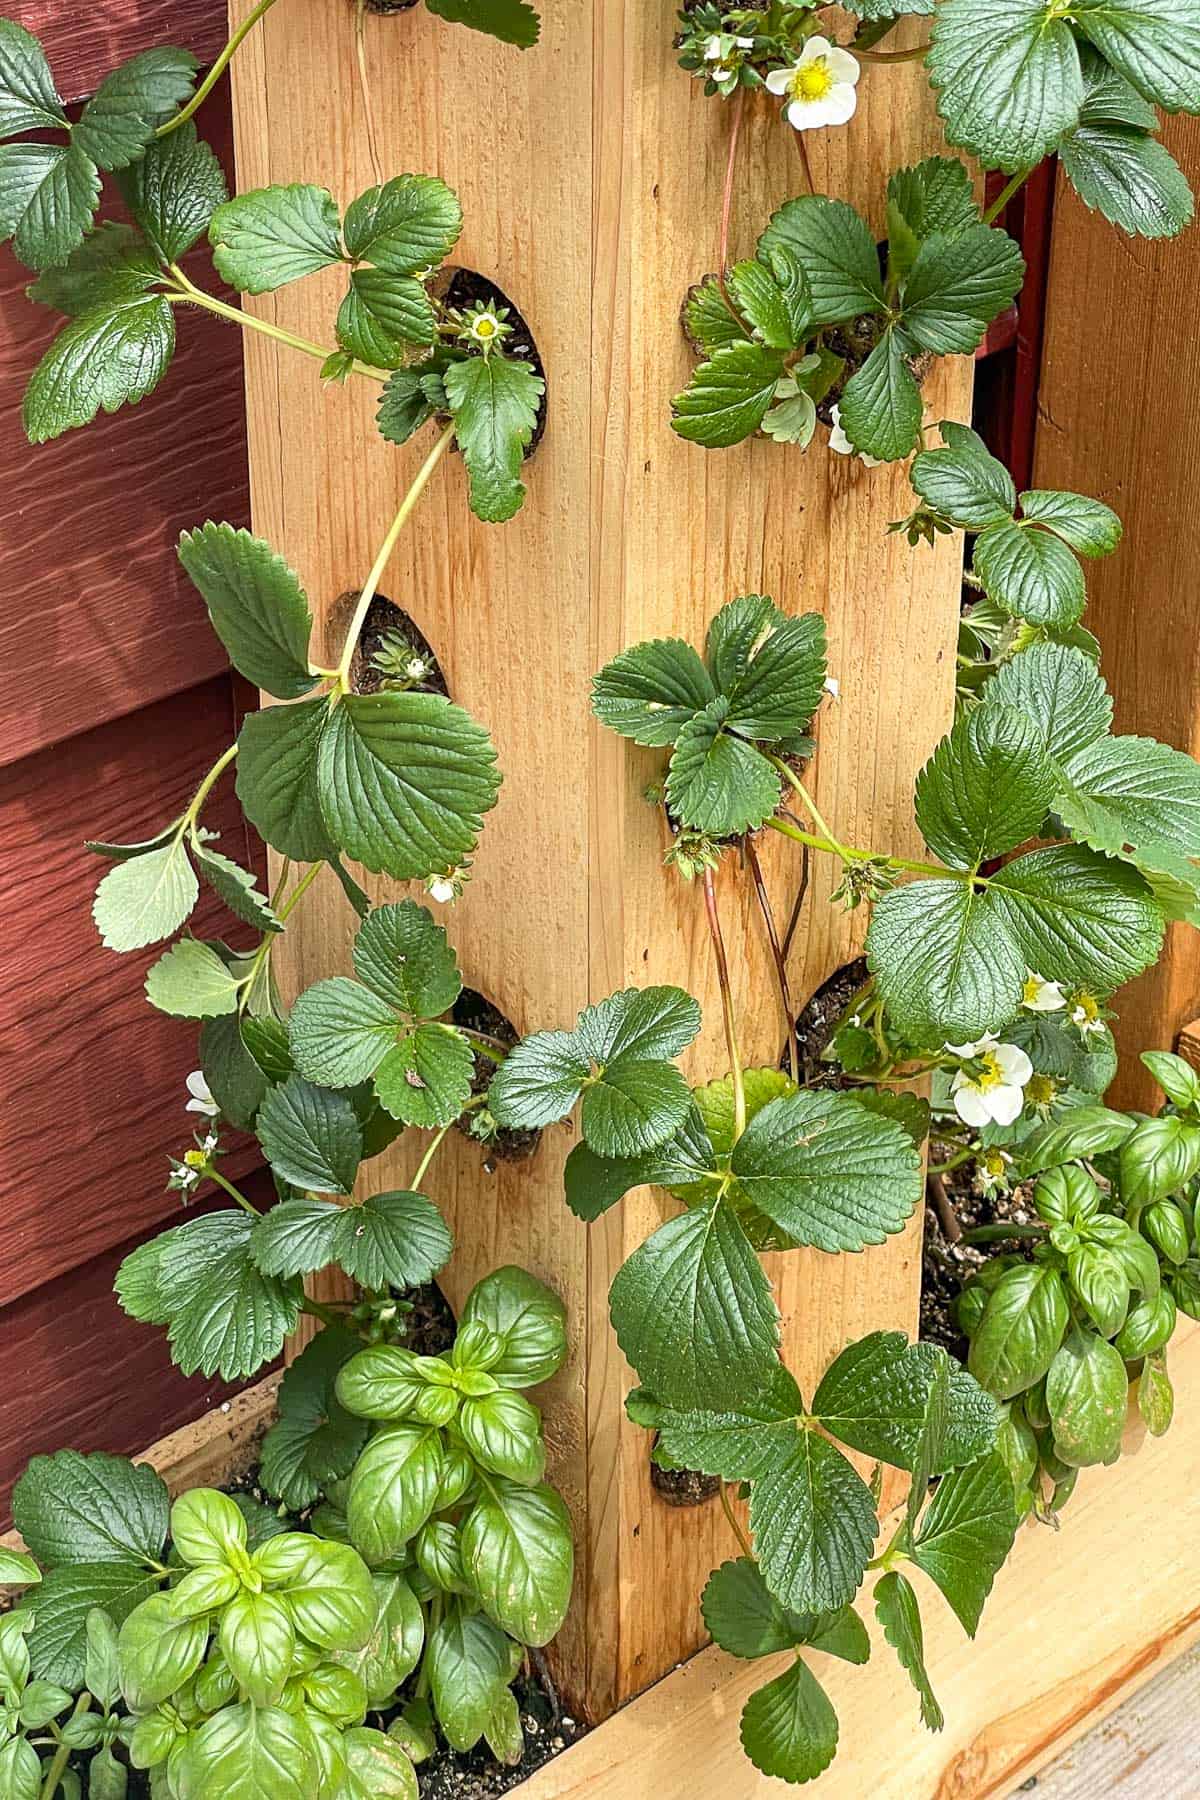
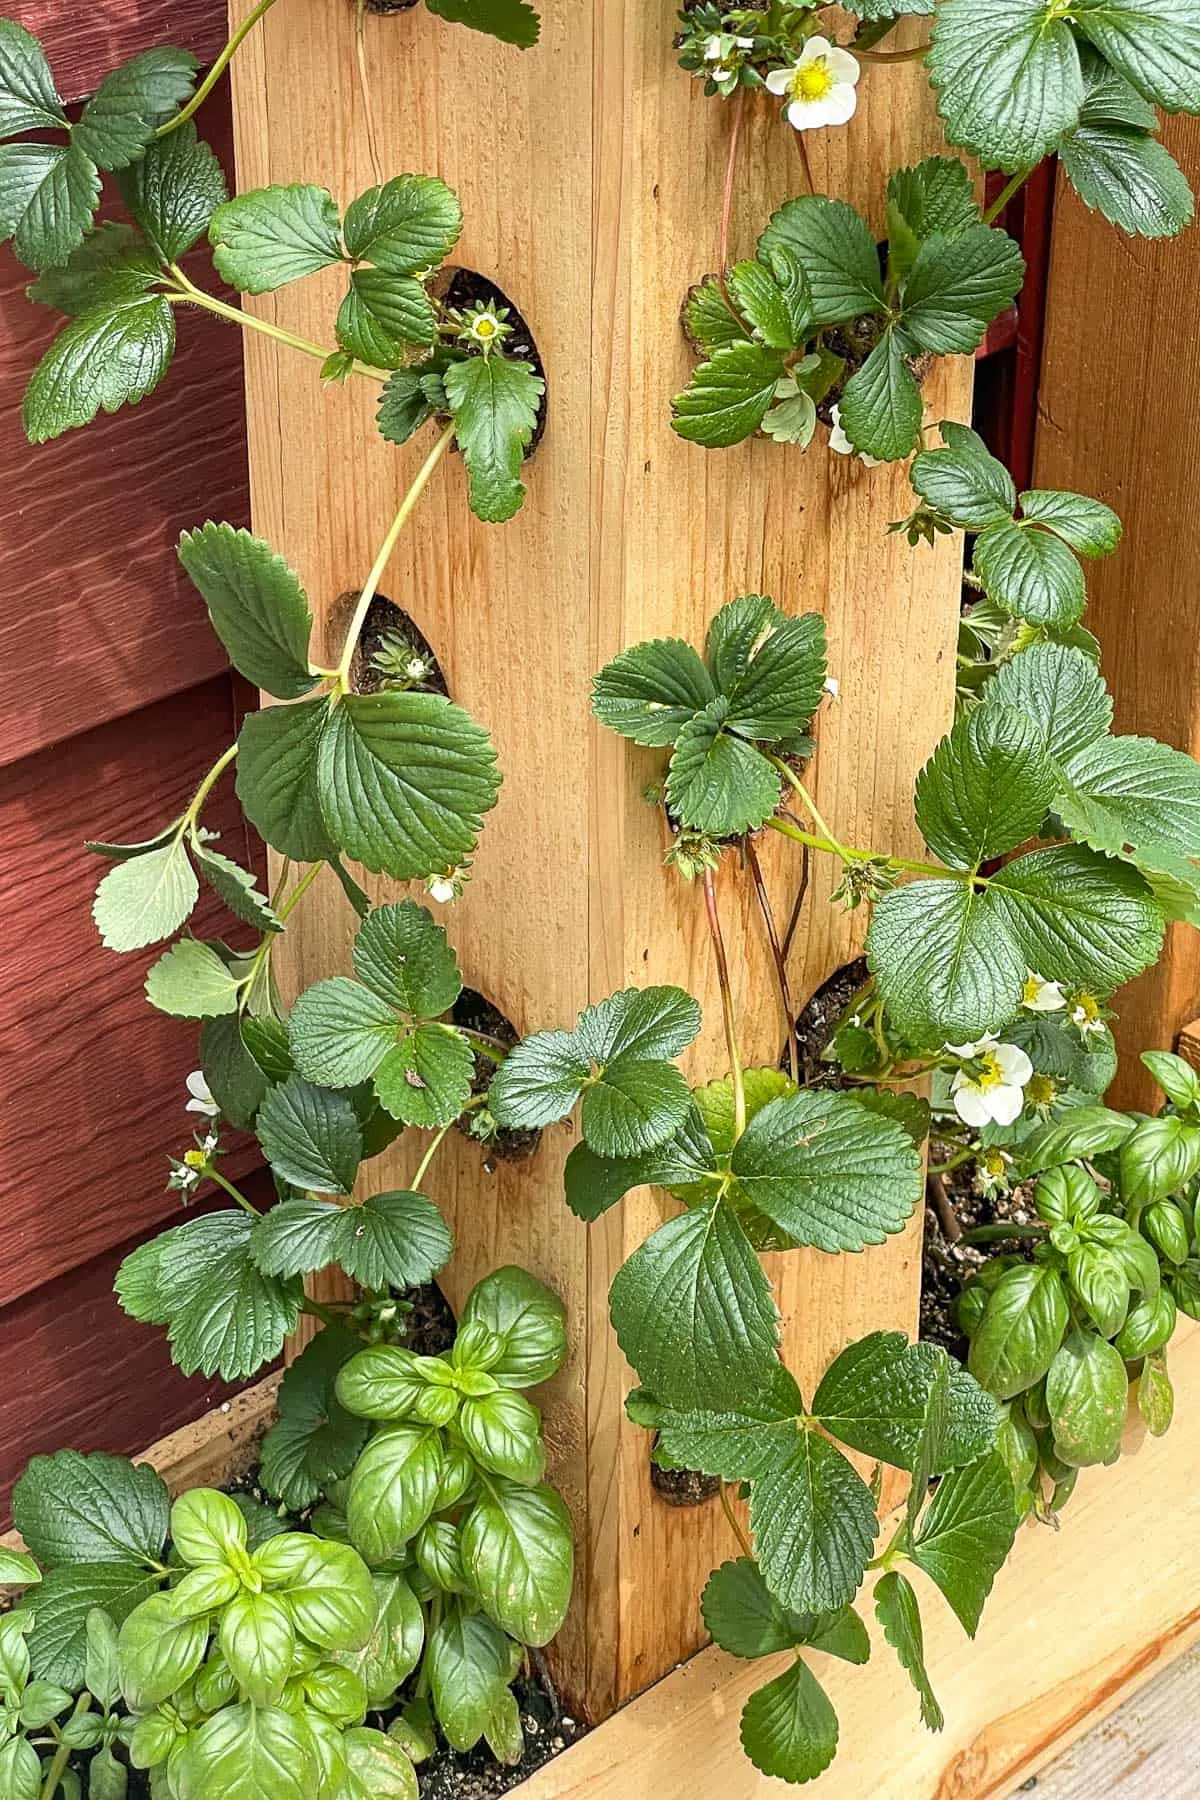
Each strawberry plant will grow out of a hole in the side of the tower. The back will be facing towards the house, so I didn't drill any holes on that side. If yours will be out in the open with full sun exposure on all sides, you can add even more plants to the back!
Mark out a grid for the holes on the surface of the wood. Make sure each plant has enough room to grow without competing for nutrients and water.

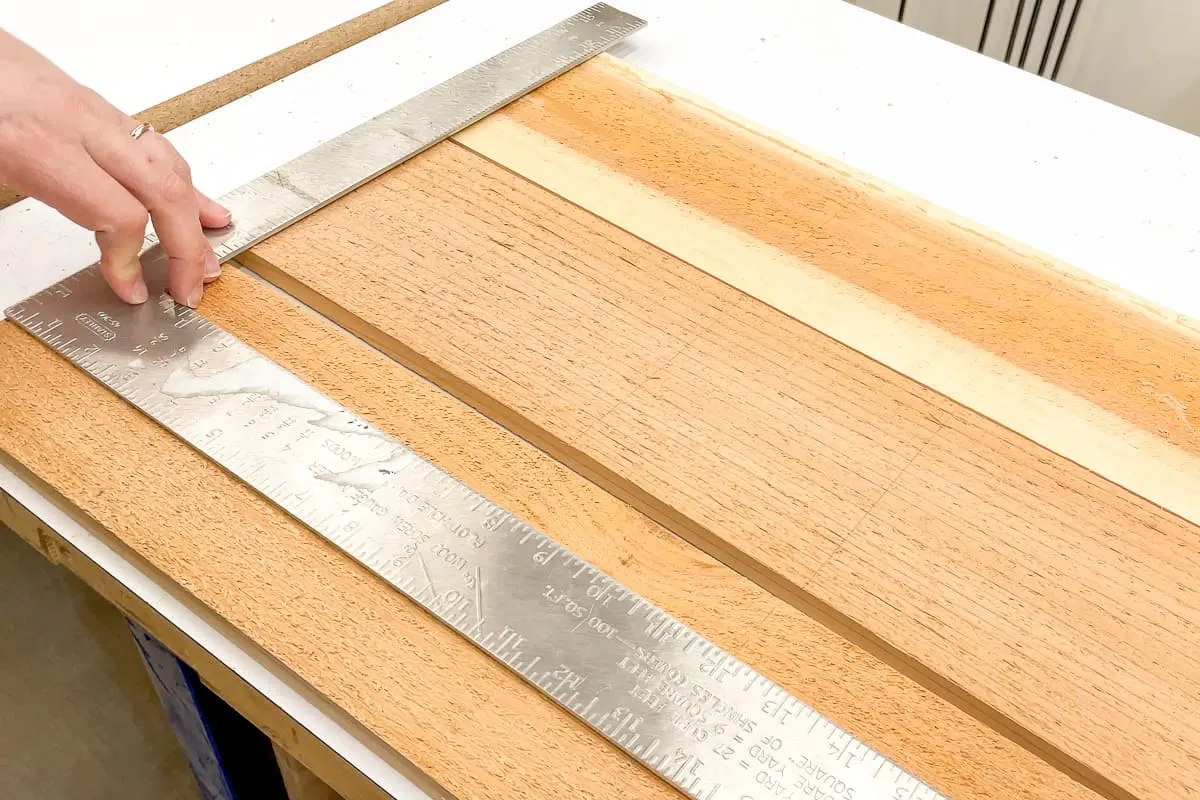
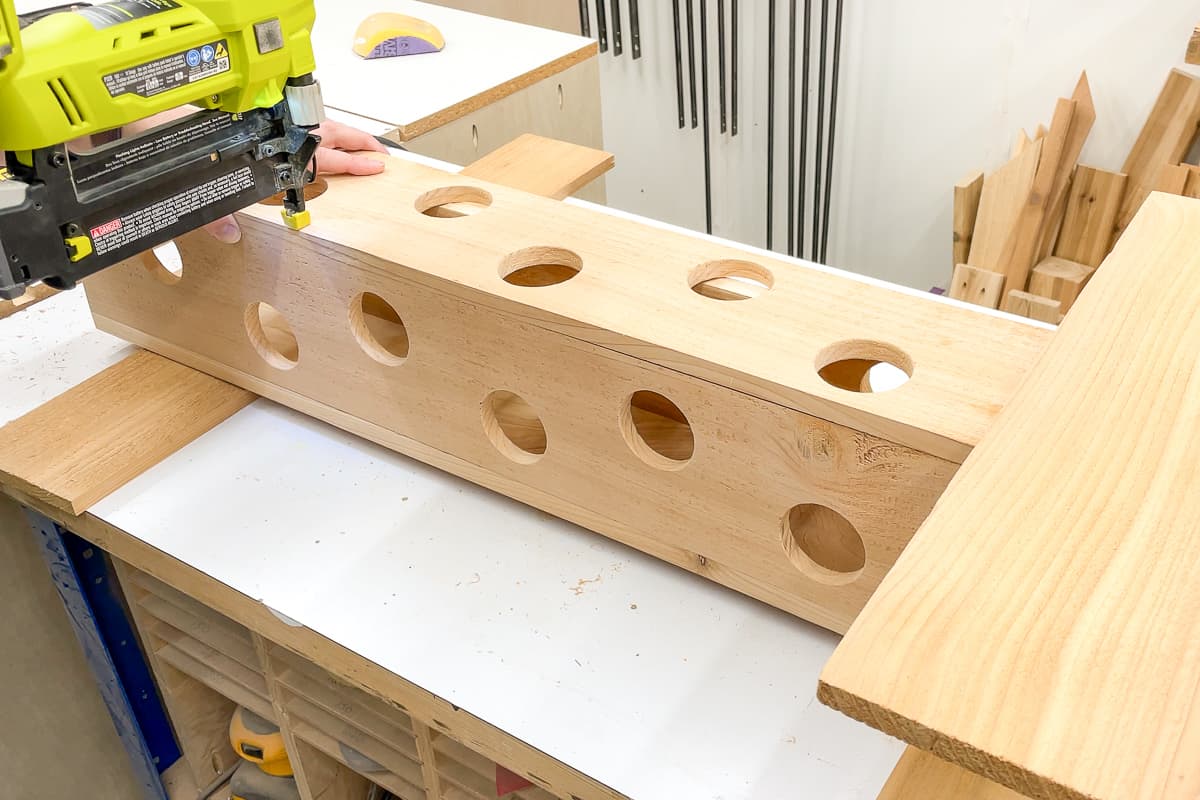
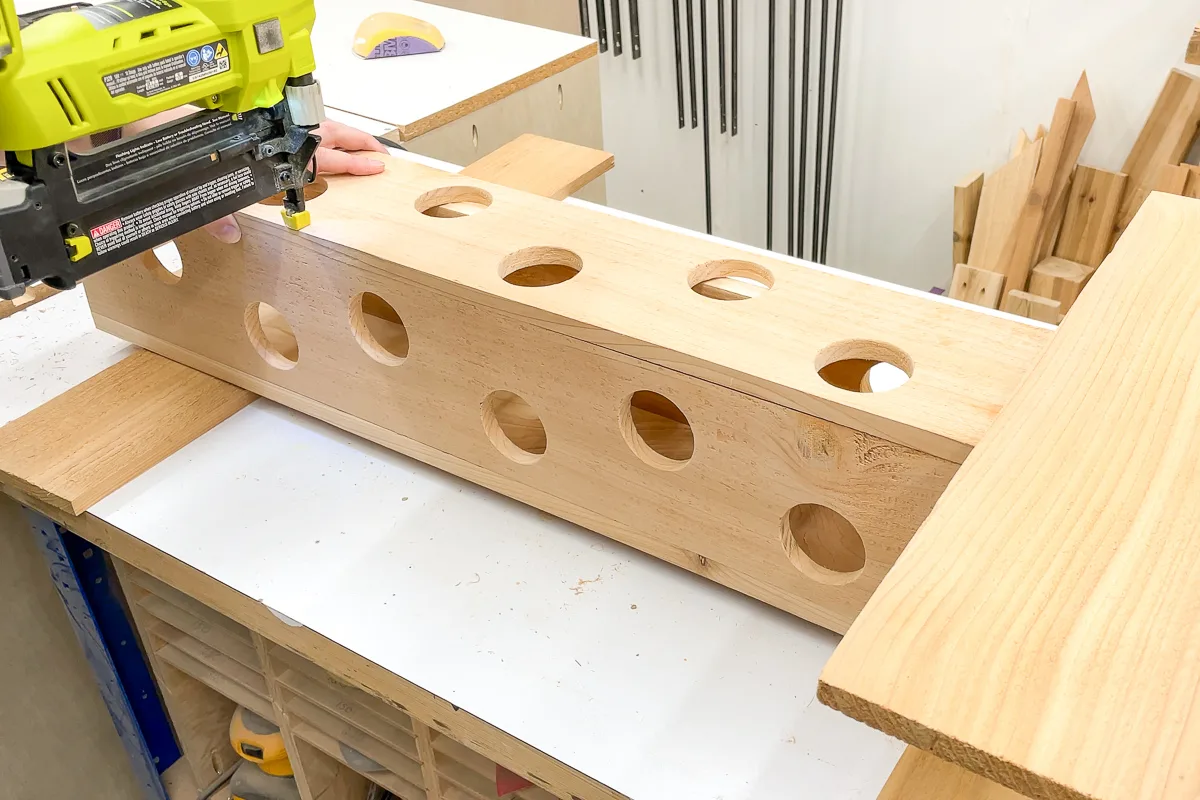
Use a 2" hole saw to drill out the holes where the grid lines meet. I staggered my holes so that the adjoining sides won't have plants right next to each other. Use a scrap piece of wood underneath the hole to prevent tear out on the back. Check out this article on how to use a hole saw for more tips!

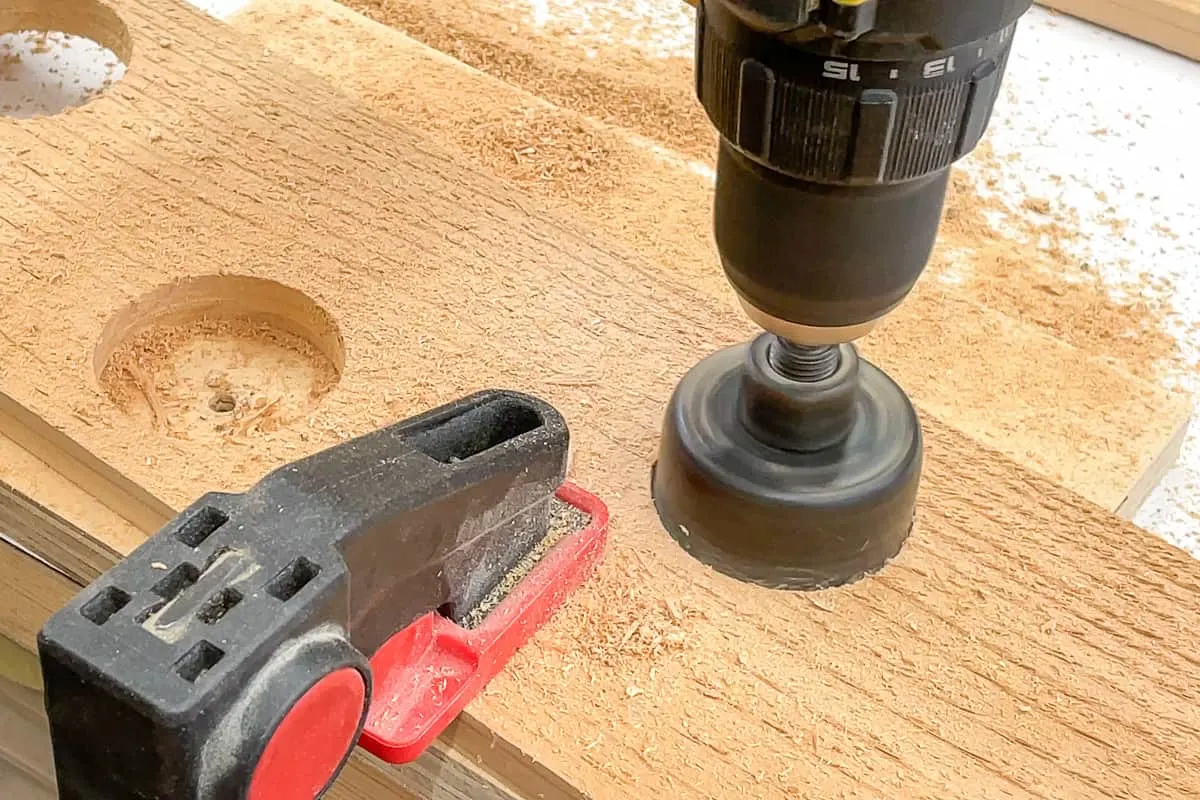
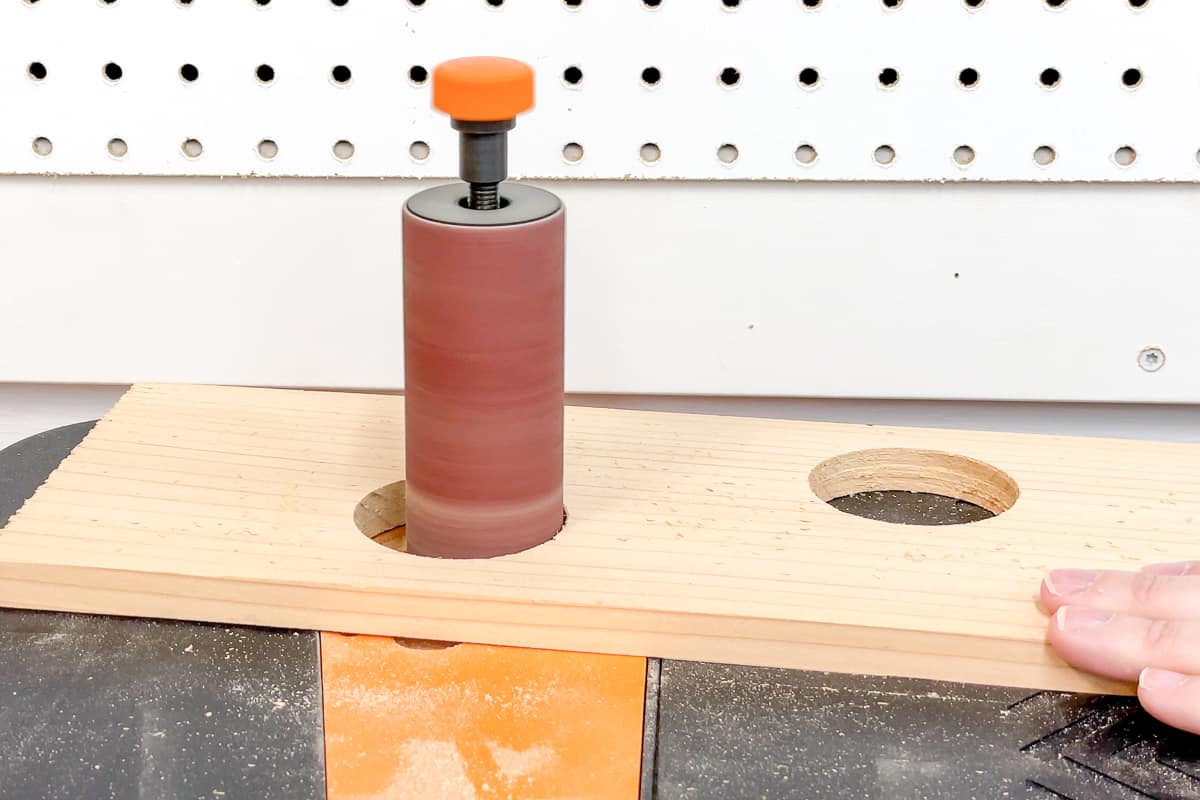
Once all the holes are drilled, give all the boards a quick sanding with 80 grit sandpaper. I used the spindle sander on my mixer lift tool stand to clean up the inside of each hole, but hand sanding will work too!

Assemble the tower
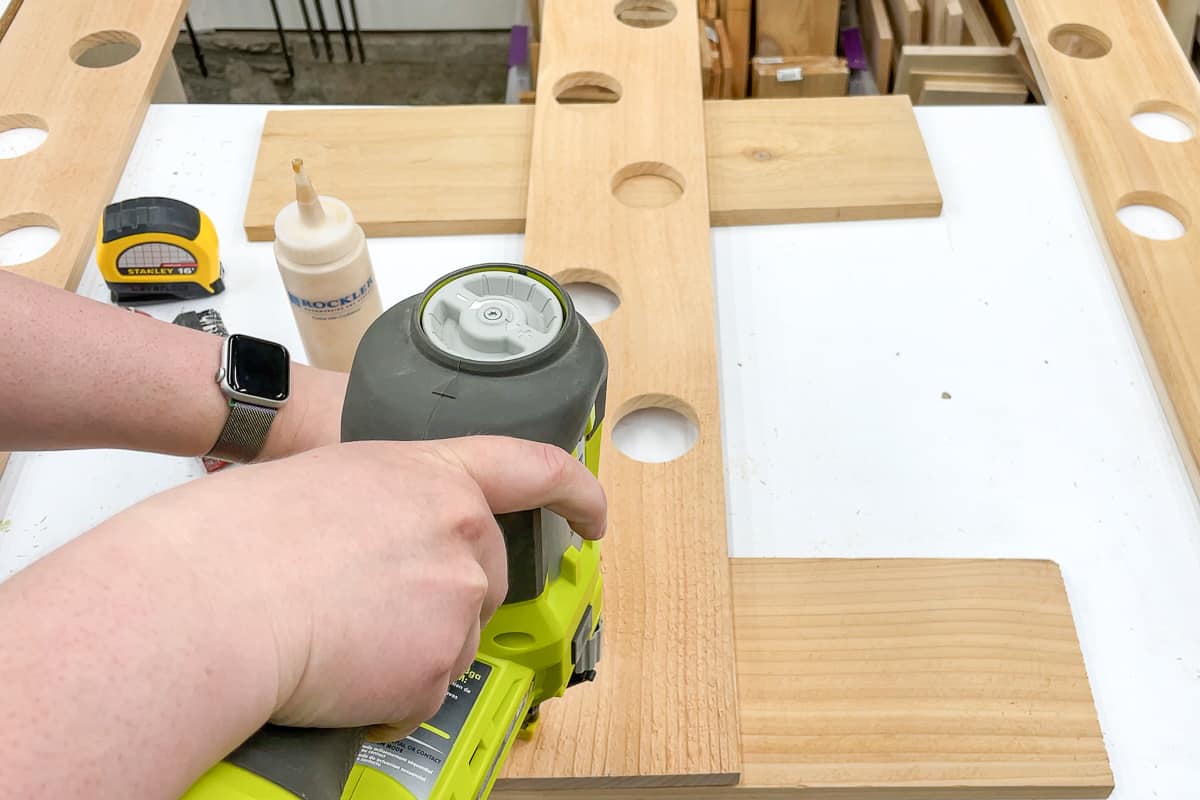
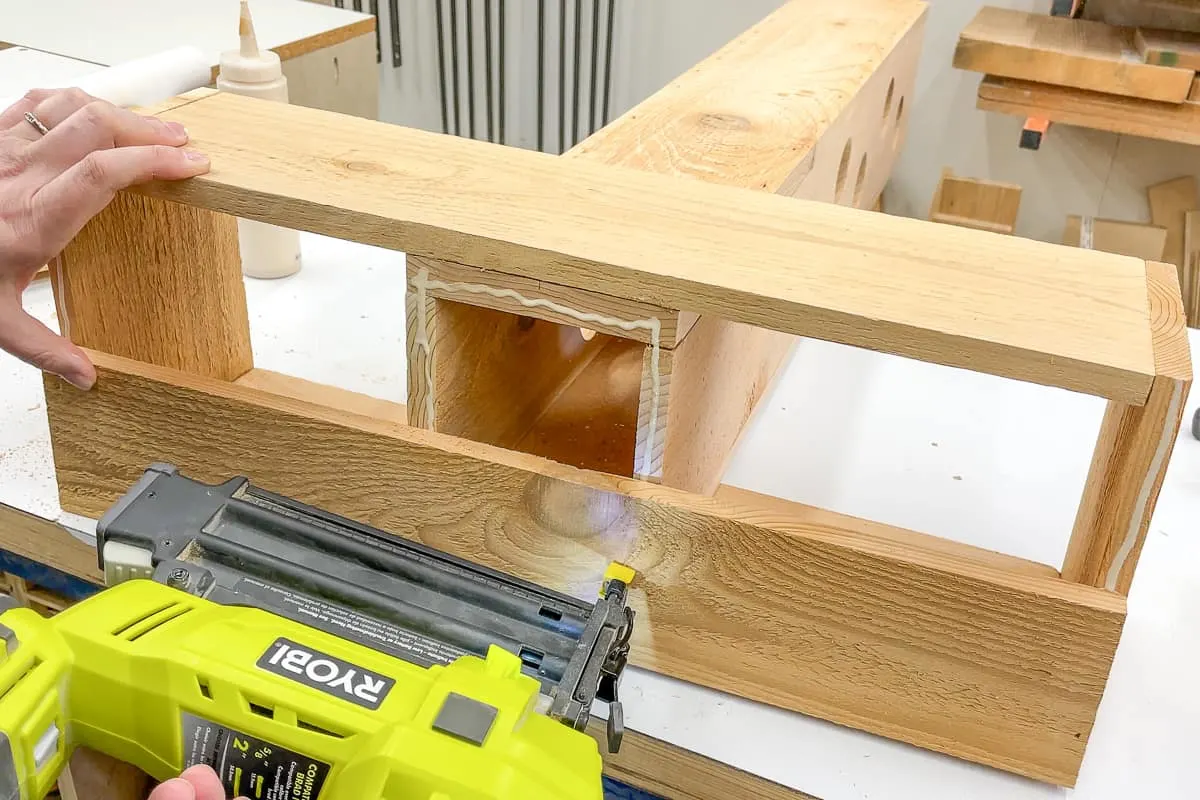
Mark the center of the front and back pieces of both the tower and the bottom box. Apply exterior wood glue to the bottom face of the tower piece, then align the two marks. Attach the pieces with 1" brad nails or screws.

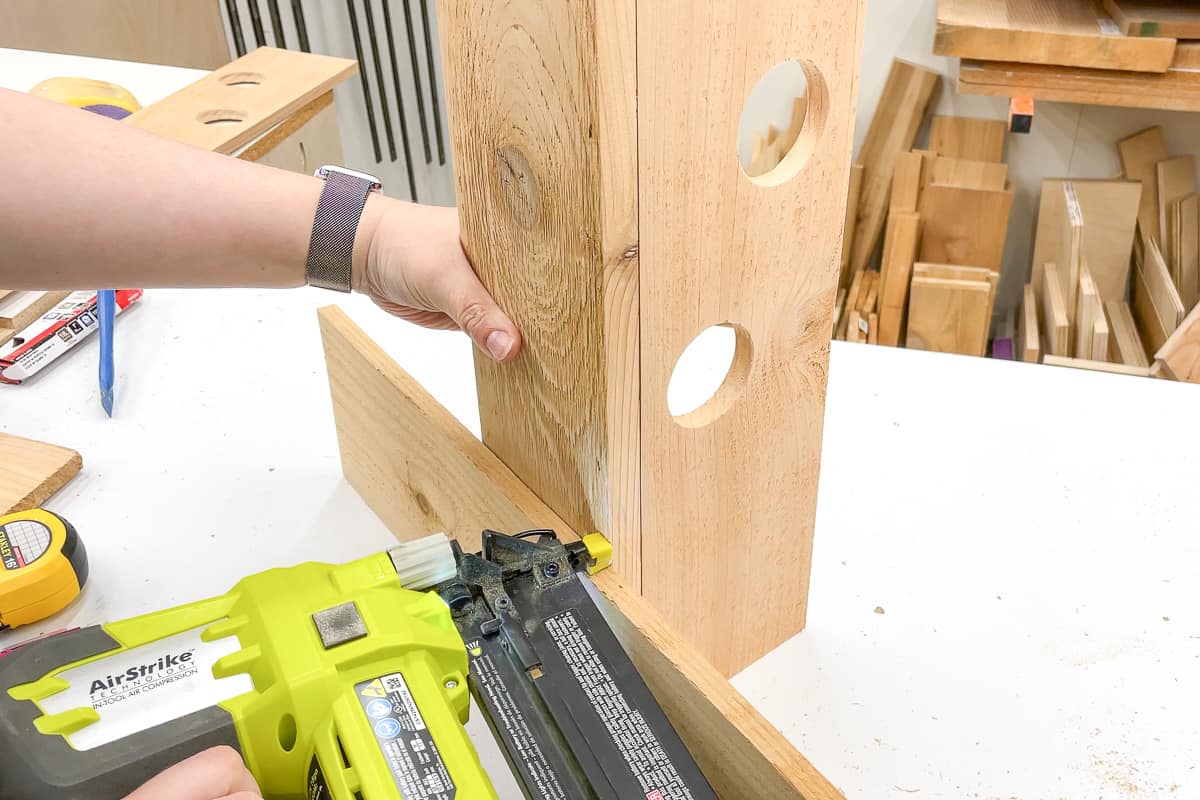
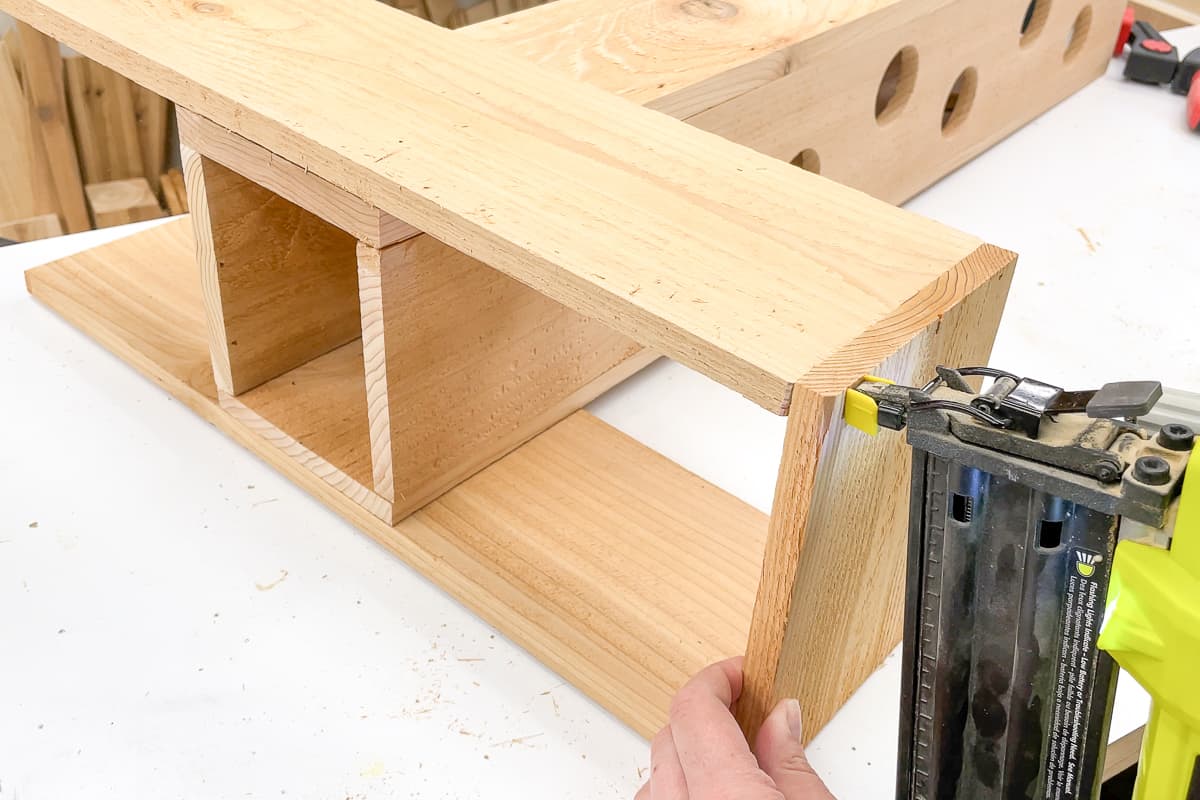
Once the front and back are assembled, run a bead of wood glue down the side pieces and clamp them on either side of the back. Attach the sides to the back with brad nails. You could also use screws, but make sure to predrill each hole first so you don't split the wood.
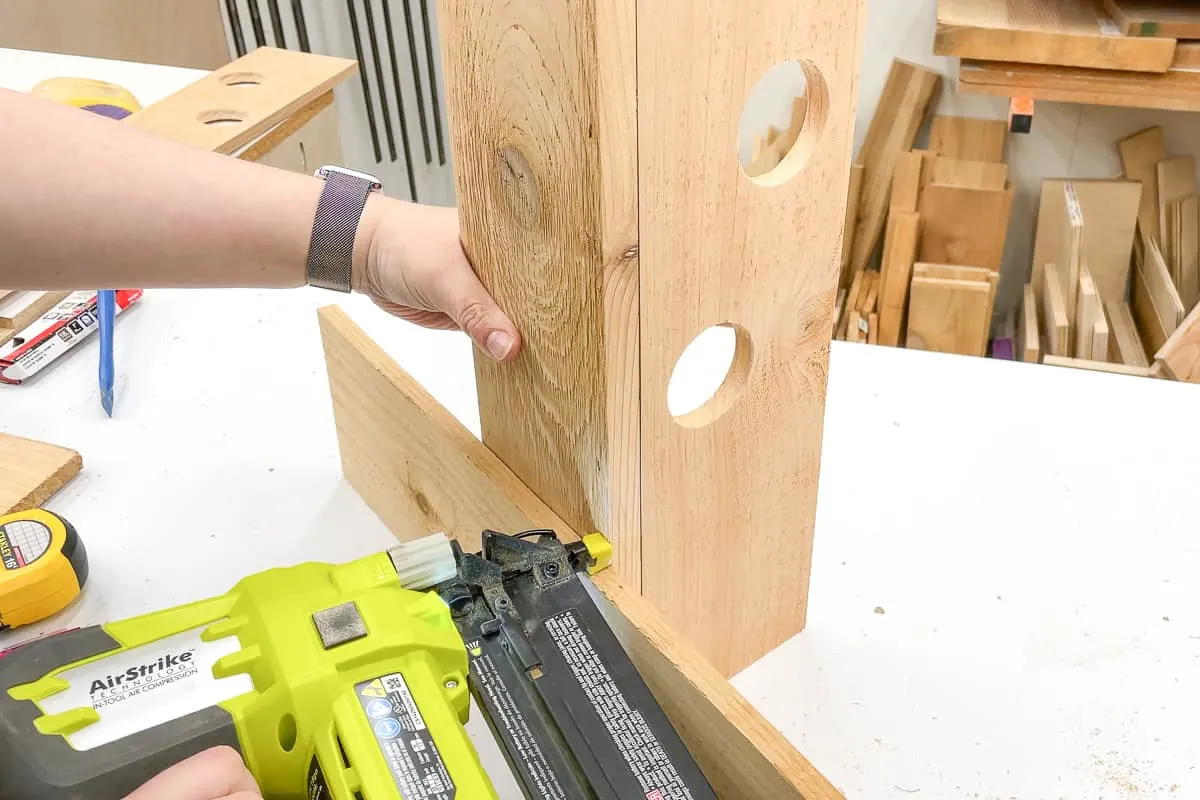
Finally, attach the front to the sides with more brad nails and wood glue. The sides weren't standing up quite square, but it was easy to push them into alignment through the holes.
Assemble the base
Fence pickets can vary in thickness, so you should take measurements for the sides and bottom of the planter based on the actual size once it's assembled. Measure from front to back in the middle of the tower, and cut the ends to that length.

The bottom is less than two fence pickets wide, so I trimmed the edge off two pieces to fit at the table saw. Leave a gap for excess water to drain through.

If you don't have a table saw or a circular saw to trim off the sides, I have two options for you in the woodworking plans!
Add drip tubing and drainage
I have drip irrigation set up on our deck, so I tied into it for my new strawberry planter. I added a soaker line through the middle of the tower and two drip emitters for the side planters. The tubing fits in the gap between the two bottom pieces, and the other line slips through the deck slats to the main line underneath.

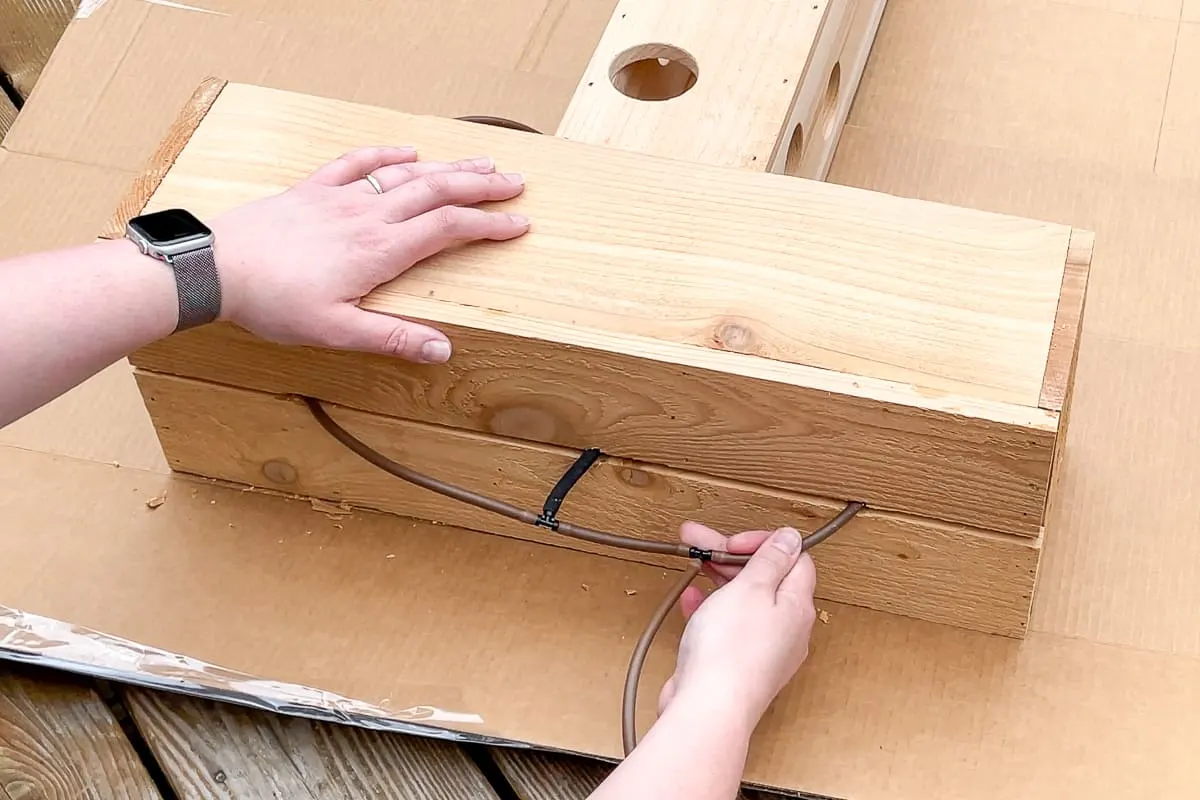
You can also create a reservoir by adding a PVC pipe with tiny holes drilled into it so the water drips out gradually. It's important to keep the tube topped off with water, so the top plants don't dry out.
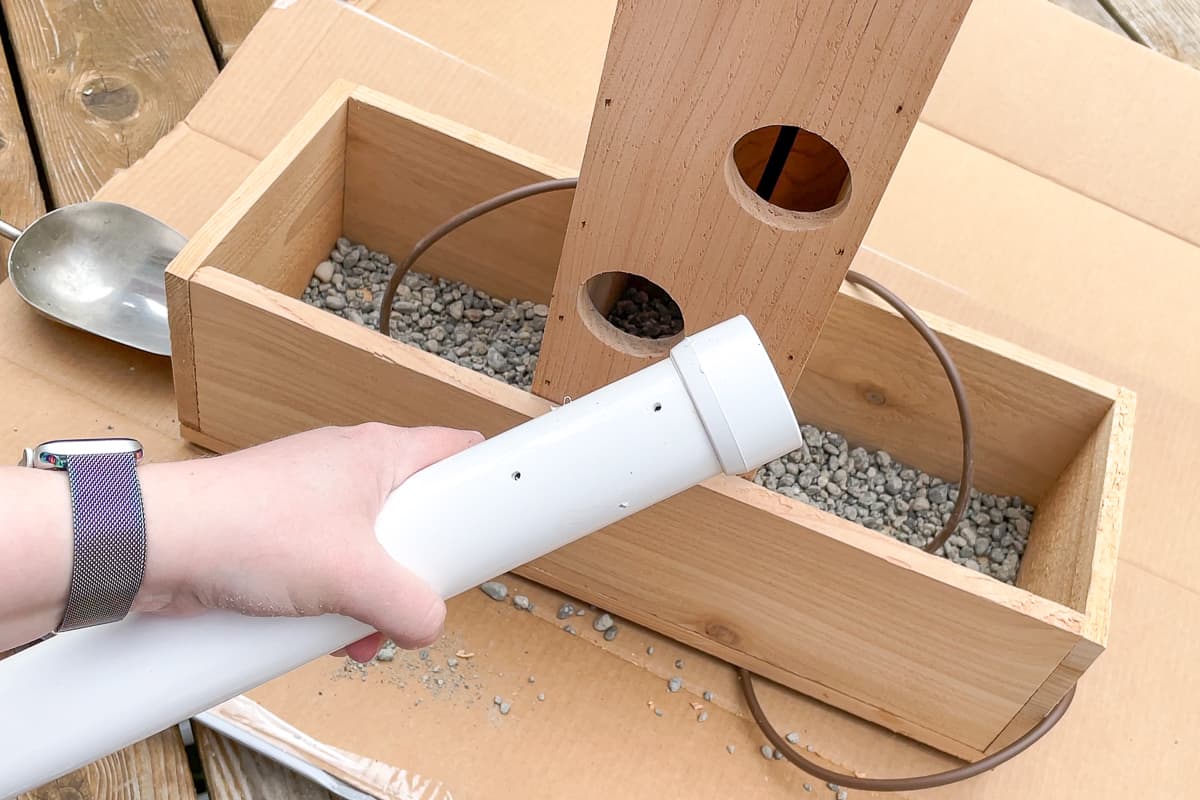

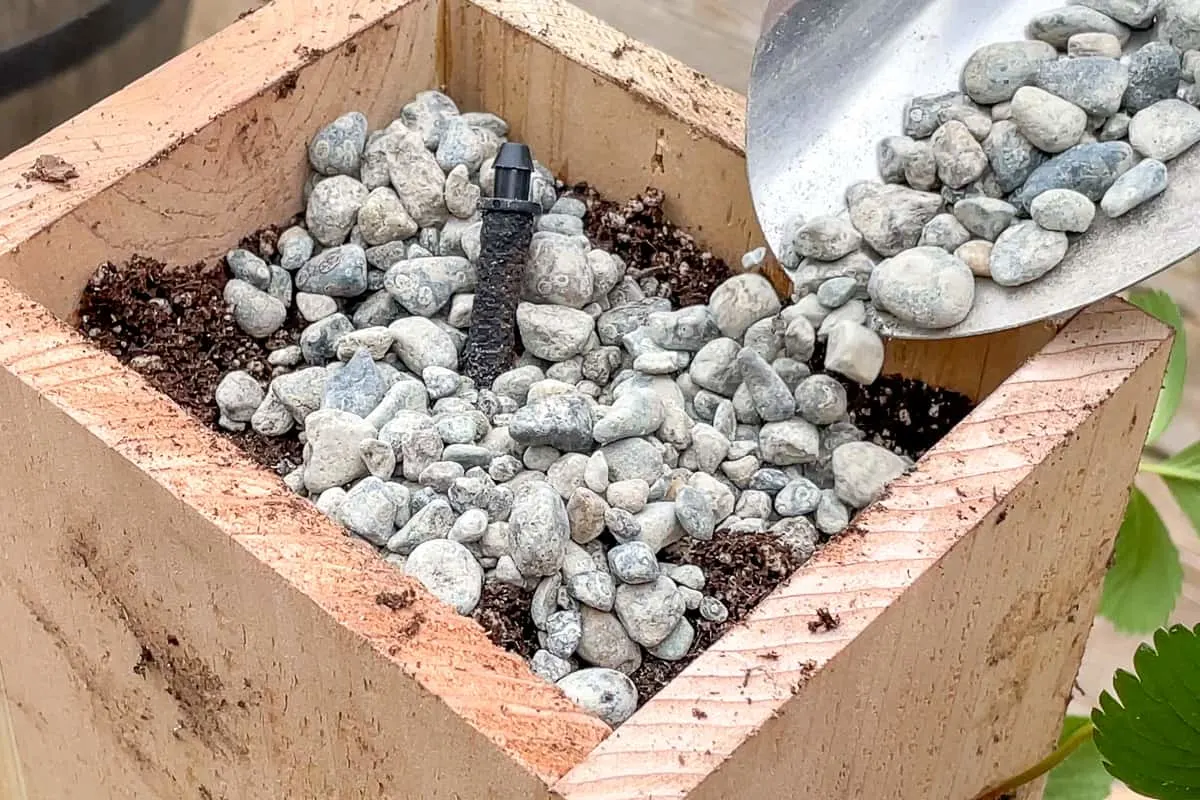
I had some gravel left over from our pea gravel patio, so I used a few scoops to cover up the holes in the bottom and allow for better drainage. It also helps to weigh down the planter, since it can get a bit top heavy with all those plants!


Plant the strawberries
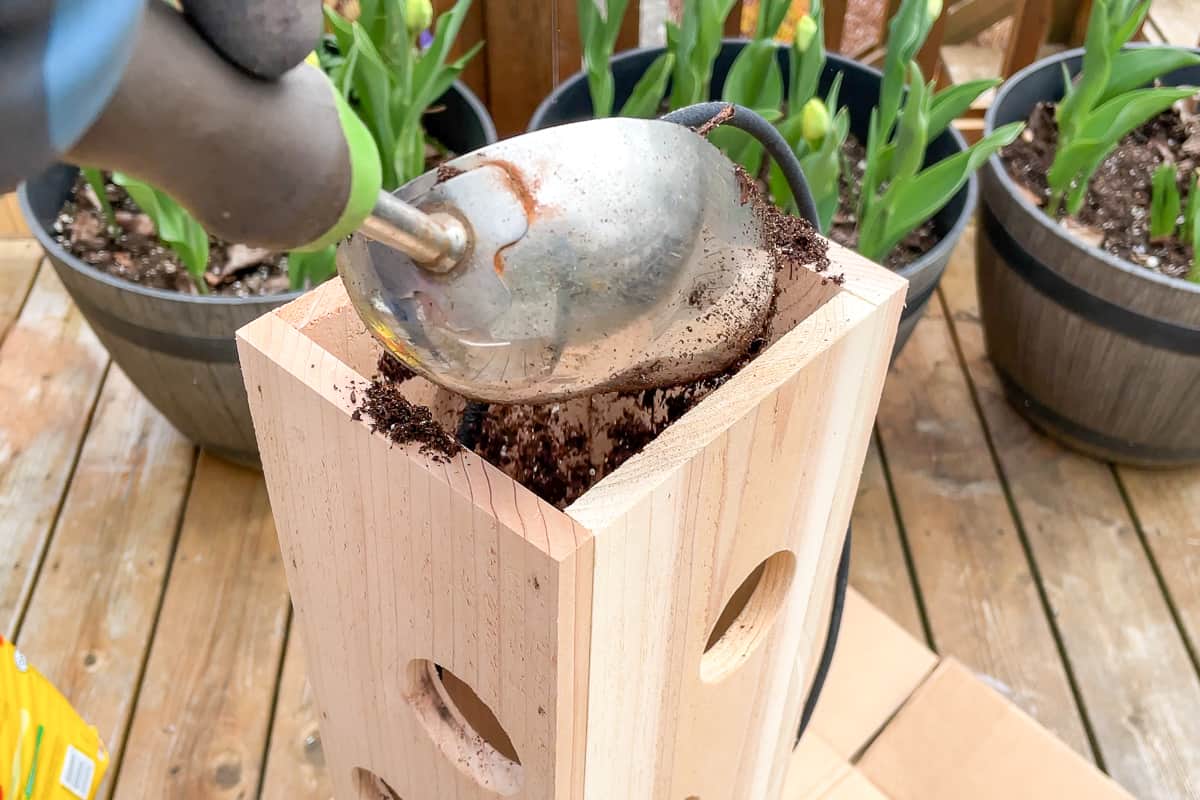
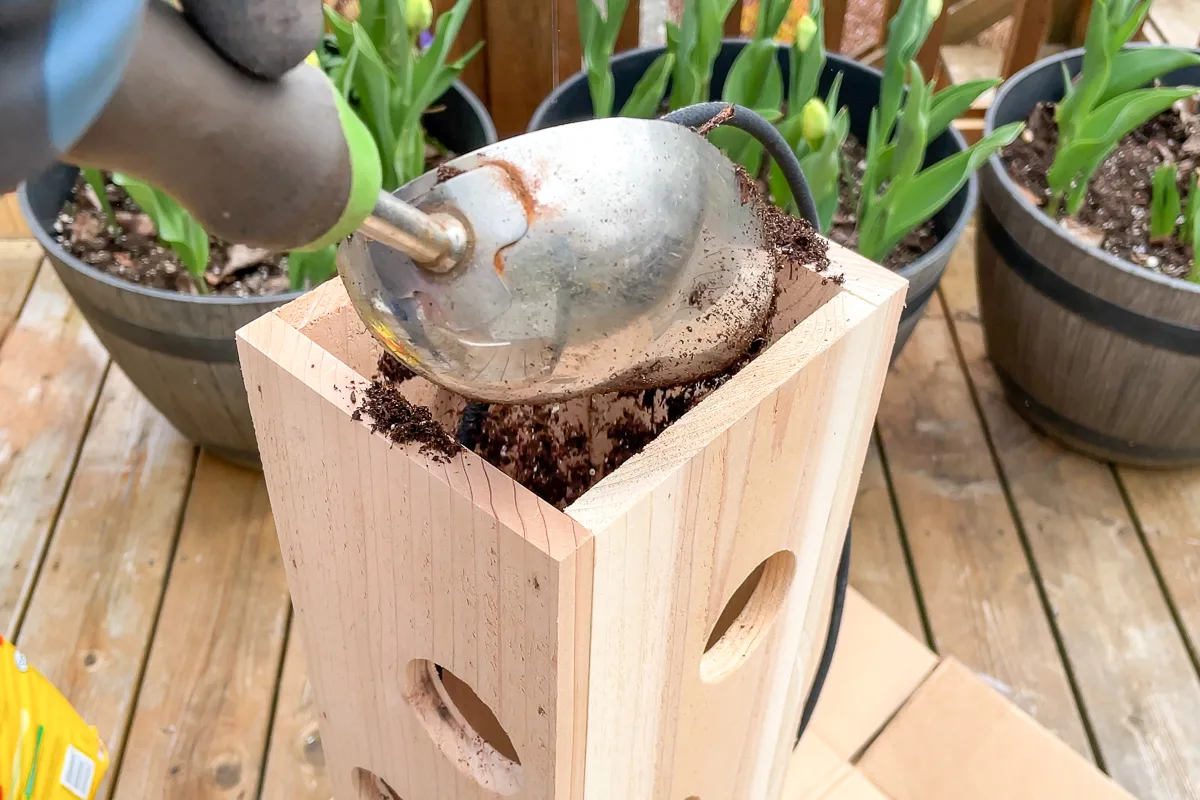
Fill the tower and the sides with potting soil. It can get a little messy since some of the dirt will fall out of the holes, so I recommend doing this over a piece of cardboard or in the middle of the yard.
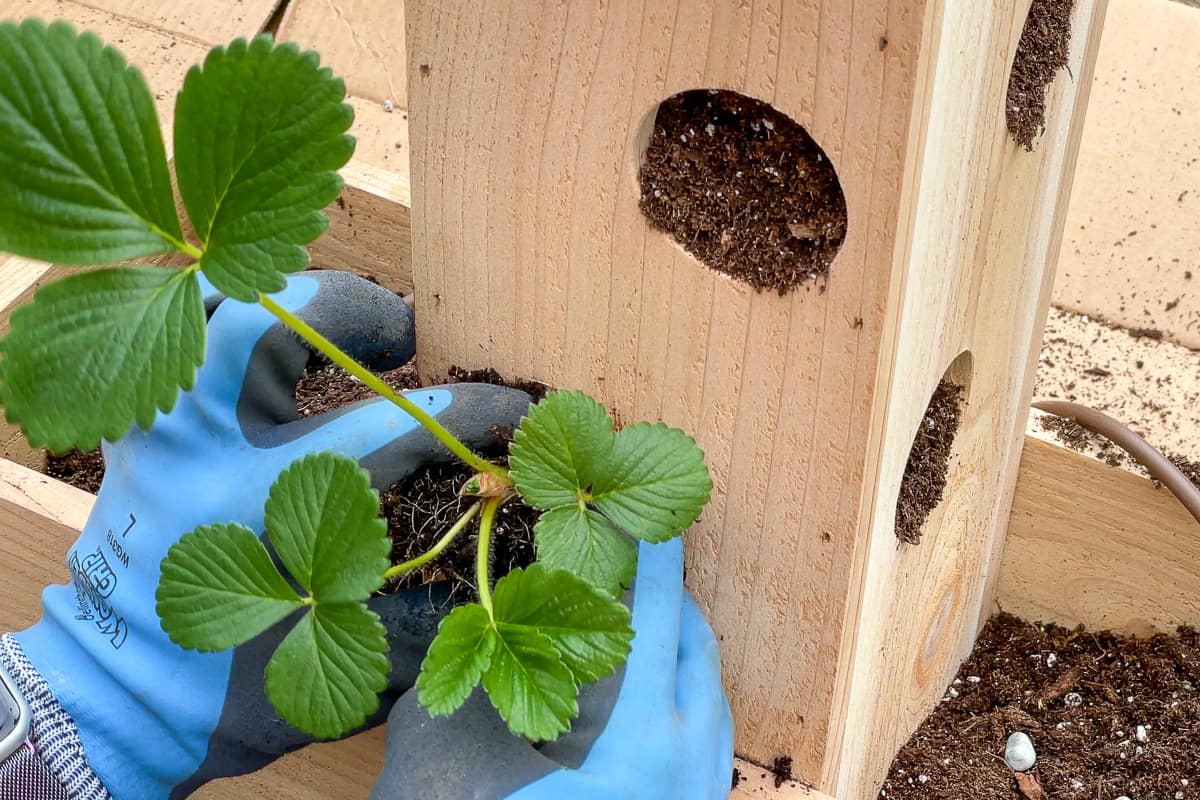
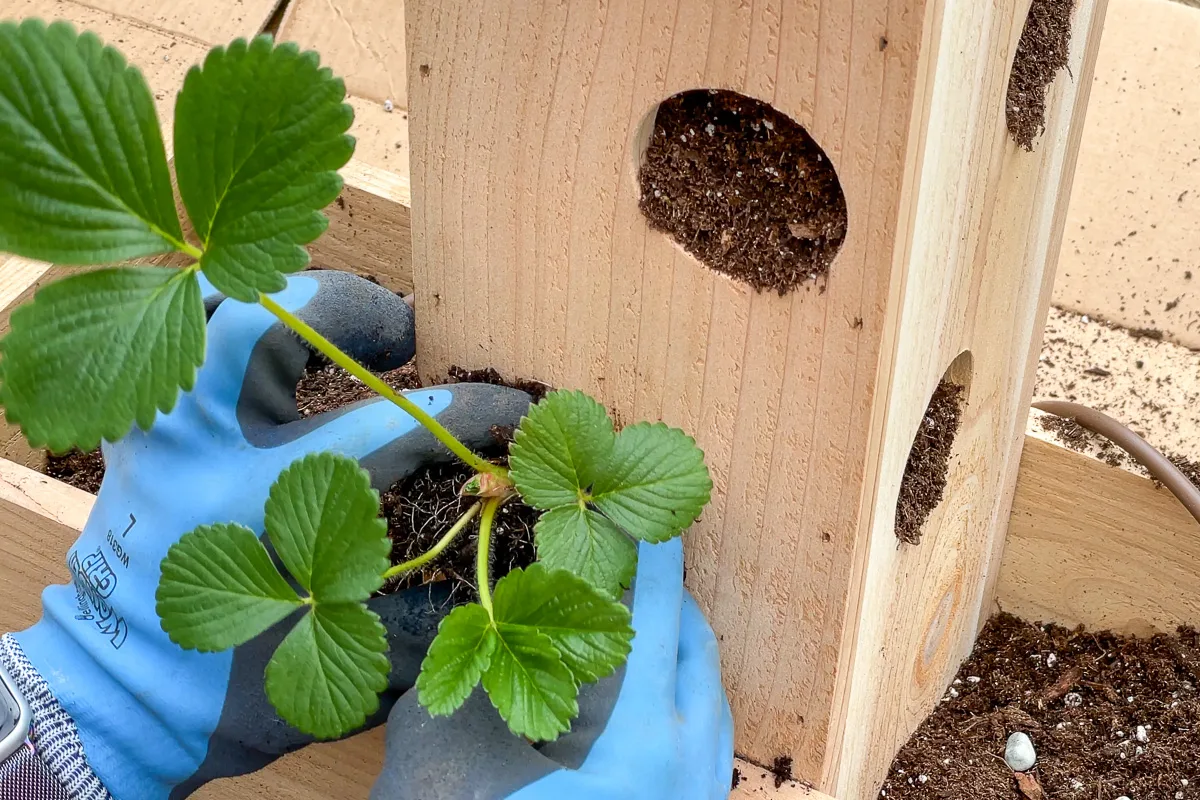
I shook the soil off most of the strawberry plant roots before poking them into the holes. Otherwise, they wouldn't fit! Press the roots into the soil, and pack in a bit more if necessary to fill in any gaps.
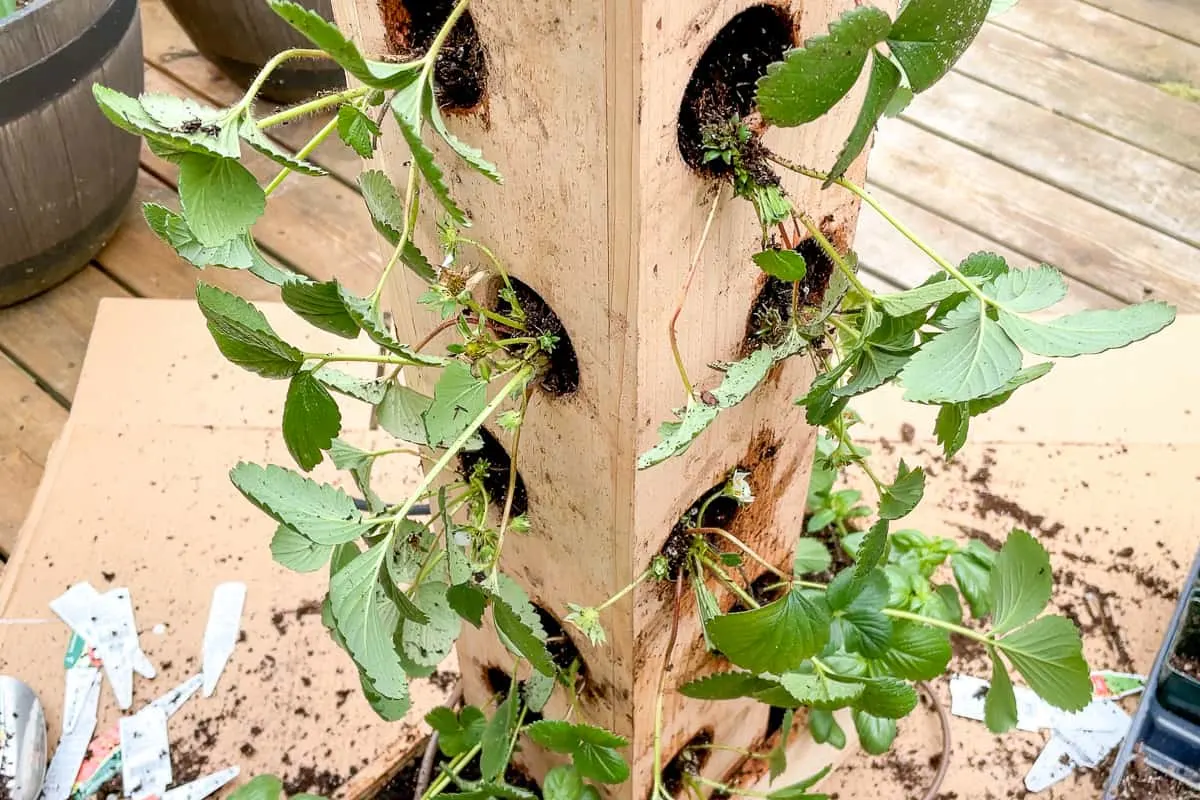
By the time I finished planting all 18 strawberry starts, I had made quite the mess! Give the outside a quick rinse and wipe off any loose soil from the surface of the wood.

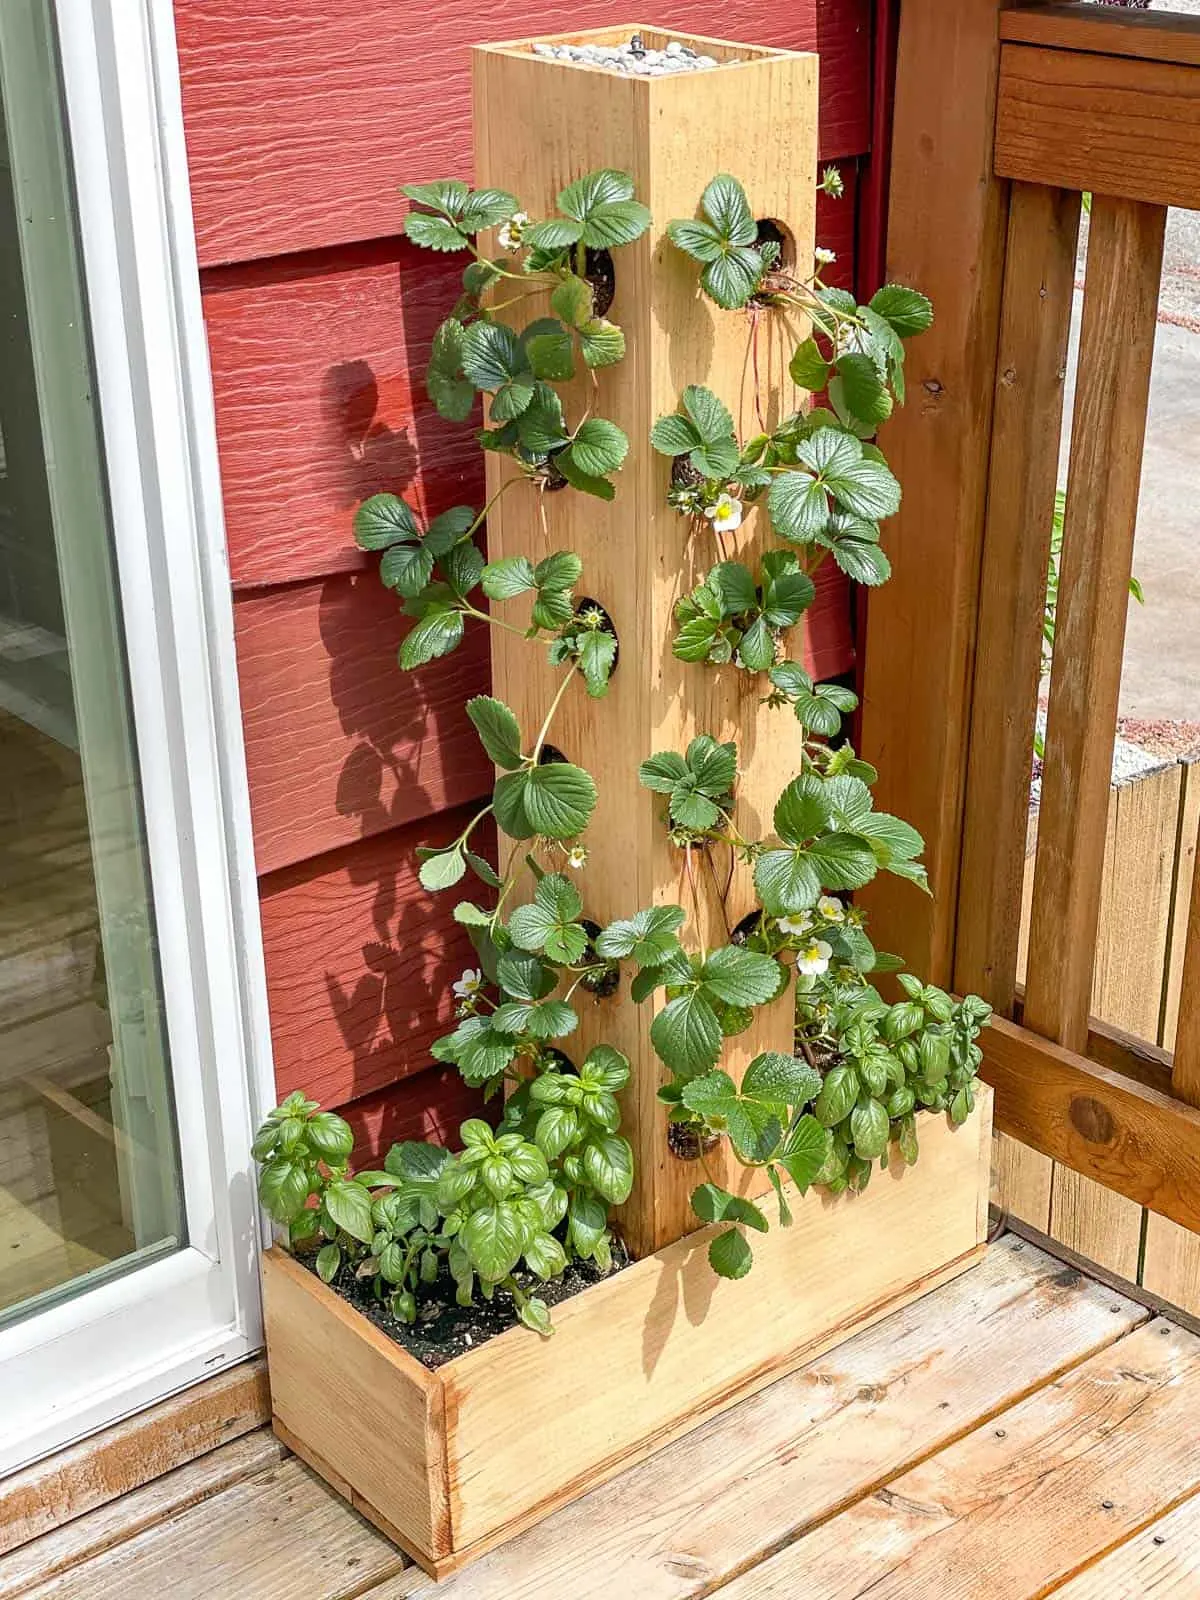
I also added a layer of gravel to the top to keep the soil from drying out or blowing away. It also makes it easier to check to see if the soaker tube is working correctly, because the rocks around it will be wet.

Place the planter in full sun
Strawberries require full sun to develop fruit and ripen. I designed my planter to fit perfectly in this little space next to our sliding glass door. It's the sunniest spot around our entire house, and it's perfectly situated to grab a few berries to throw in my cereal in the morning!
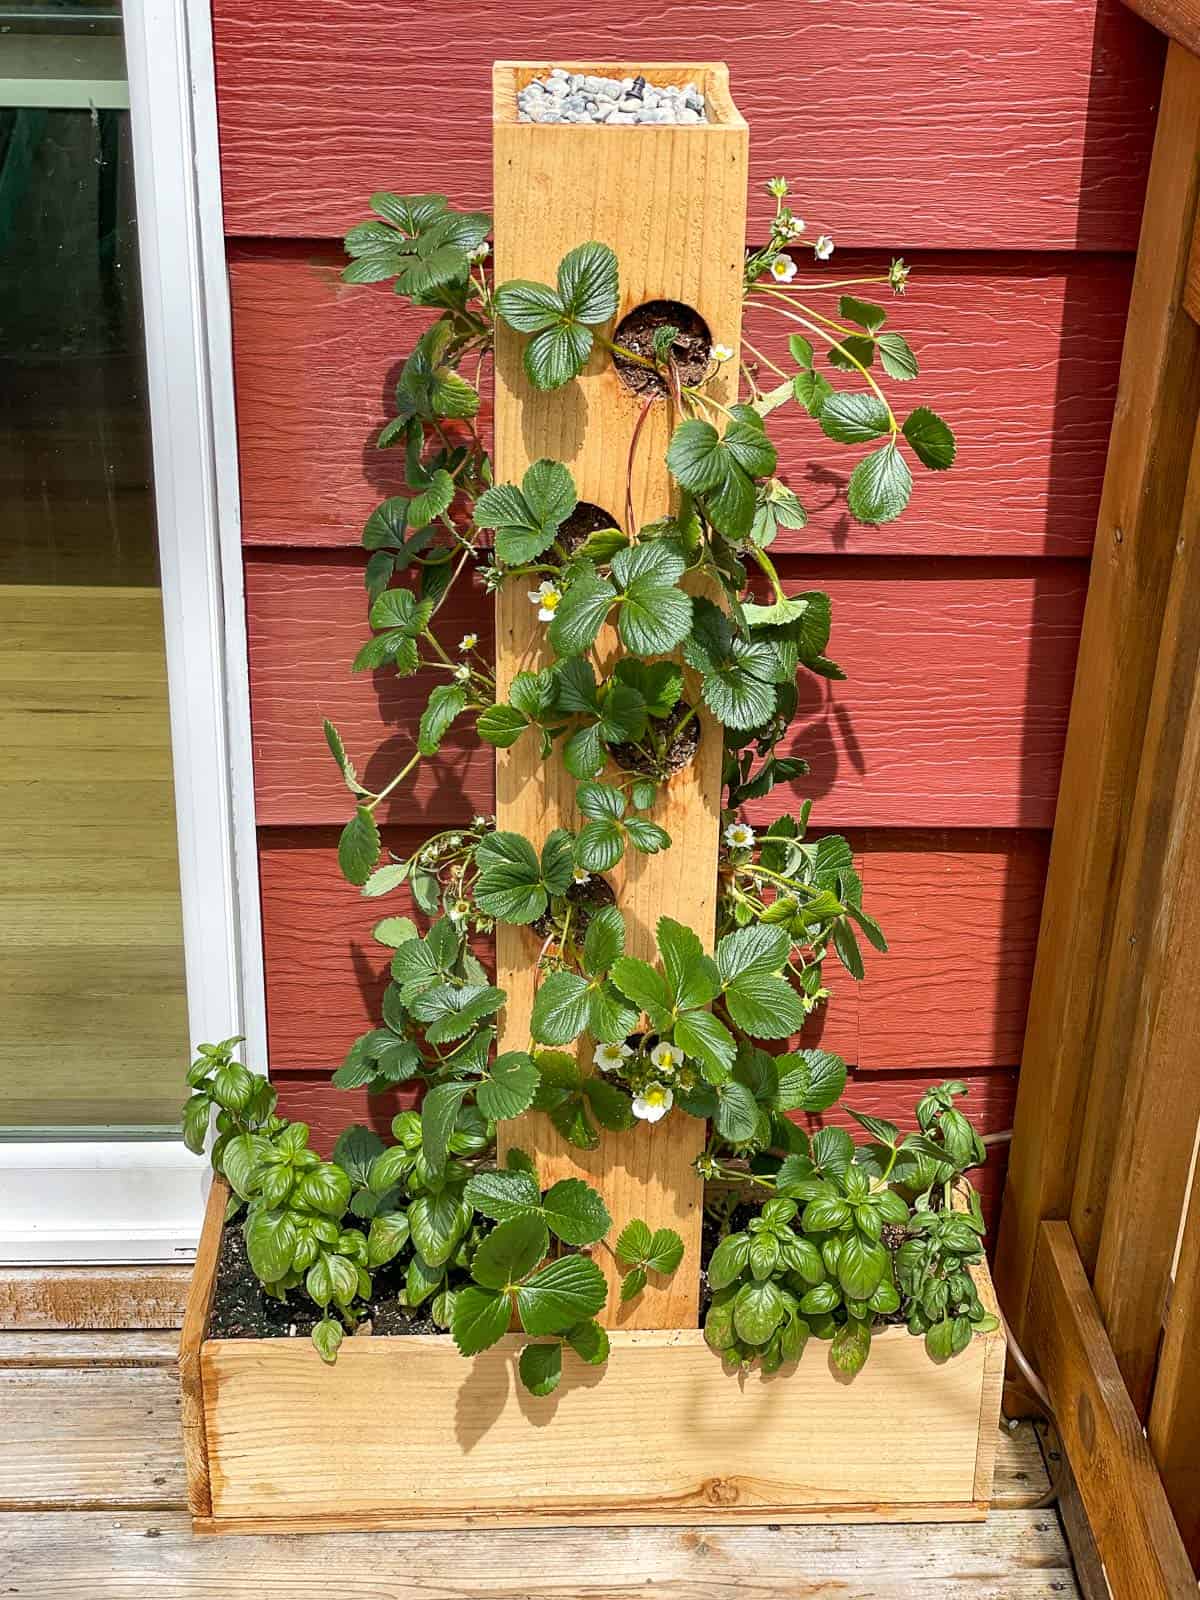

I had a few small basil plants that I put into the side sections, but I'll replant them elsewhere when they get bigger. Strawberries grow runners that can root and turn into a new plant, so I'll tuck those into the soil at the bottom once they appear.
I can't wait to start harvesting some tasty fruit soon!

Want to make your own strawberry tower? Don't forget to download the woodworking plans for this project by clicking the box below!
Check out these other garden project ideas!
Pam
Sunday 20th of June 2021
Will you be able to keep the strawberries over winter? Do you think they will regrow next year?
Vineta Jackson
Monday 21st of June 2021
Yup, the strawberries should come back next year! They're a perennial, so as long as they're hardy enough for the zone you live in, they should be fine. You may want to place the planter somewhere that's more protected over the winter, since it doesn't have the ground heat to keep the soil warm, but that won't be a problem where we live.