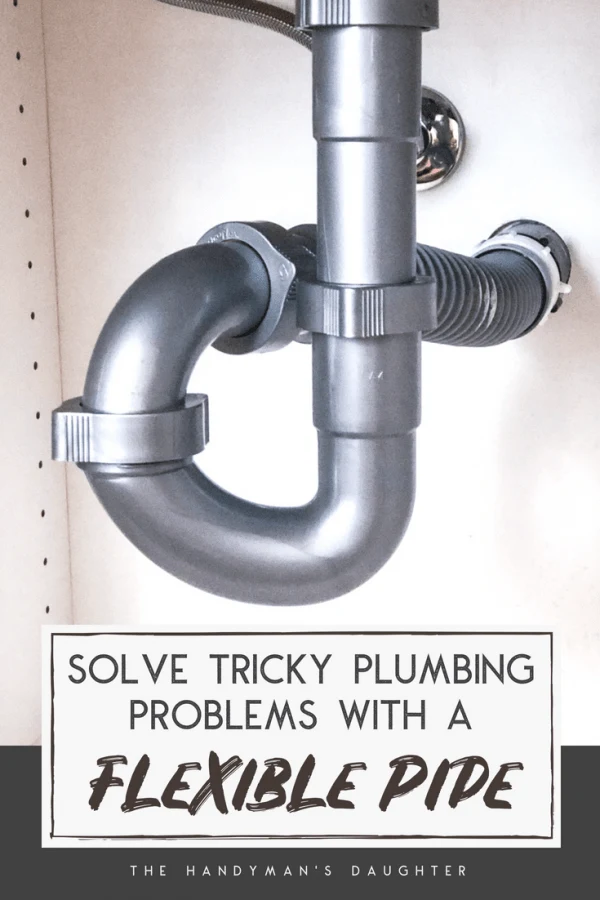
Installing a new sink, but now the drain doesn't line up with the pipe in the wall? I'll show you how to install a flexible waste pipe with a handy kit that gives you everything you need to work around those tricky situations!

Home improvement projects almost never work out smoothly. Something is always off or doesn't line up quite right. I ran into plenty of hiccups in my bathroom remodel, but none stumped me for quite as long as the under sink plumbing!
After numerous trips to the store for various PVC pieces, I decided to try a flexible waste pipe to bridge the gap. It worked like a charm, so I could move on to my next project!
This post contains affiliate links for your convenience. Purchases made through these links may earn me a small commission at no additional cost to you. Please visit my disclosures page for more information.
Installing the New Sink
The original sink in our basement bathroom was this horribly dated hexagon monstrosity.

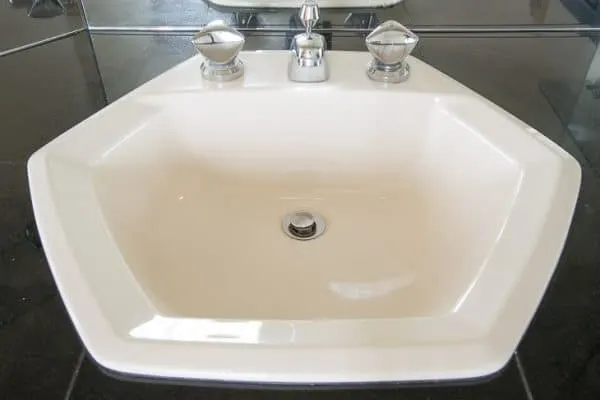
It was a positively gleeful moment when I was able to rip that sucker out! But I was left with a hexagon shaped hole in the countertop. The new sink template just barely fit!

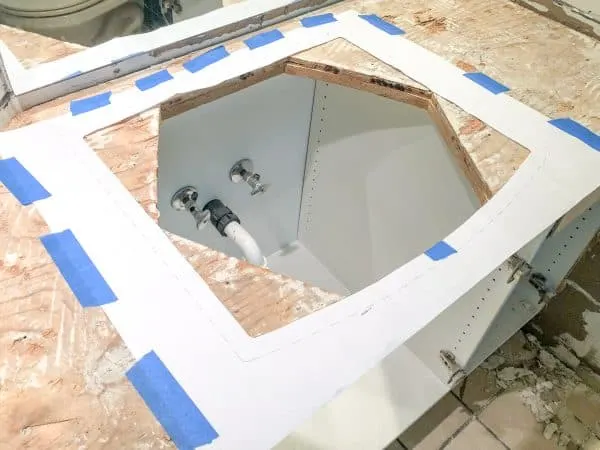
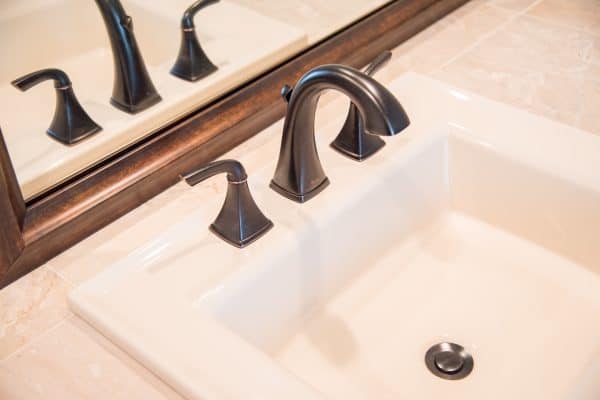
After the limestone tile countertop was installed, the new sink was dropped into the hole. Everything went in smoothly up top...
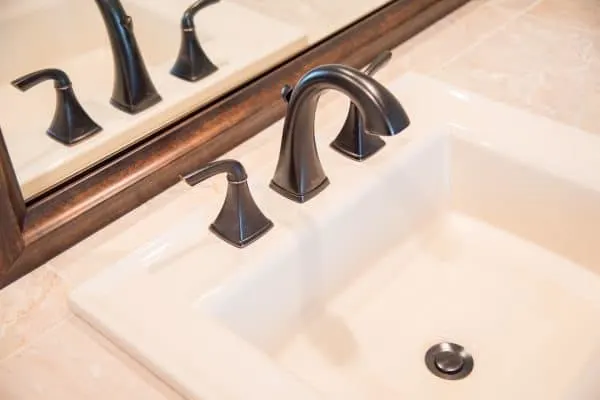
But underneath was a different story. Full disclosure: I didn't even have the water line hooked up when I took that photo!
Searching for the Right Pipe Fittings
I started to install the P trap and waste pipe underneath the sink, but ran into a problem right away.
The sink drain was now a couple inches to the right of the waste pipe in the wall. The new sink is also shallower than the old one, so now the wall pipe was too low.
I went to my local hardware store and picked up what I thought were the right pieces for the job. Unfortunately, they weren't even close! So I went back to the store. Still no luck. I tried a different store with a bigger selection of pipe fittings, but I couldn't find the elusive angle I was looking for.
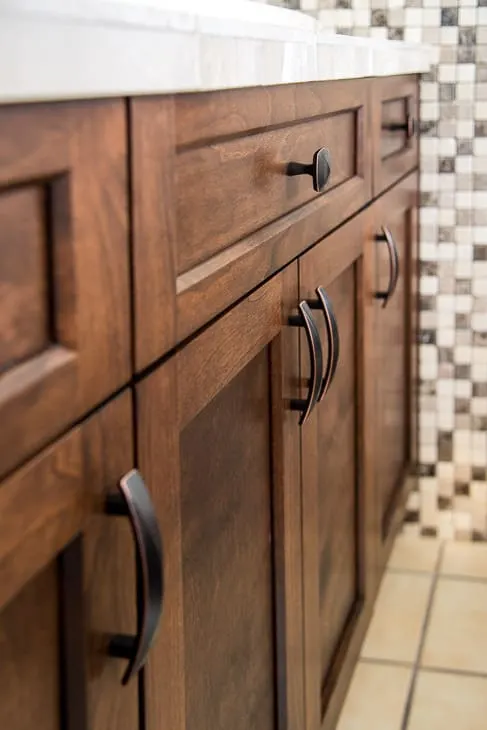
So I put the drain on hold and pretended that the sink worked. 😉 Once the new cabinet doors went in, you couldn't even tell that it wasn't hooked up.

How to Install a Flexible Waste Pipe
After the entire bathroom remodel was complete, I finally had time to go back and fix the sink drain. But this time I did my homework before taking a million trips to the hardware store!
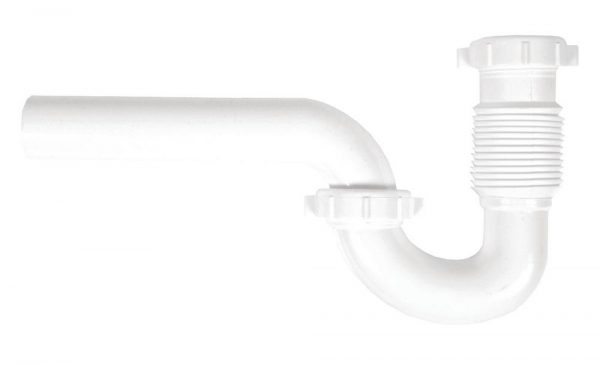
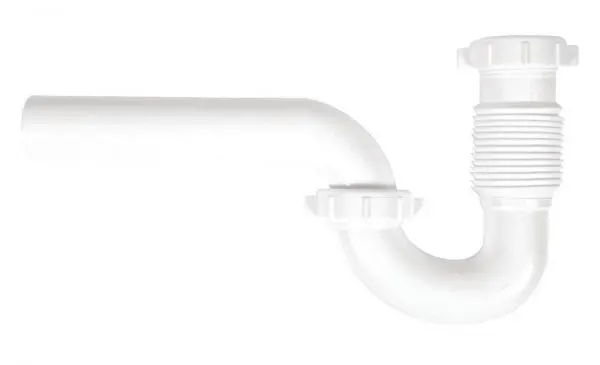
Some flexible waste pipe options like this one work great for a while, but the ridges on the inside quickly get clogged and cause trouble. In some areas, they're against code and if they spring a leak that damages your property, insurance might not pay for the repairs!
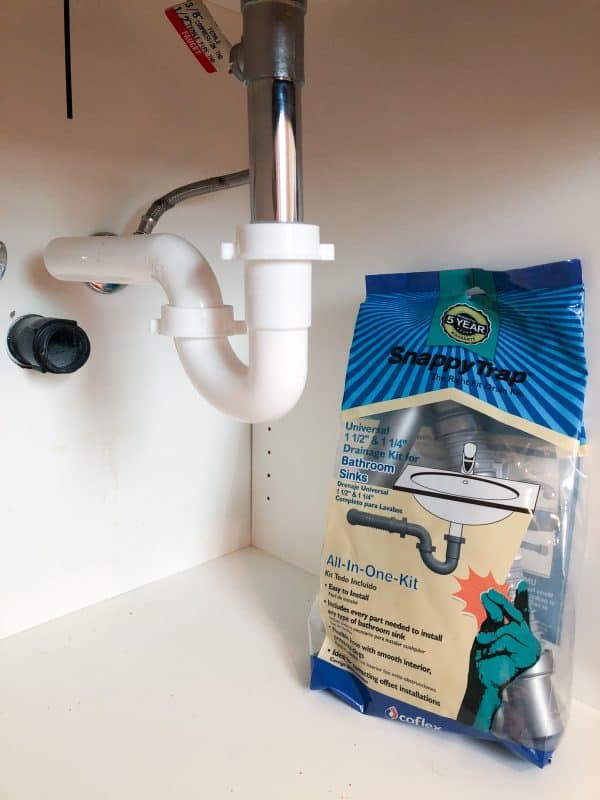
A quick search on Amazon revealed a similar product called Snappy Trap. The kit comes with everything you might need, from a sink drain extender to extra adapters. Most importantly, the flexible section has a smooth interior that won't clog up.
From the manufacturer's website:
Does Snappy Trap™ meet Plumbing Code Standards?
Yes, Snappy Trap models # DK-110 and DK-100 are certified by the International Association of Plumbing and Mechanical Officiials (IAPMO) to meet the Uniform Plumbing Code (UPC). The UPC certification is valid in all 50 states and Canada. Part #ʼs DK-105 and # DK-120 are listed with IAPMO to meet the criteria of IGC 328.
Keep in mind that this type of flexible pipe may still be against local code, so you should check with your plumbing expert before installation!

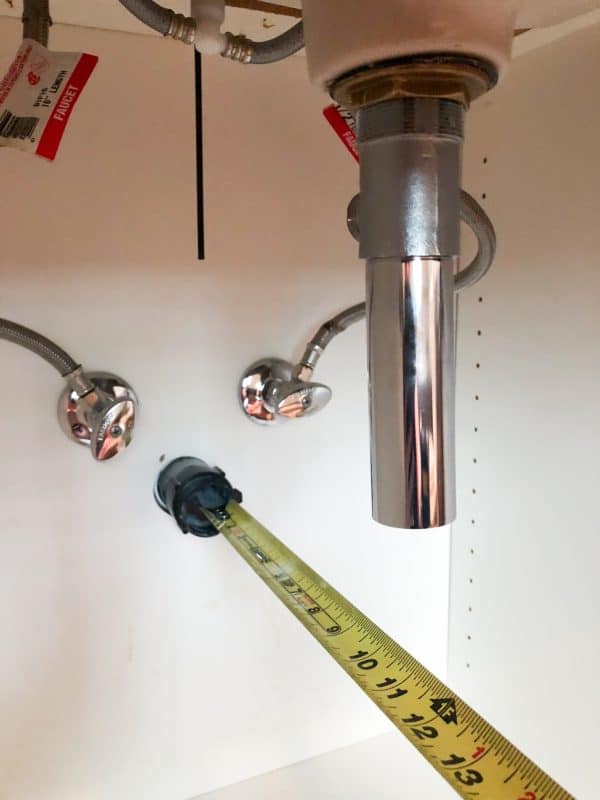
Measure the Gap
The kit comes with different attachments, depending on how far off your pipes are from each other. Measure the distance from the end of the wall pipe to the drain pipe, both front to back and side to side.

According to my measurements, I needed the sink drain extension piece and the flexible drain pipe section.
Attach Flexible Waste Pipe (and Extenders if Required)
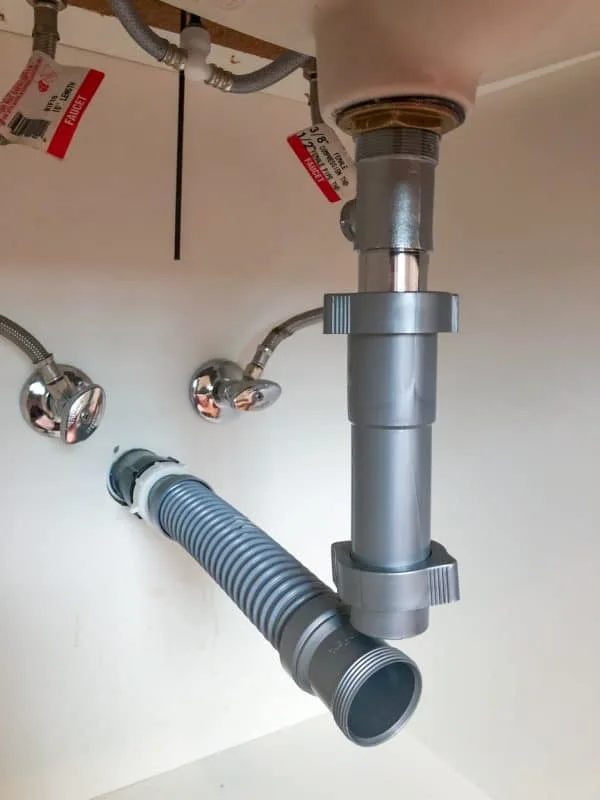
Stick the flexible waste pipe into the wall pipe and tighten the connector.
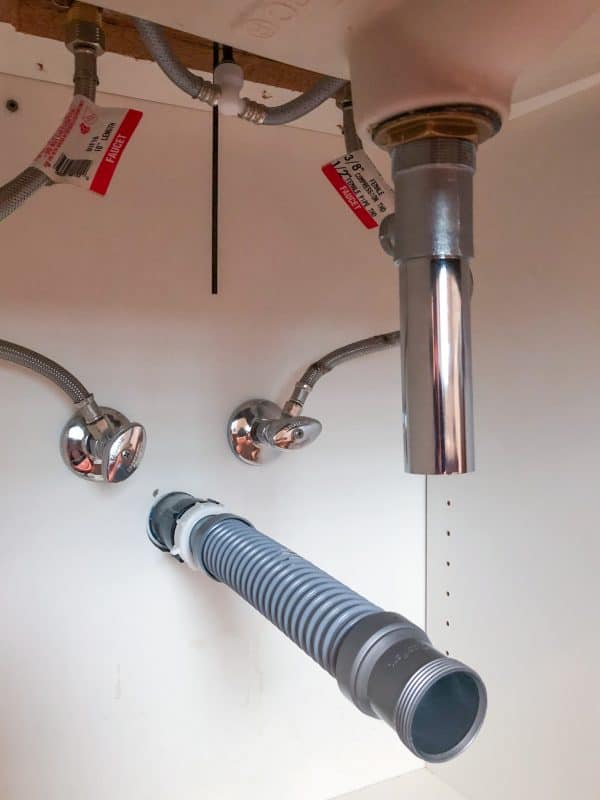
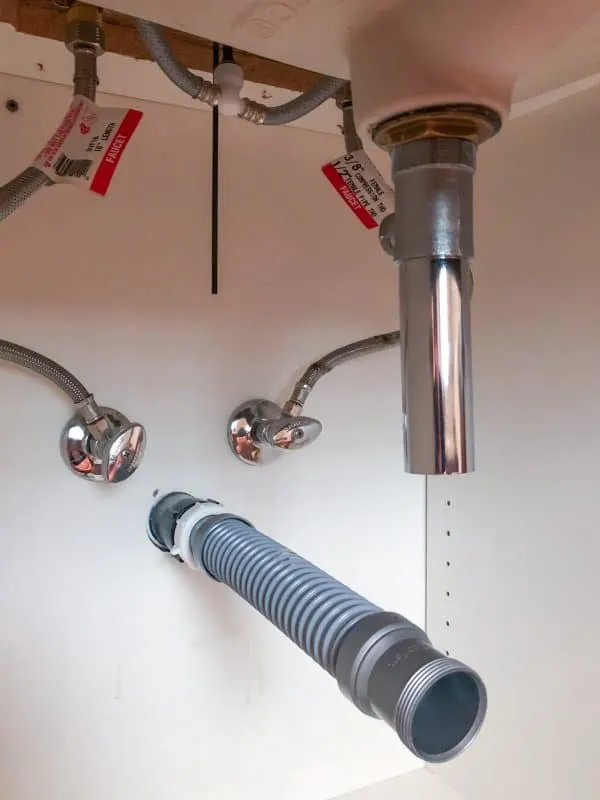
Do the same for the extender on the sink drain if it's too short. You can see that the flexible waste pipe is a little too long now. We'll fix that next.

Attach the P Trap
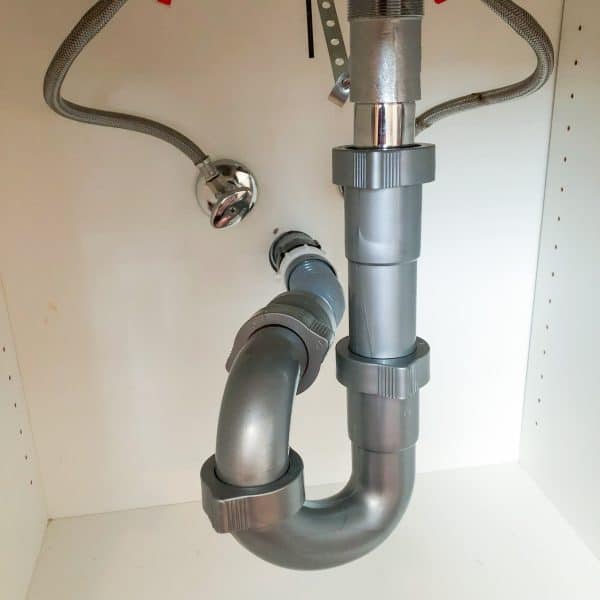
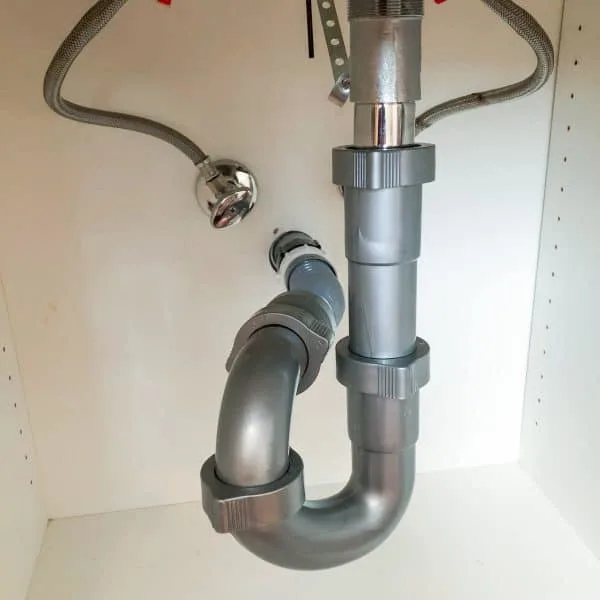
Now we need to connect the two parts together with the P trap. This series of 90 degree bends does two things: it traps bigger, heavier debris before it gets into the main line (like a wedding ring that falls down the drain), and it prevents sewer gases from escaping into your bathroom.
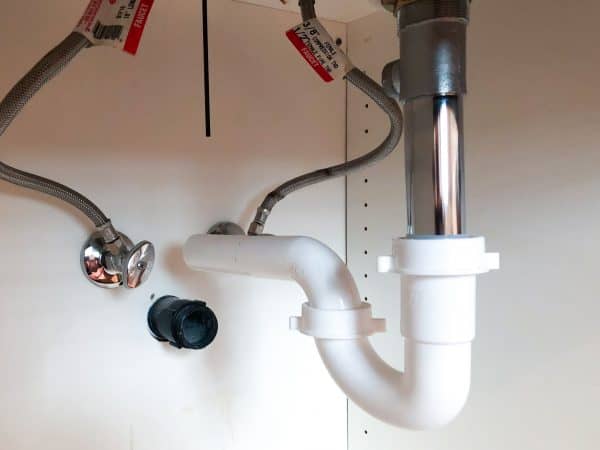
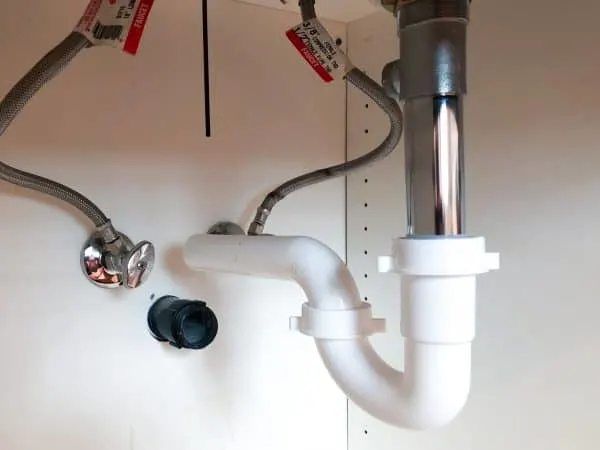
It doesn't matter which way the P trap is facing, so long as the water level of the second bend is equal to or higher than the wall pipe. By twisting the P trap to the side instead of straight back to the wall, the flexible waste pipe fits perfectly!
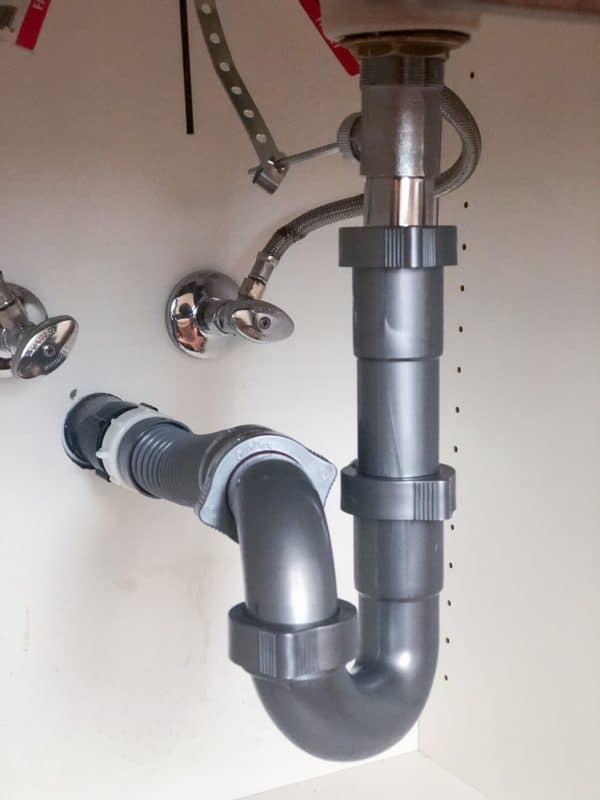

I can't even imagine which PVC pipes I would need to create these gradual angles! You can see them best in this photo taken from the front.
The Snappy Trap flexible waste pipe isn't super bendy, so you're better off finding PVC pipes for sharper turns and adding the flexible section where it doesn't quite reach. You can cut it down for a custom fit.
Hopefully this tutorial helped you solve your tricky plumbing problem! We've had this flexible waste pipe in place for years now, and it's held up just fine!
Check out these other home improvement tutorials!
Tammara
Sunday 15th of July 2018
Fabulous information! I love the solution, thanks for sharing. This will solve a few problems I have in my house, cant wait to resolve them.
Sherry
Wednesday 11th of July 2018
Thanks for sharing at Home Sweet Home!
Jann Olson
Sunday 8th of July 2018
Thanks for sharing this helpful post with SYC. Jann
Sheri
Sunday 8th of July 2018
Awesome tutorial. As always. Thanks for sharing at the To Grandma's House We Go DIY, Crafts, Recipes and More Wednesday Link Party! Pinned!
Jenny
Tuesday 3rd of July 2018
Excellent tip! This is good information for the future. Something always happens with home improvement projects. Thanks for sharing at Merry Monday, See you at the party next week!