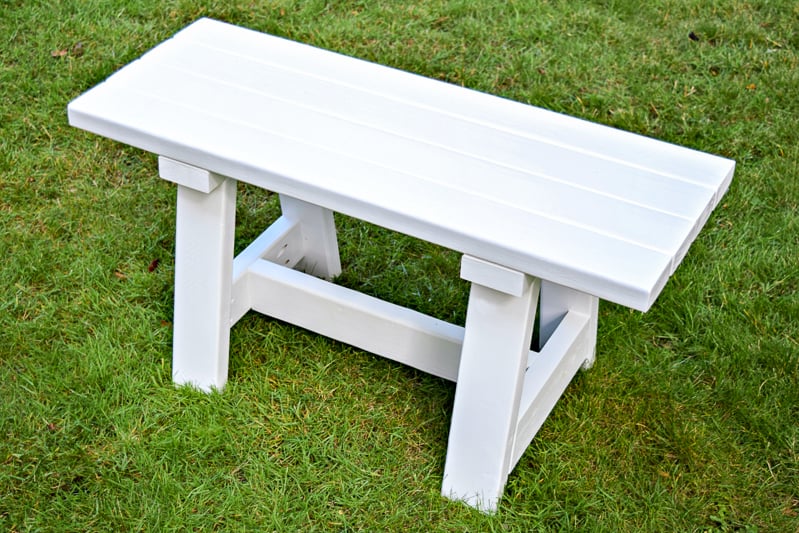
This simple DIY 2x4 bench is easy to build yourself with free woodworking plans! Perfect for both outdoor spaces or farmhouse tables!
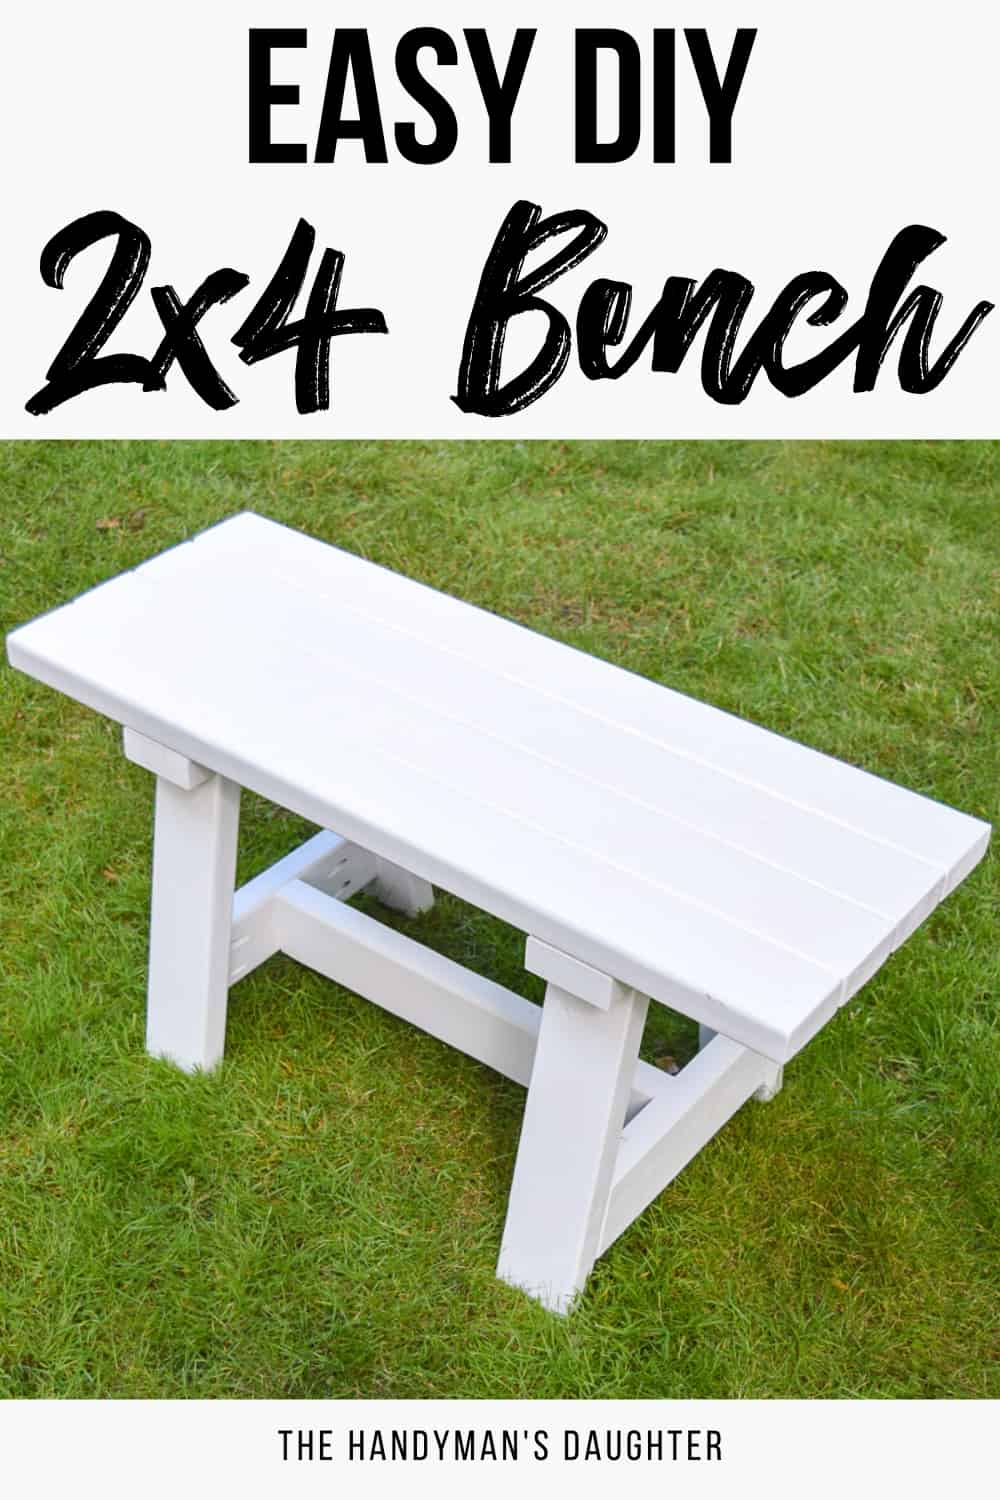

2x4 boards are cheap and easy to work with, but they're usually meant for construction projects. With careful wood selection and a little elbow grease, you can make any of these 2x4 projects! In this tutorial, I'll show you how I turned a few wood studs into a 2x4 bench that you can use both indoors and out!
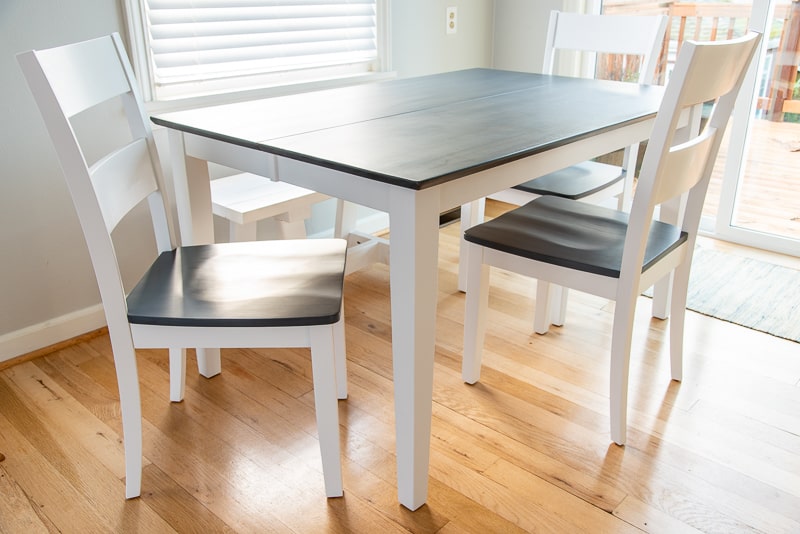
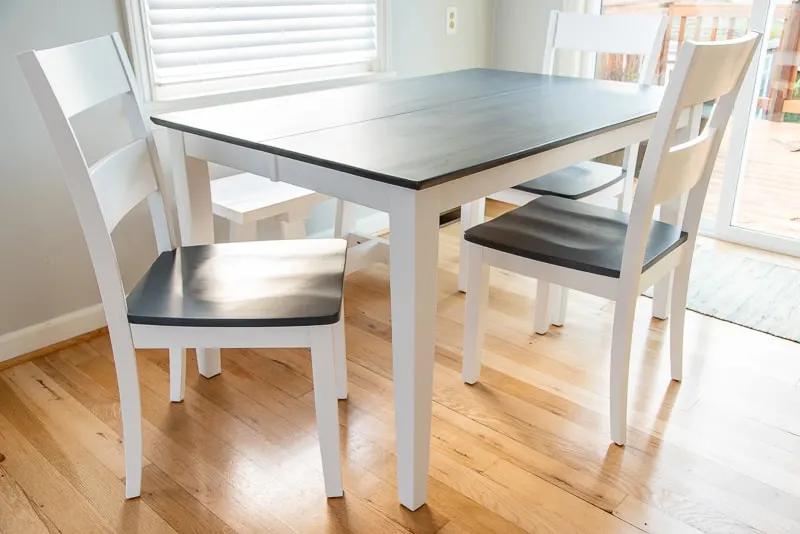
I designed this small farmhouse bench to fit along the dining room wall under the window, where a regular chair would block the view. Since we're a family of three, we don't use that side of the table on a regular basis anyway. The bench slides under the dining table and out of the way, but gives us additional seating when we need it!
This post contains affiliate links for your convenience. Purchases made through these links may earn me a small commission at no additional cost to you. Please visit my disclosures page for more information.
This 2x4 bench is such a quick and easy build, you could start this project in the morning and be done in time for dinner. Just wait until the paint dries before you sit on it, ok? 😉
I was able to utilize most of the scraps leftover from my outdoor sofa and loveseat, so this project only cost me about $10 to make! And since it's made of cedar, it can double as an outdoor bench too!
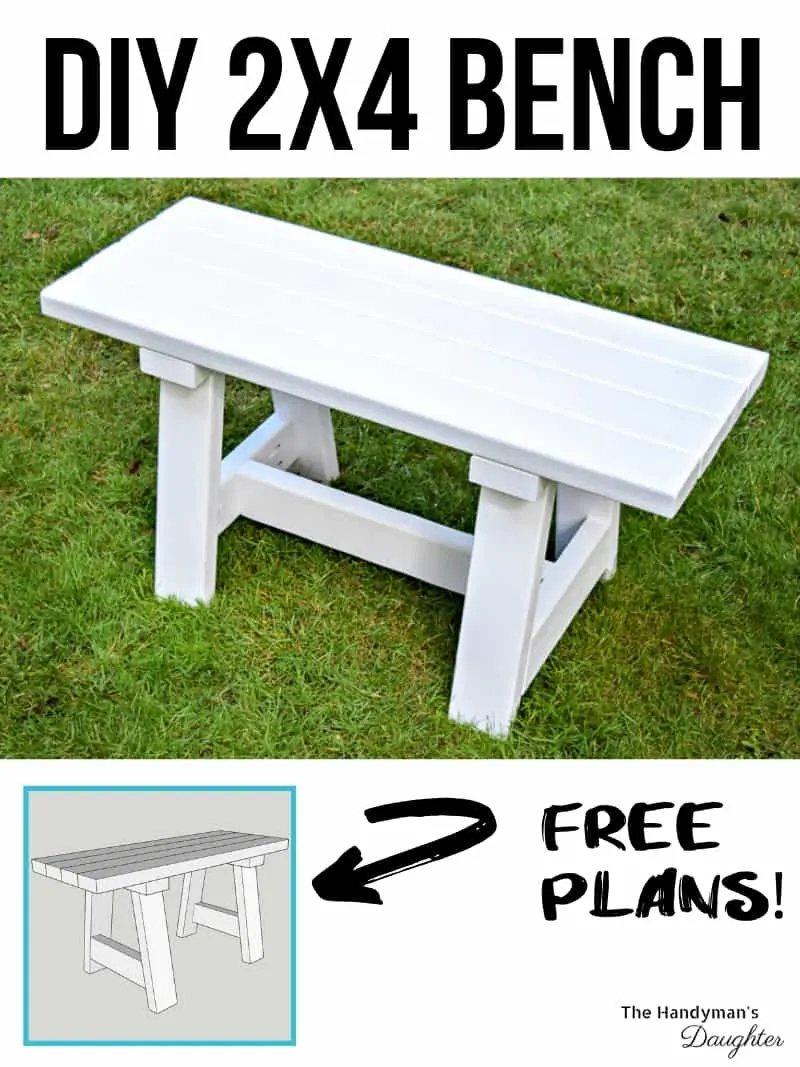
I was inspired by the Providence Bench by Ana White, but shortened it significantly and removed the diagonal cross-braces so it could fit under our small dining table. You can get the free woodworking plans for this project here!
Check out more DIY bench ideas here, or how to make a bench cushion to fit on top!
Materials Needed for 2x4 Bench
- 4 2x4 boards (8 feet long)
- 2 ½" pocket hole screws
- If you're planning to use this bench outside, I recommend using exterior screws.
- Pocket hole jig
- Check out my tutorials on how to use a Kreg Jig and how to build with pocket holes if you're not familiar with this tool.
- Pocket hole plugs or wood filler (optional)
- Miter saw
- Clamps
- Wood glue
- Sandpaper
- Random orbital sander
- Caulk
Don't forget your safety gear when woodworking! Here are my recommendations for safety glasses and ear protection. No excuses!
How to Build a 2x4 Bench
Almost all my cuts were made of 2x4 scrap wood, matching up the longest pieces with the longest measurements required and working down the list. It felt great to whittle down my scrap pile to a manageable level!
Download the Free Plans
If you're using new boards for your 2x4 bench, I've provided a cut diagram in the woodworking plans to help utilize the wood most efficiently. The plans also show how the angles are supposed to be cut, because it's a lot easier to show in the model than in photos!
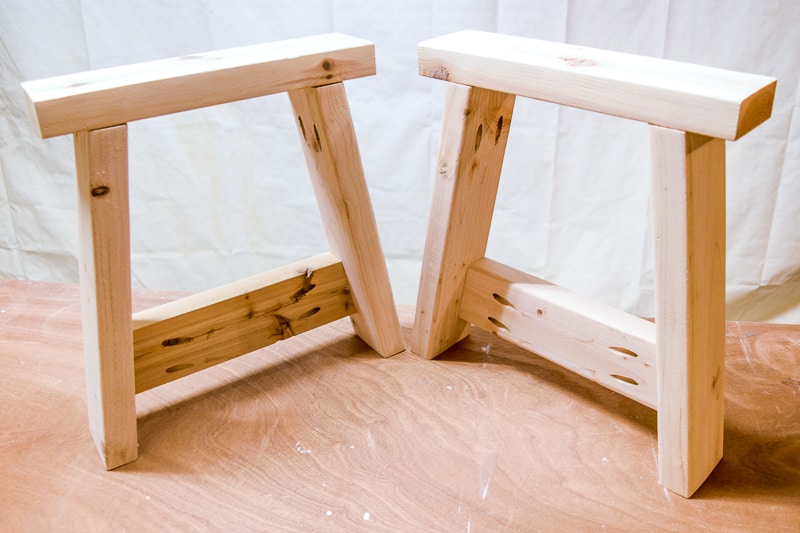
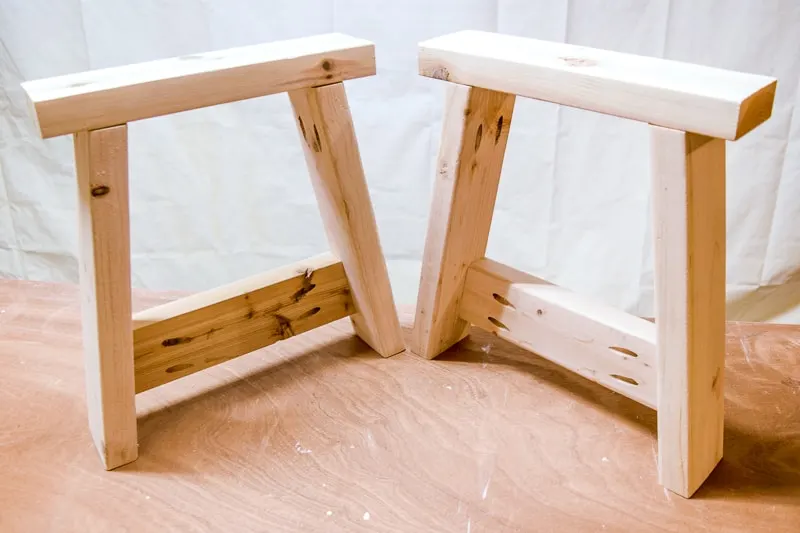
Assemble the Legs
I suggest doing a rough fit of the legs to make sure all the angles are correct before starting assembly. There's nothing worse than going back to the store for a 8 foot long board when all you need is a 15 inch piece!
Mark where your pocket holes will be drilled and work on one leg at a time to avoid confusing yourself. In the end, you should have two legs that look like this.
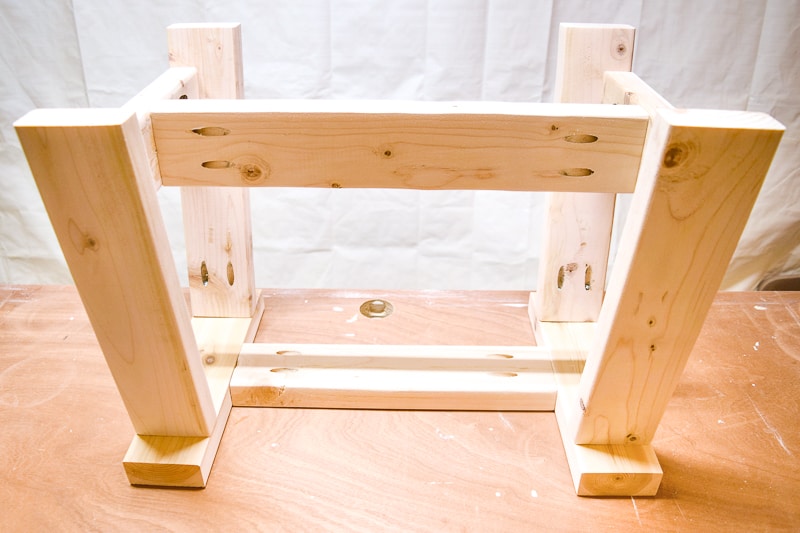
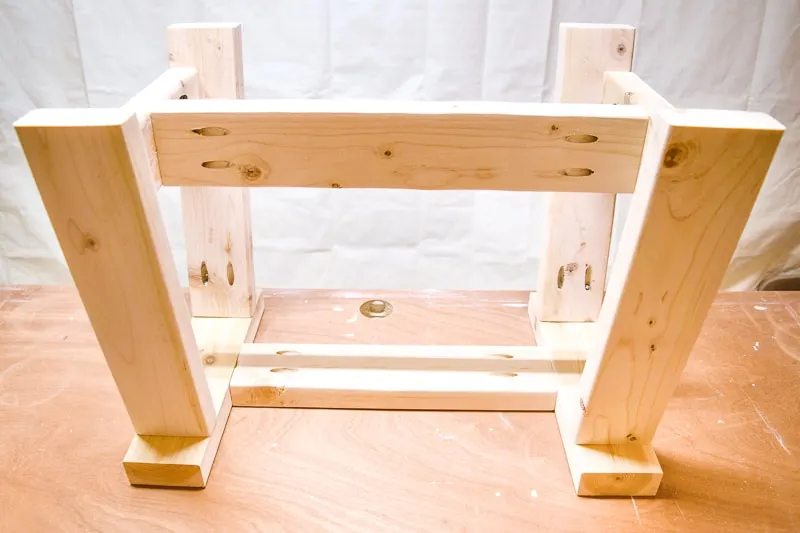
Connect the Legs
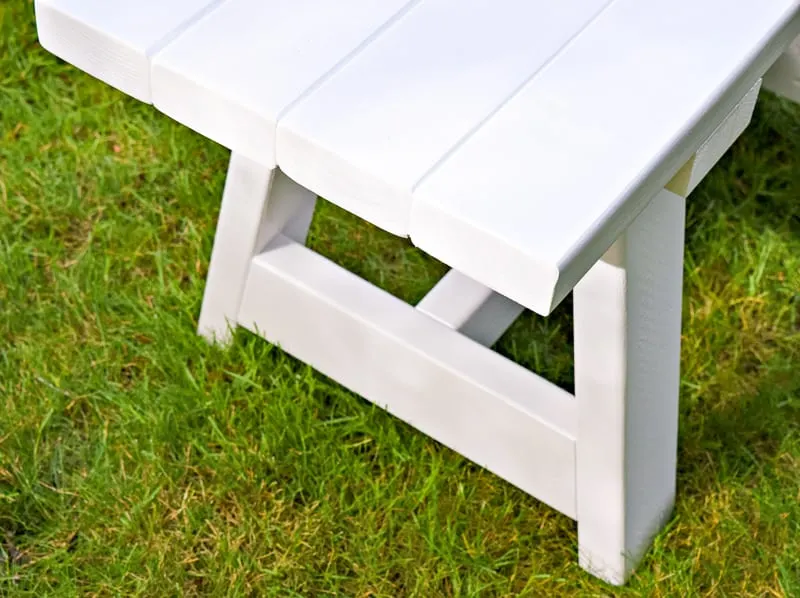
Join the legs together with the upper and lower stretchers. Note that the shorter piece runs horizontally across the top and the longer piece is placed vertically at the bottom. (The bench is upside down in this photo.)
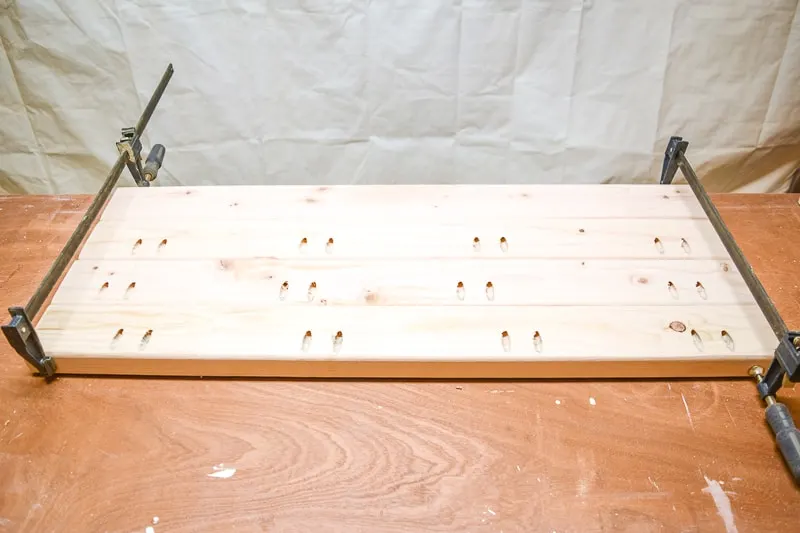
Create the Seat
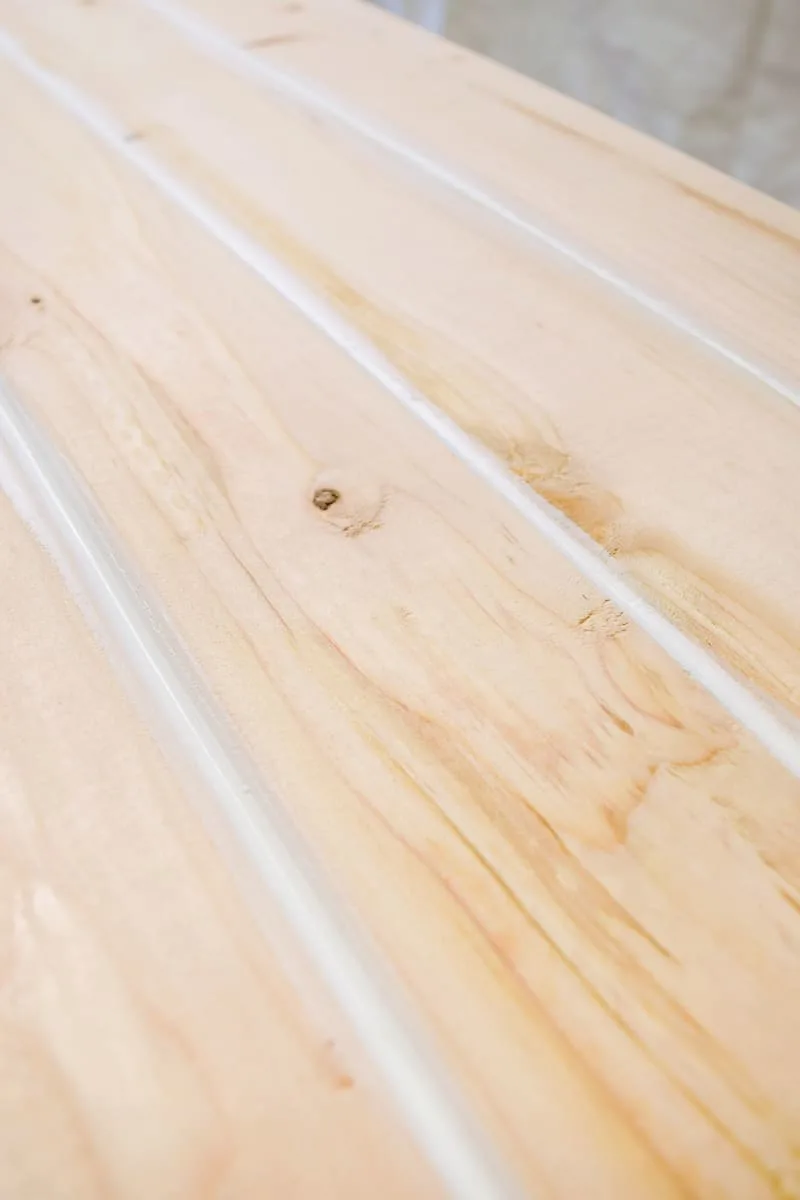
I decided to plank the seat pieces together first, then attach them to the legs as one piece for extra stability. I placed the smoothest edges at the front and back of the bench seat. No one wants little legs to get scratched by a wood knot at dinner!
Drill pocket holes down the long edge of three of the seat boards. Apply wood glue, then join them together with pocket hole screws. Long clamps help hold everything together while you work.

My 2x4 bench was feeling a little too much like, well...a bunch of 2x4's when it was all put together. Normally I would trim off the rounded corners at the table saw to create squared edges, but it would make the seat too narrow.
So to even out the top, I caulked all the gaps (you can learn more about how to use a caulk gun here). It really helped to make the finished bench seem less like painted lumber! Plus, it prevents all those crumbs from getting stuck in the cracks...

Once the caulk is dry, flip the top over so the bottom is facing up. Center the base upside down on top. Screw the base to the underside of the seat with 2 ½" screws.
Fill Pocket Holes (optional)
Some of the pocket holes remain visible after the bench is built. If you want a sleeker look, you can fill the pocket holes with plugs or wood putty. Since my bench is partially hidden under the table anyway, I chose to leave them. Once they're painted over, they're not as noticeable!
Paint or Stain
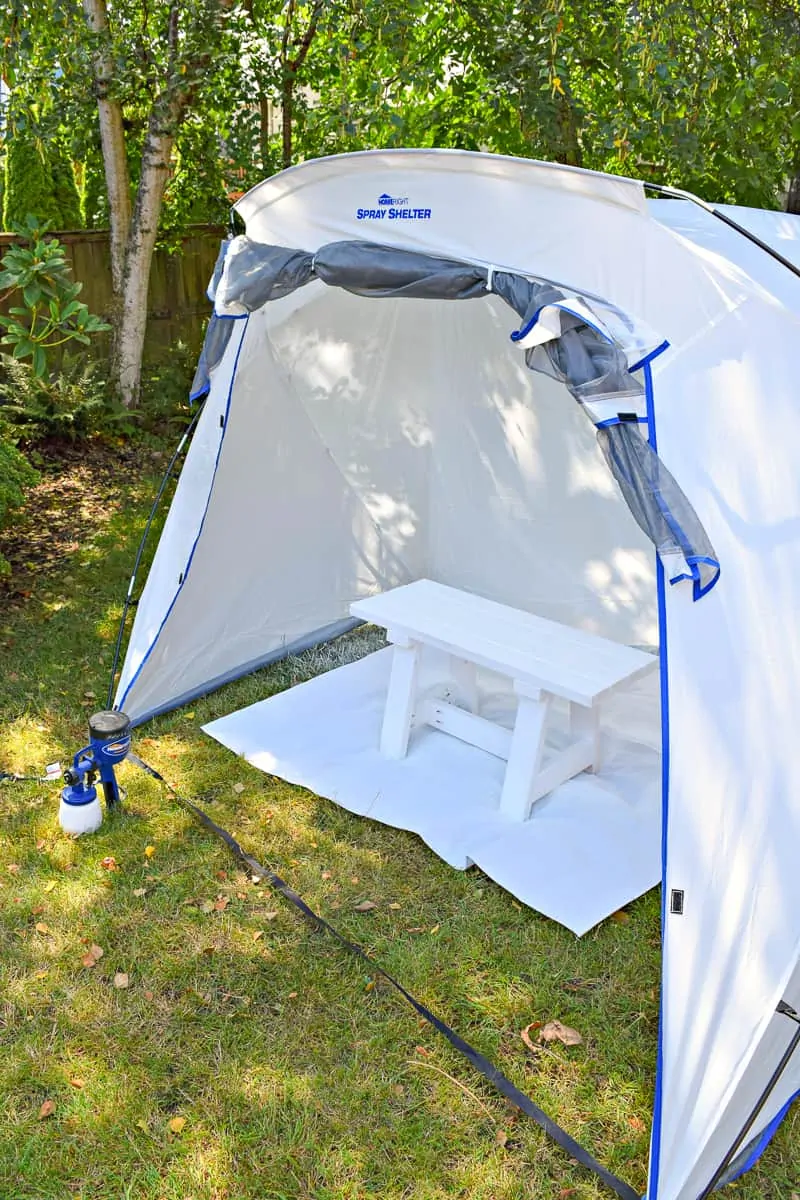
This project was the perfect opportunity for me to test out my newest toys, the HomeRight Finish Max paint sprayer and the HomeRight spray shelter. HomeRight was generous enough to send me these awesome tools to try out, and they're a total game changer!
The spray shelter sets up like a tent. The first time was a little tricky, but the next time will be a snap! It protected my 2x4 bench from all the falling leaves and bugs that attempt to bombard my projects in the backyard. After spraying on the paint, I closed up the shelter and let it dry.

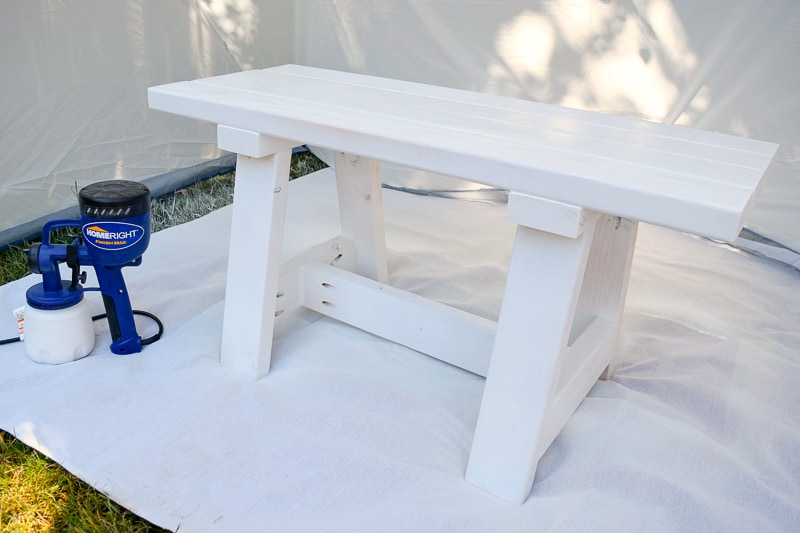
I'll admit that I had to go back over some of the tighter spots of the bench between the legs with a regular paintbrush in order to get even coverage. I probably should have painted it upside down first in order to get into all those awkward angles!
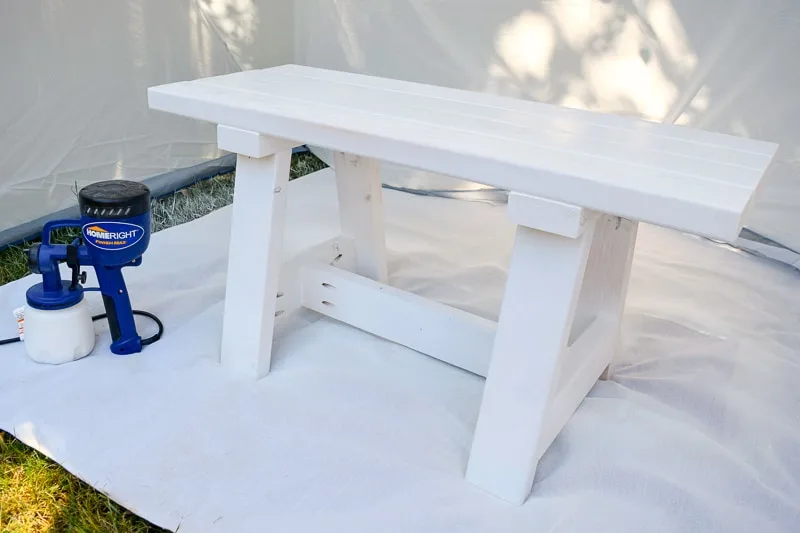
Enjoy your new 2x4 bench!
I just love how versatile this little bench is! You can use cedar or exterior paint to create an outdoor bench...

Or bring it indoors for a small bench at your dining table!
This project comes together so quickly, you could make two so you don't have to choose! 🙂

I'd love to see your farmhouse bench in its natural habitat. Send me a photo, or tag me on Instagram to show it off!

Small Farmhouse Bench – Free Woodworking Plan.com
Wednesday 22nd of July 2020
[…] farmhouse bench was built using 2 x 4s, and is perfect for small spaces either indoors or out. At the link you can […]
Lynn Crockett
Friday 22nd of May 2020
1 .I don't have a mitre saw. Could the legs go on straight up and down? 2. Could the front seat board protrude half inch or so over the legs, so it is not flush with the underneath supports? same for the back. This would create 3 small spaces (lets the rain through) and no need for caulking)??? Thanks.
BLC
Vineta
Monday 25th of May 2020
Yup, you can totally make those changes! I'm thinking of making another bench just like that for our outdoor dining table!
LuckyPatcher
Wednesday 27th of July 2016
My amazingly handy husband is currently building your table and bench! Thanks for the inspiration! We re new to San Antonio so I m in major decorating mode with a new house! Your idea couldn t have come at a more perfect time!
New York Roofing Contractor
Tuesday 19th of July 2016
This whole small bench tutorial is so great and insightful to learn and make your very own bench. This white little bench is so adorable and perfect for backyards. Such small and easy projects are awesome to do some amazing work for your home.
Wendi@H2OBungalow
Friday 15th of July 2016
Love your bench! Such a smart tip to mark where the Kreg jig holes will go. Every time I don't do that, I regret not taking the time to do it right in the first place. Yes, I'd be the one who is running back to the store for another 6 foot plank! Hmm, sounds like you have done this too:) LOL Great project, pinned!
The Handyman's Daughter
Friday 15th of July 2016
Me, run to the store at the last minute for another piece of wood? Never! ;)