Yes, you CAN paint tile floor! Learn how to paint tile floors, which floor paint to use, stenciling tips, and how to avoid peeling later!

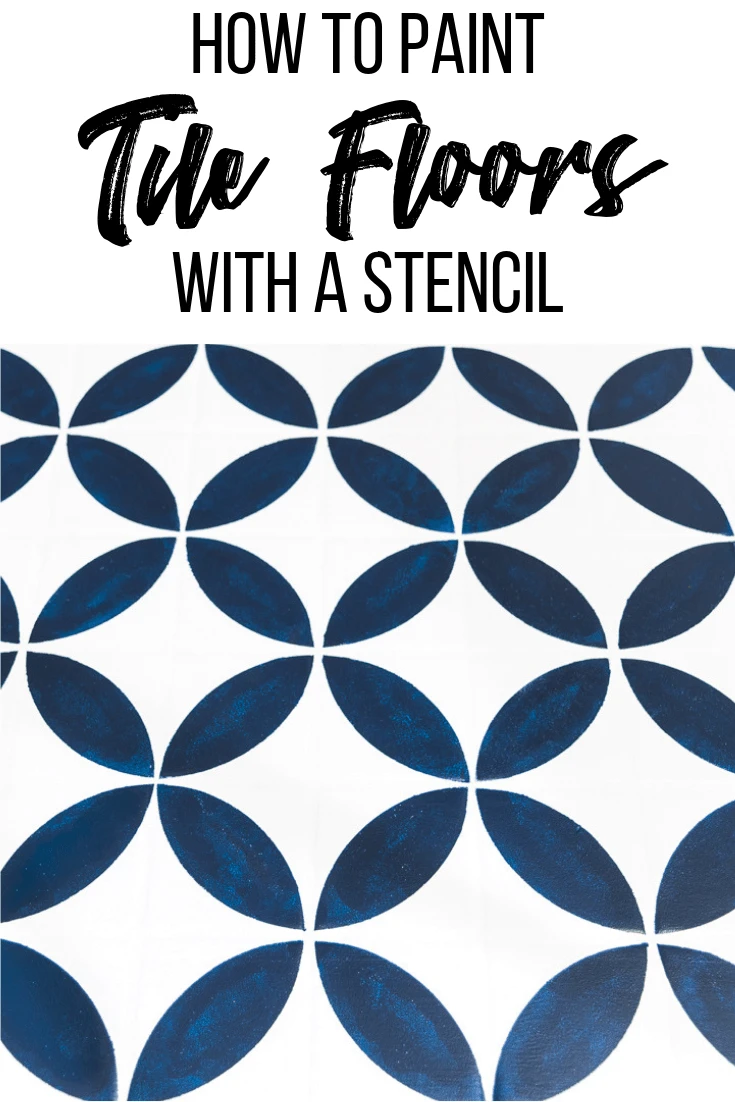
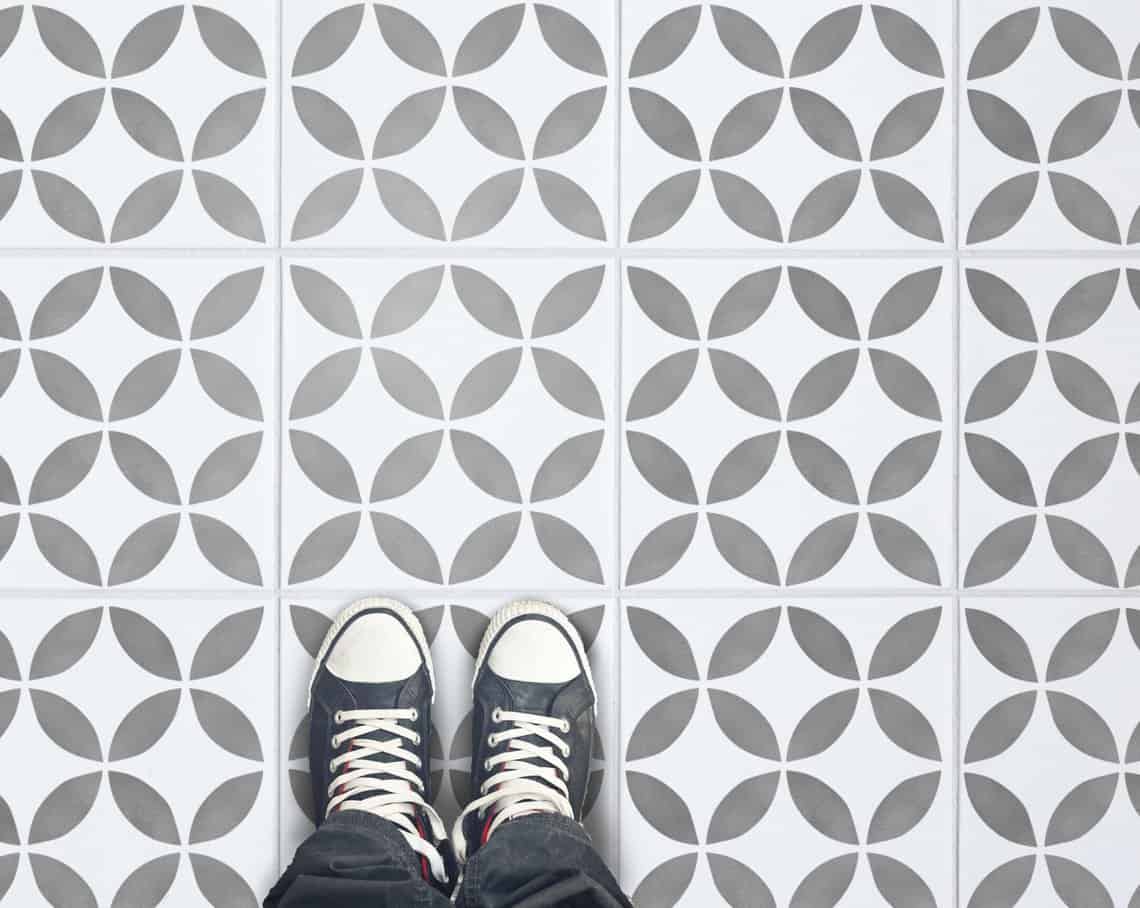
As part of my DIY half bath remodel, I'm painting the tile floor to give it a fun new look on a tiny budget! I had my heart set on a bold, geometric pattern that would add wow factor to this tiny space. But the cost of cement tile is outrageous! Instead of shelling out $15-30 a square foot, I'll paint the tile floor with a stencil for a fraction of the price.
This post contains affiliate links for your convenience. Purchases made through these links may earn me a small commission at no additional cost to you. Please visit my disclosures page for more information.
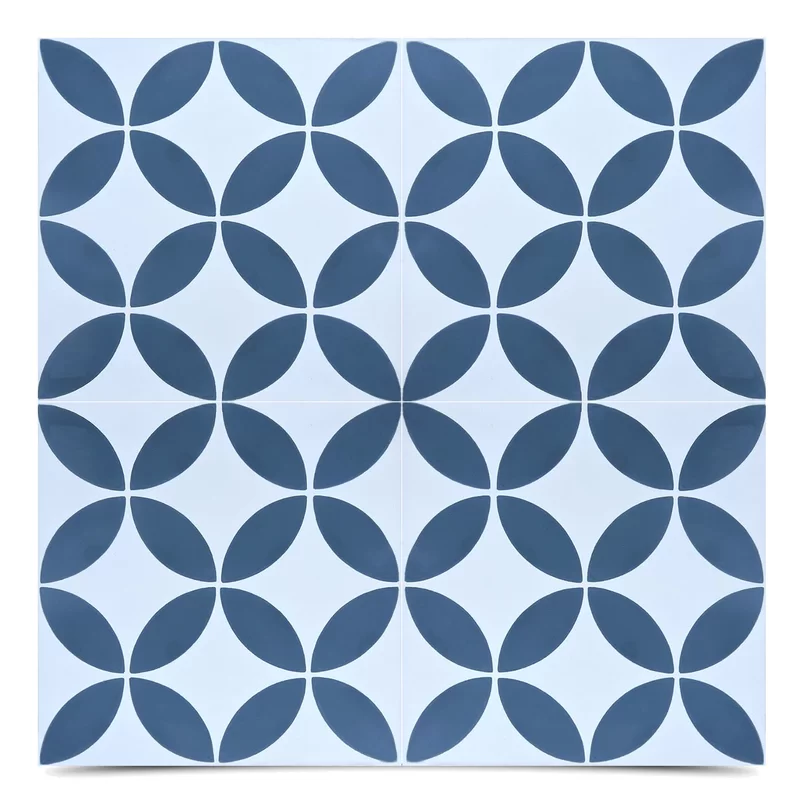
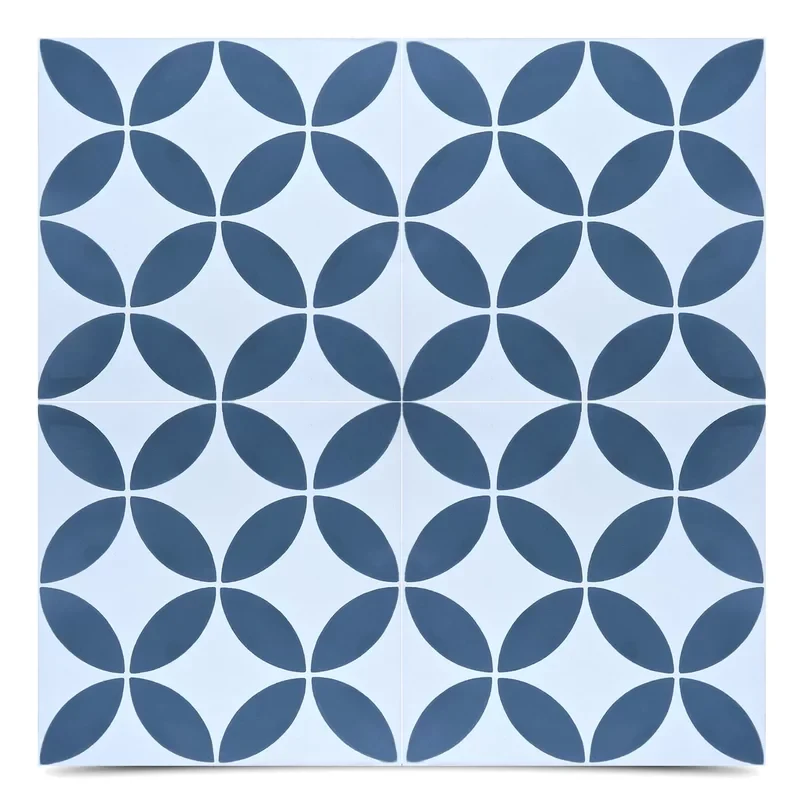
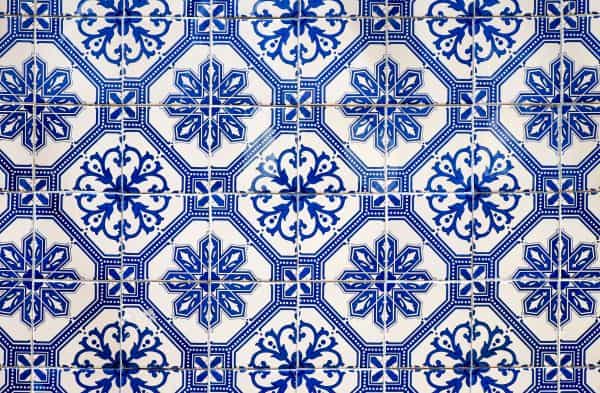
Cement tile is all the rage right now, but they come with a hefty price tag. I fell in love with this Moroccan style tile with a simple geometric pattern that wouldn't be too overwhelming in the small space. But it would cost over $500 for a measly 30 square feet!
If you want to avoid ripping out tile, painting is the way to go! Instead of weeks of labor, you can finish up the entire project in a weekend! Sticking with a solid color will make the process go even faster if you just want to change up the color.
Check out how my painted tile floor looks five years later if you're still on the fence!
Video Tutorial
Check out the video below to get an overview of the process, then continue reading to get all the details you'll need to paint your tile floors!
Things to Consider When Painting Tile Floors
I really debated whether it was worth the effort to paint my tile floors instead of just replacing them. It's a really small space, and I was already going to tile one of the walls, so it seemed like it might be a waste of time. What if it peels? What if the paint wears off?
In the end, I'm soooo glad I decided to paint the tile instead of replacing it! Both the tile and the grout were in great shape, and I'm happy I was able to keep perfectly good materials out of the landfill. Plus, it cost me less than $100!
What kind of paint should I use?
There are a lot of tutorials about painting tile out there, and they all seem to use different types of paint with varying degrees of success. But honestly, do you really think chalk paint or regular latex paint is going to hold up over time?
Picture a latex glove...you can stretch it pretty far, but it doesn't snap back to its original shape. Even worse, if you get a hole or scratch in latex, the whole thing peels apart! The same thing might happen to your floors if you use regular latex paint.


Acrylic paint is more elastic, so it holds up to water and temperature fluctuations much better than latex. Here's a good breakdown of the difference between latex and acrylic paint.
So you really want to choose a paint with an acrylic base for the best results. Most porch and patio paints are acrylic because exterior wood expands and contracts with the seasons, and it stands up better to foot traffic. That's why I decided to go with Behr porch and patio floor paint for my painted tile floors.

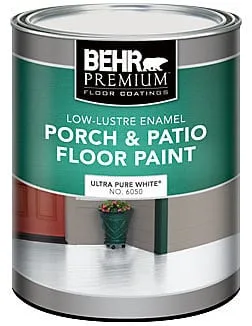
You can get this floor paint tinted to any color you want! I wanted to match the dark blue in my bathroom vanity, so I just brought in one of the doors to get color matched. I also picked up a can of Pure White paint for the base color.
Choosing a Floor Tile Stencil
Painting a tile floor with just one color can be a little boring. Adding a stencil will make it look like expensive hand-painted tile, rather than bargain basement solid colored tile.
Take the size of your room into account when choosing a stencil pattern. In a bigger room, your eye will be drawn to any little mistake in a basic geometric pattern like the one I chose. But with a more intricate design, you won't notice a smudge or missed spot over the entire floor.

Also think about the size of your existing tiles. A busy, detailed design won't translate well over a lot of smaller tiles, where the grout lines will break it up. The repeating pattern should fit completely on one tile, so it looks like you bought it that way!
This Etsy seller custom sized my stencil to the exact dimensions of my tiles, including the grout lines. As an added bonus, they sent a second stencil for free, so one stencil can soak in soapy water while I keep painting with the other.
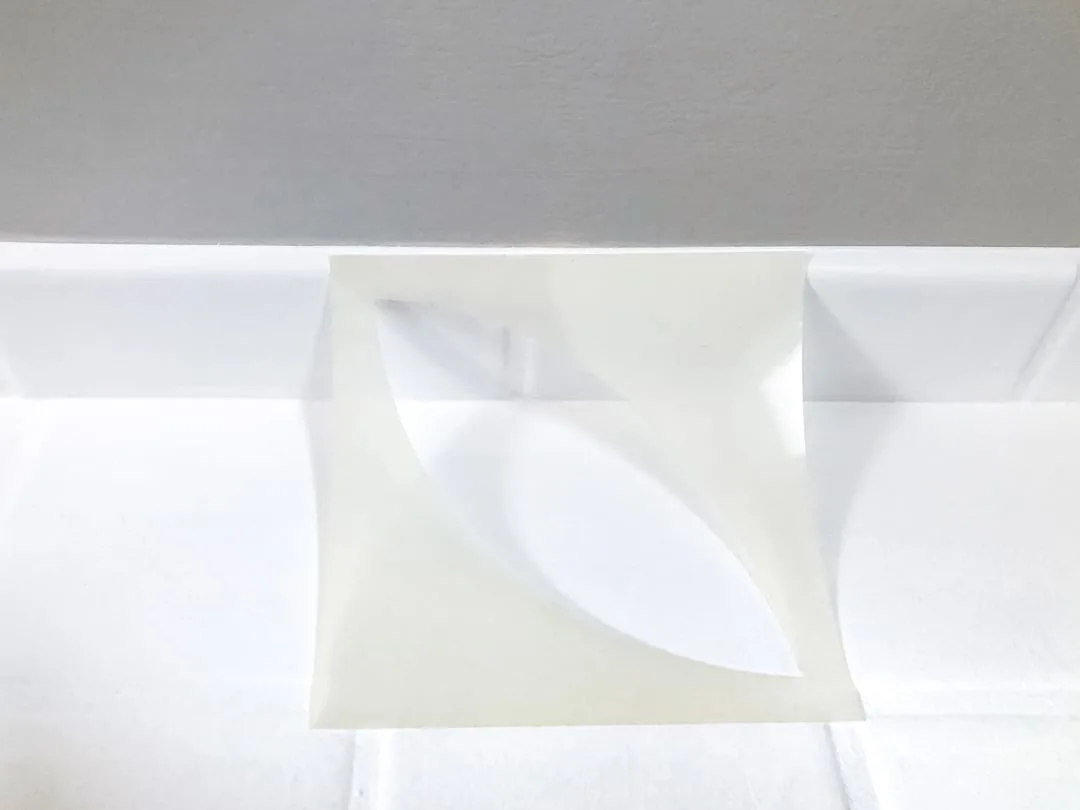
I bought the extra small x6, which covers eight tiles in a single stencil to save time and effort. In addition to customizing the size of the grout lines, the seller also changed the design so that a single "lobe" would fit perfectly on each small tile.

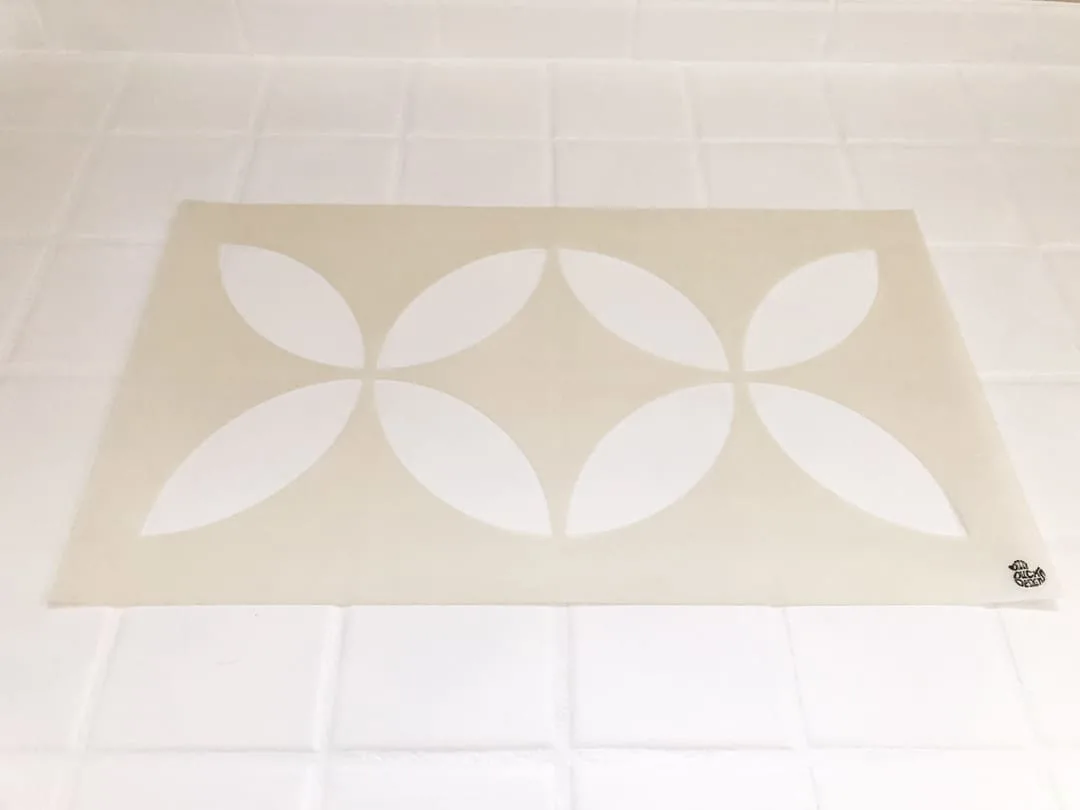
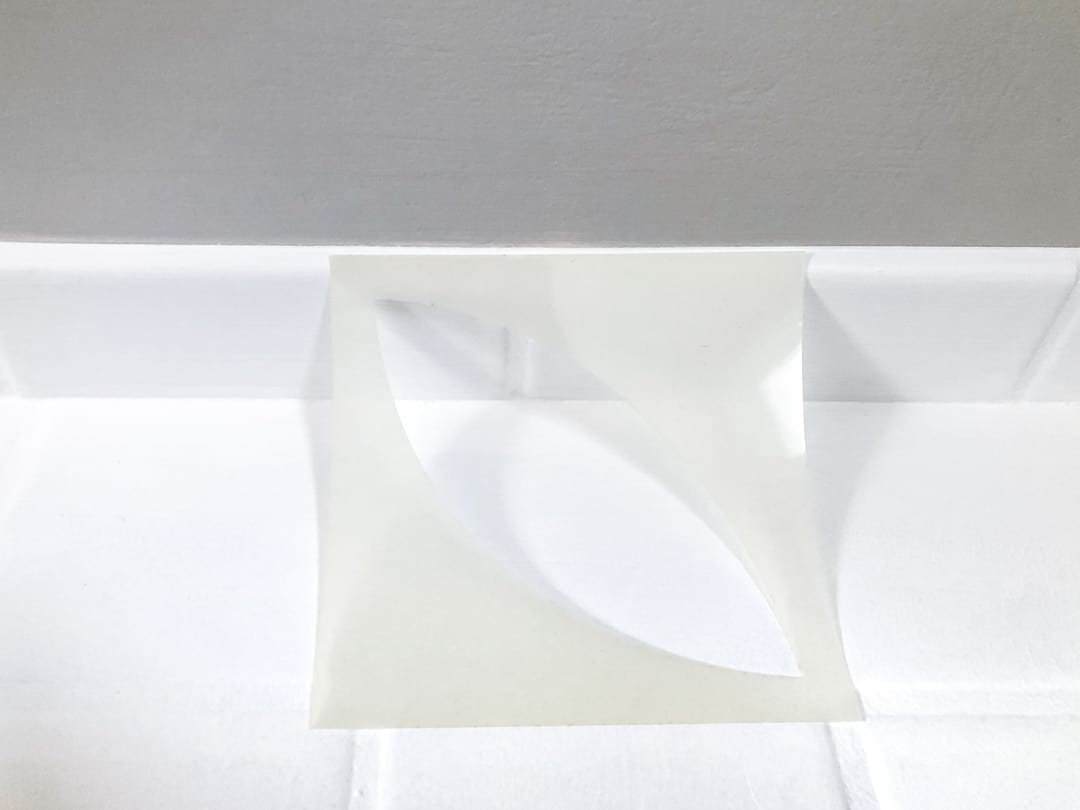
I also ordered a single "lobe" stencil for the corners and edges of the room. This smaller stencil will be easier to bend and manipulate to fit into tight spaces.
Materials Needed to Paint Tile Floors
- Porch and patio paint
- I went with Behr Low Lustre Porch and Patio paint for its good reviews and the ability to get it custom tinted.
- Bonding primer
- This is the key to prevent peeling paint! I used this one, but any primer that will bond to tile works.
- Sander and sandpaper
- A corner sander will help get into tight spaces and corners without resorting to hand sanding.
- TSP Heavy Duty Cleaner
- Bucket
- Sponge
- Scrub brush
- Nitrile gloves
- Paint brush
- Foam roller
- Painter's tape
- Tack cloth
- Tile stencil (optional)
- You can get the one I used here.
- Foam stencil brush/pouncers
- Flat artist brush for touch ups
How to Paint Tile Floors
Preparation is key when painting tile floors! If you don't prep your tile properly, the floor paint won't stick and you'll have wasted all that hard work.
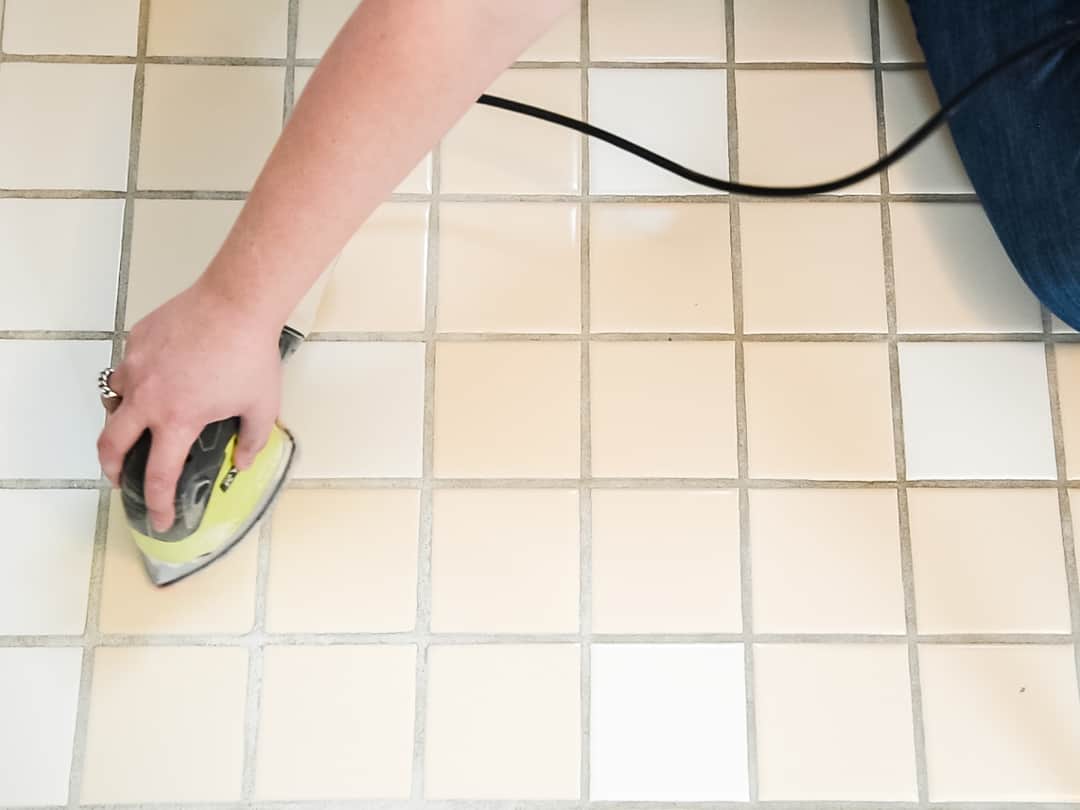
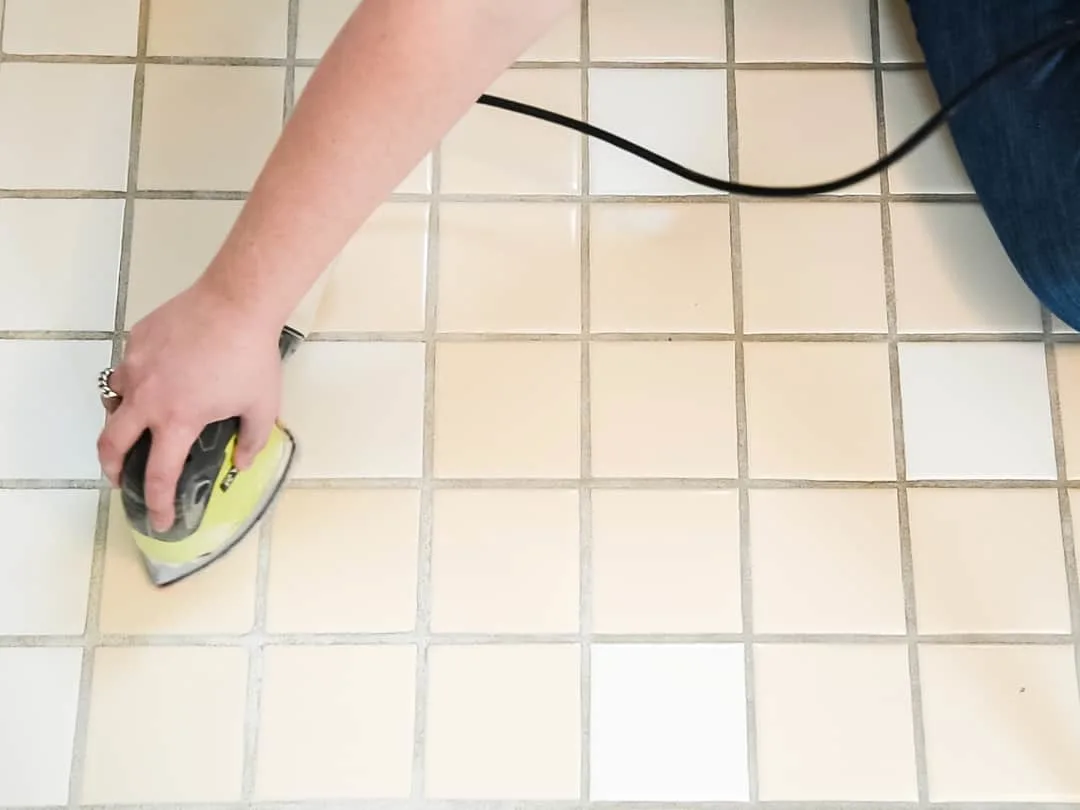
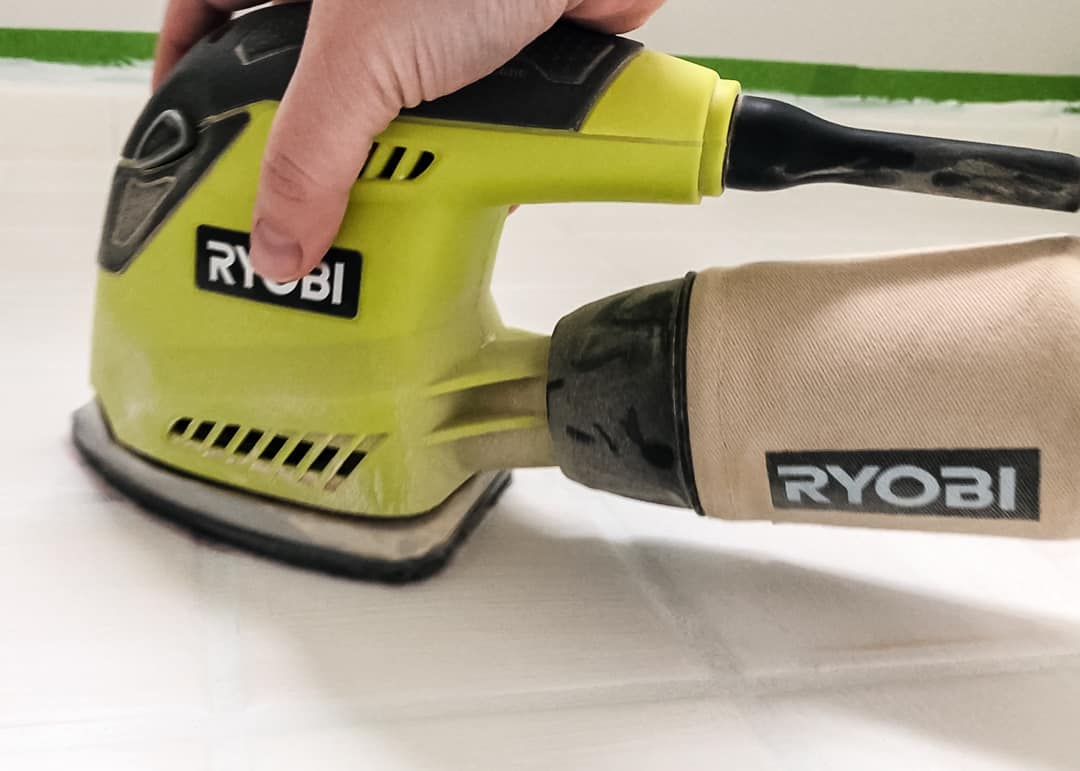
Sand the Tile Surface
Start by sanding your tile floors with a random orbit sander and 80 grit sandpaper. This will remove some of the sheen and rough them up so there's something for the paint to grab onto.
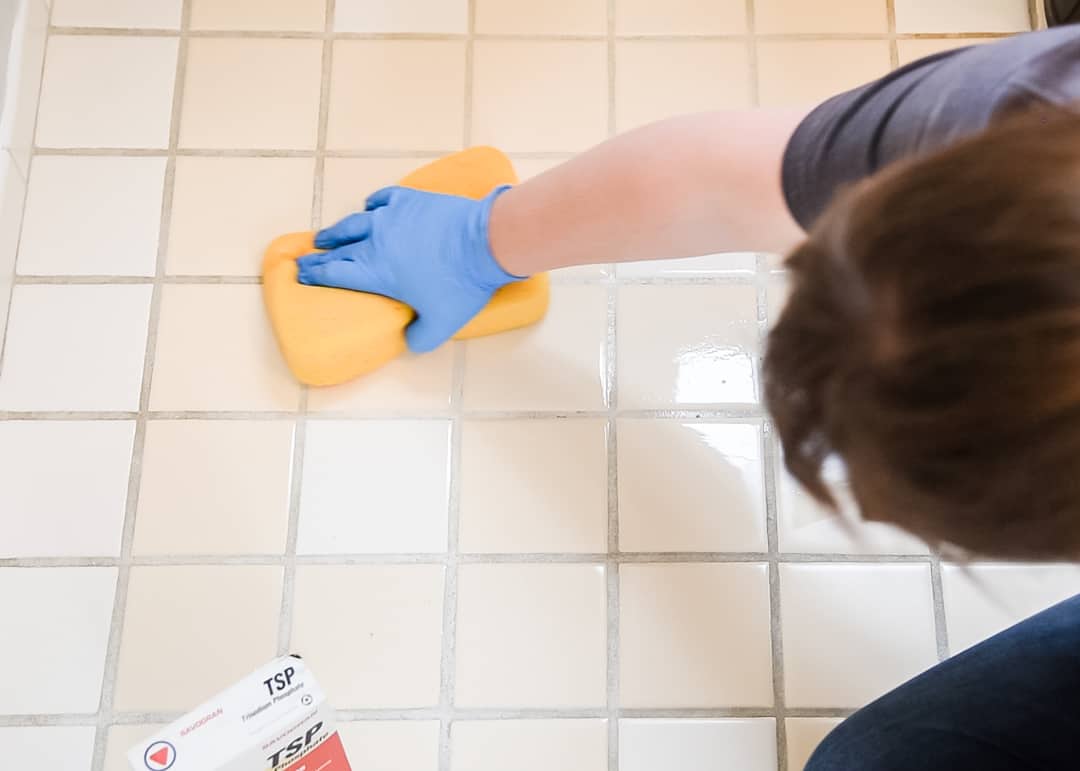
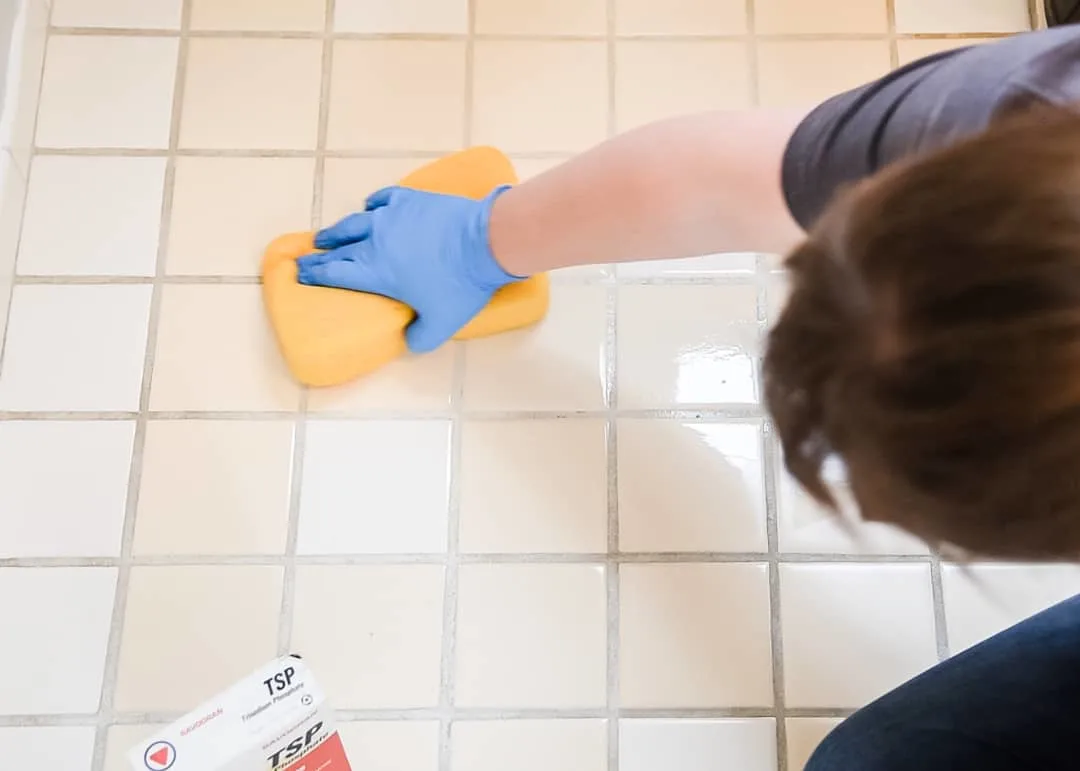
Clean the Tile
Next, give your floors a good cleaning. I used TSP, which is a heavy duty cleaner and degreaser that will remove any dirt, mildew or soap scum from your tile floors. Make sure to wear gloves when using this stuff, because it will "degrease" your hands and dry them out!
I scrubbed my floors twice to make sure they were super clean. First, I used an extra grout sponge I had bought for installing the vertical subway tile.
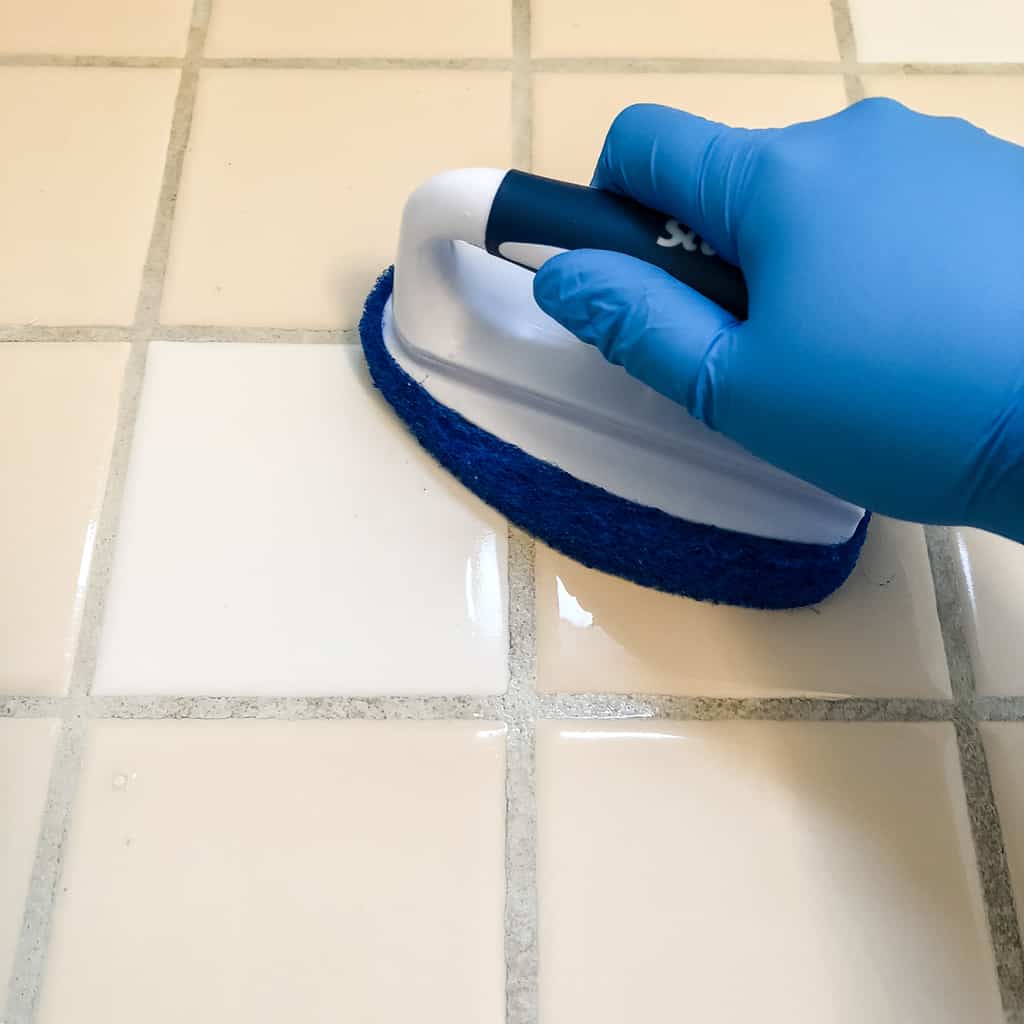
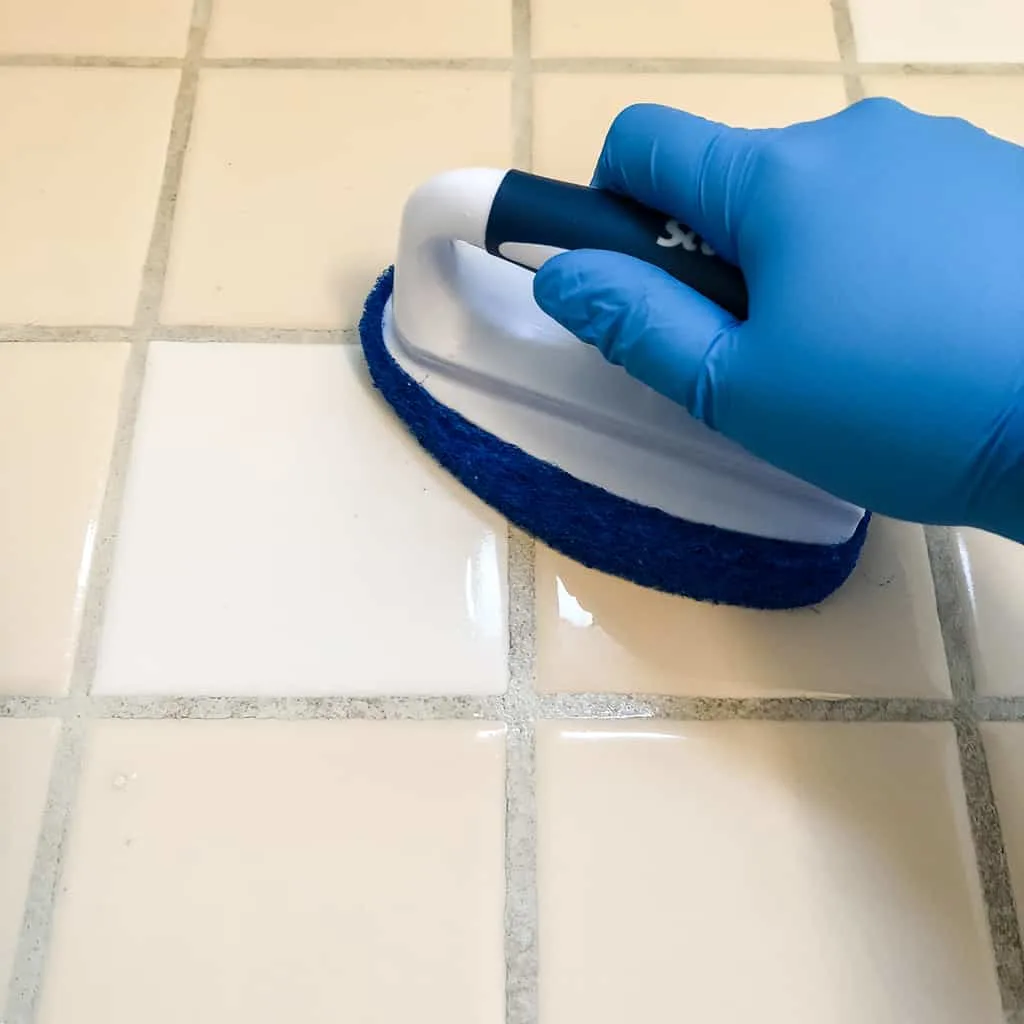
Then I went over it again with a scrub brush, concentrating on the grout lines. Rinse the floor with clean water afterwards.
Once the tile floor is dry, apply painter's tape to any areas you don't want to be painted. I decided to keep the tile "baseboard" that was already around the perimeter of the room, so I taped off the wall above it.
Apply Bonding Primer
This stuff is thick, sticky and makes paint bond to almost anything! I used a good paint brush to apply the bonding primer to the grout lines first, then the surface of the tile. I had originally planned to use a roller, but the bonding primer is so thick, it was hard to roll.


It dries pretty quickly, so you'll want to be careful not to brush over the dried areas and pull it up accidentally (ask me how I know!)
Let the bonding primer cure overnight, then lightly sand the surface smooth with 220 grit sandpaper. This will remove any brush marks, drips and thicker spots.

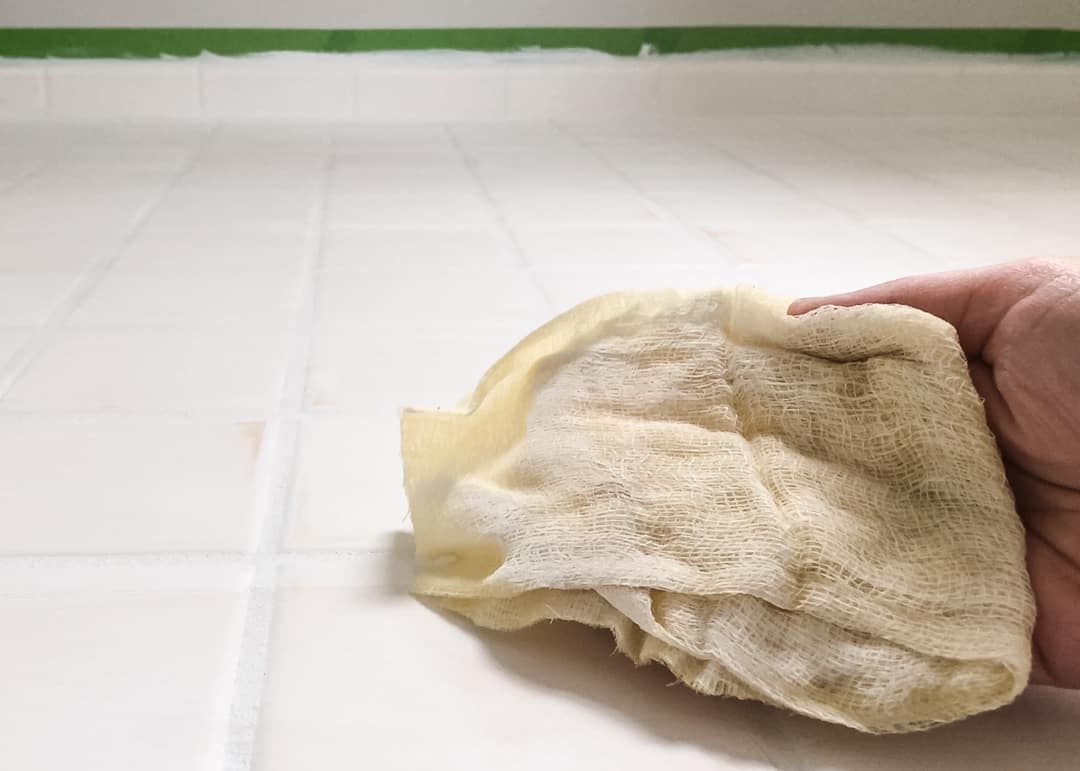
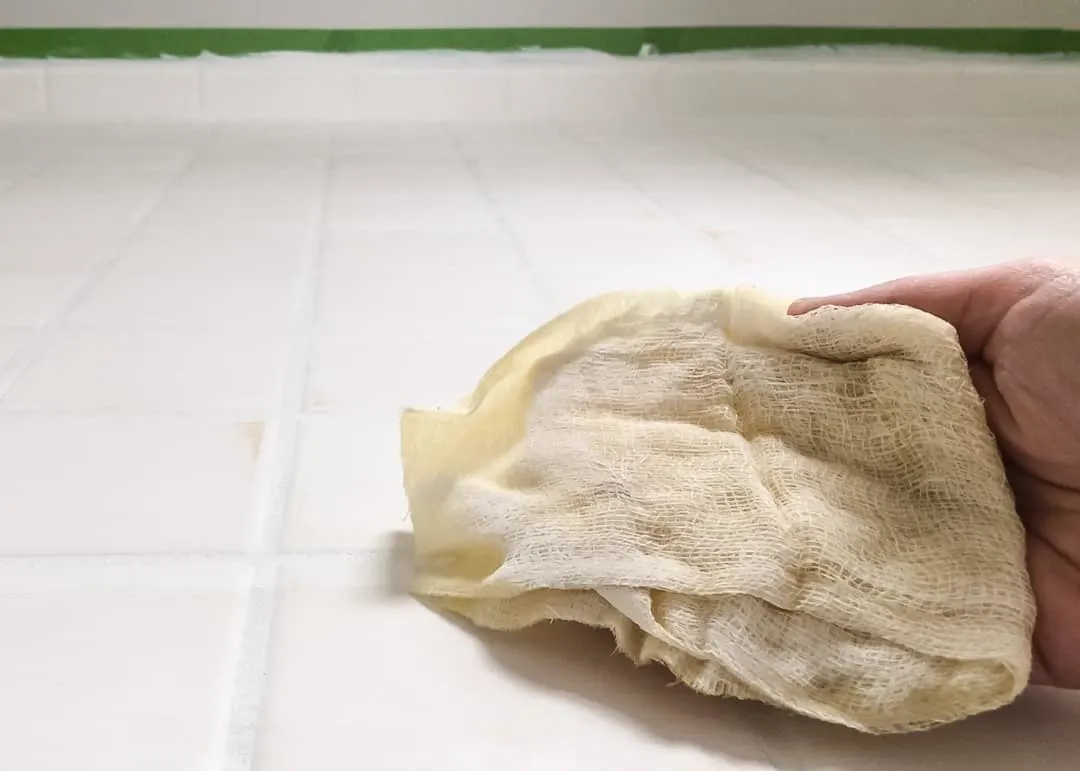
Remove any sanding dust with a tack cloth or microfiber cloth.
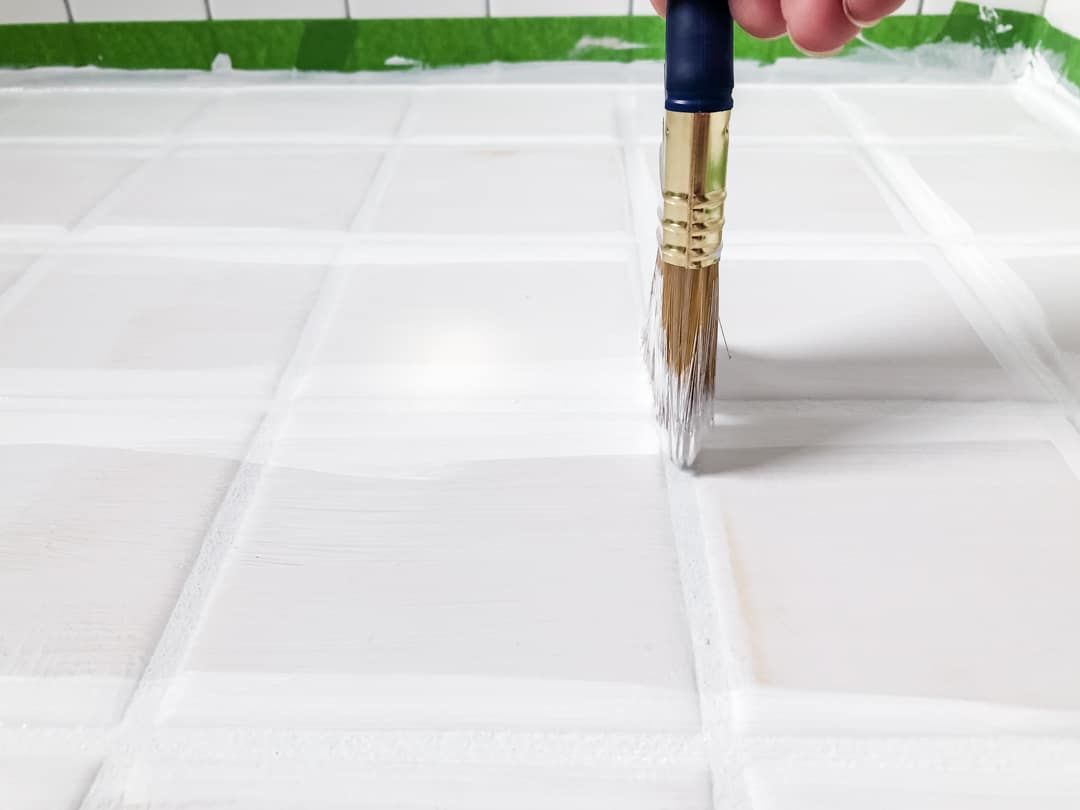
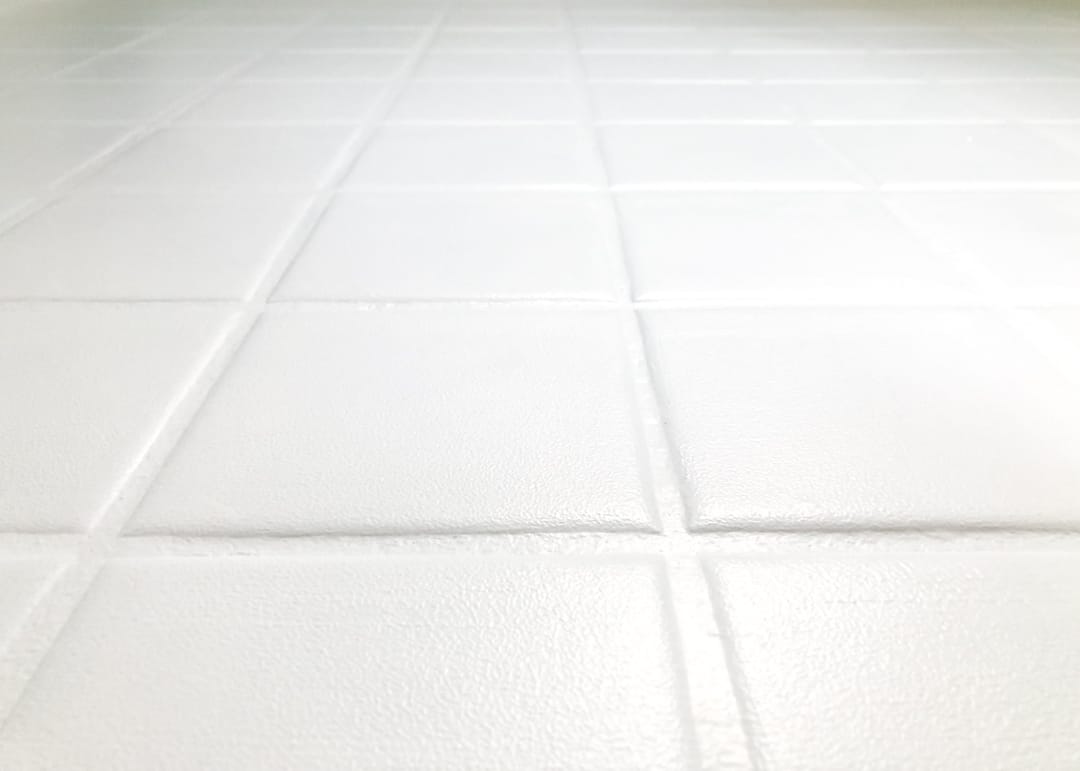
Apply the Floor Paint Base Color
This bright white floor paint matches the subway tile on the wall, as well as the sink in the vanity. But you can choose any color you want!
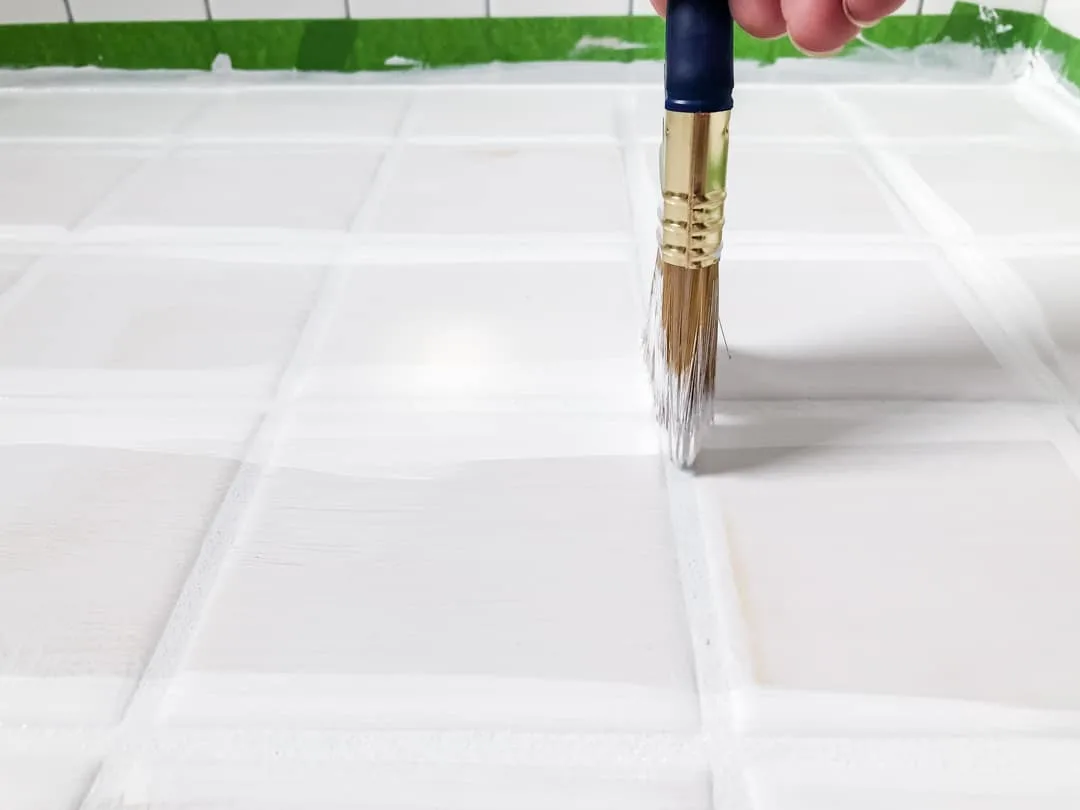
Work in small sections to prevent areas from drying too soon. Start applying the floor paint with a high quality paint brush in the corners and edges. Then run the paint brush down the grout lines.
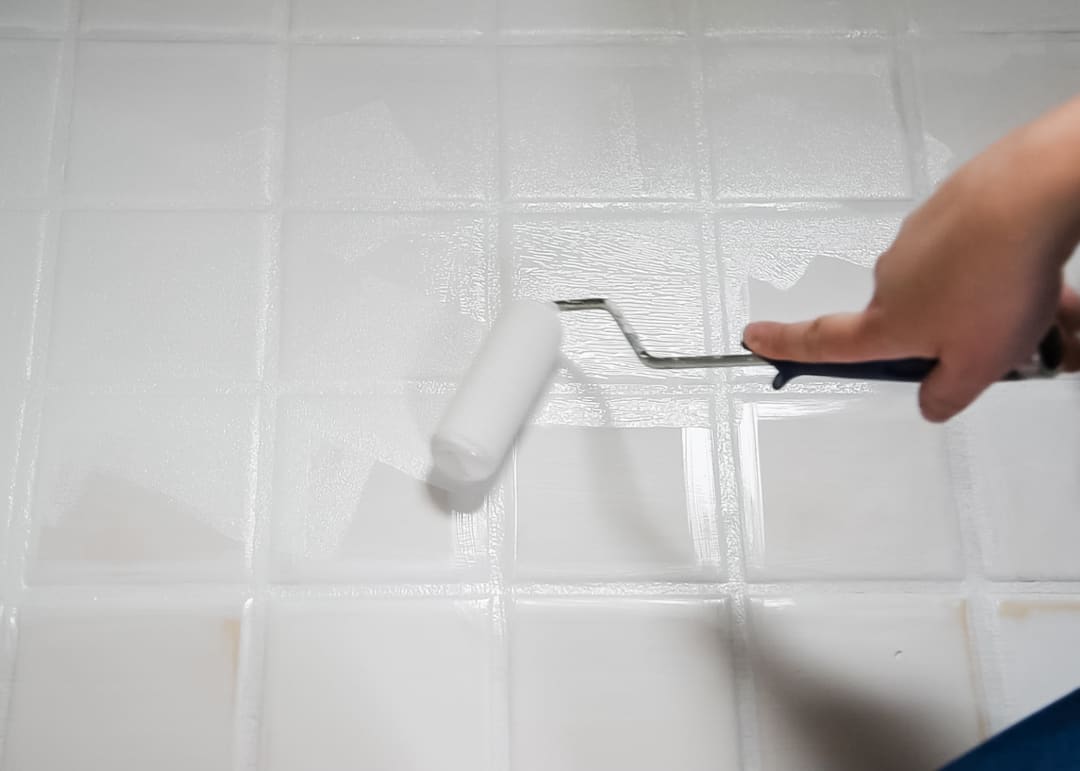
Then go over the surface of the tiles with a foam roller. Roll from different angles to make sure every edge of the tile is coated.

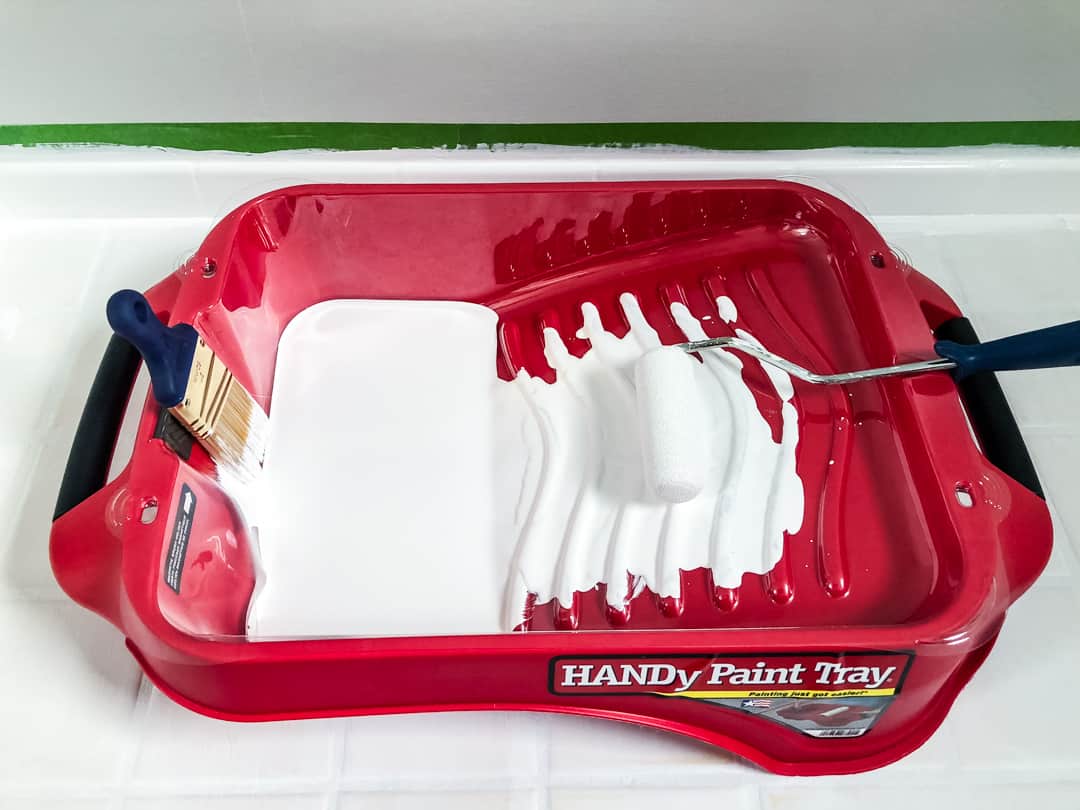
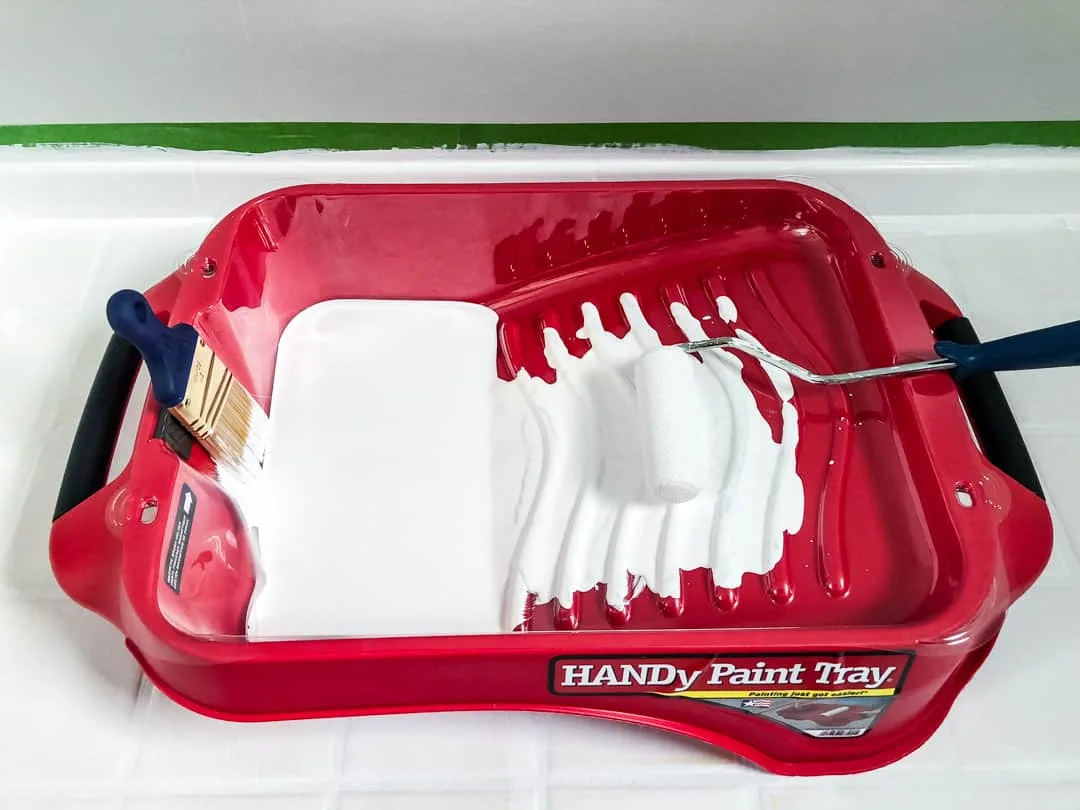
HANDy Paint Products sent me their paint tray and liners for this project. It was perfect for switching back and forth between paint brush and roller. There's a magnet on one end so you can hang your brush out of the paint and let it drip back into the tray while you use the roller.
Allow the first coat to dry for 3-4 hours, then apply a second coat the same way. It was looking pretty good already!

Apply the Tile Stencil
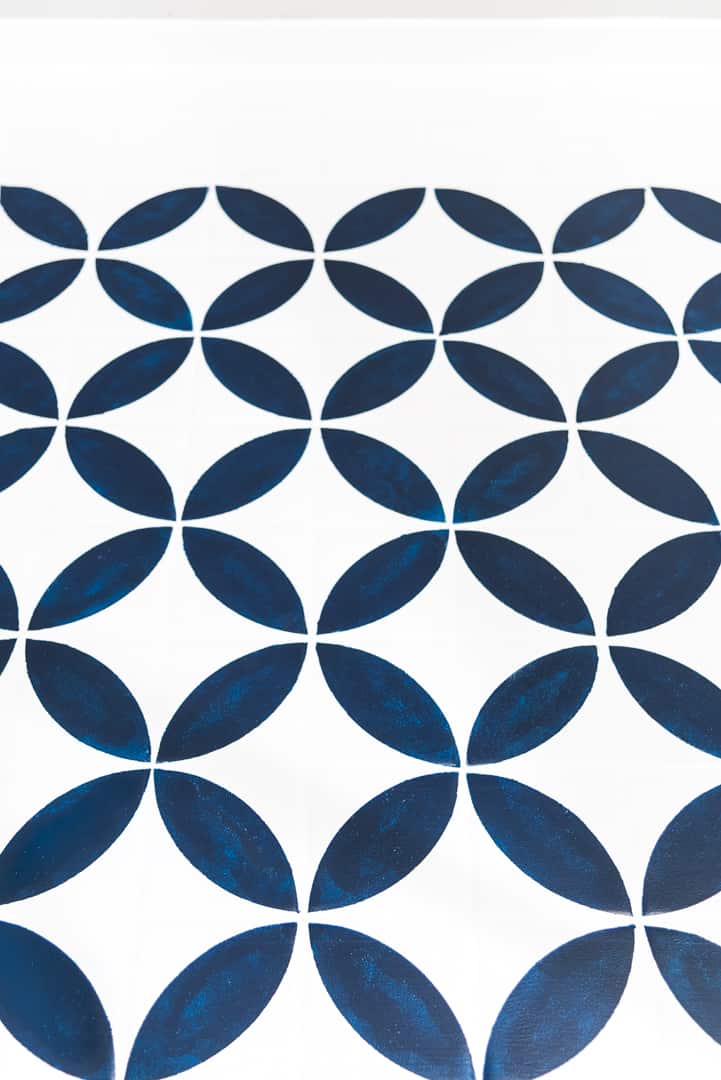
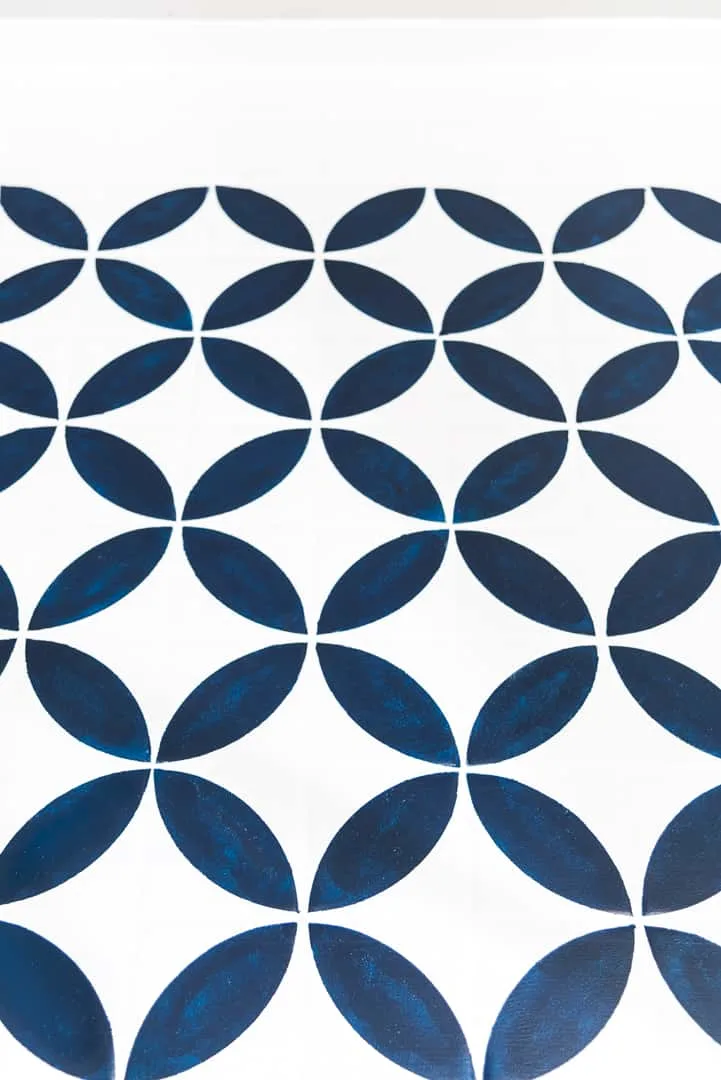
Use painter's tape to hold the stencil design in place. The center of the four lobes is positioned over the grout line between the four tiles.
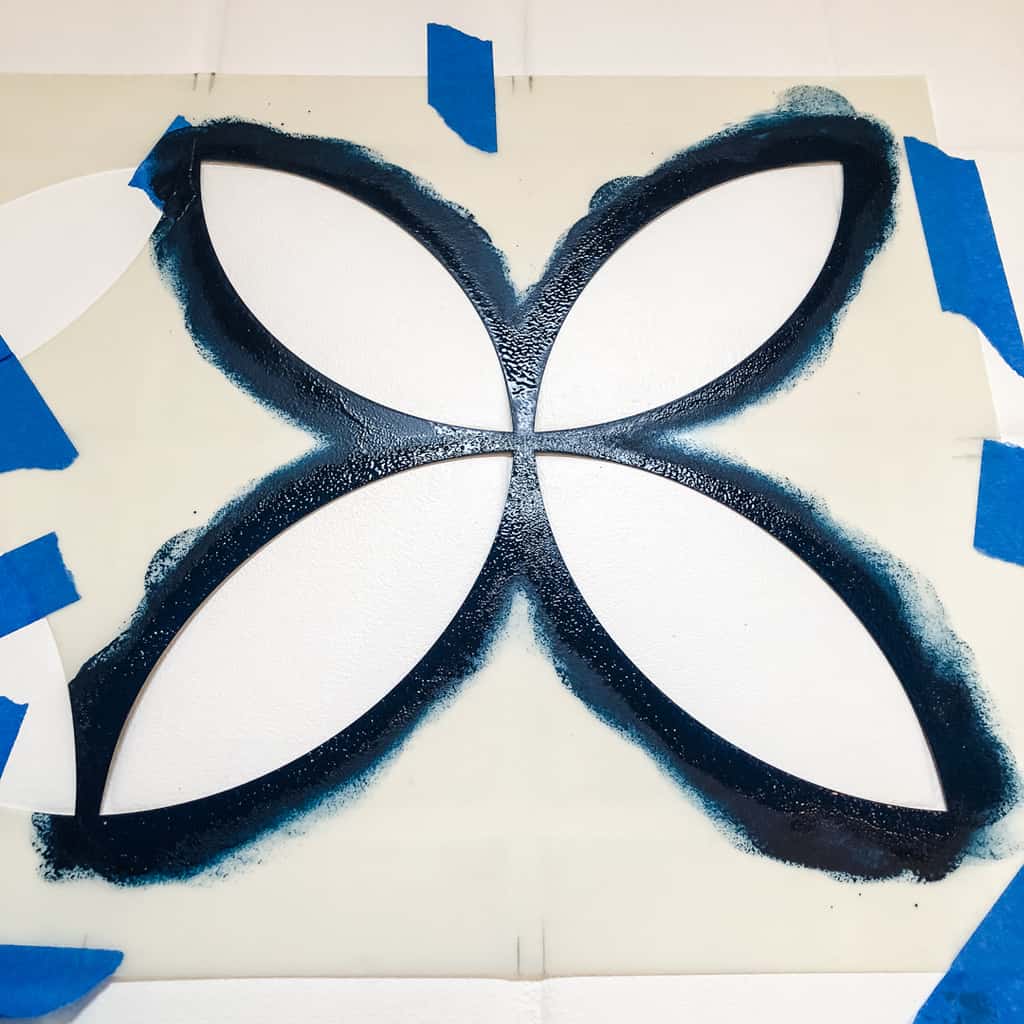

The key to getting a clean stencil image is to use as little paint as possible. I kept a roll of shop towels on hand to dab excess paint off the foam stencil pouncers. Dab the edge of the stencil in an up and down motion, building up the color slowly.

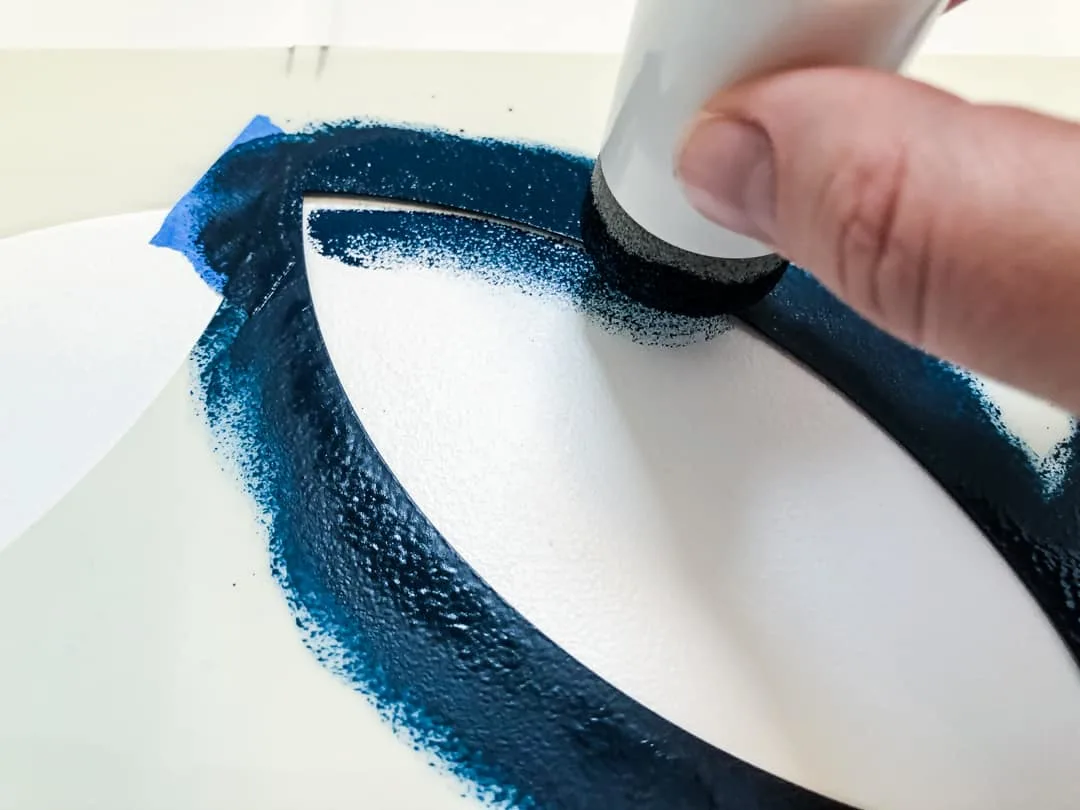
If there's any bleed through, you can try to carefully clean up those areas with a damp rag, but it can lead to an even bigger mess! I decided to wait until the entire floor is painted and dry before touching up the edges with the white base color and a flat artist brush.
I painted one section of tiles, then skipped a row to allow the paint to dry. Otherwise the edges of the stencil could mess up the paint! You can also see how I used an overturned trash can to cover up the toilet pipes so I didn't have to stare at the grossness while I worked. 🙂
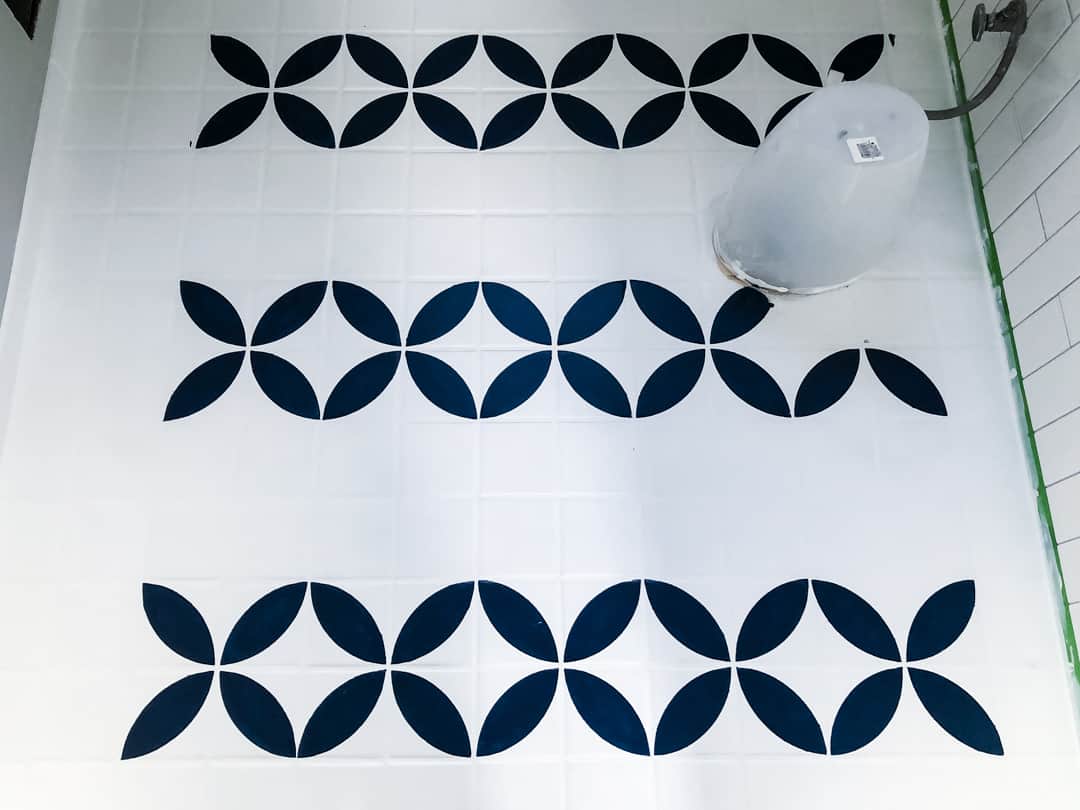
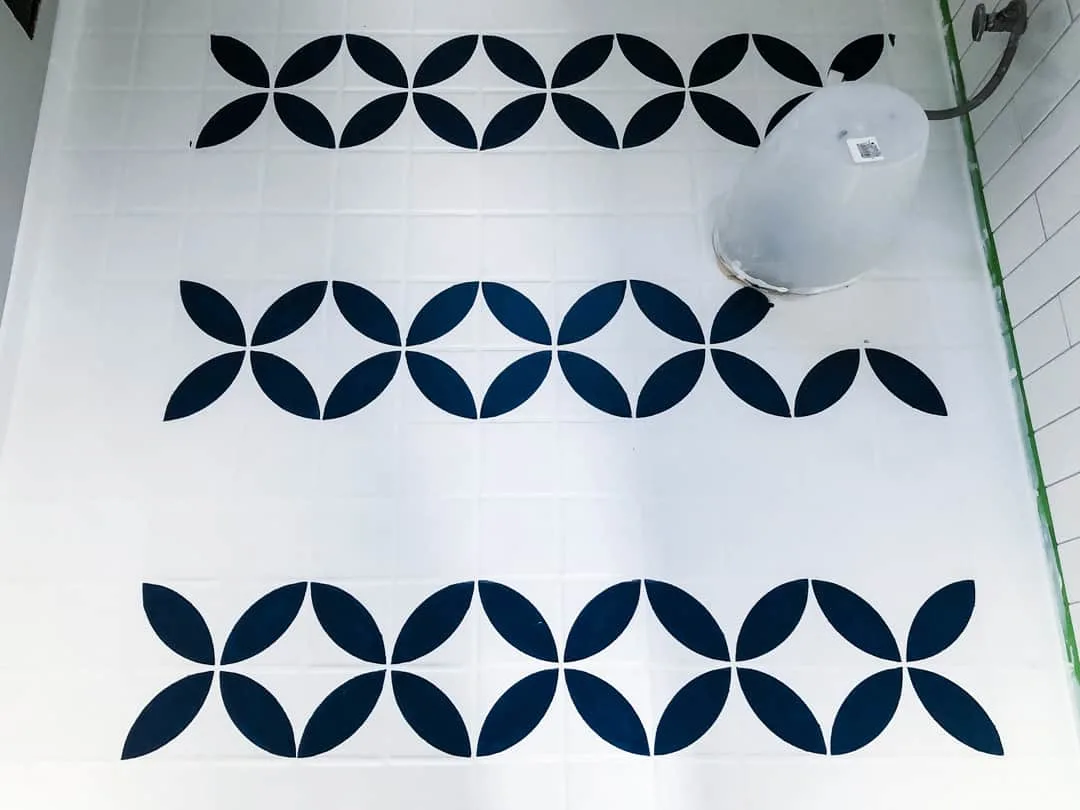
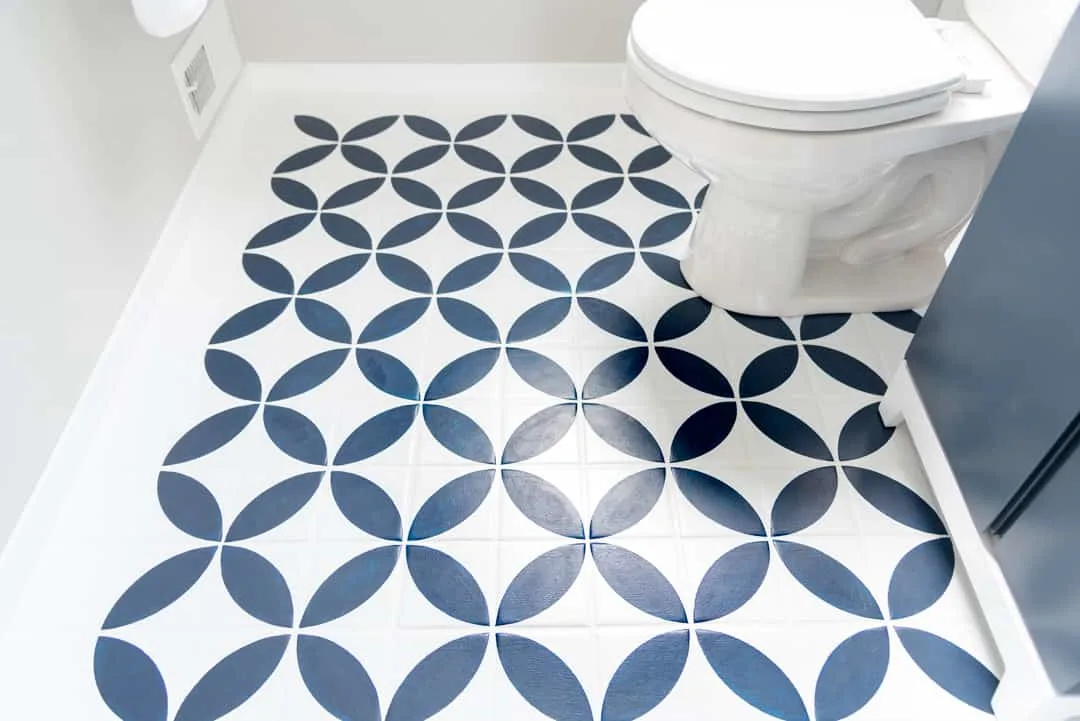
Luckily, this bathroom floor is really small, so it didn't take long to stencil the entire space!
Apply Top Coat
This step is optional, and I chose to skip the top coat altogether. A layer of protective polyurethane can help keep your painted tiles look newer longer, but it can also give a yellow sheen to white paint. Polycrylic dries clear, but isn't as durable. You can read more about the difference between polyurethane and polycrylic here.

So far, our painted tile floor has held up great without any top coat! I'll write a follow-up post after a year or two to show how it looks after some real life wear and tear.
You've got to check out the before and after photos of this bathroom remodel! You can find all the tutorials related to this home improvement project below.
Half Bath Makeover Tutorials
Christine
Monday 17th of December 2018
What a beautiful bath update! I've been thinking about painting the floor in our 1960s era powder room. Would you recommend covering the finished floor with a sealant to prevent chipping of your lovely stencil?
Vineta
Tuesday 18th of December 2018
You can coat it with polyurethane if you want, but I haven't had any problems with chipping yet!
Erin
Thursday 29th of November 2018
This is by far the most comprehensive tile floor painting tutorial I've come across yet! I'd like to eventually paint the tile floor in both my bathroom & kitchen so this will be beyond helpful when I'm ready to do so. This is the first time I've come across your site & I'm definitely going to follow you on all the social media! THANK YOU
Vineta
Thursday 29th of November 2018
Aw, thank you so much! I'm glad my tutorial was helpful!
Jerri
Thursday 15th of November 2018
Great tutorial. Thanks for joining us for Friday Favorites. I'm featuring you this week.
Sheri
Sunday 11th of November 2018
It's gorgeous Vineta! I pinned this! Thanks for sharing at the To Grandma's House We Go DIY, Crafts, Recipes and More link party. Hope to see you again next week.
Handy Squad
Thursday 25th of October 2018
Really good alternative! Great work!