Add storage anywhere with this IKEA Trofast wall storage hack! This custom frame is mounted securely to the wall with French cleats.

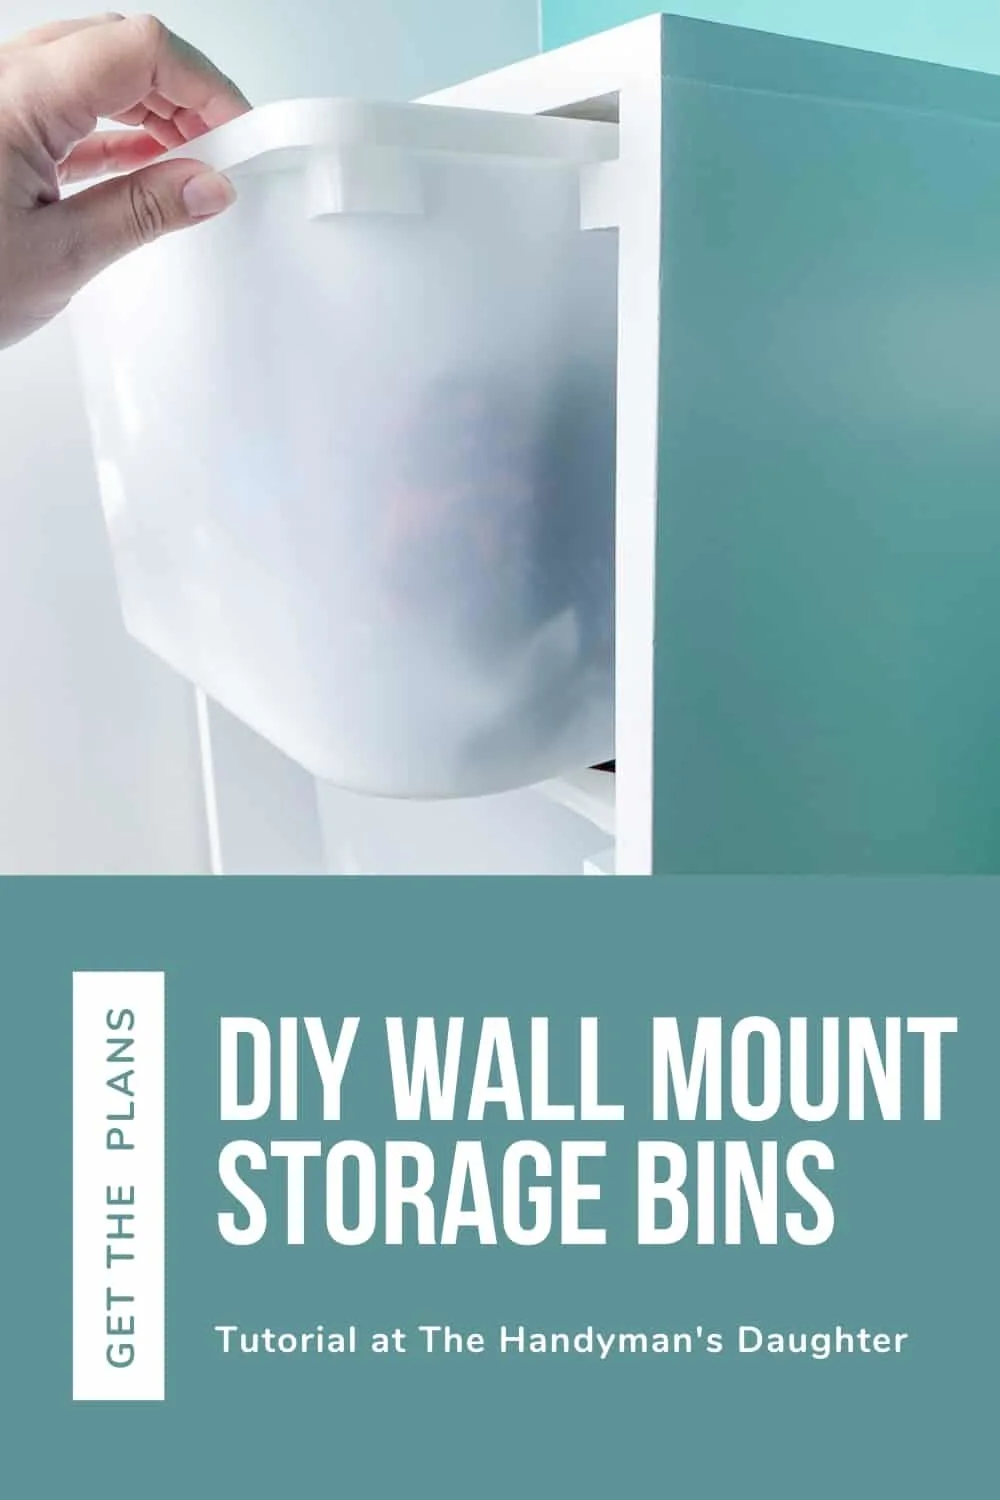
IKEA Trofast bins are great for storing just about anything! We have dozens of the shallow bins in my son's Lego desk and Lego table, and I even have a few in my workshop.
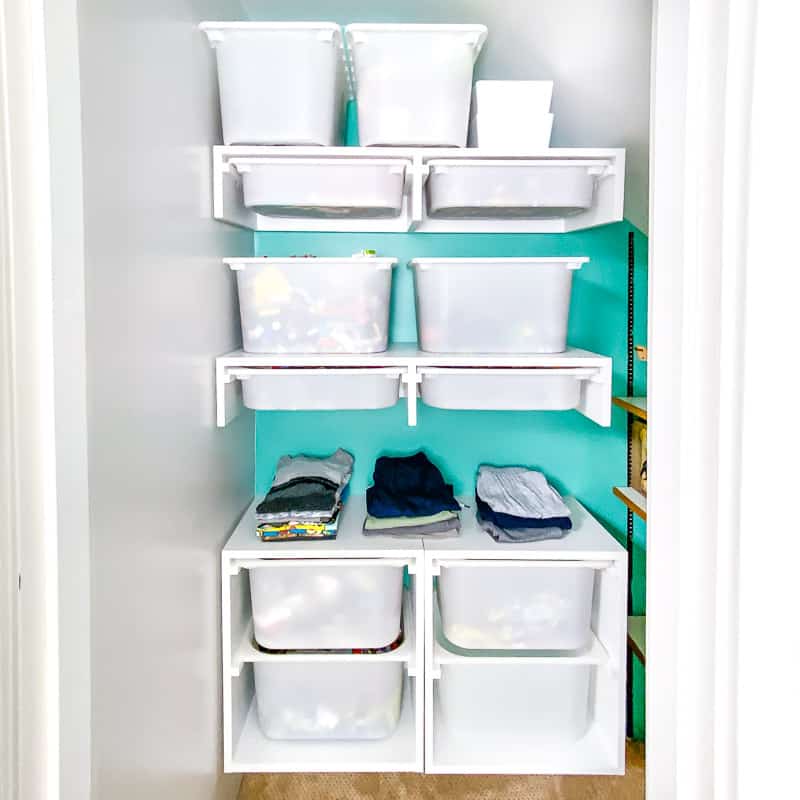
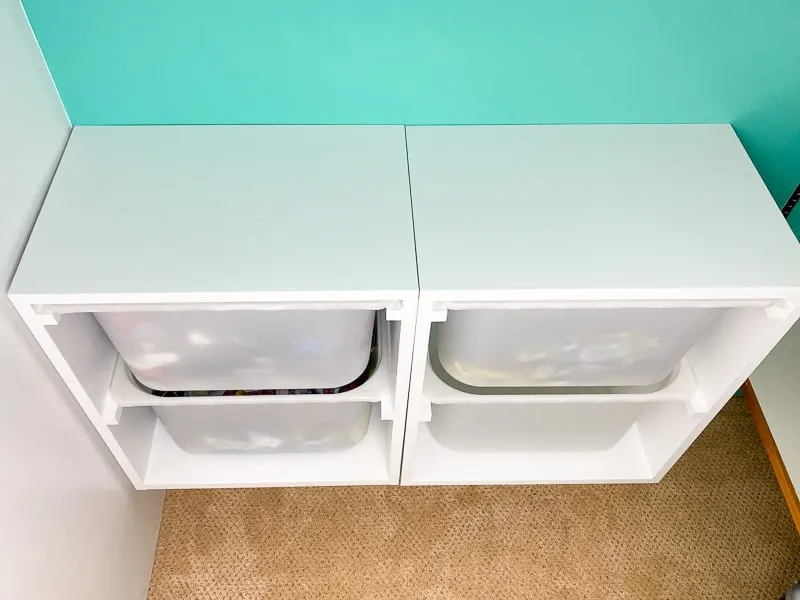
Now I'm taking my Trofast floating shelf idea and supersizing it with bigger bins to serve as a dresser in my son's custom closet!
I decided to make wall mounted storage bins instead of just putting them on the floor so he can use the space below for his shoes. Both units hang on a single French cleat, so they can be removed easily if we need to get into the attic crawl space. The access panel is in the back of the closet, so I can't put in anything permanent that blocks the way.

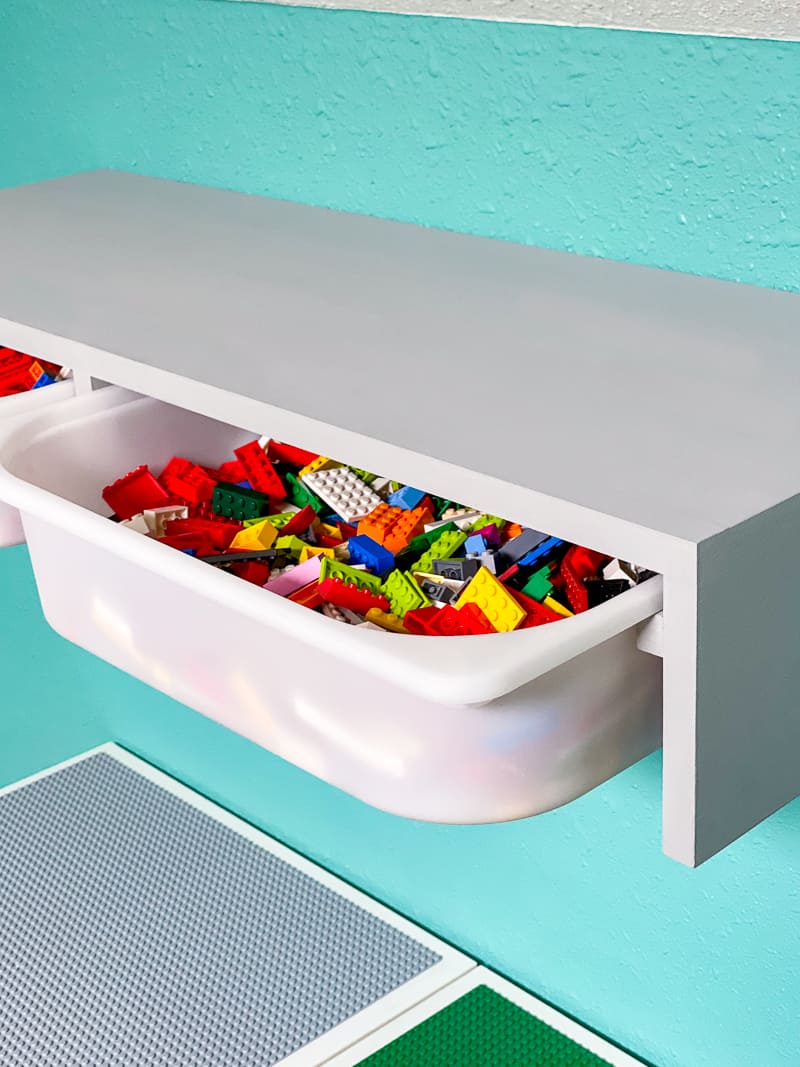
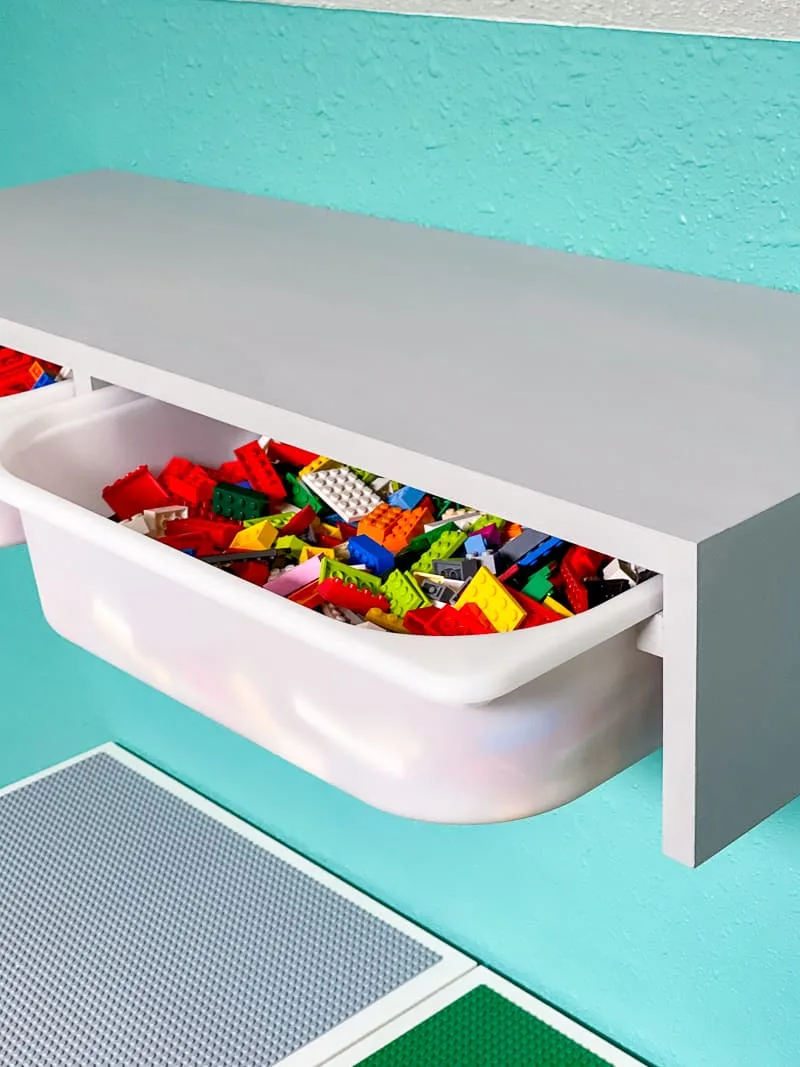
The French cleat also helps keep the tops aligned, so it can serve as a shelf for shirts and pants. The bins will hold smaller items like socks and underwear.

You could make a long row of these IKEA Trofast wall storage bins to create a floating console for a playroom, or even use one by the front door to store shoes! I used the larger Trofast bins here, but you could add more runners on the sides to fit four shallow ones instead.
Let's get building!
This post contains affiliate links for your convenience. Purchases made through these links may earn me a small commission at no additional cost to you. Please visit my disclosures page for more information.
Materials needed
- ¾" plywood
- You need a 2'x4' sheet for each unit.
- One 1x2 board for the drawer runners
- You could also use plywood, but the bins won't slide as smoothly on the exposed plywood edges.
- You can also use ¾" square wood dowels if you don't have a table saw.
- Edge banding
- Pocket hole jig
- 1 ¼" pocket hole screws
- Wood glue
- 18" or 24" clamps
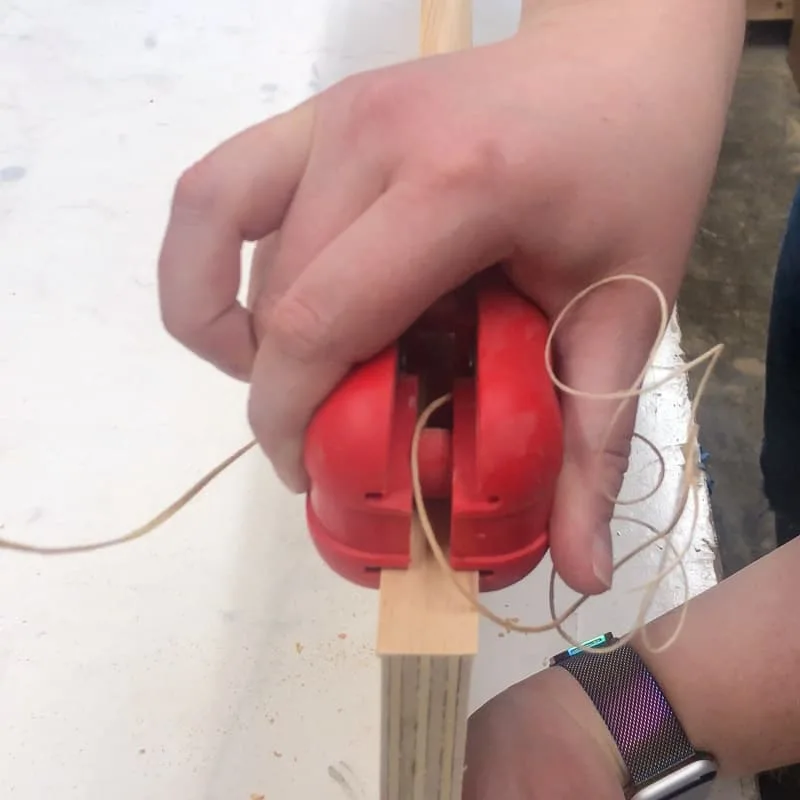
- Brad nailer and 1 ¼" brad nails
- Paint or stain
- Circular saw or table saw
- Countersink bit
- 3" flat head wood screws
- Stud finder
- Level
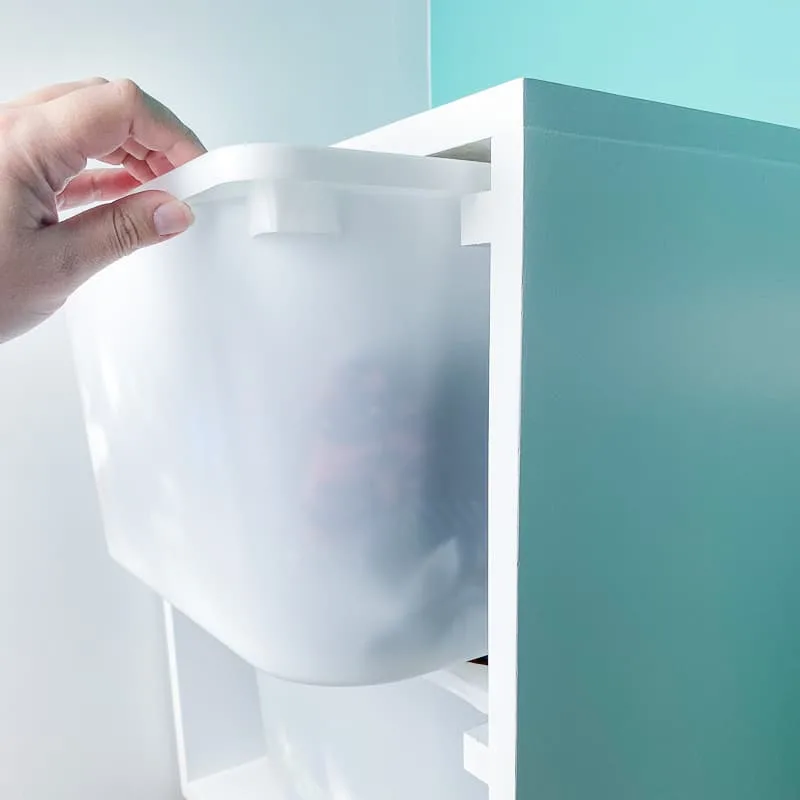
- IKEA Trofast bins
- I used these larger bins, but you could add two more drawer runners to each side and use four shallow bins instead.
How to Make IKEA Trofast Wall Storage
Before you start, download the free woodworking plans for this project by clicking here. It has all the dimensions you'll need, clear illustrations of each step, and a checklist to help keep track of your progress!
Cut and prepare the plywood pieces
Cut the plywood down into the top, bottom and side pieces. I rummaged through my lumber cart and managed to find enough scrap plywood to make both bin frames! One of the bottom pieces is made from the rough plywood I used for my son's climbing wall, but it will be hidden by the bin later.
Drill pocket holes along both short sides of the bottom piece, and one short end of the side pieces. The photo below shows the top and bottom pieces for two frames.
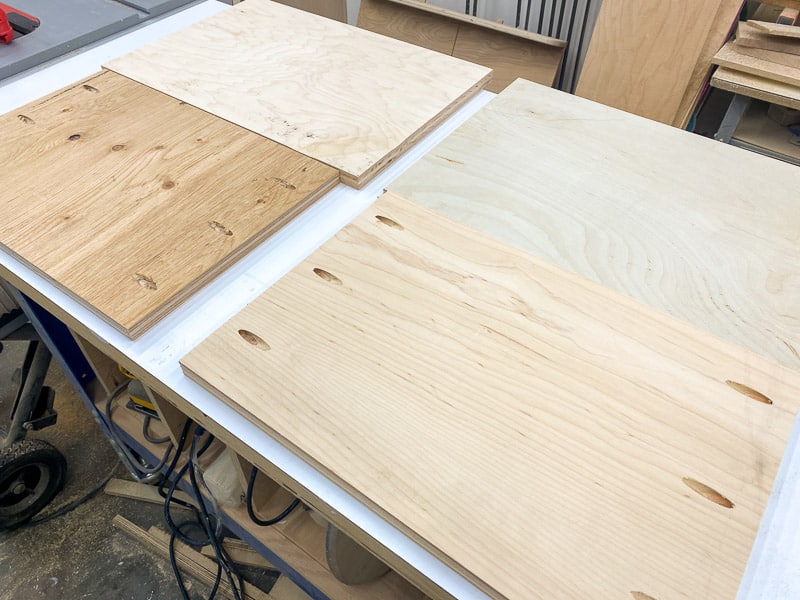
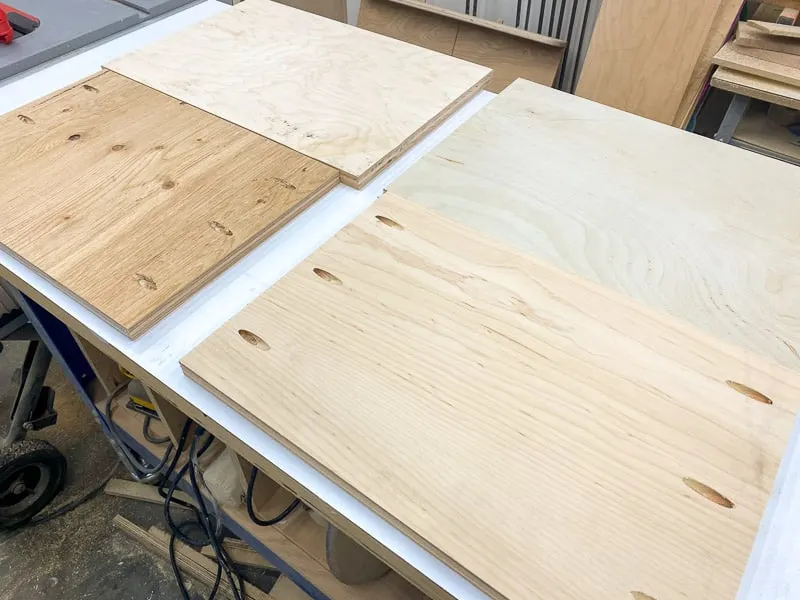
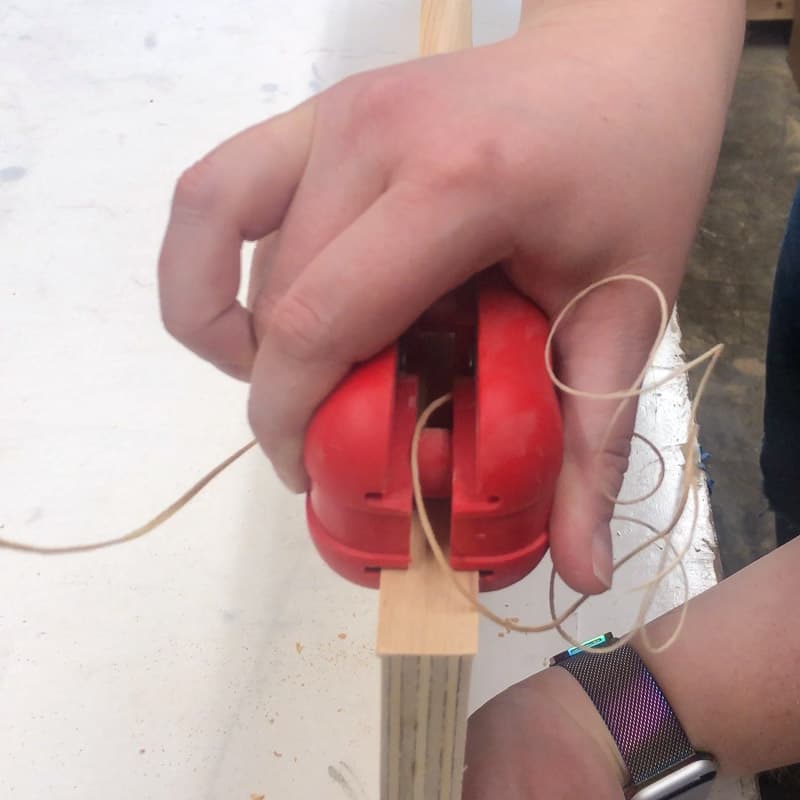
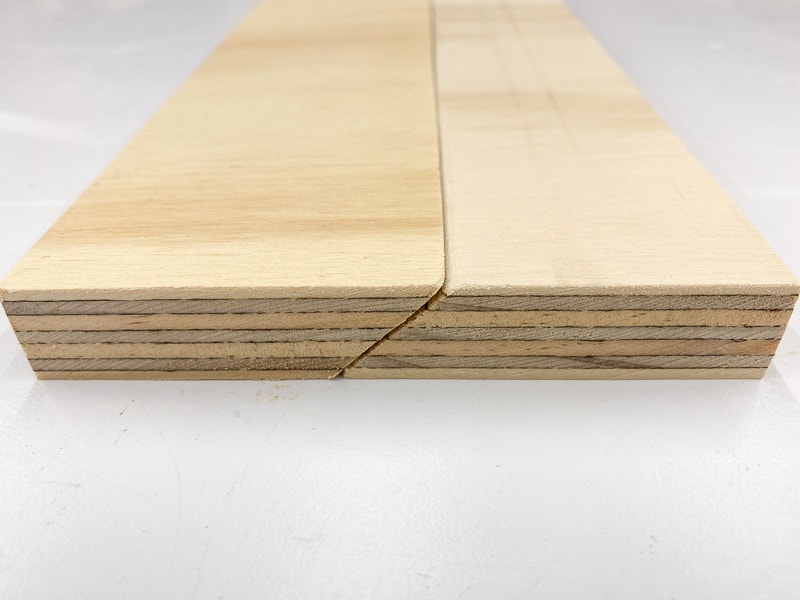
Apply edge banding to the front edges of all the plywood pieces, as well as the sides of the top piece. You could also use one of these other methods for finishing plywood edges if you're not painting your project in the end.
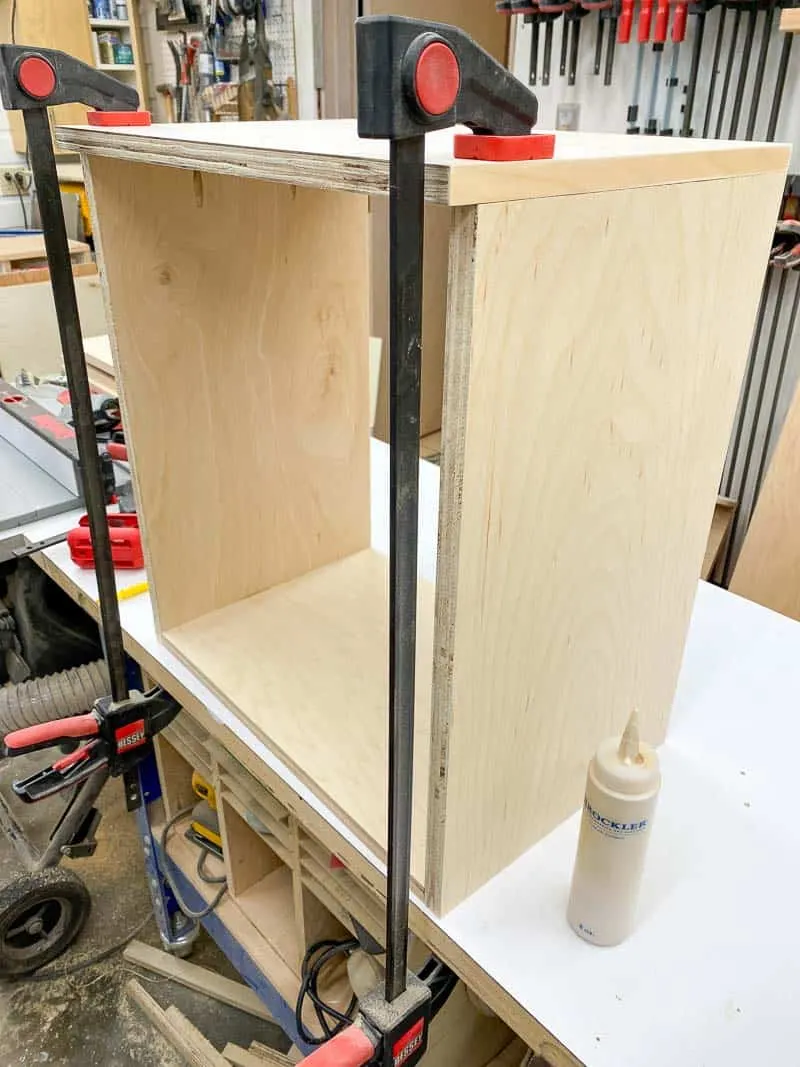
Assemble the frame
Apply wood glue to the short ends of the bottom piece. Then clamp the sides to the bottom and attach them with 1 ¼" pocket hole screws. Make sure the pocket holes in the sides are on the inside of the frame facing up.

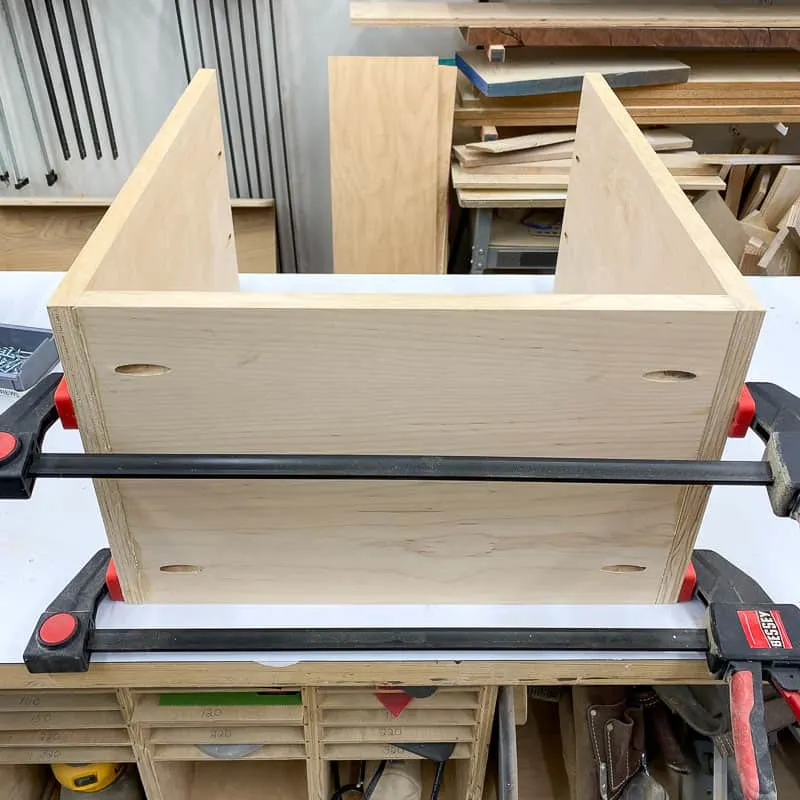
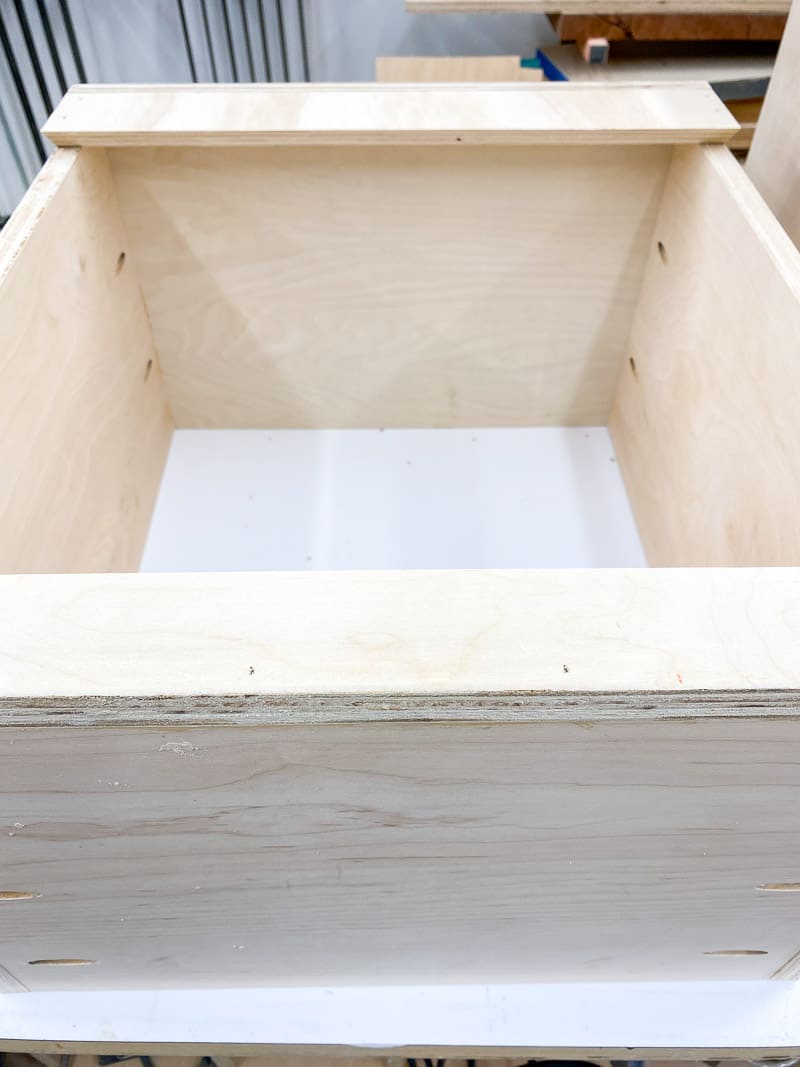
Next, attach the top to the sides. Check that the front and side edges are flush before screwing it in place with 1 ¼" pocket hole screws. There should be a ¾" overhang on the back.

Attach the French cleat
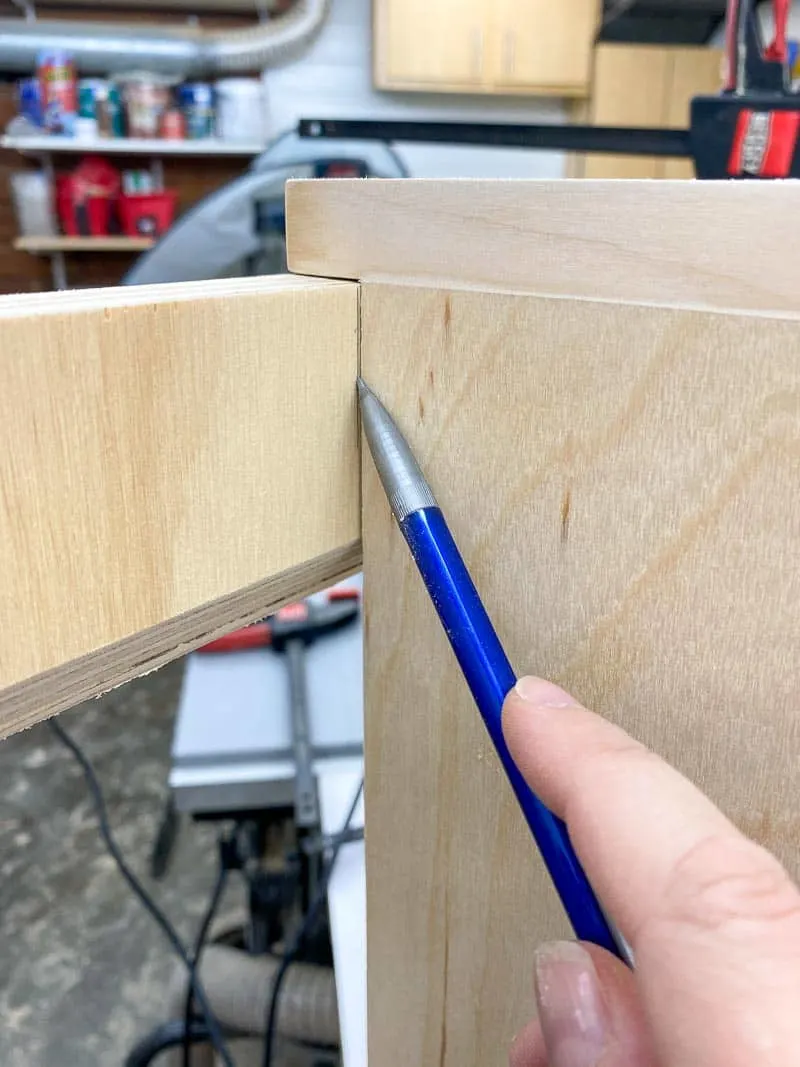
Use one of the leftover strips of plywood to create a French cleat for the back of the frame. You can use a circular saw, jigsaw or table saw to cut one edge at a 45 degree angle. You can learn more about how to make a French cleat here.

Mark the cut for the French cleat by aligning the strip under the overhang on the back of the frame, then cut it to size.

Attach the French cleat to the underside of the top with wood glue and brad nails. You could also predrill the holes (to prevent splitting) and attach it with countersunk screws. Make sure your nails or screws don't go through the angled end!

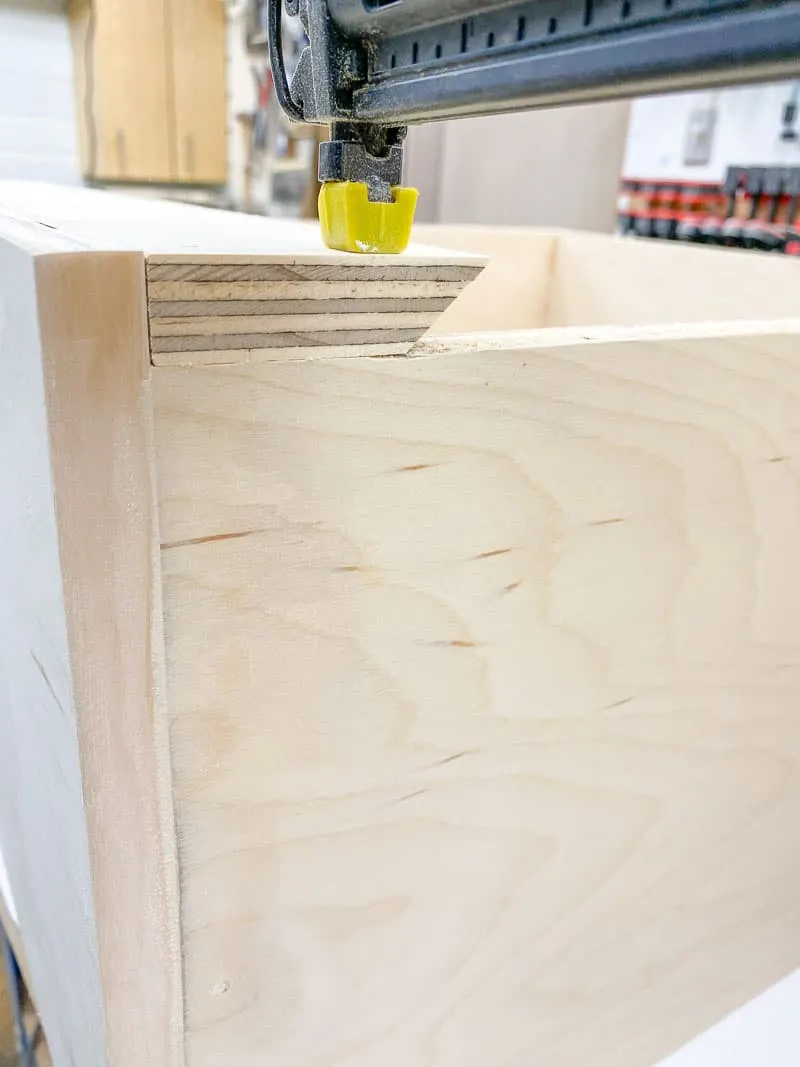
To keep the frame from tipping forward, I also attached a scrap of plywood to the bottom edge. The back of your frame should look like this when it's complete.

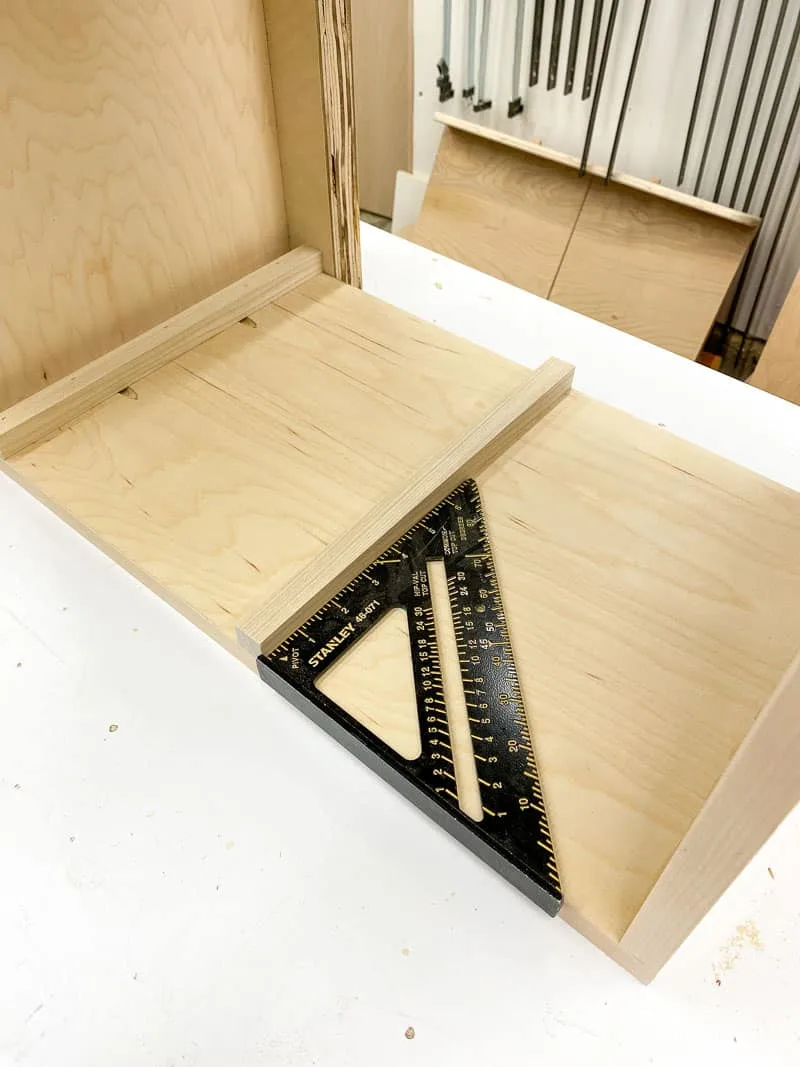
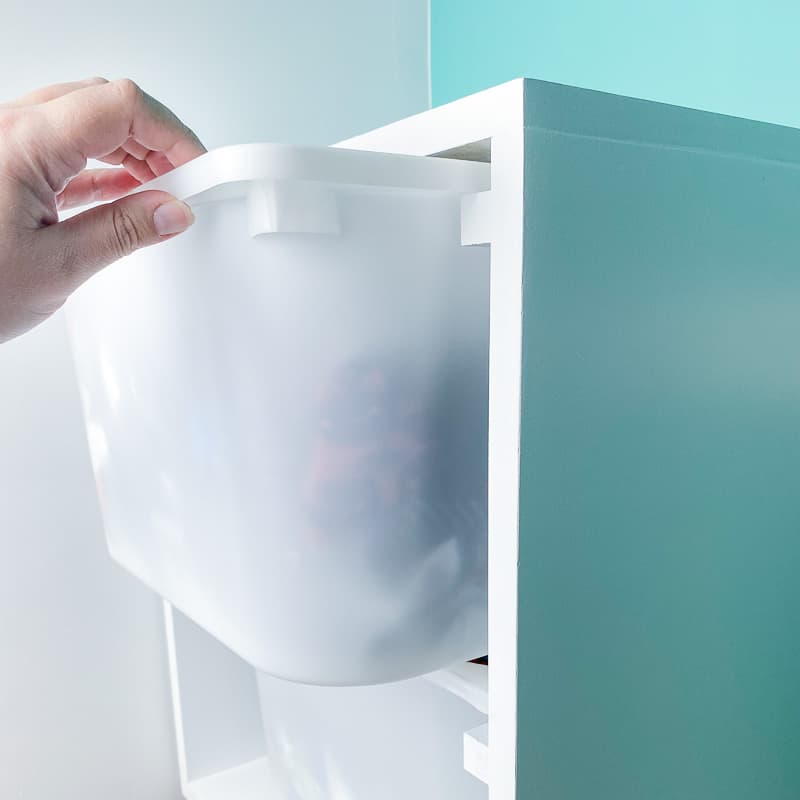
Attach the drawer runners
I ripped a few scraps of 1x6 poplar into ¾" square strips, then cut them to the same width as the frame sides. You could also use ¾" square dowels if you don't have a table saw.
The first drawer runner should be ¾" from the top of the frame. Instead of measuring and marking the sides, I used one of the strips as a spacer.
Place the frame on its side, then slide the spacer against the underside of the top. Apply wood glue to the back of the first drawer runner, then place it next to the spacer. Check that the front of the runner is flush with the front edge of the frame, then nail it in place. Be careful to avoid the pocket holes!

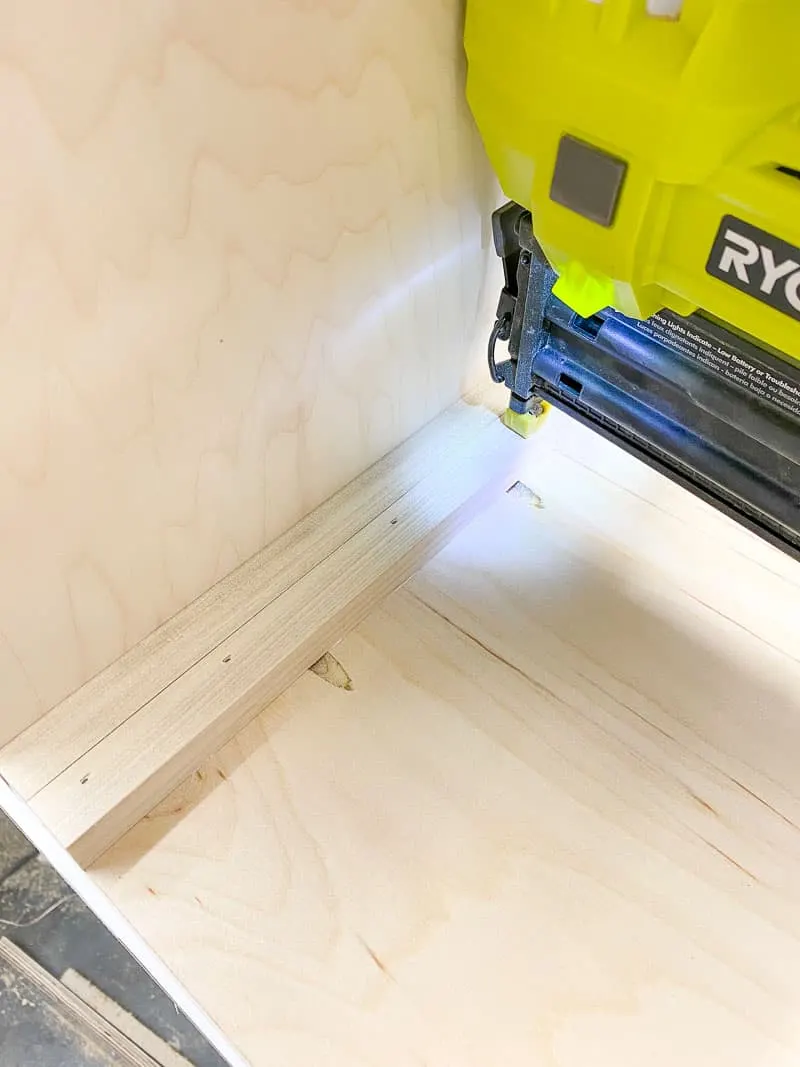
Remove the spacer, and wipe off any wood glue that might have squeezed out. Then flip the frame over and repeat for the other side. Check the fit to make sure the bin can move smoothly, and doesn't fall out if it's pushed all the way to one side.
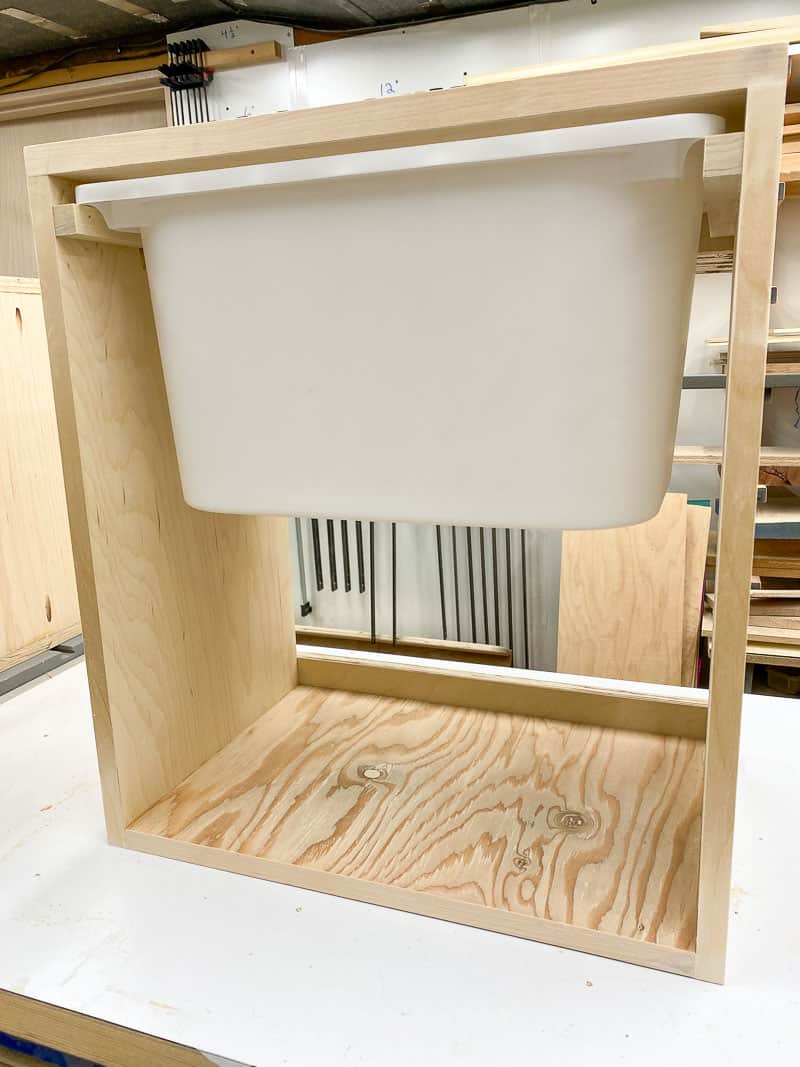

The bottom bin should hang slightly above the bottom of the frame. I checked the height, added ¾", then marked it on the side of the frame. Use a square to make sure everything is straight, then glue and nail it into place. Repeat for the other side.

Sand and paint
I'm painting these frames, so I used wood filler to cover up all the gaps and holes first. Then give everything a good sanding to ensure everything is flush and the sharp edges are removed.
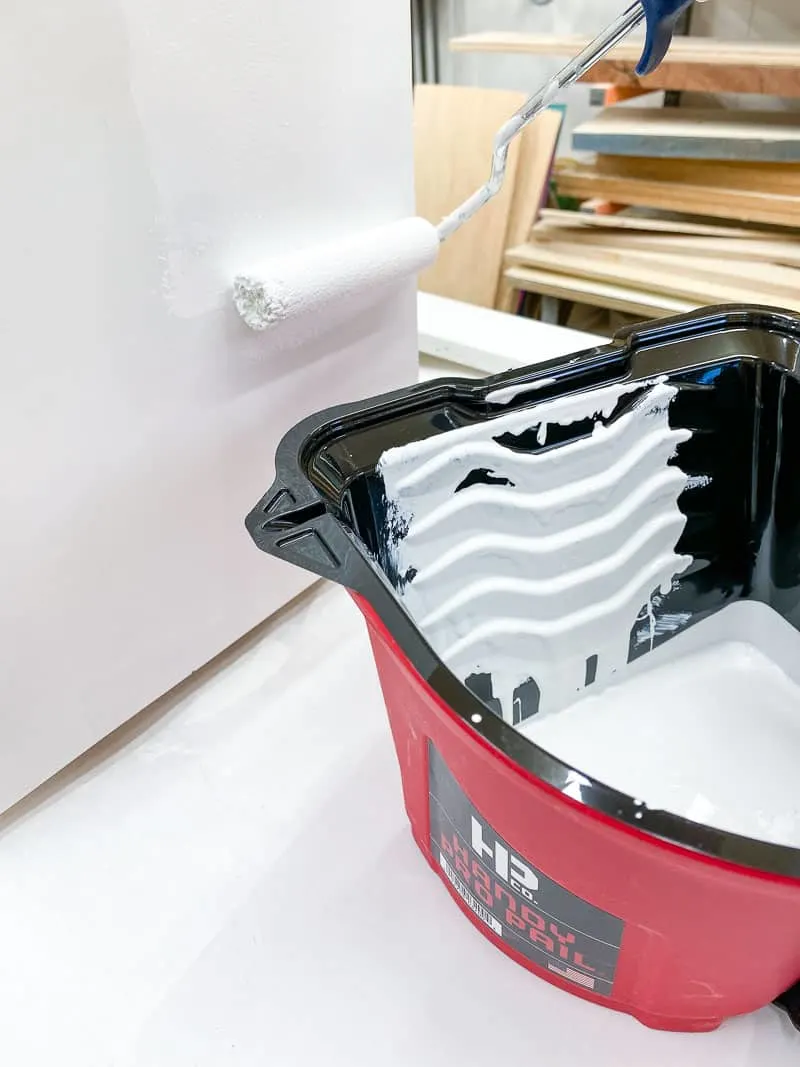
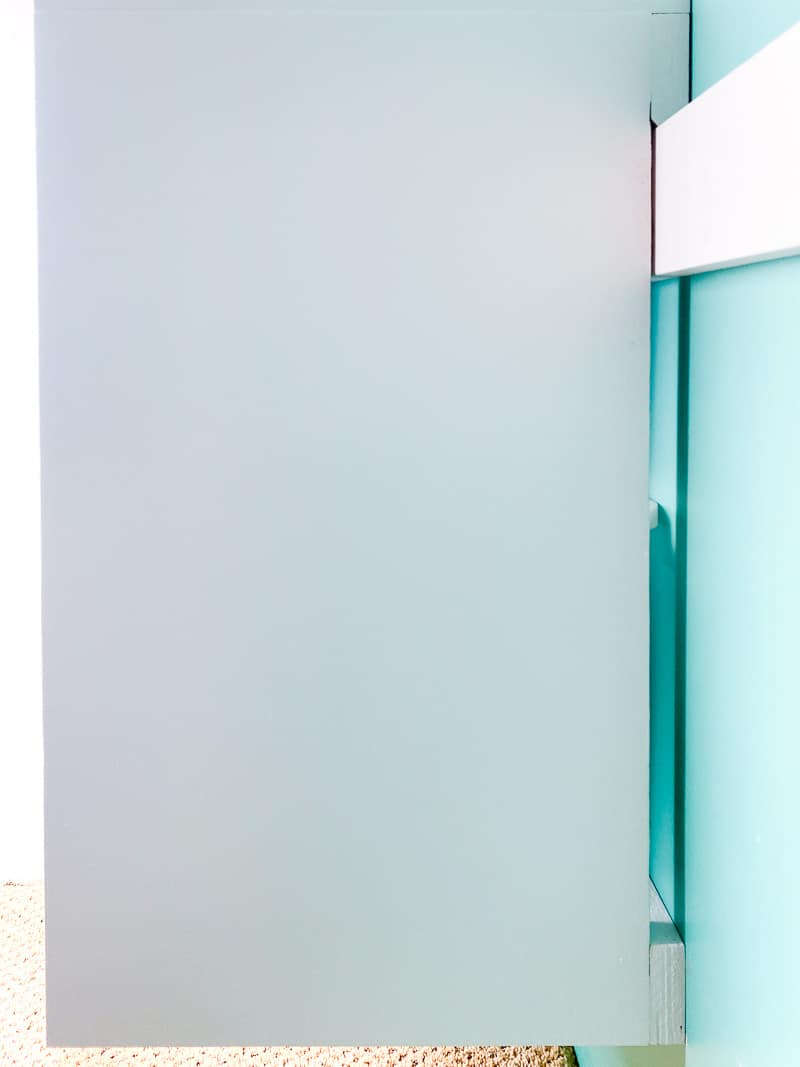
Raw plywood can be pretty thirsty, so I usually apply a coat of primer first. While that dried, I painted the inside of the closet, then used the leftover paint in my Handy Paint Pail on the frame.

Hang the storage bins on the wall
I cut another French cleat the same length as both of the drawer units side by side. Find the studs in the wall, then drill countersink holes in the cleat where it lines up with the studs. Use a level to make sure the cleat is straight with the point facing up and away from the wall. Screw it into place with 3" flat head wood screws.
Then all you need to do is hook the two halves of the French cleat together!
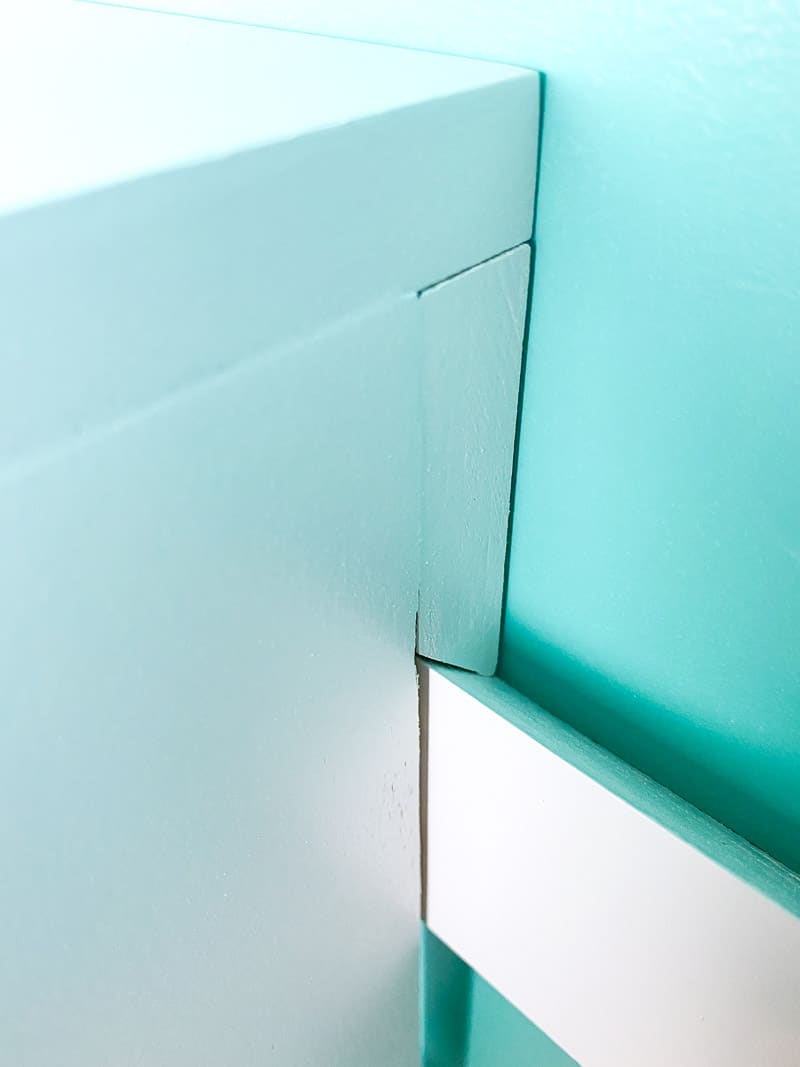

You can see how the strip at the bottom holds the frame straight vertically. This puts less strain on the point of the cleat and makes the joint much stronger. You could sit on this thing and it wouldn't budge!

The long cleat keeps the two frames aligned and even, so my son can use the top surface as a shelf for shirts and pants. The space underneath the wall mount storage bins will be perfect for his shoes.

You can also space them apart if you want to put something between them. If I had more room, I would put a hamper between the two sides.
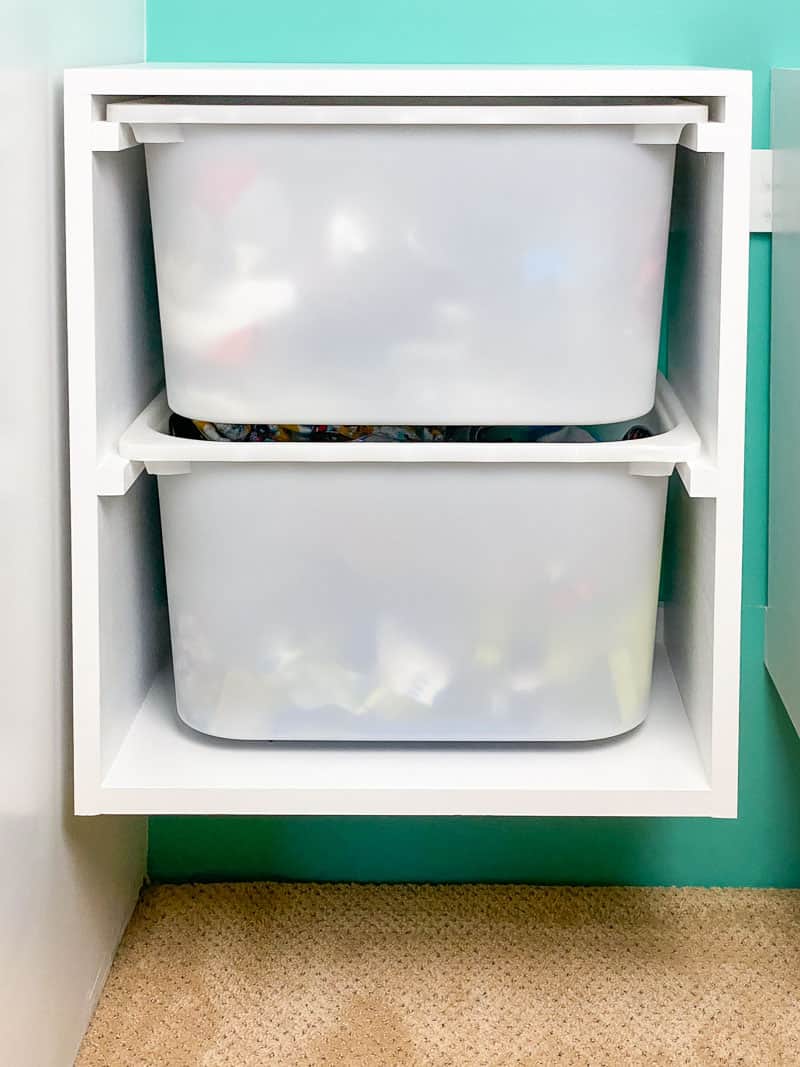

The bins hold his socks, underwear, pajamas and workout clothes. No need for a big dresser full of drawers!
If we ever need to get into the attic crawl space, the storage bin frames lift off the cleat easily without having to unscrew anything from the wall. I can't imagine we'll need to do this often (I only knew the door was there from our house inspection 6 years ago), but it's important to keep it accessible just in case!
Stay tuned for the rest of this closet makeover! I'll be adding more shelves and other features to make it work for both clothes and toys!
Check out these other storage ideas!