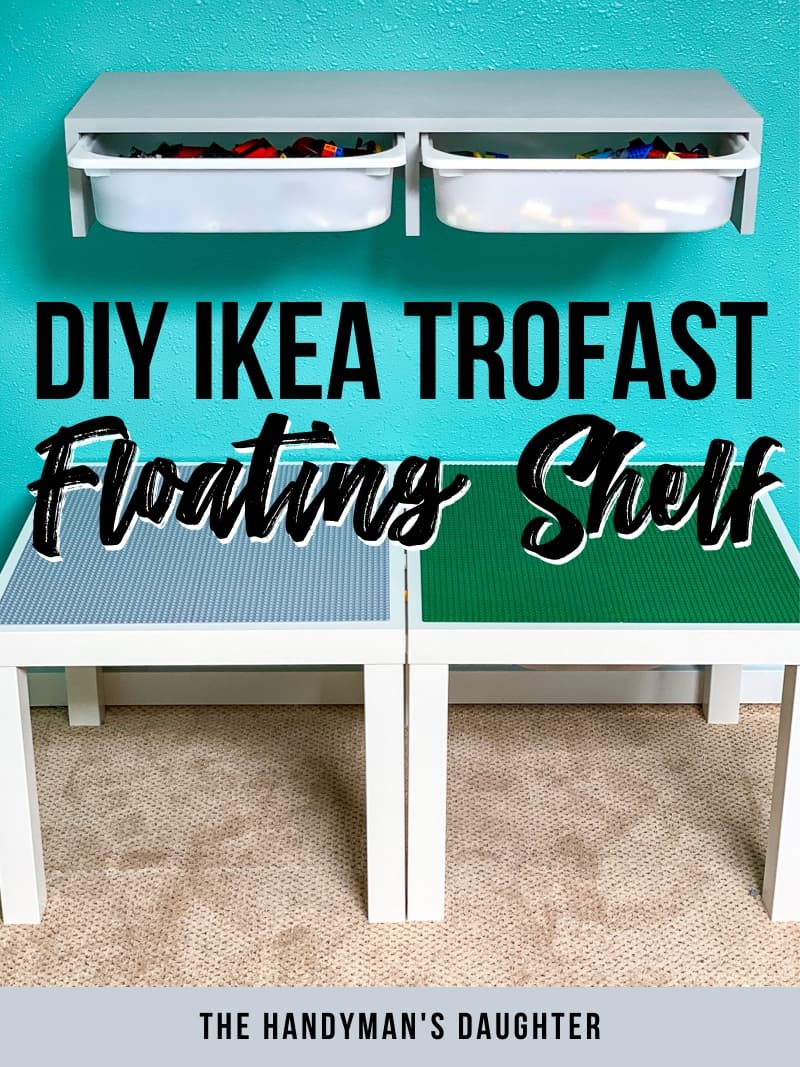
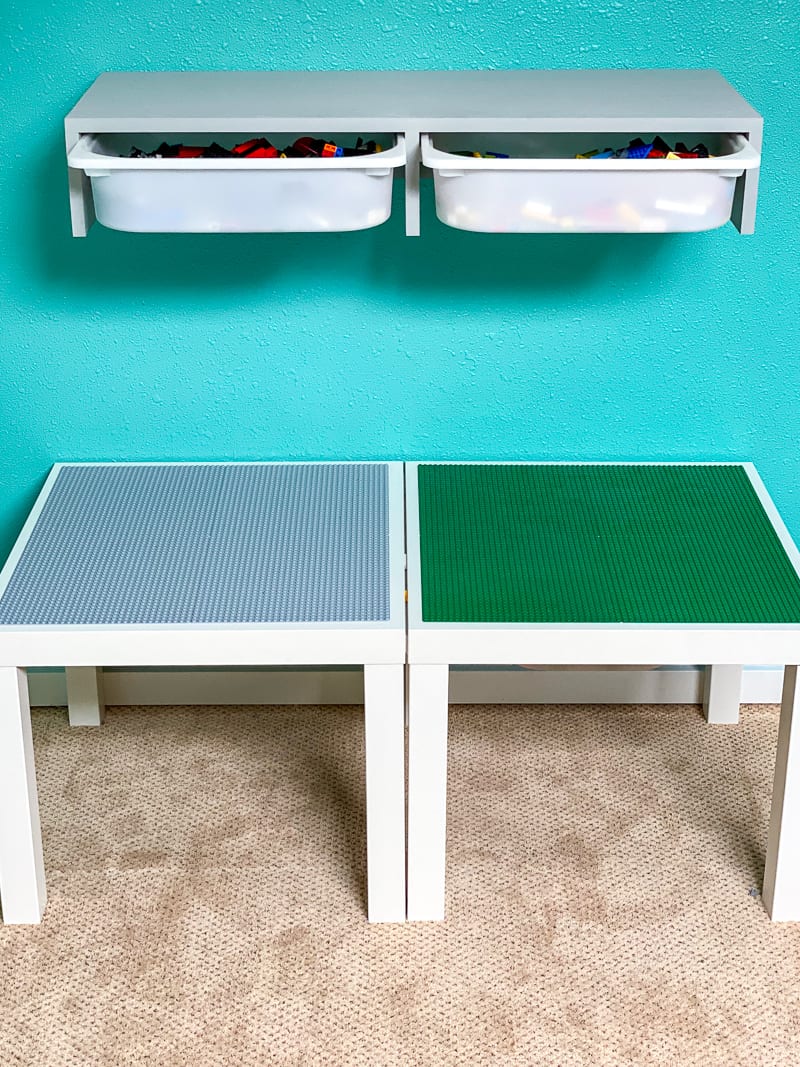
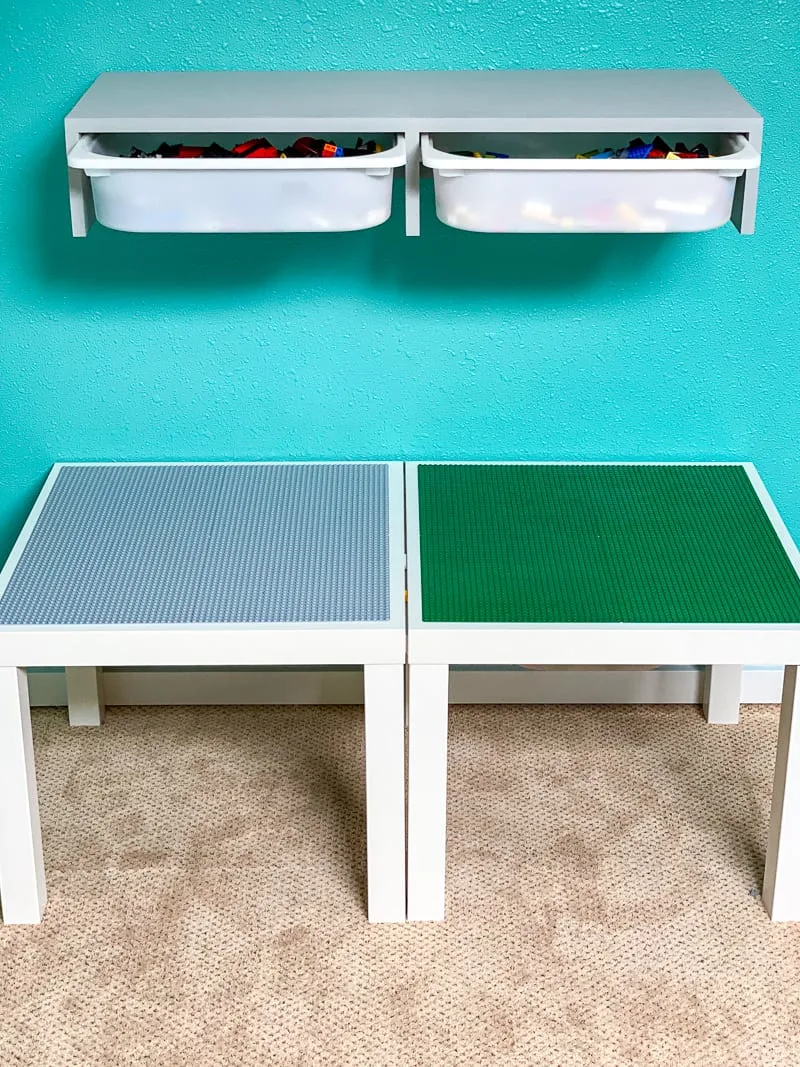
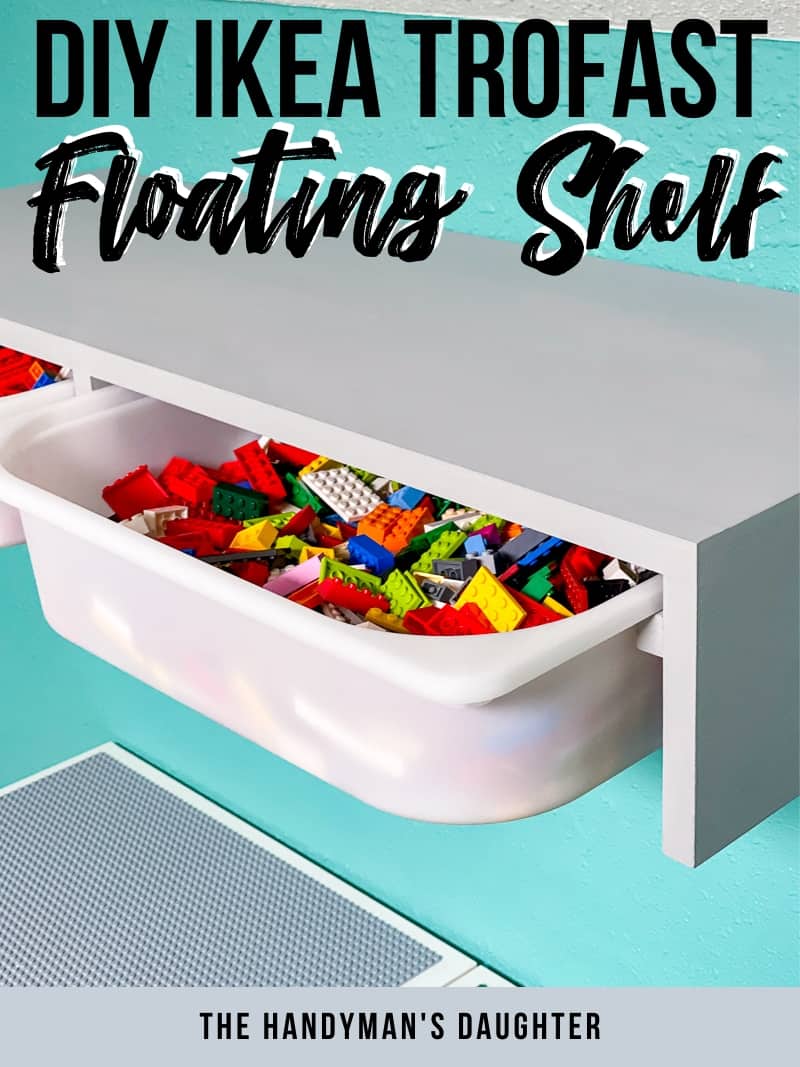
This DIY IKEA Trofast shelf adds double the storage to your wall! Fill the bins with toys or Lego, and display their favorites on the shelf!

My son's room always needs more Lego storage! Those little plastic pieces seem to multiply when I'm not looking, and we're running out of places to put them. Despite my wishful thinking, he never sorts the pieces into the separate bins above his Lego table. Oh well, a mom can dream, right? 😉

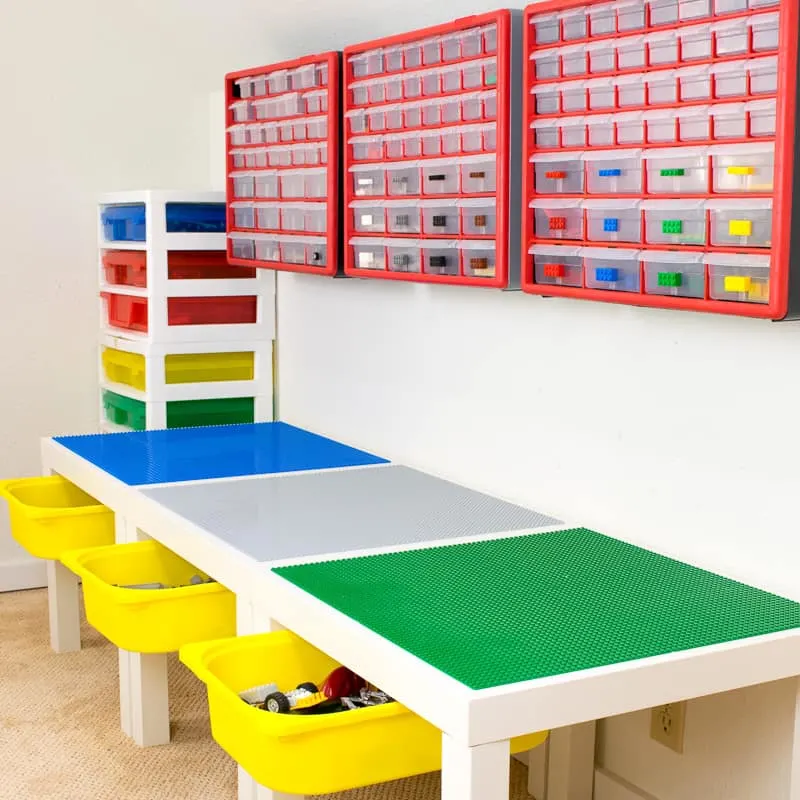
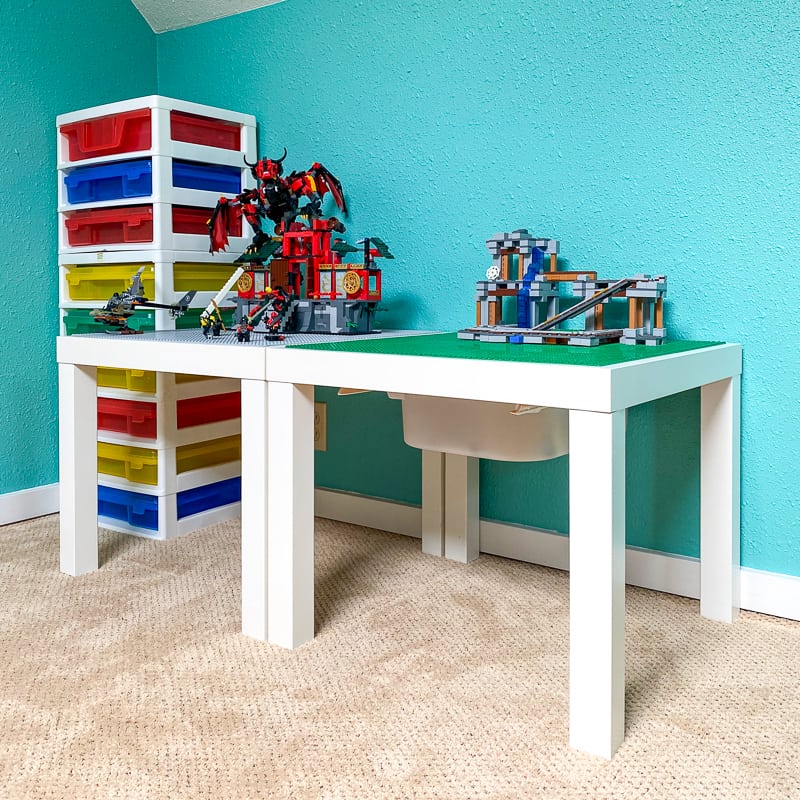
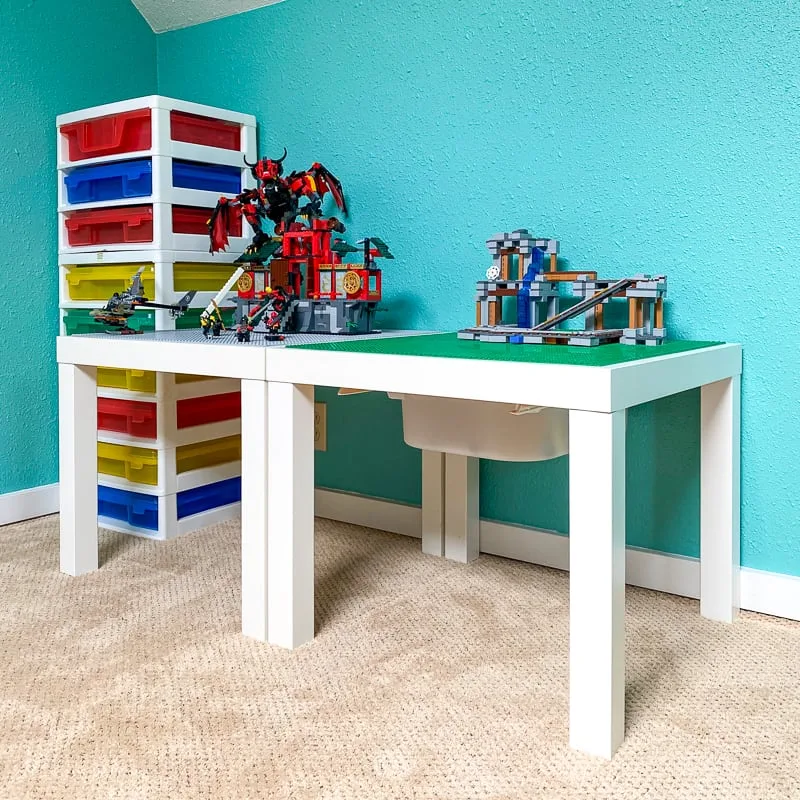
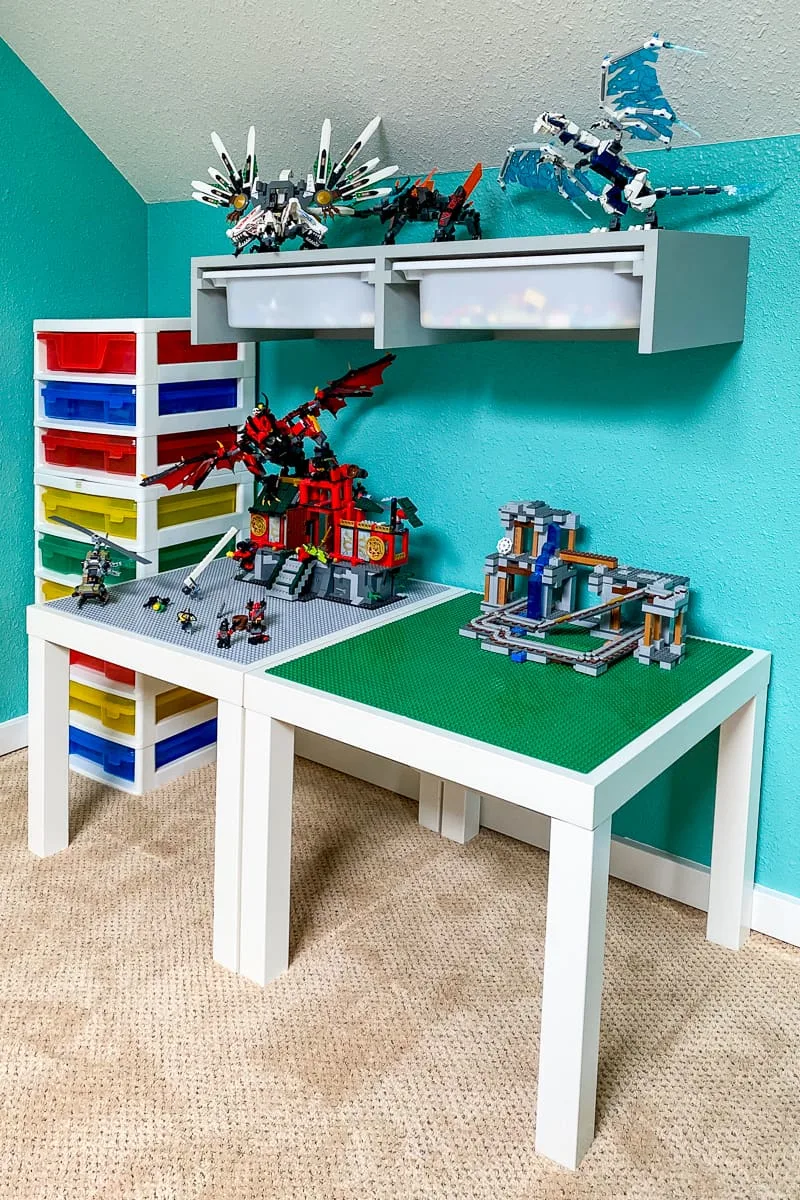
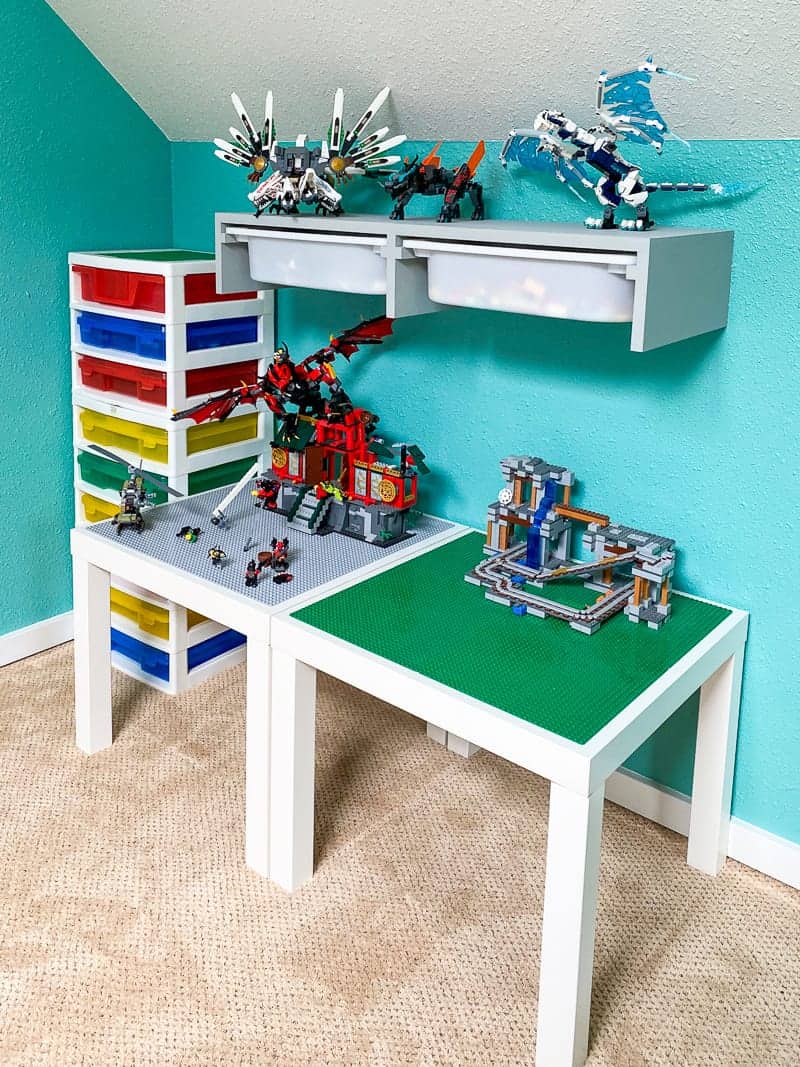
We're also switching things up in this room, and his bed now sits in that spot. The climbing wall takes up a big chunk of the space now, but I managed to fit the two of the three small tables in the corner.
Now this DIY IKEA Trofast shelf sits above the tables to give him even more storage, and a spot to display his favorite creations! You can find the vertical version of these wall mount storage bins here.

These floating shelves also work great in the closet! I built a couple more, attached a French cleat to the back, and installed them in my son's closet for a custom storage solution that's easy to remove.
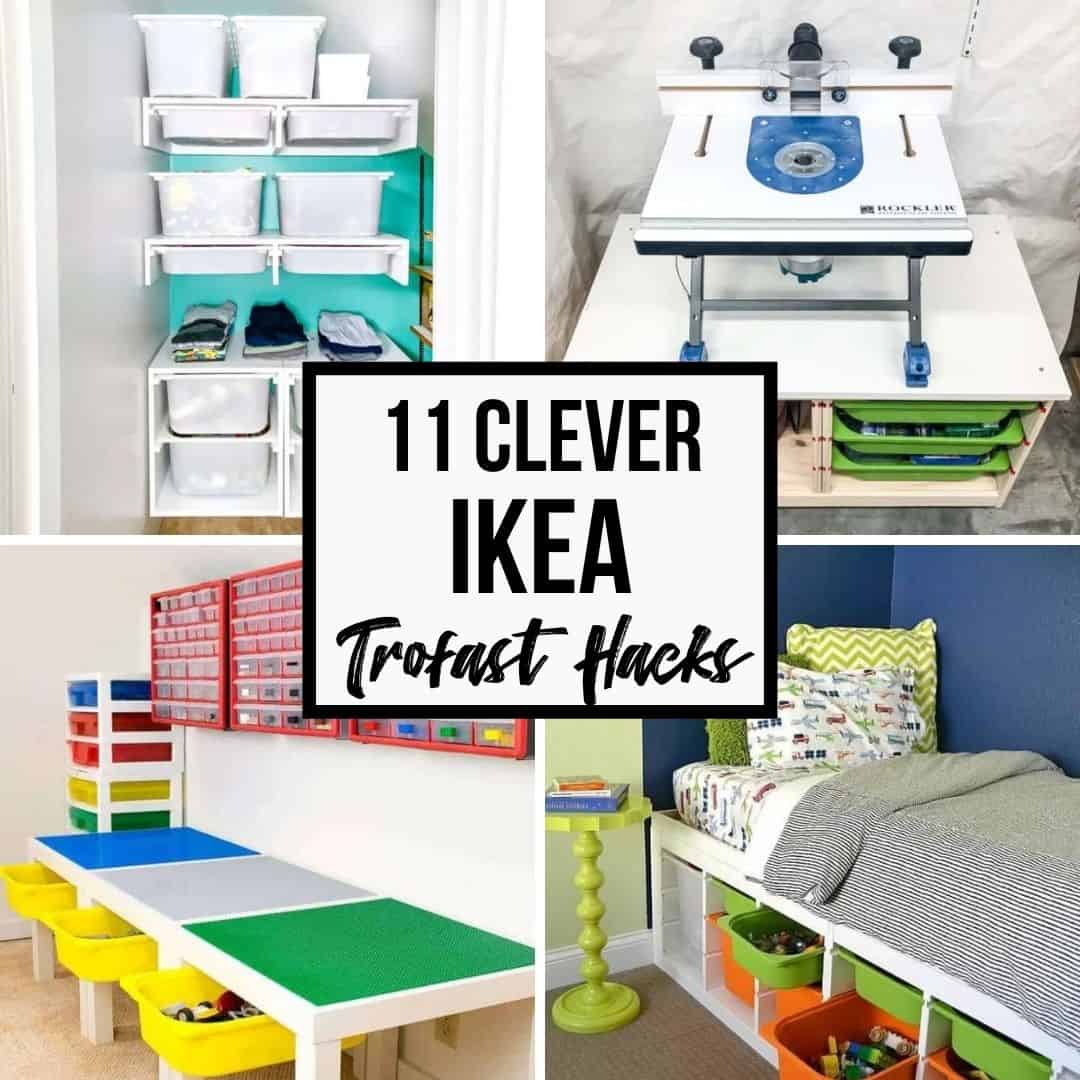
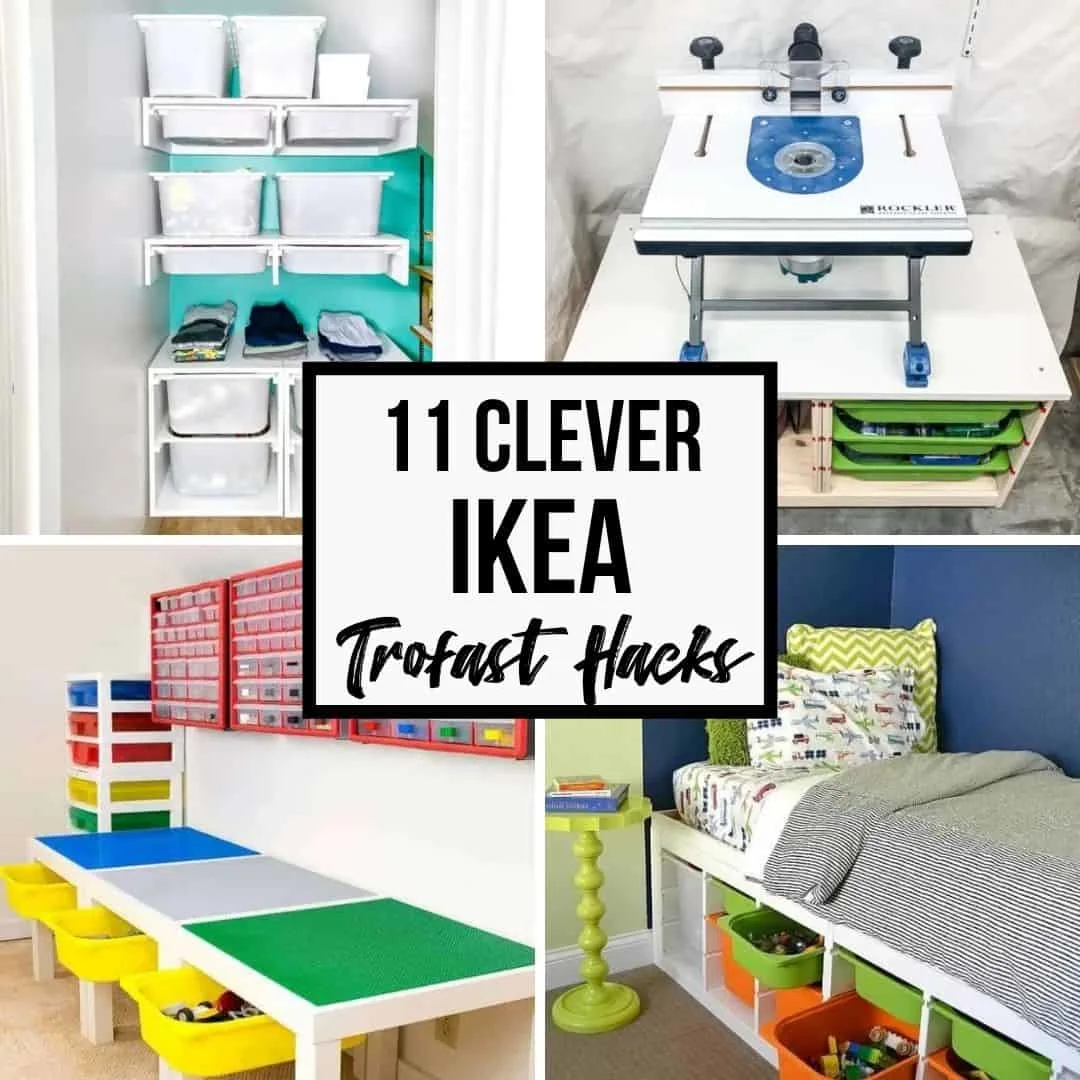
Check out this post for more IKEA Trofast hacks and ideas!
Here's how to make your own IKEA Trofast shelf!
This post contains affiliate links for your convenience. Purchases made through these links may earn me a small commission at no additional cost to you. Please visit my disclosures page for more information.
Materials Needed for IKEA Trofast Shelf
- One 1x6 board
- ¾" plywood (a 2' x 4' project panel is plenty)
- ½" square wooden dowels
- Pocket hole jig
- Read my guide to the Kreg Jig to find out which model is right for you!
- 1 ¼" pocket hole screws
- 3" screws for securing the shelf to the studs in the wall
- Wood glue
- Square
- Drill
- Miter saw or circular saw
- Brad nailer and 1 ¼" brad nails
- You could countersink screws instead. Use 1 ¼" flat head wood screws if you go this route.
- Sander and sandpaper
- Paint or wood stain
- Stud finder
How to Make an IKEA Trofast Shelf
Download the Free Woodworking Plans
Getting the spacing right for the hanging Trofast bins was the trickiest part of this project. Luckily, I did all the trial and error for you! 😉 The free woodworking plans give you all the dimensions you need, and it's easy to adjust to add more bins or to use deeper bins. Click here to download the PDF!
Cut the 1x6 boards to fit trofast bins
I'm working through my scrap wood pile, and for this project I took apart the top from the IKEA desk hack I made a few years ago. We recently bought a chest freezer for that spot, so the desk (which was usually just covered in junk anyway) had to go.

Thankfully, I didn't use wood glue when I put it together, so I just had to unscrew the pieces. I could even reuse the pocket hole screws!
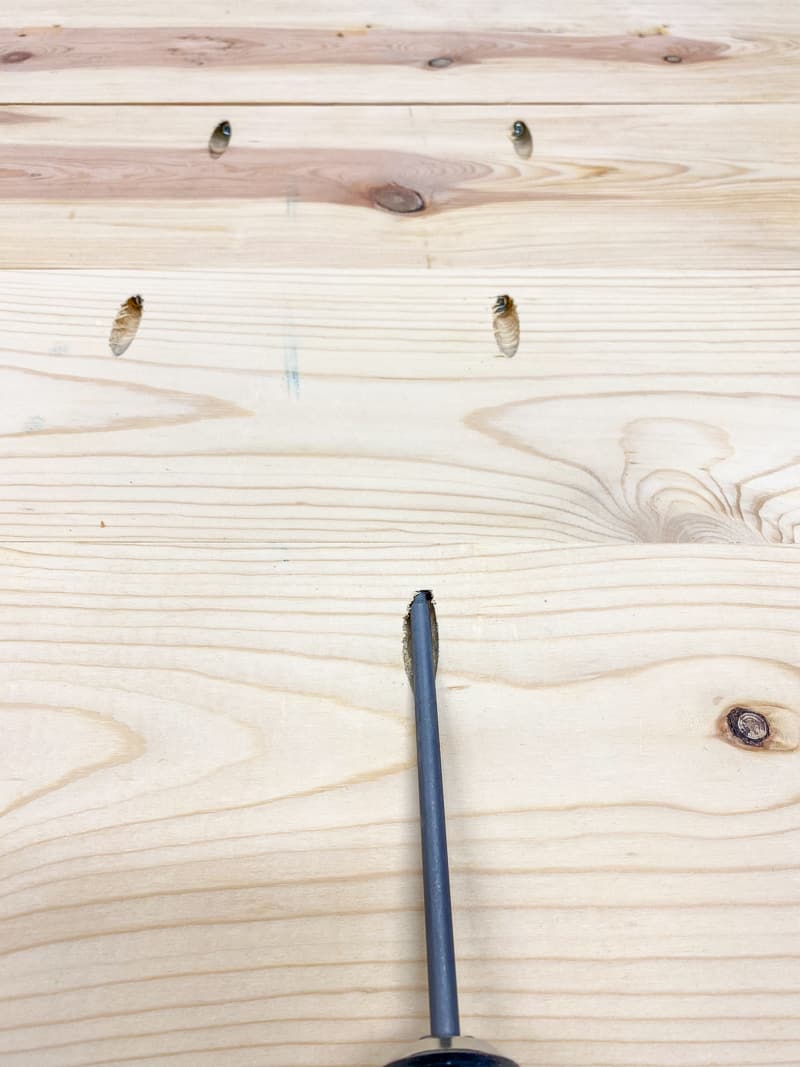
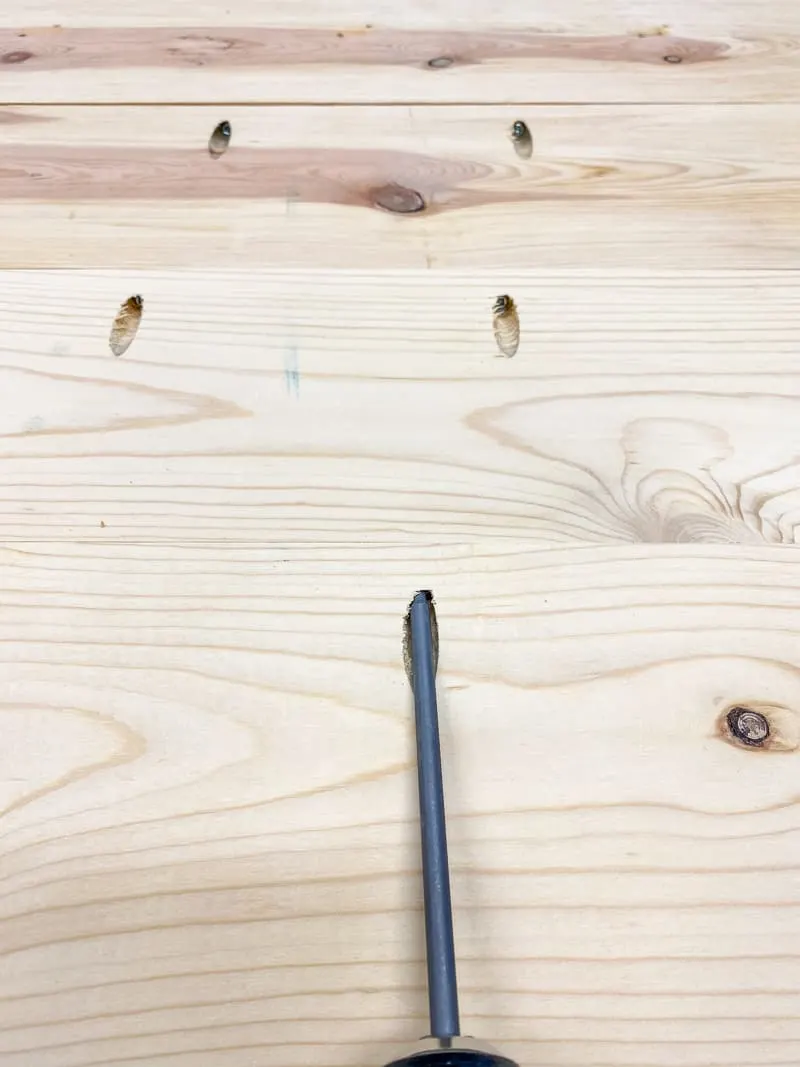
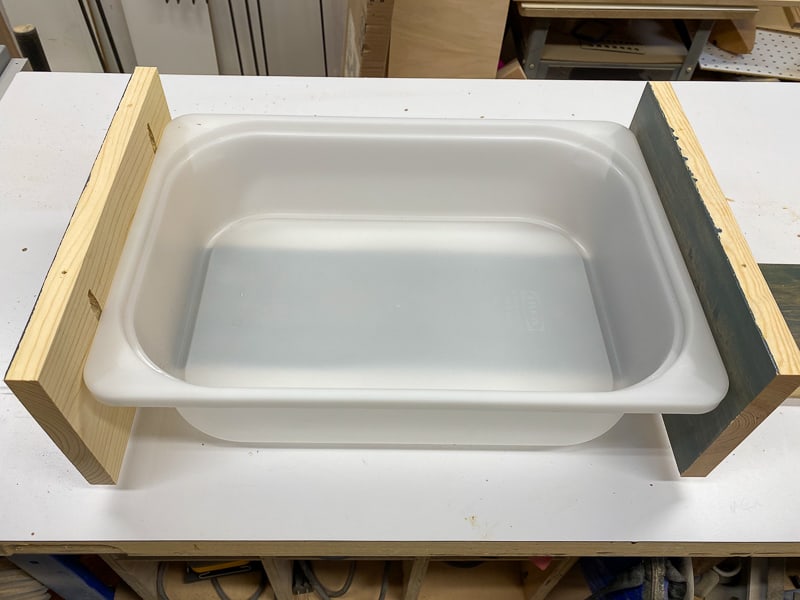
I measured the dimensions of the Trofast bin, and cut the sides to fit. There should be a little bit of wiggle room so the bins can move in and out smoothly. The end pieces are a little longer so they can attach to the back.

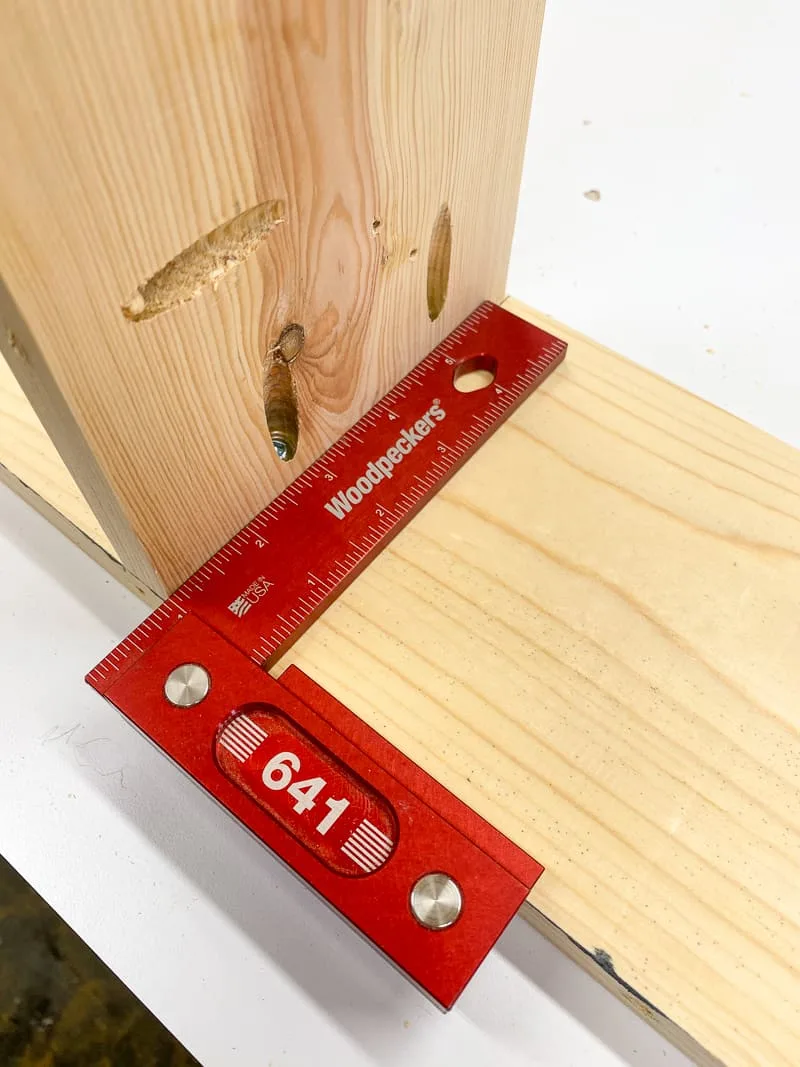
Assemble the frame
Since I'm reusing these boards from an old project, the pocket holes were already drilled for me! 🙂 The ones facing up will be for attaching the shelf later. Check out my pocket hole guide if you've never used them before.
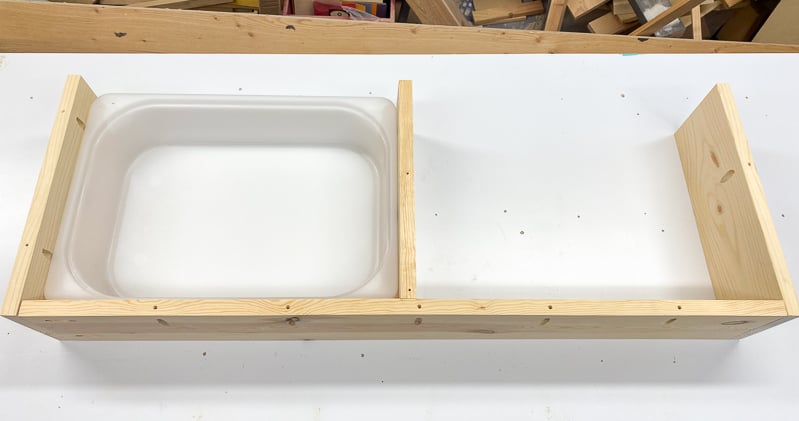

Apply wood glue to the ends of the boards before screwing them together. Make sure the center divider is straight and square before attaching it to the back. If it's crooked, it could prevent the bins from sliding correctly.

Cut and attach the plywood top
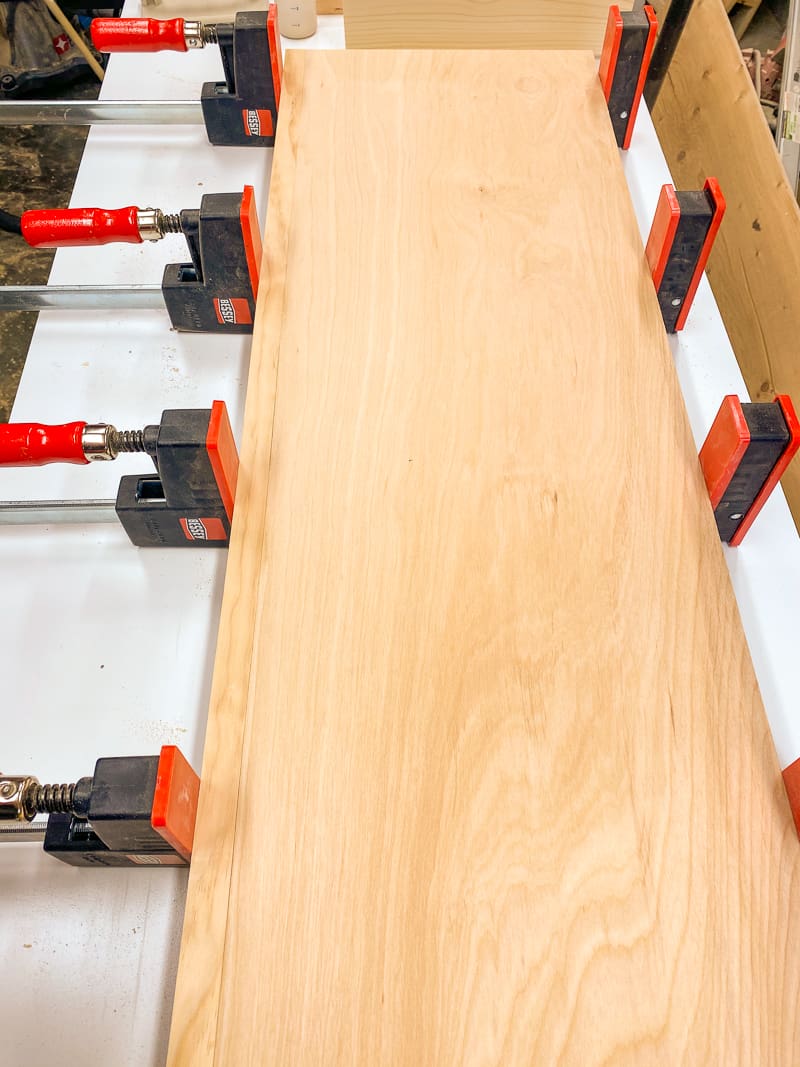
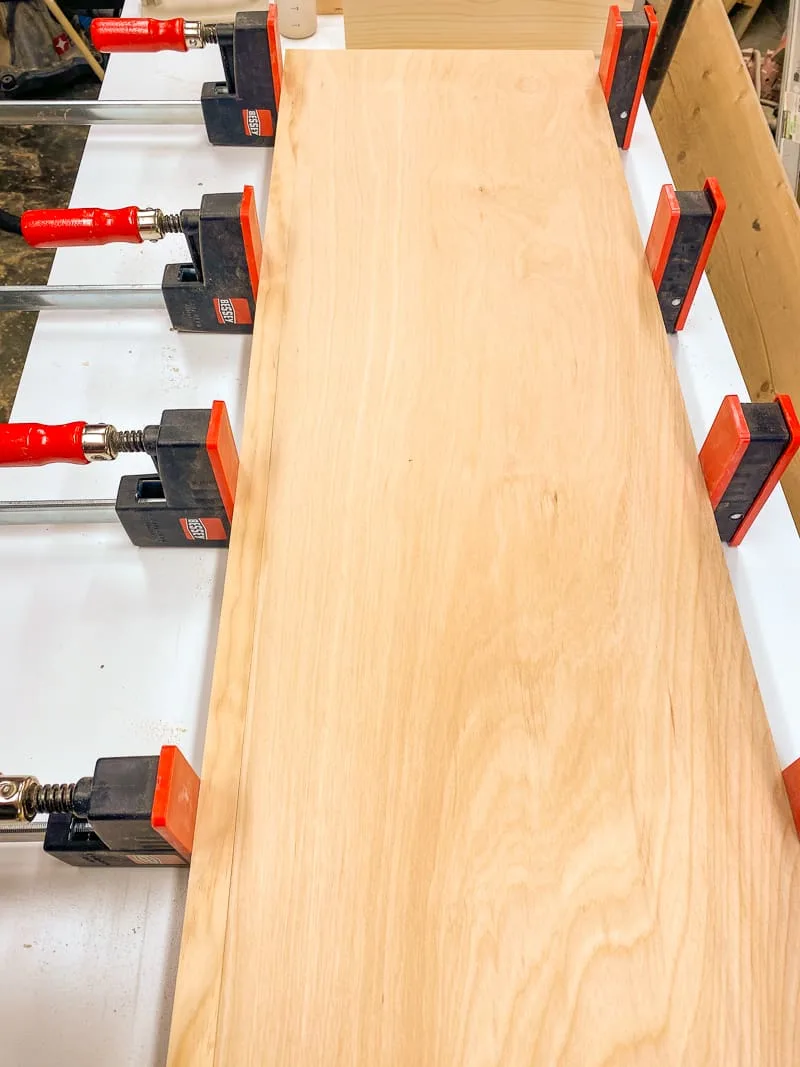
When you're working with scrap wood, sometimes you have to get creative when a piece is slightly too small! The only plywood in my shop that would work for this project was ¾" too narrow.
So instead of applying edge banding to cover up the raw plywood edges, I used a ¾" strip of solid wood. It gave me the extra width I needed, and saved me a step later! I just applied wood glue to the solid wood strip, tacked it to the edge of the plywood with a few brad nails, then put it in clamps to dry.
Wood filler covers up any gaps and makes it look like a solid piece! Learn more about how to use wood filler here.


Cut the plywood to fit the frame exactly. Then apply wood glue along the top of the frame.
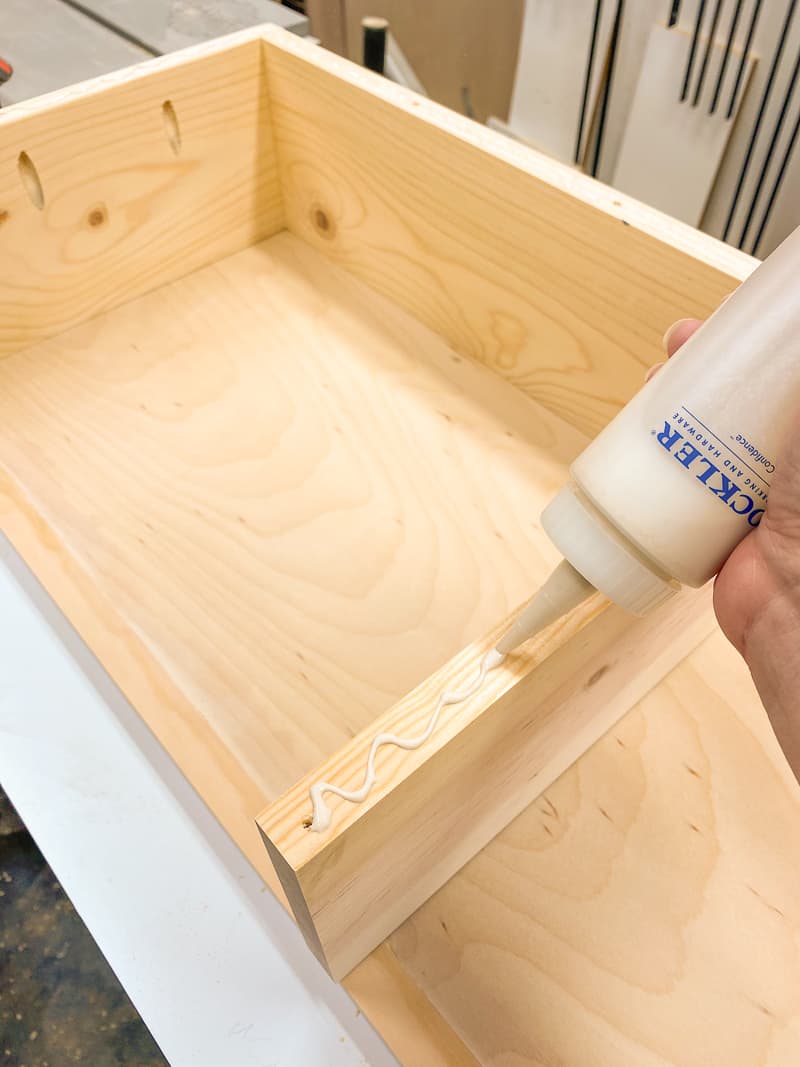

Line up the edges of the frame with the plywood top, and attach it together with pocket hole screws.

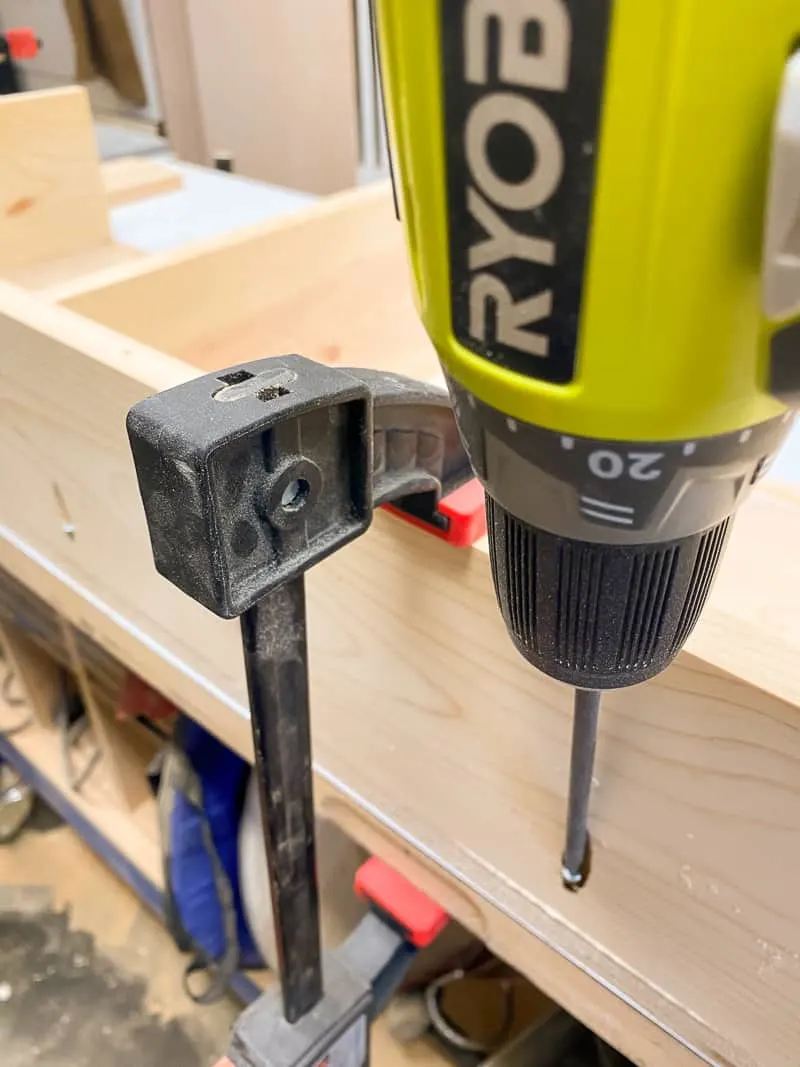
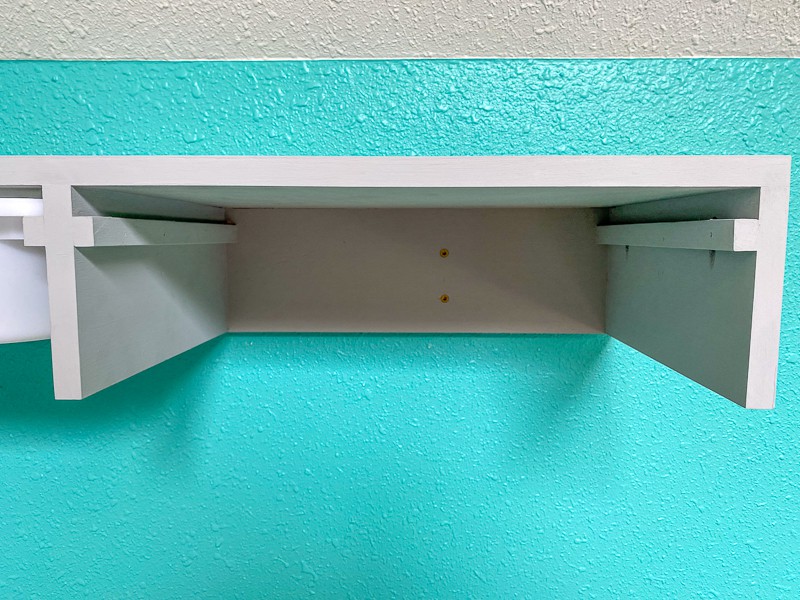
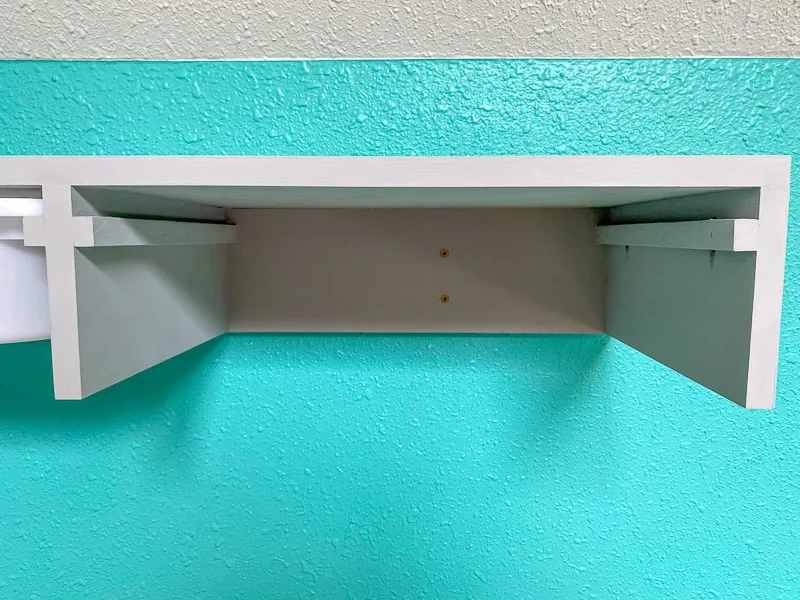
Cut and install trofast bin supports
After struggling with bins falling out of the slots on my son's other IKEA Lego table, I didn't want to use the same method for the shelf. Plus, this way is much easier than cutting dados and trying to get them lined up exactly!


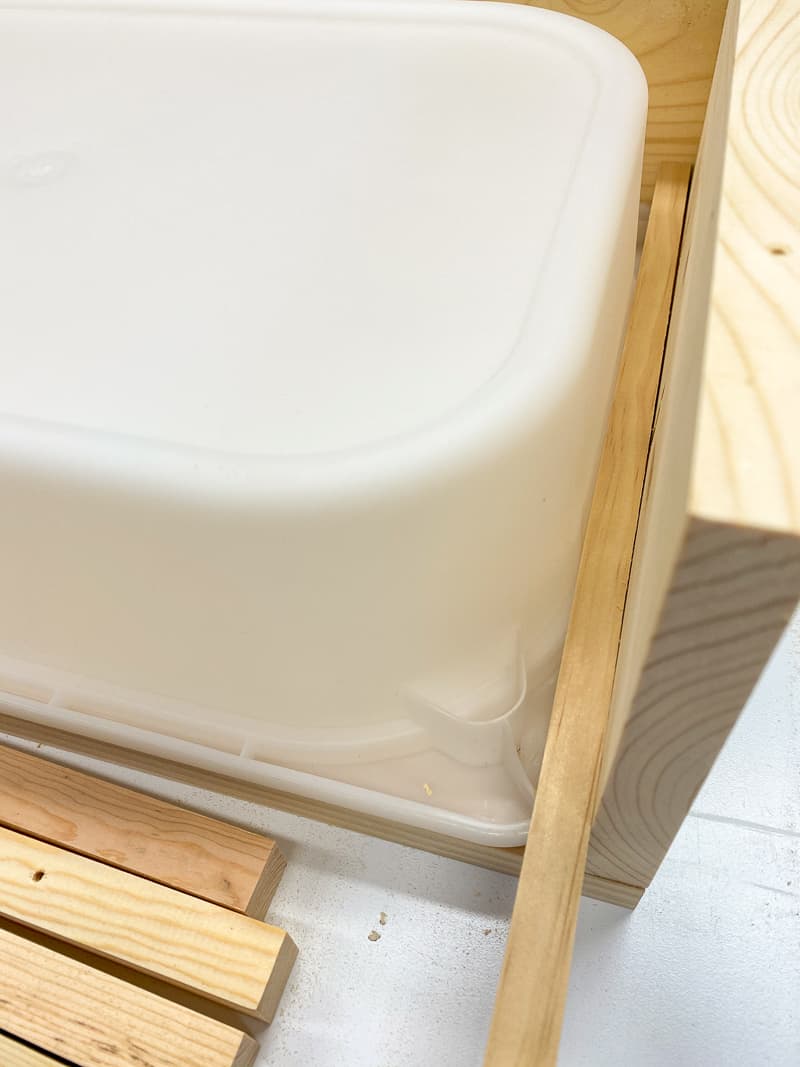
I placed the Trofast bin upside down inside the shelf. Then I cut a few test pieces off a 1x6 scrap to see which size supports would work best. ¾" was a little too tight, but ½" worked perfectly!

I used wood glue and brad nails to attach the supports to the frame. If you don't have a nail gun, you can drill countersink holes along the length of the dowel, then screw them in place instead.
A scrap of 1x6 served as a spacer underneath so there's enough room for the lip of the bin to slide in place.
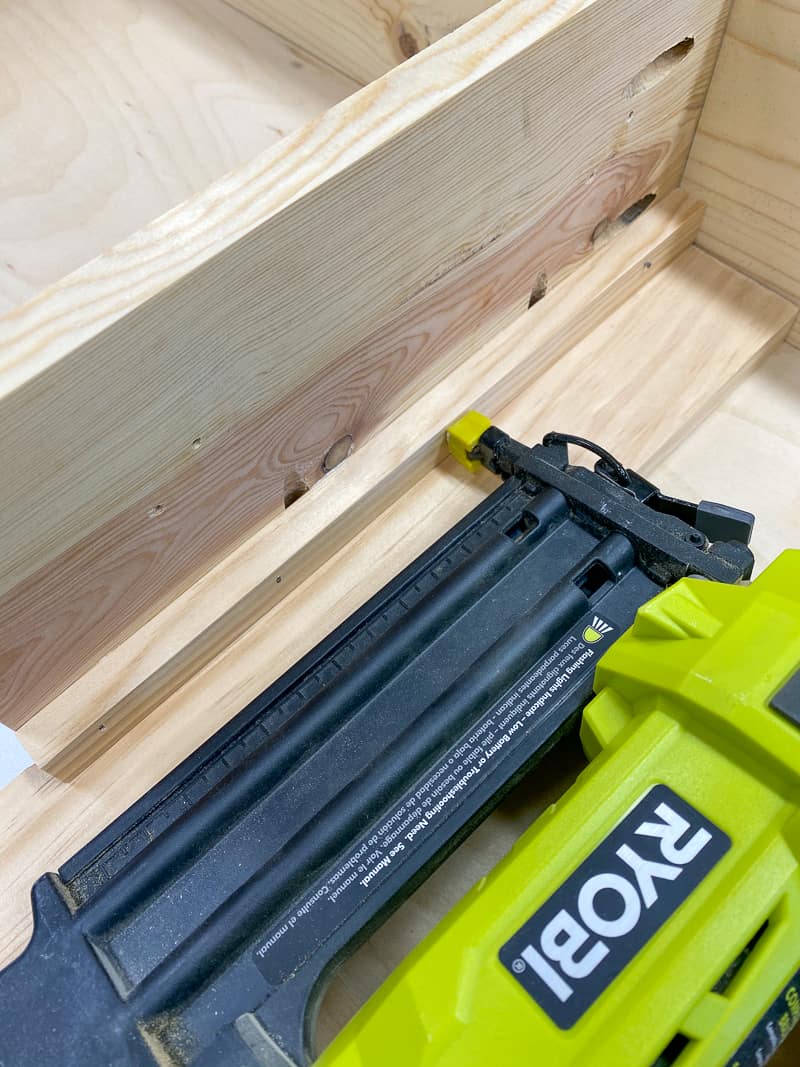

Flip the shelf over and give it a quick test!
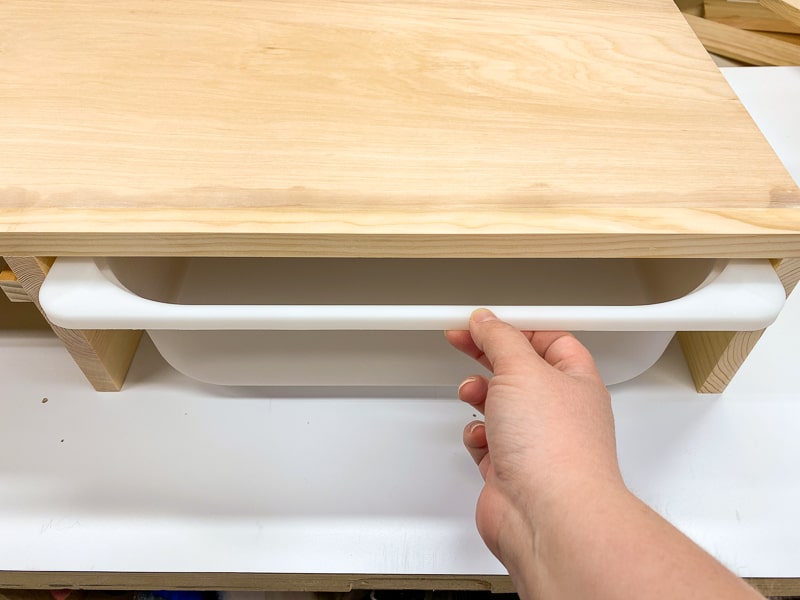

You can hide the nail holes with wood filler before painting. But since the bin will cover them most of the time, I took the lazy way out and skipped that step! 🙂
Paint or Stain the Shelf
My son's room is painted a blue-green, the same color as the walls of his beloved bouldering gym. But that makes choosing colors for the rest of the room a little tricky. I dug around the shop and found an unopened can of Black Dog Salvage paint in Galvanized Gray. Perfect!
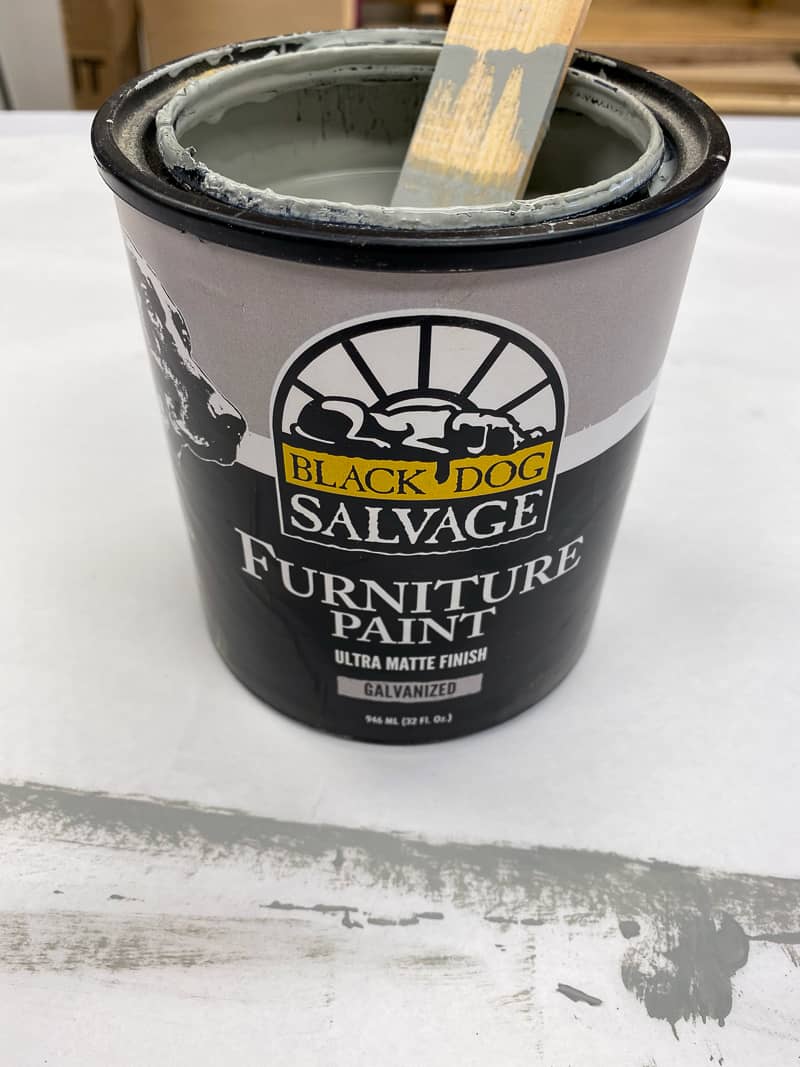
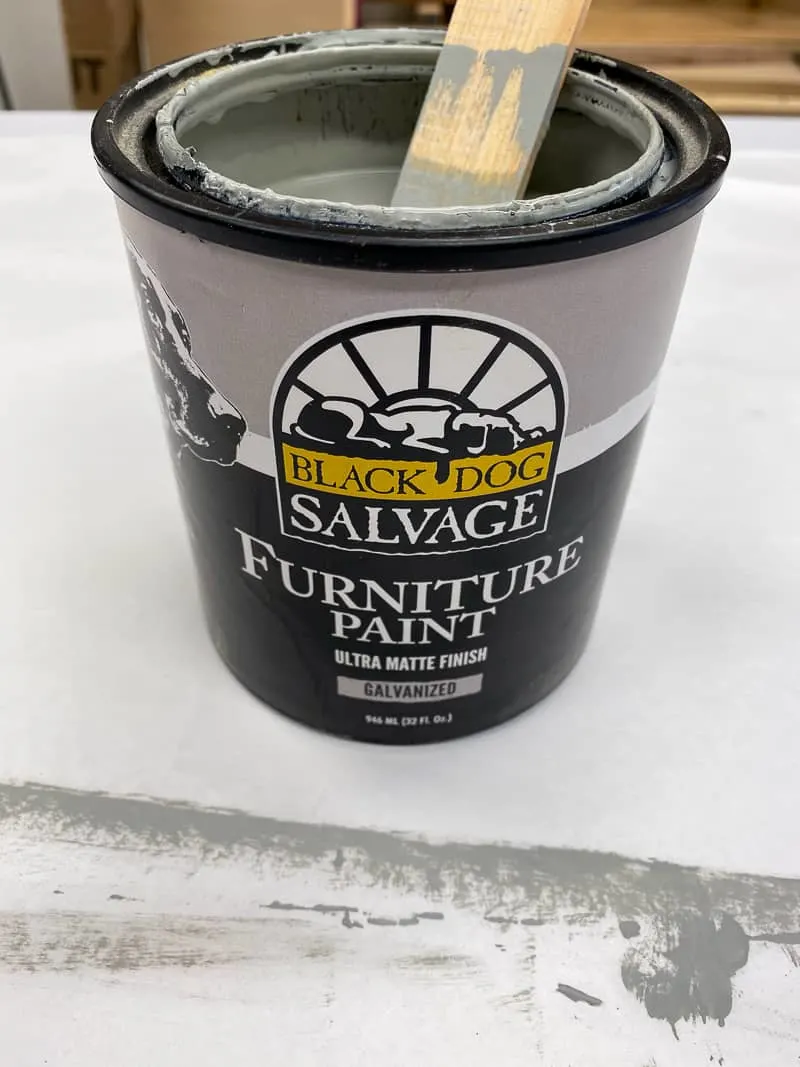
I really like the matte finish of this paint. It also matches the gray of his climbing wall crash mats perfectly! I'm thinking of using it on the rest of the projects I have planned for his room too. Being stuck in quarantine makes you use the cool stuff you already had at home! 🙂
Screw the Shelf to the Wall
Use a stud finder to locate the studs in the wall, then mark the wall and the back of the shelf. Drill two holes at each stud location through the back of the shelf. Then use 3" screws to attach it to the wall.
Load up your IKEA Trofast Shelf
I got to enjoy a clean, organized Lego area for about 2.3 seconds before my son swooped in and started building! It was nice while it lasted! 🙂
These bins hold a ton of Lego pieces. I've given up trying to organize them, but he somehow knows where to find every part!
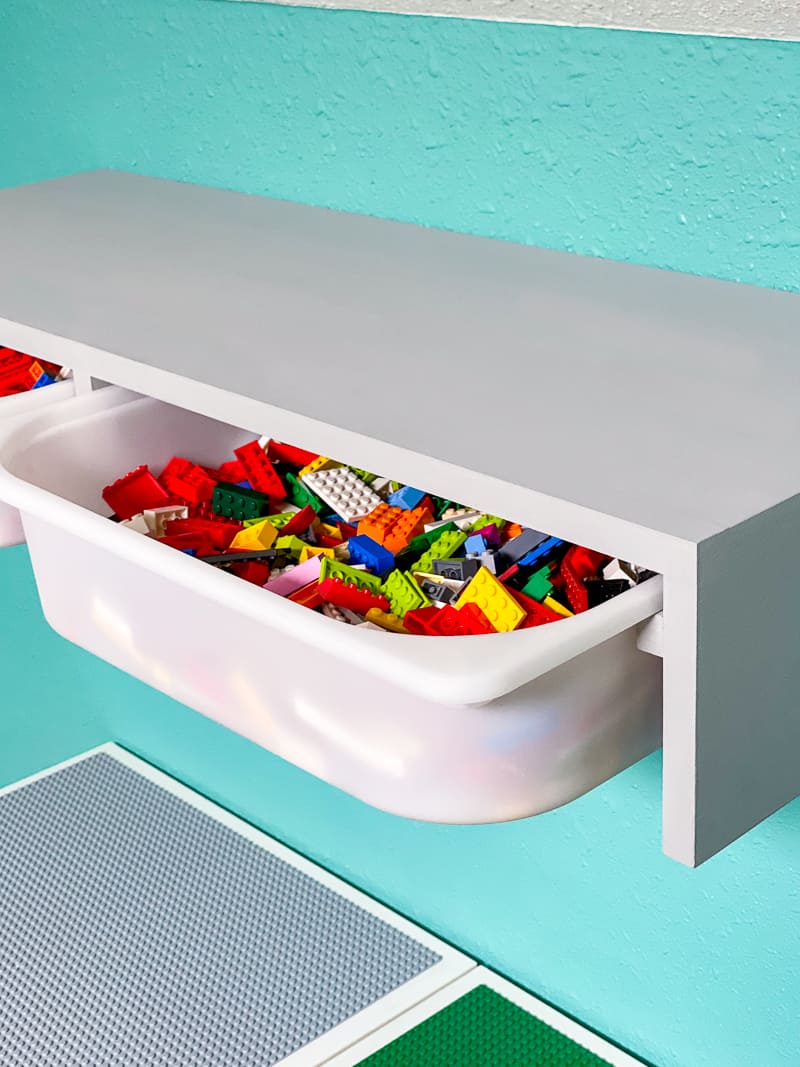
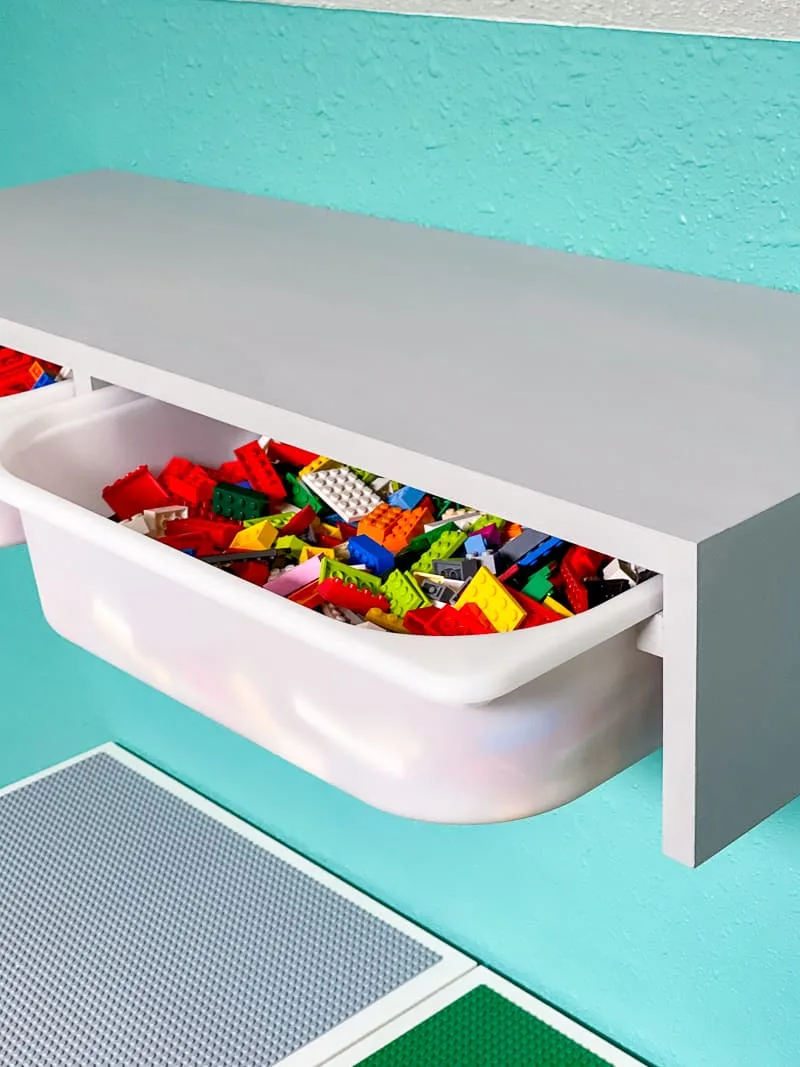
The shelves are the perfect depth to go over the Lego tables. Not so deep that they get in the way, but deep enough to put fully built dragons on top!

Esther
Wednesday 6th of May 2020
You are so very clever! And the title of your site reminds me of my own dear dad. I love to see what you have created.