Sun and rain can cause the paint on your fascia boards to fade and chip. Get my tips for painting soffits and fascia boards with less hassle!


Every summer, I sit on our deck, look up at the back of our house, and think to myself "I should really paint that trim under the gutters." I add it to my mental to-do list and promptly forget about it until the rainy season starts and I'm frantically pulling leaves out of the overflowing gutters!
This year, I put painting the soffits and fascia boards on my actual to-do list for this spring. I even cleaned the outside of the gutters last week in anticipation of this task! See that chipped and faded paint under there? Ugh!

Most people would probably leave this job to the professionals, but it's not that difficult to do yourself (unless you have a fear of heights.) Hopefully these handy tips will help you out when painting soffits and fascia on your own home!
What is soffit and fascia, anyway?
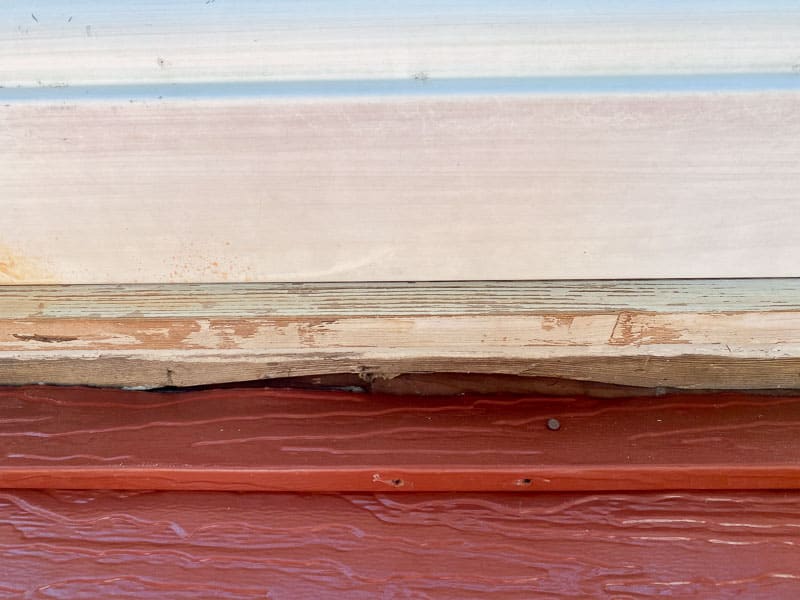
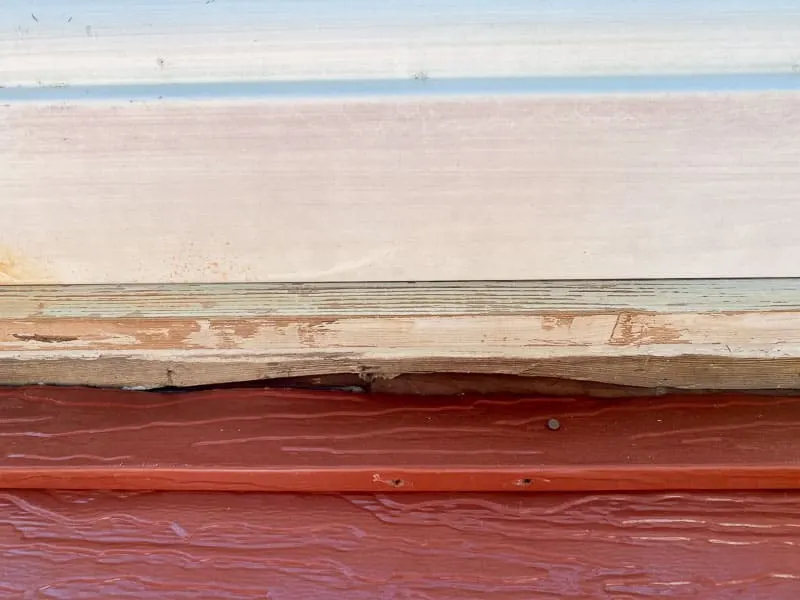
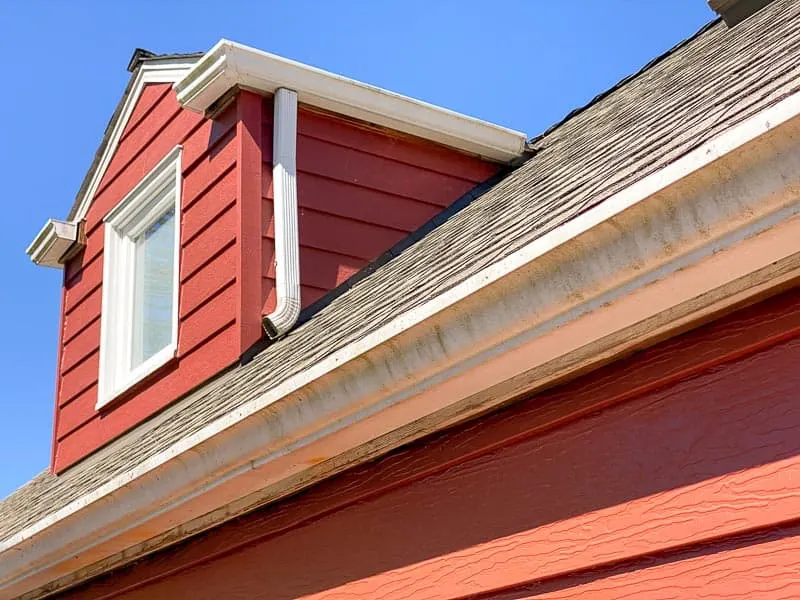
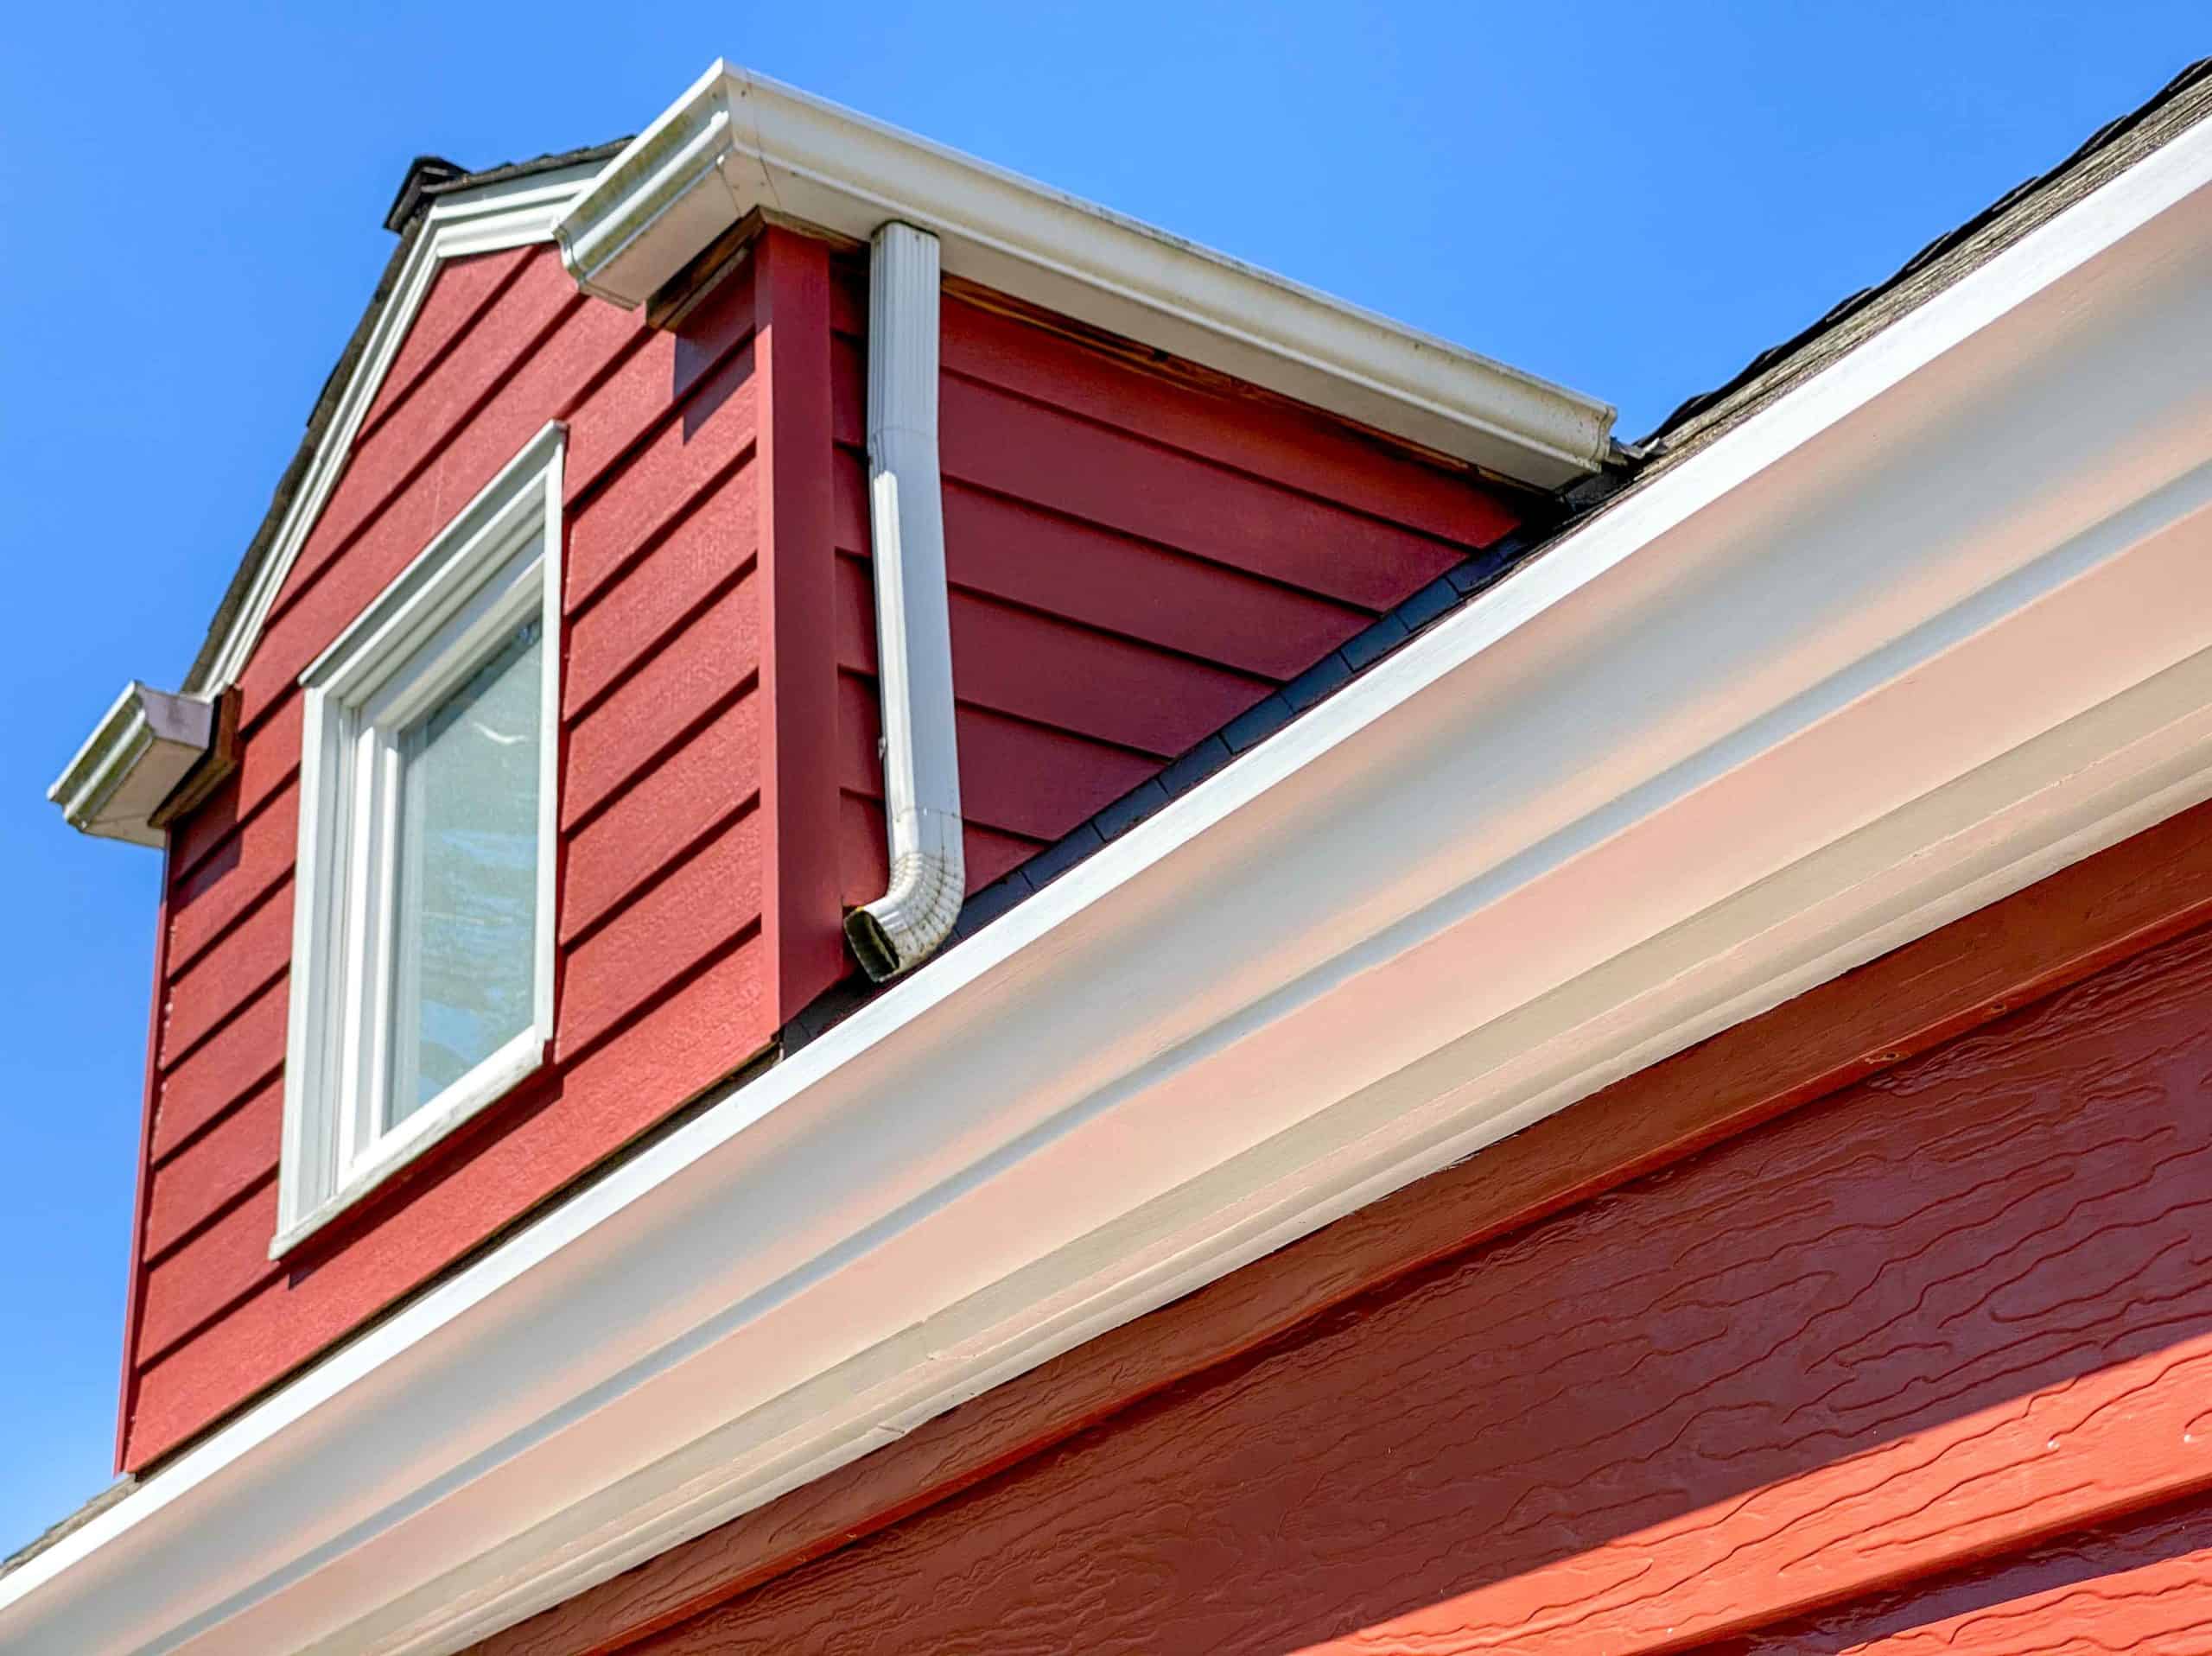
Our house has really small eaves, so it's difficult to show the difference between the soffit and fascia. Here's a better example...


Basically, the soffit is the underside of the eaves and the fascia is attached to the ends of the rafters. Usually, the gutters are attached to the fascia boards.
As you can imagine, this area of the home gets a lot of exposure to the elements. Mine were almost completely stripped of paint and stuck out like a sore thumb! Luckily, a little prep work and a few coats of paint will keep your soffits and fascia in great shape!

This post is sponsored by Handy Products and contains affiliate links for your convenience. Purchases made through these links may earn me a small commission at no additional cost to you.
Materials Needed for Painting Soffits and Fascia
- Extension ladder tall enough to reach the roof line
- Handy Ladder Pail with disposable liner
- 5-in-1 painter's tool
- Sanding sponge or block
- Exterior paintable caulk
- Angled sash brush
- Exterior paint
- I used leftover porch and patio paint from when I painted our bathroom tile floor.
- Damp rag to clean up drips
How to Paint Soffits and Fascia Boards
This home improvement project takes a little bit of pre-planning, so gather up all your materials beforehand so you'll be ready to go when the weather cooperates! You'll need a couple hours to clean everything first, followed by at least one full dry day for painting. Not an easy task in rainy Seattle! 🙂
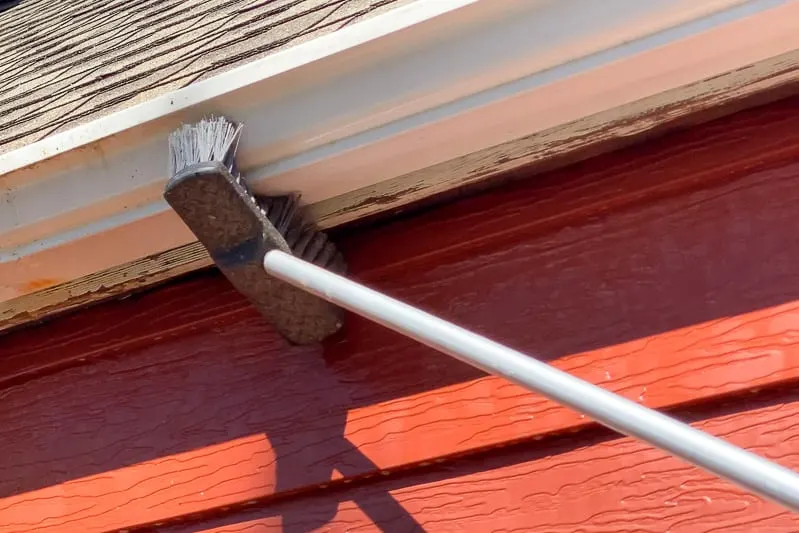
Clean the Gutters, Soffits and Fascia
Before you start, clean the outside of your gutters, as well as the soffits and fascia. This preliminary step doesn't require getting on a ladder, and will make it easier to spot any problem areas hidden behind the grime!
Allow everything to dry for at least a day before continuing to the next step. If your soffits and fascia are aluminum or vinyl, you probably don't have to wait quite as long.
Scrape off peeling paint
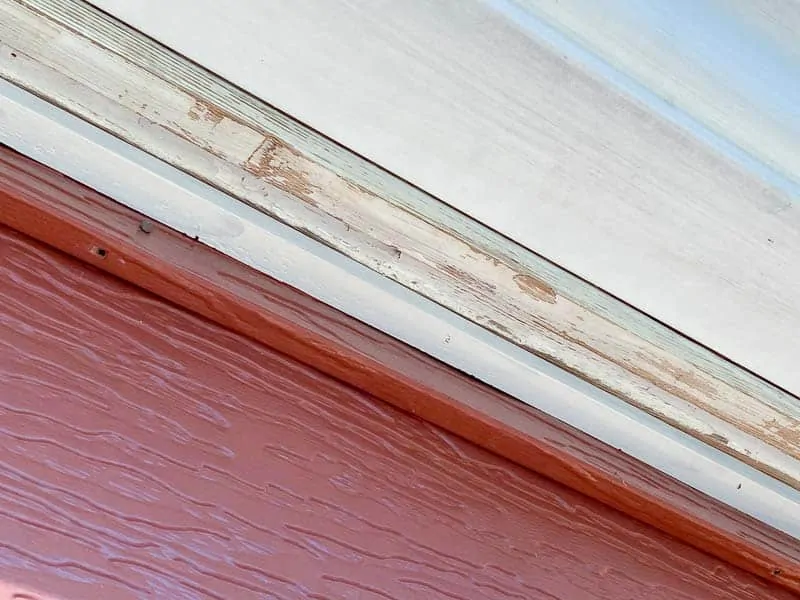
Up on the ladder, I gave the area a closer inspection. I found that the fascia paint was faded and worn, and the soffit paint was coming off in big chunks. It was easy to use a paint scraper (or in my case, the chisel end of a pry bar) and remove all that peeling paint.

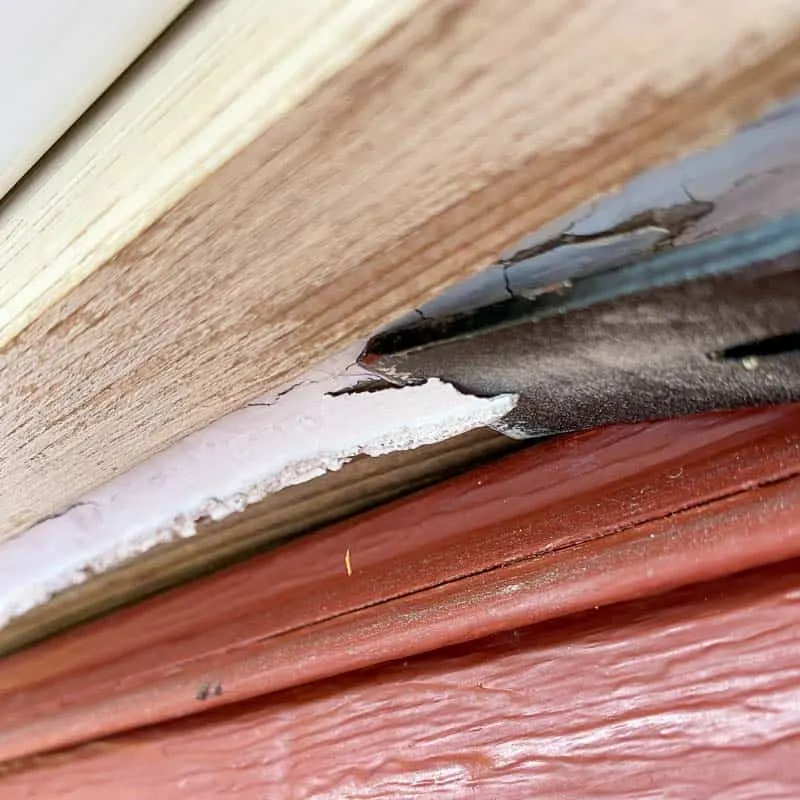
Once the loose bits were removed, I used a sanding block to smooth out any lumps and flaked paint. Luckily, the wood looked to be in good shape underneath. But one area needed a little bit of extra attention...
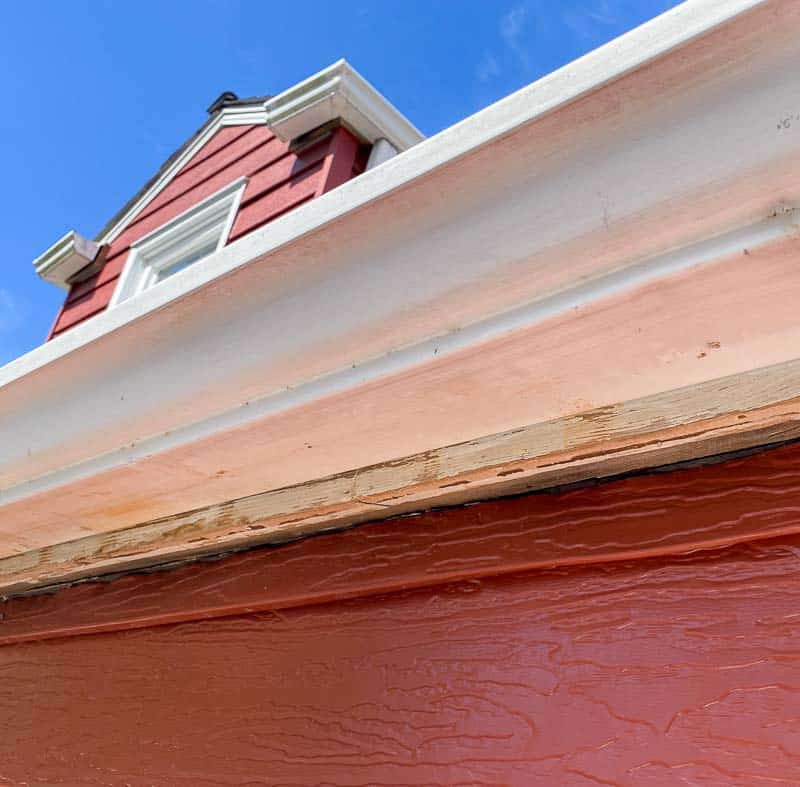
Add or replace trim if necessary
Way back when we moved into this house, the first thing we did was replace and expand the rotting deck. At the same time, we removed the back door and turned the window in the dining room to the right into a sliding glass door.

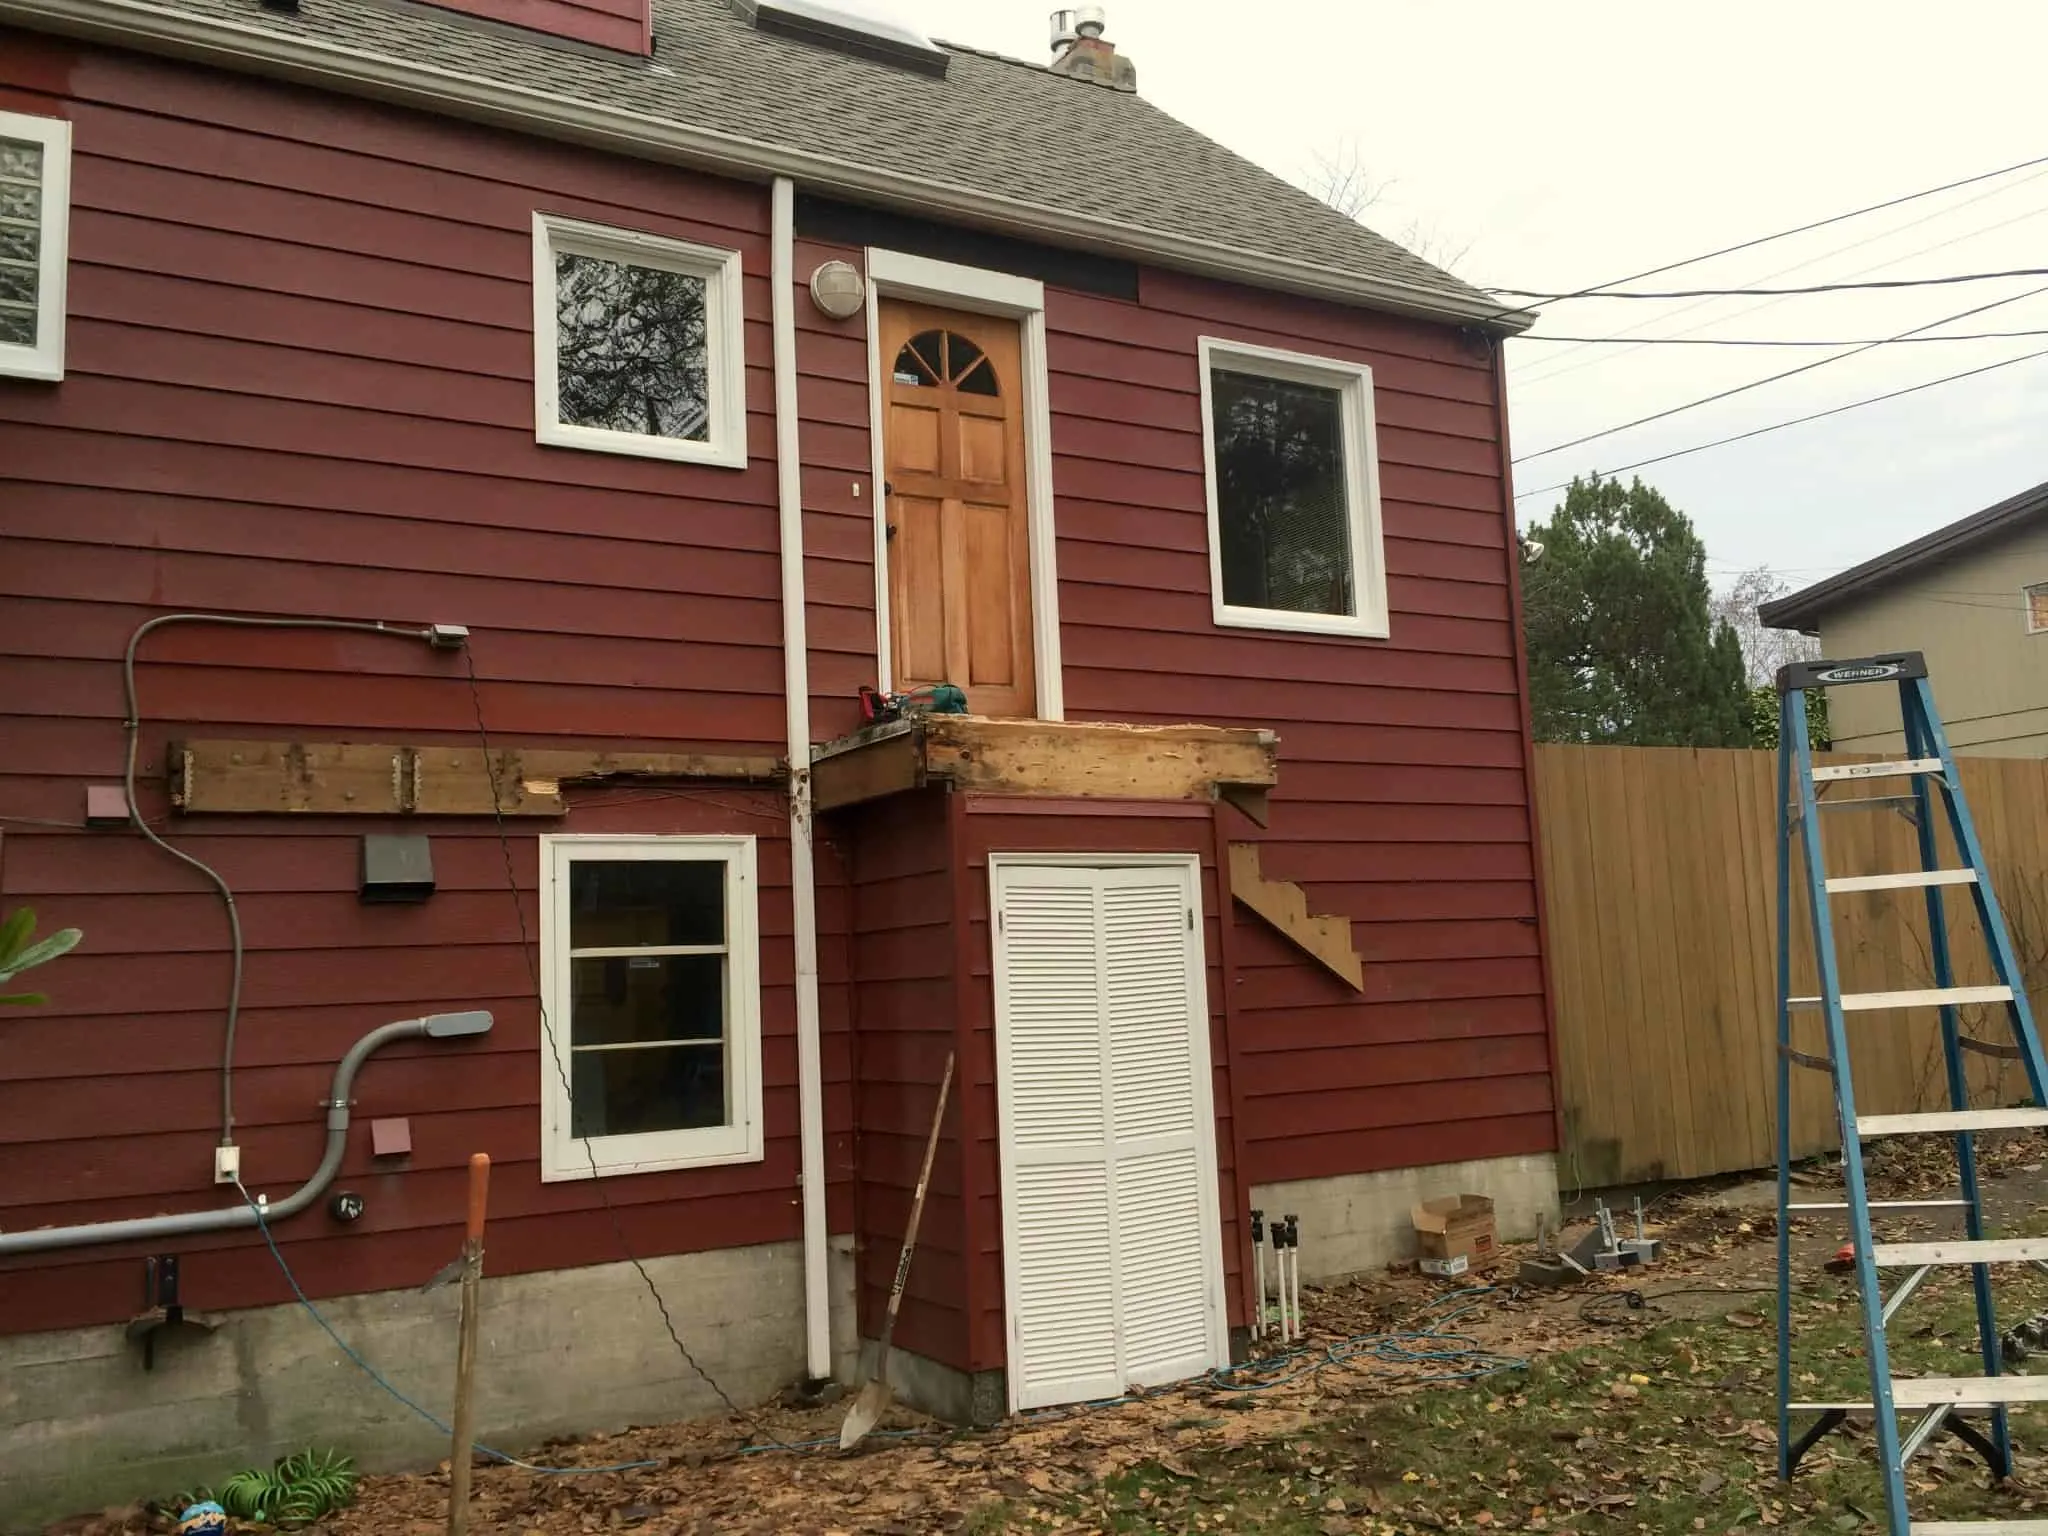
See that missing piece of siding over the door? There was a weird awning thing there before, and apparently removing it caused a few gaps to be revealed in the soffit board.
The contractor never fixed it, so it stayed like that for the last five years. I'm shocked there wasn't a wasp nest or something up there! Luckily, it was empty and clean, but it still needed to be covered up.
I cut a thin strip of cedar on the table saw, and gave it a quick coat of oil-based primer, which will hold up better to moisture. Then I nailed it to the soffit board, tight against the siding. Now the gap is gone, and the ragged siding edge is hidden too!

Caulk any gaps or nail holes
Just like with interior projects like painting baseboards, caulk makes your paint job look flawless! Make sure you use paintable caulk that is is suitable for exteriors (the kind I'm using is good for both interior and exterior surfaces.)
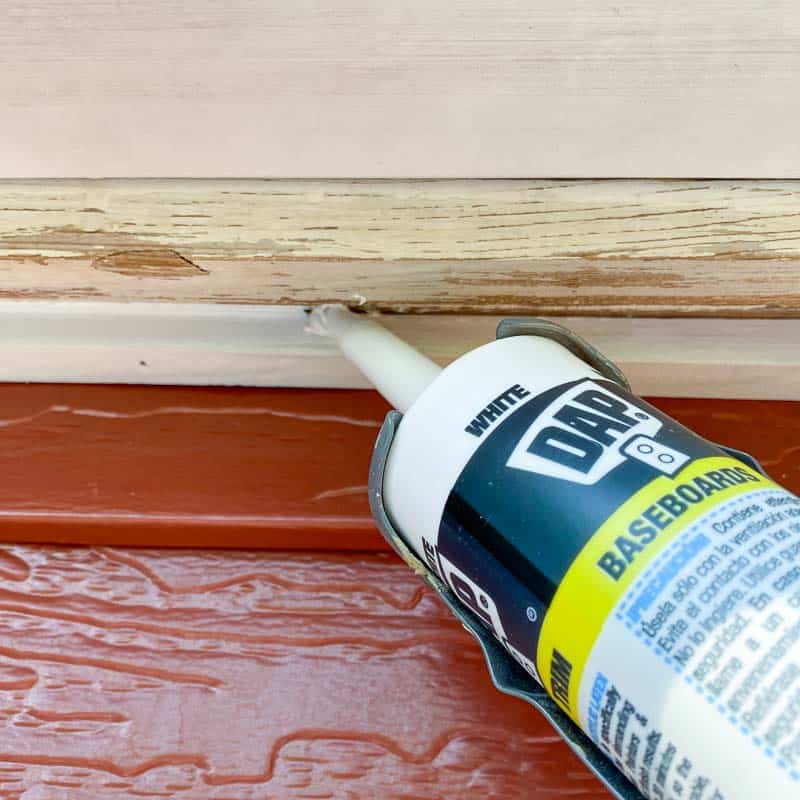

Fill any gaps, nail holes or knots with caulk, then smooth it with a damp rag or paper towel. Get all my tips and tricks for how to use a caulk gun here. Allow it to dry for the time indicated on the tube before painting.
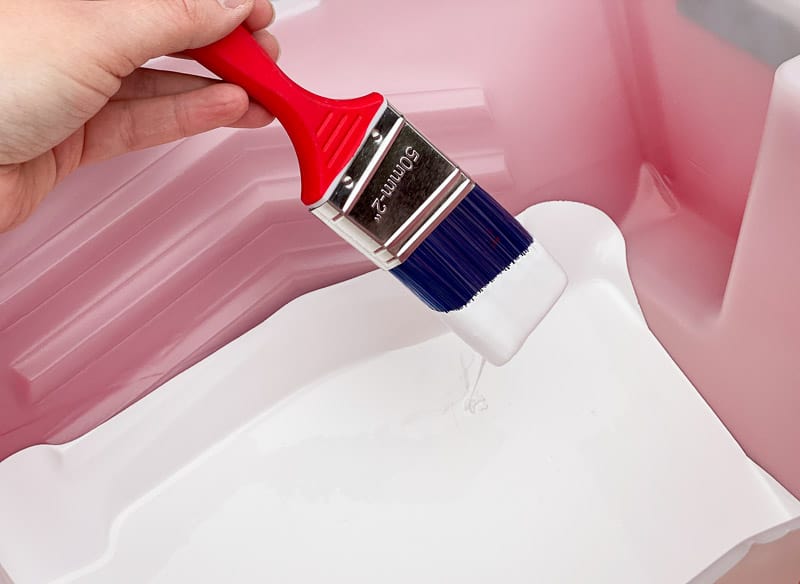
Fill and attach the handy ladder pail
I'll let you in on a little secret...I HATE LADDERS! I don't have a fear of heights, but a fear of falling, and the most nerve-wracking part of working on a ladder is when I'm climbing up and down. So anything that keeps me at the top longer is worth its weight in gold.
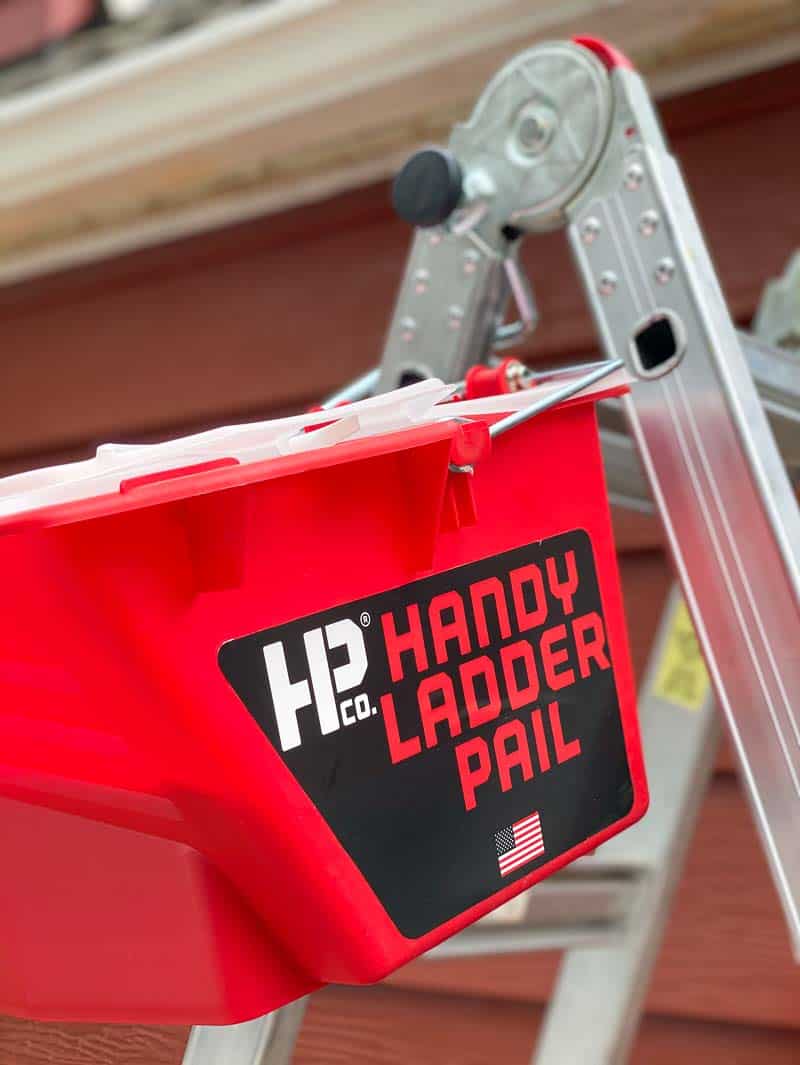

The Handy Ladder Pail does exactly that! It hooks onto the side of the ladder, and holds up to a gallon of paint, along with your brush, roller and rag. No more going up and down the ladder to refill my brush, or precariously balancing everything on the top rungs where my hand should be!


The disposable liners make it easy to switch between colors, like siding paint and contrasting trim. There's even a magnet on the side to hold your paint brush out of the paint!

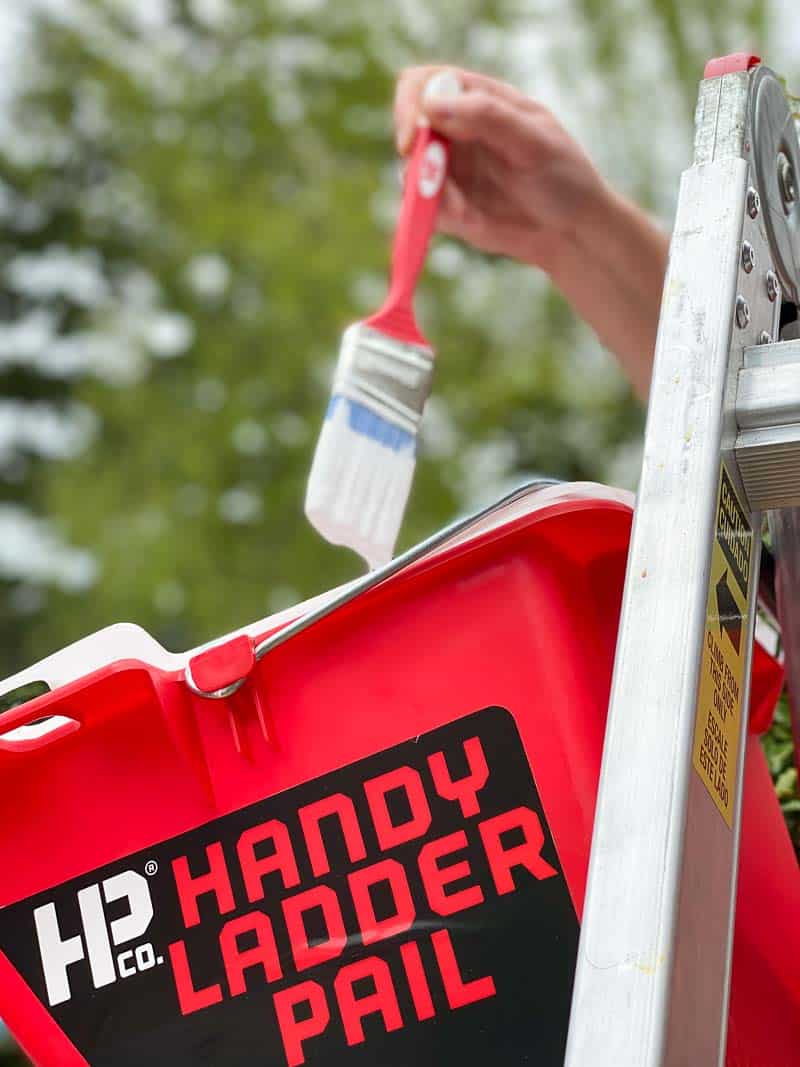
The sturdy metal hook wraps over the rung of the ladder and holds the Handy Ladder Pail on the side and out of the way. I felt perfectly comfortable reaching over to dip my brush in the paint, even at the top of the ladder!

Paint the Soffit and Fascia
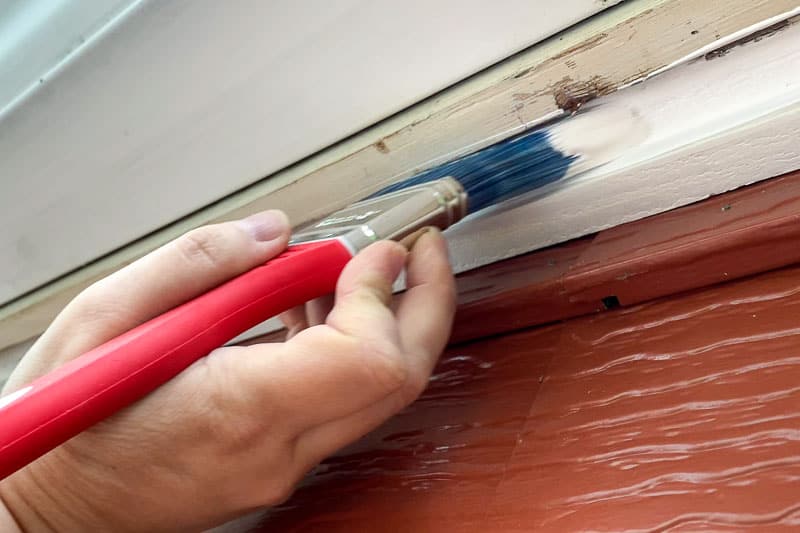
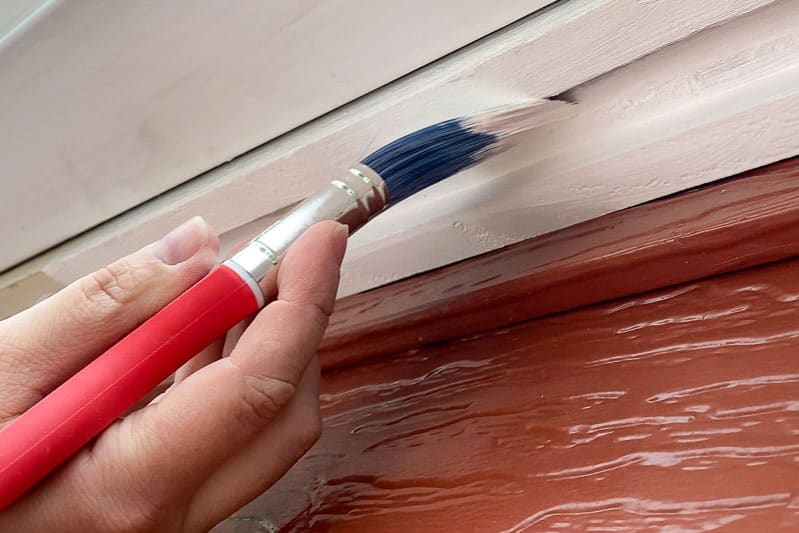
After all that prep work, painting the soffit and fascia goes pretty quickly! Use a good quality exterior paint, which will hold up to the elements for years. I started painting the soffit by running the paint brush down the middle of the board.
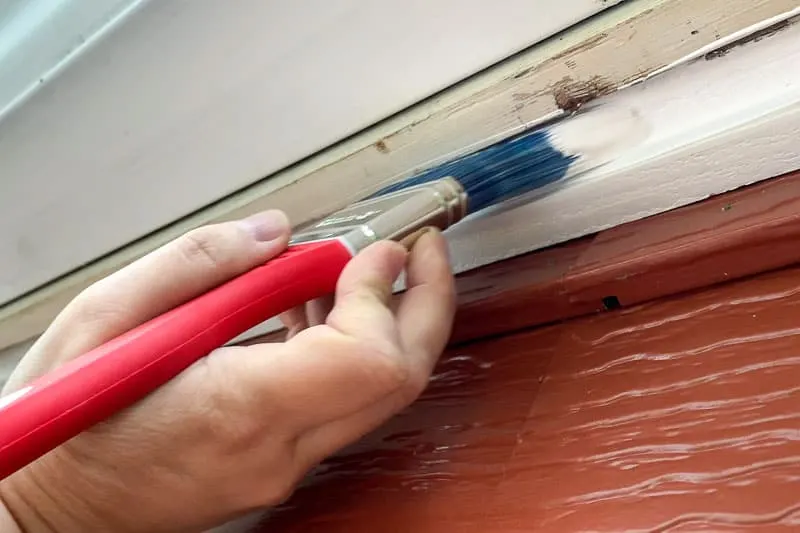
Then catch the drips on the sides to even out the paint on the trim and back side of the fascia board.

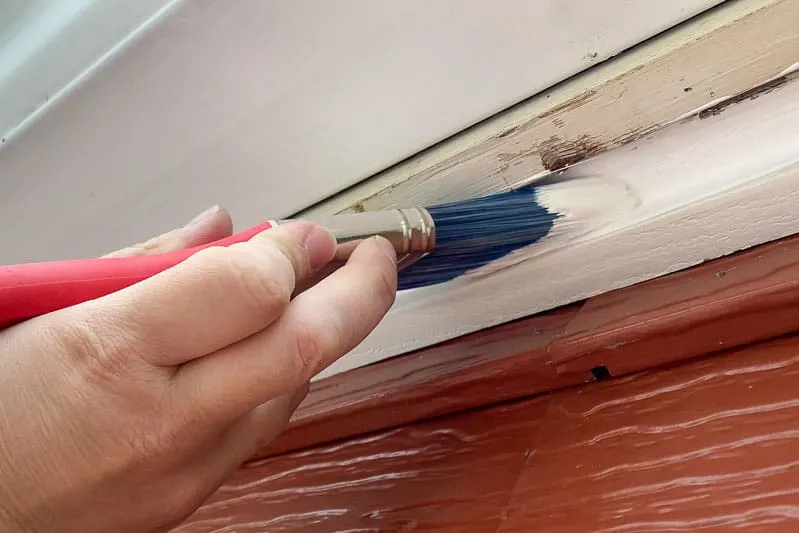
Use the tip of the bristles to work the paint under the gutters and onto the fascia underneath. If you get any paint on the gutters, just grab a damp rag and wipe them clean.
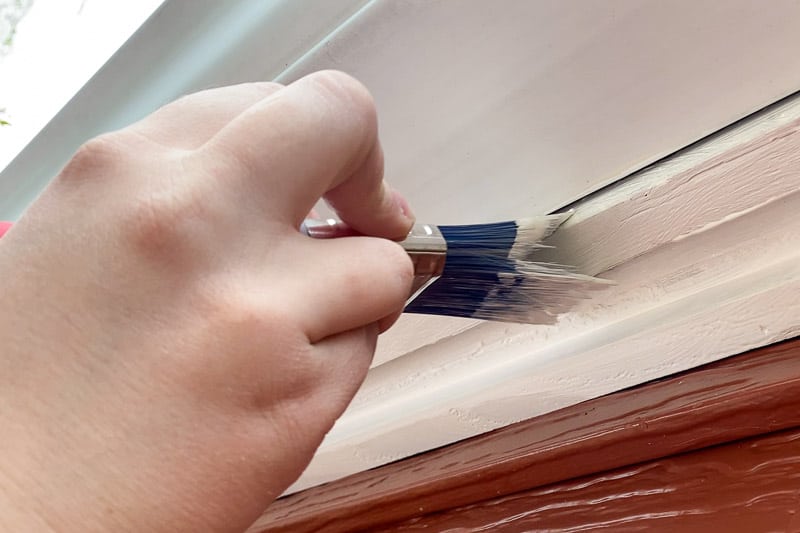

Be sure to catch any drips forming along the bottom corners before they fall onto the siding! You'll need two coats of paint anyway, so a light first coat will make less of a mess.

Clean Up
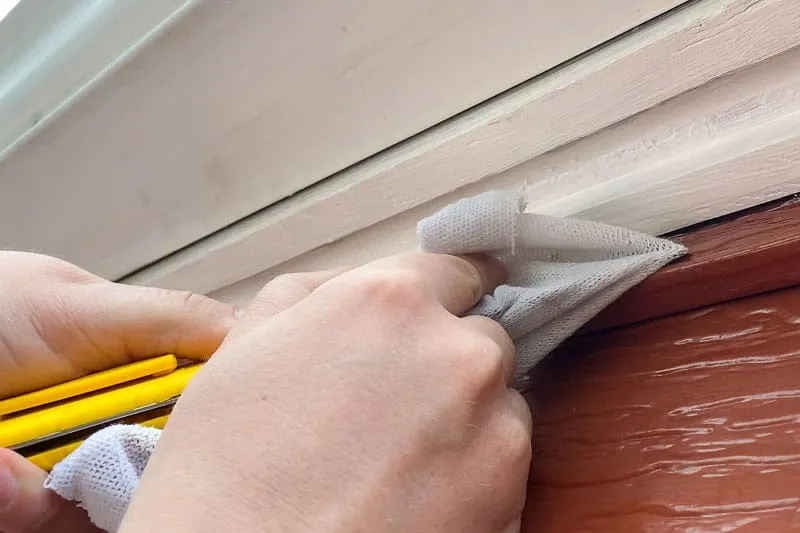
Here's my quick tip if you accidentally paint the siding...wrap the end of a painter's tool with a damp rag, then run it along the corner. You'll get into that tight space easier, and won't get paint on your knuckles!

When you're finished painting, just pull out the disposable liner and toss it in the trash! Don't forget to clean the paint brush as well.


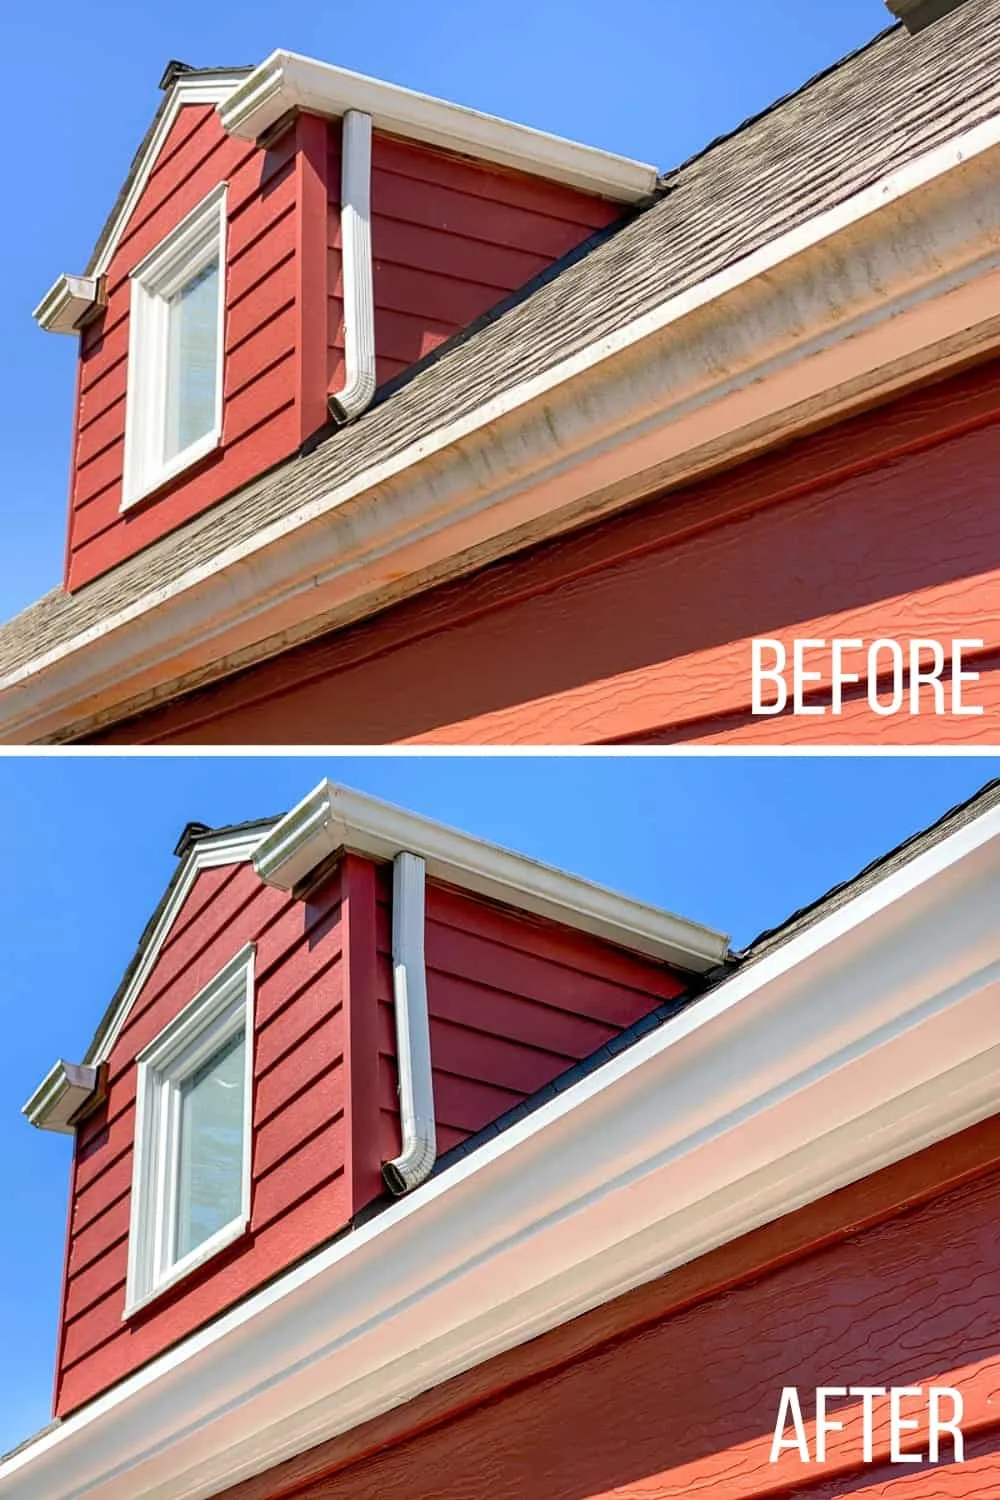
Fascia and Soffit Boards Before and After
It's amazing how a quick cleaning and a little paint can make such a huge difference! Here's what it looked like before...

And here's how they look now!

I'm so glad I can finally cross this task off my to-do list! Now I can relax on our back deck without that eyesore nagging at me. A huge thank you goes out to Handy Products for sponsoring this post and making this project so much easier!
Check out these other outdoor project tutorials!