Learn how to cover a box with fabric without a sewing machine! This simple tutorial will transform a cardboard box or fabric bin in minutes!
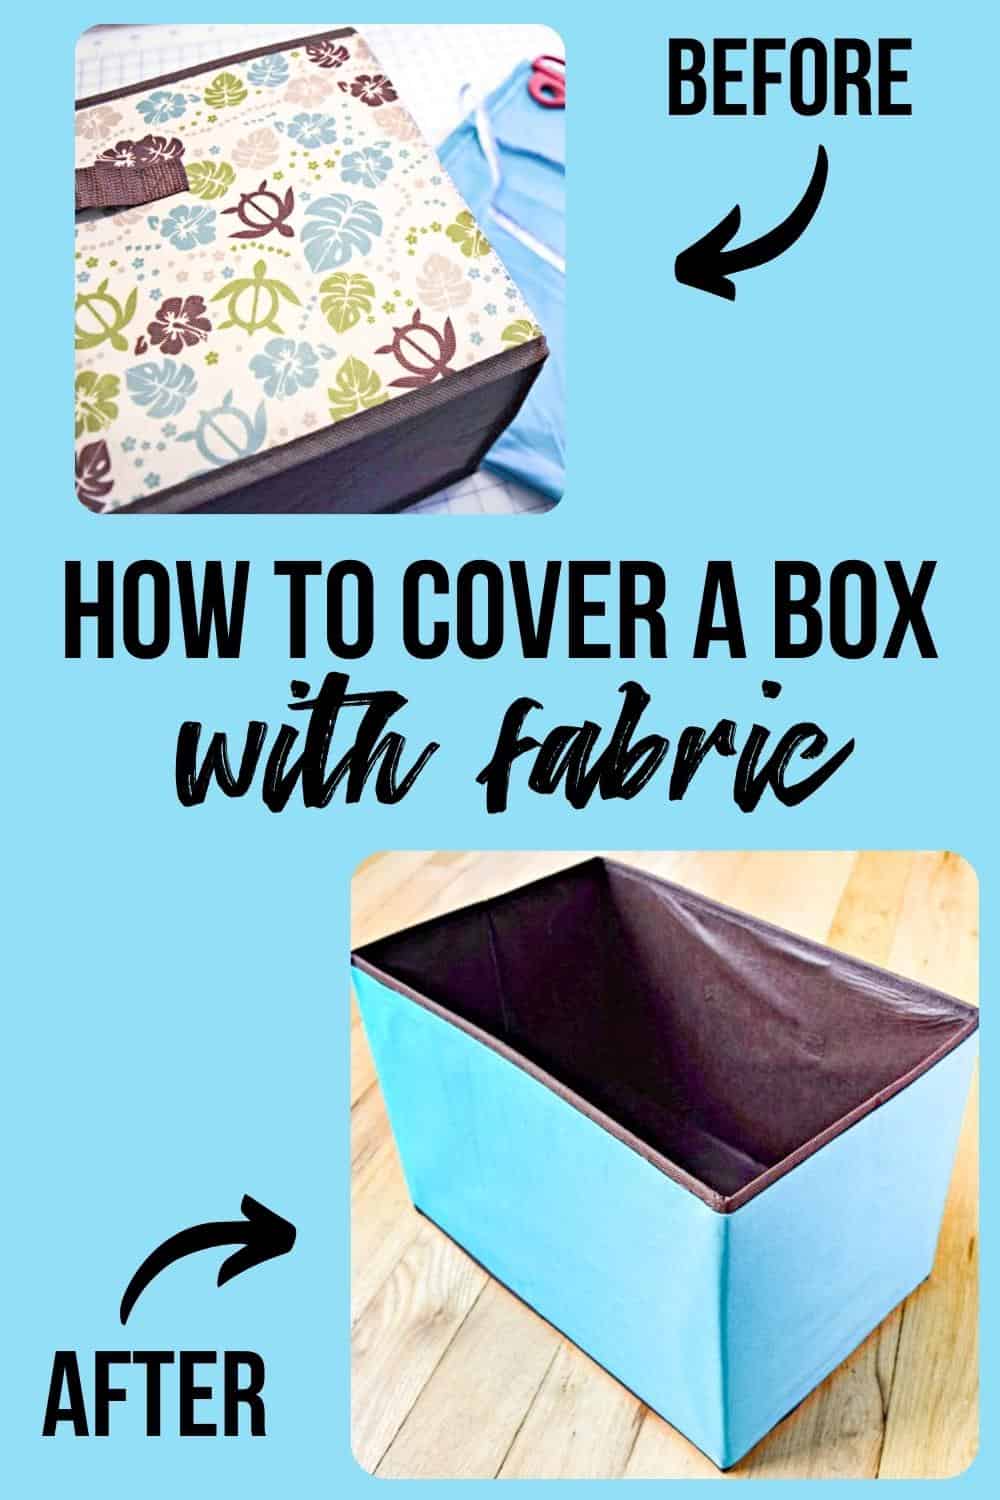
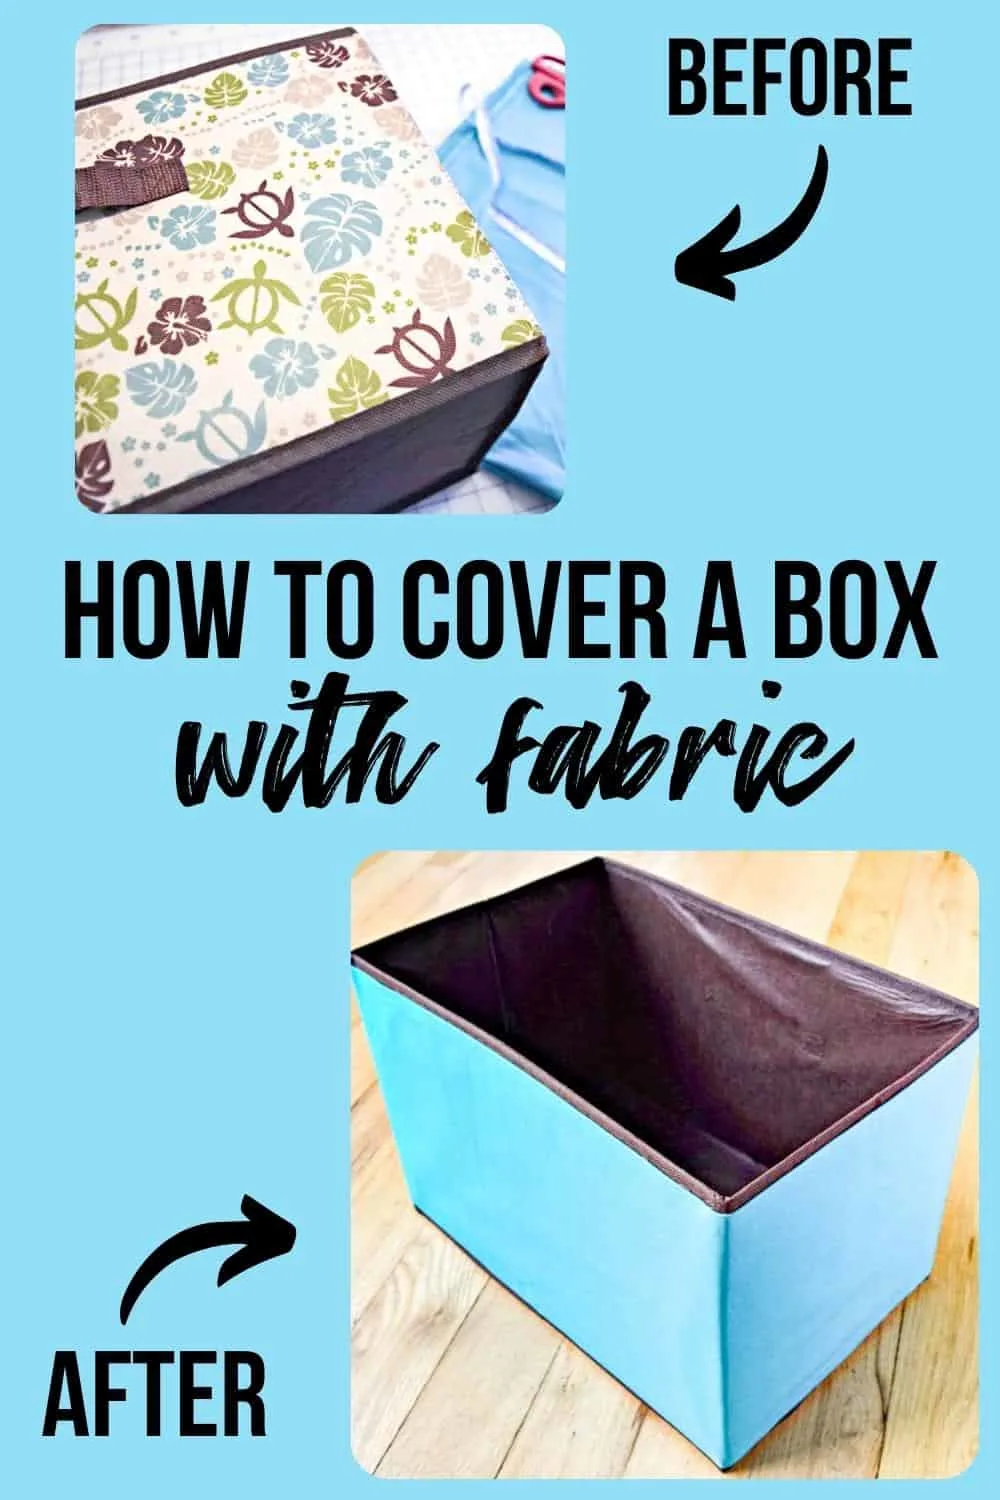
Do you wish that sturdy cardboard box looked nice enough to use for storage in your home? Fabric covered boxes are easy to make and customize to match your color scheme!
We all seem to have a huge collection of cardboard boxes nowadays. Instead of setting them out on the curb for recycling, put them to good use in your home instead! You can decorate your entire home with pretty boxes covered with fabric.
This tutorial uses fabric bins, but the same method works for cardboard as well. I was able to organize my linen closet with coordinating fabrics for just a few dollars!
This post contains affiliate links for your convenience. Purchases made through these links may earn me a small commission at no additional cost to you. Please visit my disclosures page for more information.
Materials
- Cardboard box or fabric bin
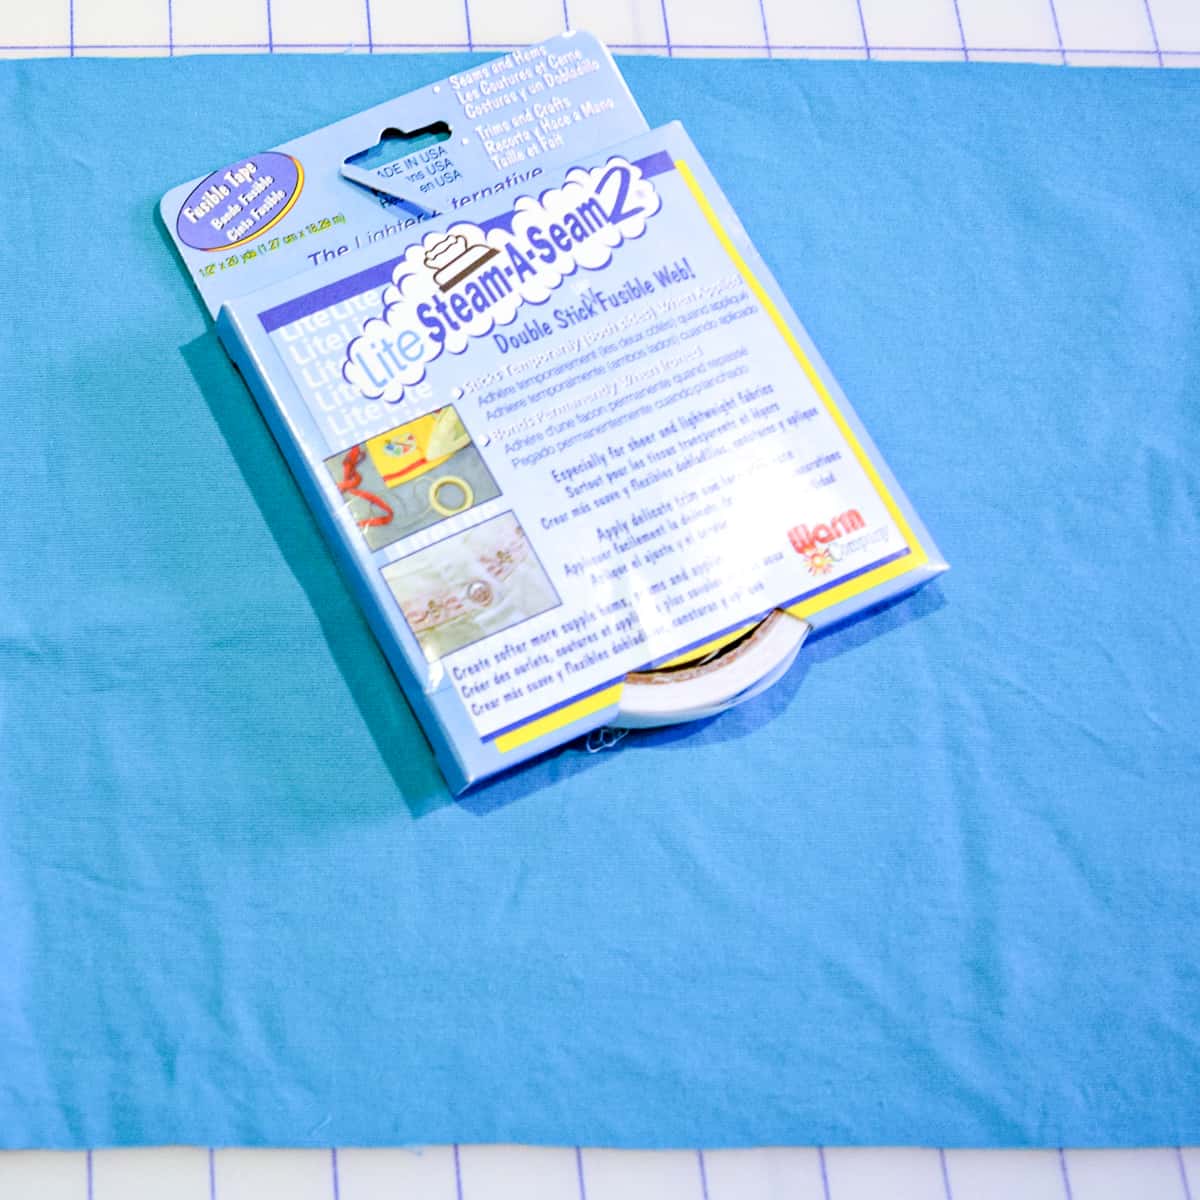
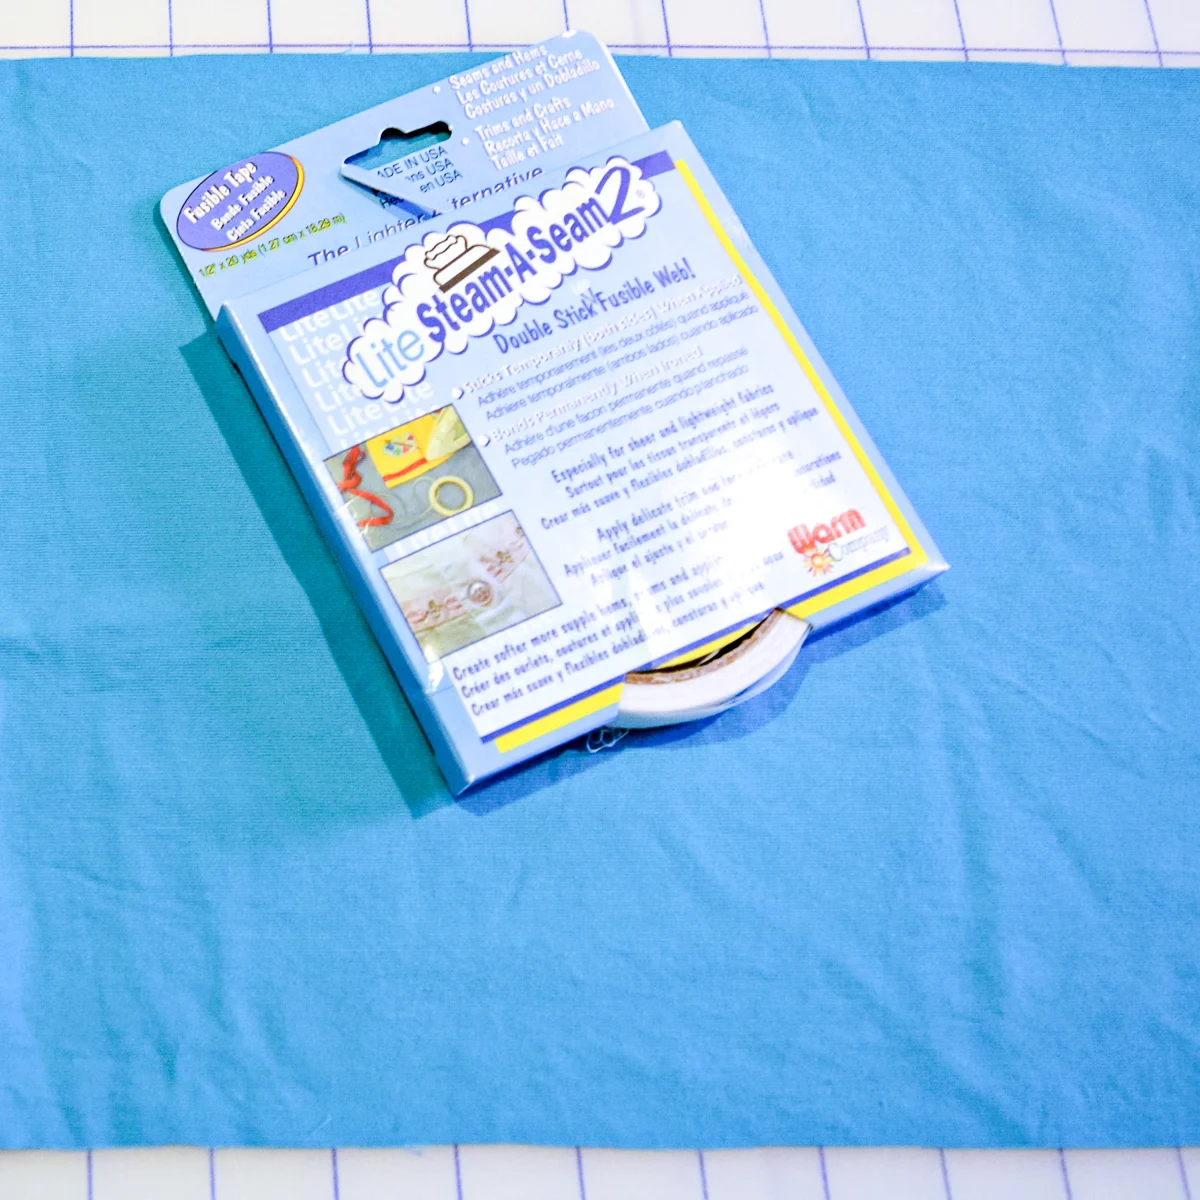
- Steam-a-Seam. I prefer the ½" lite version because it's easier to handle than the thinner size and doesn't leave the hems too thick or stiff.
- Iron with steam setting
- Hot glue gun or spray adhesive
- About ½ yard of fabric.
- Fabric scissors
- Tape measure
Take some measurements
Measure the length of all four sides of your box and add up the numbers. Then add an additional 2" for the hem and overlap.
Next, measure the height of the box, and add 1" to this measurement for top and bottom hems. If you want to wrap the fabric over the top edge of the box, add another inch or so to make it slightly larger.
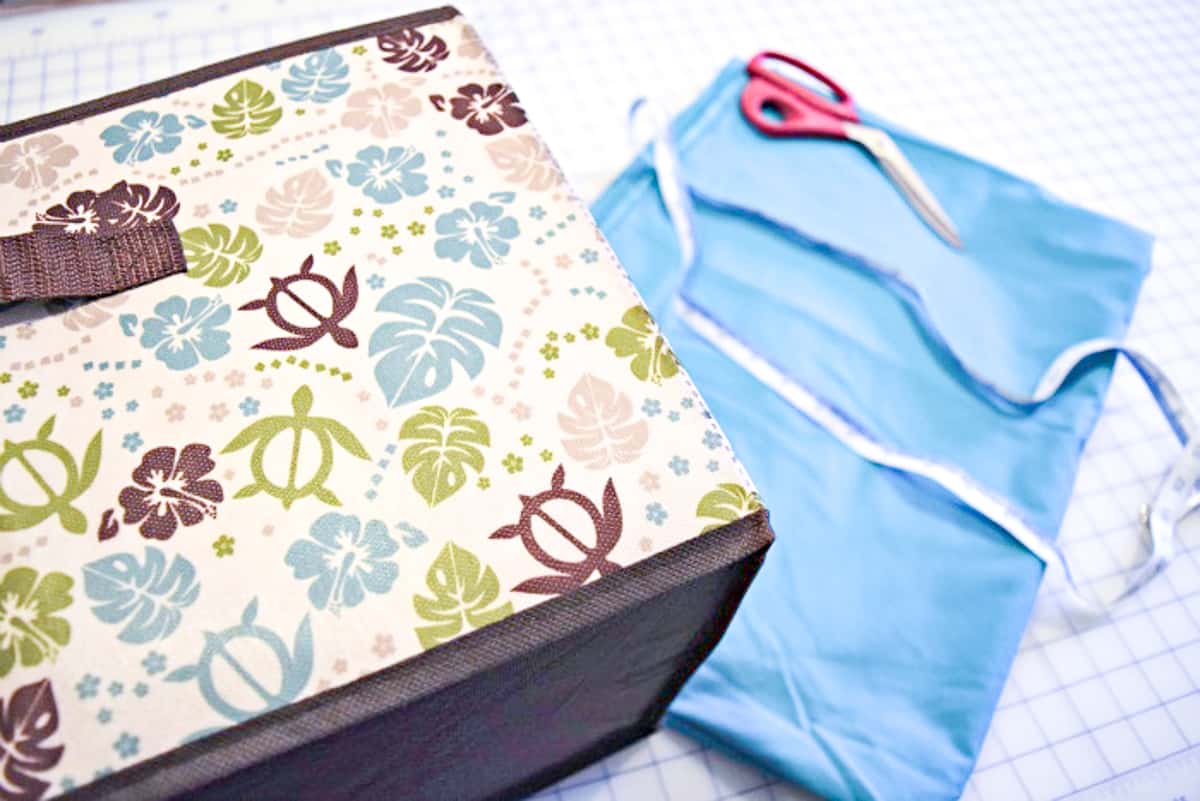
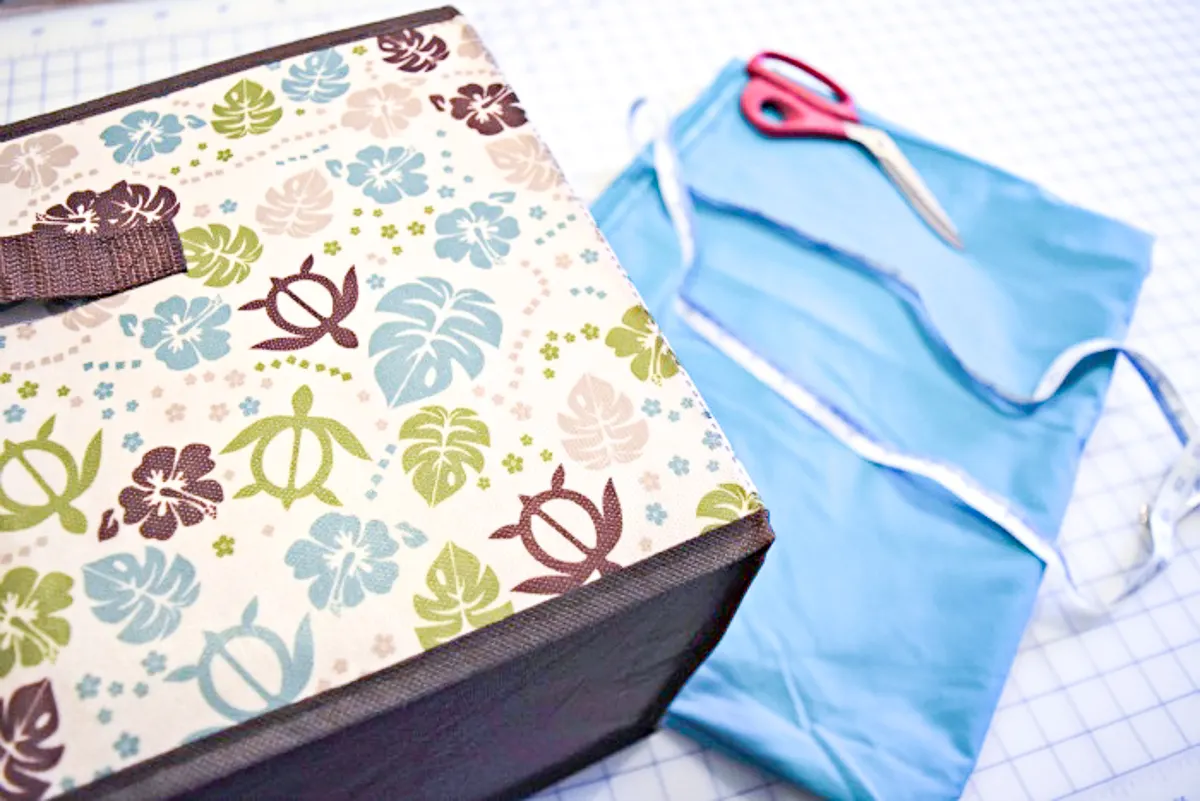
Cut the fabric
Use a ruler and a marker to draw out the shape, then cut your fabric to your measurements. You should have one long strip that can wrap around the entire box. If you want a lining on the inside of the cardboard box, cut a second strip for the inside that is the same size as the interior. You'll also need a rectangular piece for the bottom.
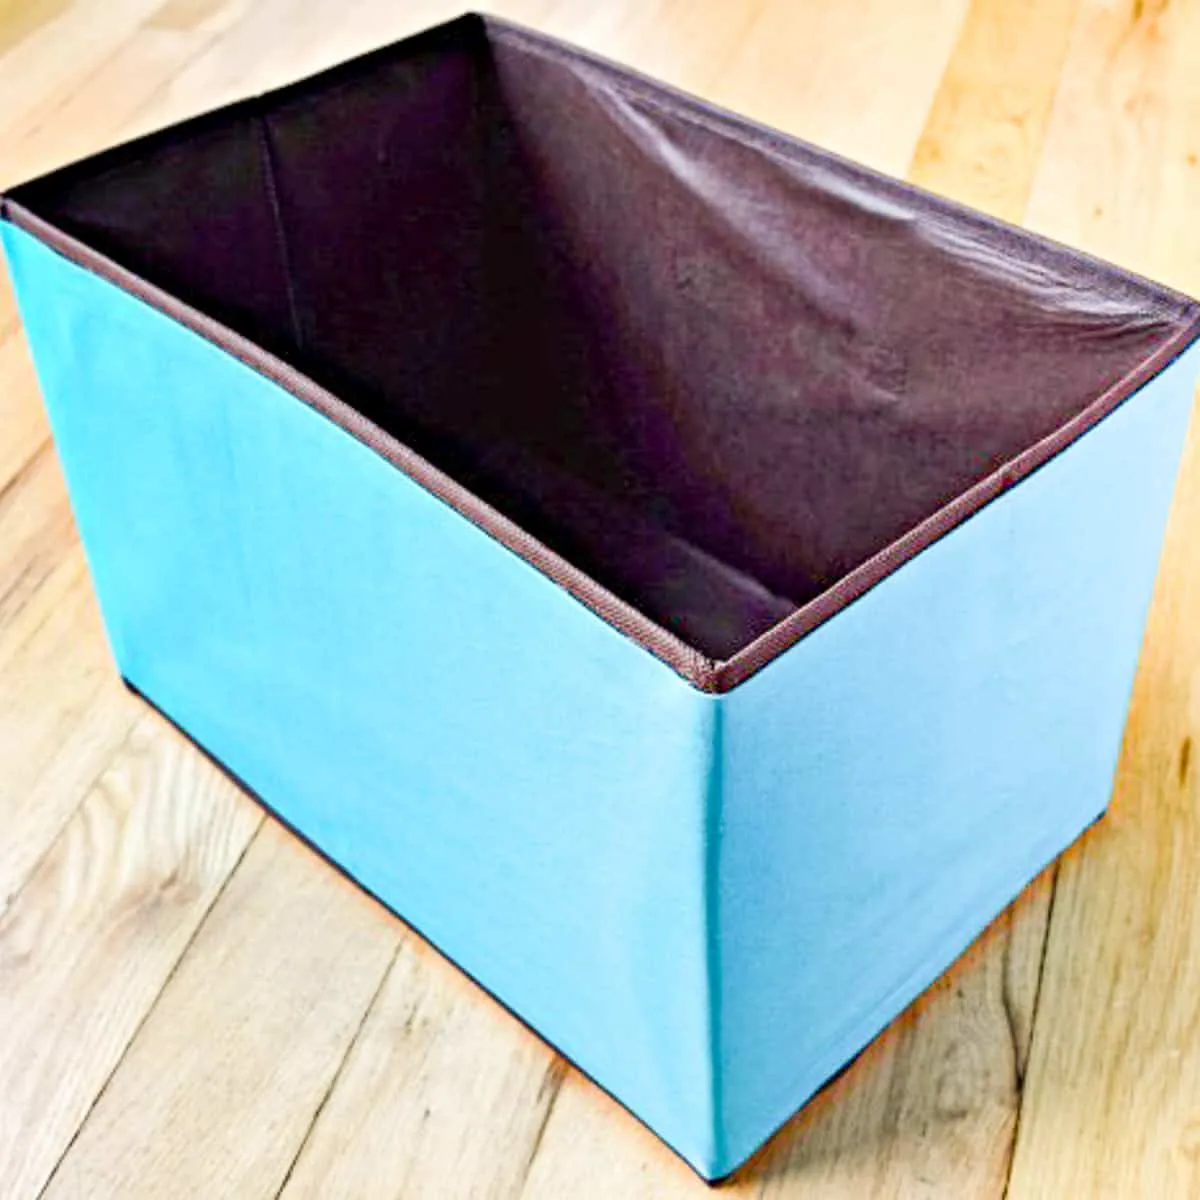
I decided to keep the brown trim on my fabric box exposed for contrast, so my measurements were slightly smaller than the height of the box. My fabric was 54" wide, so I was able to cover my large bin with less than ½ a yard!
When choosing your fabric, make sure that it's opaque enough that the ugly box doesn't show through a single thin layer.
Hem the fabric edges
If you have a sewing machine and are comfortable using it, you can skip this step and hem the edges your usual way. I prefer to use iron-on hem tape because it's easy to get a straight line and I don't have to dig out the sewing machine from storage!
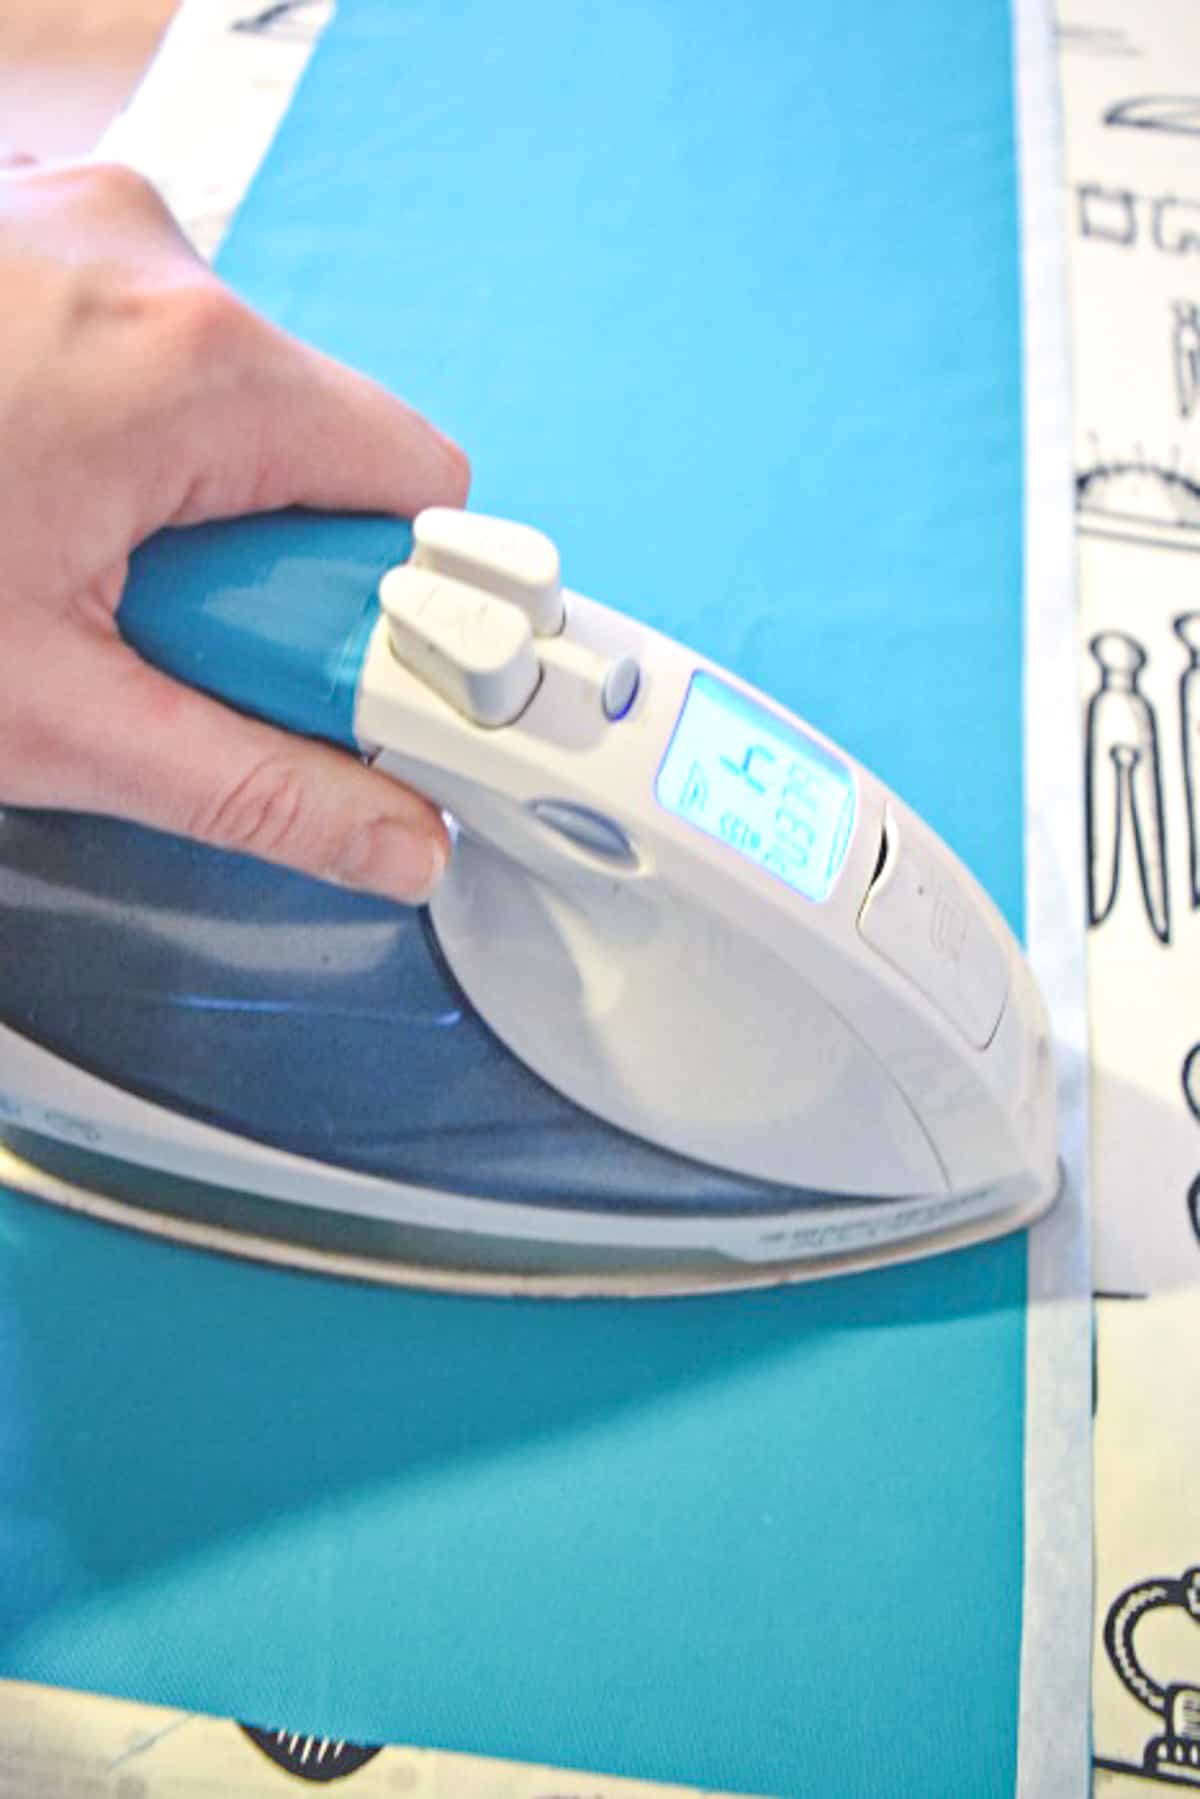
Lay your fabric on your ironing board with the wrong side up and set your iron to the lowest setting that produces steam (usually marked as "blend"). Roll out the Steam-a-Seam and apply it to the long raw edge, keeping the paper attached to the fusible web.
Using the tip of the iron, lightly run it over the strip of paper. This allows the hem tape to bond to the fabric so that when you peel up the paper, you don't take the sticky stuff with it. Don't let the iron touch the paper for too long, or it will bond to the paper too tightly.

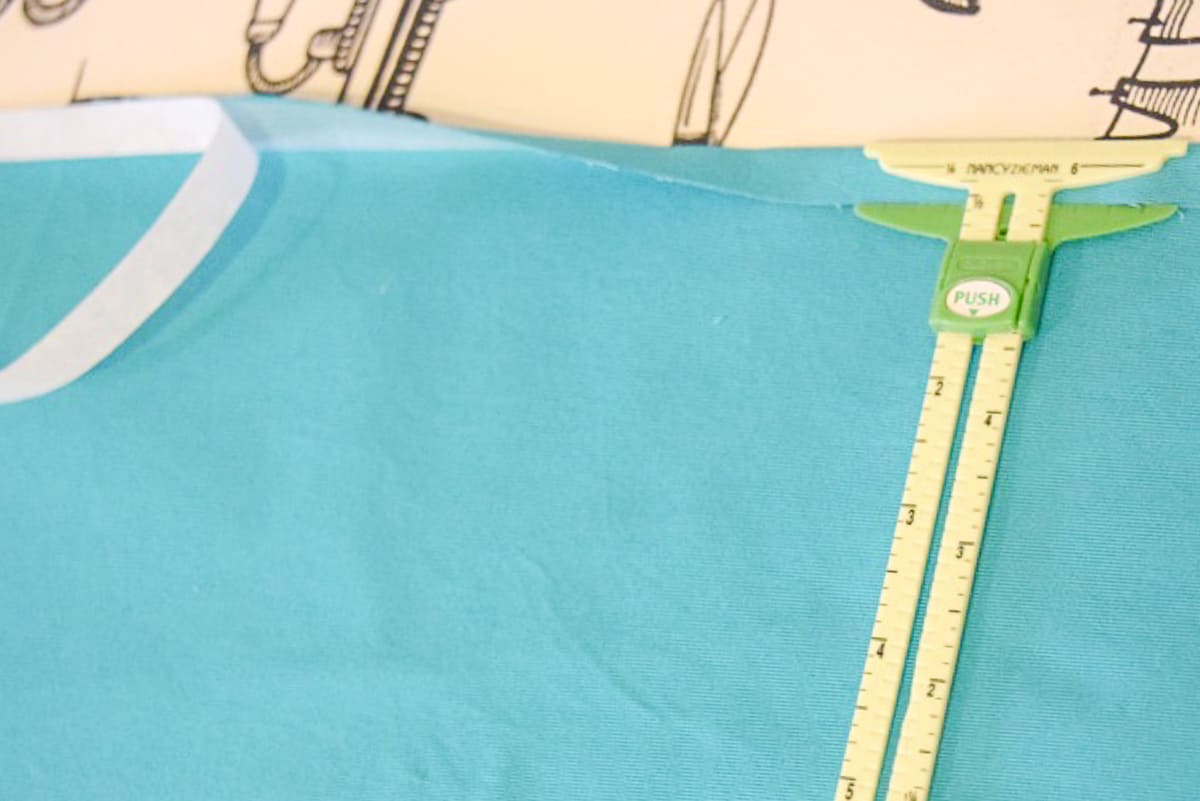
Remove the paper from the hem tape. Using a seam gauge or a ruler, fold down a ½" hem. Follow up with a longer press of the iron to permanently set the hem tape in place. I like to work in 6 inch sections, pulling the paper away as I go. Repeat for the other long side.
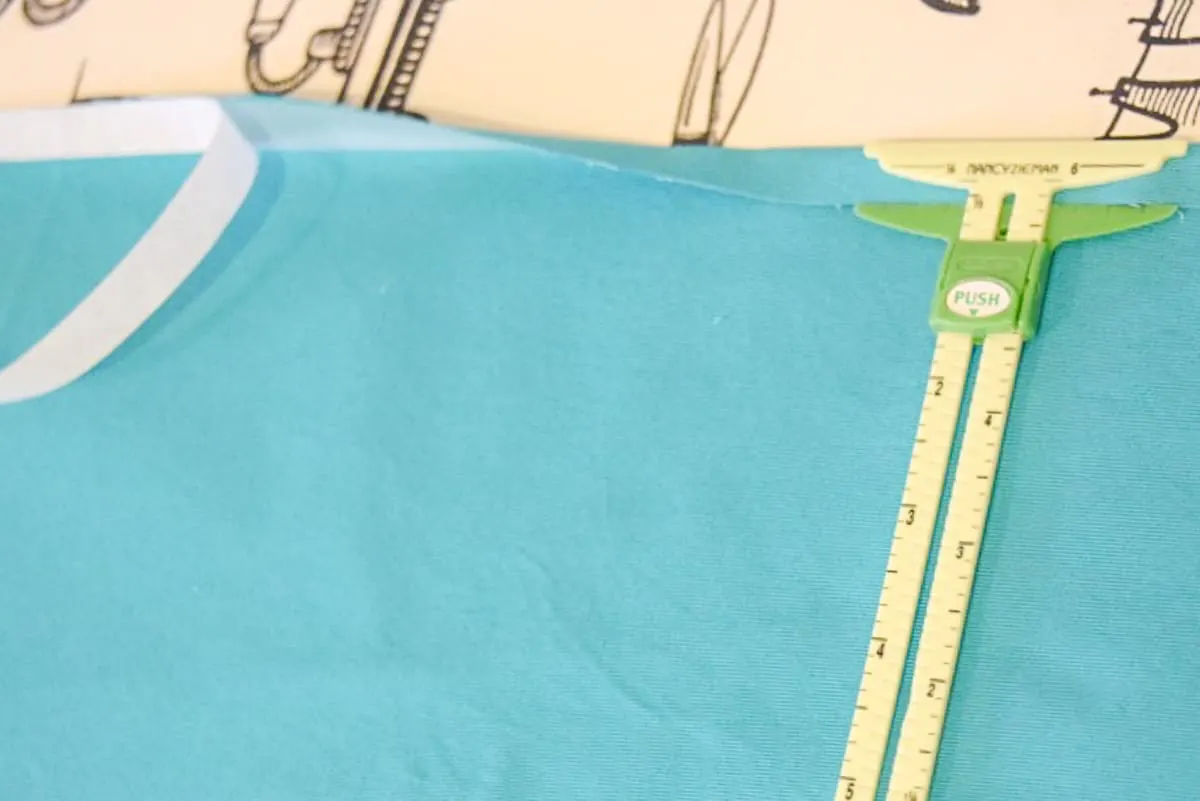
When you finish hemming both long sides of the fabric, repeat the procedure on one of the short sides. This will be the seam that shows on the box, so make sure the corners are a crisp 90 degree angle.
If you're also making a fabric liner, you only have to hem one long side. This edge will wrap around the top and will be covered by the fabric inside the box.
Prepare your box
If your cardboard boxes have flaps on the top, you may want to cut those off first. However, they can add structural support if you fold them to the inside, and give you the option to stack storage boxes on top of each other if necessary.
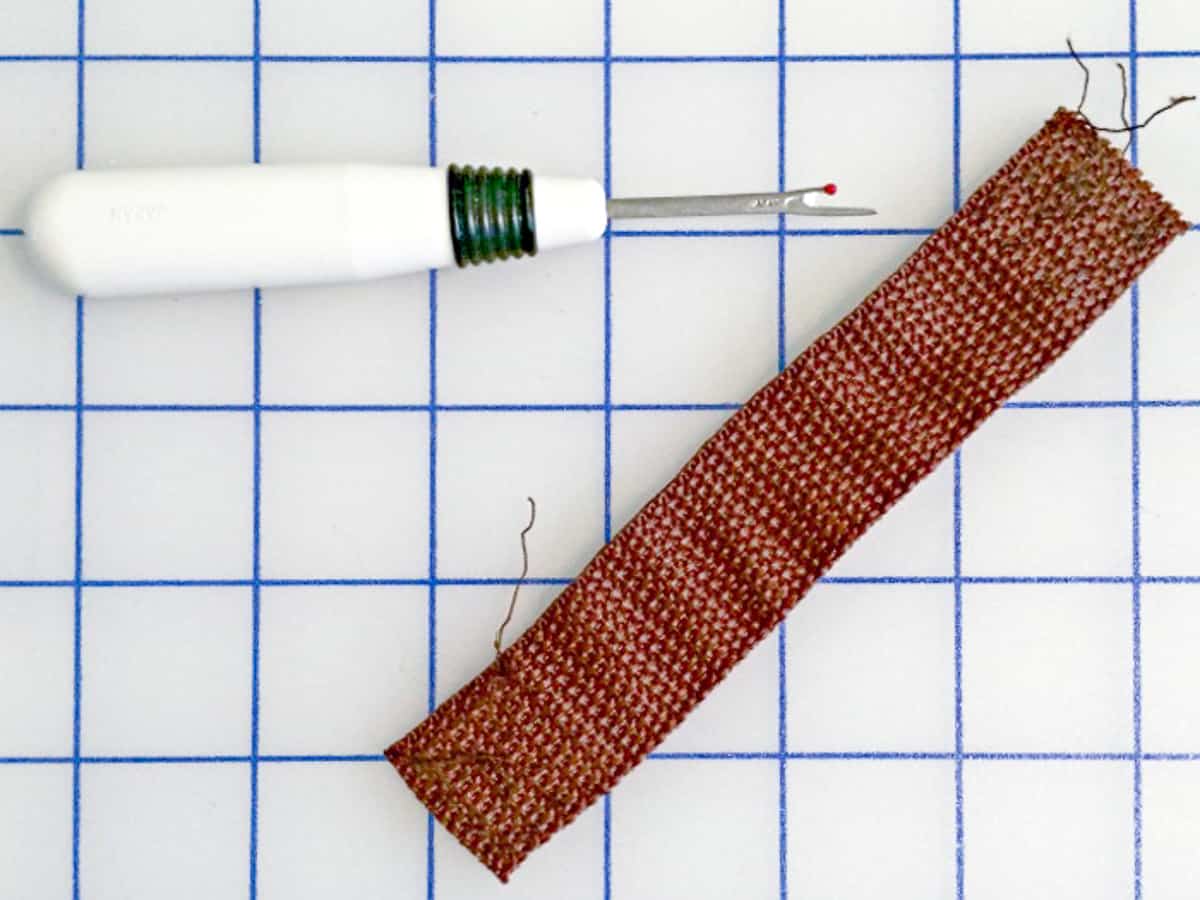
My fabric bin had handles on the sides, which I decided to remove so it doesn't create a bulge under the fabric cover. I used a seam ripper to cut the threads holding it in place, but you can also snip the threads with sharp scissors.

Glue the fabric to the box
Some people recommend using spray adhesive to glue fabric to cardboard boxes. In my experience, spray glue gets everywhere and the wet areas show through the fabric and create wrinkles. Hot glue is easier to control and gets great results! They make special fabric glue sticks, but I just used regular hot glue.
Decide where you want your fabric seam to end up on your box. My box was going to be pushed up against the wall of the closet, so I chose to place the seam along the long side that won't be seen.
Using a hot glue gun, run a bead of glue about ¼" above the edge of the box. In my case, I wanted to keep the brown trim, so I applied my glue a little higher than the bottom edge.

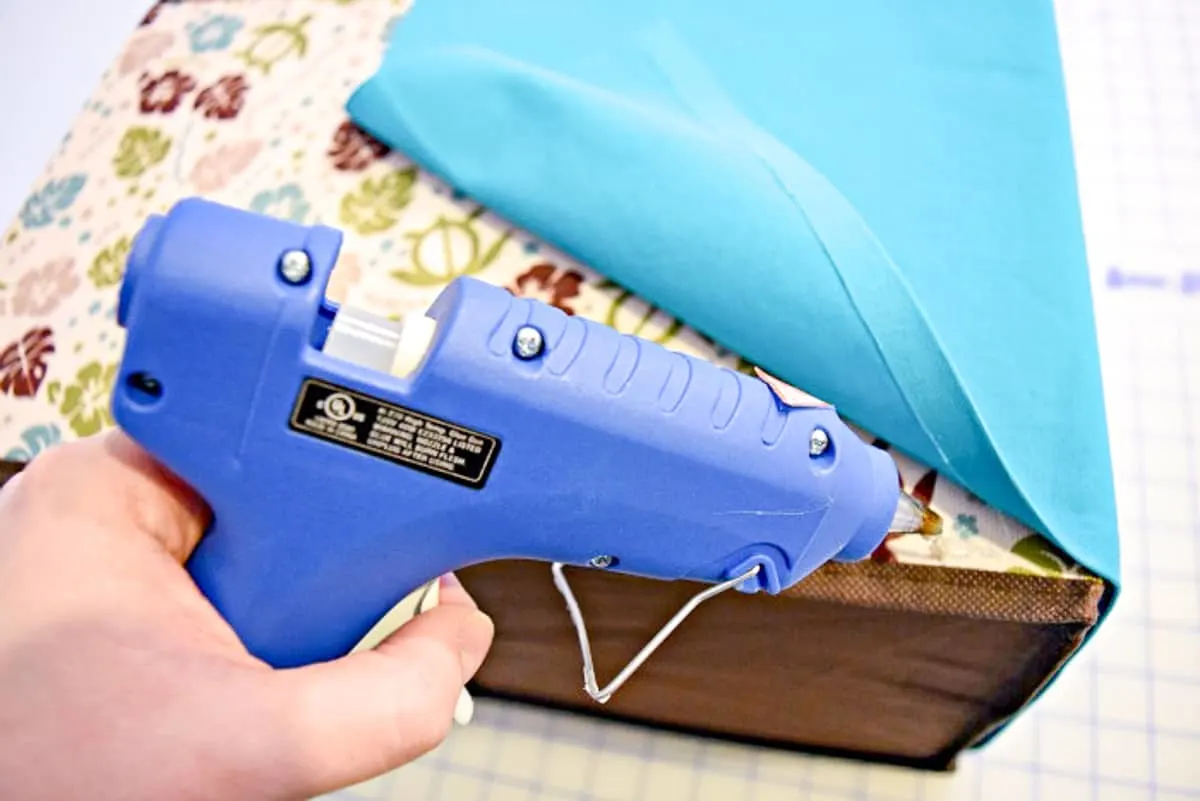
Starting with the short end that wasn't hemmed, align your fabric with the edge of the box and gently press flat with your fingers. Try not to squeeze the hot glue out from under the fabric, or you'll burn your fingers and have to clean up the blob of glue.
Work your way around the box, gluing in small sections. You want to make it a little taut going around the corners, but don't tug on your fabric or you'll get drag lines!
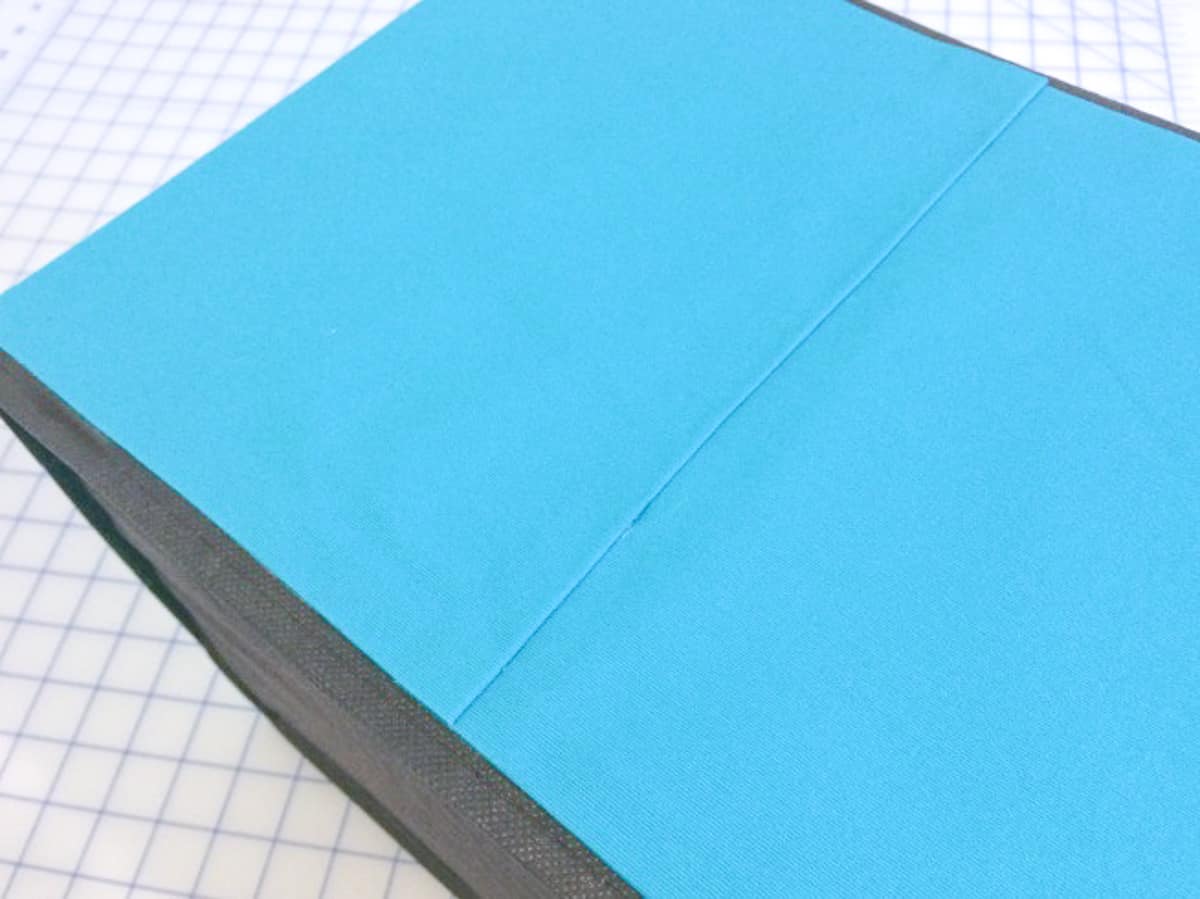
When you've successfully wrapped the entire box in your new fabric, finish it up by overlapping the short ends. I found it easier to glue the hemmed end then press it into place, making sure it was straight.

To hide the top edge, wrap the fabric to the inside of the box and secure it with hot glue. You may want to snip the corners to allow the fabric to lay flat on the inside edge.
To line the inside, just repeat the process! You may want to skip hemming the top edge of the outer fabric to remove the excess fabric along the inside edge. Then cut a square of extra fabric for the bottom to complete the look.
Display your new fabric covered box!
Ta da! Now you have your very own fabric covered boxes! I can envision making a ton of these in different colors and prints.

I have some leftover fabric from making my son's curtains that would be great for toy storage. If you have little ones, this would be a great option for those big diaper boxes you probably have laying around!
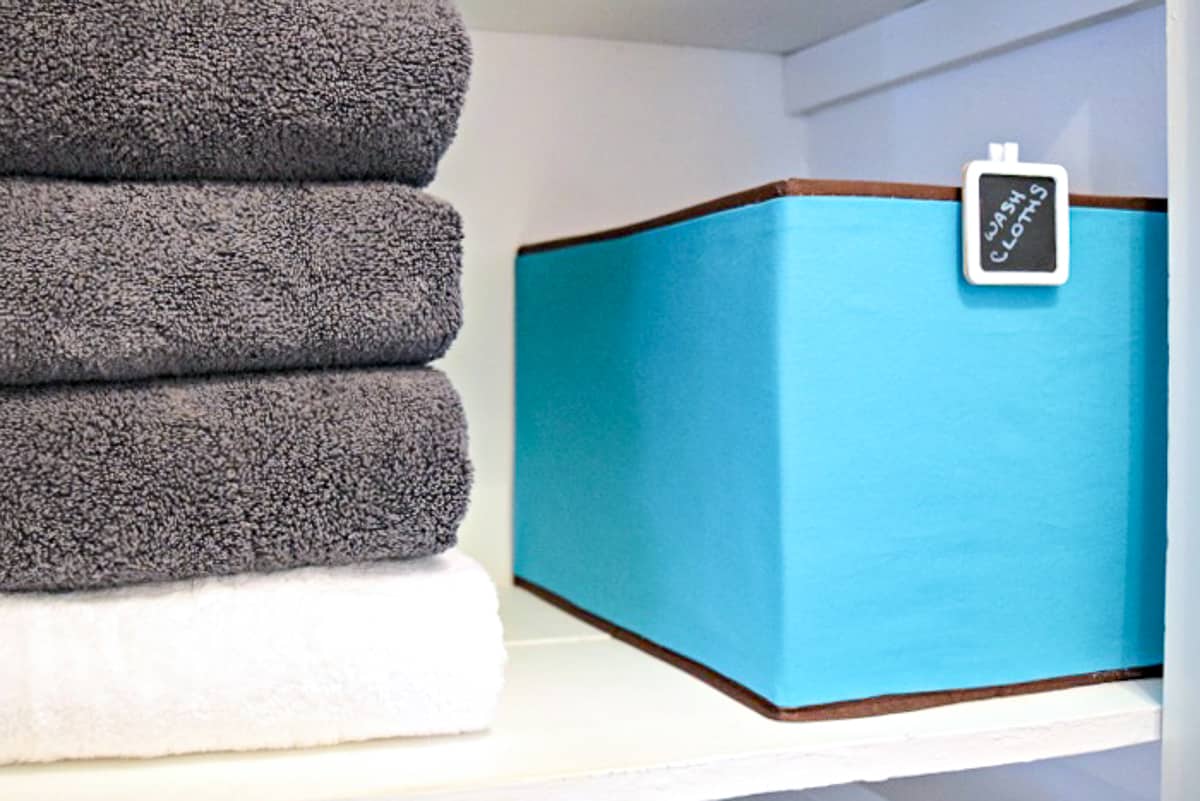

I used these little chalkboard sign pins to label each box, so it's easier to find what you're looking for. If the contents of the box changes, you can easily change the label! It's great to get these linen closet shelves organized!
Check out these other organization ideas!
Jann Olson
Wednesday 18th of July 2018
Very Clever! Thanks for sharing with SYC. hugs, Jann
Sherry
Tuesday 17th of July 2018
Great idea!
Christina
Tuesday 10th of July 2018
This is a great idea! I am imagining this with printed fabric and mix and match styles! :)
Mary-the boondocks blog
Friday 12th of February 2016
What a pretty bin cover. And the colors are very nice. It's always good to be able to customize something to your liking.
Amanda @ The Kolb Corner
Saturday 30th of January 2016
Great idea! I am in dire need of some fabric bins for my living room. Thank you for sharing at Merry Monday!