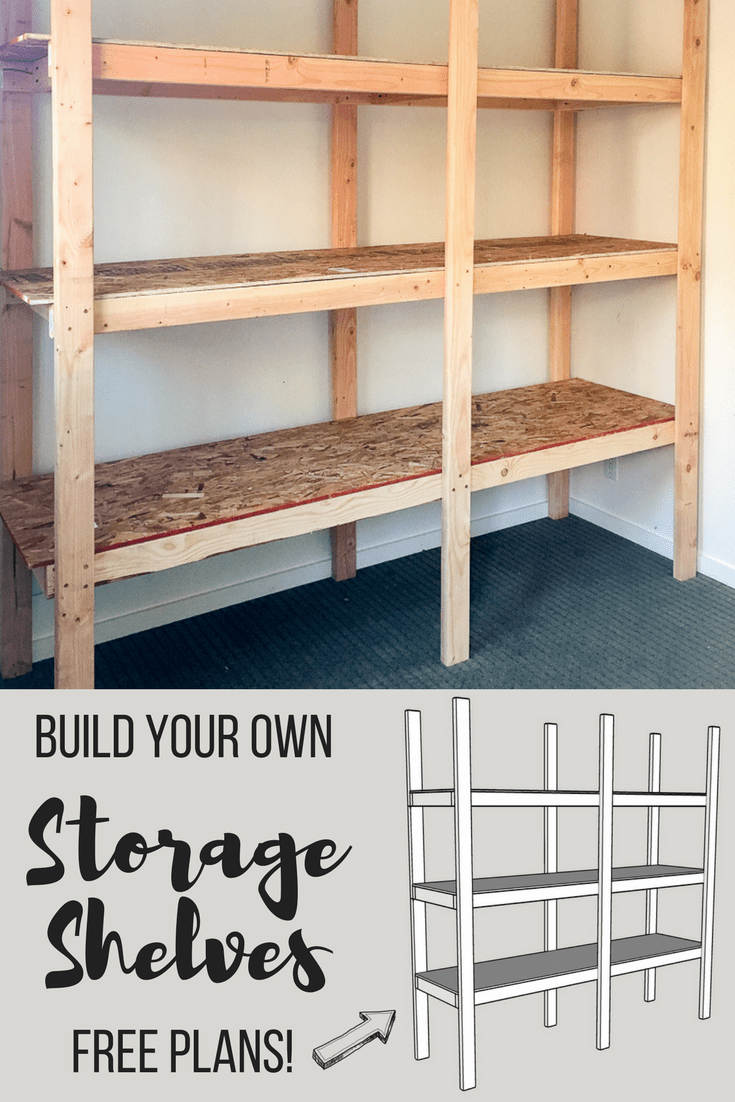
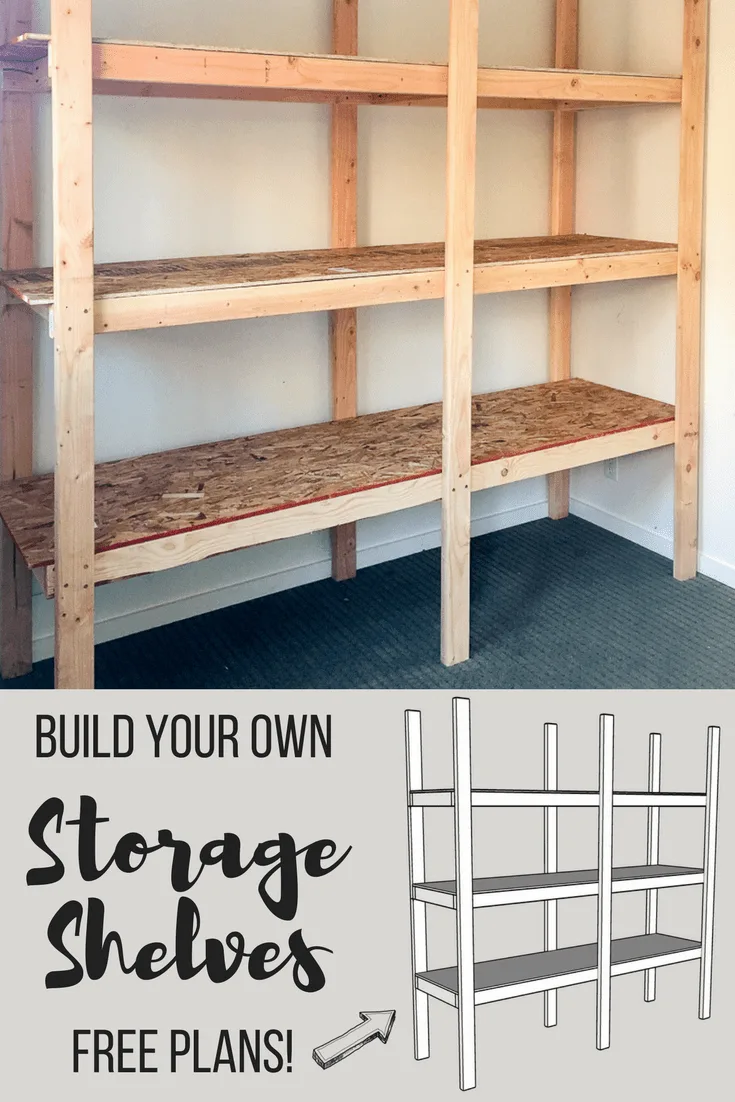
These DIY storage shelves are simple to build with 2x4 lumber and plywood! Download the free woodworking plans and make your own today.
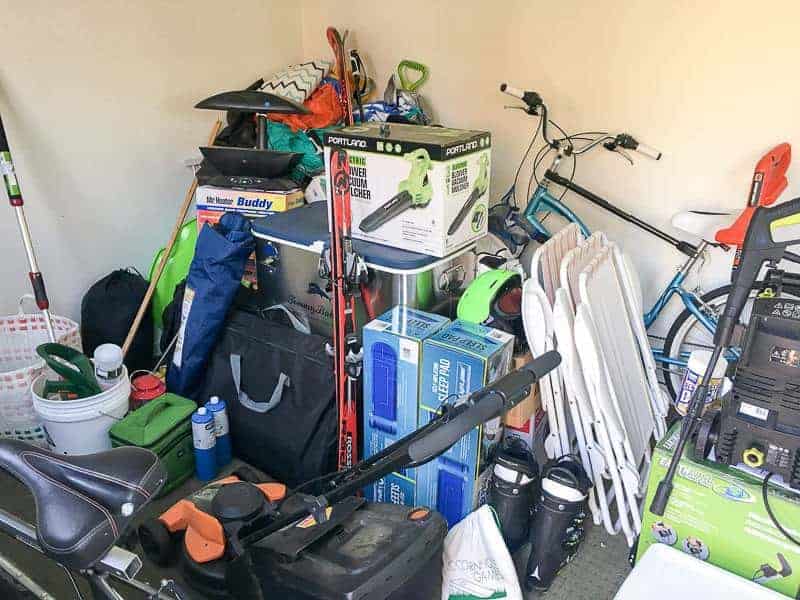
Our backyard shed has become a dumping ground! It's gotten so full of random stuff, I couldn't get our bikes out without rearranging the mess. I've had this simple 2x4 shelving unit on my to-do list forever, and now I regret not building them years ago!
These simple DIY storage shelves require minimal cuts and cost less than $75 for all the materials. If you're looking for a smaller size or a corner configuration, check out my tutorial and plans for these DIY garage shelves instead!
This post contains affiliate links for your convenience. Purchases made through these links may earn me a small commission at no additional cost to you. Please visit my disclosures page for more information.
Materials Needed for Storage Shelves
- 14 - 2 x 4 boards @ 8 feet
- 2 sheets of oriented strand board (OSB)
- 1 lb box of 3" screws
- 2 ½" pocket hole screws (optional)
- Kreg Jig (optional)
- Check out my post on how to use a Kreg Jig to help you decide which one is right for you.
- Square
- Clamps
- Drill
- Miter saw or circular saw
- Level
Download the free plans here!
Getting Organized
Before I could start building, I needed to dig out the mess and get it organized. Obviously, my previous system of throwing everything into the corner wasn't working...

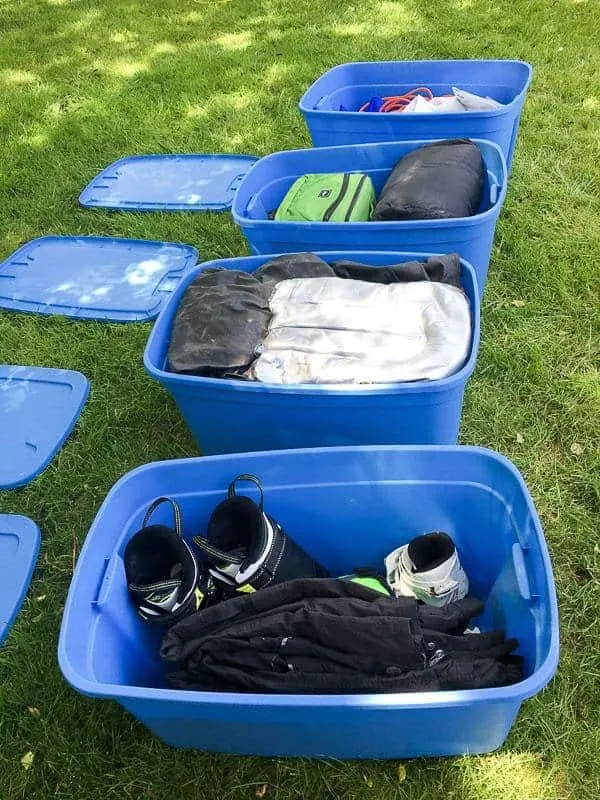
Camping gear was mixed with ski boots. Grass seed and cement sat side by side. The beach bag was filled to overflowing with sand toys. I started grouping like items together into these large totes I picked up from Home Depot.

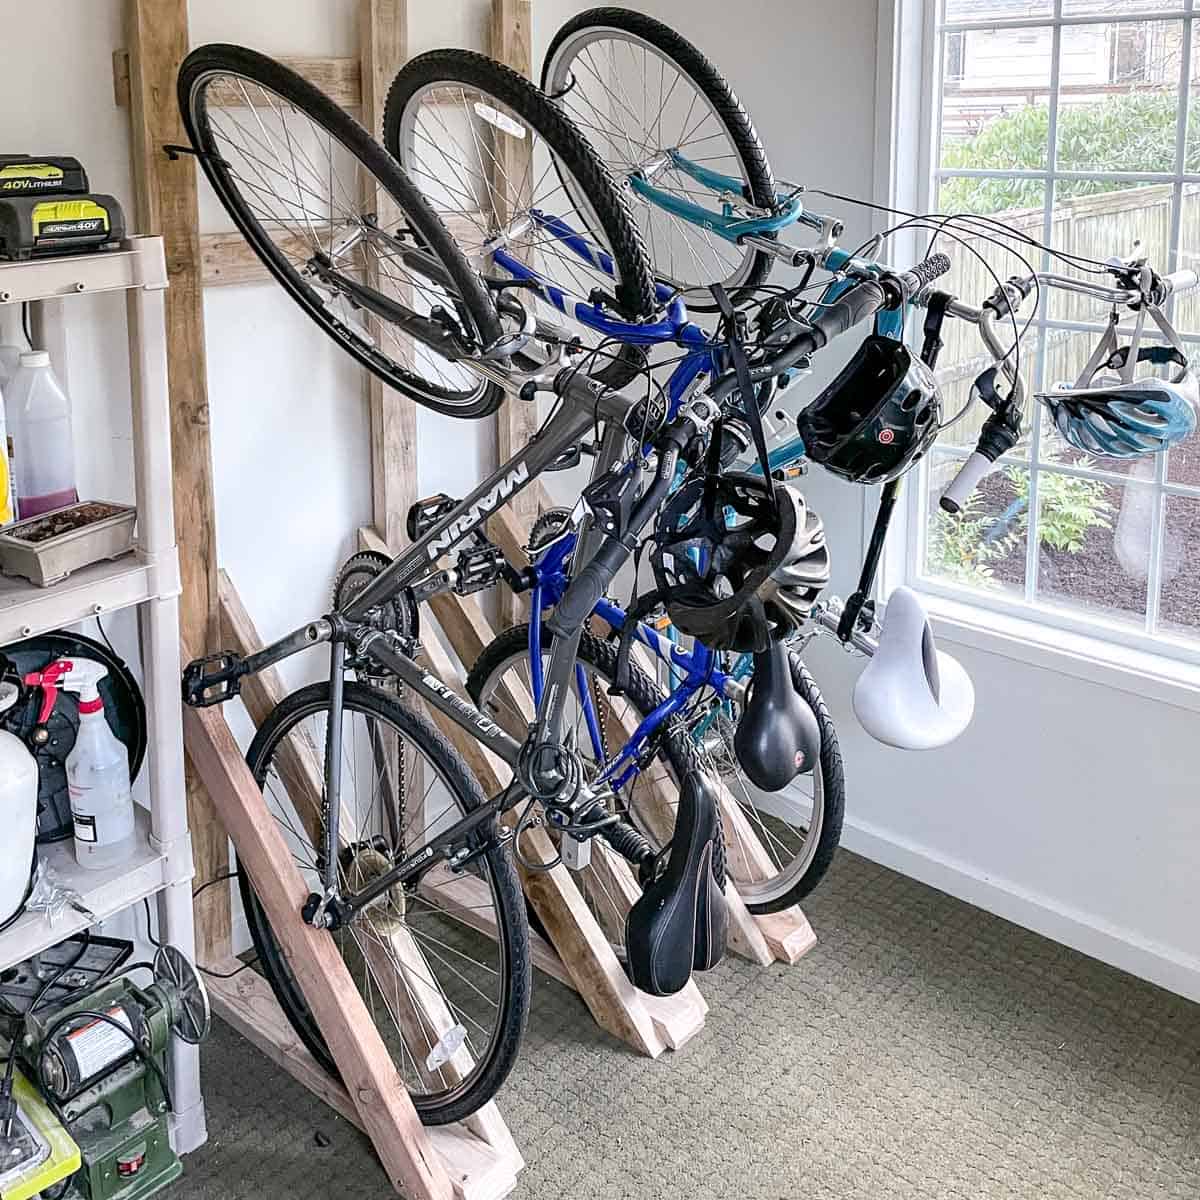
I managed to clear away enough stuff to add this DIY bike rack to the wall opposite the door. Now you can reach my new storage shelves without weaving through a maze of handlebars and pedals! You can find more DIY bike rack ideas here!

Measure your space
The back wall of the shed emerged as the junk was cleared away. It's 9 feet long and 8 feet tall, which are easy dimensions to work with.
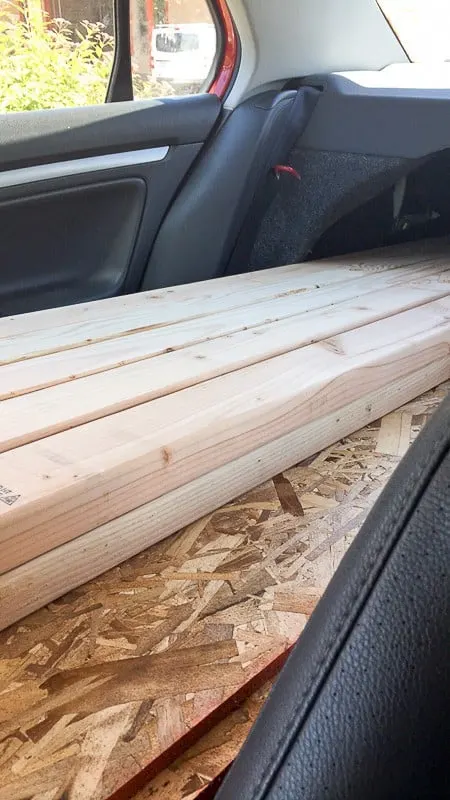
I could use full length 2x4 studs and two 4' x 8' sheets of inexpensive oriented strand board (OSB), which I had cut at the store. You could also use plywood if you don't like the look of OSB. I managed to get it all home in my car without contorting myself into the driver's seat!

Of course, after lugging all that lumber home, I realized the studs I purchased were less than 8 feet long. Oops! It looks a little wonky because the frames are smaller than the tops. But storage shelves don't need to look pretty!

How to Build Storage Shelves
There's two ways to build these shelving units: building the shelves then attaching them to uprights, or building the frames onto the uprights. I started with the former, then switched to the latter when I realized the shelves were too heavy for me to install by myself! I'll show both methods so you can choose which one works best for you.
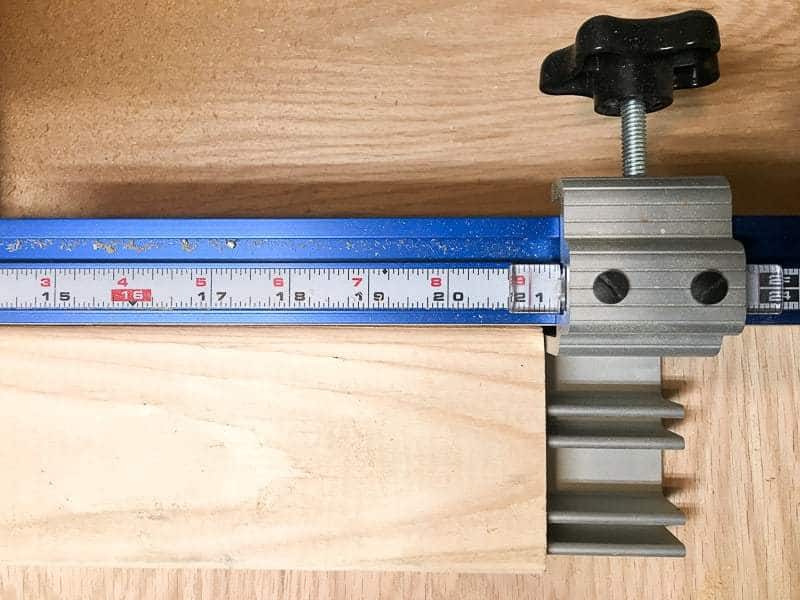
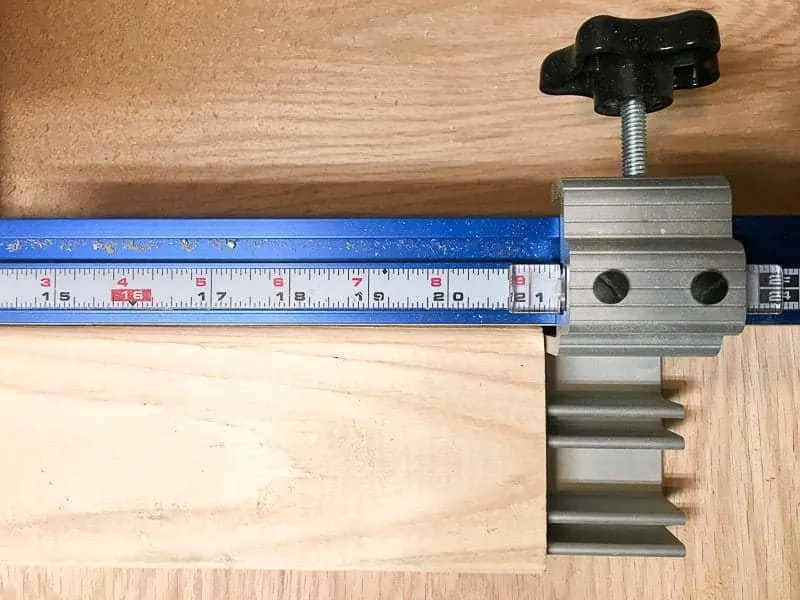
Start by cutting nine 21" long 2x4 boards. I love using the Kreg Stop Trak for making multiple cuts like this. (You can read more about my miter saw stand setup here.)
"Build the Shelves First" Method
Attach three 21" pieces through the front of a 8 foot long 2x4 using 3" screws. You can also drill pocket holes into the shorter pieces and attach them with 2 ½" pocket hole screws. Attach another 8 foot long 2x4 to the other ends to make the frame.

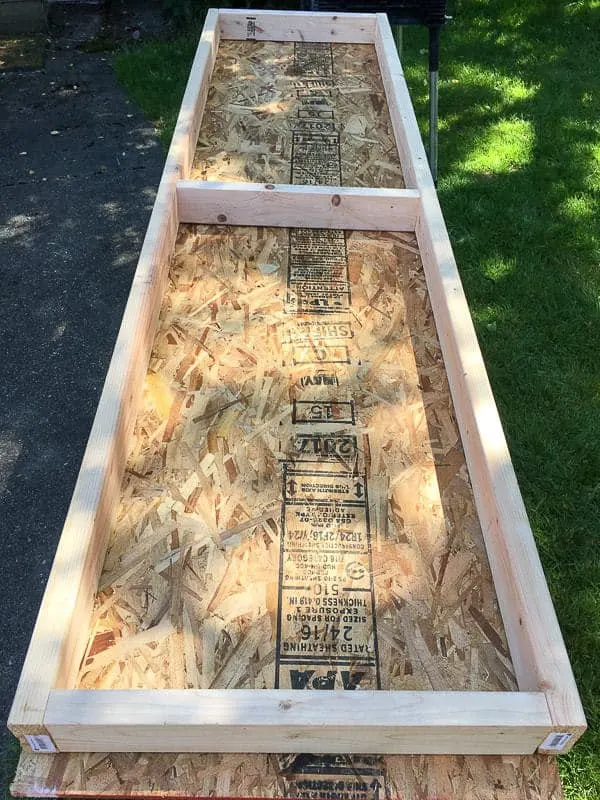
Place a 24" wide sheet of OSB on top of the frame, and screw it into place from the top with 3" screws. Repeat this process for the remaining shelves.

Determine how high you want the bottom shelf to be, and mark that height on three of the remaining studs. Set your first shelf on its side and line it up with the mark on the legs. Check that the stud is square, then attach it to the frame with 3" screws.
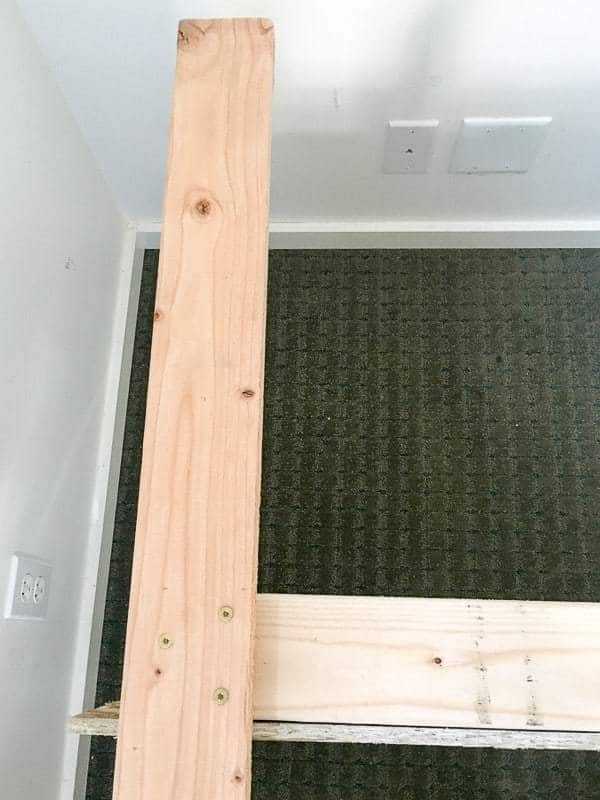
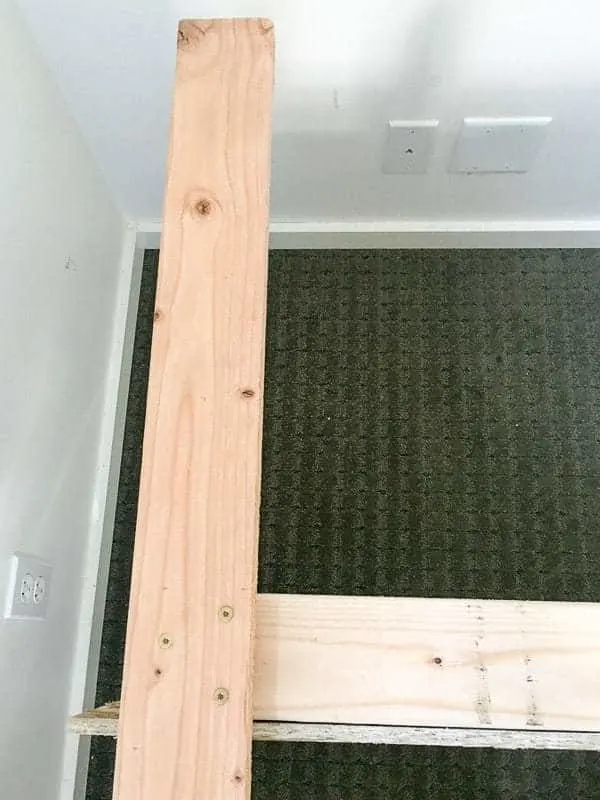
Repeat for the other two legs. Now flip the entire thing over and attach the other three legs the same way. Stand it up, and you have the first shelf complete!

Continue building complete shelves, then attach them to the uprights. Use clamps to hold them in place at the correct height, and don't forget to check that they're level!
I switched building methods after the first shelf went in. There was no way I could lift an entire shelf and screw it into place by myself, and I was far too impatient to wait for my husband to get home to give me a hand. Luckily, the other method was just as easy!
"Build Shelves in Place" Method
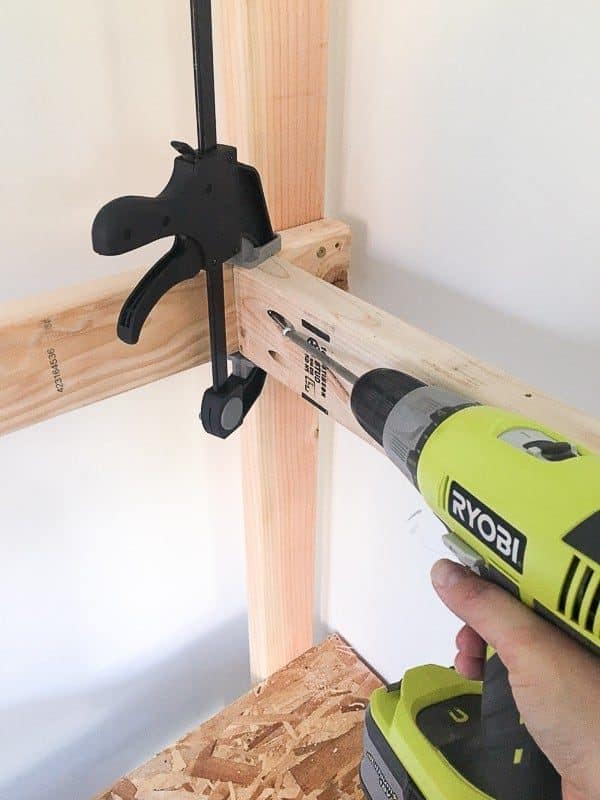
Mark the vertical supports 21" up from the first shelf, and clamp one of the long 2x4's in place. I used the shorter frame pieces to hold the board at the right height while I clamped it into place. Attach with 3" screws, then repeat for the other side.
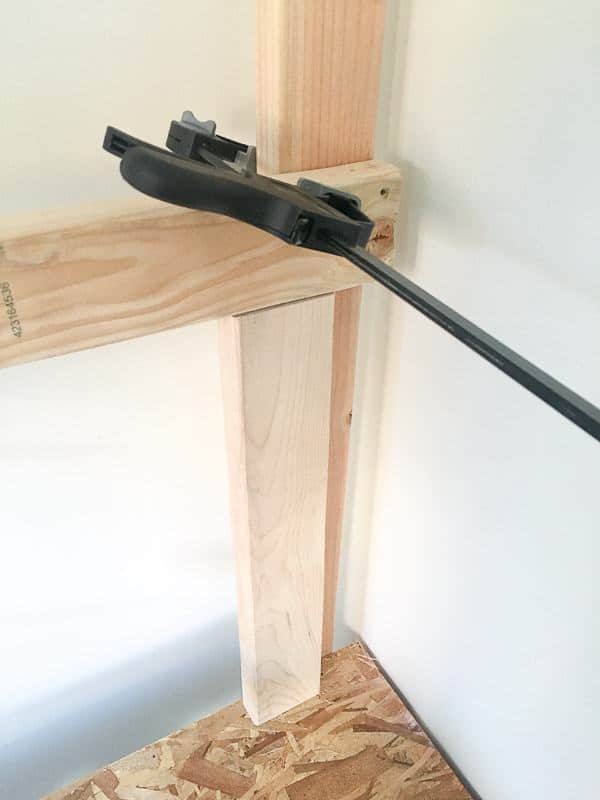
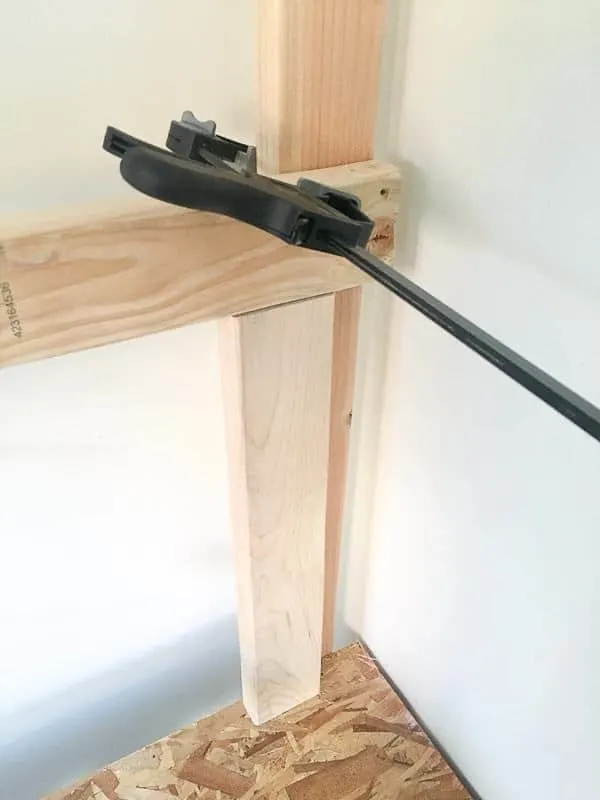
Then, clamp the shorter pieces and screw them into place. I couldn't get to the back side of the shelving unit, so I used pocket holes for these. Offset them a few inches from the vertical supports so you don't hit one of the other screws.

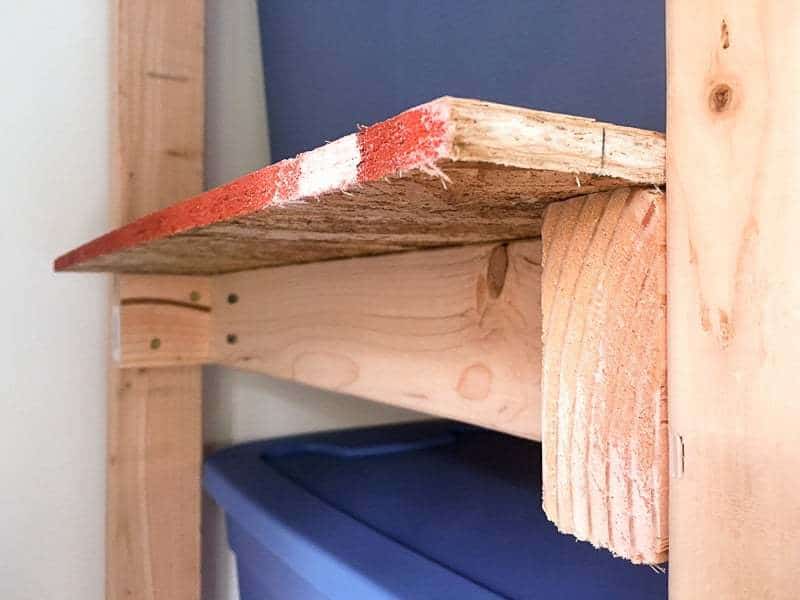
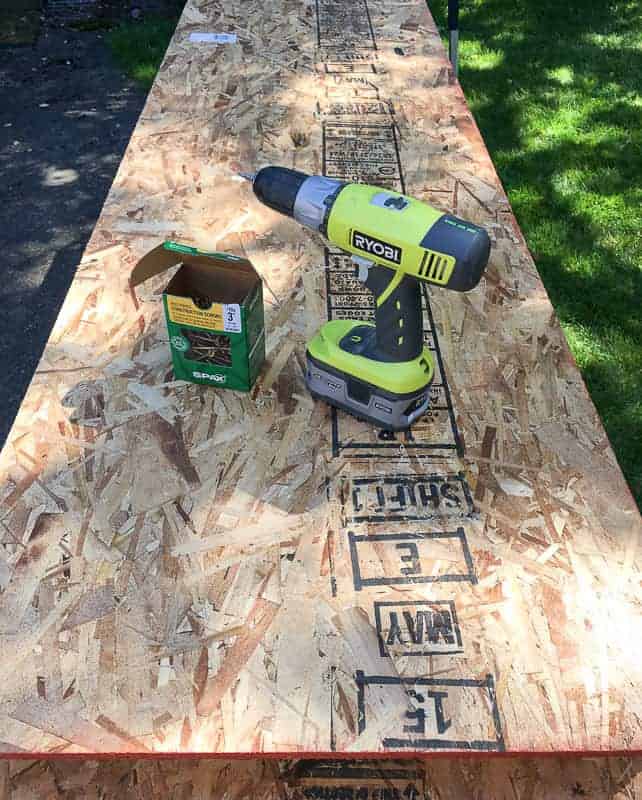
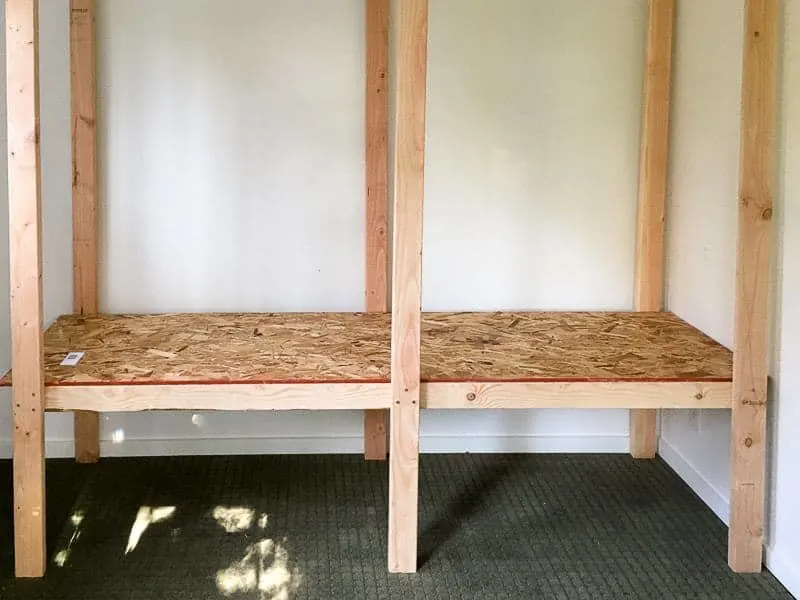
Slide the next sheet of OSB on top of the frame and screw it in place around the perimeter with 3" screws.
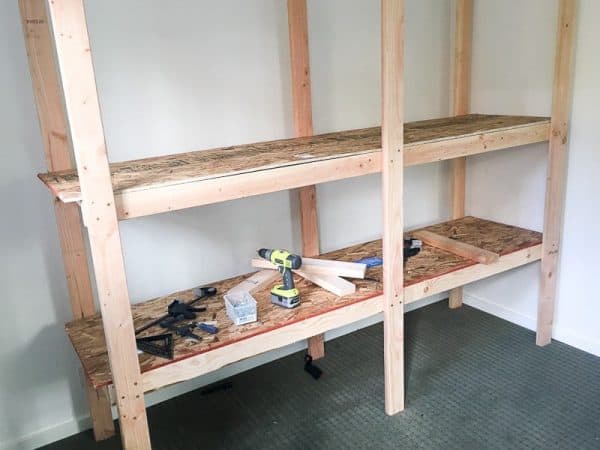
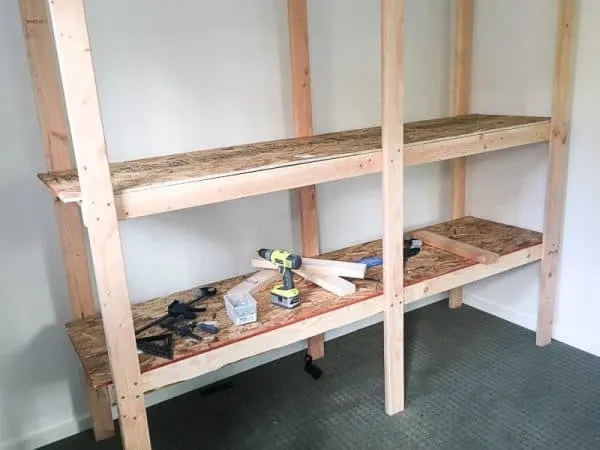
Repeat for the next shelf (you'll probably need a stepladder for this).
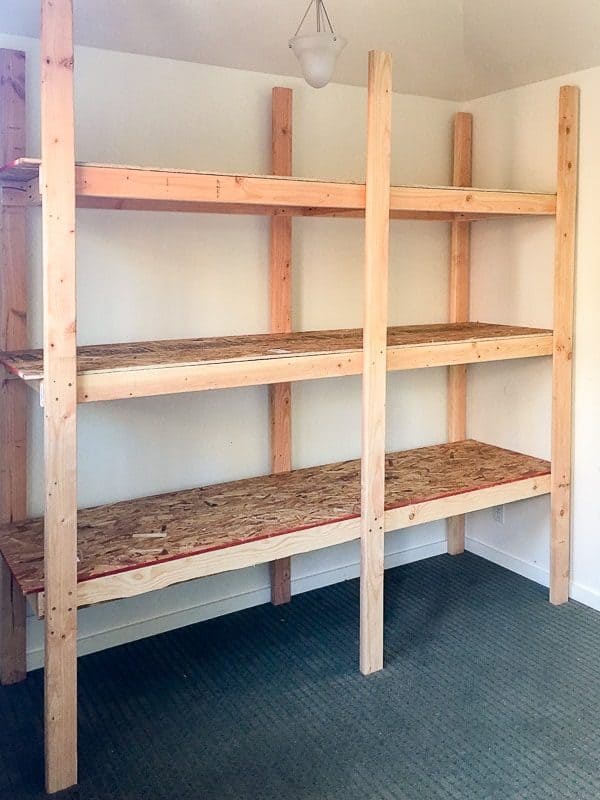

Load up your new shelves!
These shelves provide so much storage in a small footprint. I could easily fit 16 large plastic totes in this space!
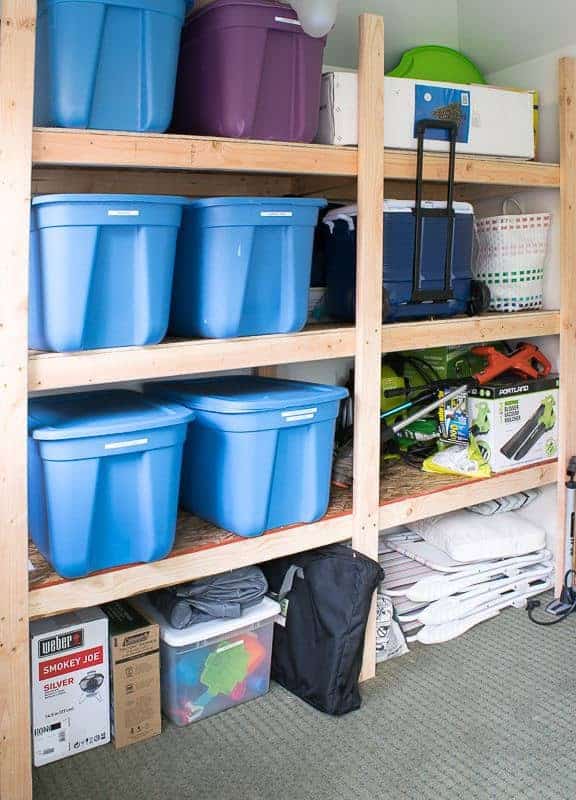
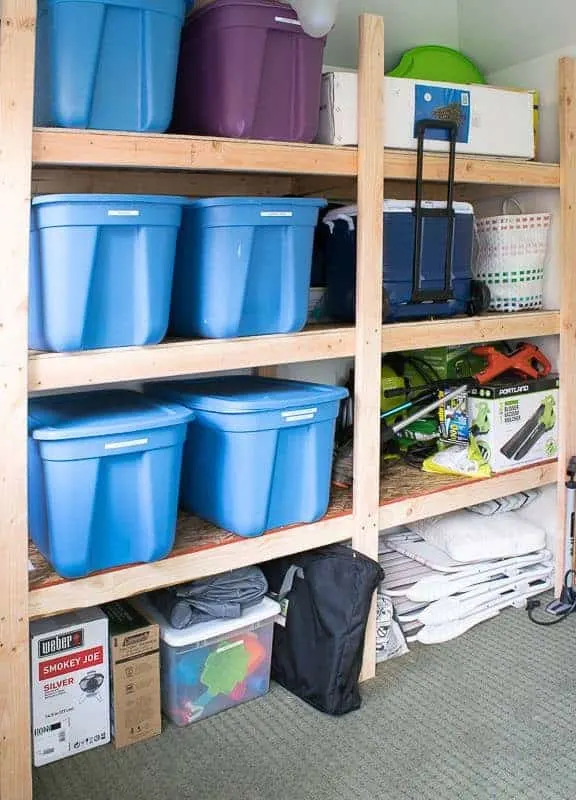
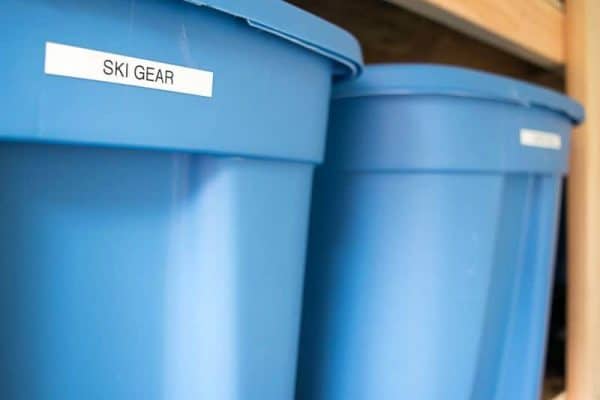
My new bins fit perfectly side by side, with enough room to easily slide them in and out. Don't forget to label them so you know what's inside. I couldn't live without my label maker!

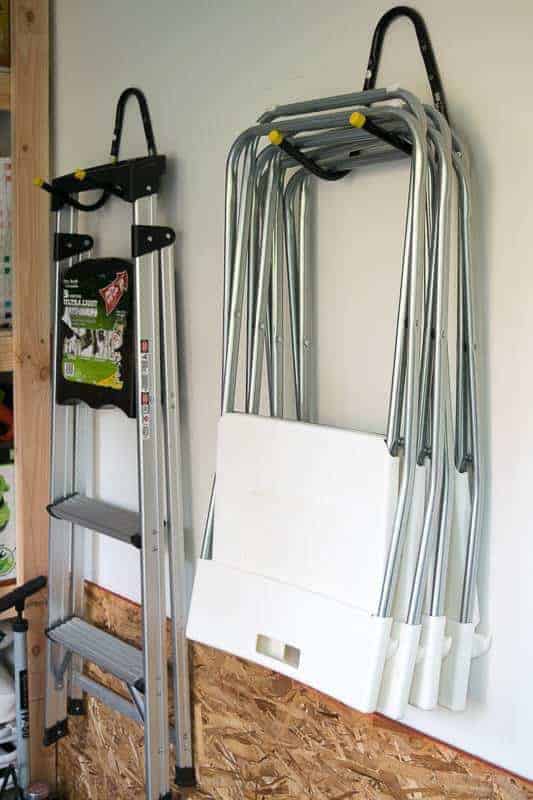
Lightweight, bulky items are mounted on the wall with large wall hooks (I got mine from Harbor Freight, but I found similar ones here). The extra sheet of OSB will come in handy when I need to make a temporary work surface outside. It also helps protect the wall from bike tire marks!

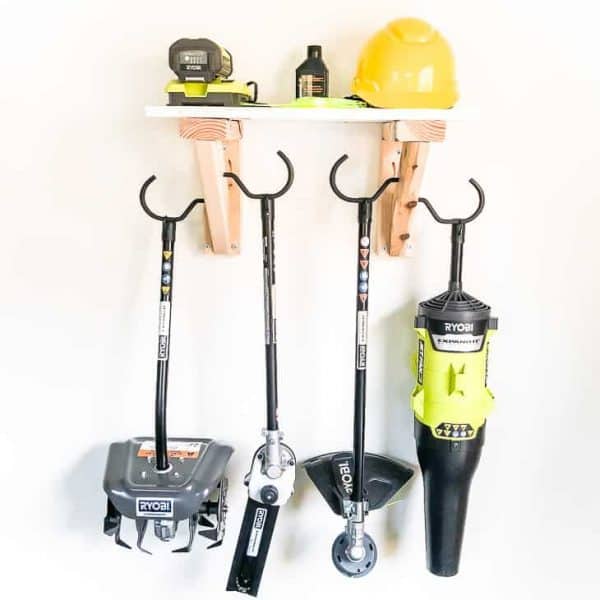
All the landscaping power tools like the leaf blower and string trimmer are stored on this handy garden tool storage rack. You can use the scraps left over from the storage shelves to make this too!

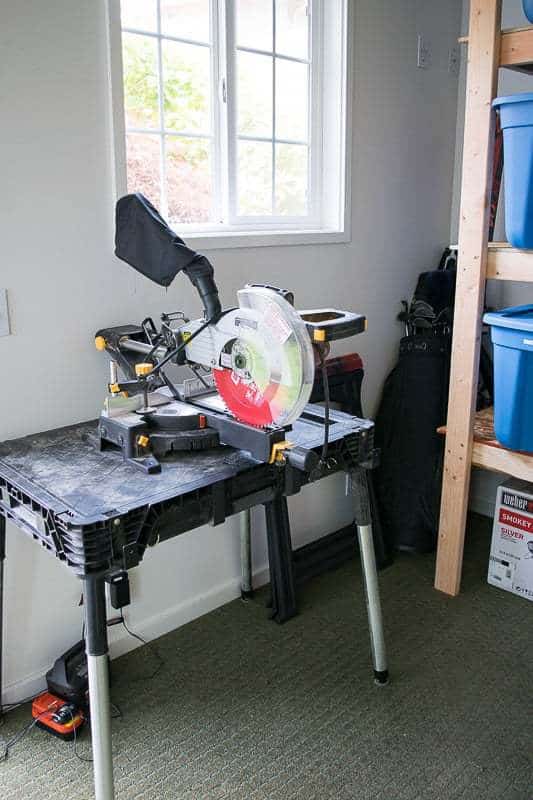
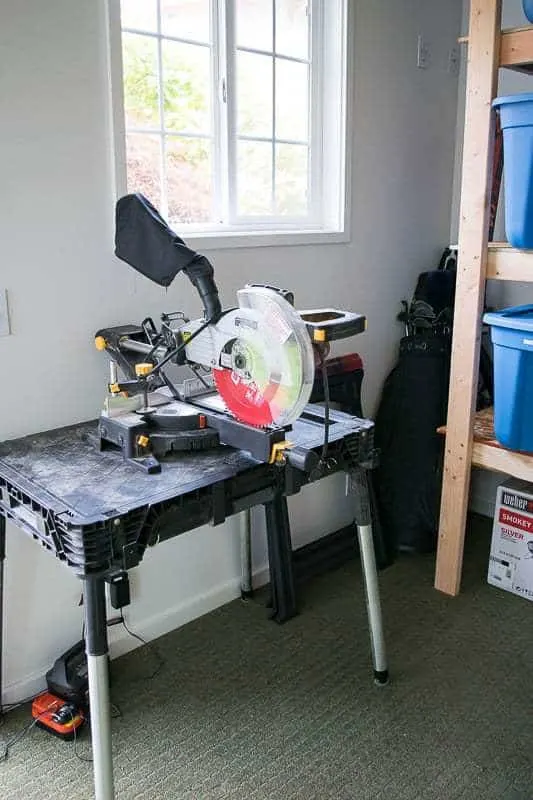
My old miter saw and stand have a new home by the door to make it easy to move into the yard. I can't wait to work outside on sunny days!
I hope these storage shelves help you get your clutter and chaos under control!
Check out these other DIY shelving ideas!
Bailie
Tuesday 8th of January 2019
Just wondering what is the weight capacity for these shelves? I need to build a shelf that will hold something like 150 or 200 lbs of things. I need to know I dont have to worry about them falling or breaking under the weight as the things will be glass terrariums that house live animals. The demensions I'm looking at are 80 1/2 in by 22 1/2 in ( I'll probably round up just for ease of measurement but the wall they are going on is a little over 7 1/2 ft long)... would this same design but down sized slightly be able to hold that sort of weight?
Vineta
Tuesday 8th of January 2019
Good question! A house is typically made from 2x4's like these shelves, with the boards spaced 16" apart. Your dimensions are pretty close to that, and considerably less weight than a house! I would add more 2x4s under the shelves and use 3/4" plywood instead of OSB for added strength. But it should hold 150 to 200 pounds just fine!
Andrew
Friday 16th of November 2018
This one is exact what I want for my garage. Just bookmarked it and going to get materials. Nice guide!
Angelina
Wednesday 25th of April 2018
This is a great tutorial! I'll be featuring you tomorrow as part of Thursday Favorite Things!
Rhonda
Thursday 19th of April 2018
I'm picturing these shelves filled with canned good from my garden. I'm Pinning this post. Thanks for sharing your post on Sunday's Best.
Christine
Wednesday 18th of April 2018
I can think of so many spots where I could use those shelves! Thanks for linking up at the Dishing It & Digging It Link Party. Hope you made some new friends and had fun! Have a great weekend!