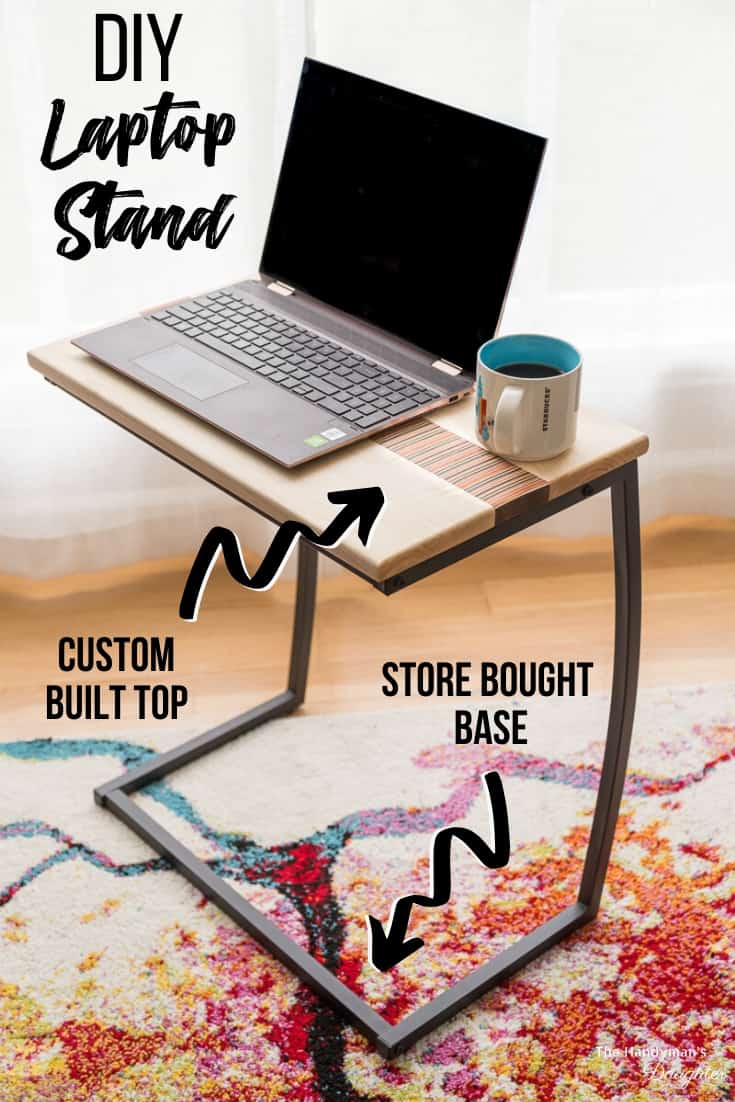
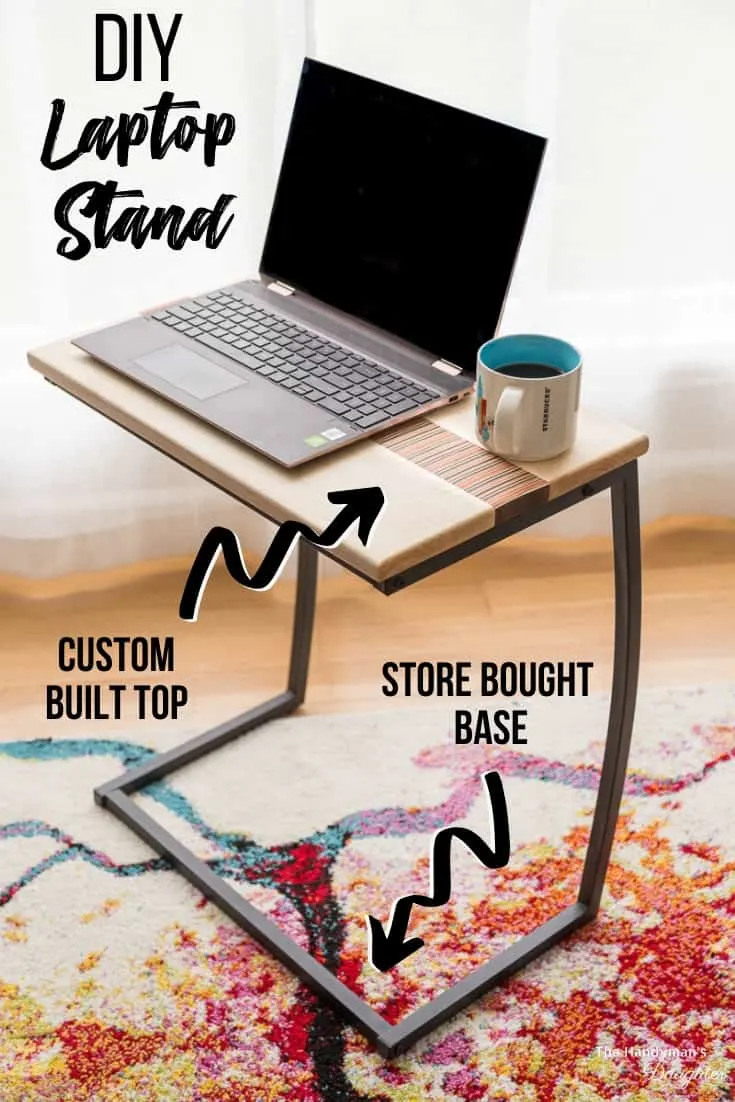
This DIY laptop stand uses a store-bought metal base and adds an amazing wooden top made of maple and colorful skateboard veneer! It also makes a great side table that takes up very little space.

I recently bought a new laptop to keep up with all the demands of blogging and video editing. It's significantly larger and heavier than my old one, which makes it harder to balance on my lap while sitting on the couch. Our living room doubles as my office, and I need a laptop stand that doesn't take up a lot of space next to the couch.
This post contains affiliate links for your convenience. Purchases made through these links may earn me a small commission at no additional cost to you. Please visit my disclosures page for more information.
I thought about making my own laptop stand completely out of wood, but I was worried about the stability. A metal base would be much sturdier, and can take a beating when our living room gets rearranged for photo shoots. Unfortunately, I don't know how to weld (and I can't afford to pick up yet another hobby!)
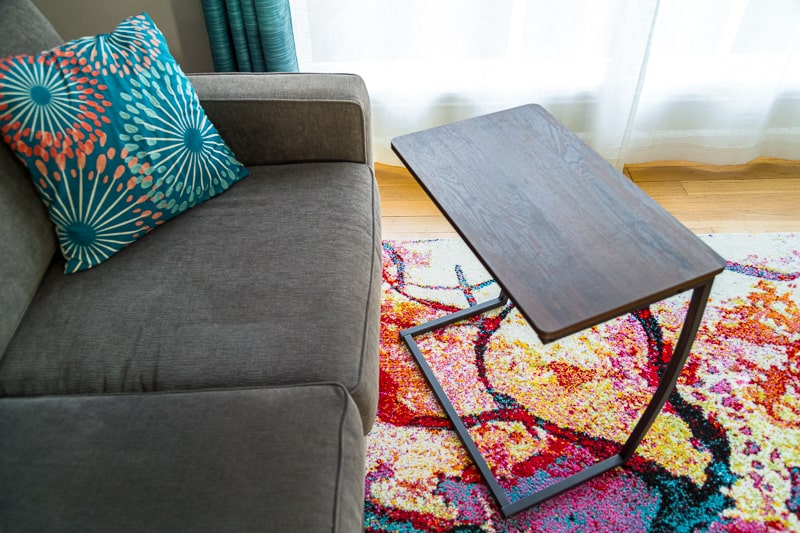
After a brief search, I found this laptop stand with a metal base. I love the curved legs, and it's the perfect width for sliding over the ottoman so I can still put my feet up. Unfortunately, the top was beyond ugly! The dark, fake wood doesn't match anything in the room, and feels like plastic. Yuck!

Luckily, I can change that! The existing top will serve as a template for a new version that looks a million times better!
Want to elevate your laptop or monitor on your desk? Check out this DIY laptop stand! You can also find more laptop stand ideas here!

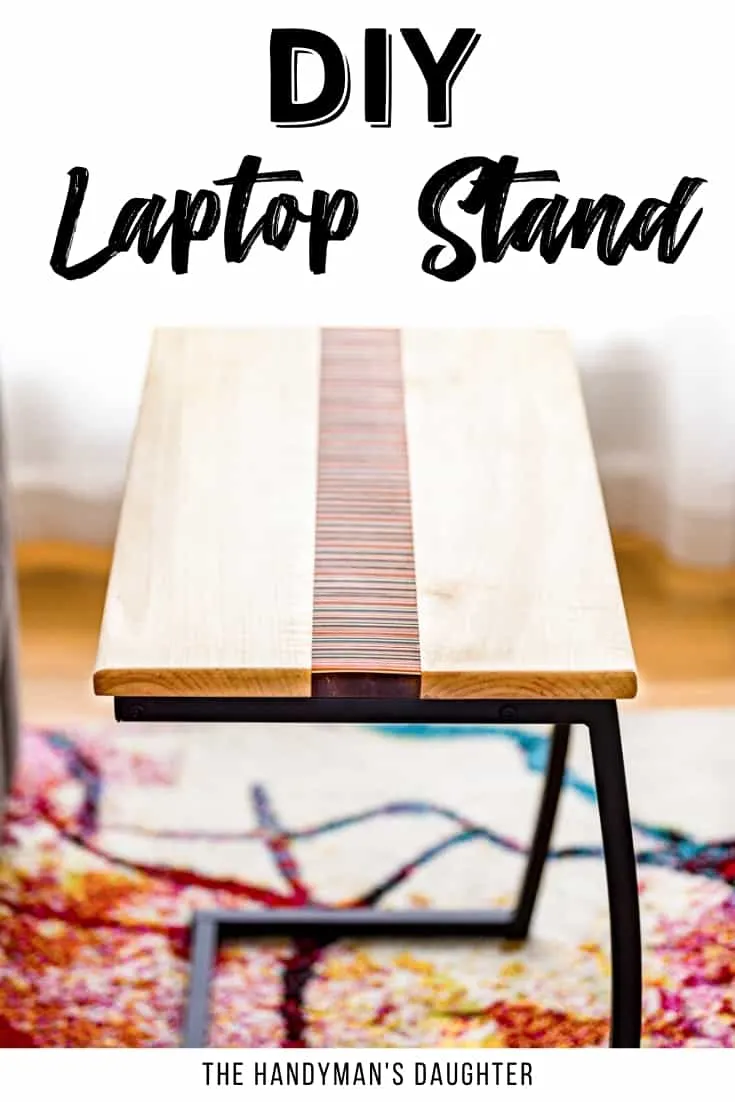
This new top is inspired by the combination of maple wood and recycled skateboards like the ones I used in this DIY candle holder. The neutral, light wood tones complement the colorful dyed wood perfectly, and coordinates well with the rest of the living room. Of course, you could use any type of wood for this DIY laptop stand top!
Materials Needed
- Laptop stand with metal base
- One 1x6 board (I used maple to match the natural tones in the skateboard layers)
- Broken skateboards
- You can also get dyed wood veneer if you want to use specific colors. I buy factory seconds from a skateboard manufacturer so I have a lot of colors to mix together.
- You could also use a contrasting wood for the center stripe. Walnut and maple together would look gorgeous!
- Wood glue
- Titebond III gives you the longest working time, which is helpful when dealing with all those layers!
- Table saw
- I recommend using a crosscut sled and a stop block to cut the skateboard into uniform strips.
- Clamps
- I used Bessey REVO Jr. clamps to make the panels, and trigger clamps to hold the layers of skateboard together as they dried.
- Trim router with roundover bit
- You could also sand the edges until they're rounded over if you don't have a router.
- 1 ¼" screws to attach top to base (I used pocket hole screws because their heads are slightly larger and didn't slip through the holes in the metal frame.)
Don't forget your safety gear when woodworking! Here are my recommendations for safety glasses and ear protection. No excuses!
How to Make a Custom Top for a Laptop Stand
Pick your Pattern
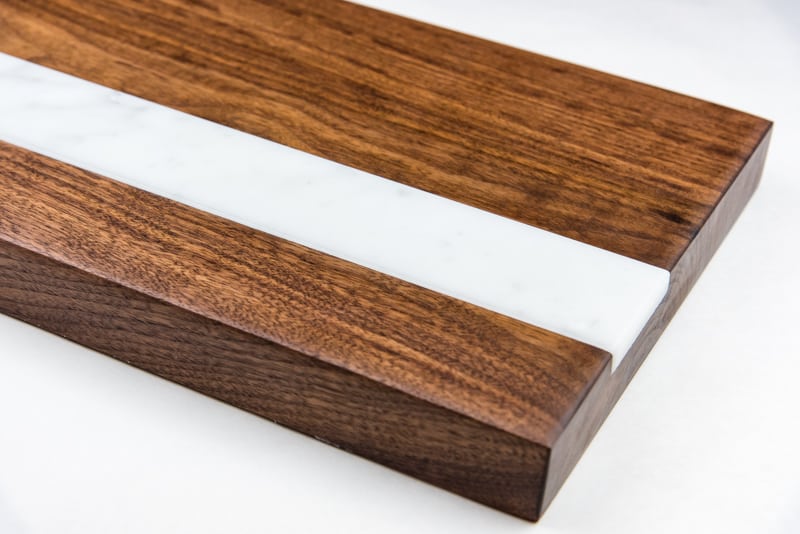
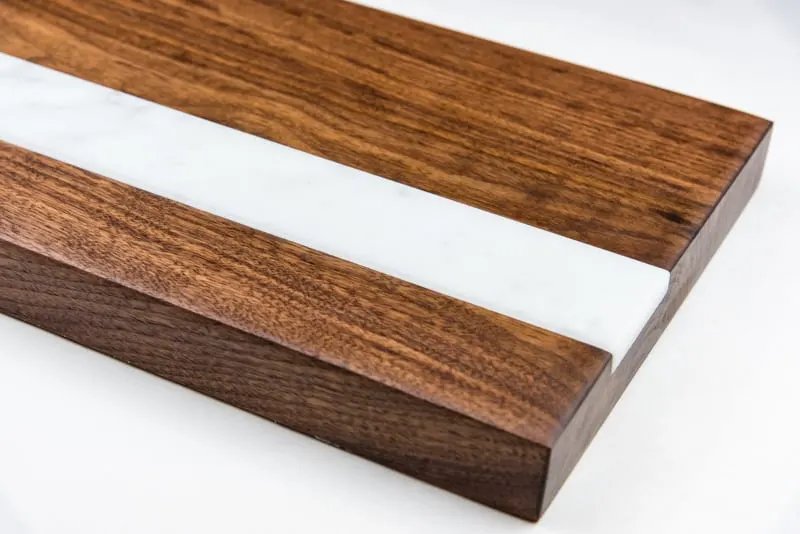
Originally, I thought I would make this project the same way as my cutting board with marble inlay stripe, with a recessed section for the skateboard wood. But a thick piece of maple is expensive and hard to find, and this method allows you to use a single 1x6 board for both sides of the stripe instead.
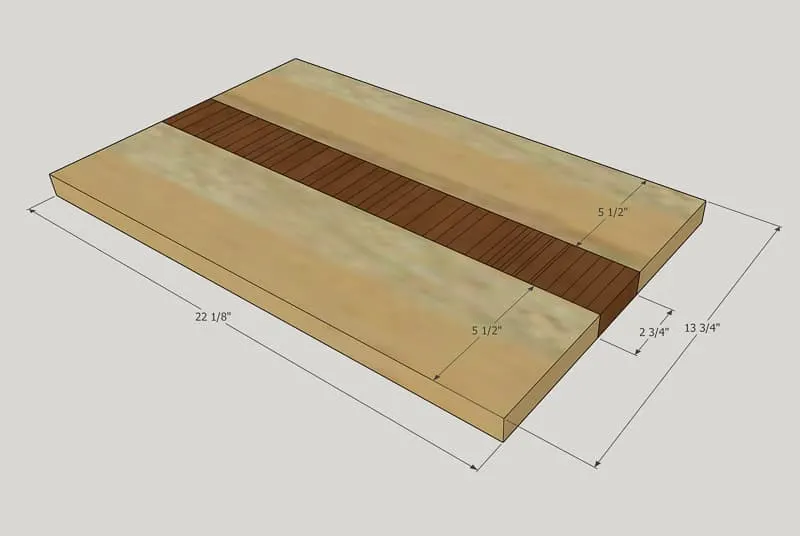
I wanted to keep the same dimensions as the original laptop stand top, but split it up into fifths. The top and bottom are each ⅖ of the total width, and the center stripe is ⅕. The math worked out nicely, so that the top and bottom are 5 ½" wide, and the center strips is 2 ¾", for a total width of 13 ¾". I drew out the design in SketchUp first to see which proportions looked the best.

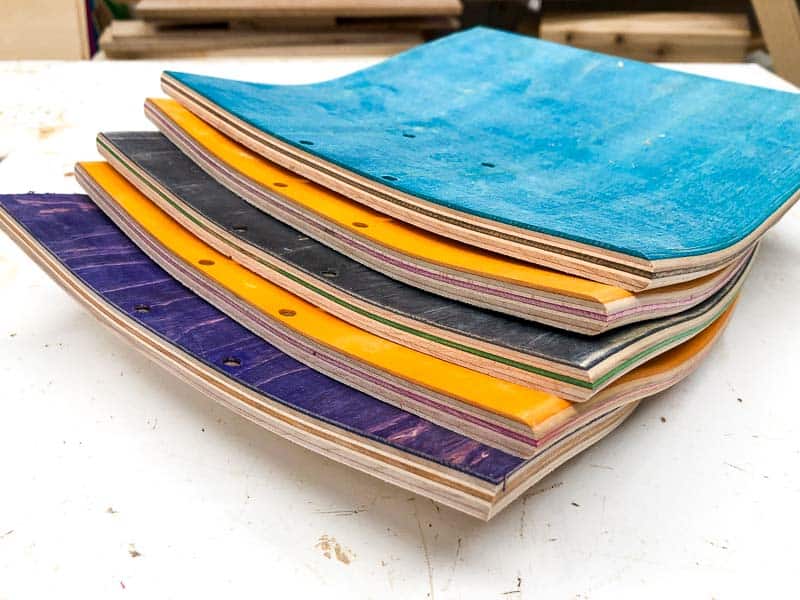
Next, I went through my stack of skateboards and picked out the best color combinations. I used four different ones for variety, but only used about half of each board. Save the rest for another project!

Cut the Skateboards into Strips
If you're using solid wood instead of skateboard for the center stripe, you can skip straight to the glue up step below. For the crazy people who like making a ton of work for themselves, continue reading! 🙂
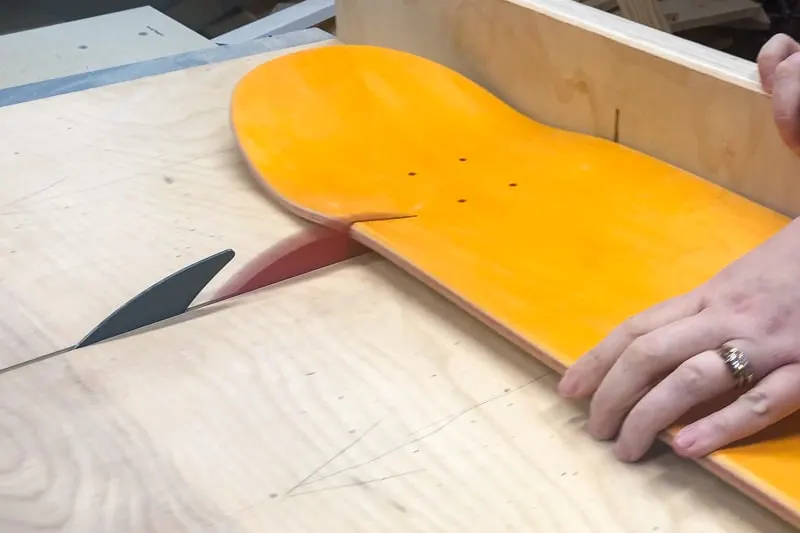
Cut off the nose and tail of the skateboards first, right where the holes for the wheels are. There are a lot of different curves in a skateboard deck, and it's just easier if all your strips have the same curve.

Measure the thickness of the maple board, then clamp a stop block to your table saw crosscut sled to ⅛" more than that measurement. Why bigger? I cut mine to ¾", and some of the skateboard strips ended up a little too small after extensive sanding!


Since the skateboard is curved, set the table saw blade height to the highest point of the curve. Then slide the skateboard up to the stop block and start making the strips. I cut about 10 of each color.

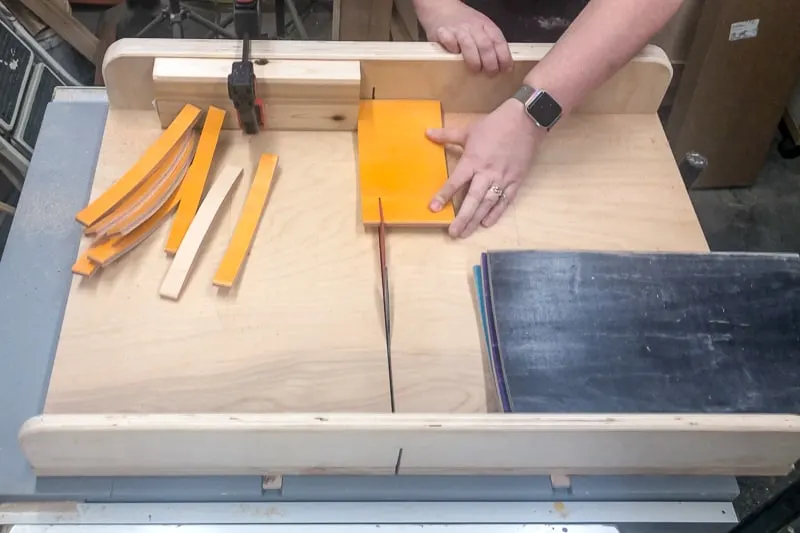
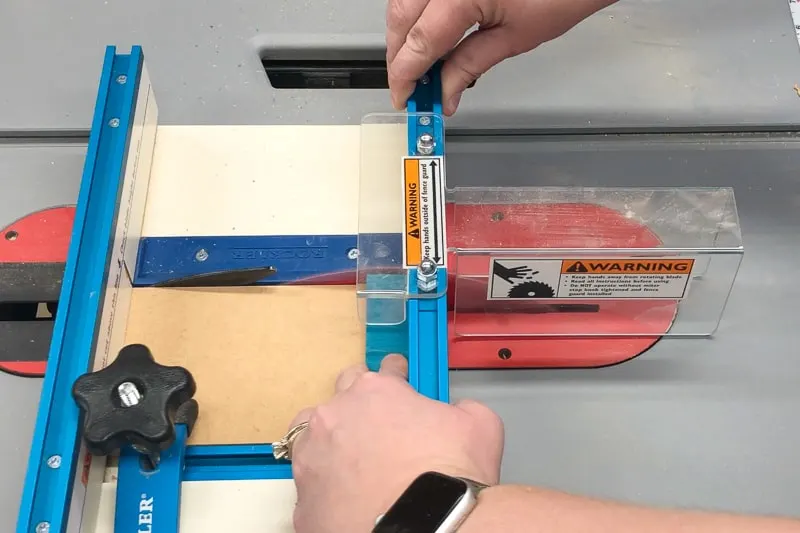
Next, trim off the curved ends and cut each strip in half. I used the Rockler small parts sled for this step, but you can use a regular cross cut sled or even the miter saw instead.

Glue Up the Skateboard Strips
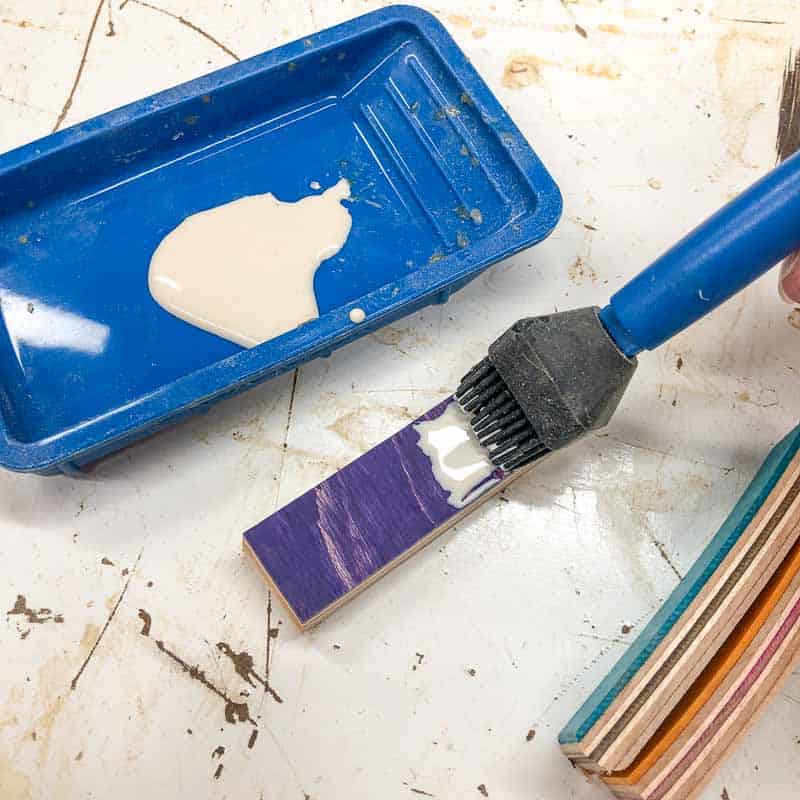
Here's the tedious part! It's difficult to press the strips flat when working with a big stack, so I worked in smaller blocks instead. Apply wood glue to both sides of each strip to make sure all the surfaces are coated. Titebond 3 works best because it stays wet longer so you can get all the strips coated and clamped with time to spare! A glue brush also helps keep the sticky mess to a minimum.

Set two parallel clamps next to each other, and place each skateboard strip across them after they're glued up. I like to use a scrap of melamine on the top and bottom of the stack so the strips have something flat to press against, and the wood glue won't stick to the melamine.
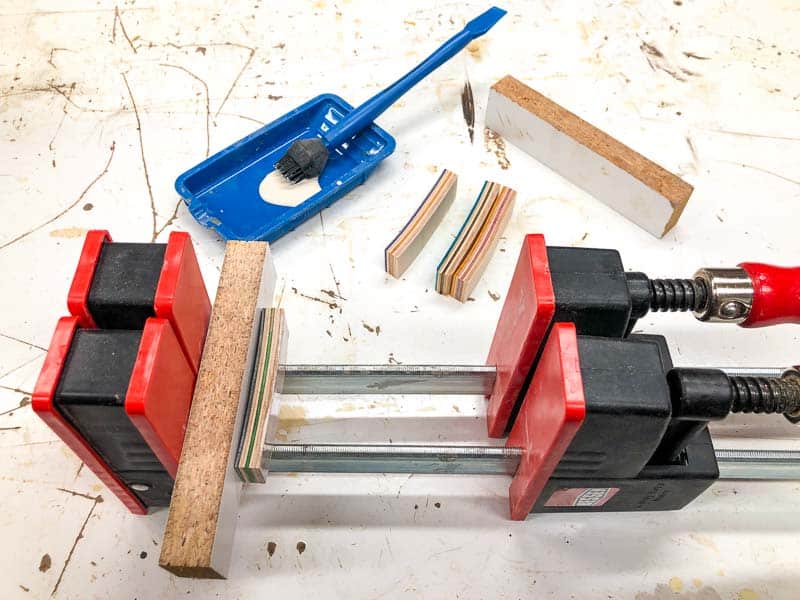

Try to straighten out the bend in the boards with the clamps. With enough pressure and wood glue, you should be able to get pretty close! You can see how it's not completely straight on the bottom right side. The strips are longer than I needed so I can trim off the ends that didn't cooperate!
Trim Blocks and Glue Them Together
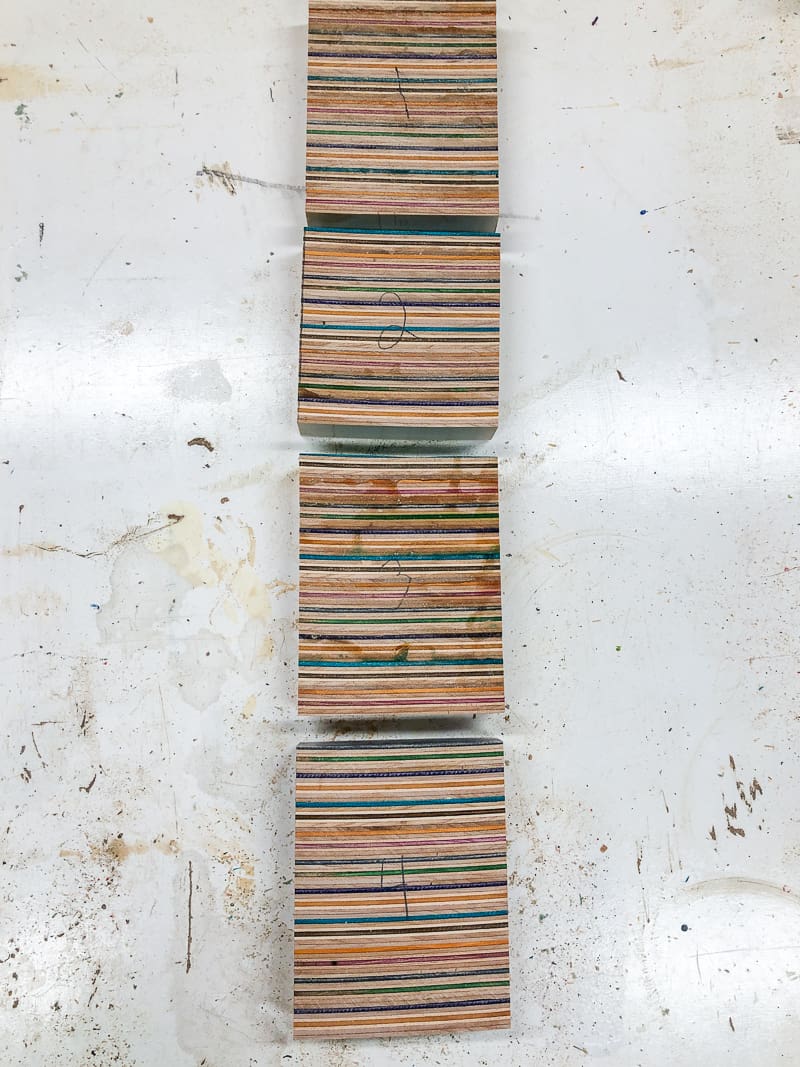
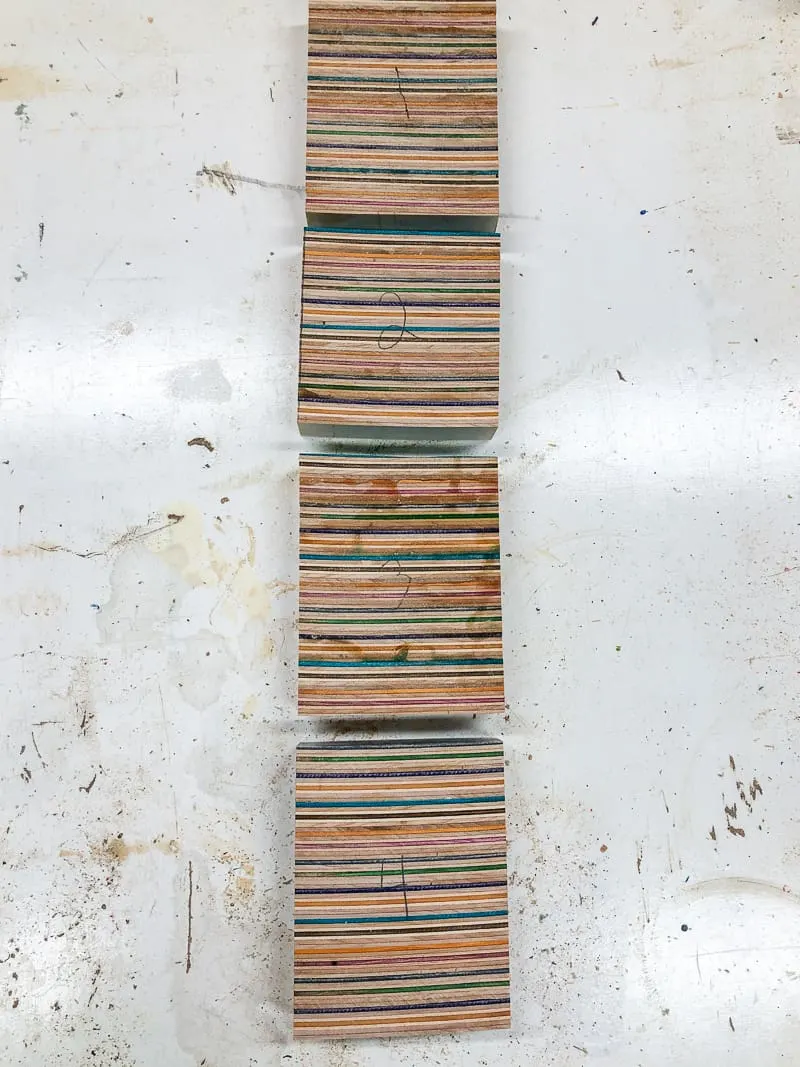
After each block dried, I trimmed off the rough edges, keeping the straightest lines. Then glue two blocks together to form a larger 4" block. Once you have enough to span the length of the laptop stand, arrange them in the correct color order and number them so you don't get them mixed up!
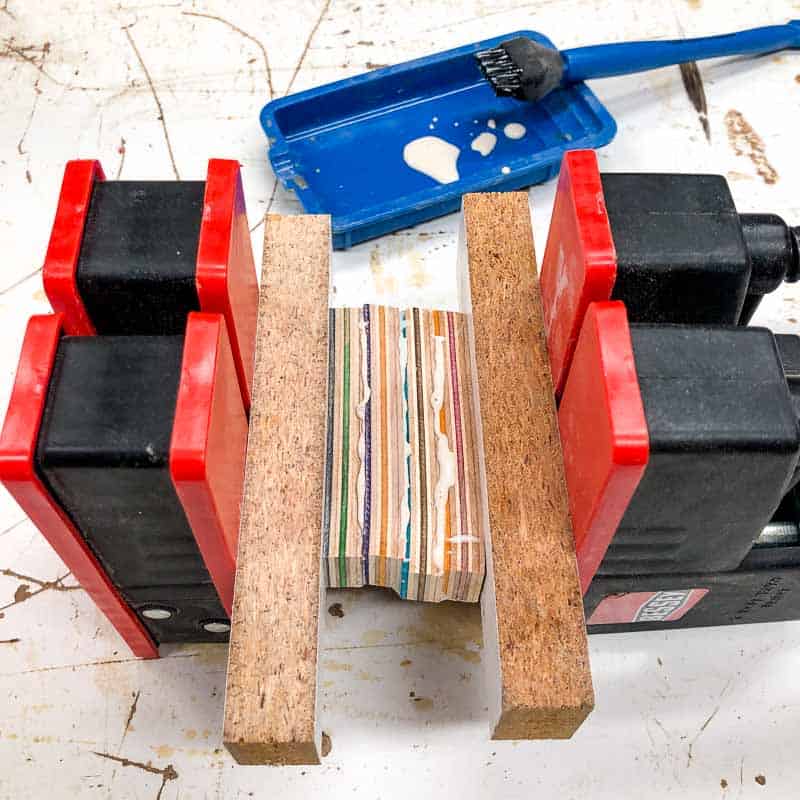
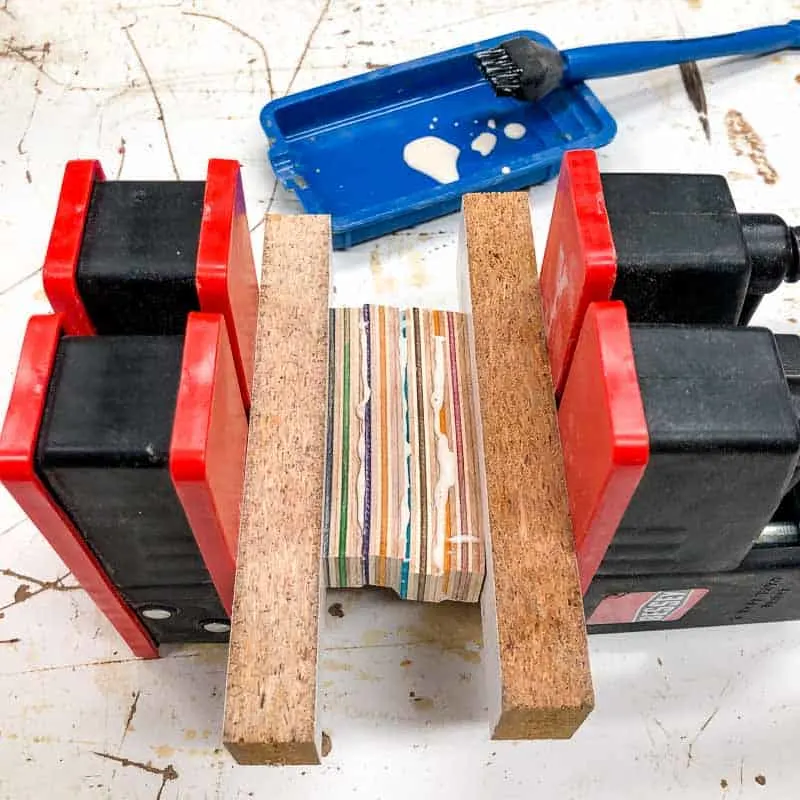
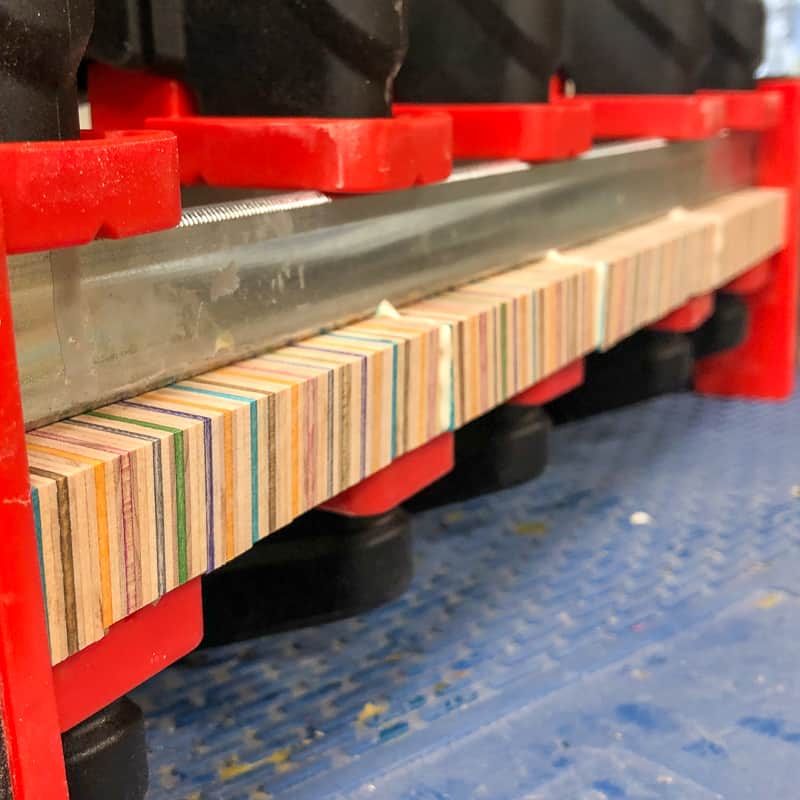
Sand off any glue blobs that squeezed out from the "good" side of the blocks, so it can lay flat on the clamps again. Then repeat the gluing process to join the 4" blocks together. You can see here how the metal bar of the clamp on top keeps all the edges aligned and flat, with more clamps holding the wood to the metal bar.

Once everything is dry, use the table saw to trim the long blocks down to their final dimension. Whew! Skateboard wood may be pretty, but it's a lot of work! 🙂


Glue up the Laptop Stand Top
If you used solid wood like a normal person, here's where you start!
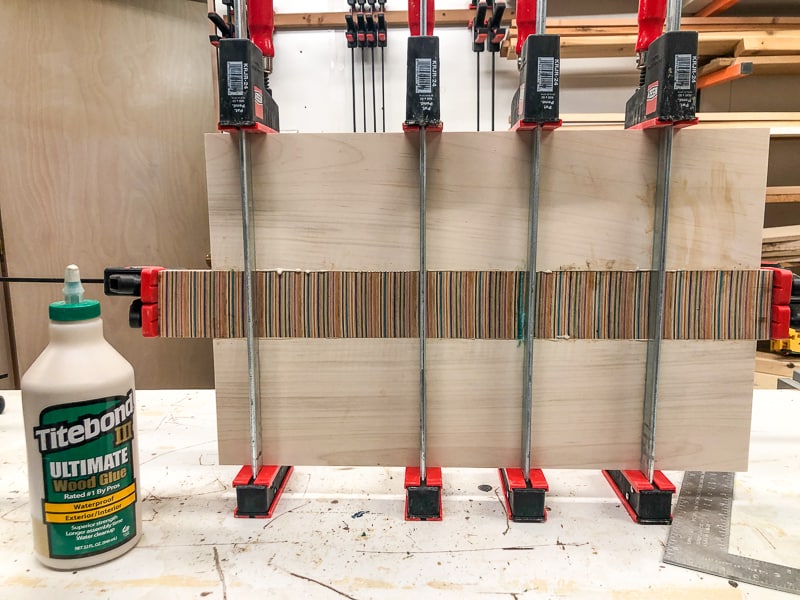
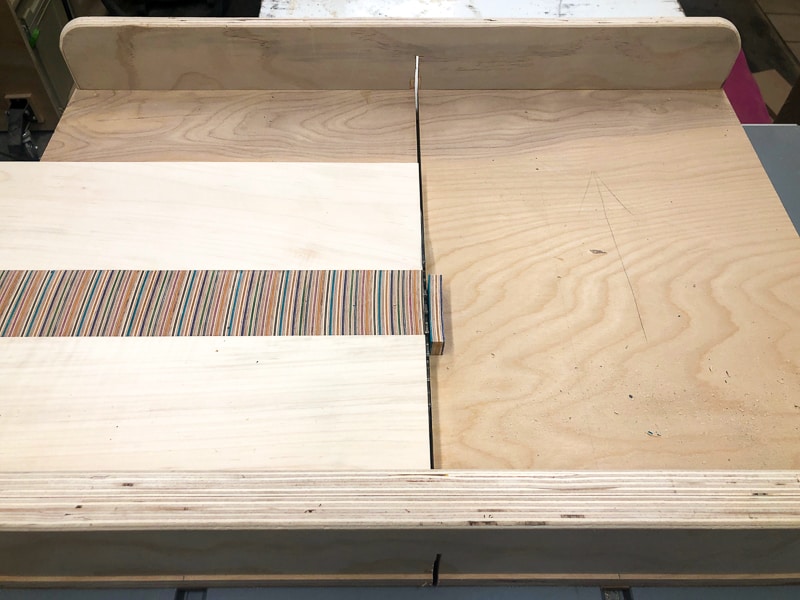
Apply wood glue to both sides of the center stripe, then clamp all three parts together. I used a large metal square to make sure that the two maple pieces were aligned. As you can see, I tried to clean up the wood glue too early and it made a mess on the right side that took a lot of sanding to fix. Just leave it to dry overnight, then sand or scrape off the blobs later!

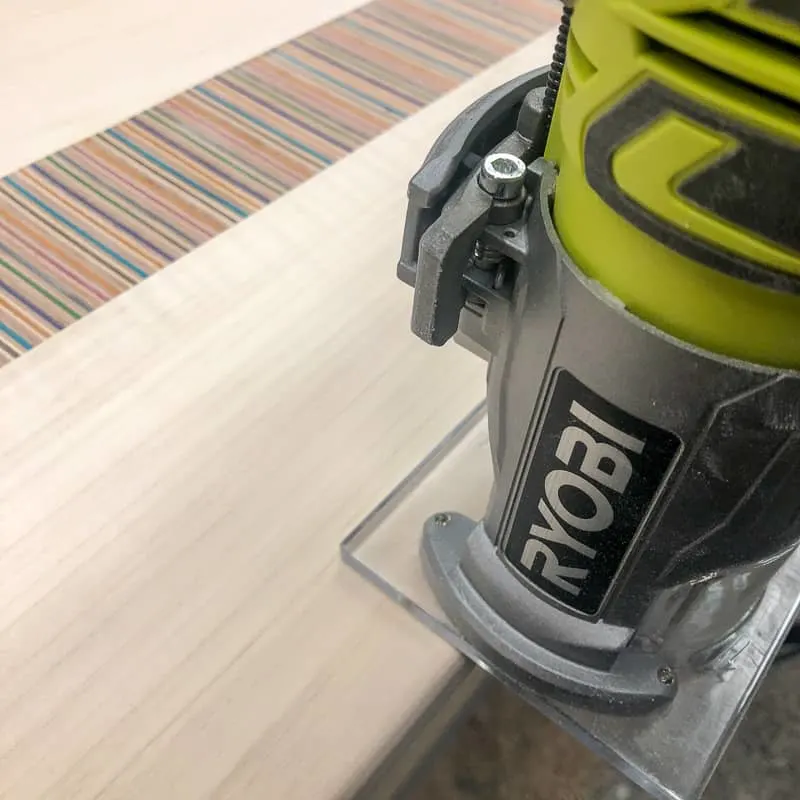
Trim off Excess and round over the edges
Once the glue is dry, trim the top to the final dimensions on the table saw.

Sand with 80, 150 and 220 grit sandpaper until the joints feel smooth and the wood glue has been removed.
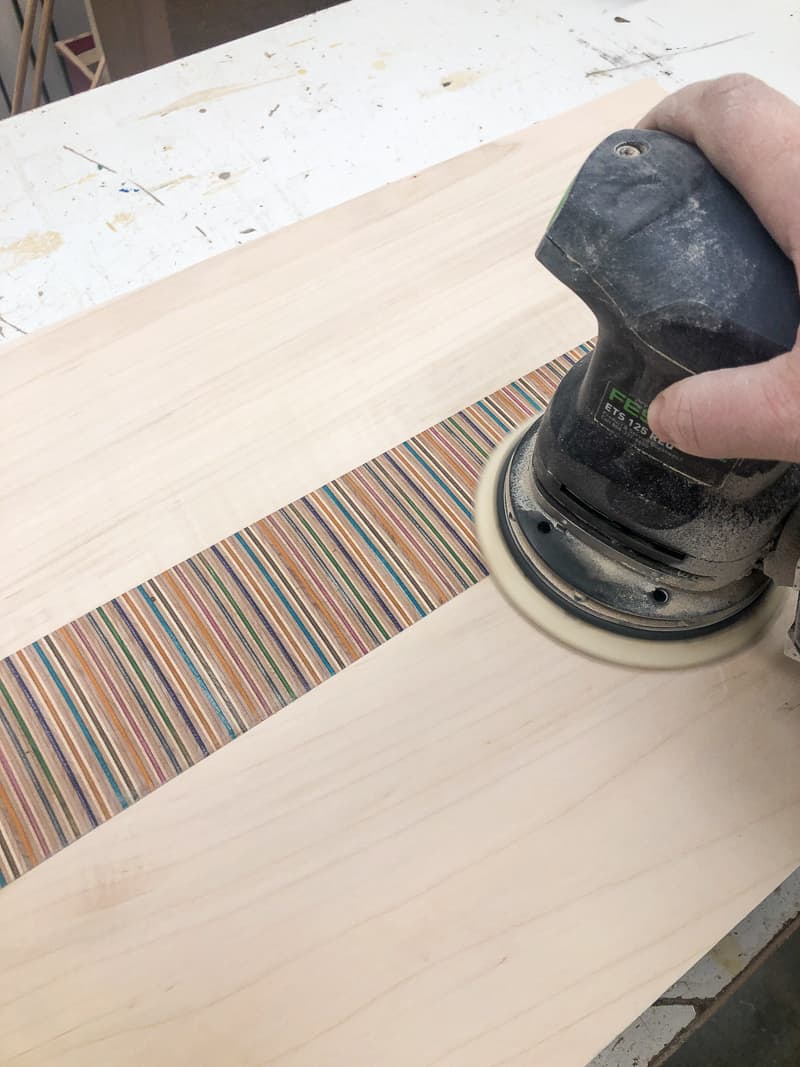

Here's a quick tip to make sure you sanded off all the wood glue . . . When you're done with the 220 grit sandpaper, wipe down the wood with a damp paper towel. Any spots where the wood doesn't change color still has wood glue on it! Circle those spots with a pencil, then wait for it to dry before sanding again. This will prevent any splotchiness in the finish!
Finally, round over the edges with a trim router. The curved edges give the top a nicely finished look, and prevents you from scratches and scrapes from the sharp corners.

Apply Protective Finish
Remove all the sanding dust with a tack cloth, then apply the finish of your choice. Oil based finishes like polyurethane will give light wood like maple a yellow hue, so I went with a clear coat of Polycrylic instead. I usually prefer General Finishes High Performance Top Coat, but it takes longer to dry in between coats, and I wanted to use the laptop stand NOW! 🙂


Sand with 220 grit sandpaper in between coats for a satiny smooth finish.
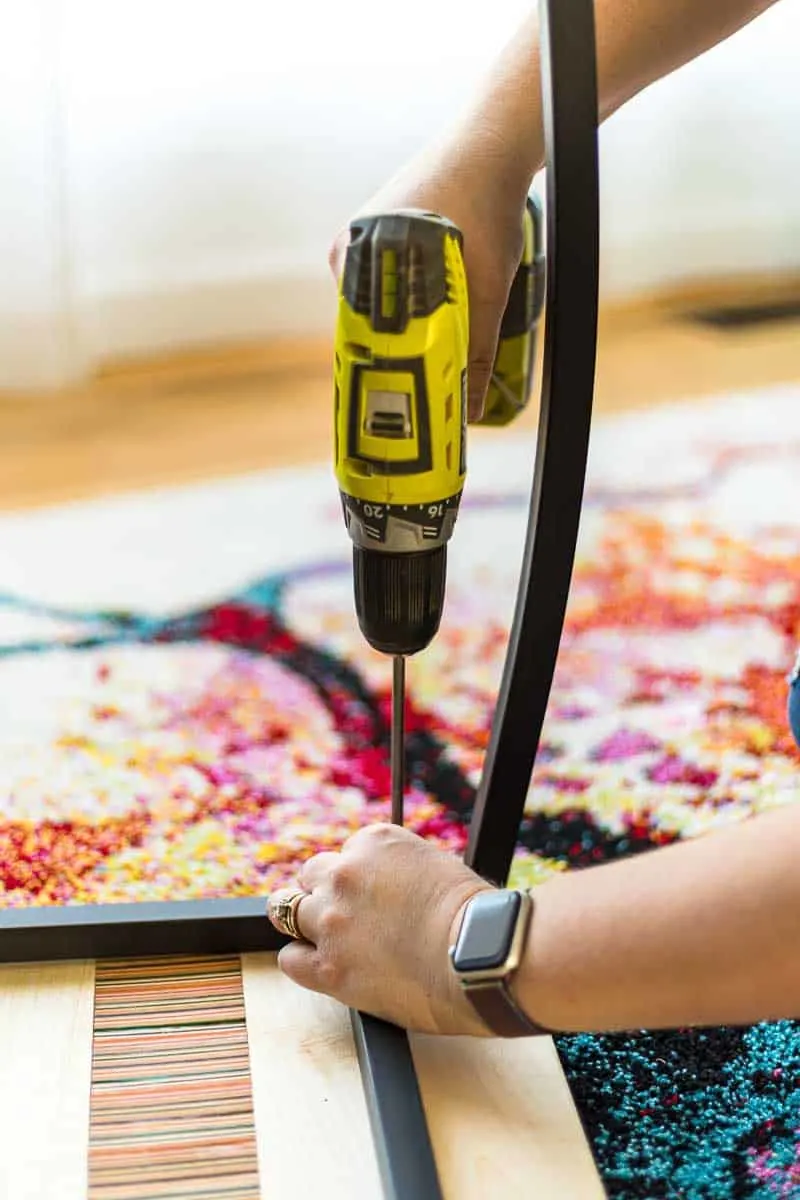
Screw the Laptop Stand Top to the Base
Place the laptop stand top upside down on the floor, and put the base on top. Position the edges so they're even all the way around, then screw it into place through the holes in the base. I used 1 ¼" pocket hole screws because the larger head didn't fall through the metal holes.

Slide Your New Laptop Stand up to the Couch!
I sit on the couch to use my laptop every.single.day, and I'm so happy to finally have a beautiful laptop stand instead of, well, my lap! No more burning legs or painful wrists from typing at an awkward angle!
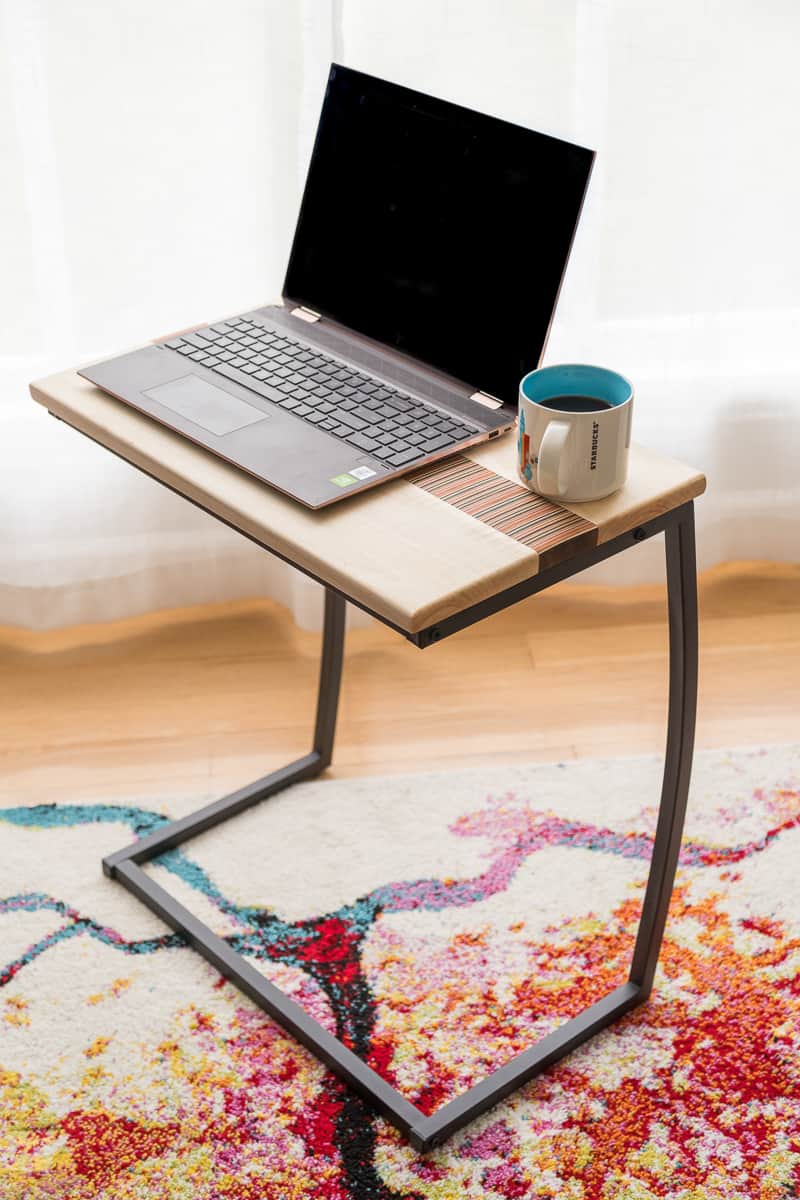

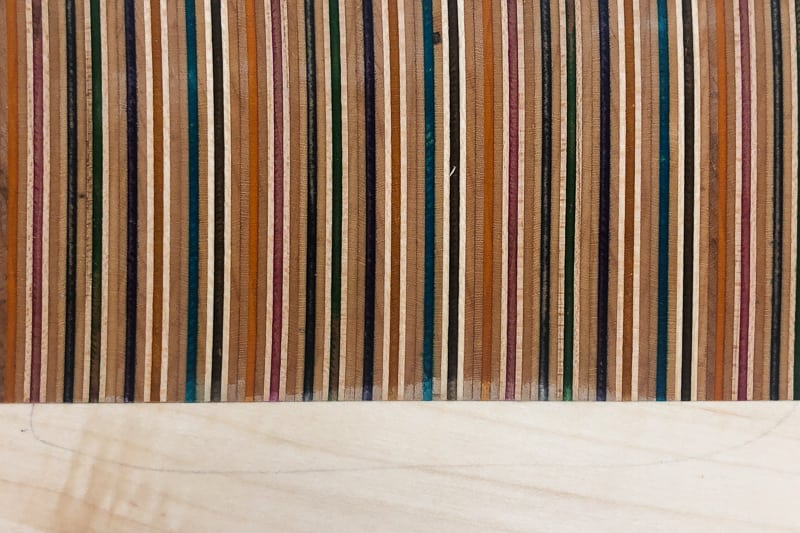
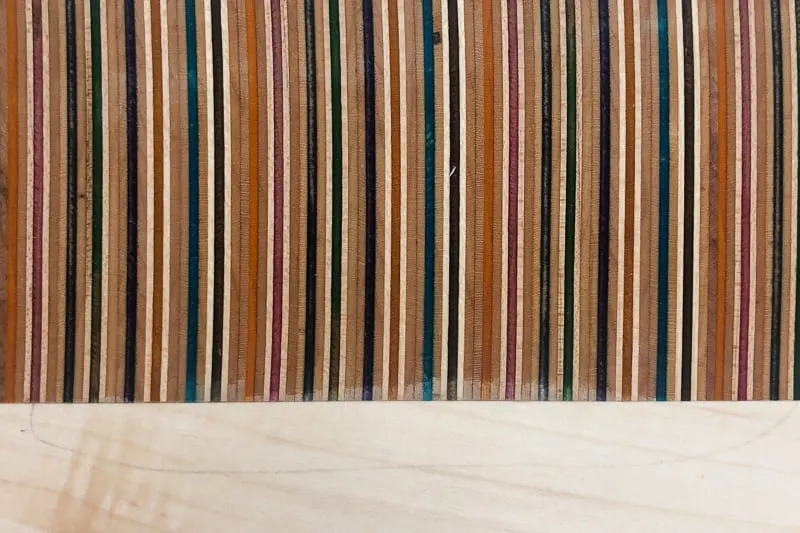
The recycled skateboard stripe gives it a fun pop of color that coordinates well with our bright rug!

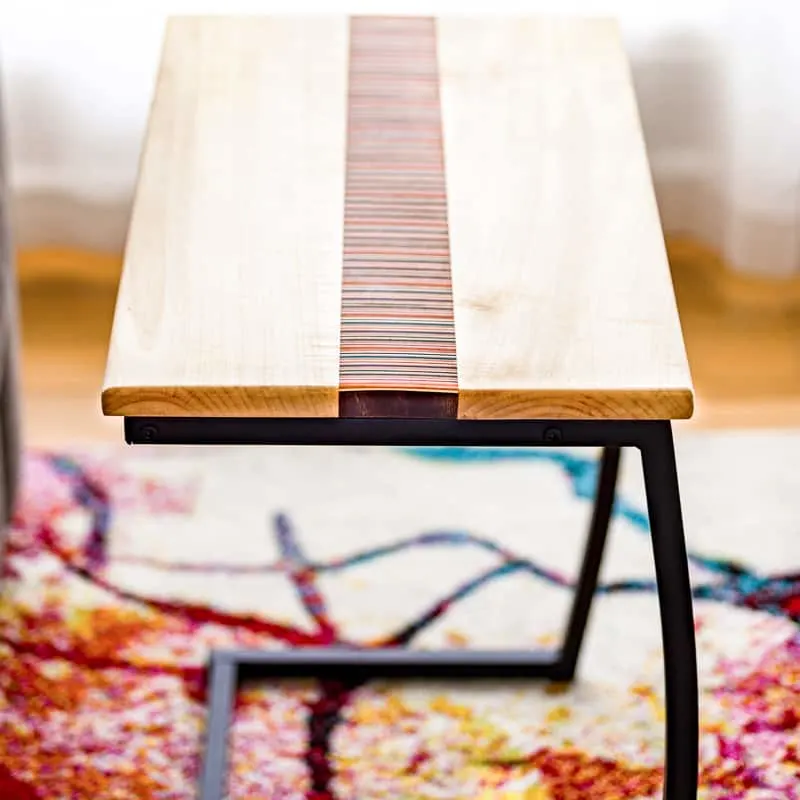
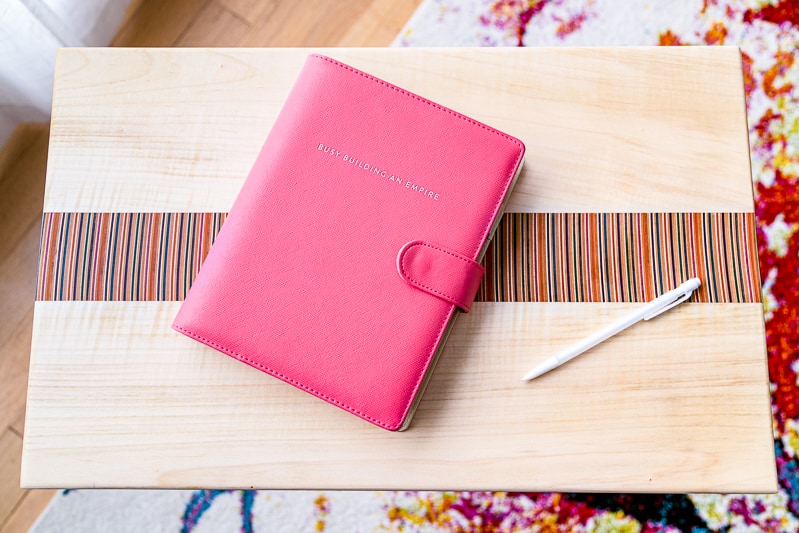
It also functions as a writing desk when it's time to plan out my projects for the month. Here you can really see the colors and how the figure in the maple looks like stripes radiating out from the center!

I'm totally addicted to working with these recycled skateboards and dyed wood (did you see the Christmas ornaments I made with red and green veneer?), so you'll be seeing plenty more of these colorful projects in the future!