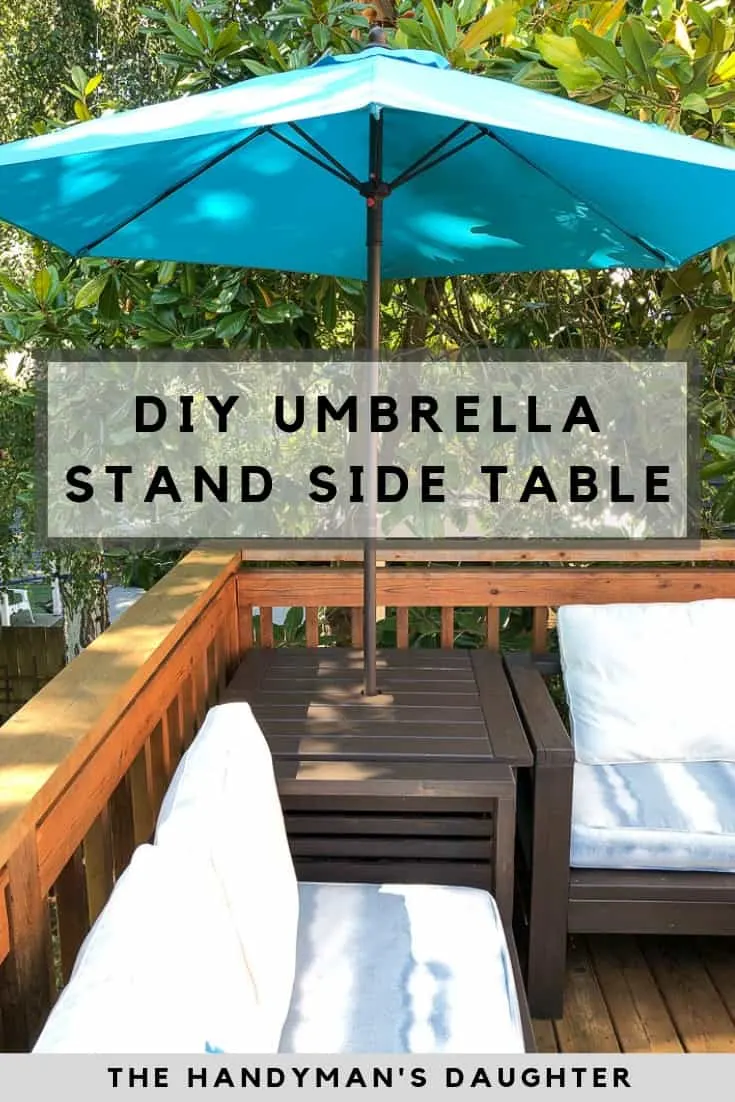
Relax in the shade with this DIY umbrella stand side table! The umbrella base is hidden inside this outdoor side table, with easy access to extra storage through the hinged top!

A few years ago, I built an outdoor loveseat and sofa set for our deck. A year later, I added the end table with built-in ice bucket. Last week, I made this outdoor coffee table, and today I'm sharing an umbrella stand side table to add shade to this sunny corner to complete the set!
This post contains affiliate links for your convenience. Purchases made through these links may earn me a small commission at no additional cost to you. Please visit my disclosures page for more information.
Materials Needed
- Three cedar 2x4's
- Three cedar 1x4's
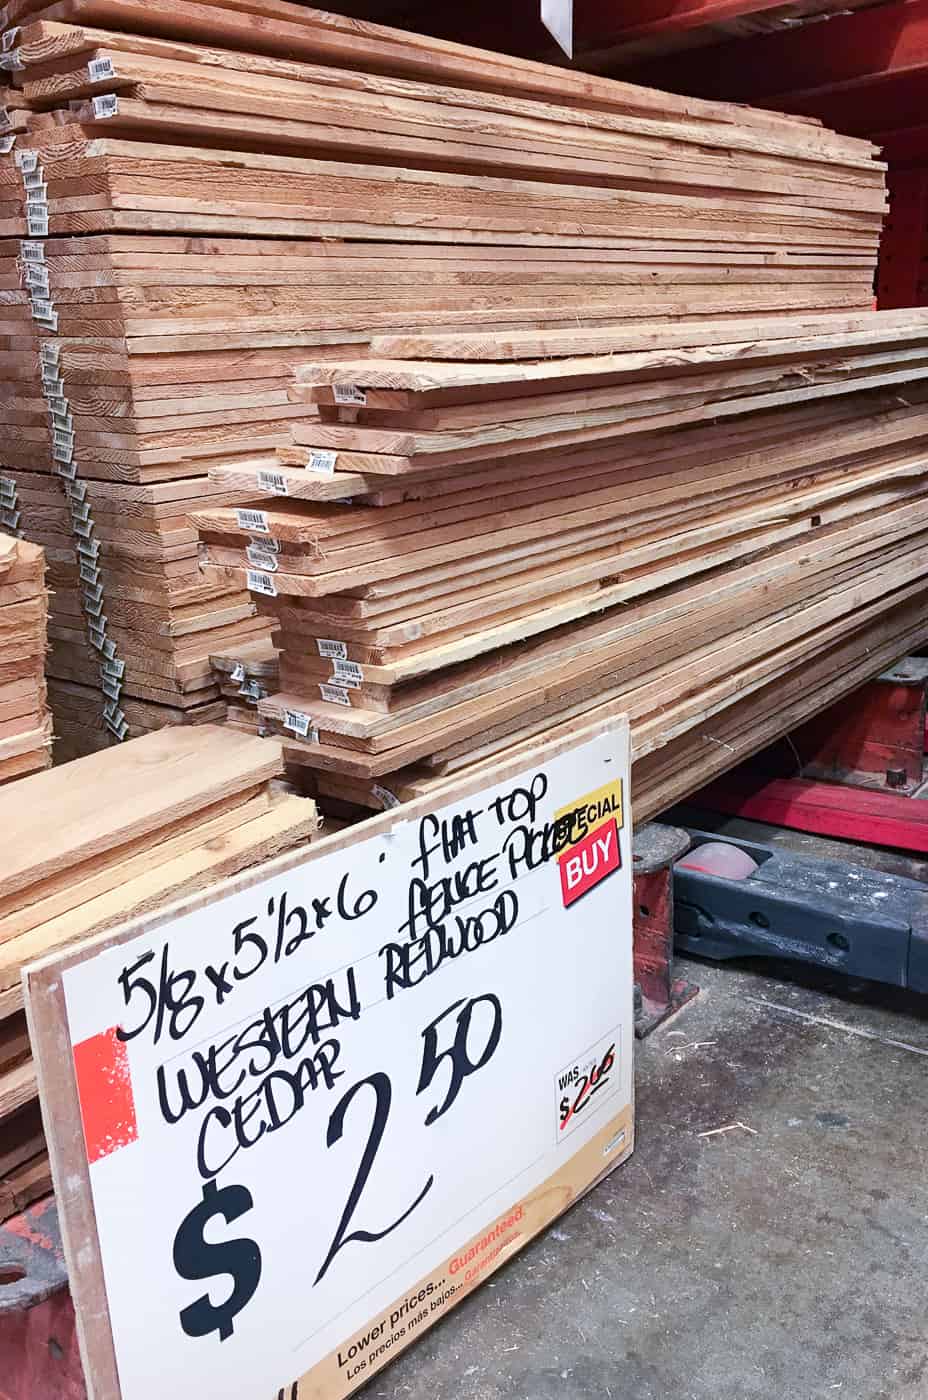
- Ten cedar fence pickets (6" wide and 6 feet long)
- Exterior wood glue
- Brad nailer and 1 ¼" brad nails
- Pocket hole jig
- 1 ¼" exterior pocket hole screws
- 2 ½" exterior pocket hole screws
- 2" exterior grade hinges
- Hole saw slightly larger than your umbrella pole diameter
- Drill
- Miter saw or circular saw
- Table saw
- If you don't have a table saw, you can use cedar lattice for the sides instead!
- Umbrella with weighted base
How to Make an Umbrella Stand Table
Download the Woodworking Plans
Before you start cutting, download the umbrella stand side table plans from my shop! The printable PDF includes a complete cut list and detailed 3D drawings to make building easier for you!


I based my dimensions on the outdoor loveseat and sofa height and width. You can build an entire outdoor furniture set with these two sets of plans! Check out the loveseat plans in the woodworking plans library!
Prepare the frame pieces
This end table may look complicated, but it's really just a 2x4 frame with slats nailed on it!
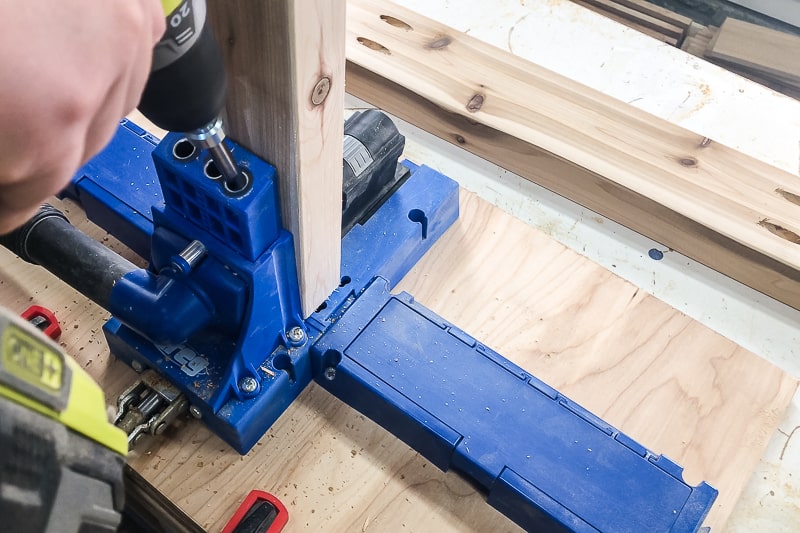
Cut the 2x4 lumber according to the cut list in the plans, and drill pocket holes in both ends of the shorter pieces. Sand down any rough edges.

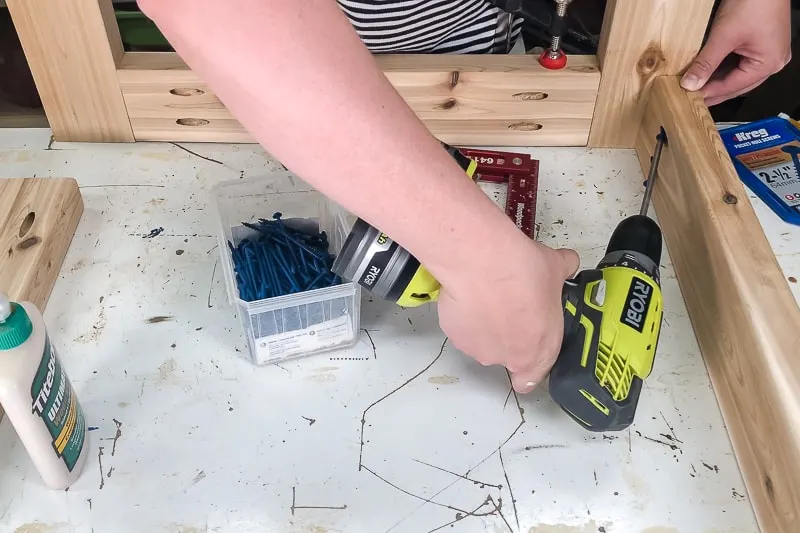
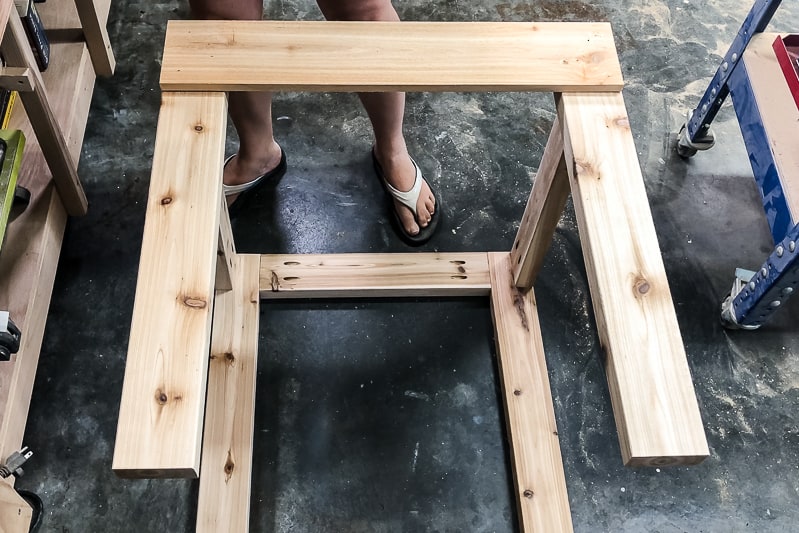
Assemble the 2x4 frame
Use the shorter boards to connect two legs together with 2 ½" exterior pocket hole screws. Repeat for the other two legs.
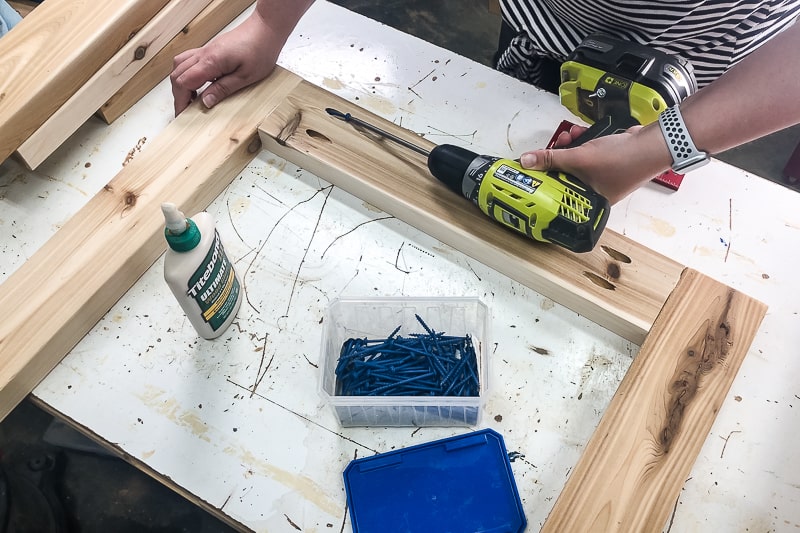

Then connect the two sets of legs together with the remaining pocket hole boards.

Cut the cedar fence picket pieces
I love using cedar fence pickets for outdoor projects. They're cheap, they're wide and they don't rot in our wet winters! They're pretty rough, though, so I prefer to cut them down into thinner strips to clean them up.

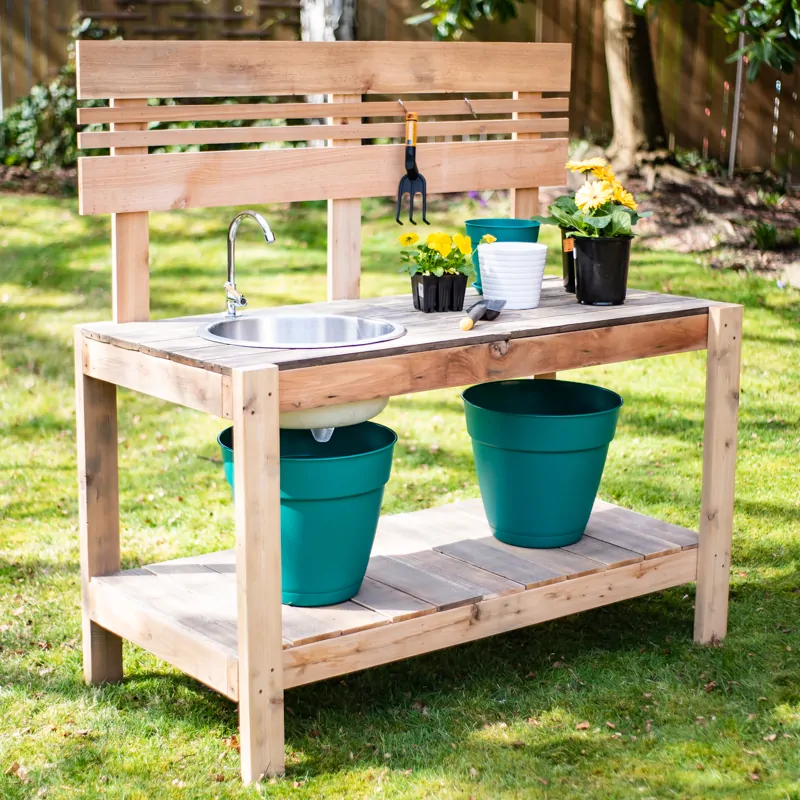
I've used this pattern of alternating widths before on my potting bench, under deck storage area and vertical garden planter. Might as well stick to the same theme for this side table too!

If you don't have a table saw, don't worry! You can buy thin slats of cedar lattice instead, and alternate them with full width fence pickets.
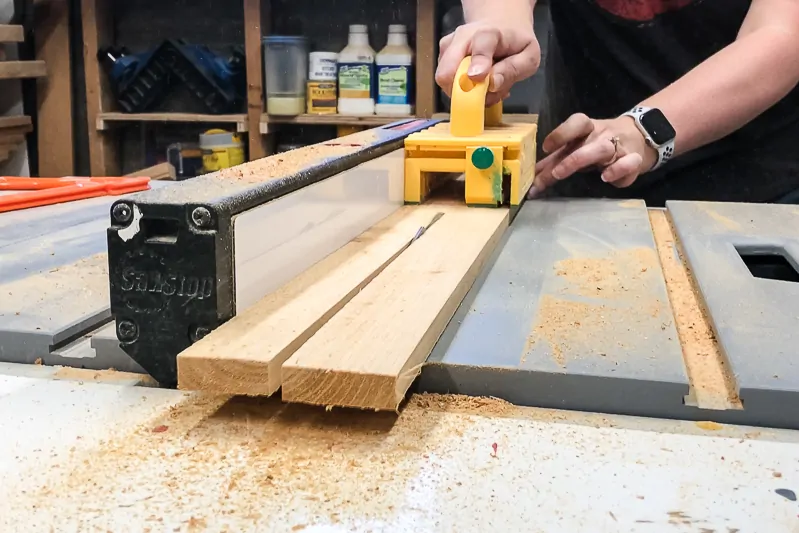
I prefer to rip shorter pieces on the table saw, so I cut them to length first on the miter saw. Then, to make the thinner strips, cut the rough edge off one side of the fence picket first, then rip three 1 ½" strips. The wider 5" pieces just need ¼" trimmed from both sides.

Attach the slats to the frame
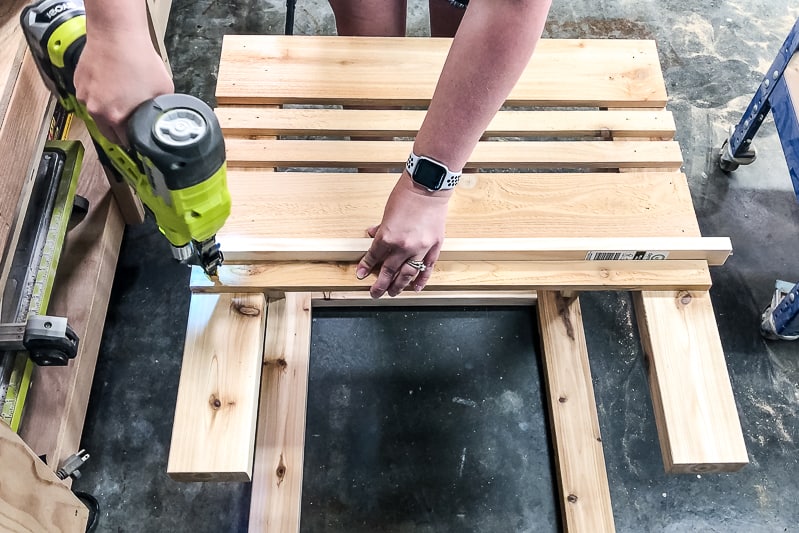
Lay the 2x4 frame on its side on the floor. Apply wood glue to the back of the shorter 5" wide board where it will come in contact with the frame. Align the edge with the top and sides of the frame and nail it into place with 1 ¼" brad nails.

Here's my trick for perfect spacing without a tape measure: a ¾" wide scrap board! Place it next to the top slat, then butt a thin slat next to it. Glue up both ends, then nail it in place. Remove the spacer and move it down to the next slat. Easy peasy!

Cut and assemble the hinged top
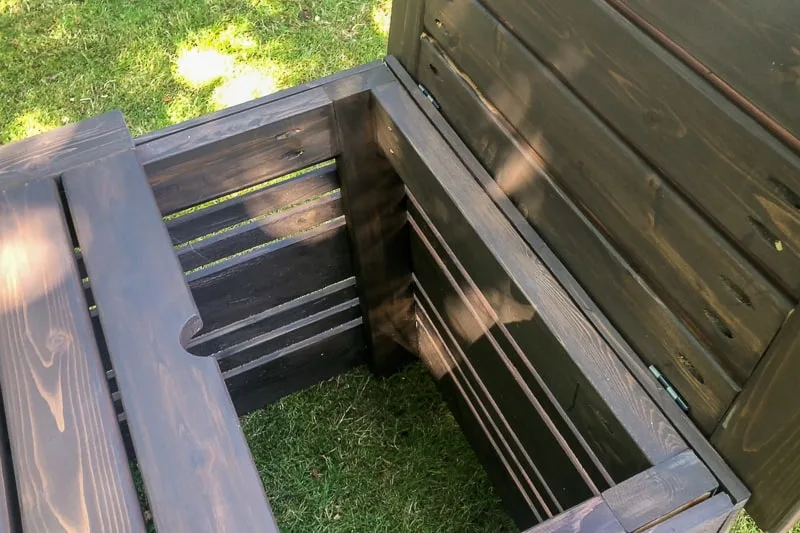
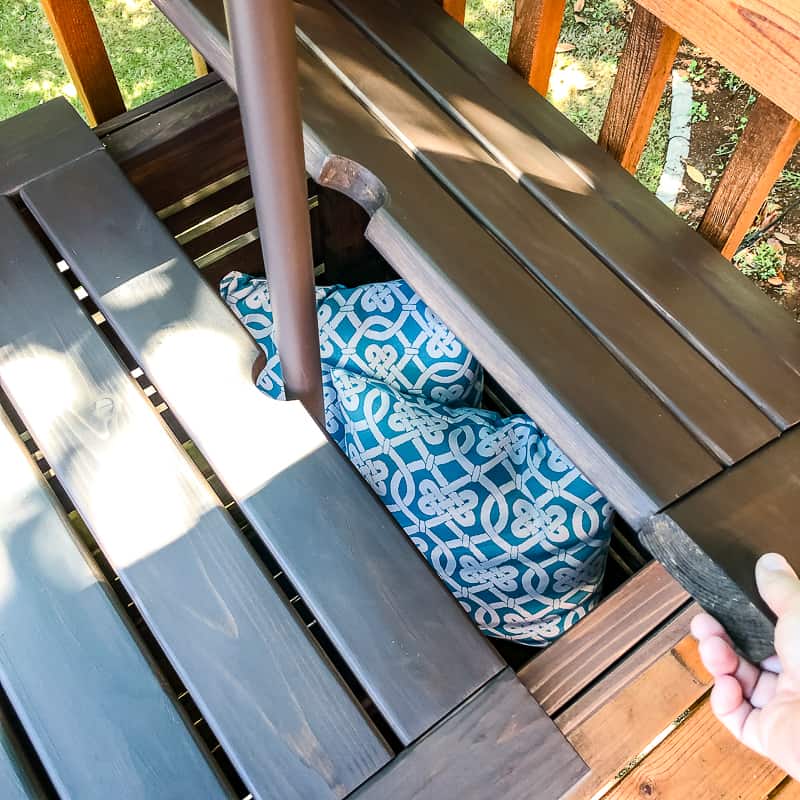
The top of the side table is made of two halves on hinges that meet in the middle. This allows you to store extra pillows or other things inside the base, and makes it easy to remove the umbrella when the seasons change.
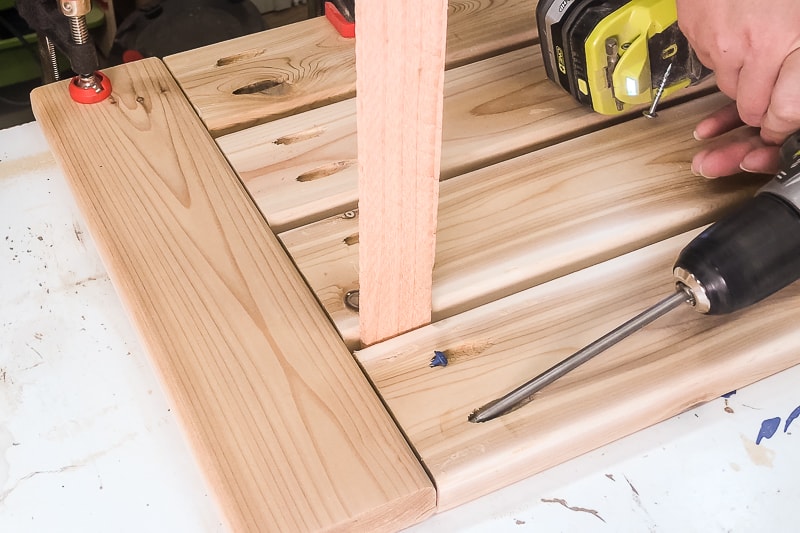
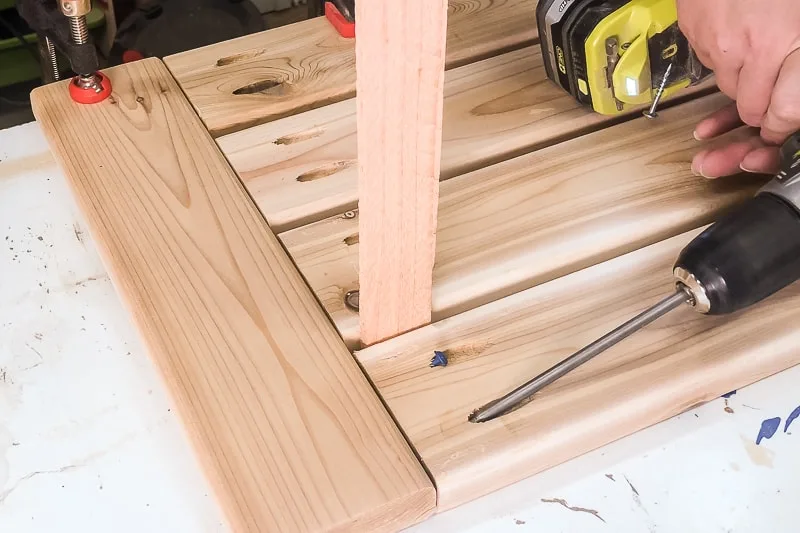
Drill pocket holes in both ends of all the longer pieces. Attach four of them to a shorter board with 1 ¼" exterior pocket hole screws, leaving ⅜" spacing in between. Repeat for the other side.
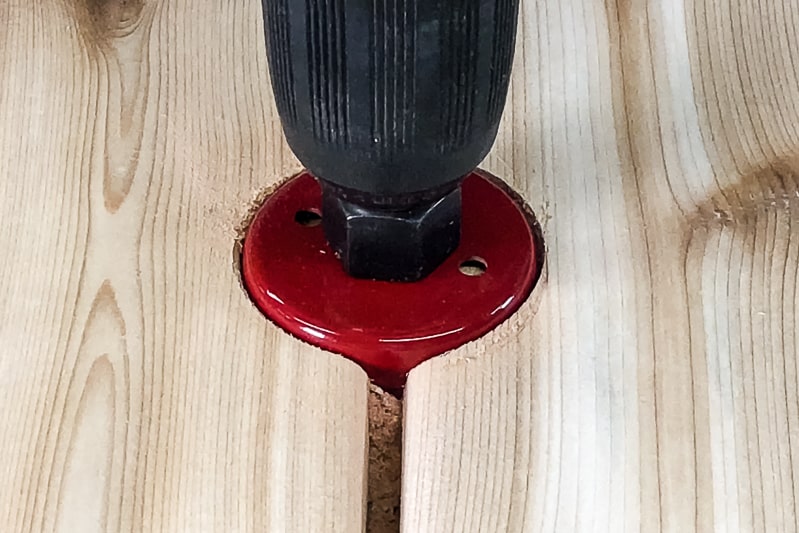
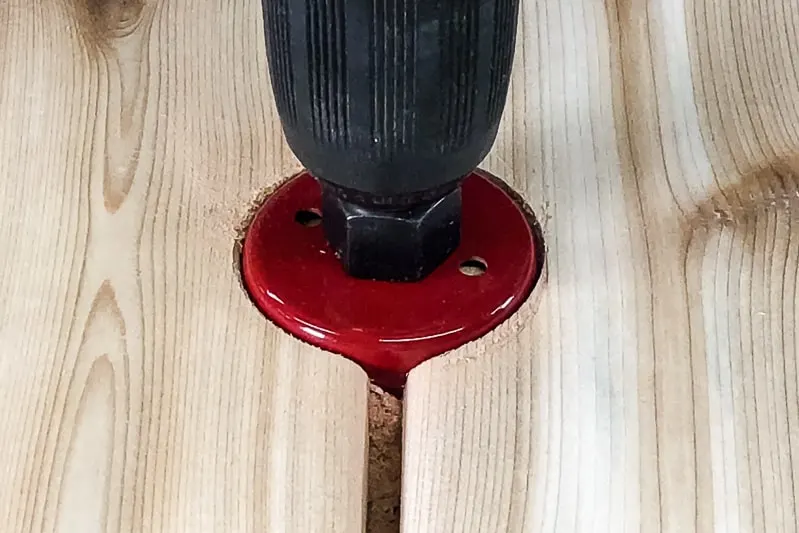
Drill the hole for the umbrella pole
Line up the two halves of the table top with ⅜" between them. Clamp them down to hold them in place, then use a hole saw to drill a hole wide enough for your umbrella pole to fit through.
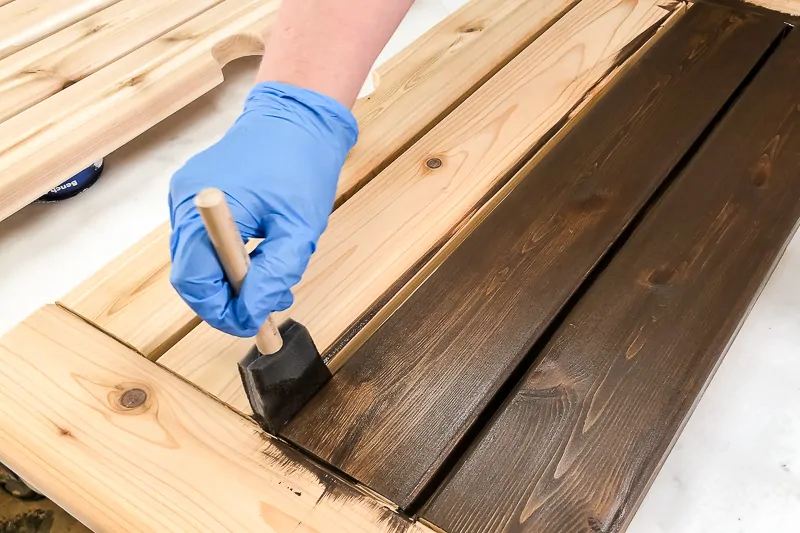
Paint or stain
I really liked the stain color I used on my balcony railing table and deck railing planter box, so I stained this project to match. A foam brush helps to get into all those crevices and between the slats without dripping.

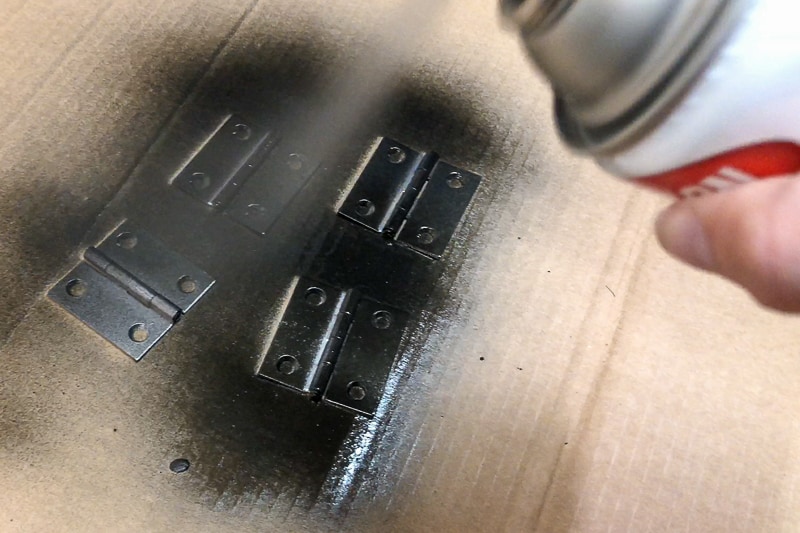
Attach the top to the base with hinges
I salvaged the 2" hinges from the outdoor storage bench I took apart this spring, and they were perfect for this umbrella stand table. A quick coat of oil rubbed bronze spray paint helped them blend in with the dark wood stain.

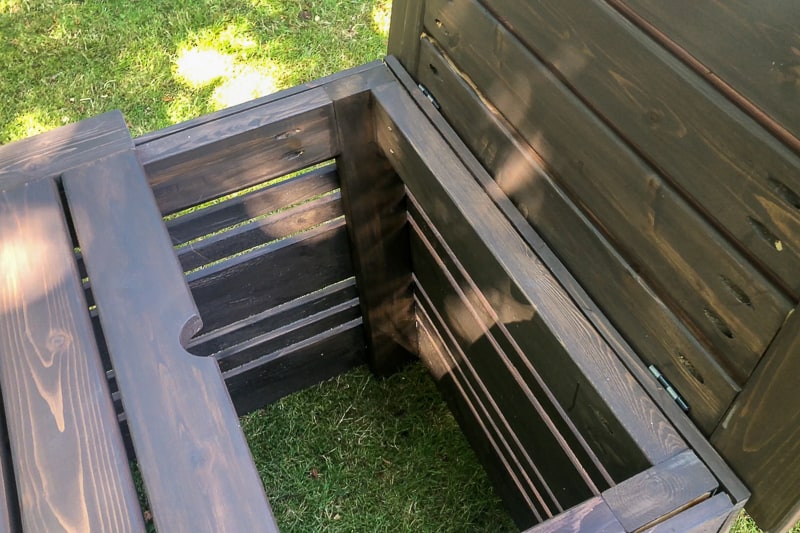
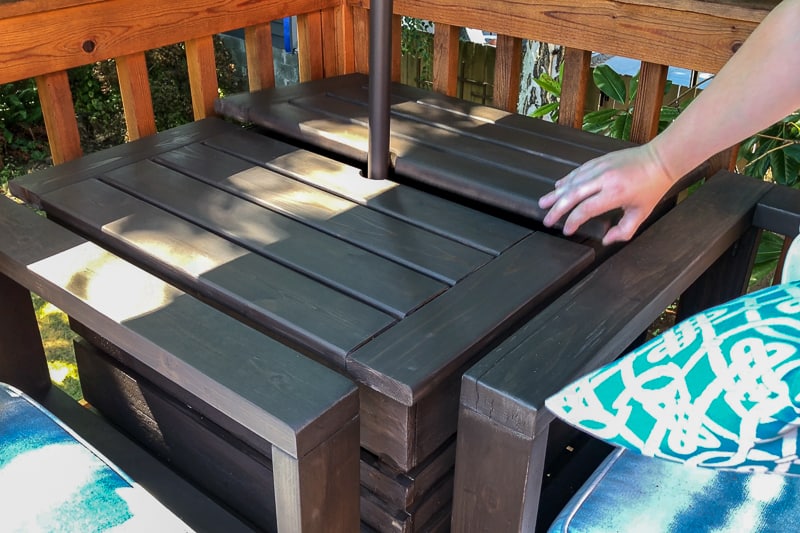
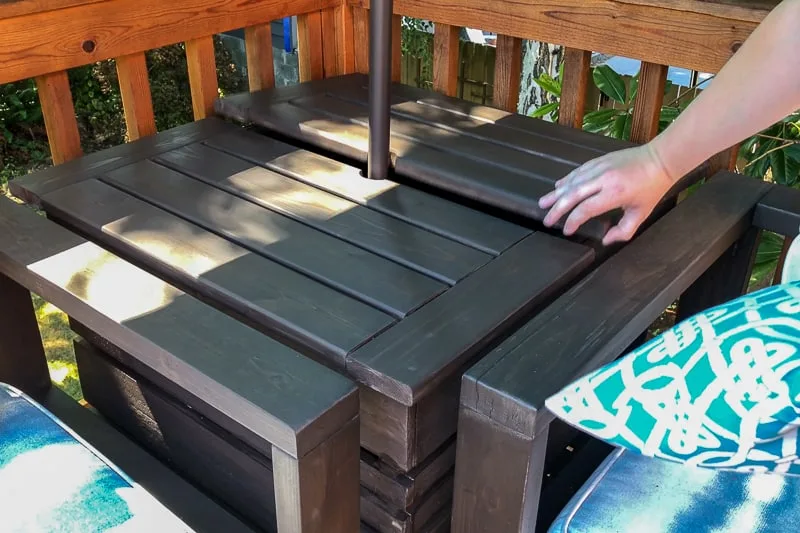
Put the two halves of the table top together with ⅜" spacing between them and even spacing all around the base. The hinges attach to the underside of the top and the outside of the base.


Now you can open and close the top around the umbrella pole!
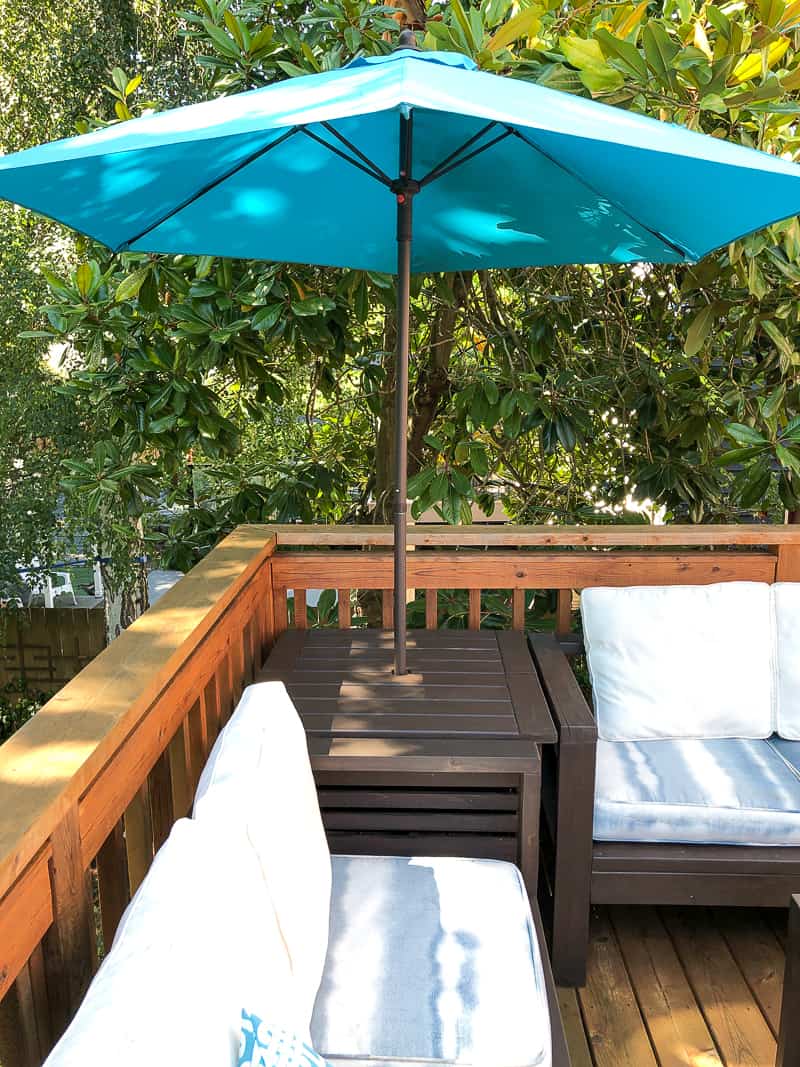
Insert the umbrella and enjoy the shade!
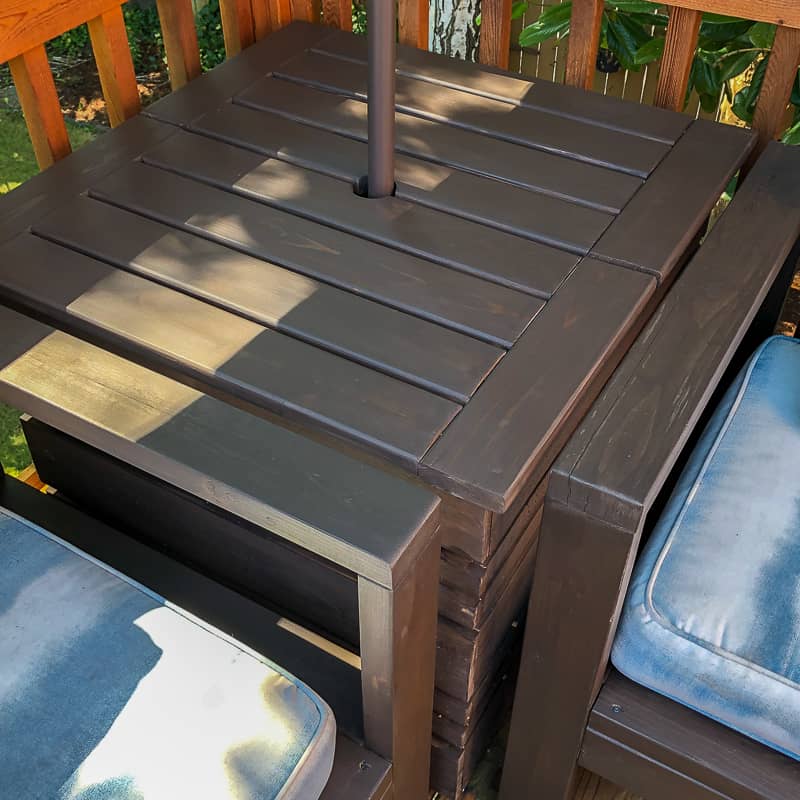
Drop the weighted umbrella stand base into the center of the open table. Then screw the umbrella pole in place. It may take a bit of positioning to get it lined up with the hole in the table.
I love being able to spend more time out on the deck in the shade! And now that empty corner has a purpose other than collecting clutter!

The hinged top gives us easy access to the base when it's time to take down the umbrella for the winter. And there's hidden storage for extra pillows too!

Now we have a complete set of outdoor furniture!

Grab the plans to make your own by clicking the button below!
Check out these other outdoor project ideas!
Amy
Wednesday 11th of September 2019
What a fantastic idea. I love this umbrella stand table, especially with the hinged storage!
Floranet
Friday 6th of September 2019
Your work seems to be great. Continue the great effort!!