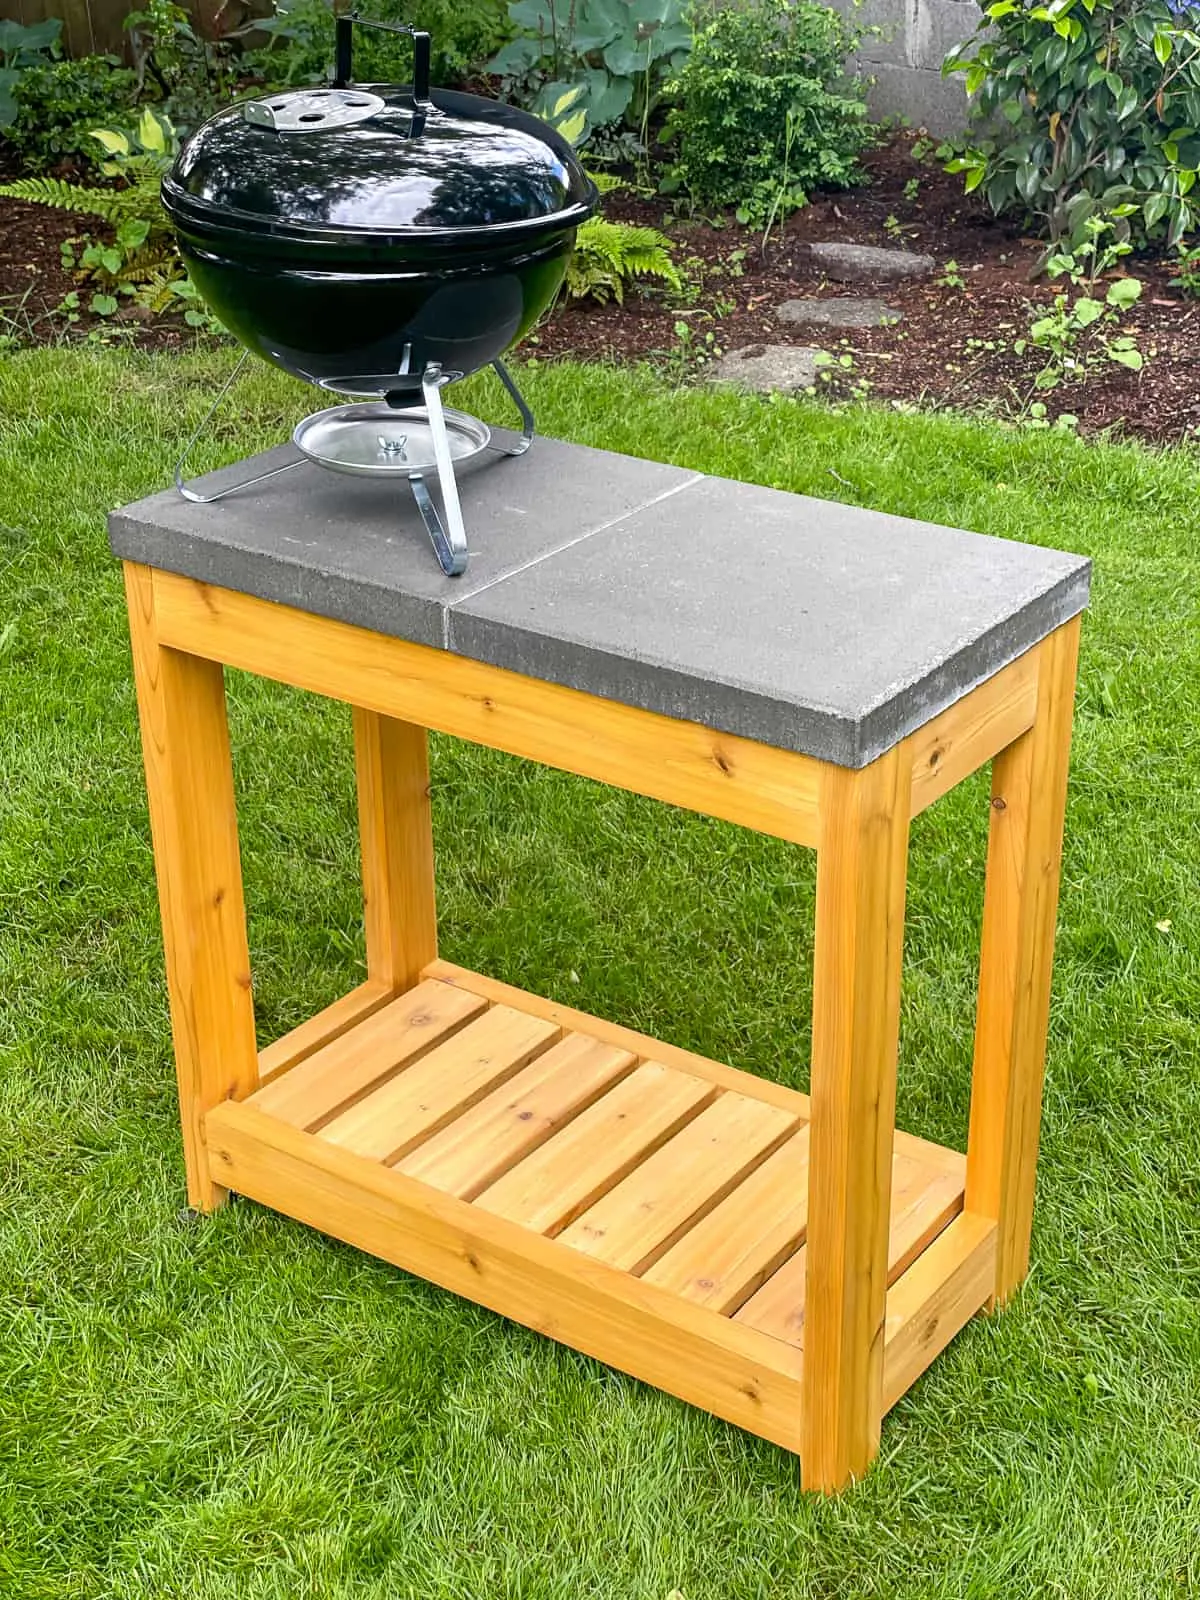
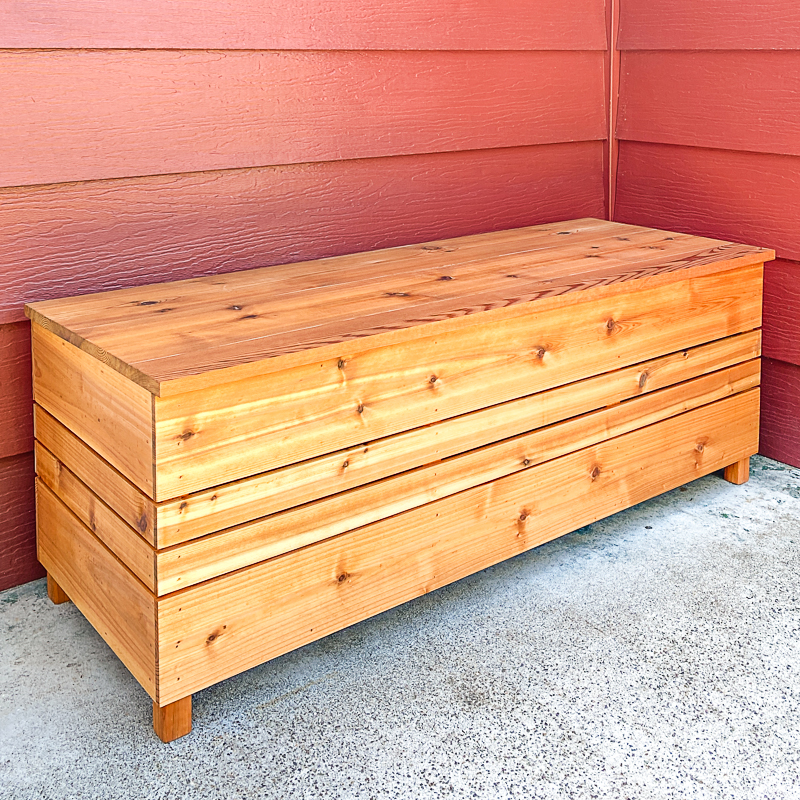
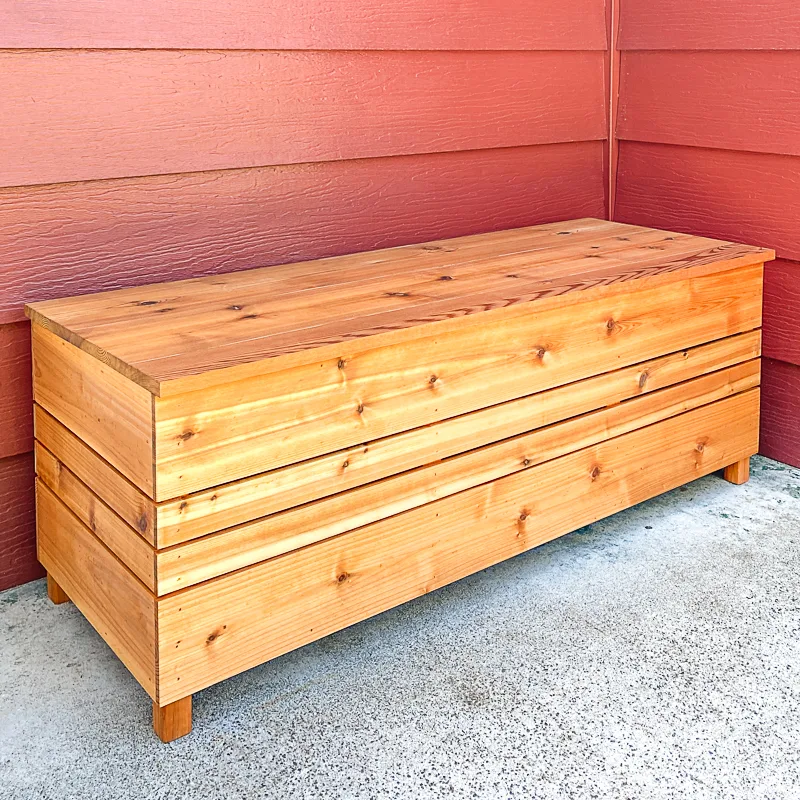
Build this DIY grill station for your next backyard BBQ! Perfect for a prep space, tabletop grill or pizza oven, with durable concrete pavers on top.
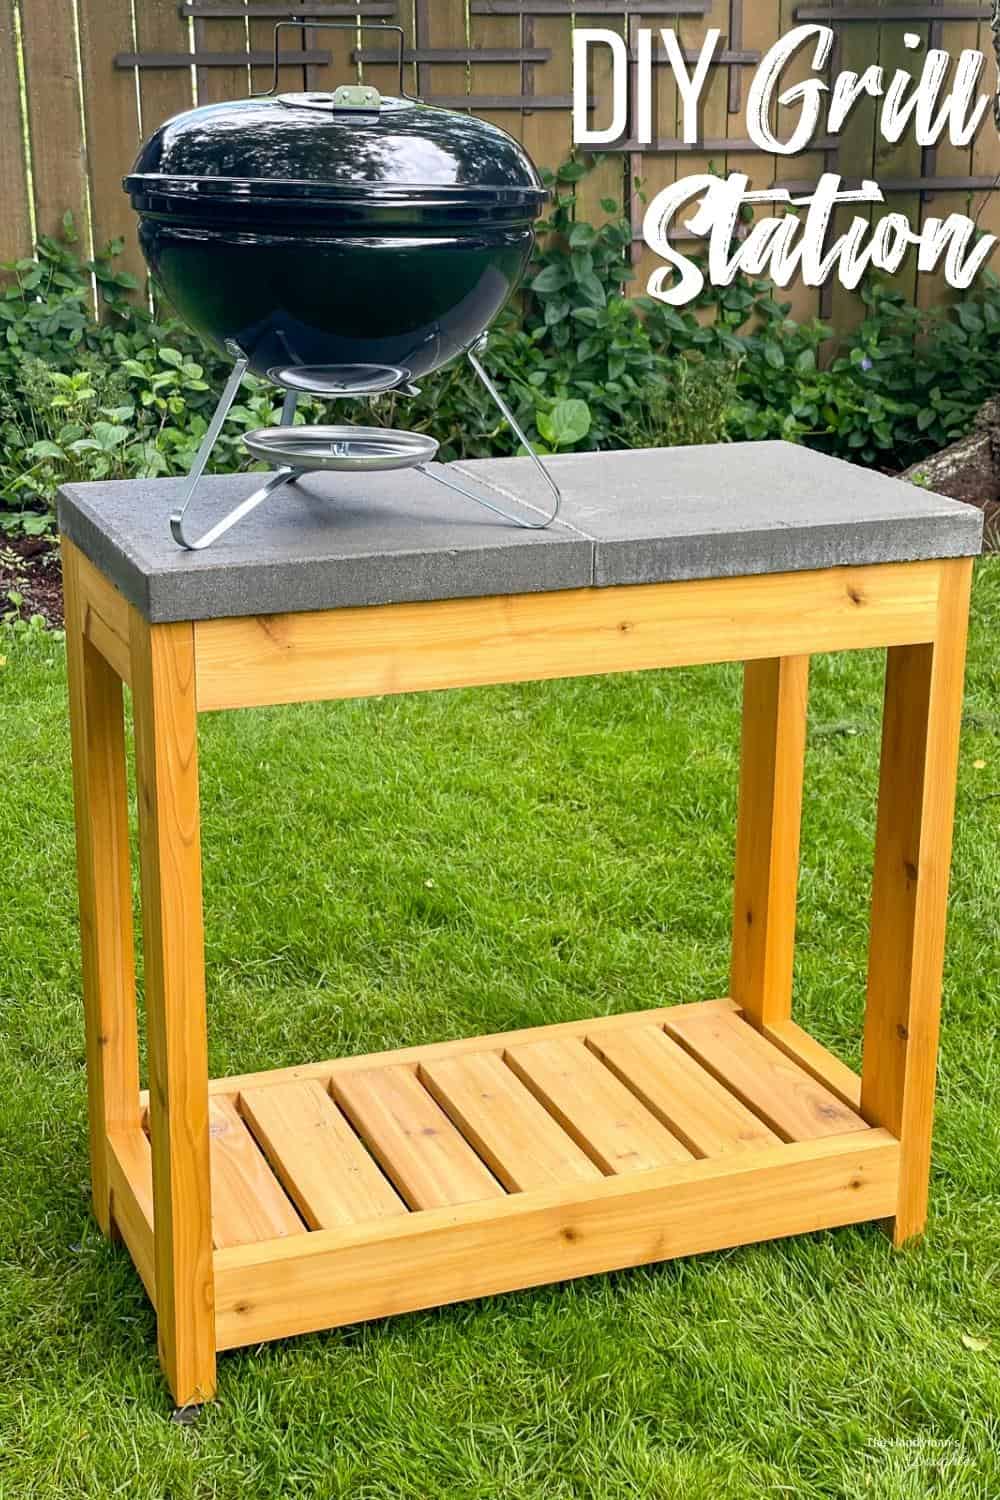

Have a tiny balcony or patio space, but still want to grill? This small DIY grill station is just what you need! It gives you plenty of room to cook, and can also be used as a bar or serving area.
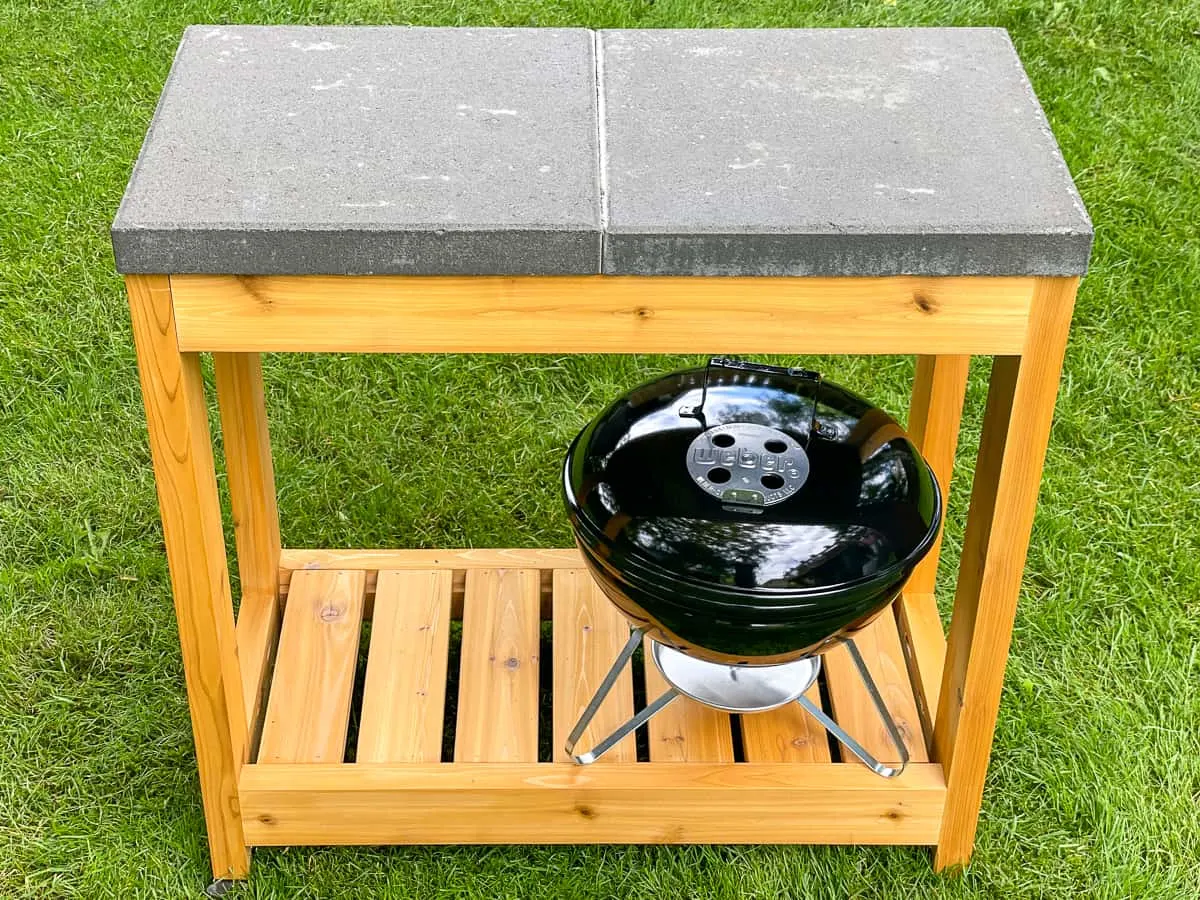
The top is made from two concrete pavers, which are heat-resistant, so you don't have to worry about a stray ember setting your apartment on fire. When the grill cools off, you can store it on the shelf underneath!
This post contains affiliate links for your convenience. Purchases made through these links may earn me a small commission at no additional cost to you. Please visit my disclosures page for more information.
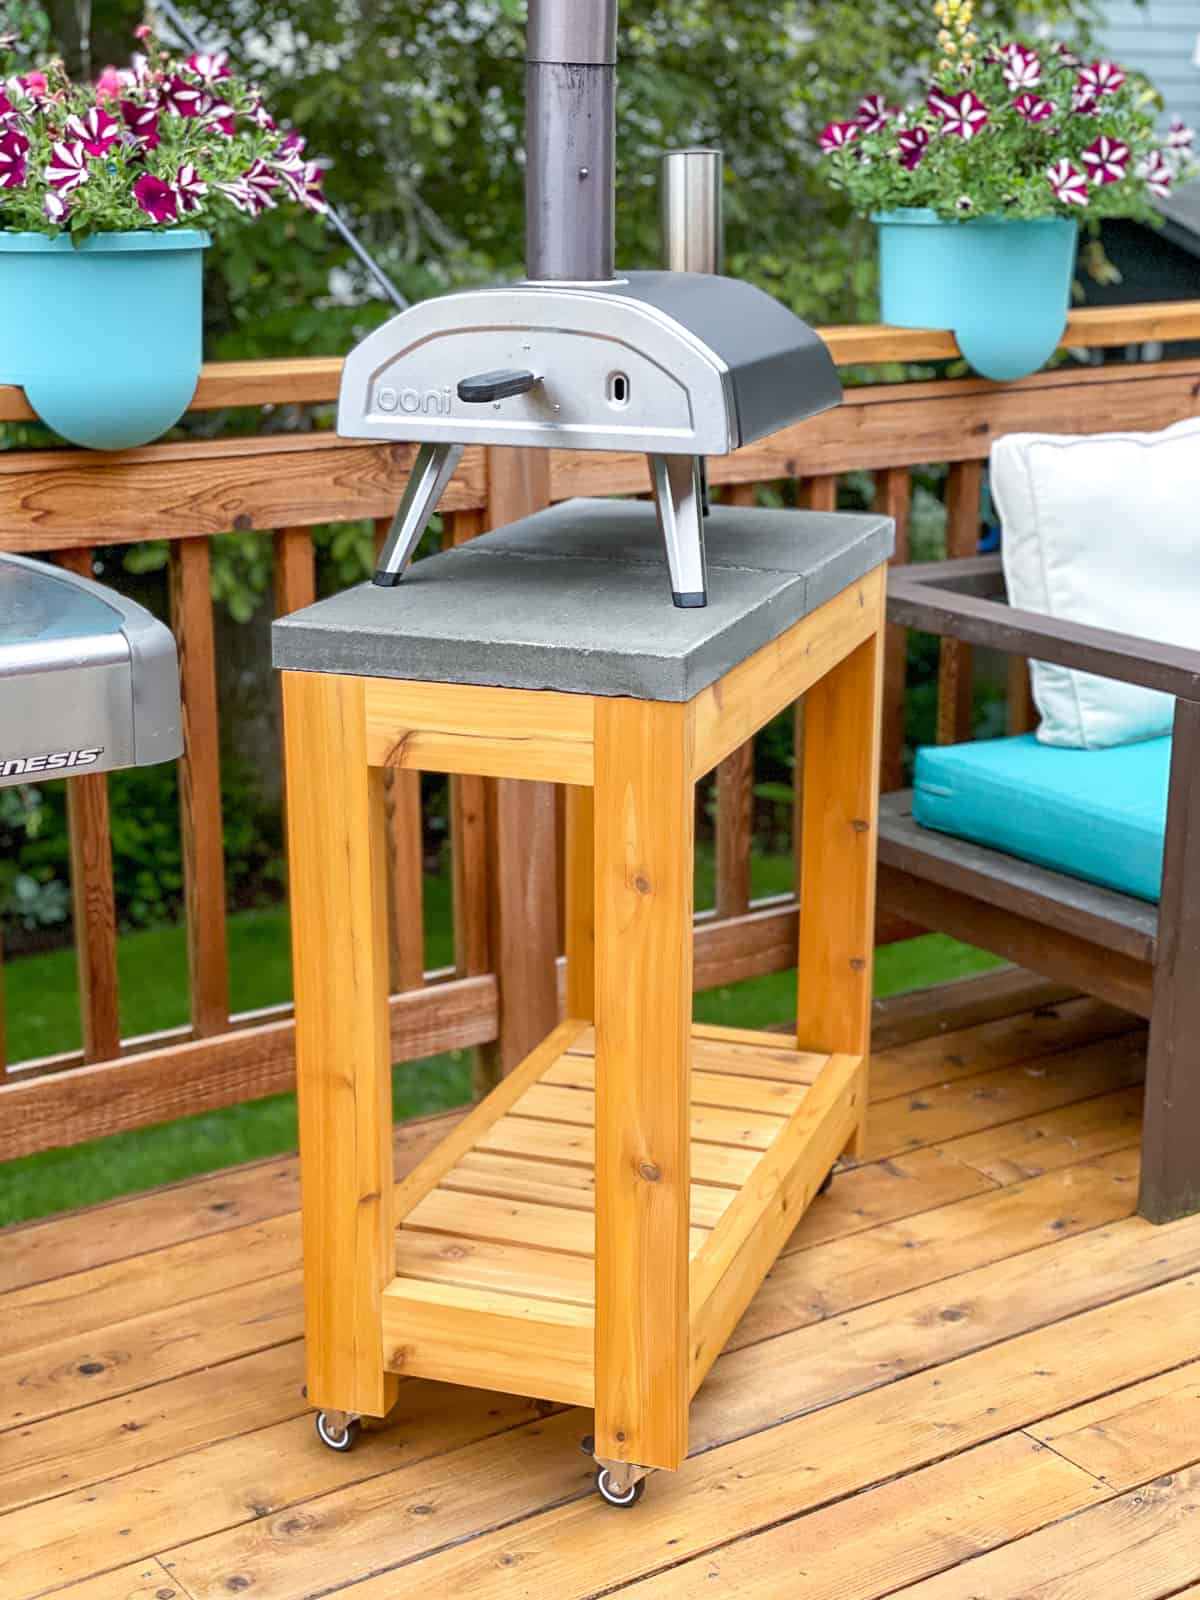
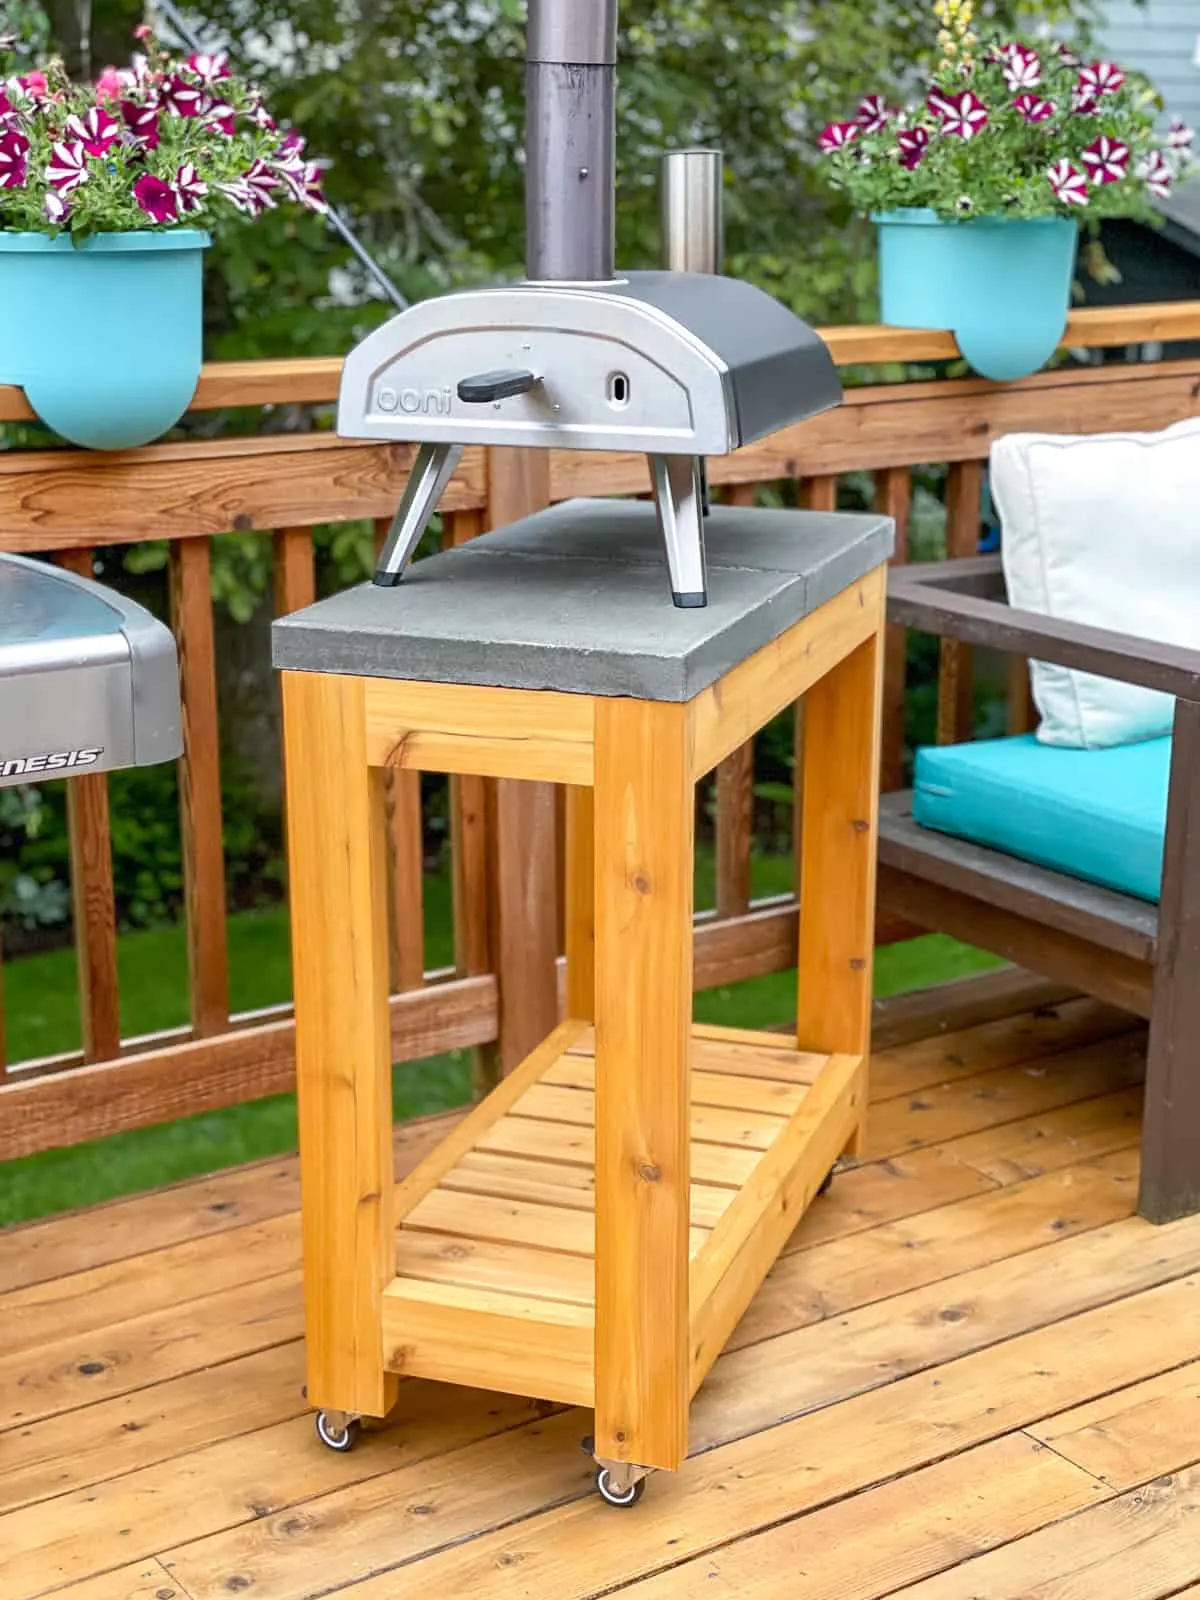
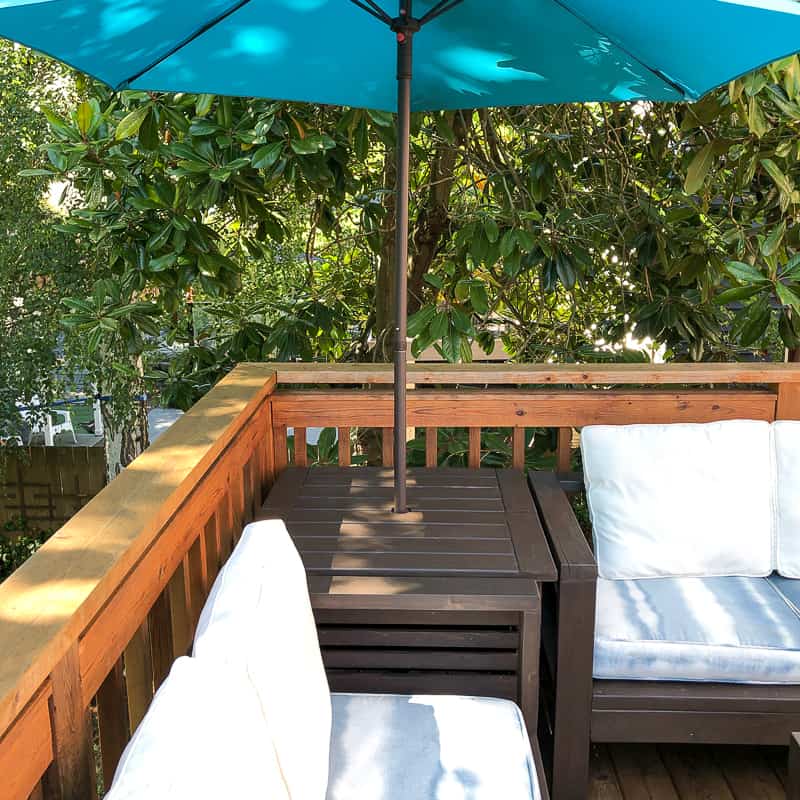
I built this stand specifically for our Ooni wood fire pizza oven, which can get up to 800 degrees! It always made me nervous to use it on our wooden outdoor table, and we didn't have a good place to store it after the oven cooled down.
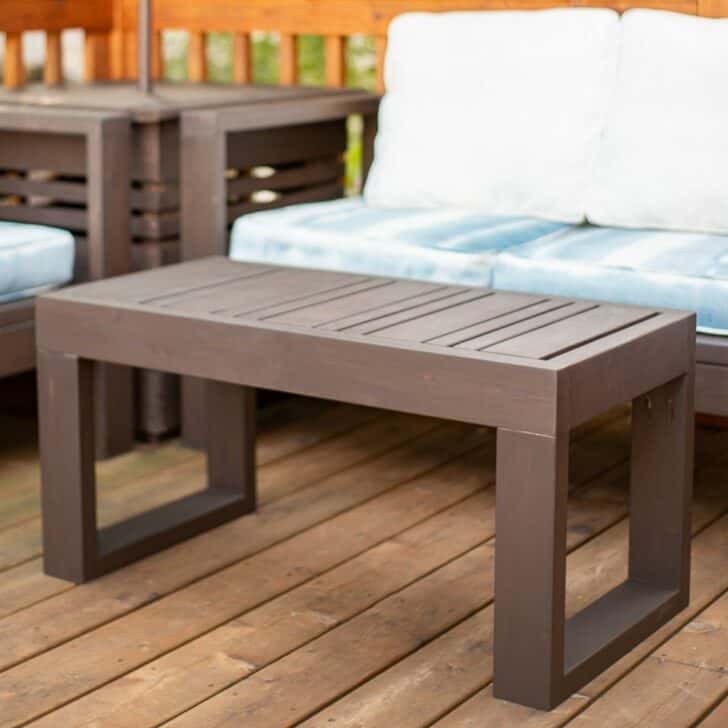
Now it fits perfectly on our deck between our propane grill and the outdoor loveseat! Casters underneath allow us to roll it away from the deck railing and position it for easier access.
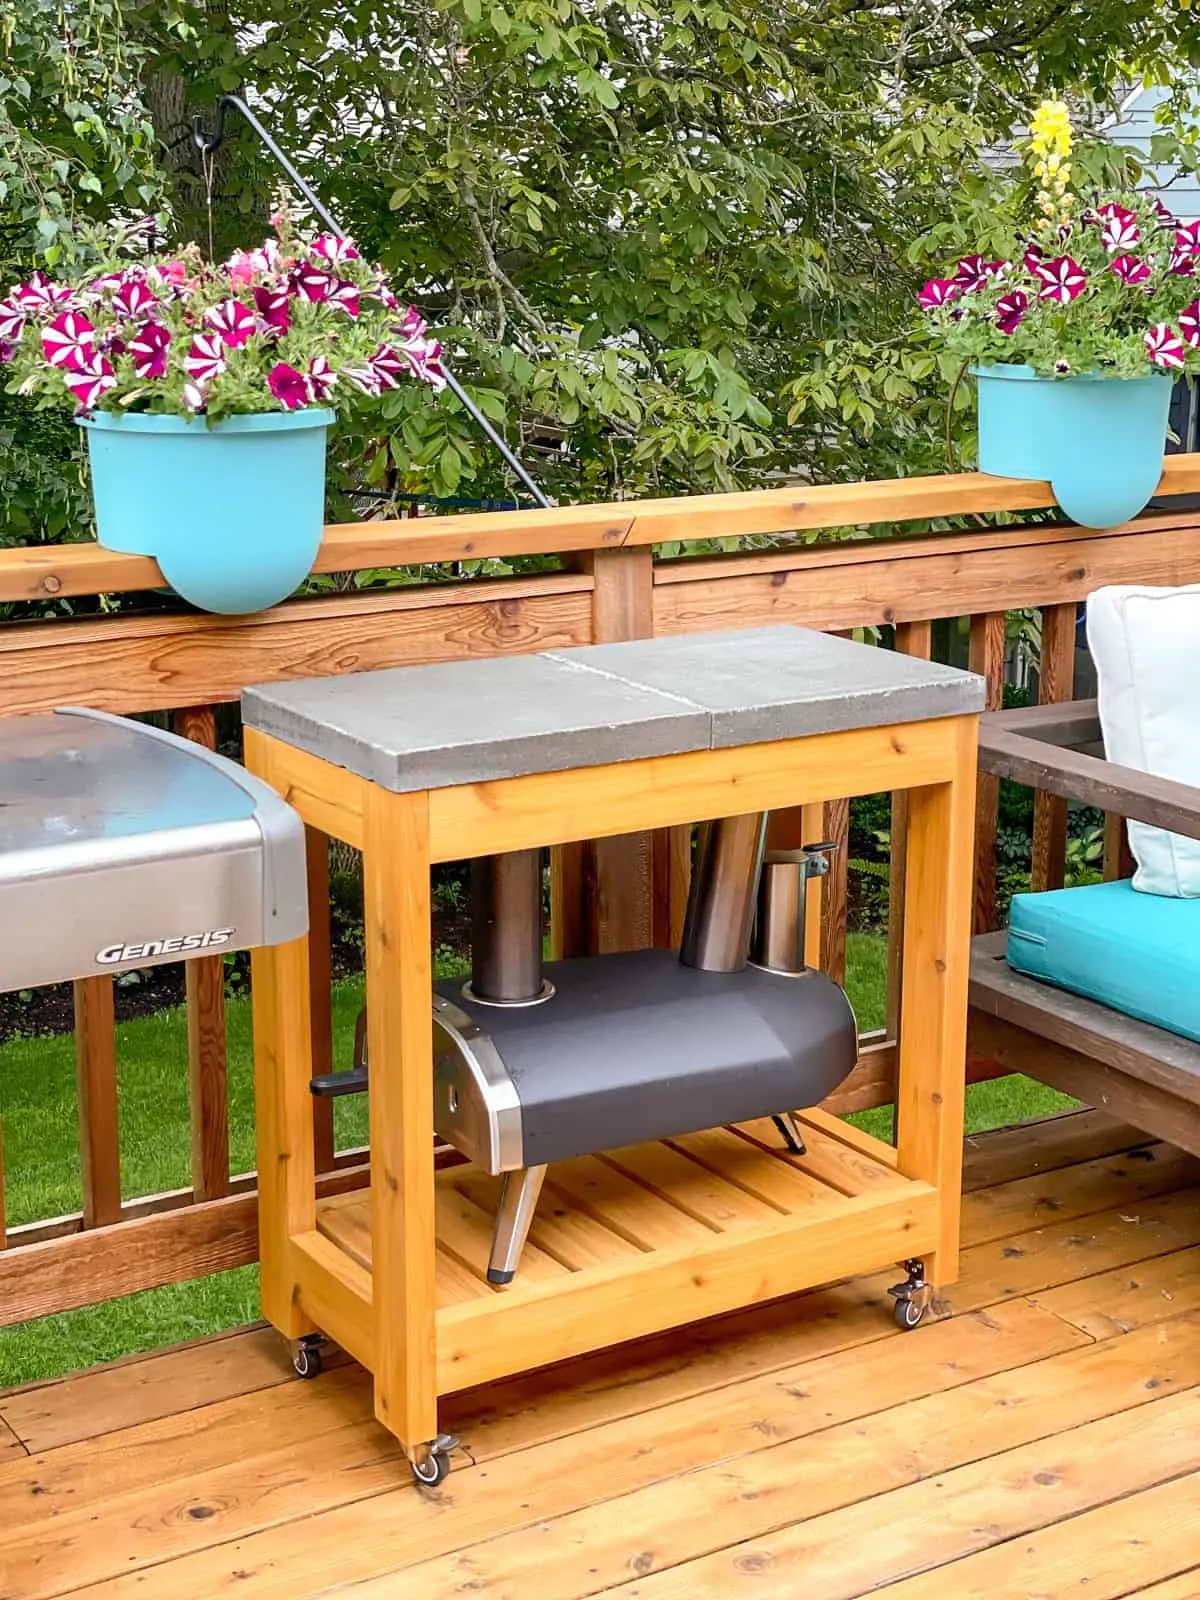
After allowing the pizza oven to cool overnight, it can be stored away on the shelf underneath so we can use the top for prep space next to the grill.

It's a quick and easy woodworking project that only requires a few boards to make! Here's how to build your own!
Materials needed
- Three 2x4 boards
- One 1x4 board
- One 1x2 board
- Two 16" x 16" concrete pavers
- 2 ½” exterior pocket hole screws
- 1 ¼” brad nails or exterior screws
- Exterior wood glue
- Masonry construction adhesive
- 2” exterior lockable casters
- Exterior stain or finish
Download the woodworking plans
Before you start, download the woodworking plans for this DIY grill station by clicking the box below. These printable plans include the cut list, 3D models of each step, and detailed instructions in a checklist format so you can keep track of your progress!

Cut the 2x4 pieces
If your grill station will be left outside in the rain or snow, you should use rot-resistant wood such as cedar or pressure treated lumber. Learn more about the difference between cedar vs pressure treated lumber here!
Cut three 2x4 boards down to size with a miter saw or circular saw.

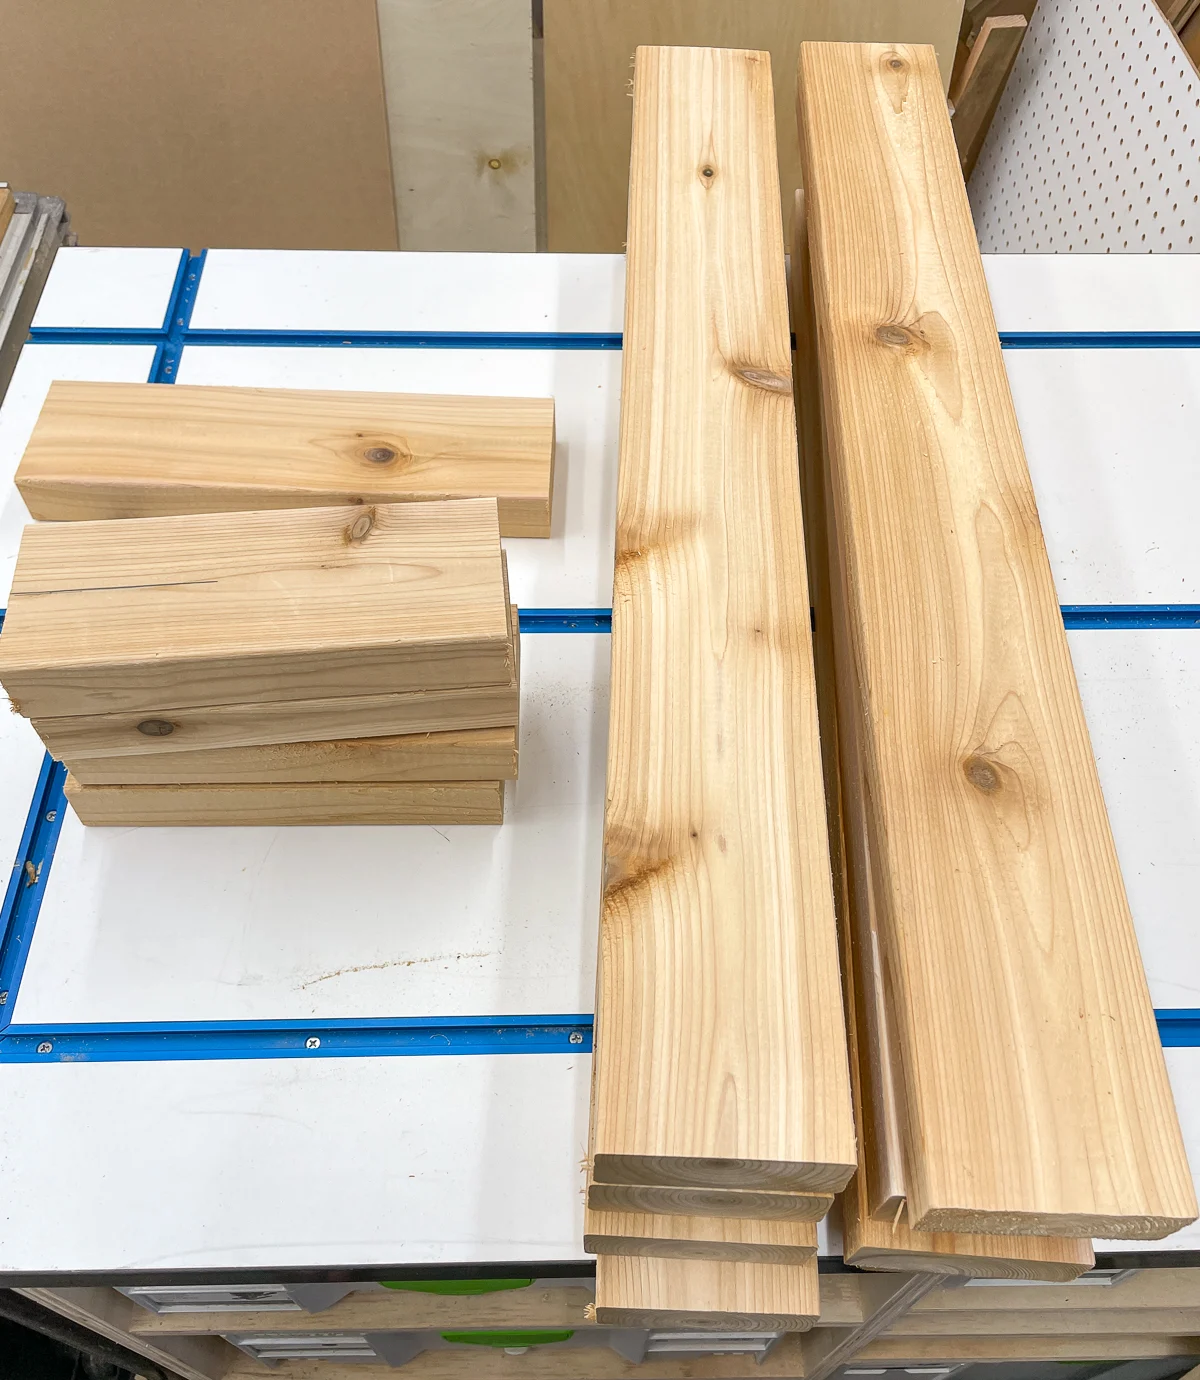
Partway through the build, I decided to trim off the rounded edges at the table saw so the joints looked nicer. But that step is totally optional!
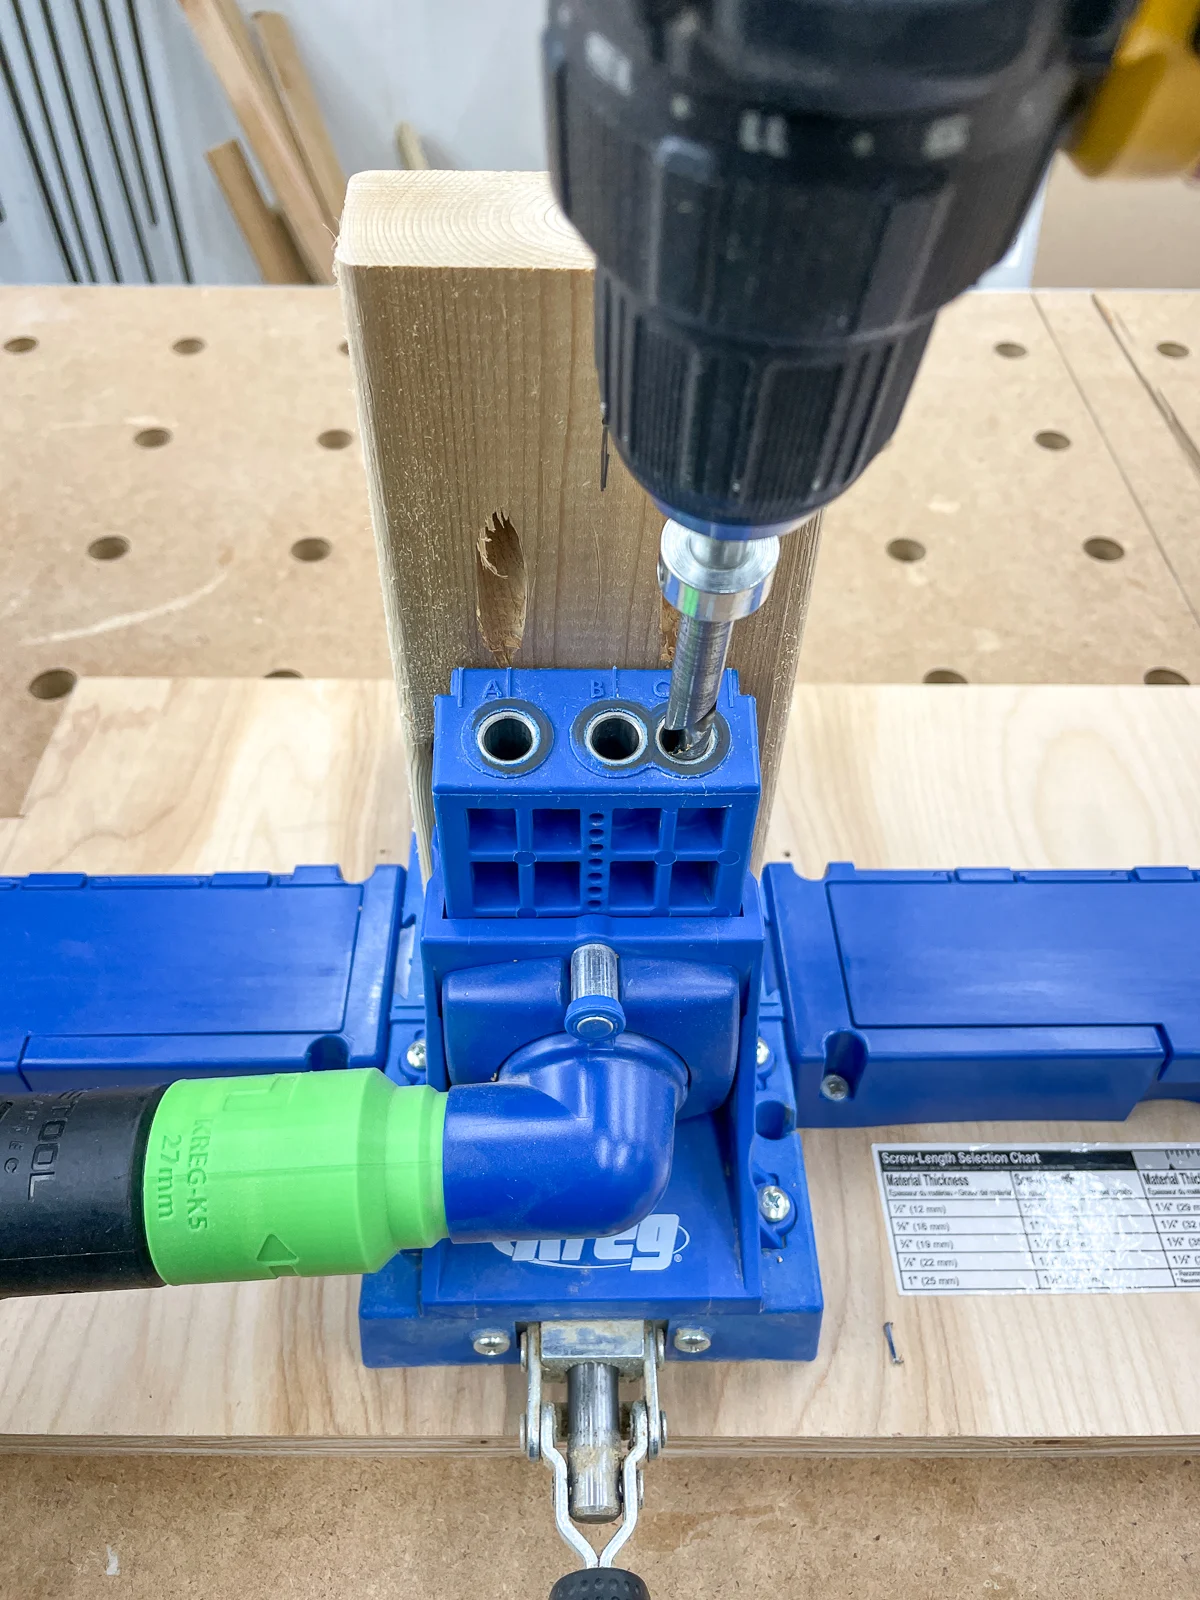
Drill pocket holes
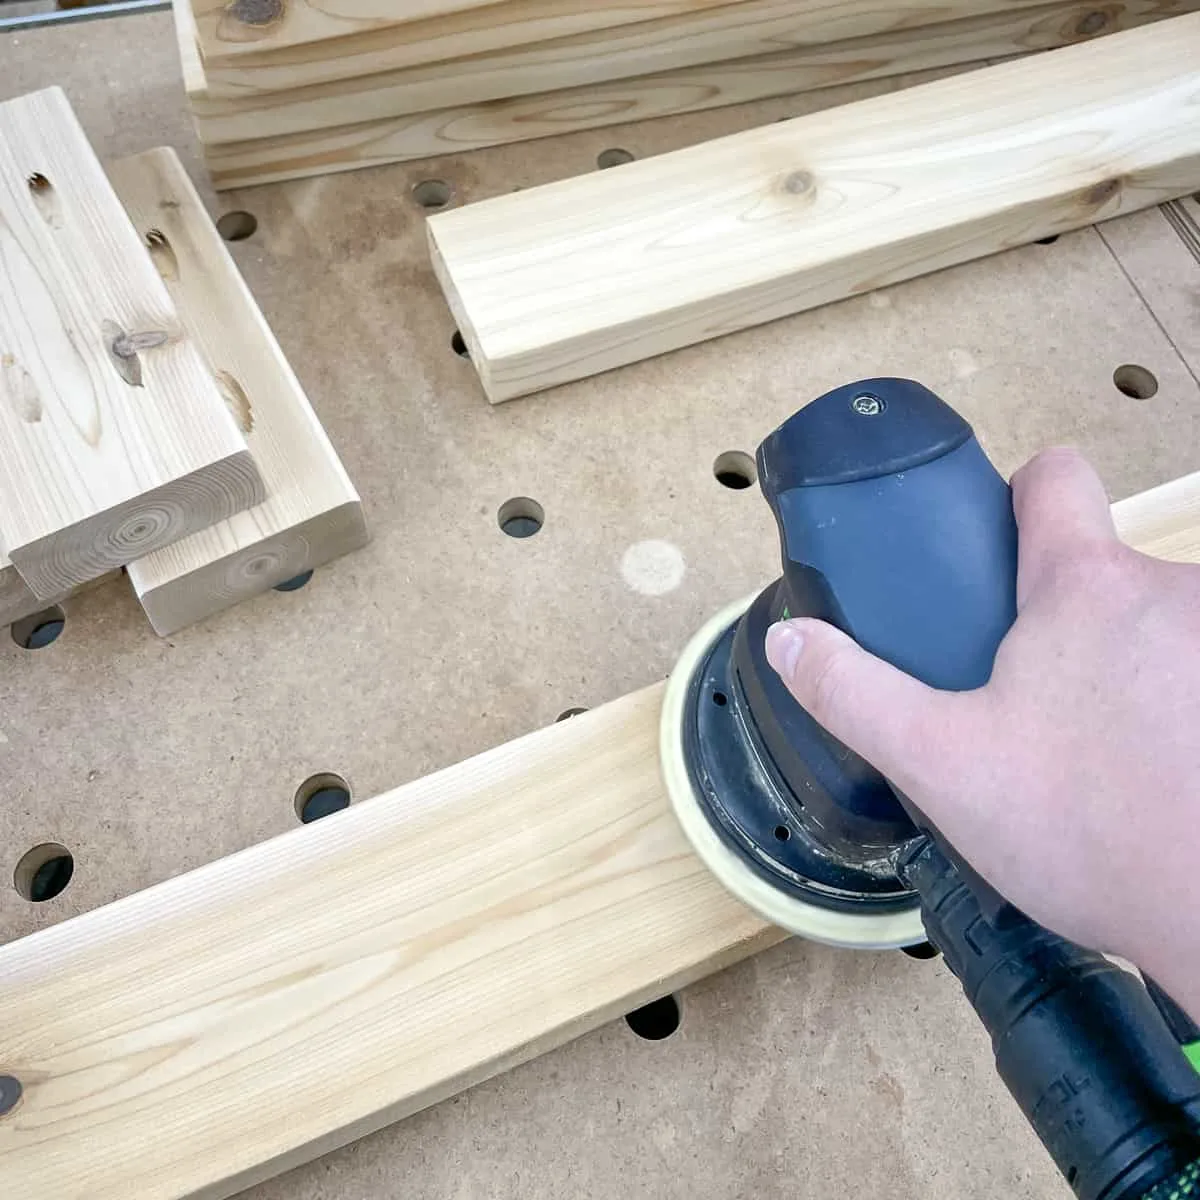
I used my Kreg Jig K5 to drill pocket holes in both ends of all the frame pieces.

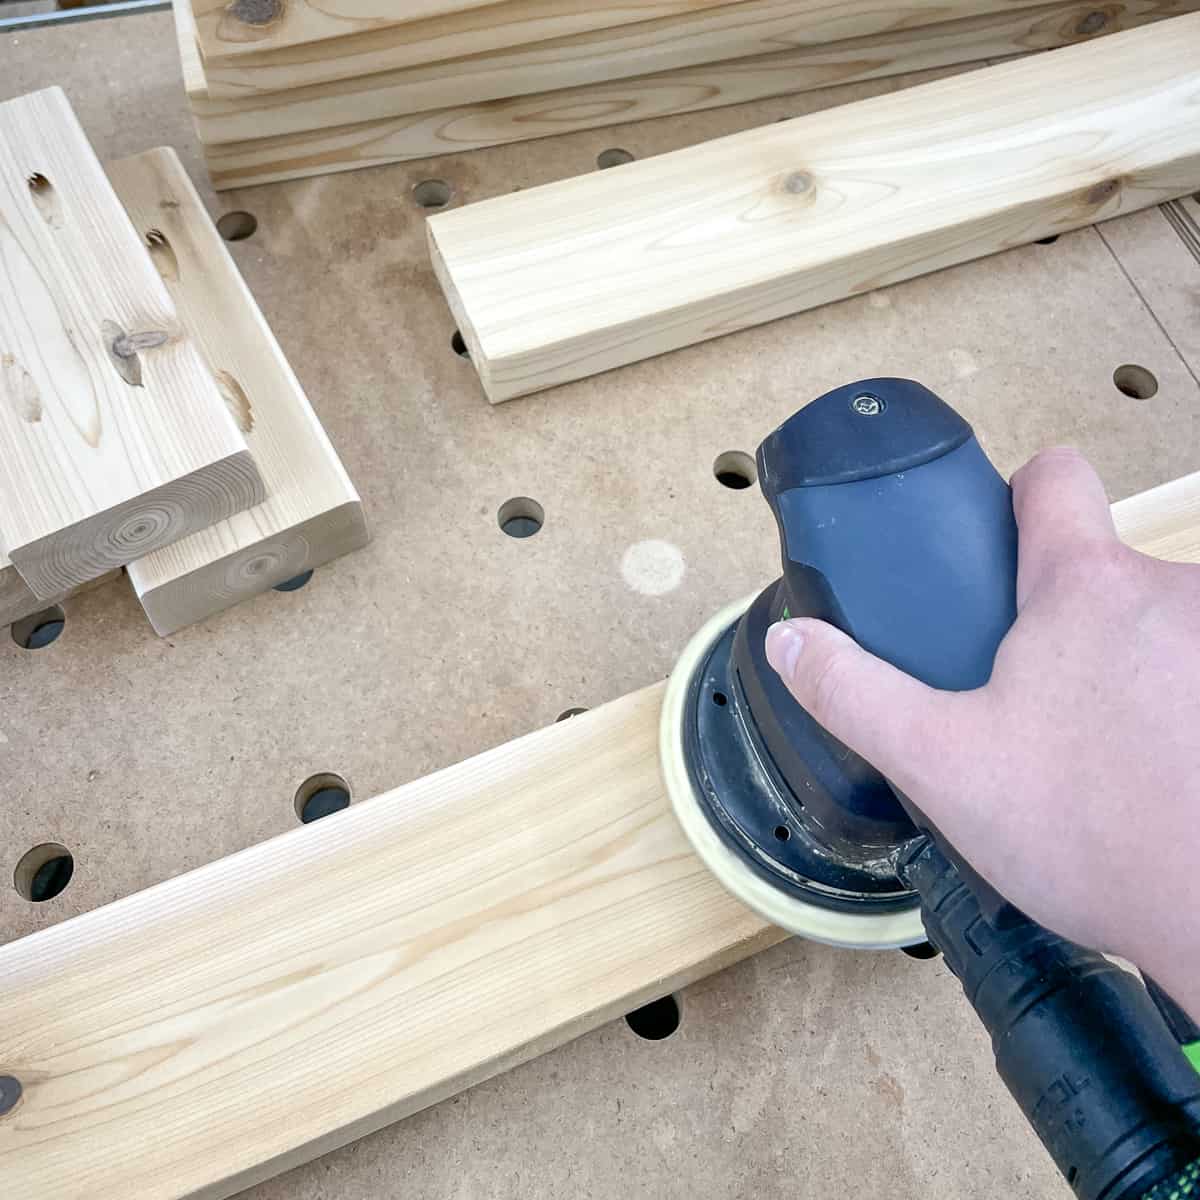
Then I sanded all the parts with 120 grit sandpaper to remove any splinters and get them nice and smooth.
Assemble the grill station frame
Start by putting together two legs with the shorter pieces in between.

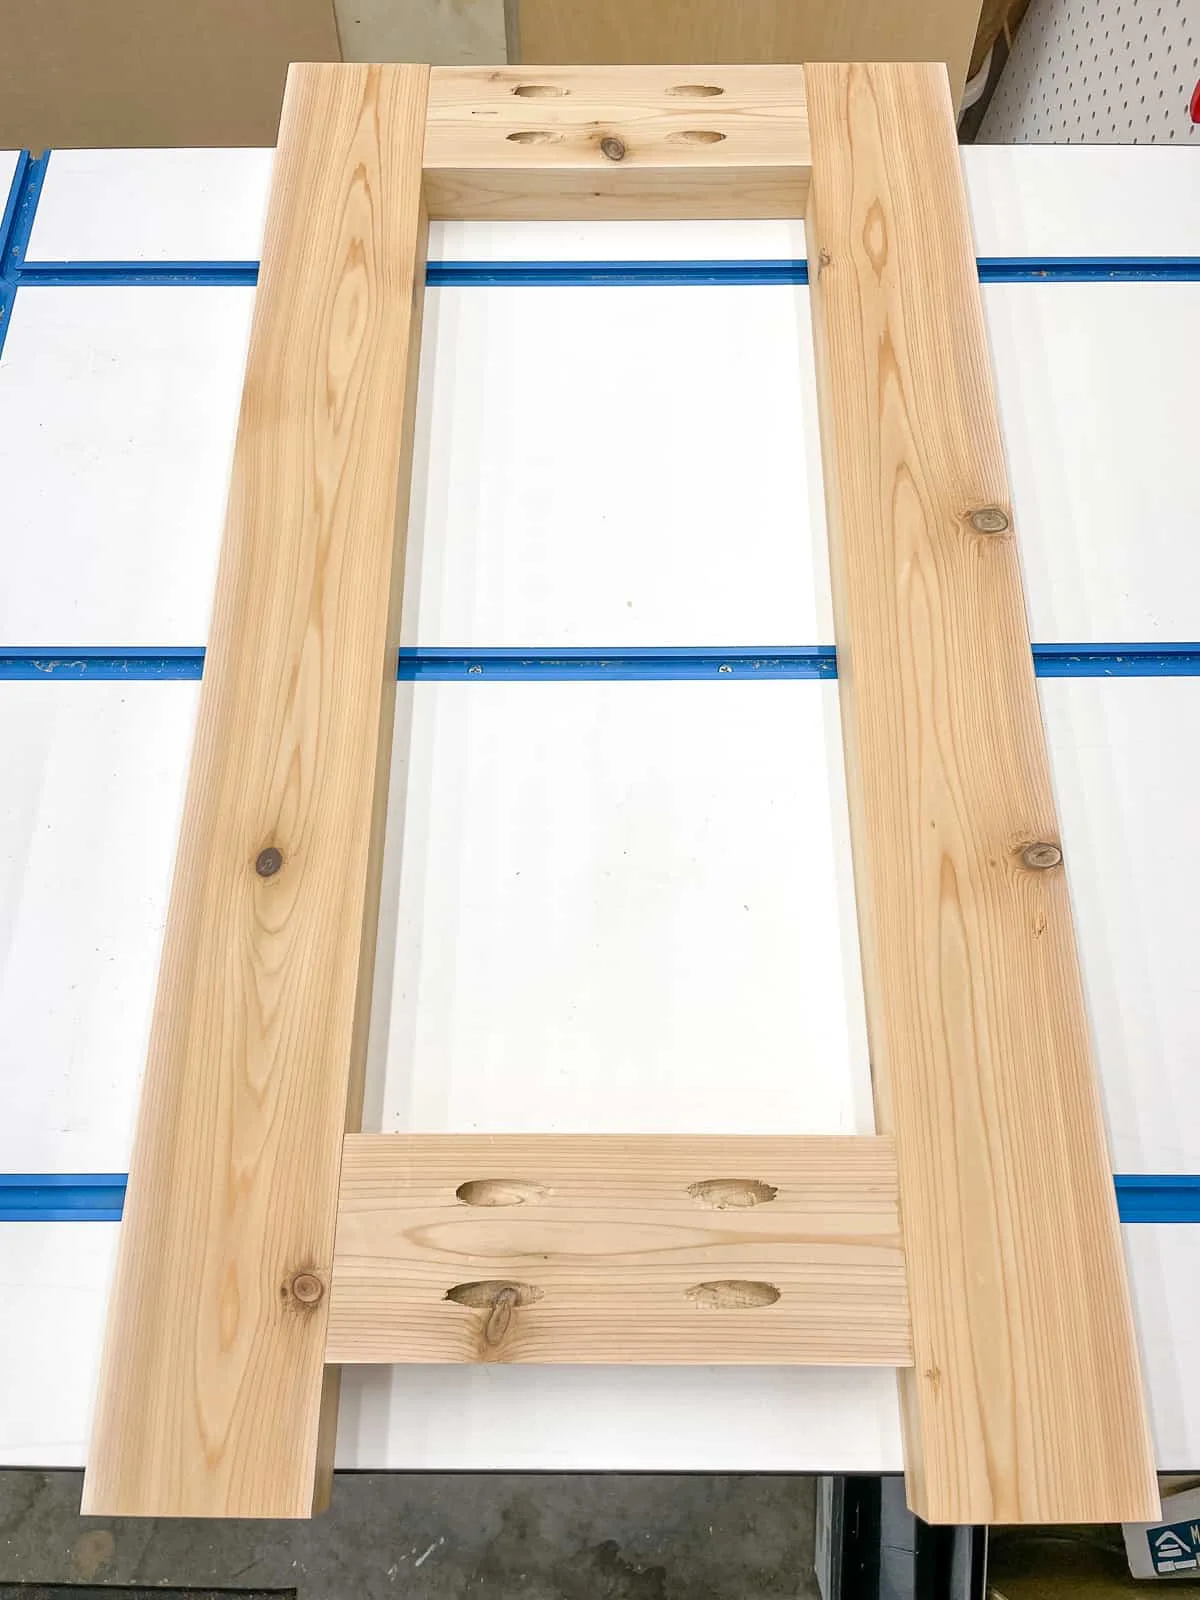
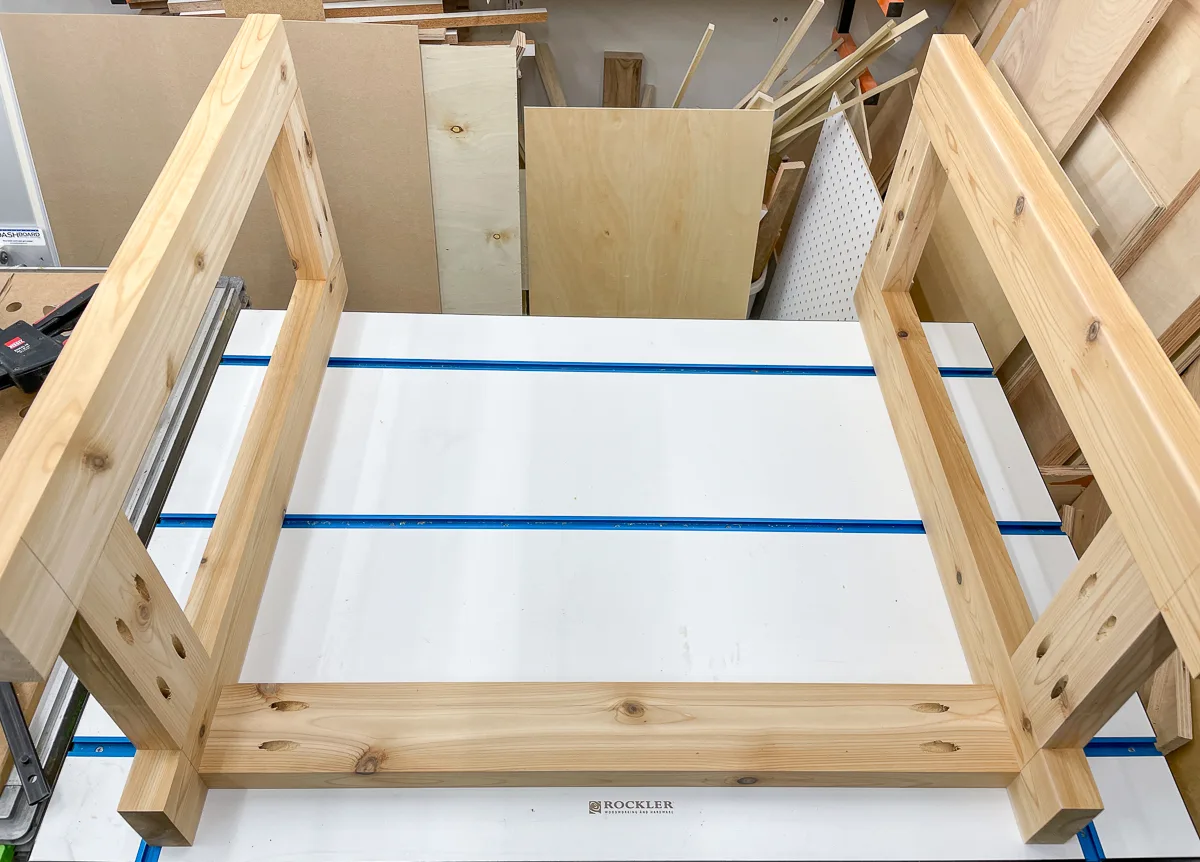
Then connect the two leg assemblies together with the longer stretchers on the top and bottom.

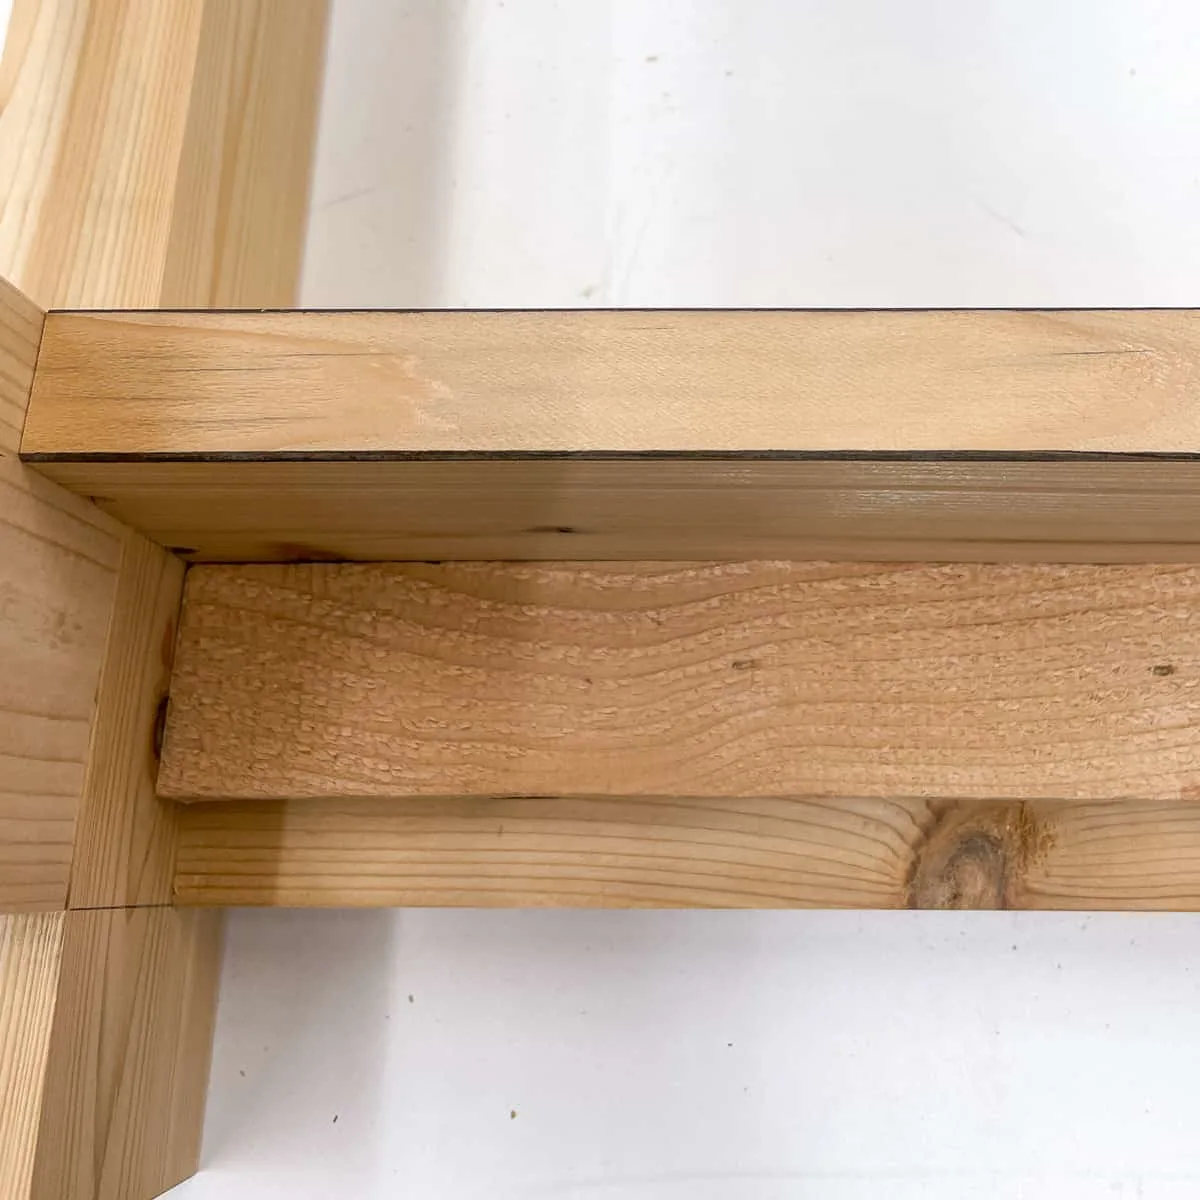
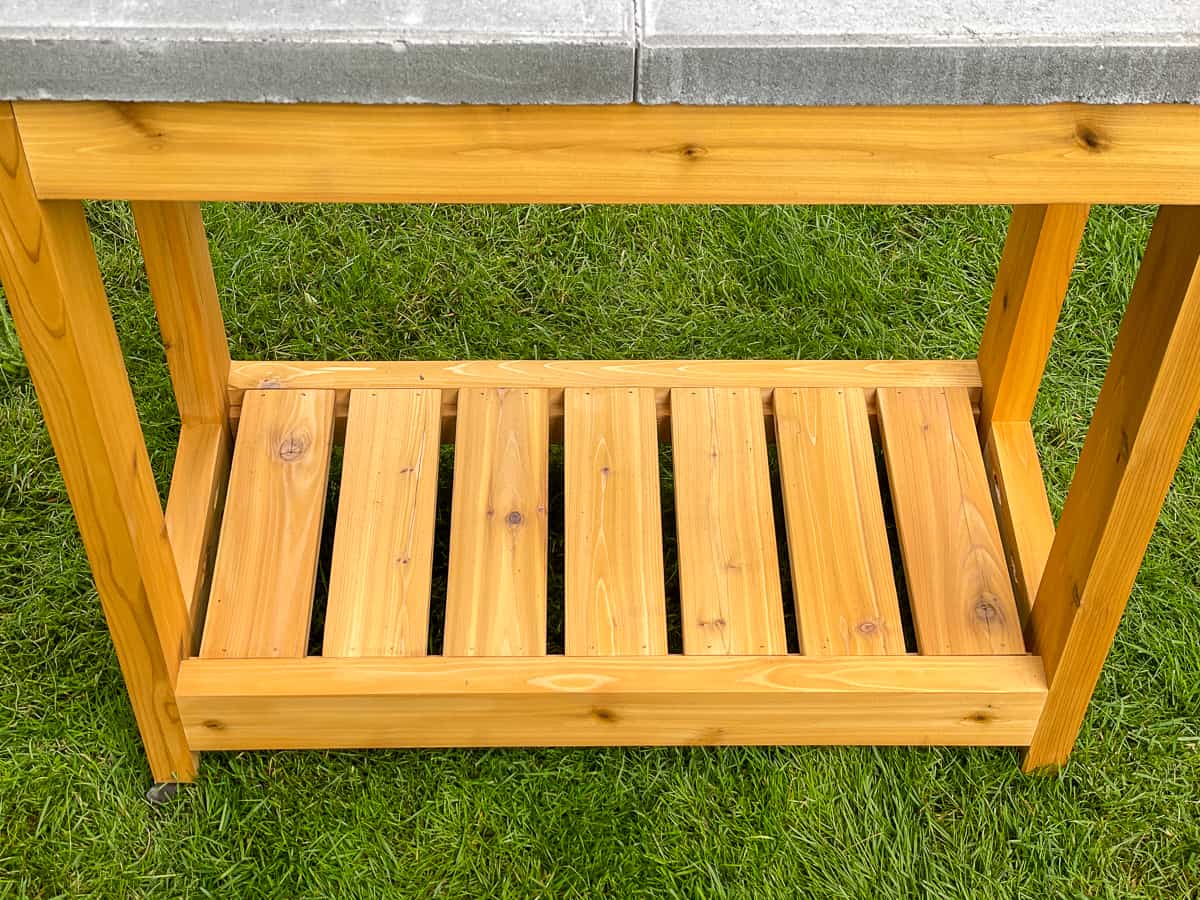
Attach the bottom shelf slats
I wanted the shelf slats to be flush with the top edge of the shelf frame, so the ends wouldn't be exposed. You could easily skip this step and place the shelf slats on top instead.
I rummaged around in my scrap wood pile and found two cedar 1x2 pieces left over from my outdoor plant stand project that were just long enough to fit inside the frame. Score!
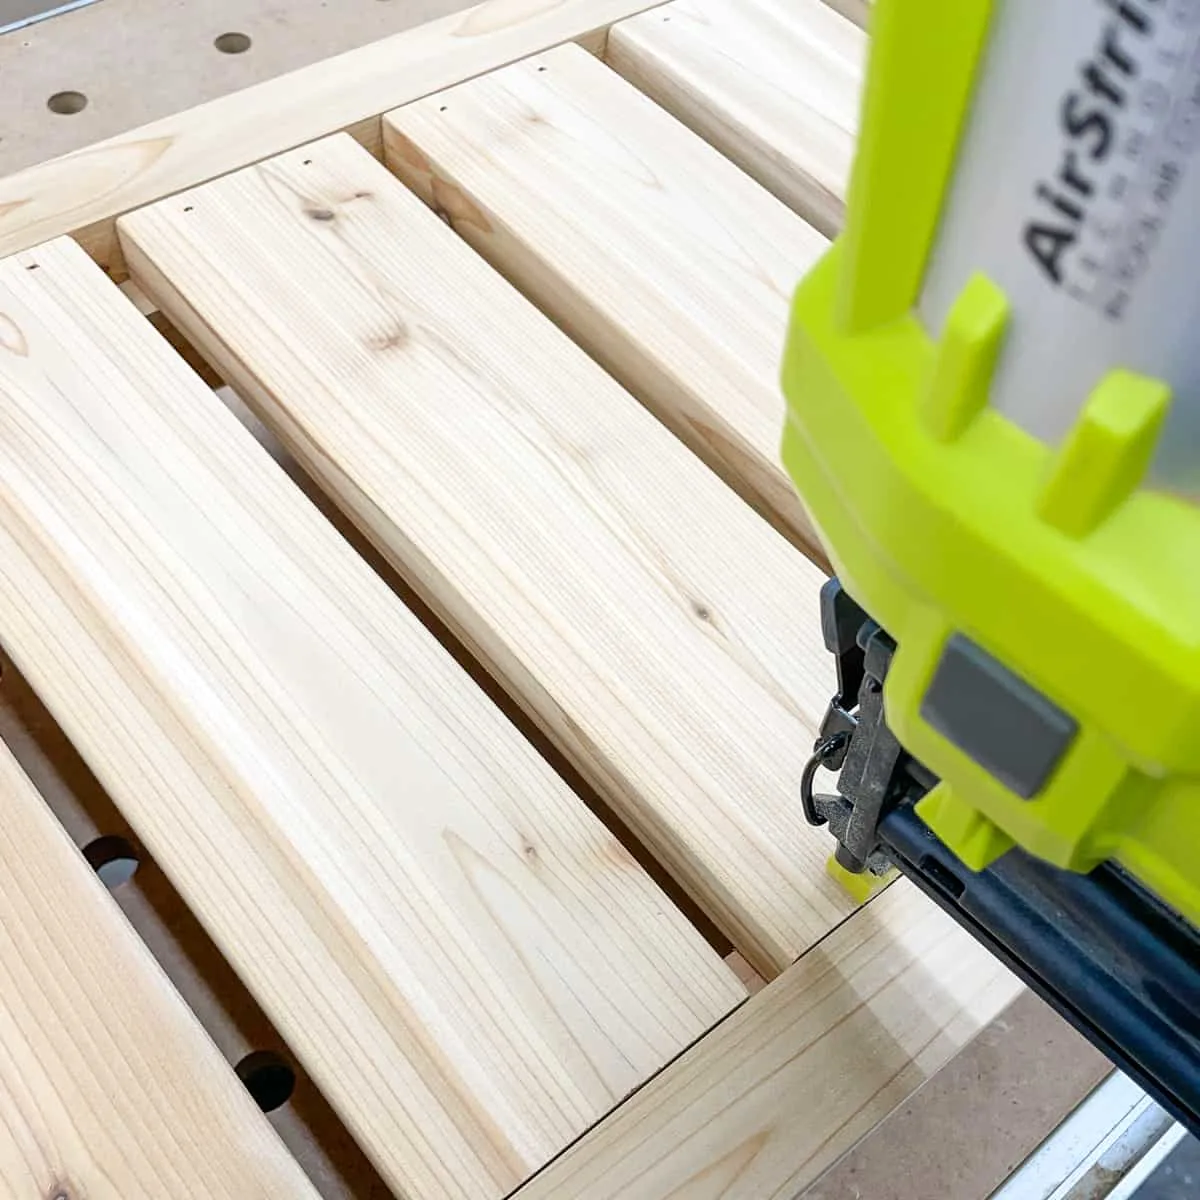
Use one of the shelf slats as a spacer to position the cleat, then nail or screw it into place on the inside of the frame.

Cut the shelf slats to fit, then space them evenly across the bottom. You can use a brad nailer or finish nailer to attach the shelf slats to the cleats, or drill countersink holes and screw them into place.

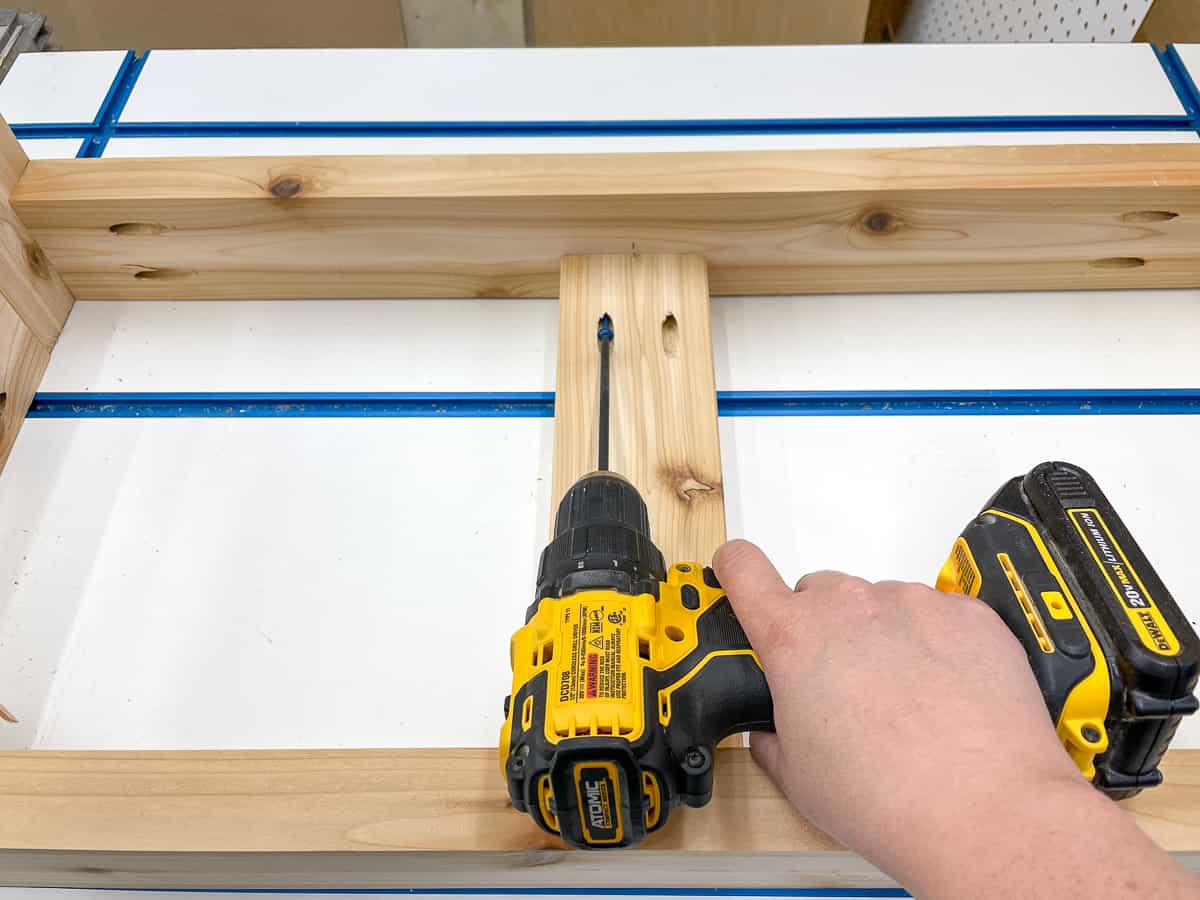
Add the center support
These concrete pavers are pretty heavy, so I decided to add some extra support in the middle of the top. Cut this piece to fit between the front and back stretchers, then attach it with pocket hole screws. Make sure the top edges are flush, so the pavers sit flat.

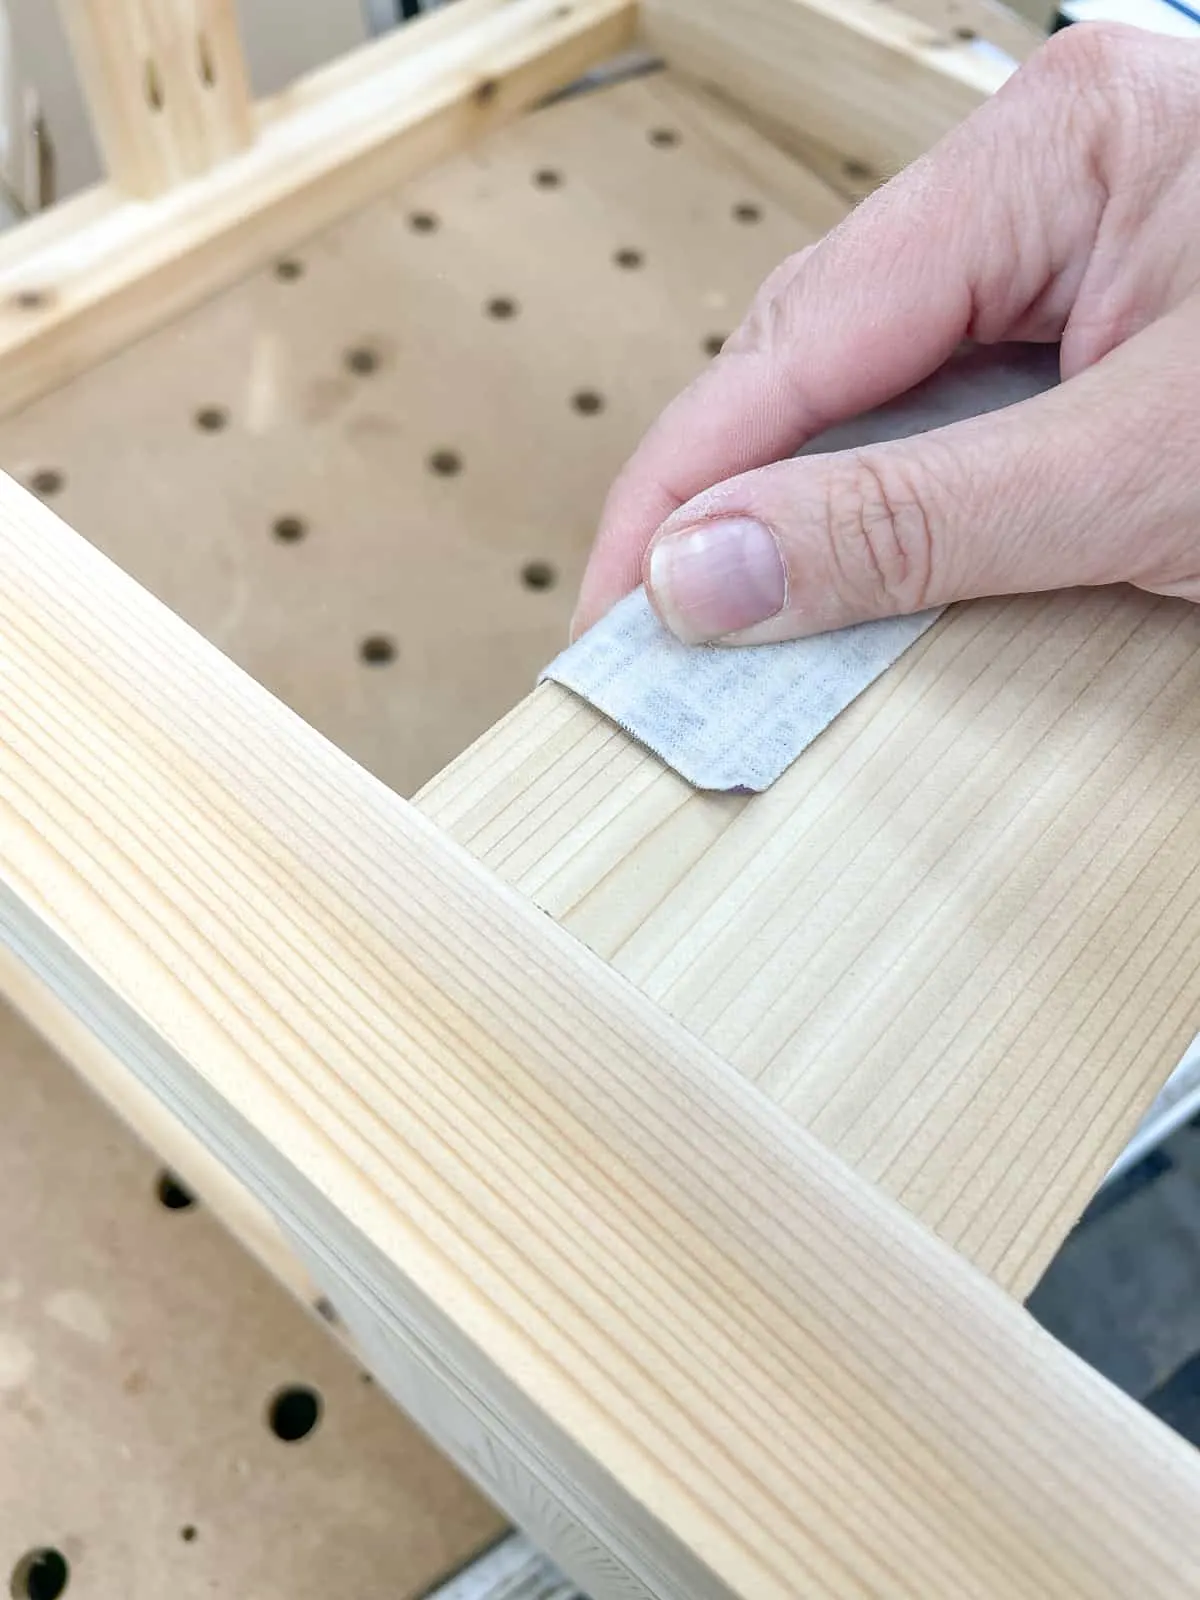
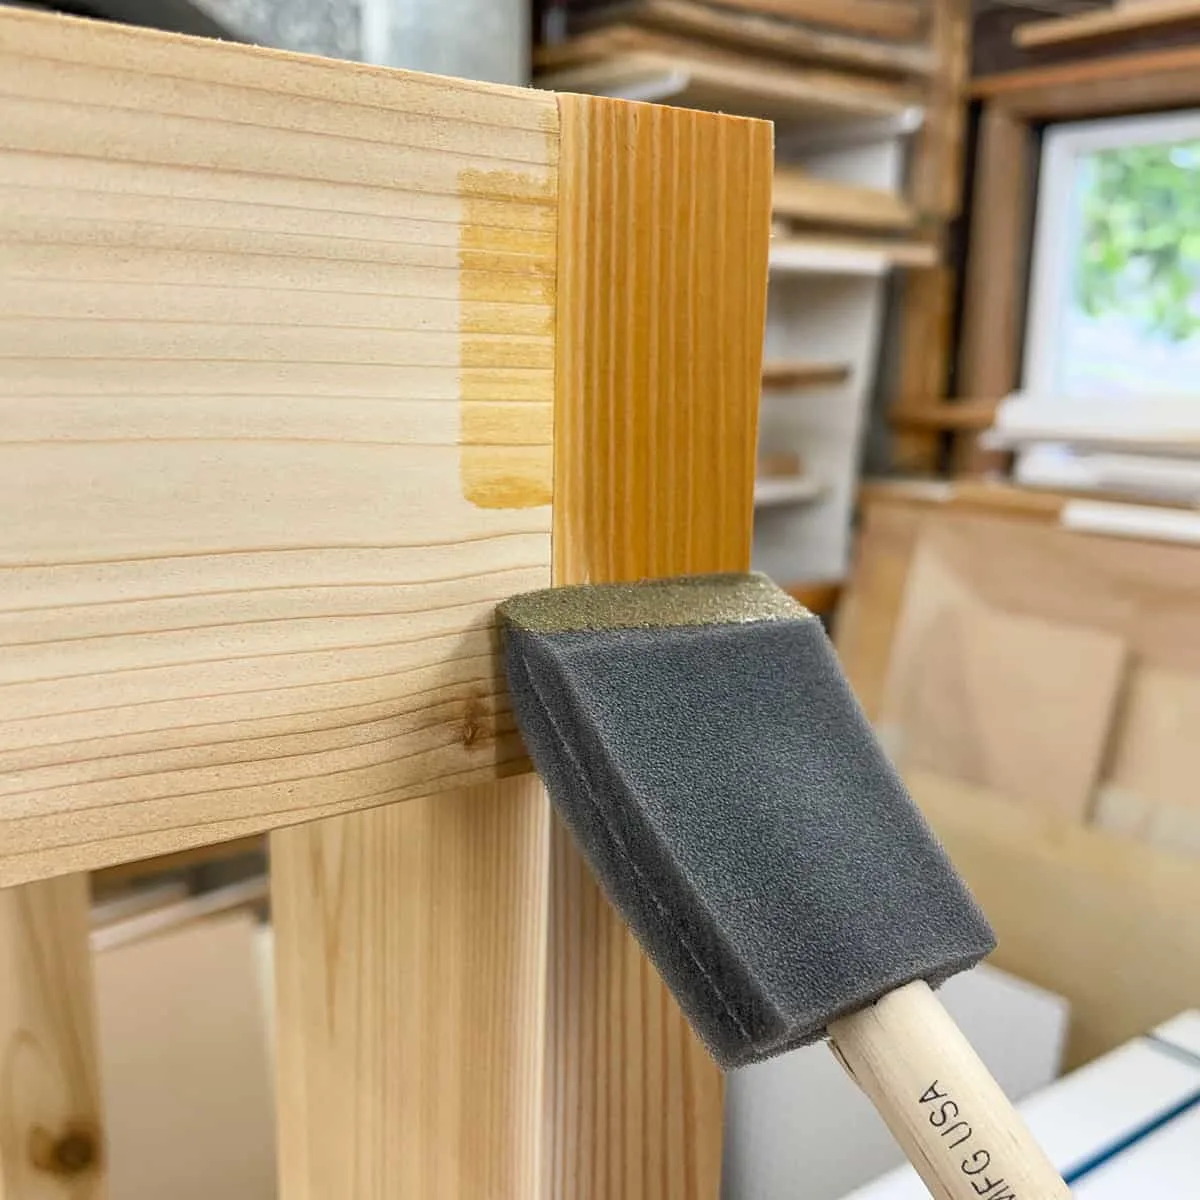
Sand and apply finish
Since I trimmed off all the rounded edges before assembly, the corners were pretty sharp! I smoothed them over by hand with 220 grit sandpaper, then sanded the rest of the grill station up to 180 grit.

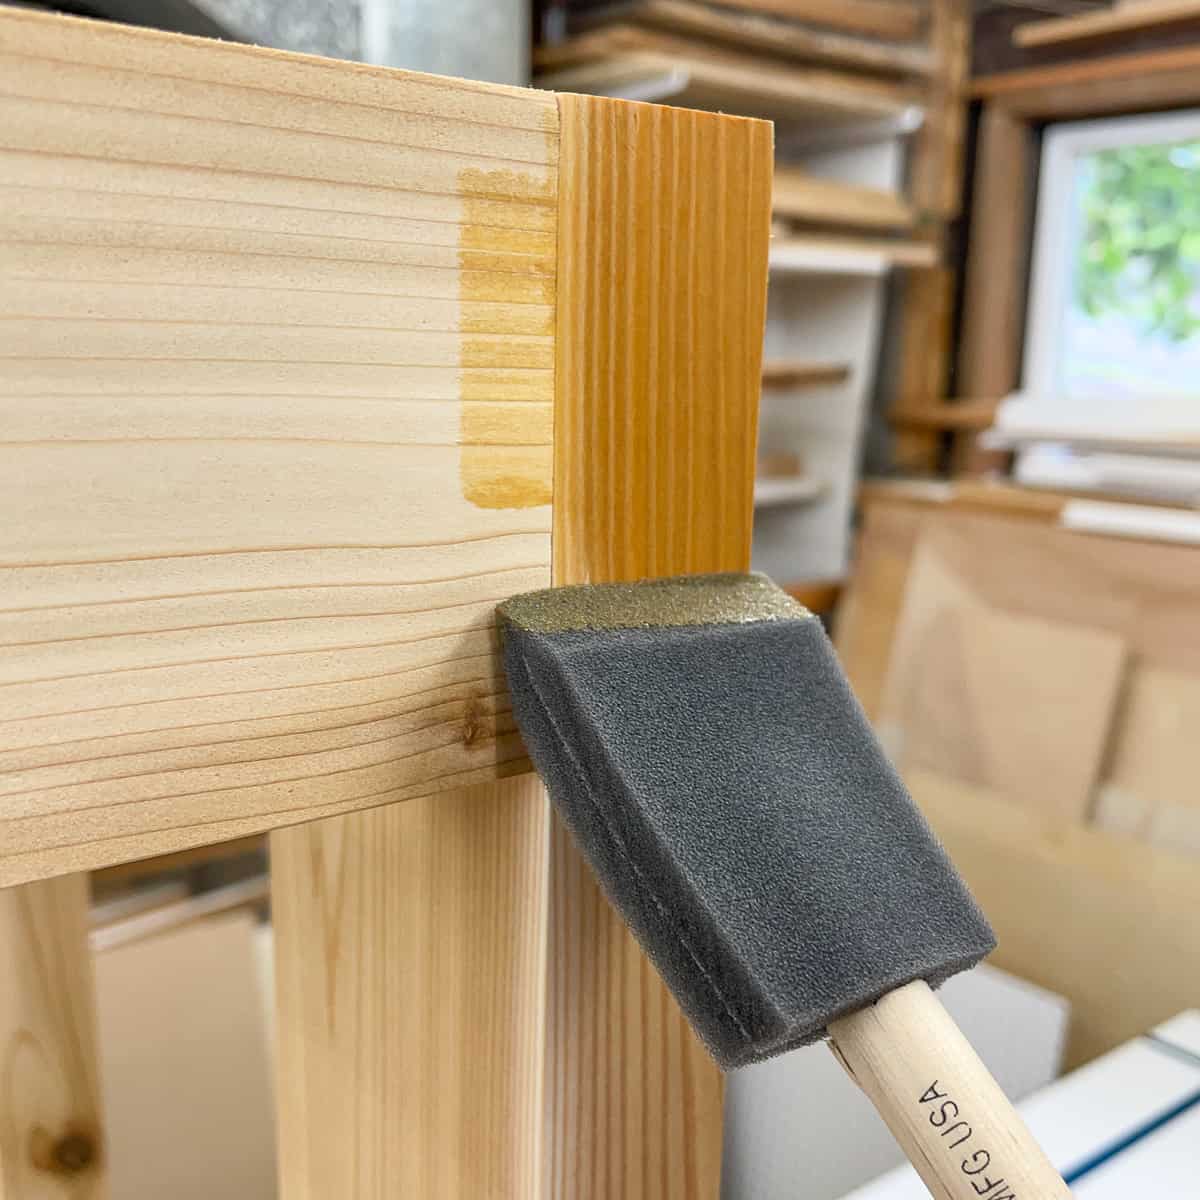
I recently stained our deck, and I used the left over stain on the wooden grill station so it would match.
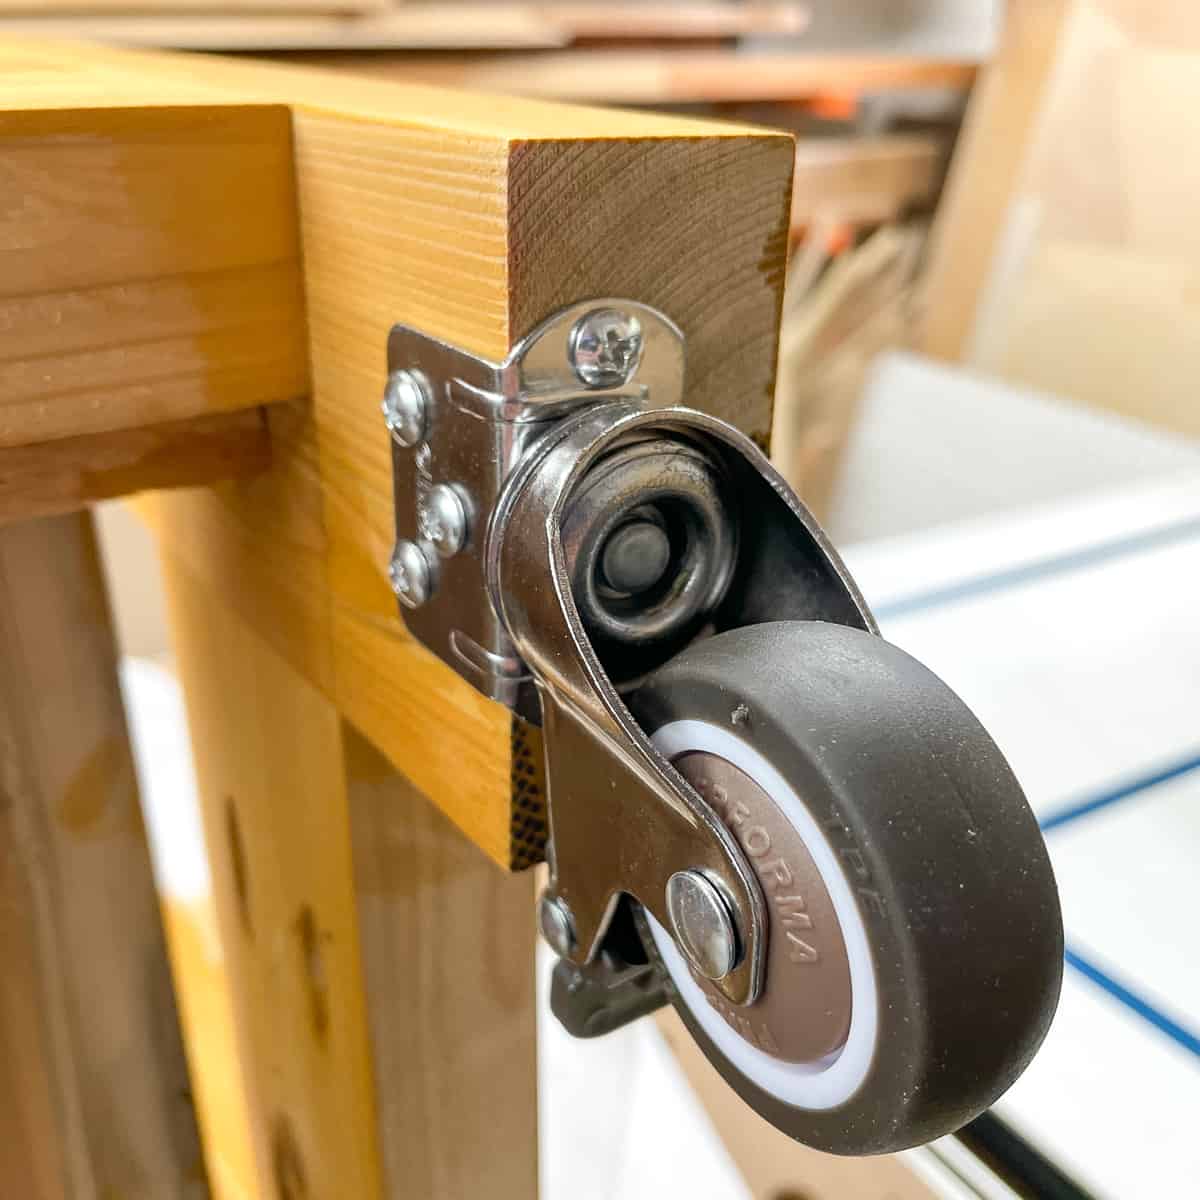
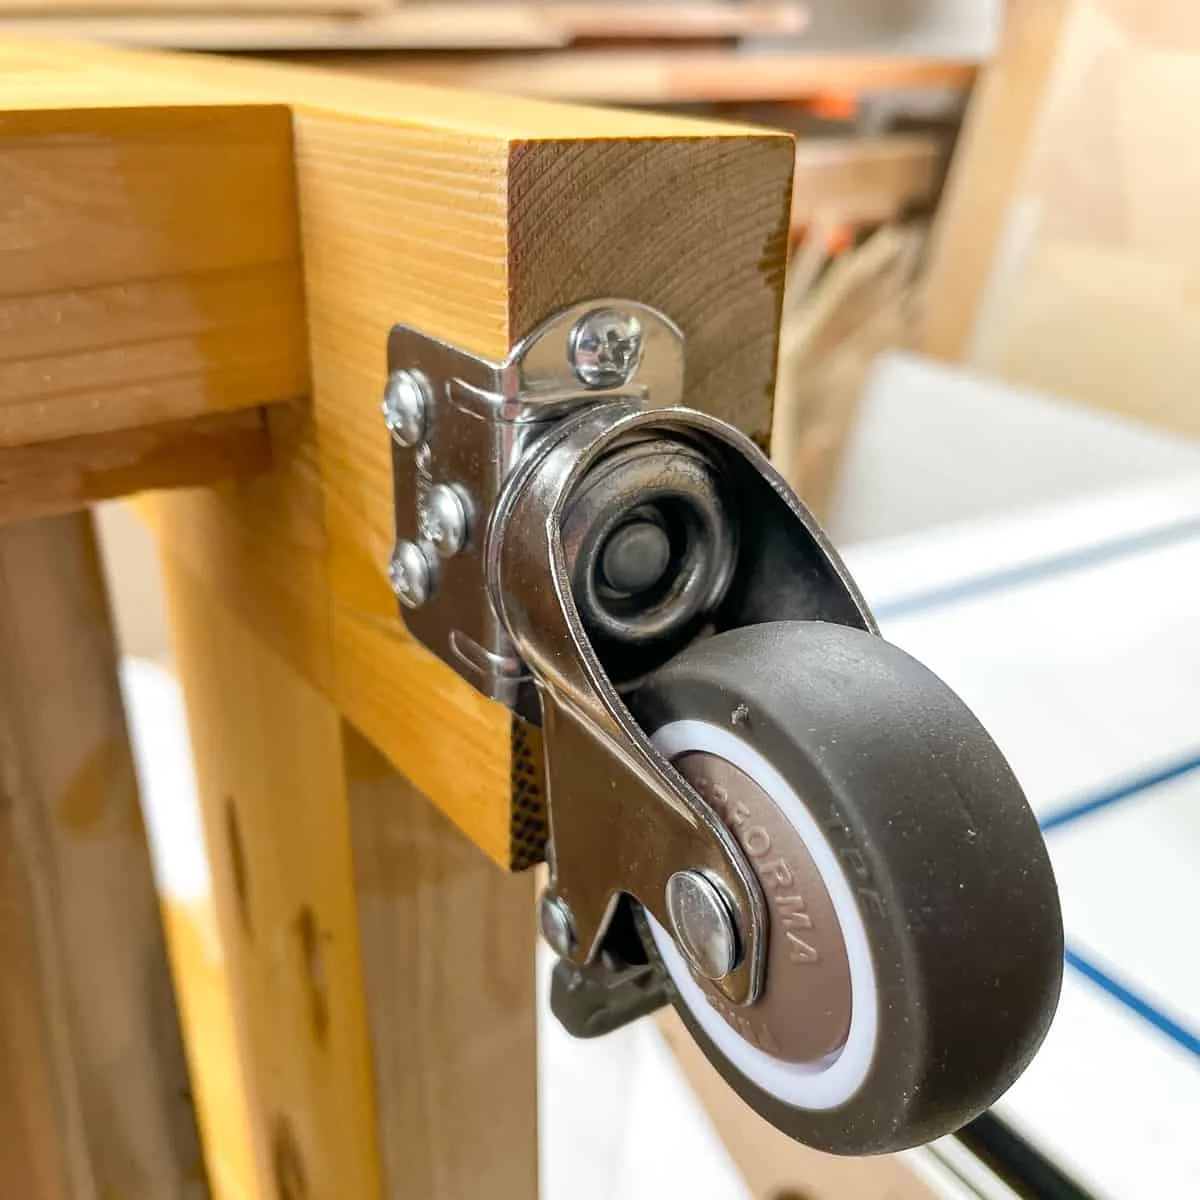
Add casters (optional)
I wanted to be able to move the grill station around on the deck, depending on how we planned to use it that day. These small casters fit perfectly on the bottom of the 2x4 legs, and screw into the side and the bottom for a more secure hold.
Make sure your wheels lock so your grill cart doesn't roll away! They should also be weather resistant, so look for stainless steel or chromium plated casters that won't rust.
Place the concrete pavers on top
These concrete pavers can be pretty rough, so I gave mine a quick hand sanding with 60 grit sandpaper to smooth them out and knock off the loose bits.
Run a bead of masonry construction adhesive around the top of the frame, then position the concrete pavers on top. There should be a bit of overhang around all four sides so rain can drip off without running down the sides.

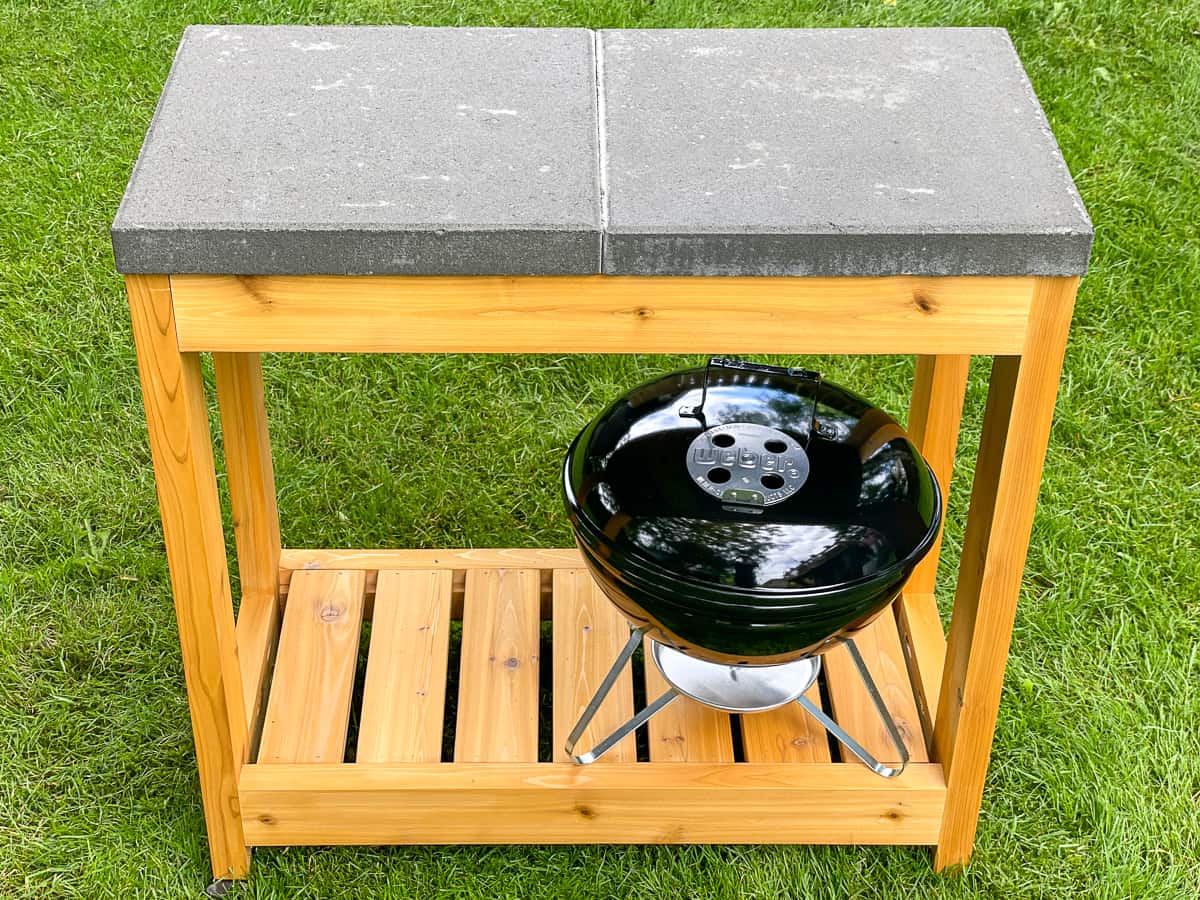
Fire up the grill!
We have a little charcoal grill for camping, so I tested out my new grill station with that first. It fits perfectly on one side, with plenty of room for all your ingredients on the other.

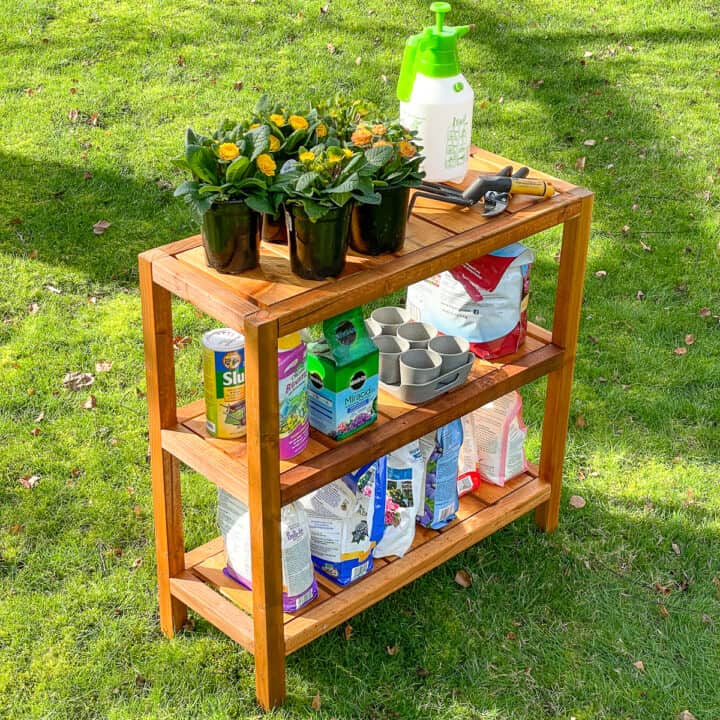
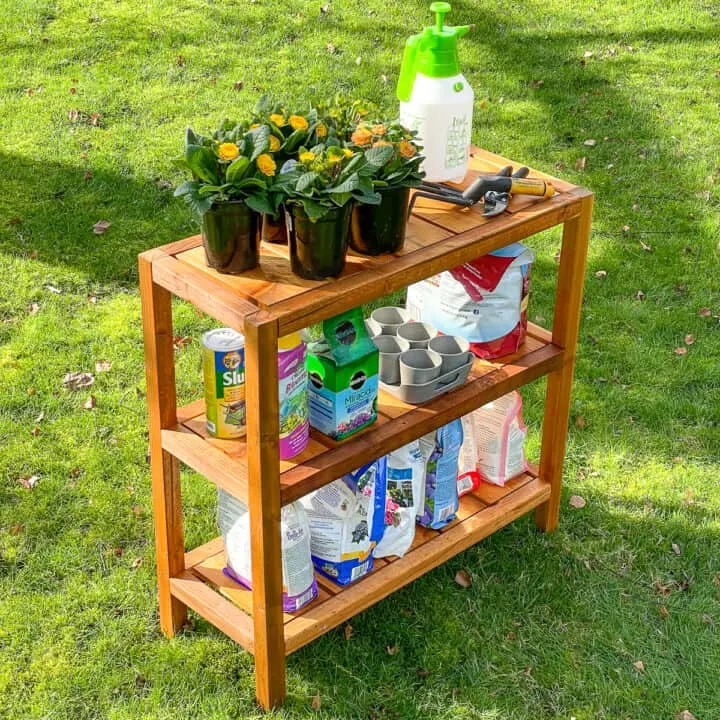
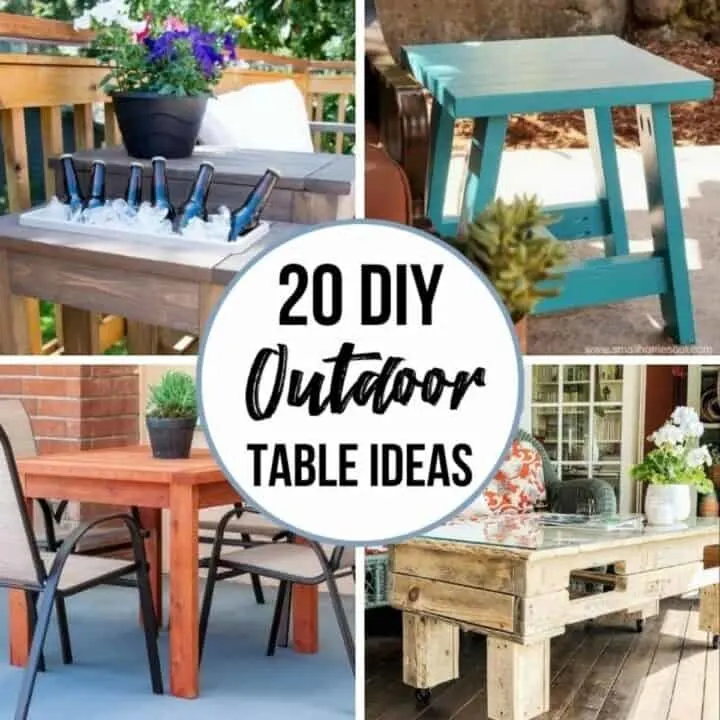
This piece is so versatile! I could imagine using it as a bar, a buffet table, or even for potted plants! If you're looking for something a little different, check out these other DIY grill station ideas for more inspiration.
So what are you waiting for? Download the plans to build your own grill station and get cooking!


michael kelton
Saturday 18th of June 2022
i like, only i wont have a pizza oven on mine i will have a 6" grizzly jointer on top and a dewalt thickness planer on the bottom, thanks for the idea