My 80s kitchen cabinet makeover is finally complete! Check out all the before and after photos and get the details on the products used in this amazing transformation.
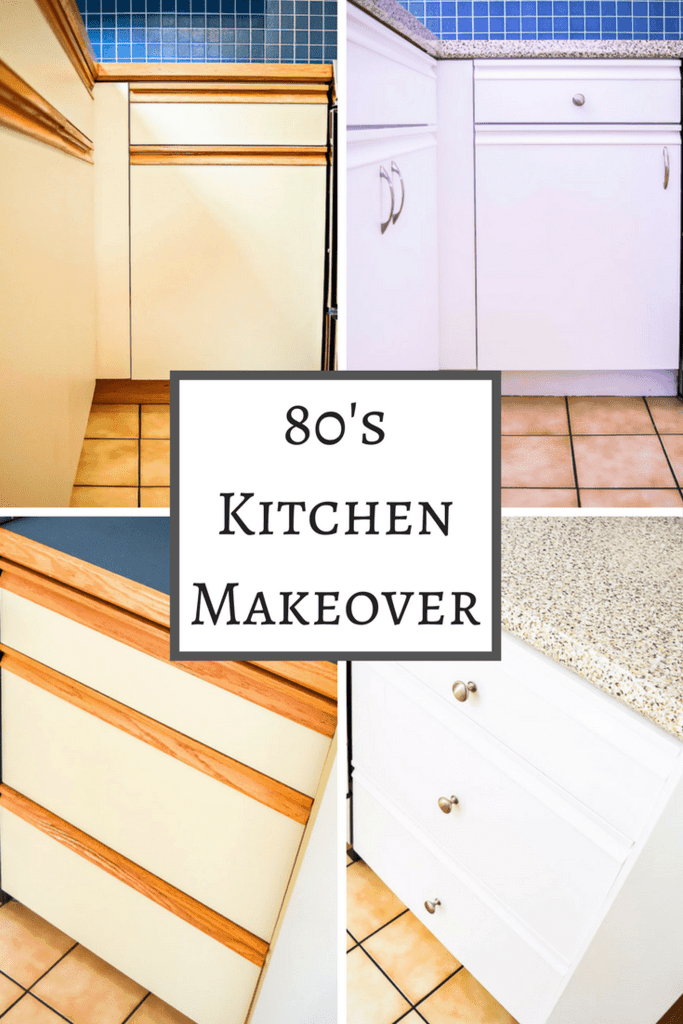

I never thought it would happen, but our ugly 80s kitchen isn't so ugly anymore! It's been a long process updating these melamine and oak cabinets, but it was well worth the effort.
Just in case you missed any of my previous kitchen-related projects, let's recap the journey leading up to this point. Click on any of the links to go to the full post.
This post contains affiliate links for your convenience. Purchases made through these links may earn me a small commission at no additional cost to you. Please visit my disclosures page for more information.
Way back in 2014 when we first bought our house, we had visions of a new kitchen. But that dream would have to wait, because the deck was rotting and needed immediate replacement. 🙁
We doubled the size of the old deck and moved the back door from the kitchen to the dining room. A new fridge was installed in the former door space.


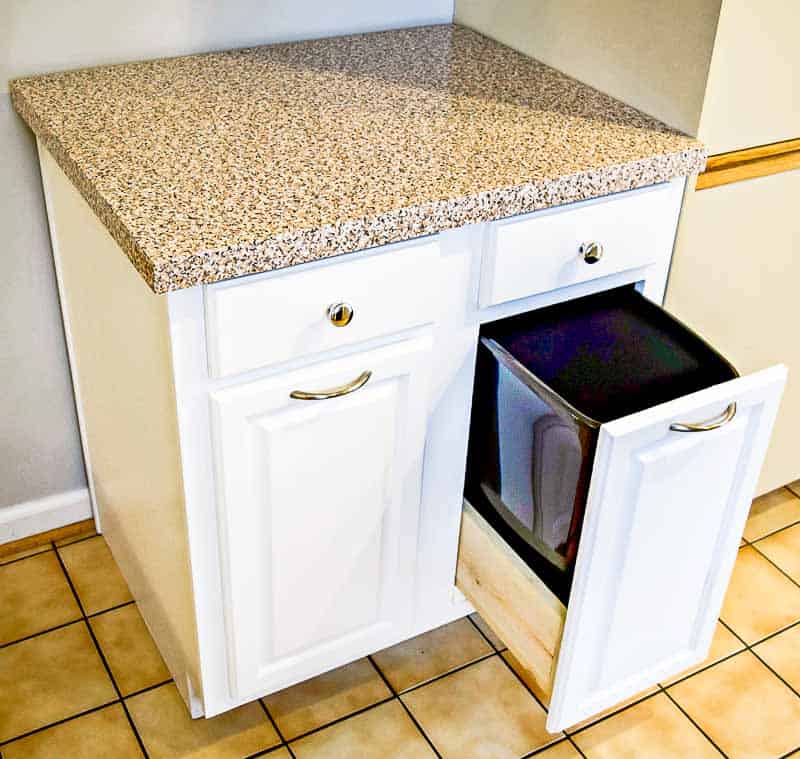
In the space where the fridge used to be (are you following all this?), I added a new cabinet from the salvage yard that I fixed up and modified with pull out trash and recycling drawers. I applied contact paper for countertops over the existing laminate, which held up extremely well!

I started painting our 80s kitchen cabinets white to match the new cabinet, working in sections so the entire kitchen wouldn't be out of commission at once.
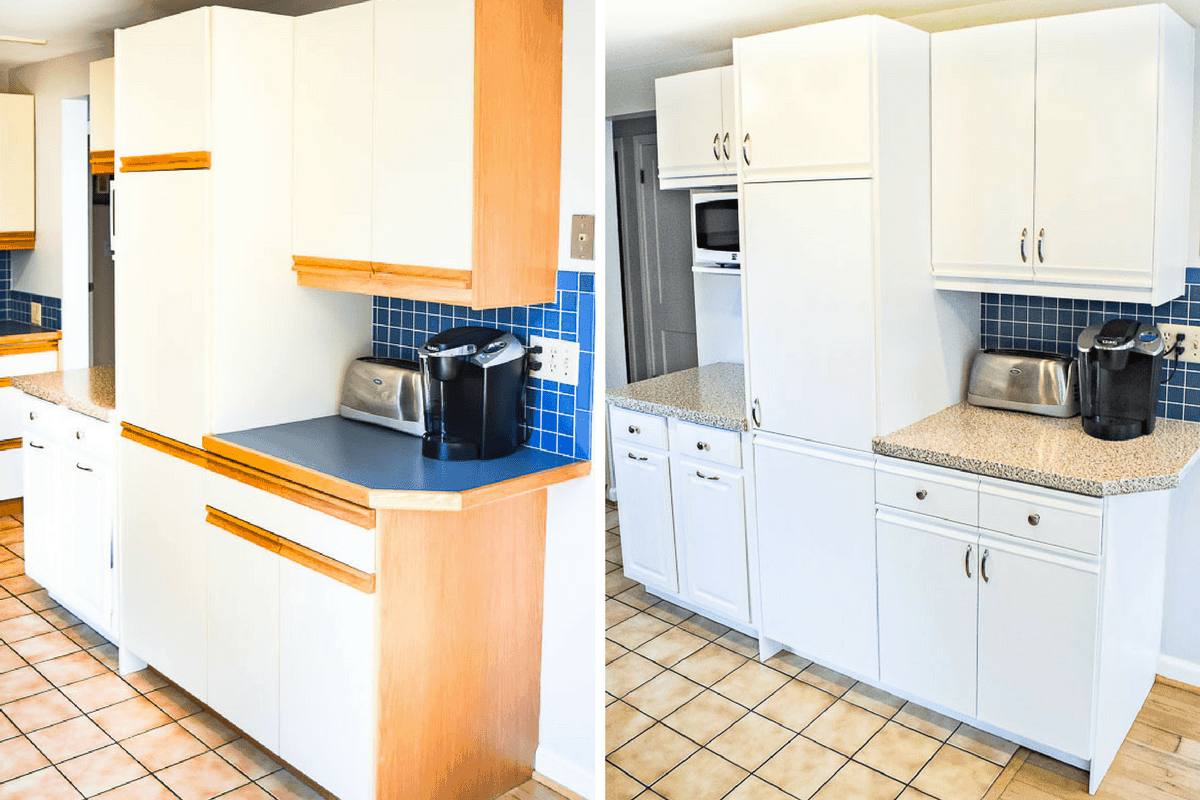
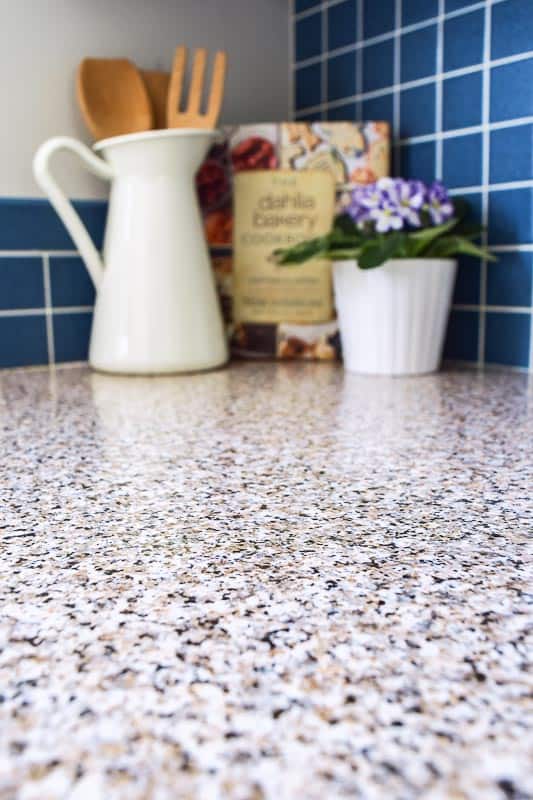
I began with the island (can you still call it an island if it's floor to ceiling?) and it instantly made a HUGE difference. That side of the kitchen suddenly looked brand new. And no, we didn't replace the counter tops...I just covered the old ones in heavy-duty contact paper!

I decided to take a break from painting kitchen cabinets, which ended up lasting a few months! My husband kindly gave me a weekend to myself without the kiddo, so I knocked out the big section of upper cabinets in just a couple days.

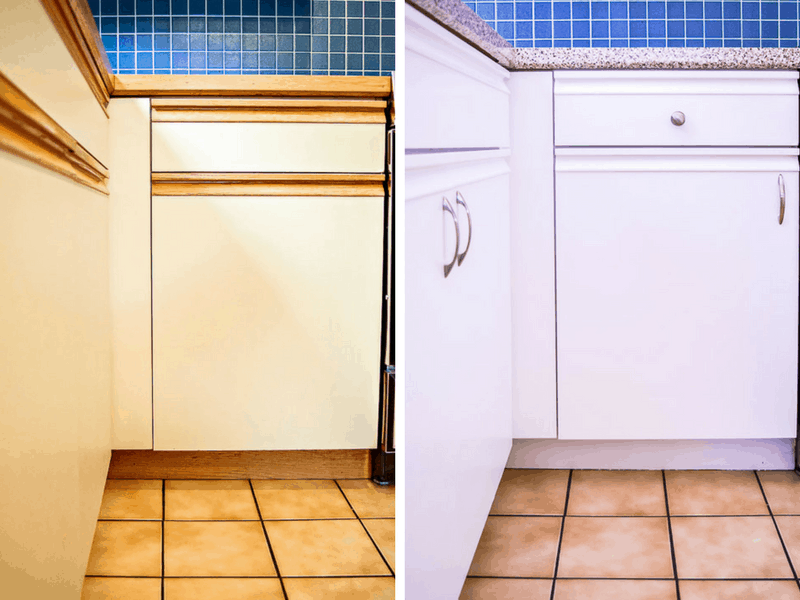
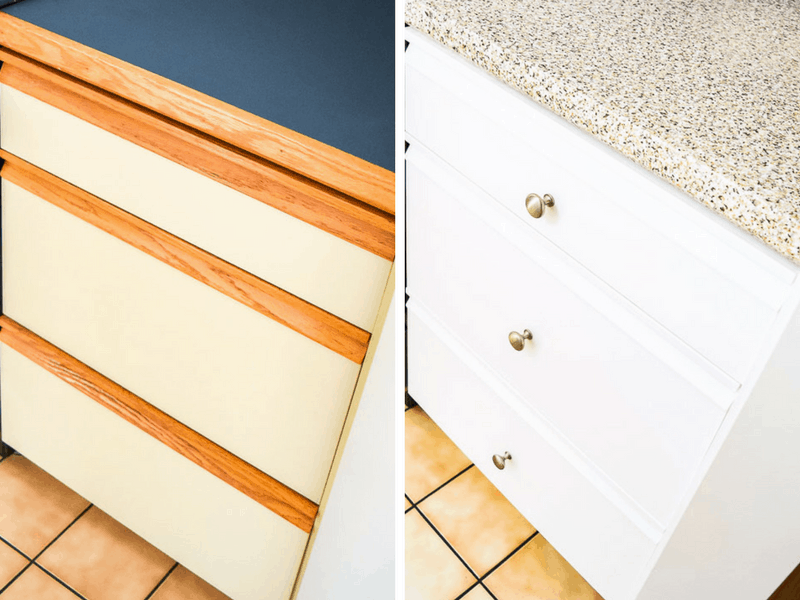
The final leg of the project lingered unfinished a couple months longer. But my desire to get rid of those hideous blue counter tops overrode my laziness, and I painted the lower cabinets over the past week. The 80's kitchen is finally gone, and in its place is a bright and cheery space!
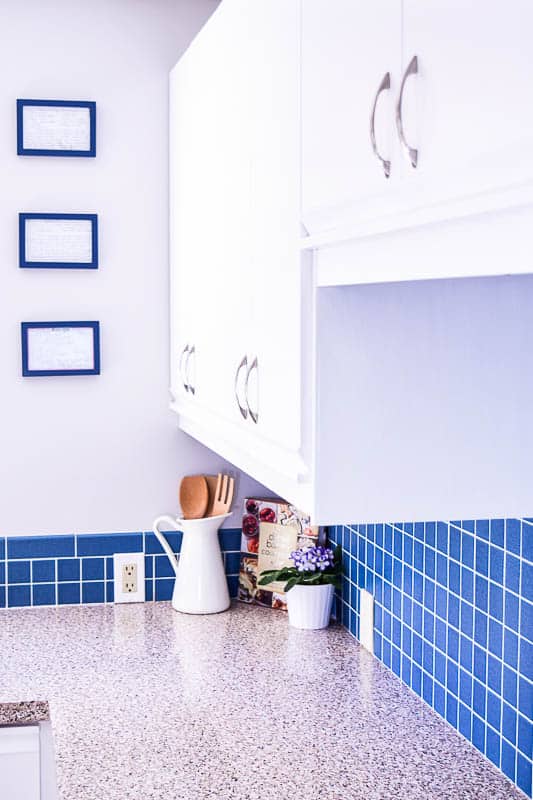
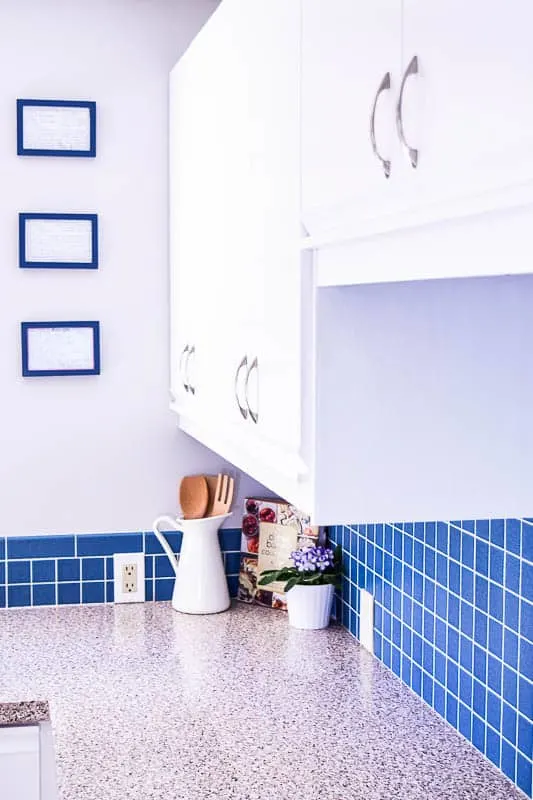

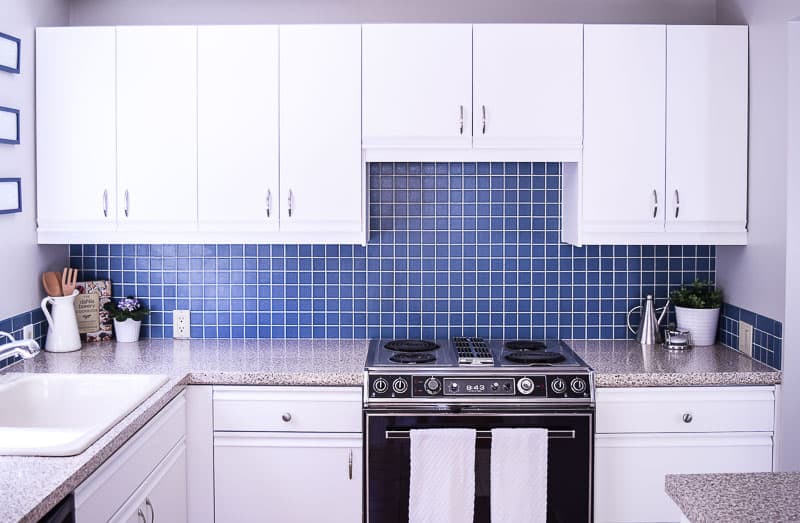
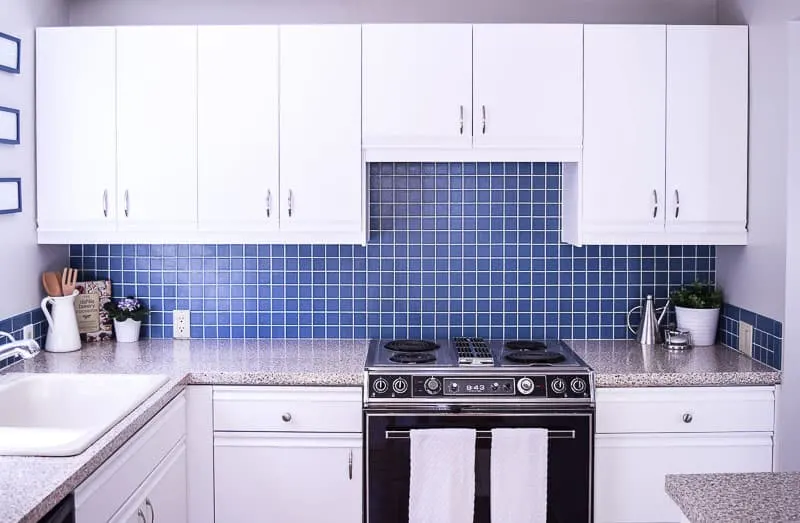
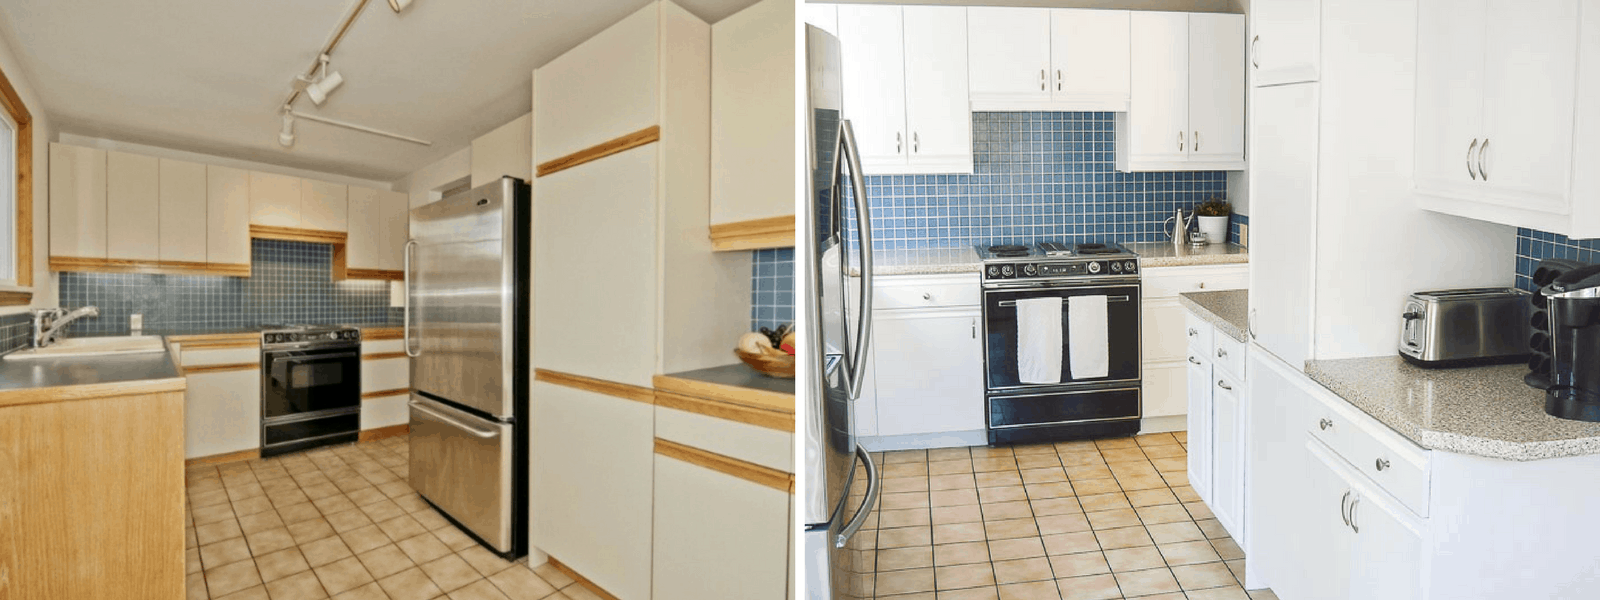
Here are some before and after pictures to show just how much things have changed. Such a huge transformation!
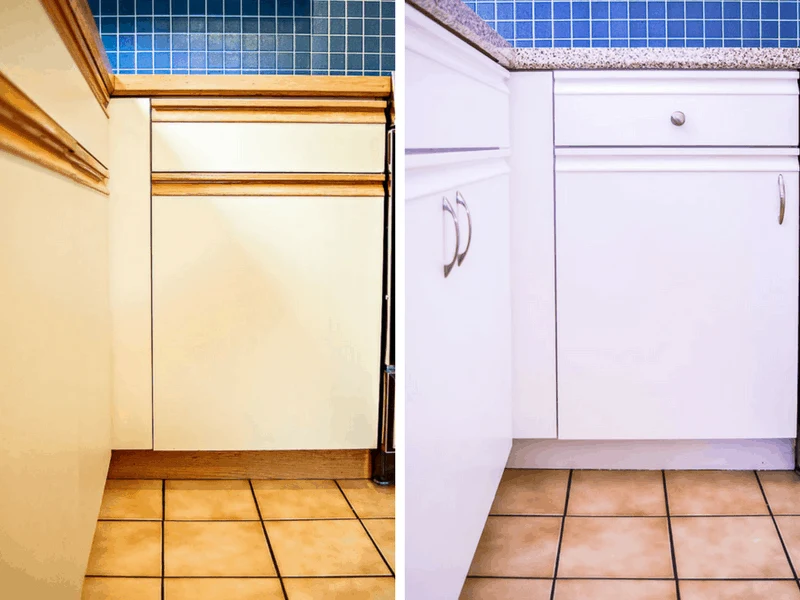

This before picture is from the house's real estate listing, so you can get a sense of how far this 80s kitchen has come!

I also build an additional pantry cabinet on the other side of the fridge for even more kitchen storage!


Have your own ugly 80s kitchen cabinets to tackle? Here's the rundown of all the supplies I used to transform ours.
- Rustoleum Cabinet Transformations Kit
- I used the Pure White version that didn't need to be tinted at the store.
- The small kit covered the entire kitchen.
- Shellac-based Primer
- If you're attempting to cover up oak, you need a shellac-based primer that will prevent tannin bleed. I used a water-based primer for the first section of cabinets, and it took multiple coats to stop the white from looking orange!
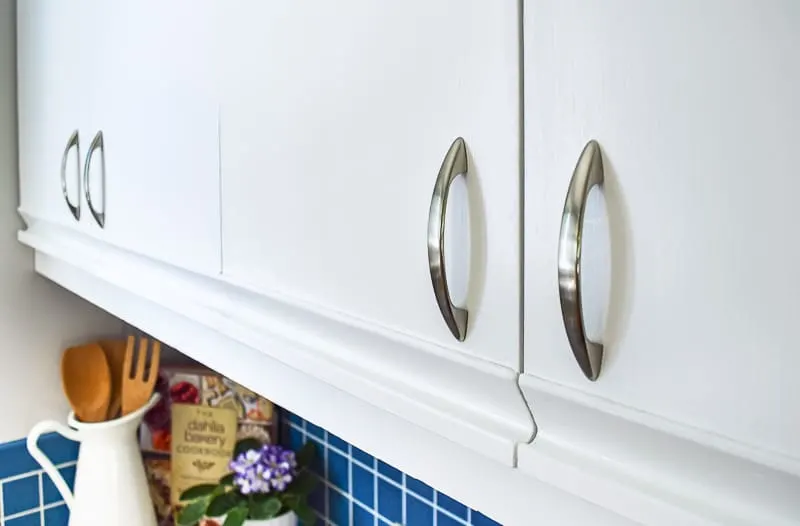
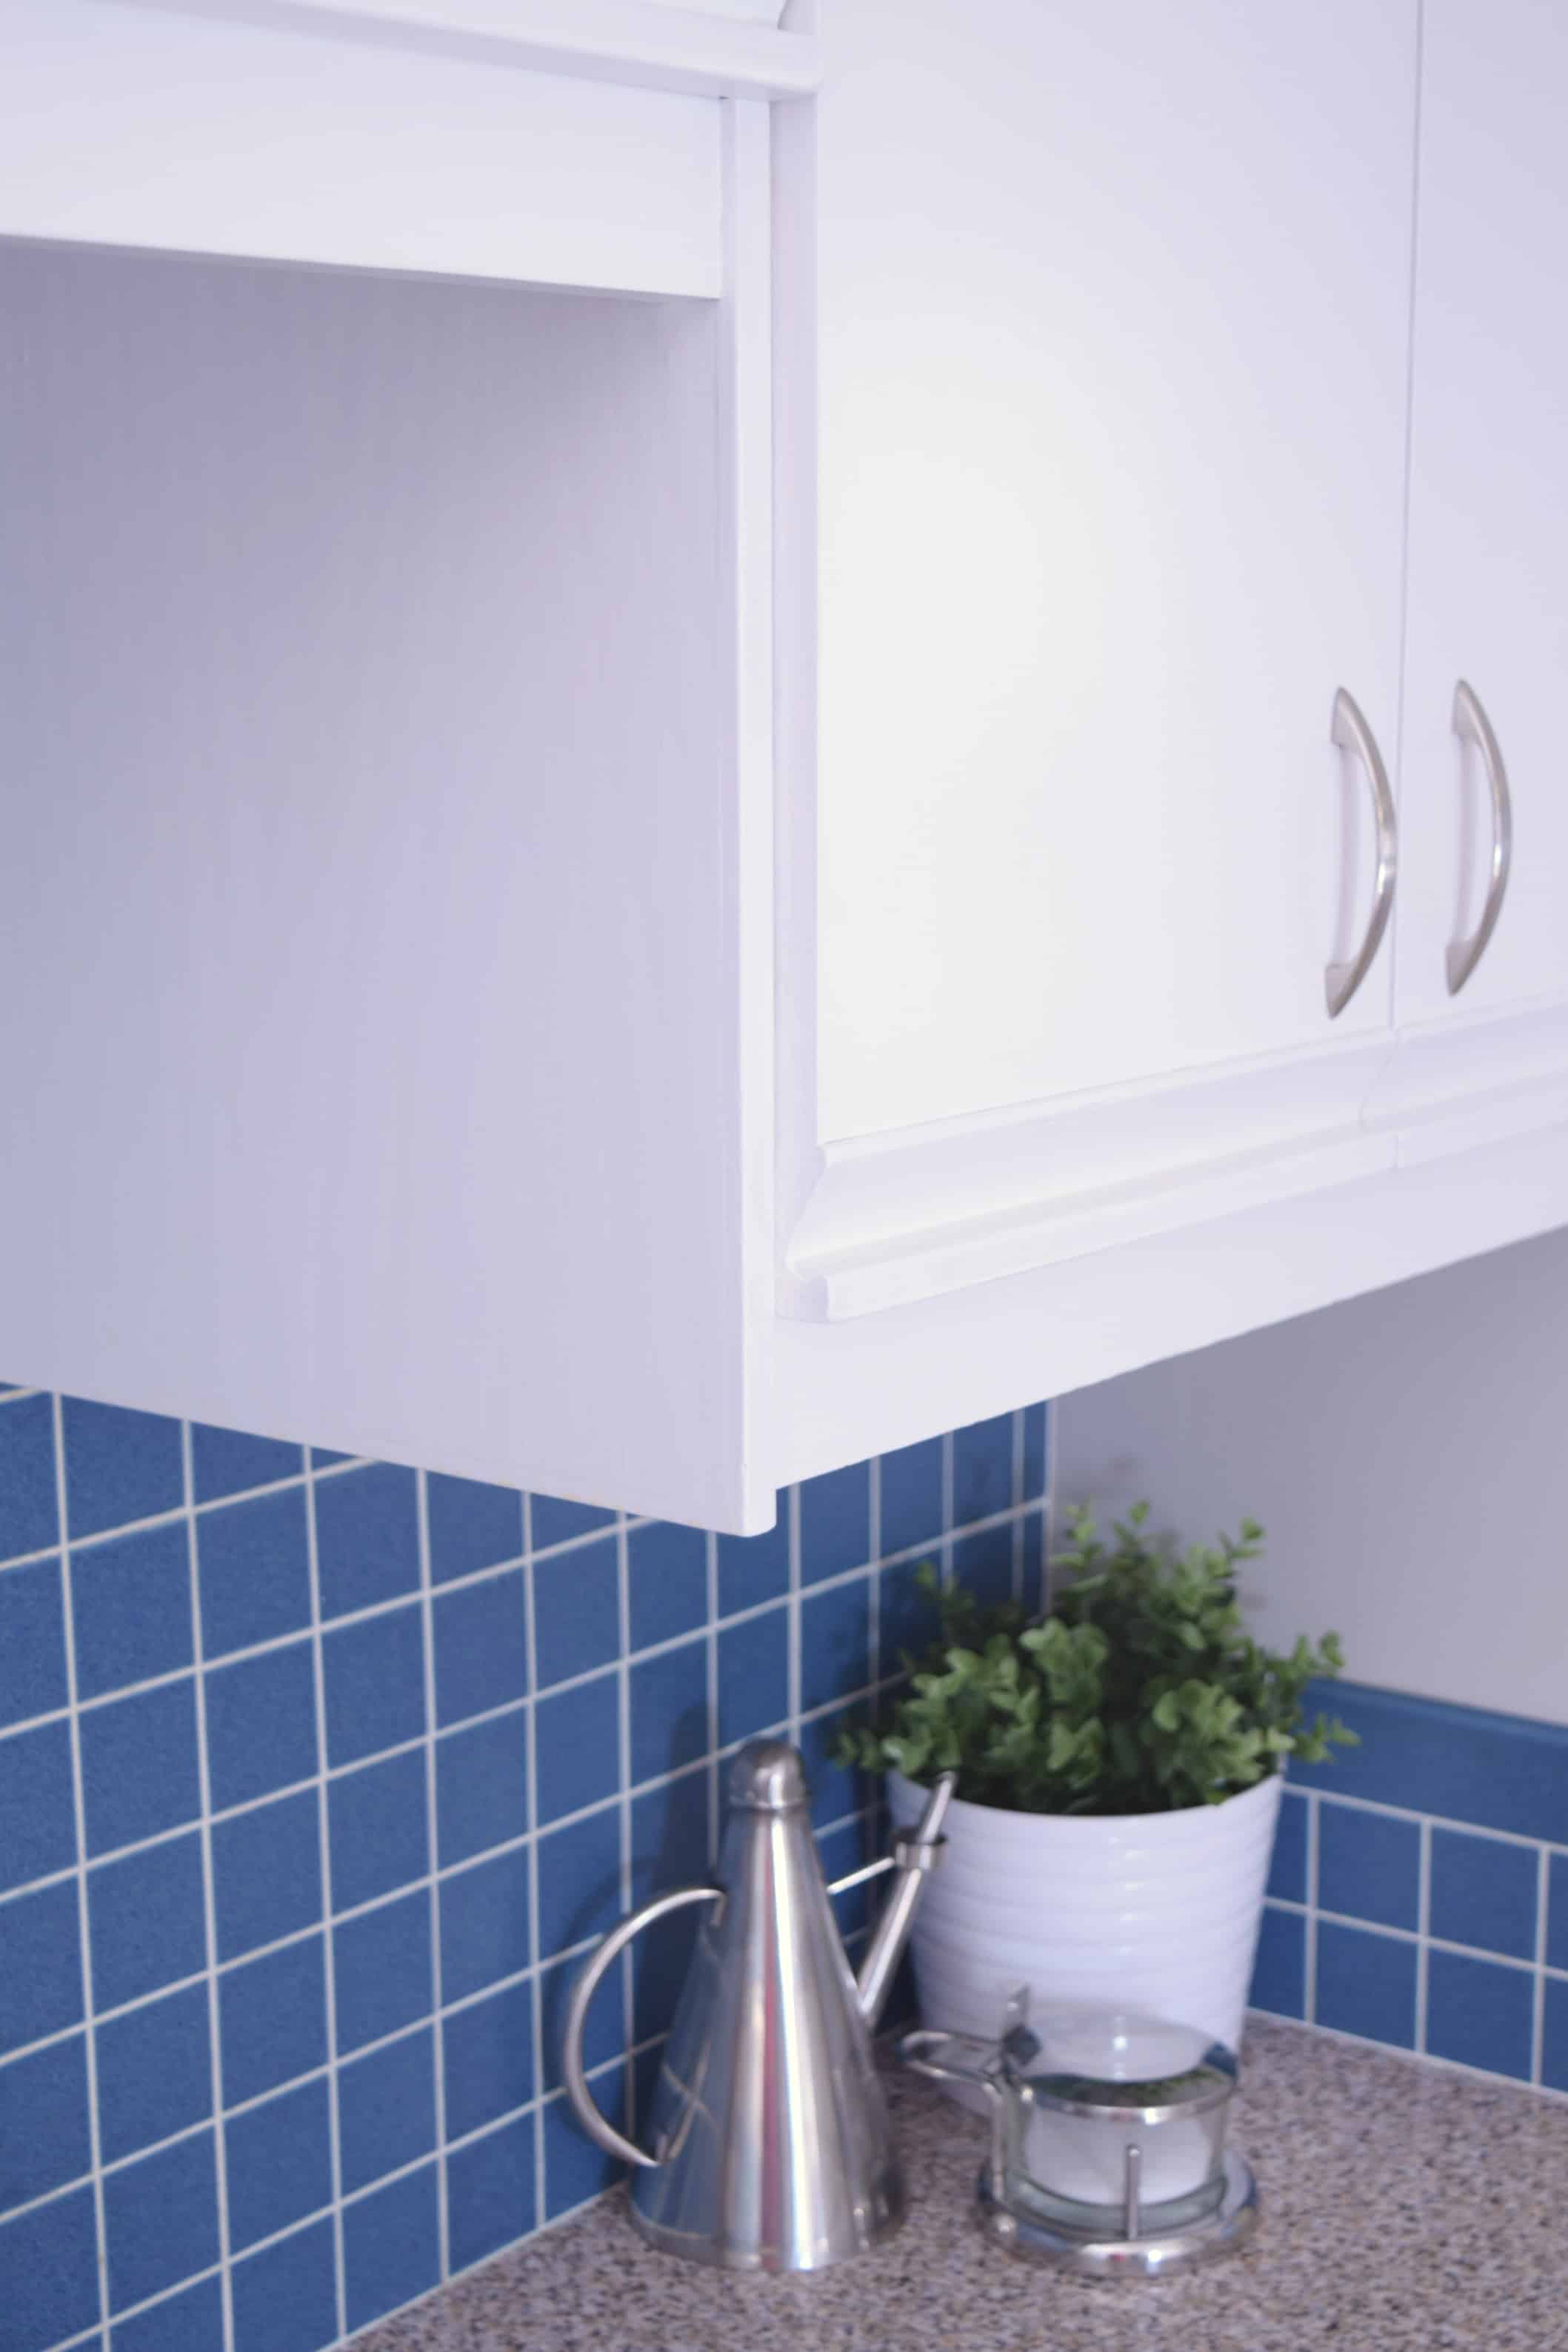
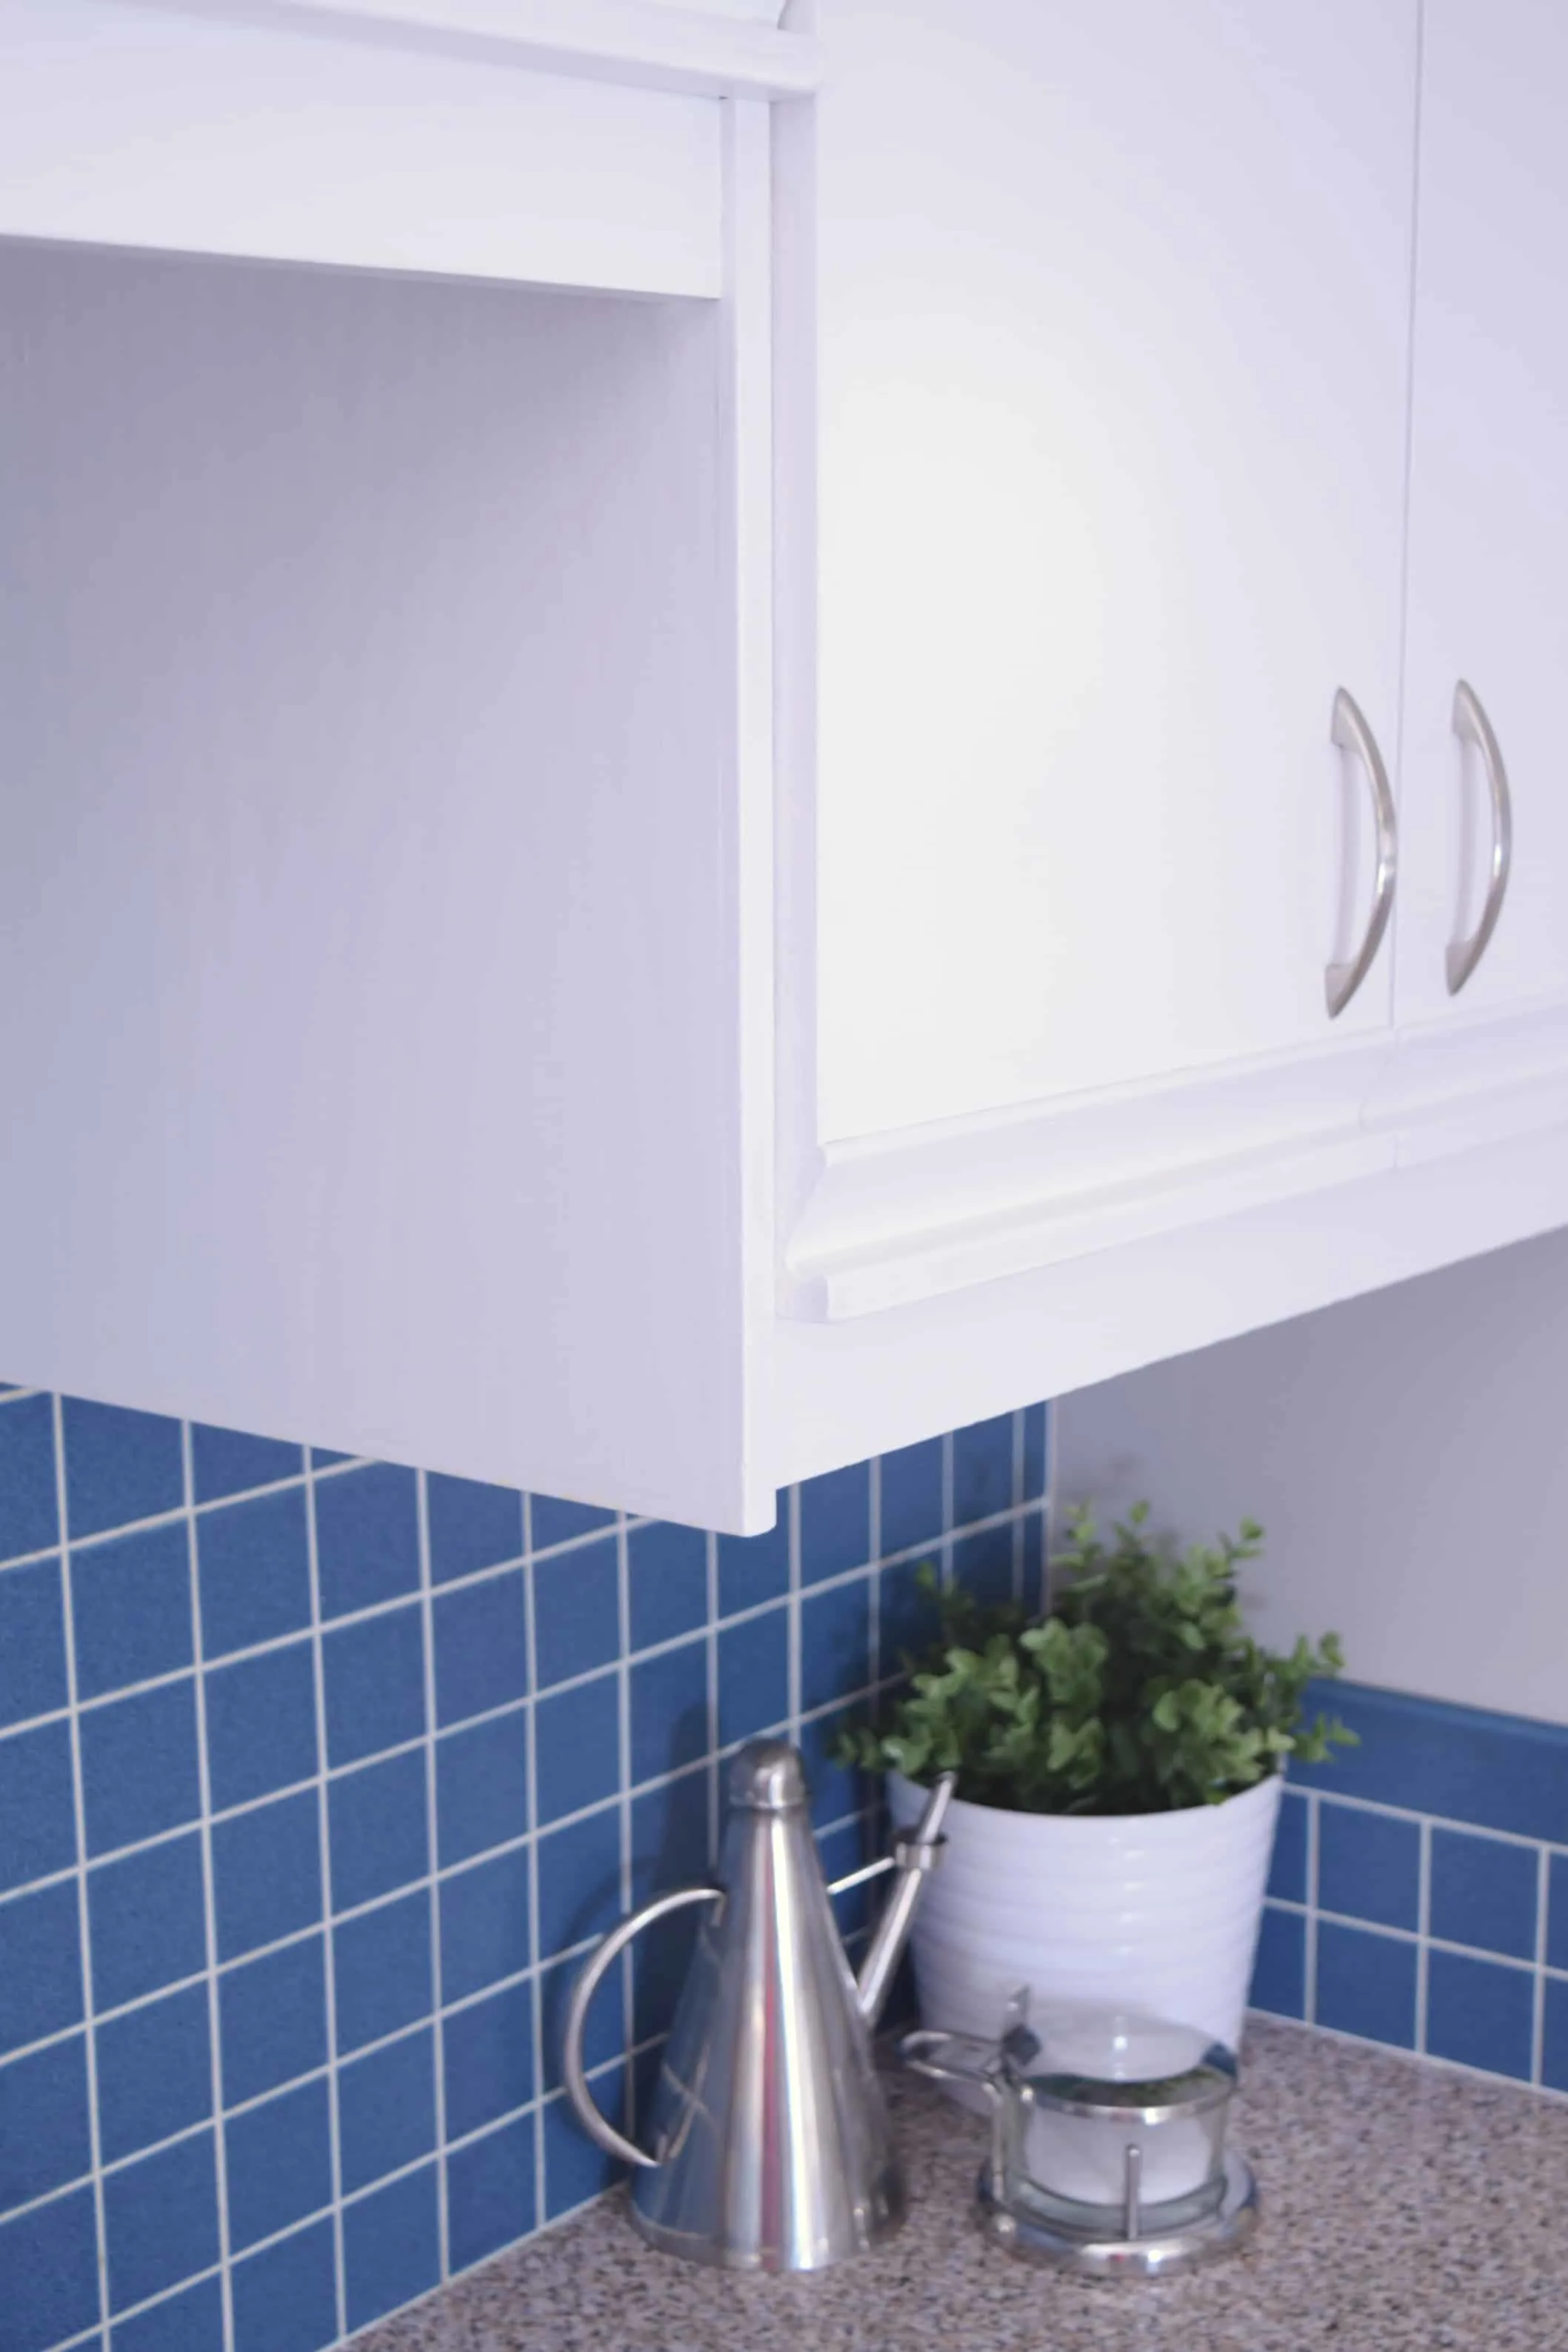
- New door and drawer hardware
- These are the door pulls I used. The drawer knobs can be found here.
- My cabinets used grab bars rather than pulls to open, so I had to drill holes in the doors and drawers to accommodate the new hardware. These templates make all those measurements super simple and the holes matched up with the hardware perfectly.
- Heavy-duty contact paper
- I used DC Fix adhesive film to cover our hideous blue countertops.
- Similar products are available in sizes wide enough to cover your entire countertop without seams. If I had to do it over again, I think I would go this route for a seamless look.
Check out these other kitchen remodel projects!
Chloe
Sunday 1st of July 2018
Wondered how your cabinets were holding up? Specifically, the "Transformation" paint? Thanks ahead of time for your response.
Vineta
Monday 2nd of July 2018
They're holding up great! There's a bit of wear on the silverwear drawer because we open and close it so often, but other than that, it looks like the day I painted them. I'll be doing a follow up post showing how they're holding up soon!
Tanya
Monday 6th of February 2017
We have the *exact same evil melamine cabinets*. I just found my spring project! Do you have any tips to share? Did you roll or brush? How is it holding up? I am so excited now!
Vineta
Monday 6th of February 2017
You can find all my tips on painting these cabinets in this post: https://www.thehandymansdaughter.com/2016/03/15/tips-for-updating-80s-kitchen-cabinets/ . It's holding up great! Good luck with your spring project!
Sue Daigle
Wednesday 1st of February 2017
I took a good look at my Formica (I think that;s what it is) and it's in pretty bad shape. This is exactly what I would love to do. And fortunately my kitchen is on the small side.
Vineta
Wednesday 1st of February 2017
It's an easy DIY project, and makes a huge difference! Good luck!
Cally
Wednesday 25th of January 2017
Hello, I would like to know how long ago you did the counter tops and how are they holding up to date. I would like to do the same
Vineta
Wednesday 25th of January 2017
I did the kitchen in stages, so some areas of countertop have had the contact paper on longer than others. The first section went on about a year ago and still looks perfect! The rest, including the areas around the stove and sink, have been on for about six months and are holding up surprisingly well. It pulls up a little bit around the edges of the sink, but I cut smaller pieces of contact paper to go around the curves of the sink, which makes it easier to replace. Buy an extra roll!
I'm seriously impressed with how well the contact paper is working! Pay attention to how you wipe down your countertops and make sure that any seams in the contact paper flow the same direction. That way you won't be putting strain on the seam, and crumbs won't get trapped in the edge. Hope this all helps, and good luck with your counters!
Brittany
Wednesday 14th of December 2016
Wow, I had no idea that painting those ugly 80's oak trim cabinets could looks so good! Way to go.