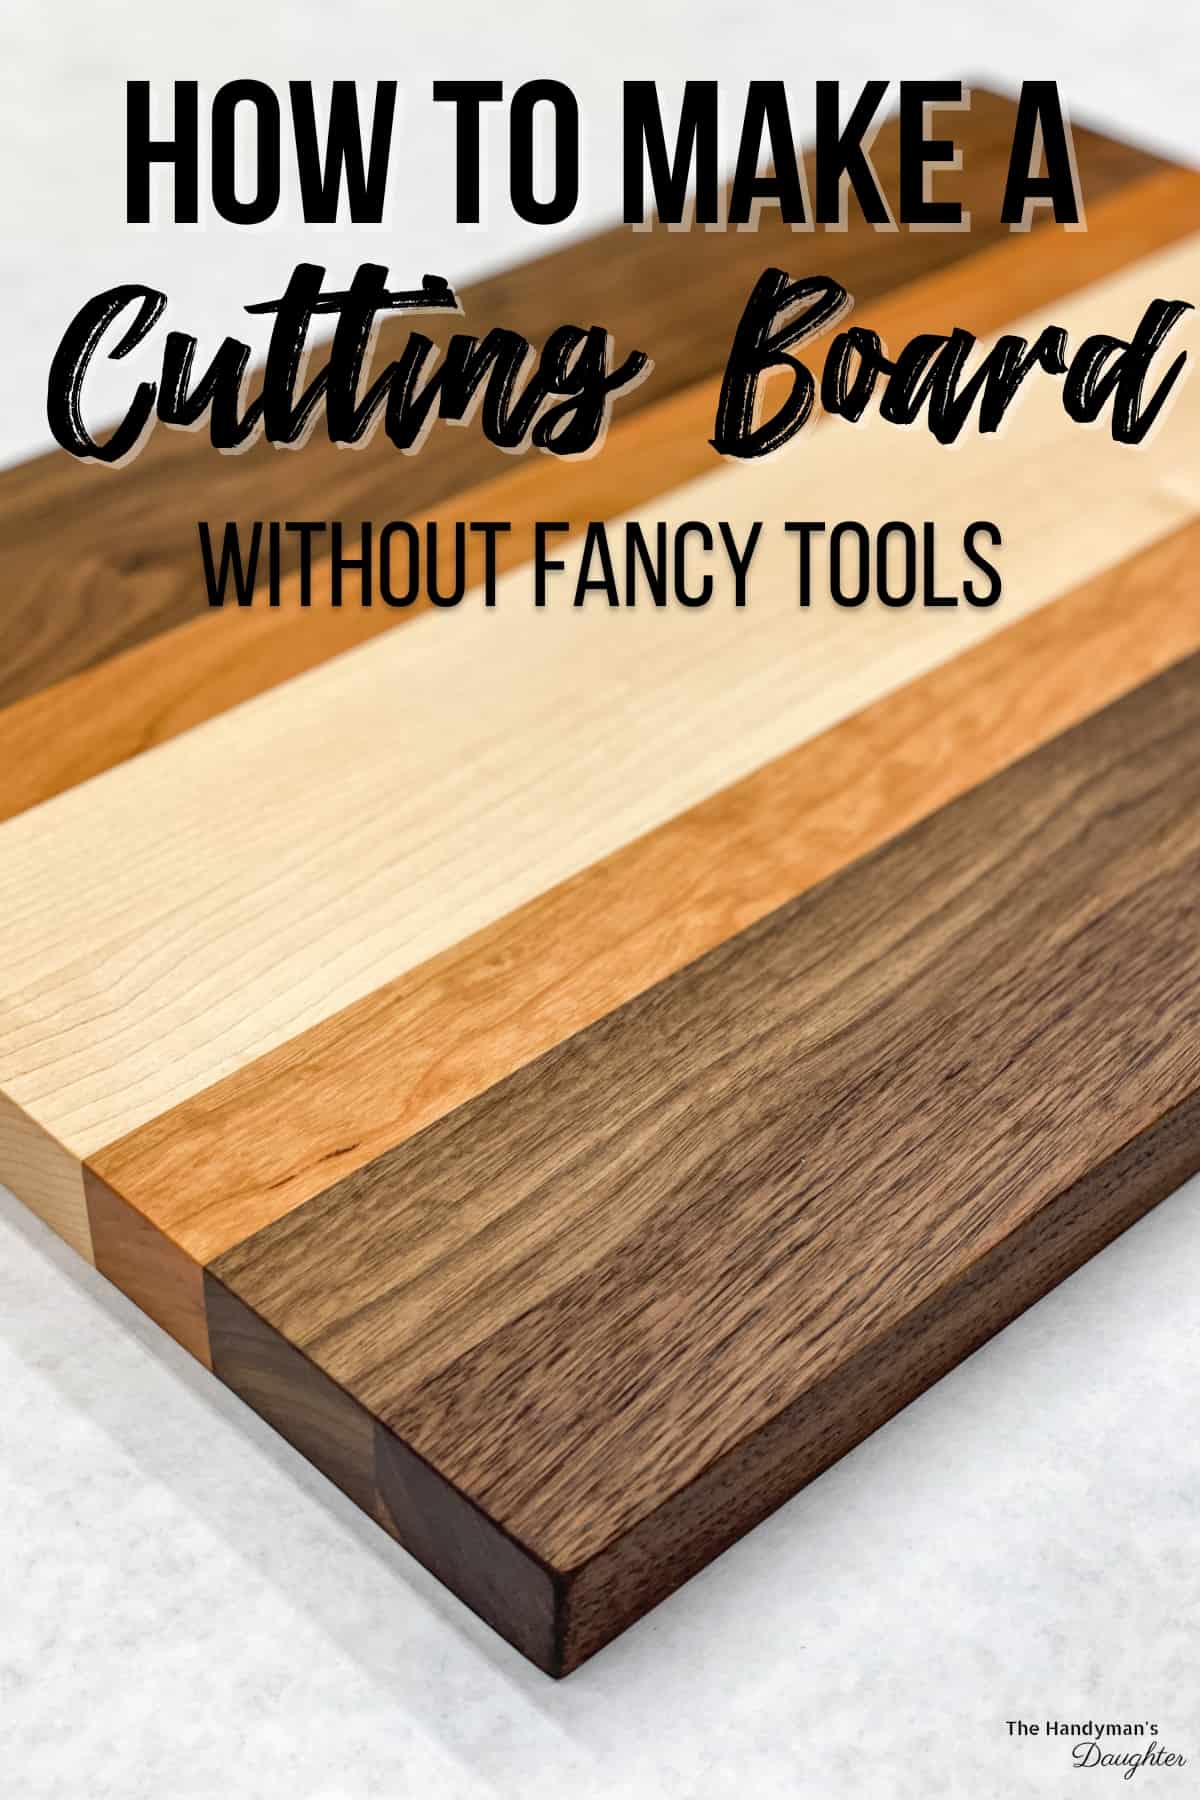
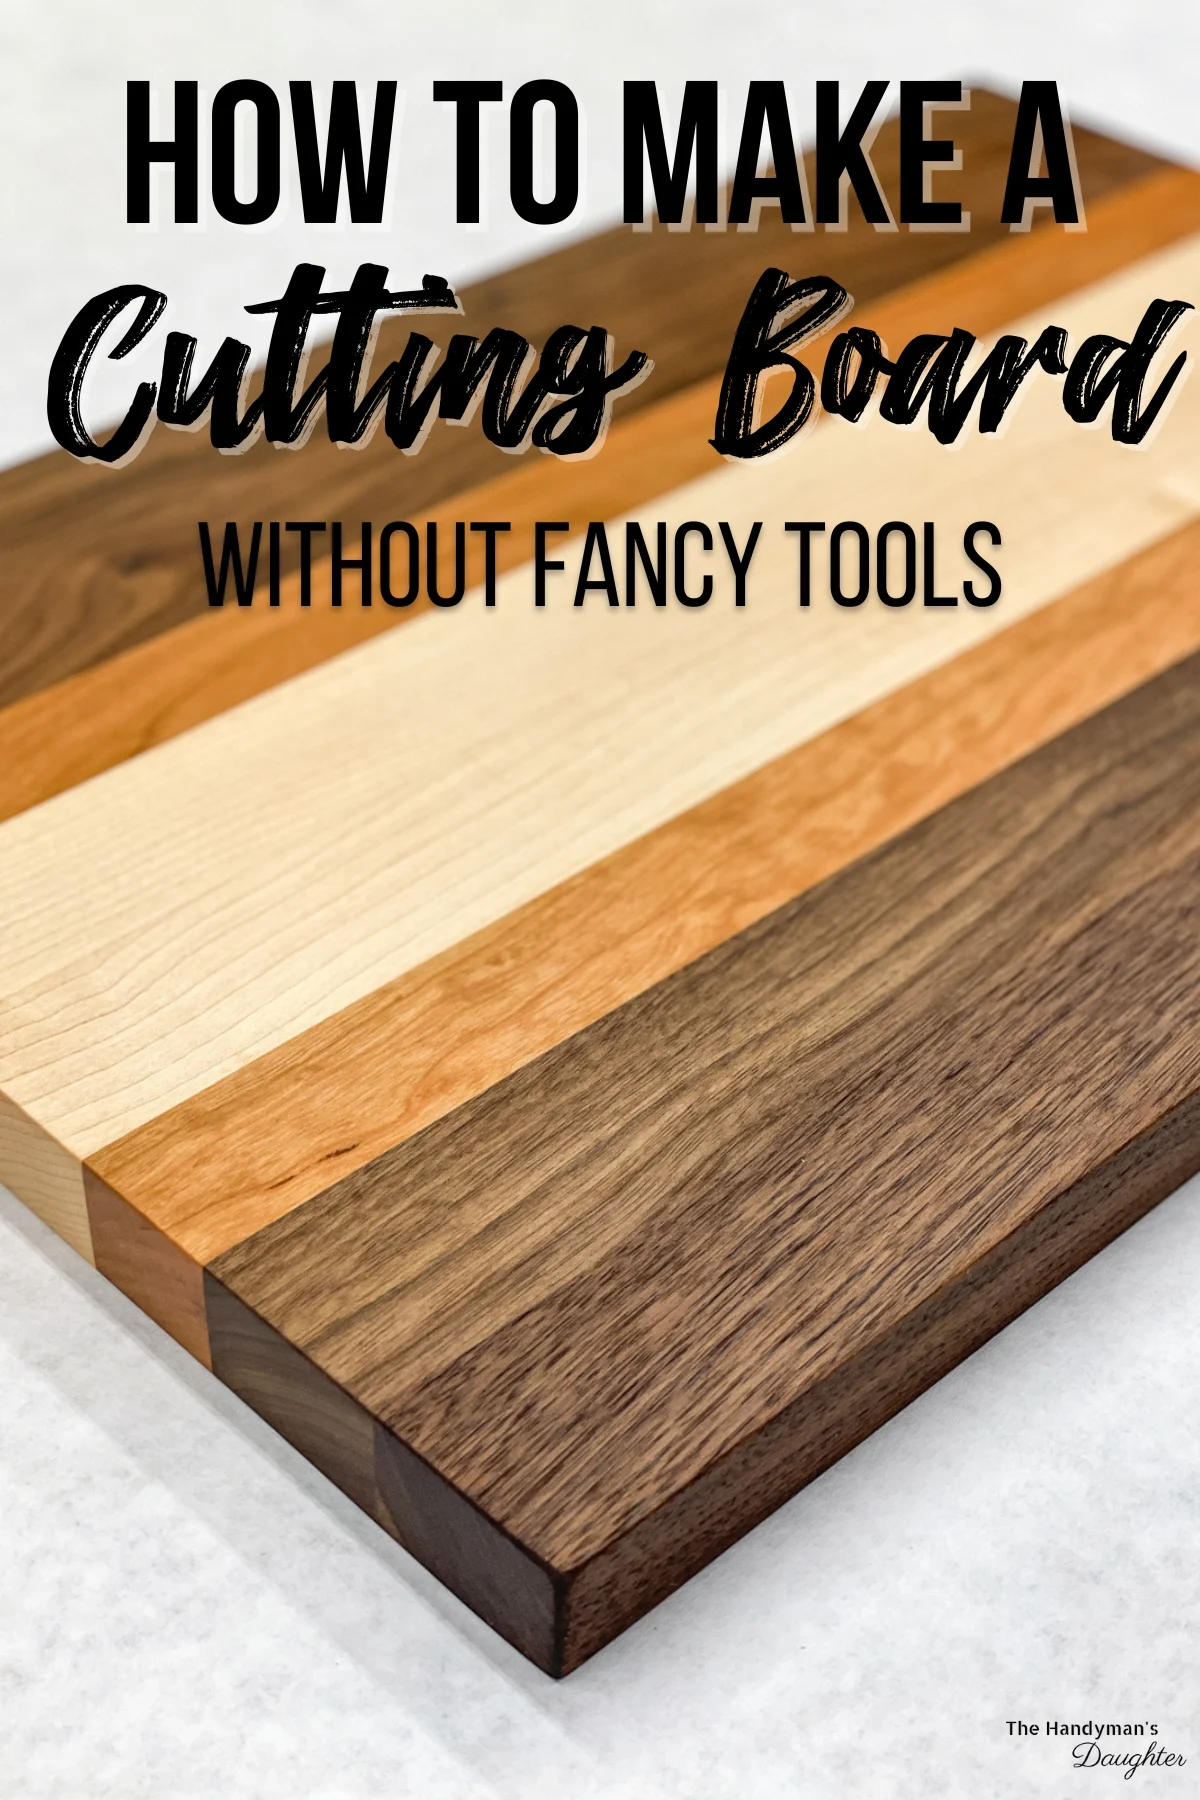
Want to make a cutting board, but don't have all the required woodworking tools? A cutting board kit comes ready for glue and clamps!
Wood cutting boards may seem simple, but there's a lot of work involved to get all those pieces flat and square. If you don't have a jointer and planer, you could end up with gaps between the strips that ruin the entire project!
What if you could skip the entire milling process and go straight to the glue up? You can! Cutting board kits are an easy way to make your own wooden cutting board without all those expensive tools.
These kits come in a variety of different patterns and wood species, and they're all cut and milled to the perfect size. All you need to do is add glue and put them in clamps to dry! Here's how to put one together!
This post contains affiliate links for your convenience. Purchases made through these links may earn me a small commission at no additional cost to you. Please visit my disclosures page for more information.
Full disclosure: North Castle Hardwoods sent me their Zion cutting board kit to try out. All opinions are my own.
Materials Required
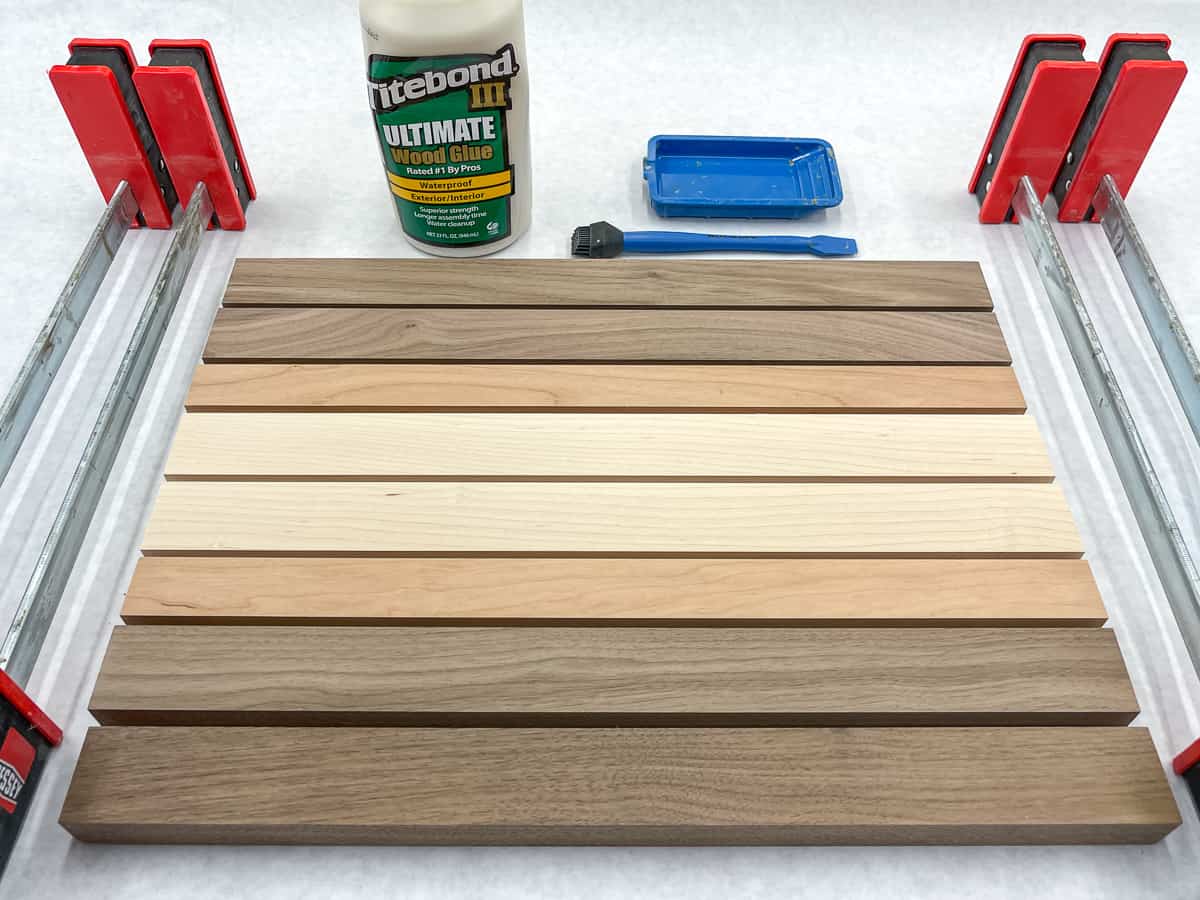
In addition to the cutting board kit, there are a few other things you'll need.
- Waterproof wood glue (I prefer Titebond 3)
- Parallel clamps
- Random orbital sander
- Sandpaper grits 80 to 220
- Food safe wood finish

You will also need a saw to trim the ends of the board after assembly. You can use a miter saw, circular saw (with a straight cutting guide), table saw or track saw for this step.
Cutting Board Kit Assembly
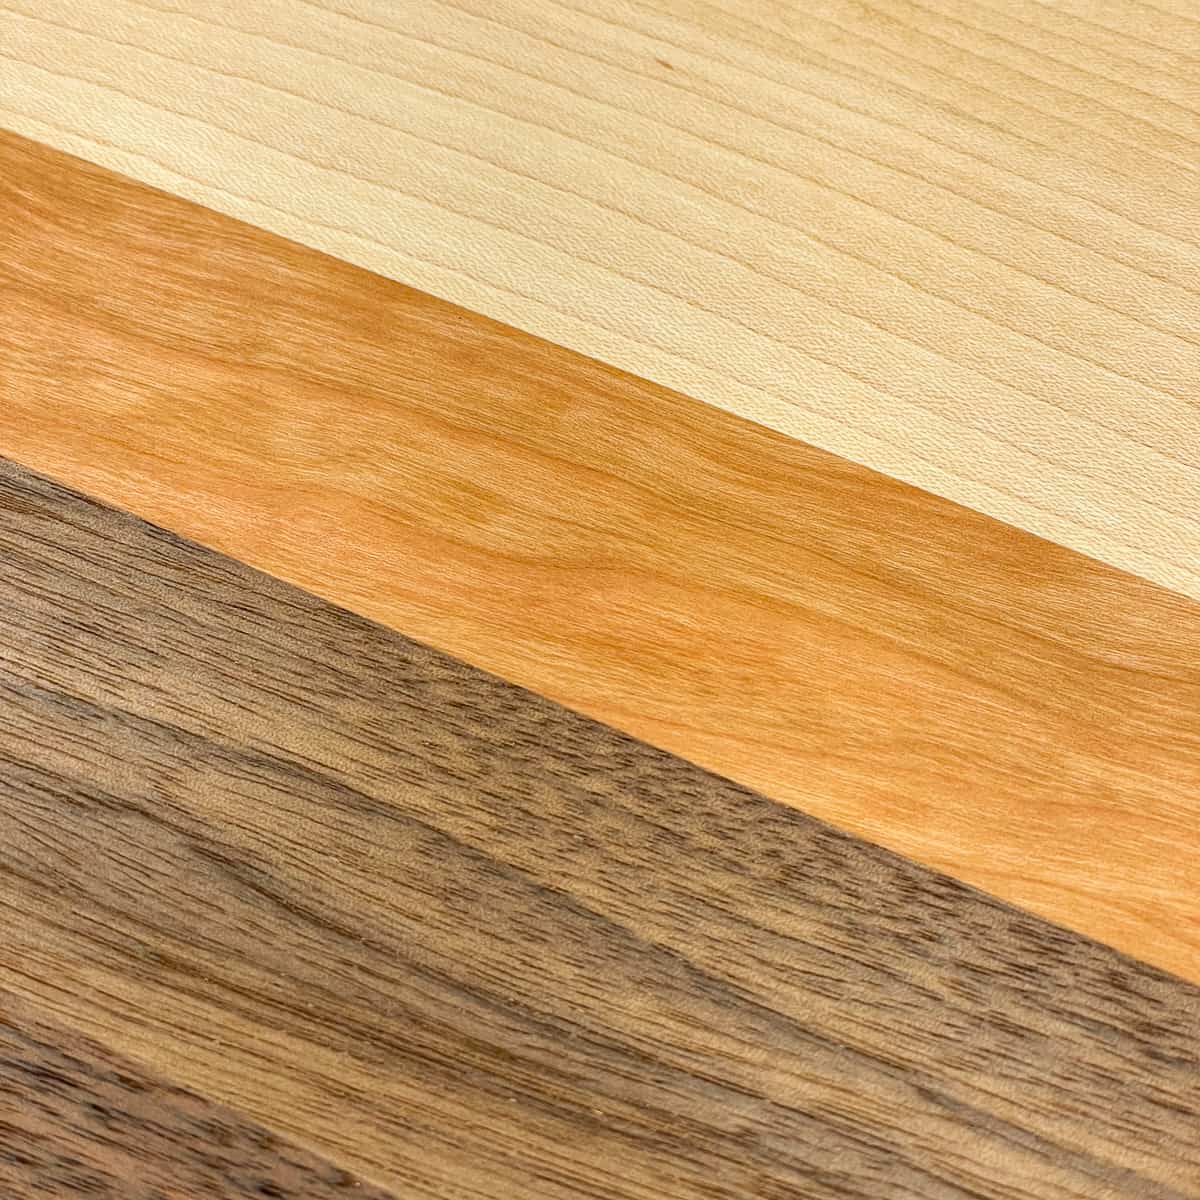
My cutting board kit came packaged in the suggested pattern, but you can mix and match the pieces however you like. Flip them over and rotate them end to end to get the grain pattern you like, but make sure all the pieces are face up before you start gluing.

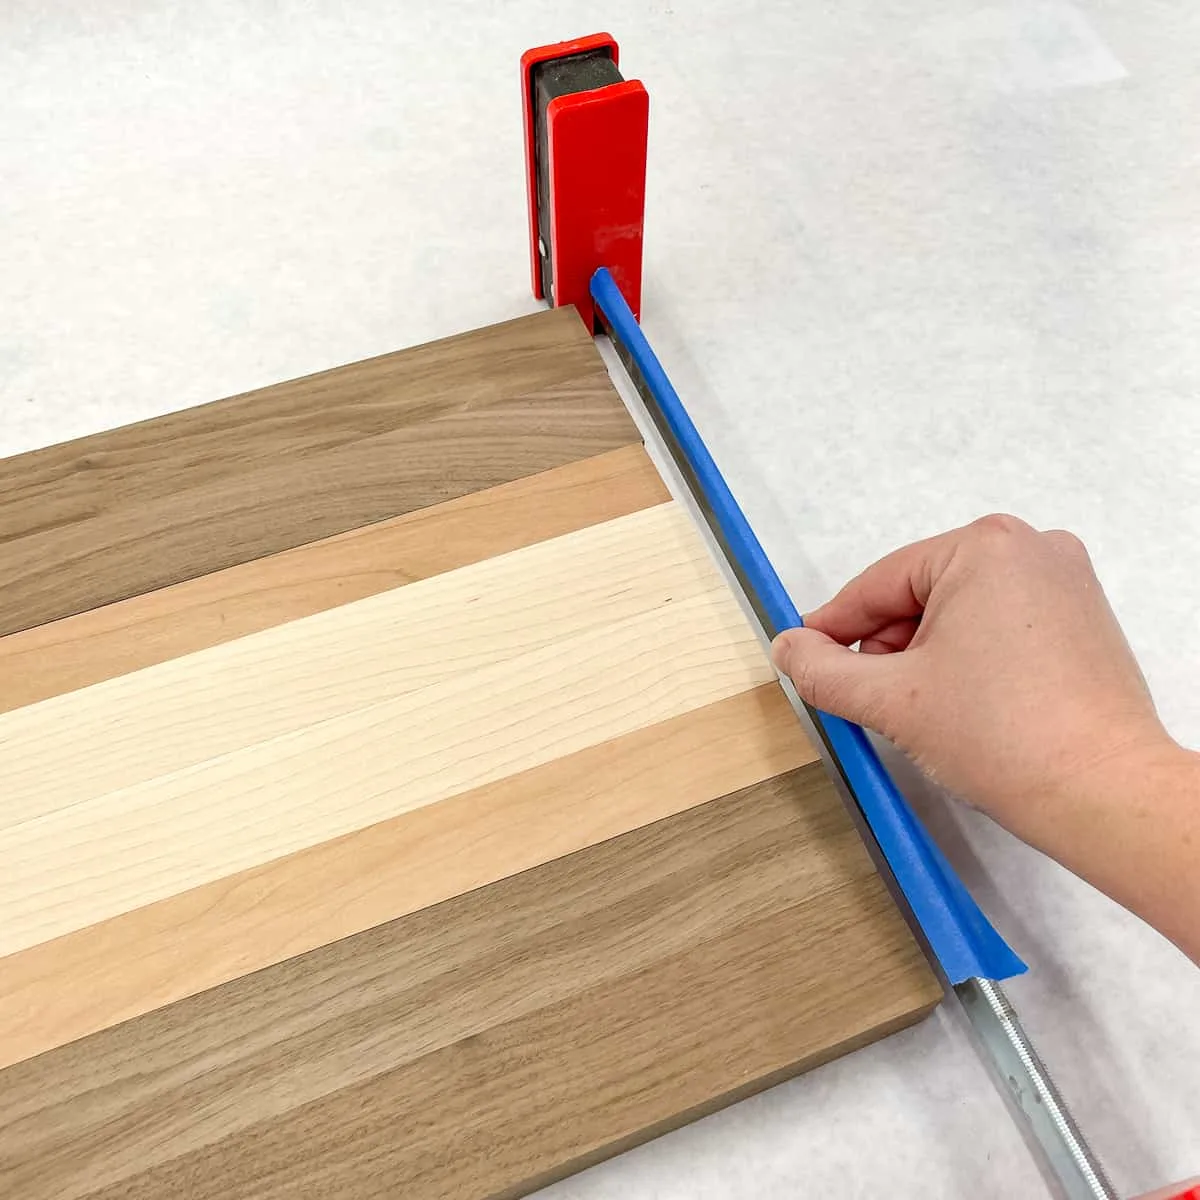
Set up two clamps on a flat work surface. I like to place a strip of painter's tape across the bars to prevent glue from sticking to the metal. It should be shorter than the width of all the wood pieces put together, so the tape doesn't interfere with the clamps.

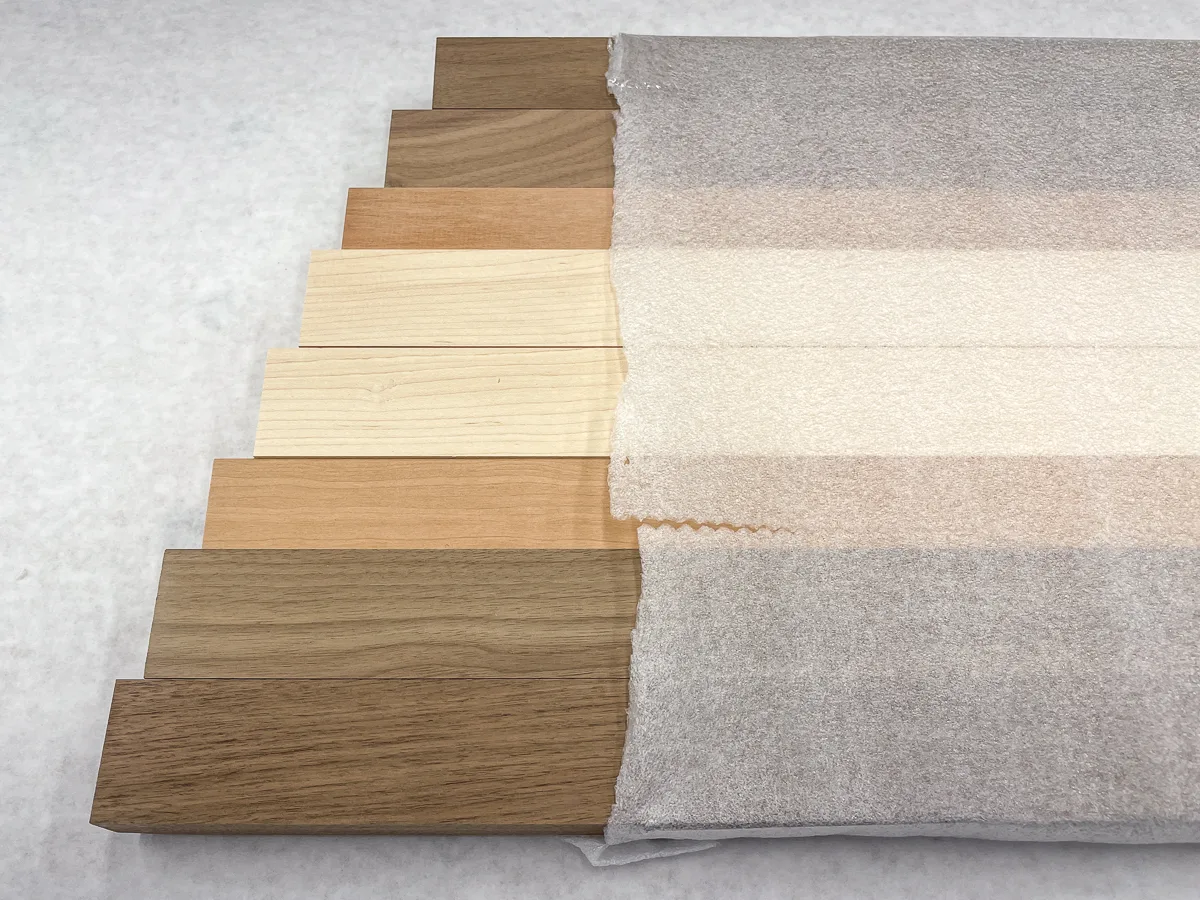
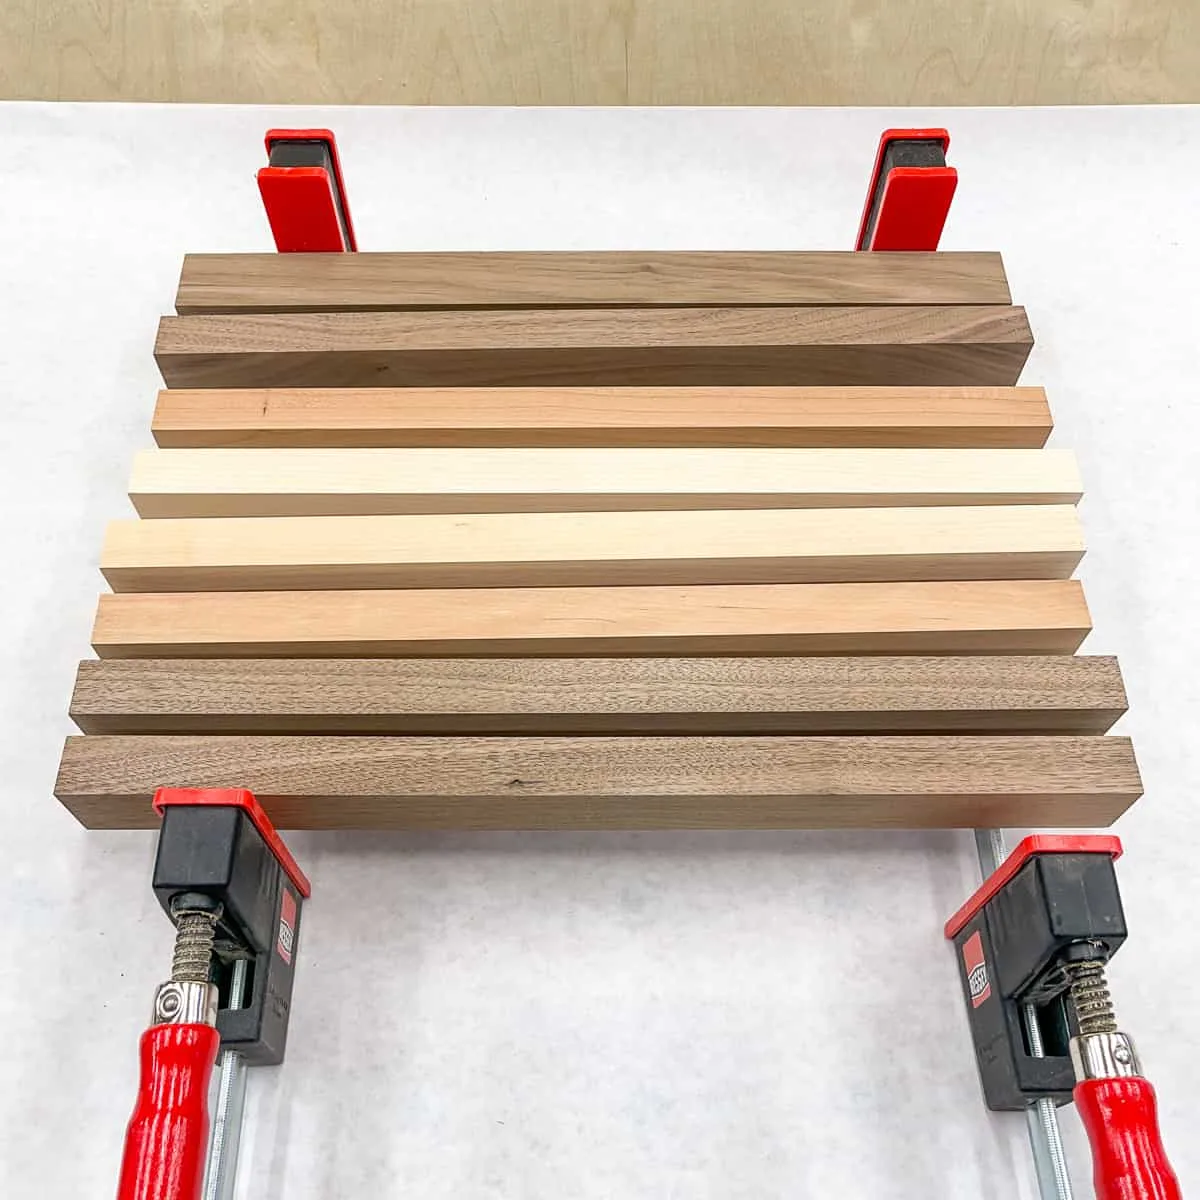
Place the strips across the clamps in your desired pattern. Then turn all the pieces except the top one up on their edges. Rotate them all in the same direction, and remember which way to turn them back when you're done gluing.

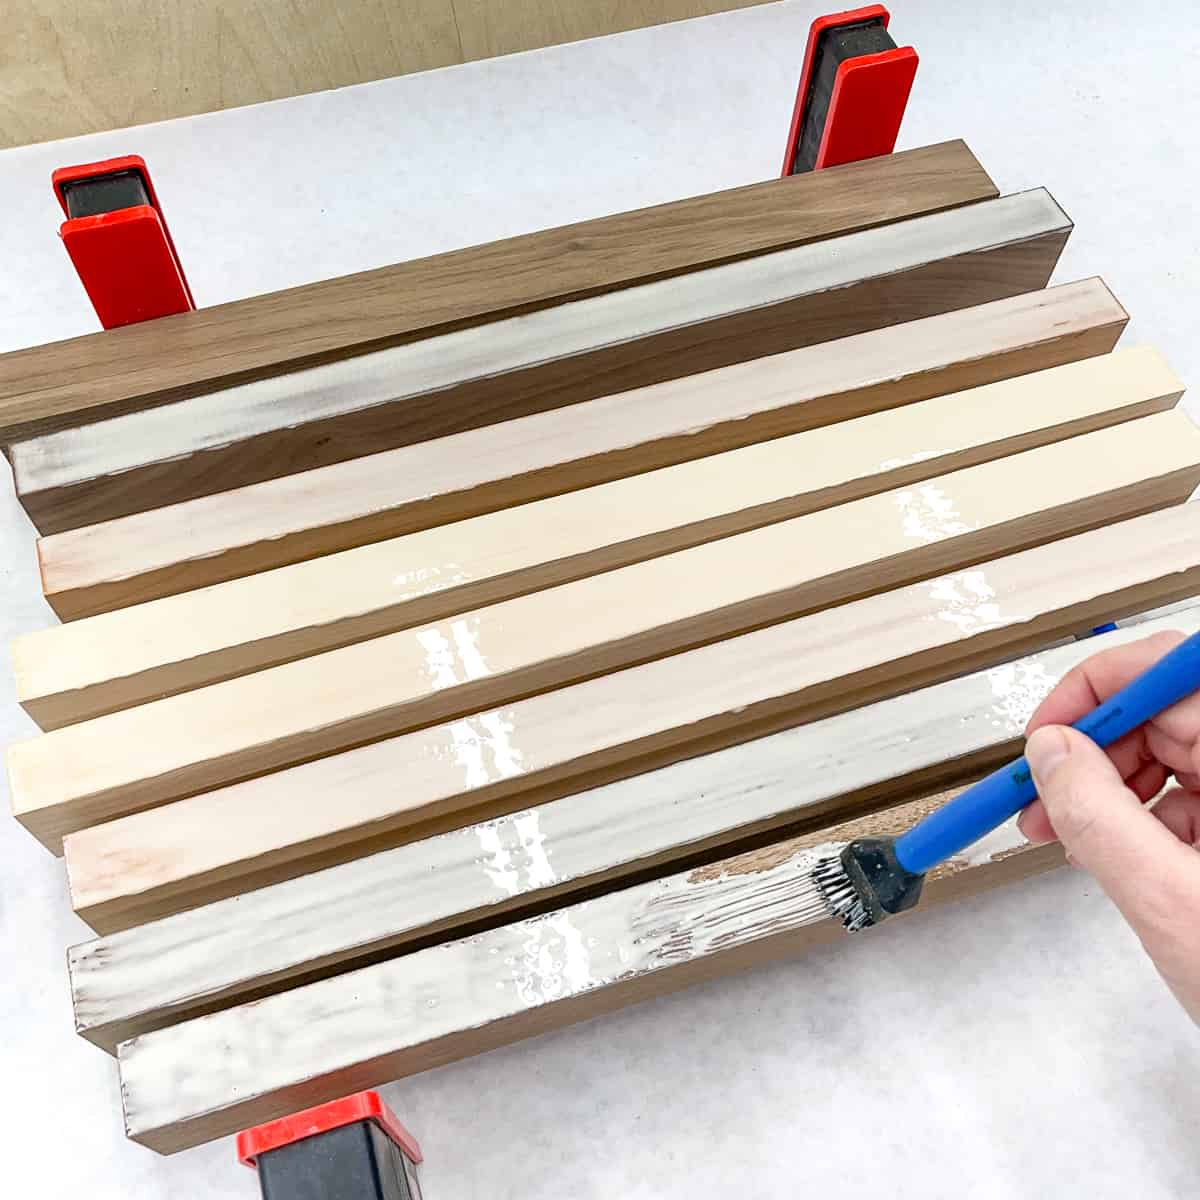
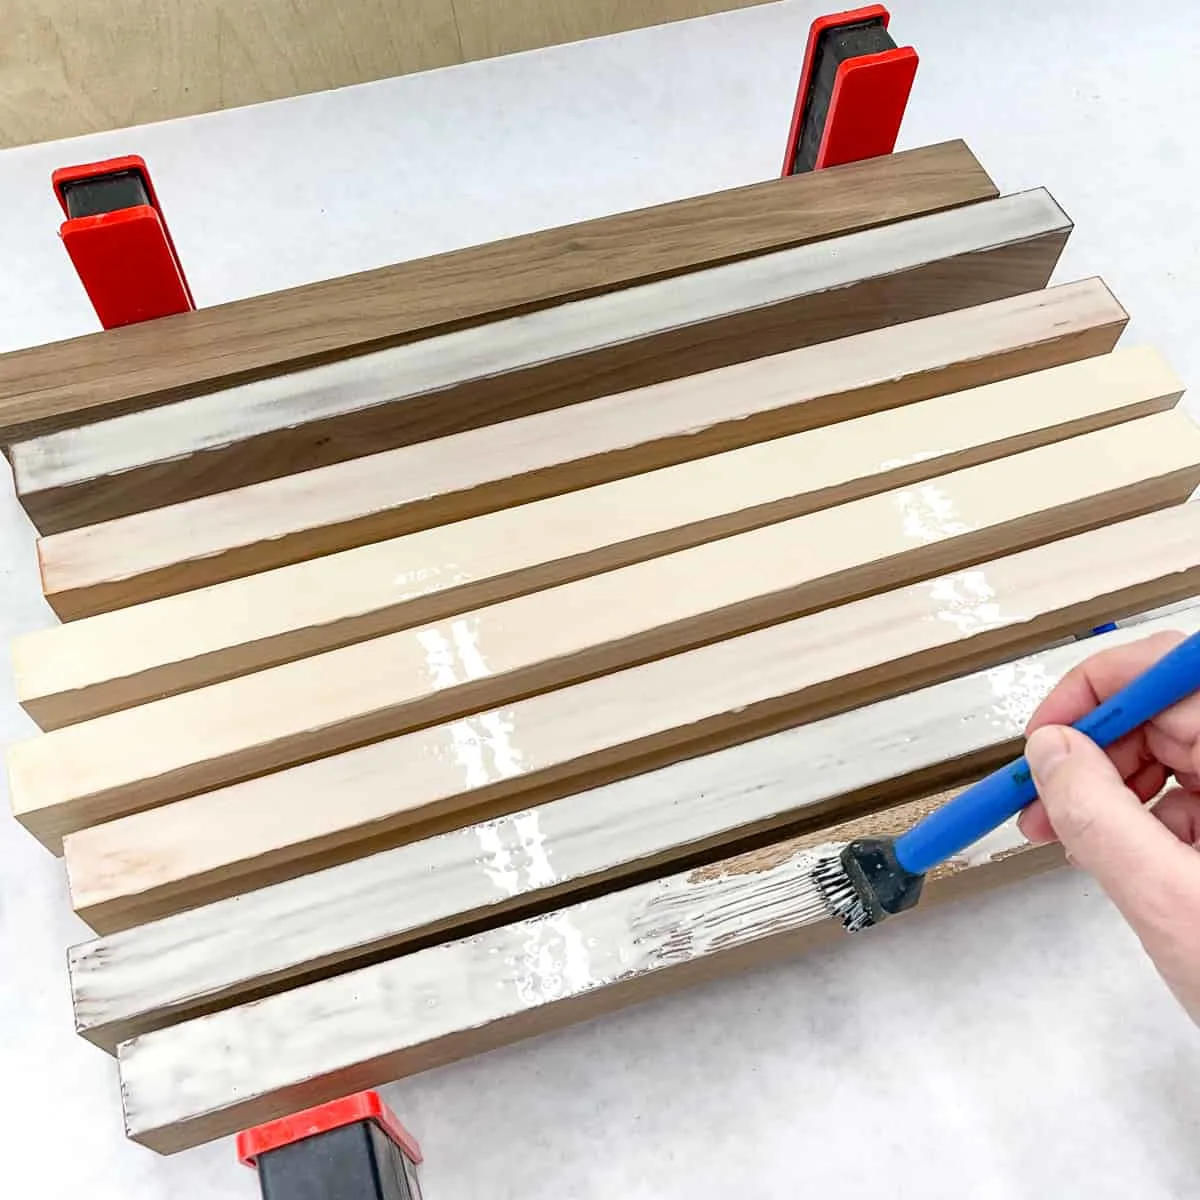
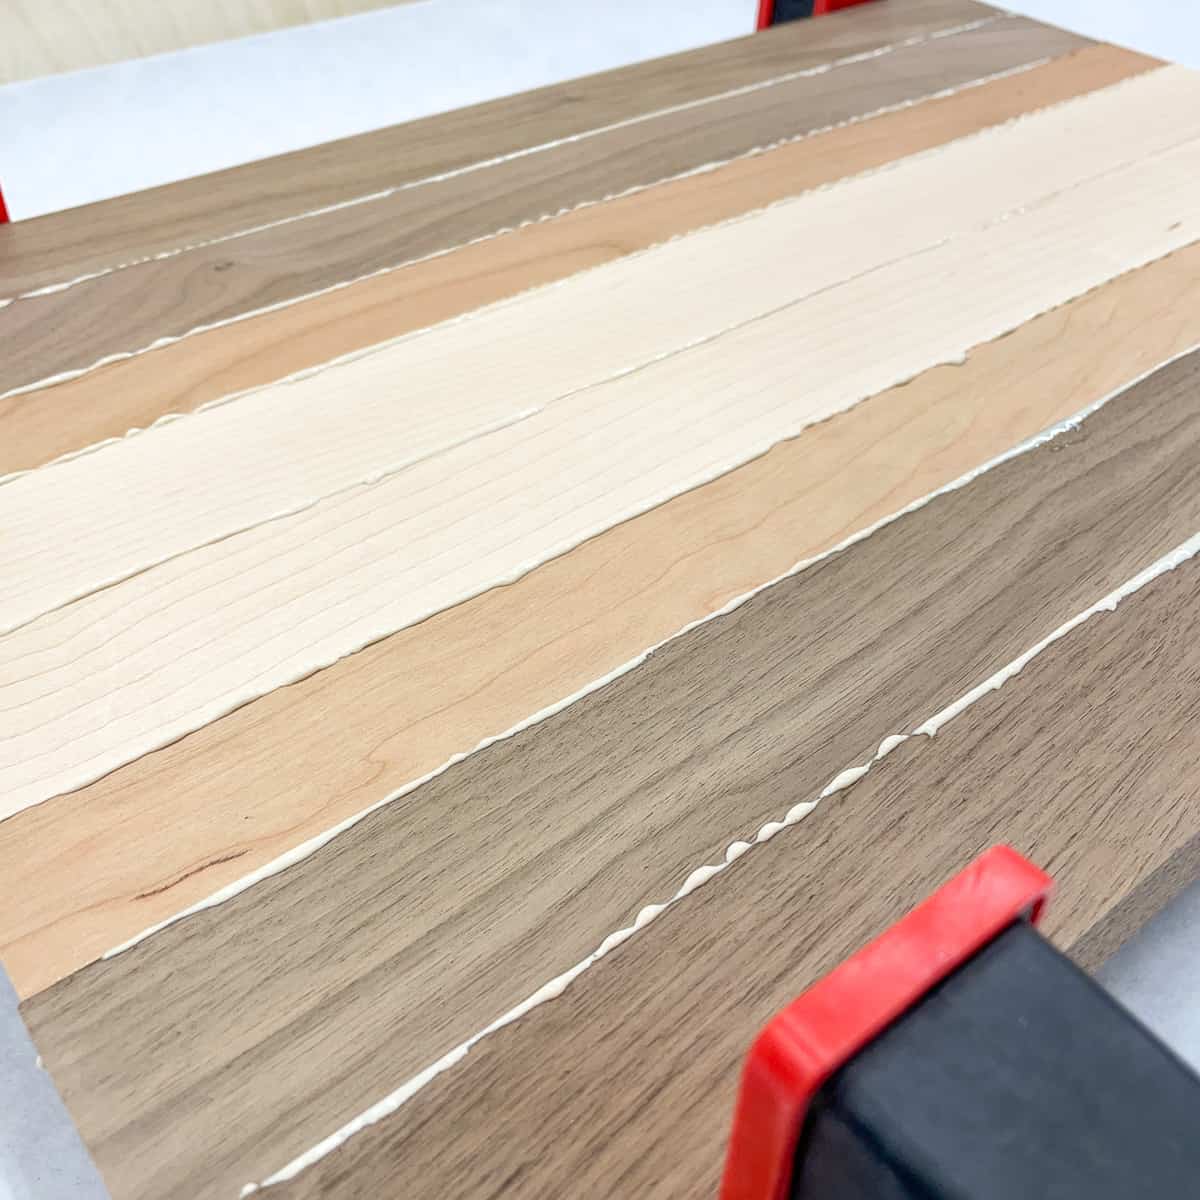
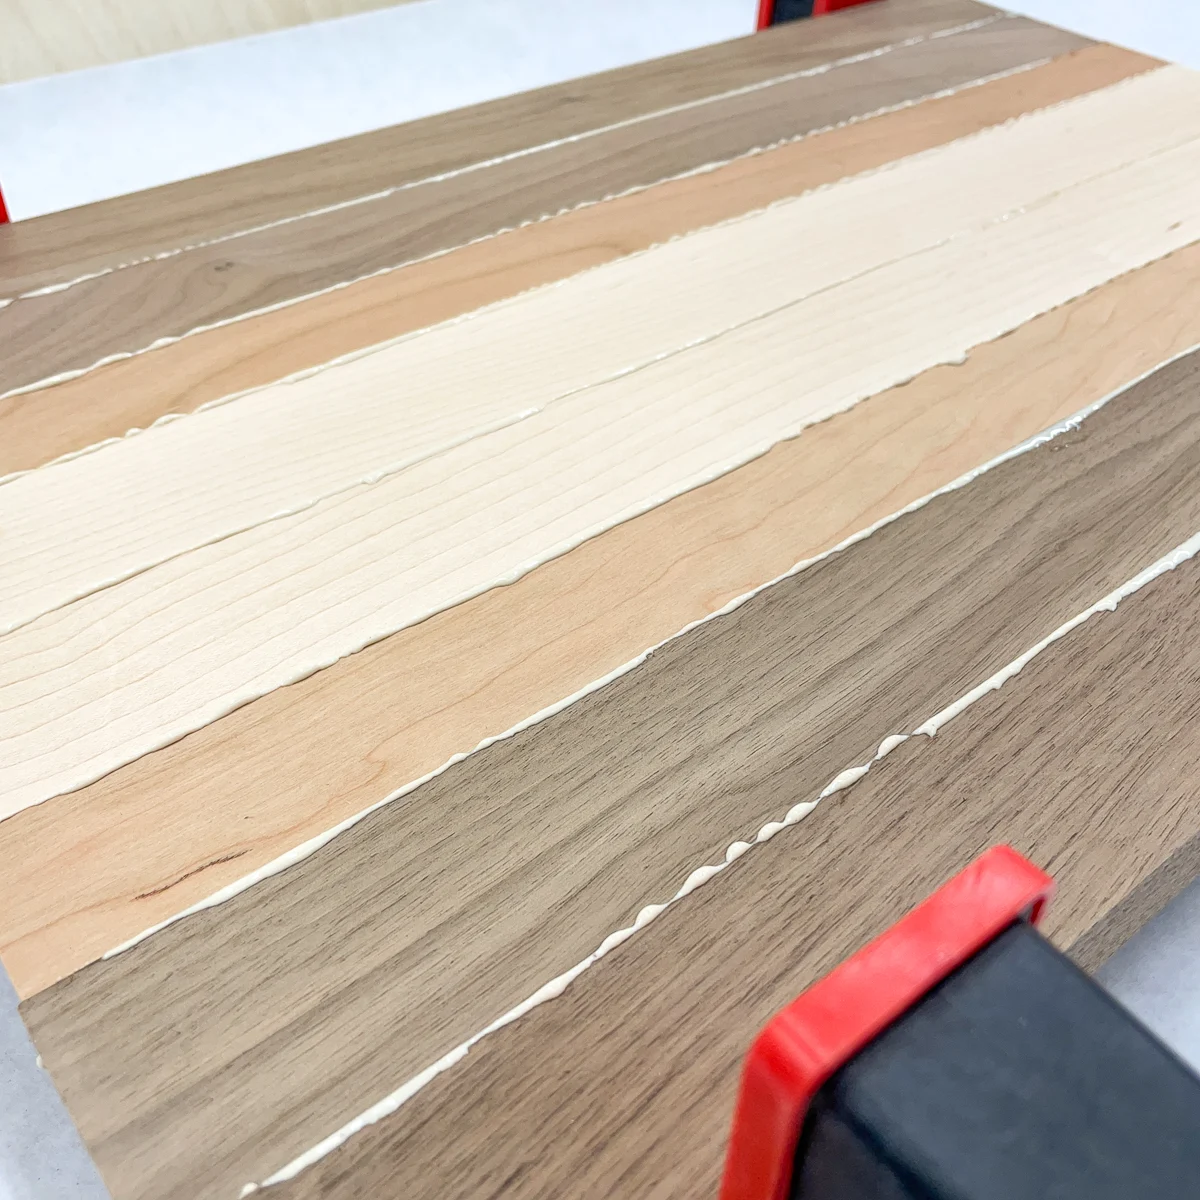
Run a bead of waterproof wood glue across each edge. Make sure to coat the entire surface by smearing it around with your finger or a glue brush.
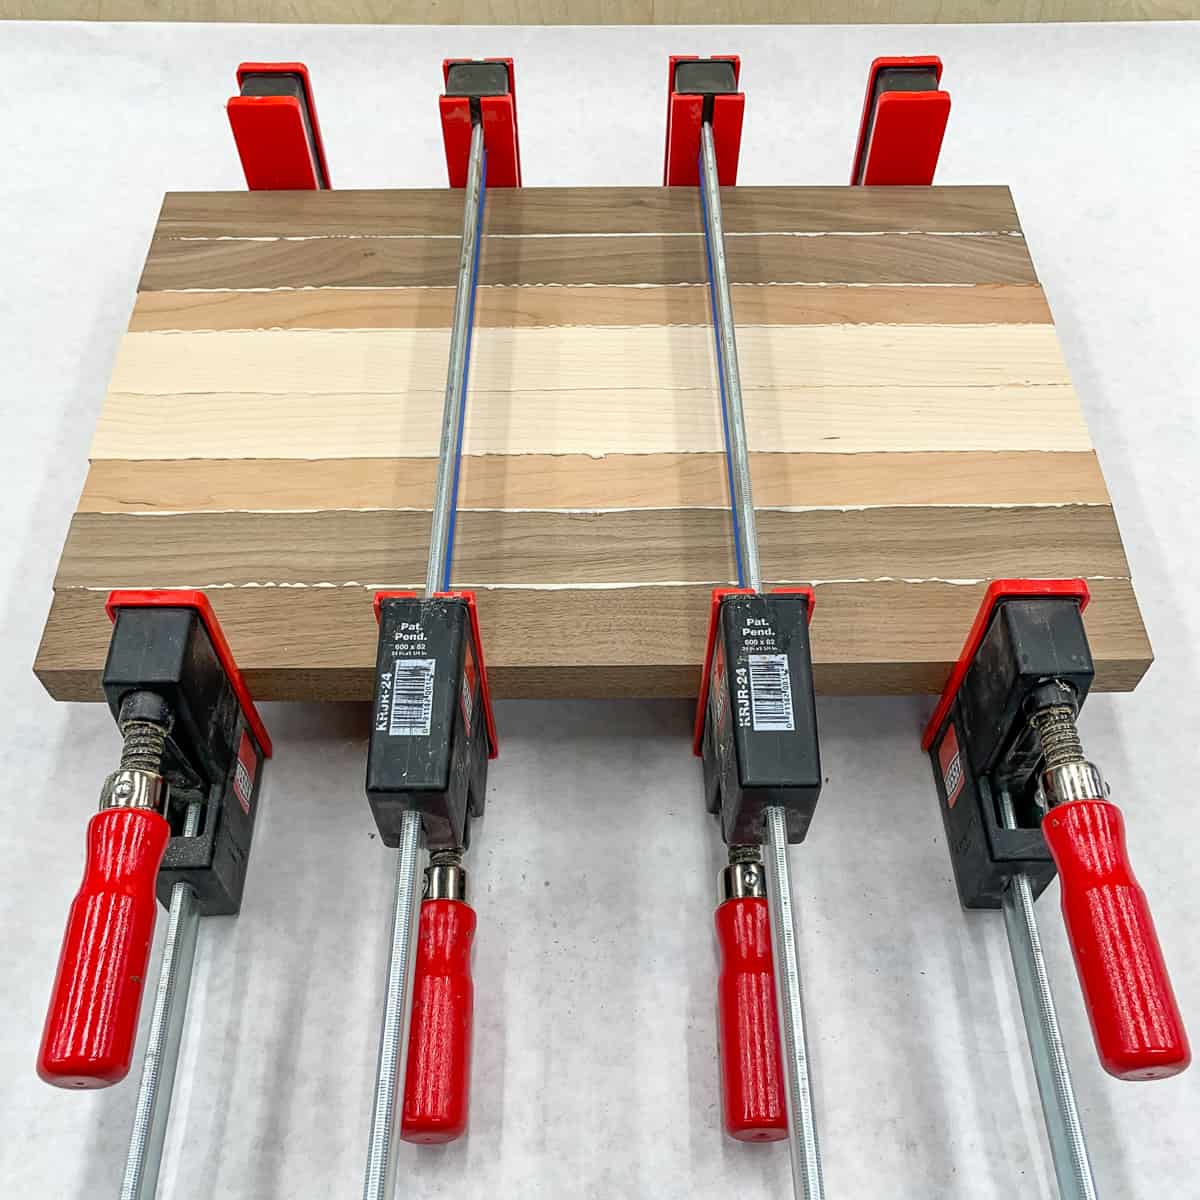
Now rotate each piece back flat onto the clamp bars, making sure each joint has glue between the strips. When everything is aligned, slowly tighten the clamps. Look for a thin bead of glue squeeze out along the entire length of each joint.
You don't want to clamp down too tightly, or the pieces could flex. Add clamps across the top to counteract any bowing from the clamping pressure underneath.
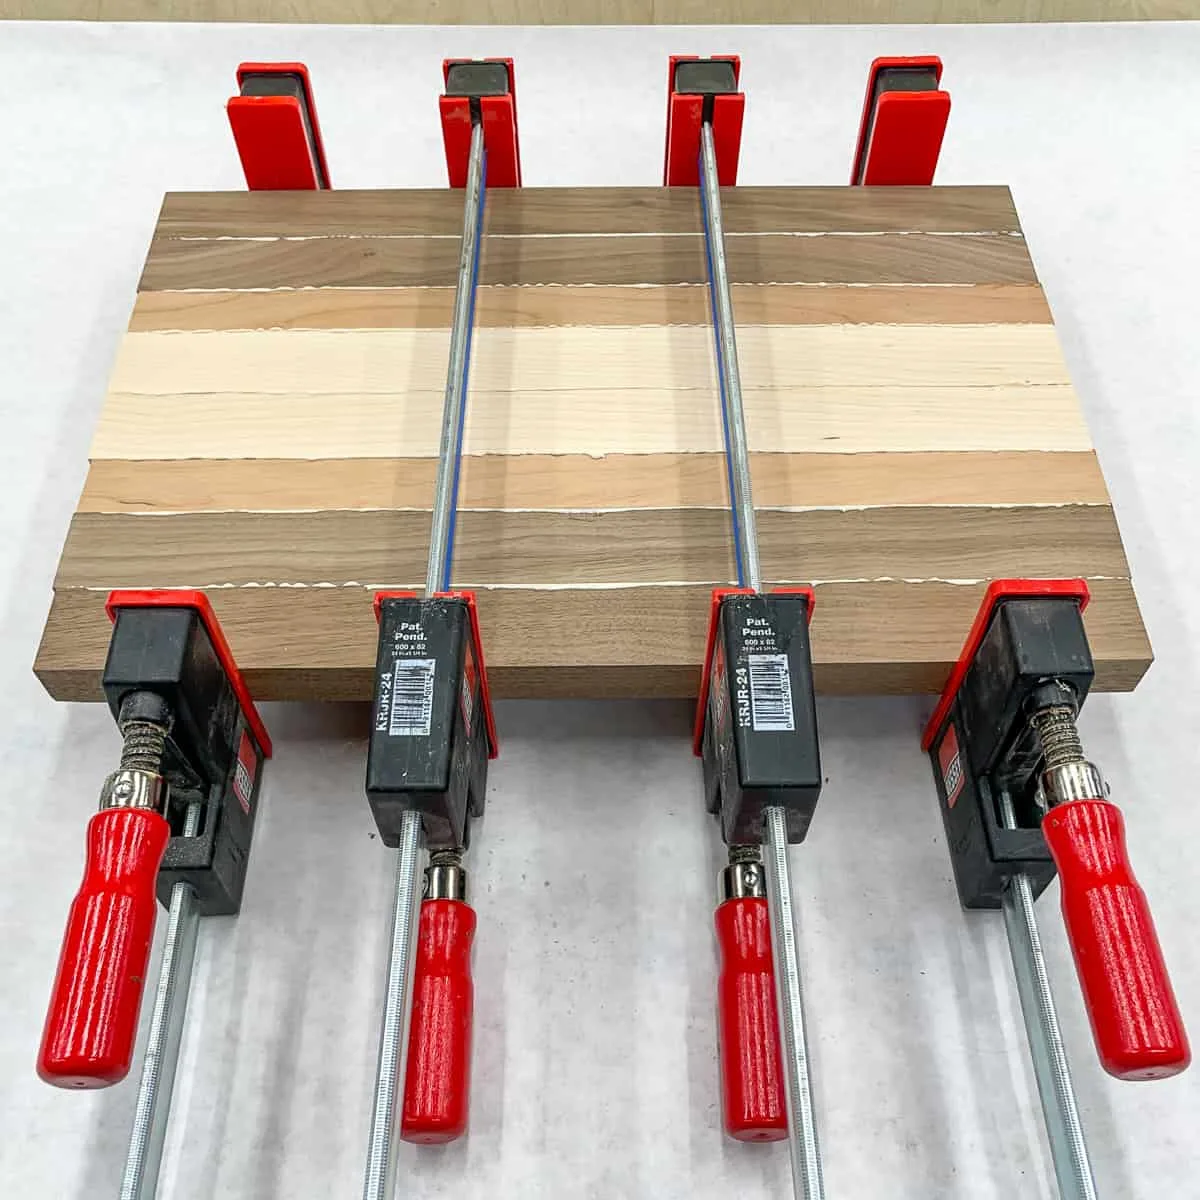
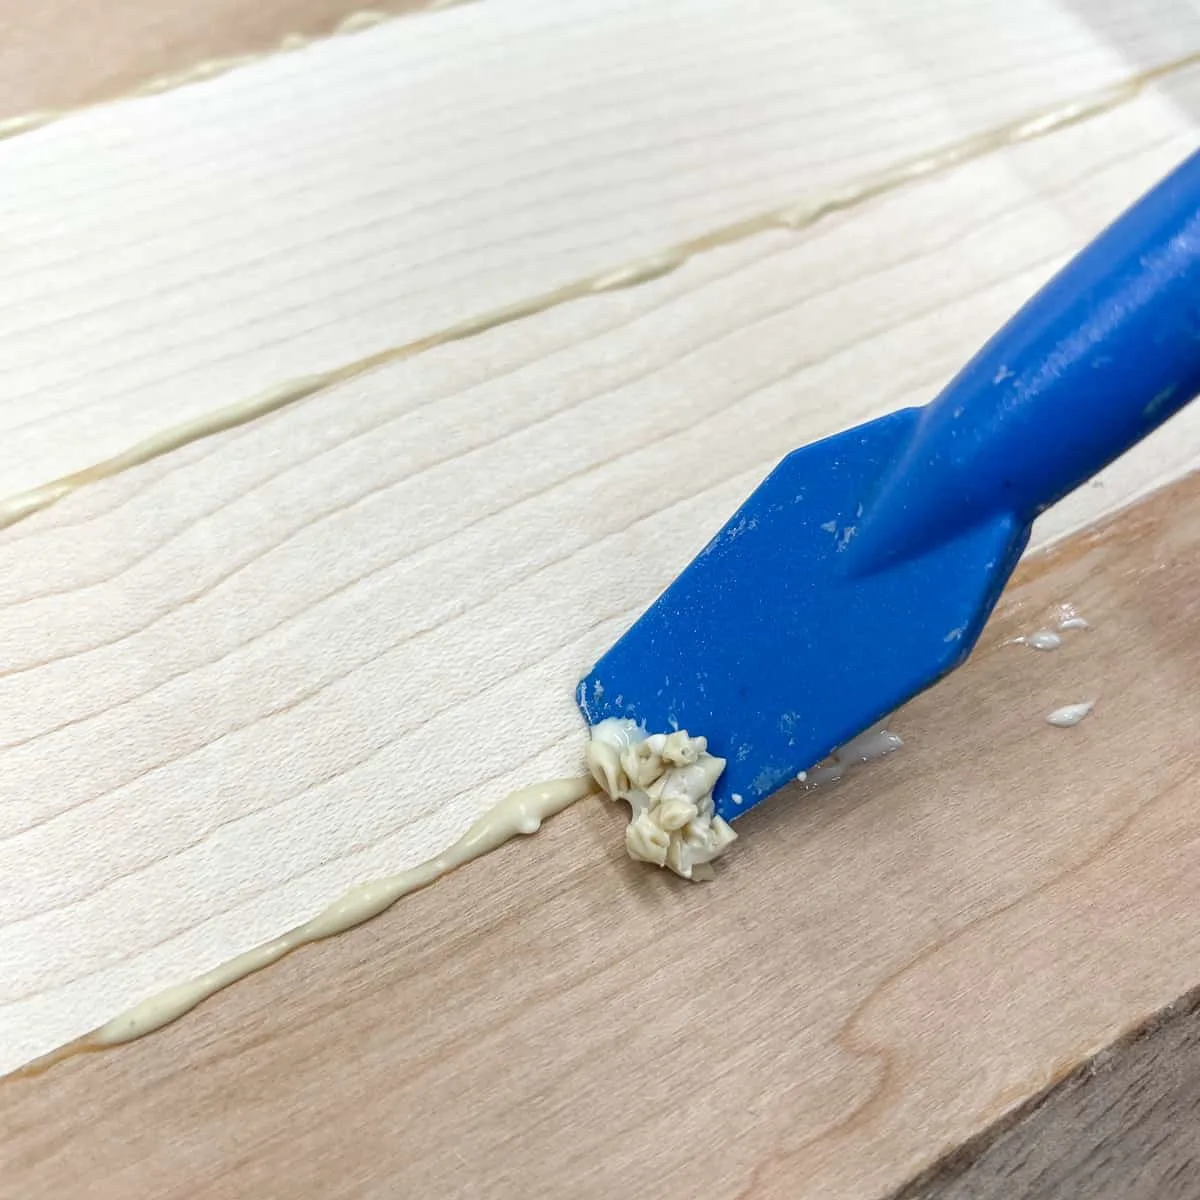
Once everything is clamped up, allow the wood glue to dry for at least a few hours, or overnight. I like to scrape off the glue squeeze out when it reaches a putty-like consistency, so it doesn't make as much of a mess. You could also wipe it off with a damp rag when it's still wet, or wait until it's completely dry and sand it off.

Cutting Board Finishing
Once the glue is dry, you can take it out of the clamps. But the work isn't done yet! You still have a few more steps to go before you can start chopping on your new cutting board!
Sand up to 220 grit
Here's the boring part...sanding. You'll want to work your way up the sandpaper grits, from 80 to 120 to 180 to 220. Make sure you have all of them on hand before you start, so you don't have to run to the store halfway through your sanding session.
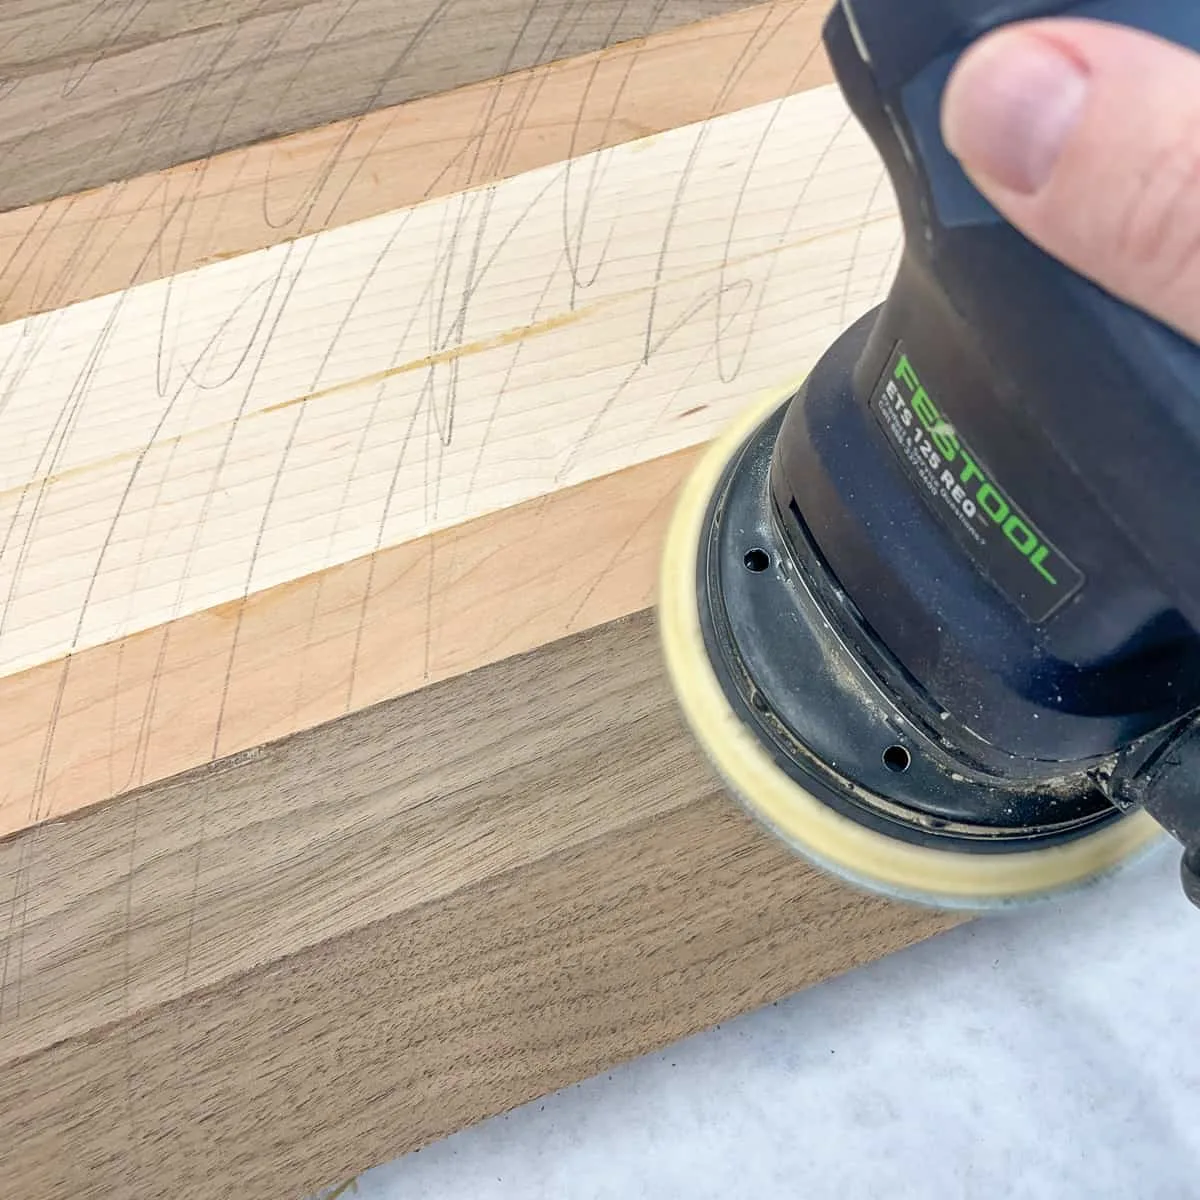
Before you start, scribble a pencil line all over the wood's surface. This will give you a good visual indication of how well you're sanding, and prevents low spots from oversanding.


When the pencil marks are gone, you're done! Repeat for the other side, then switch to the next grit and make the marks again. You can find more sanding tips and tricks like these in this article.

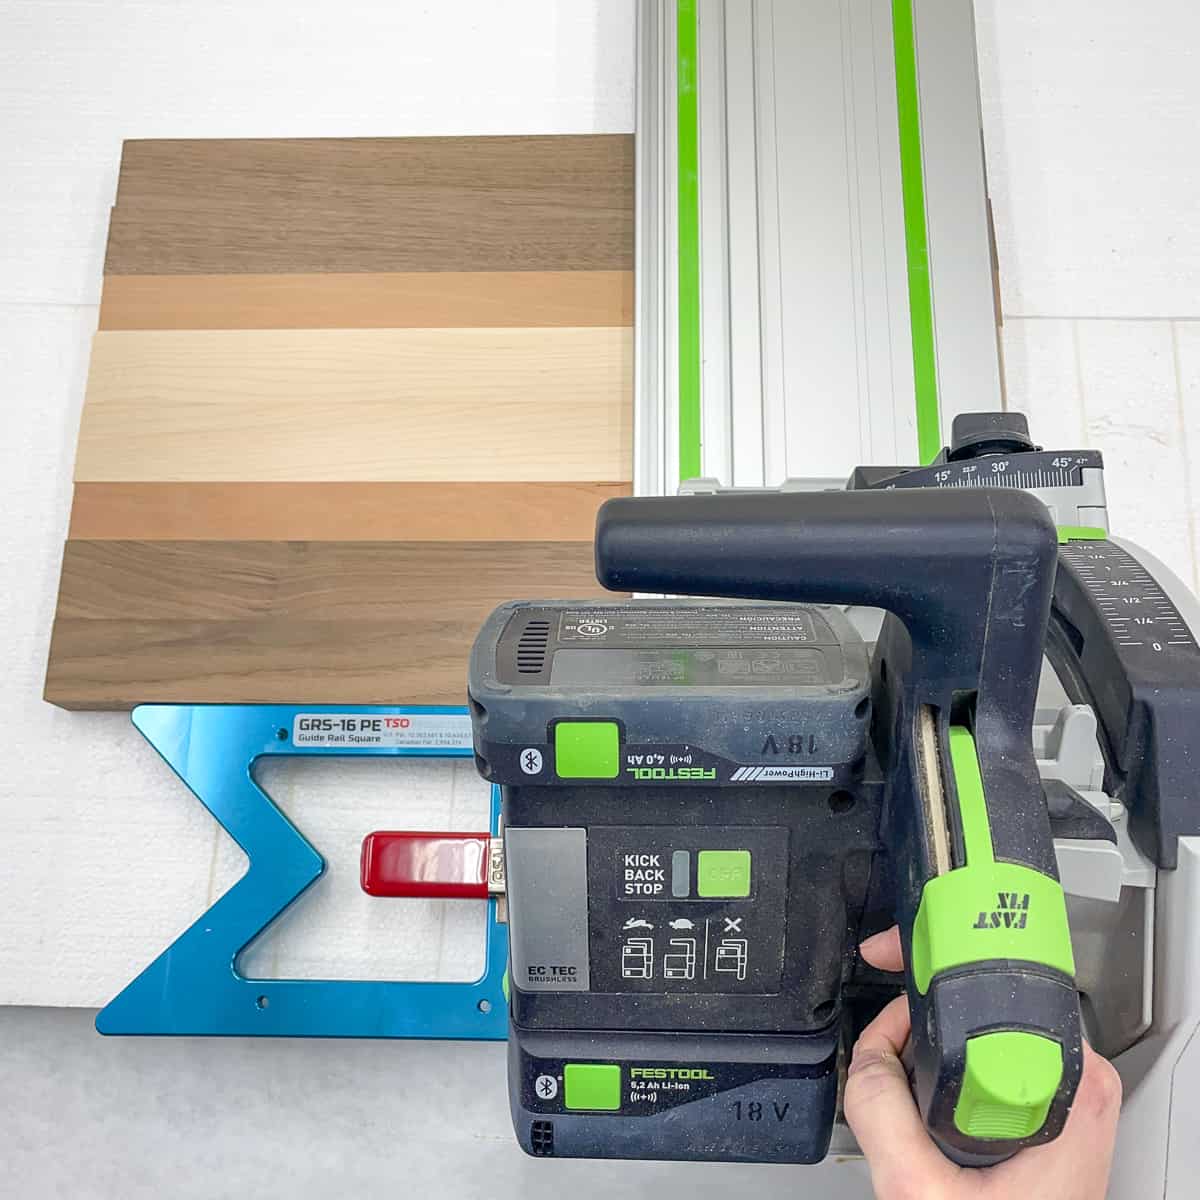
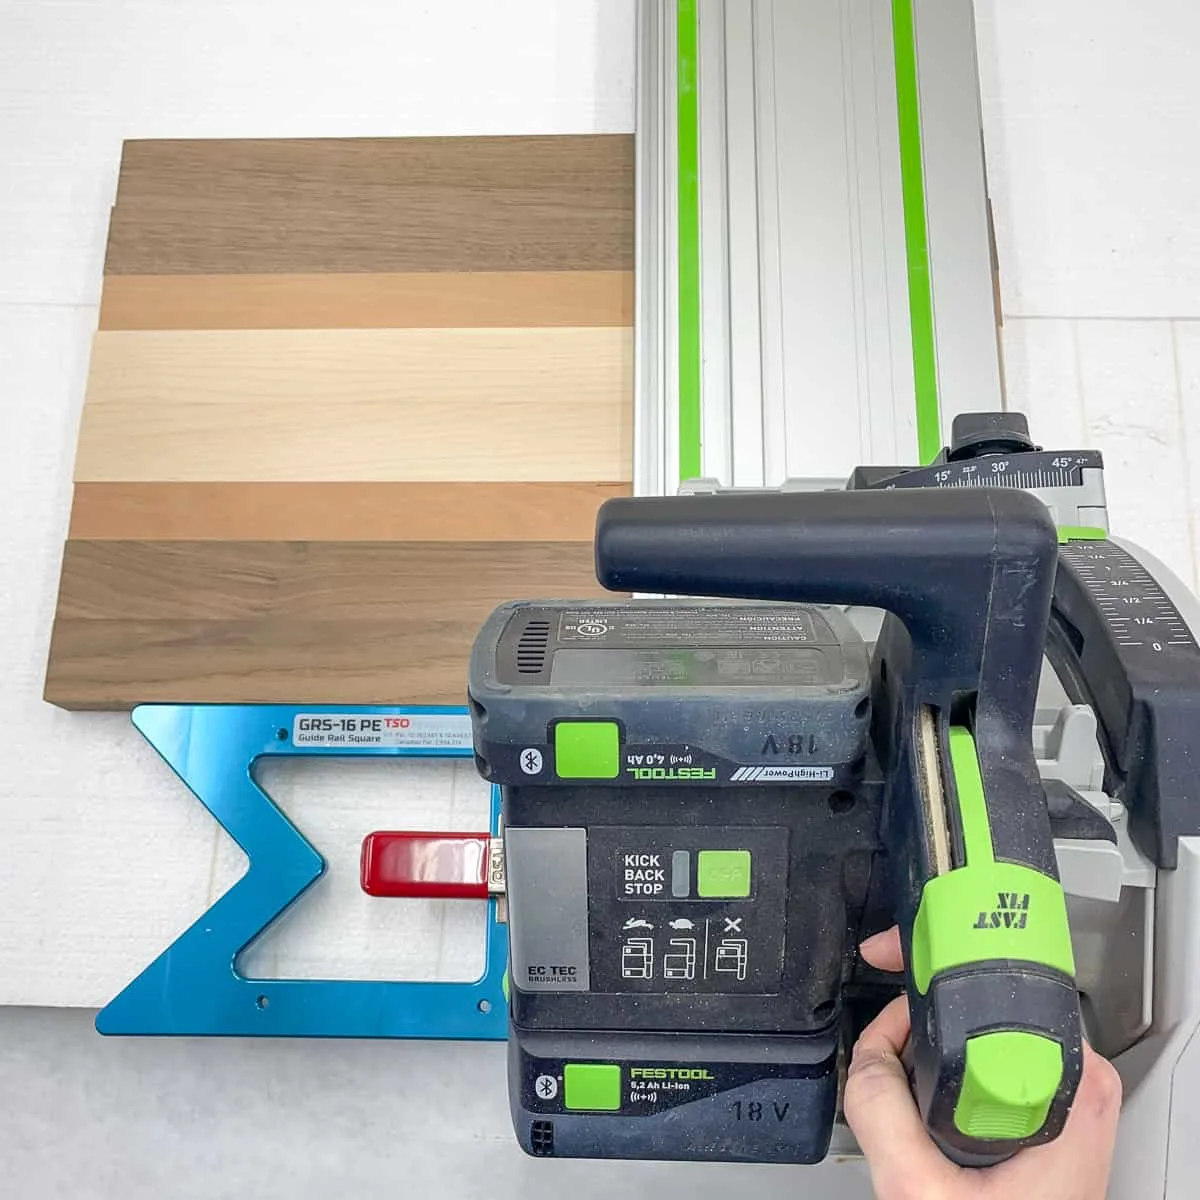
Trim off the uneven ends
Even if you're super careful during the glue up, the ends can shift slightly when the clamps tighten. Luckily, the wood strips in the cutting board kit are cut slightly oversized, so you can trim off the uneven ends.
I usually do this after I've sanded off all the glue blobs that make the surface uneven, so the board doesn't rock while the blade is cutting. There are a wide variety of saws that would work for this step, but I used my track saw and a track saw square to quickly make the cut.
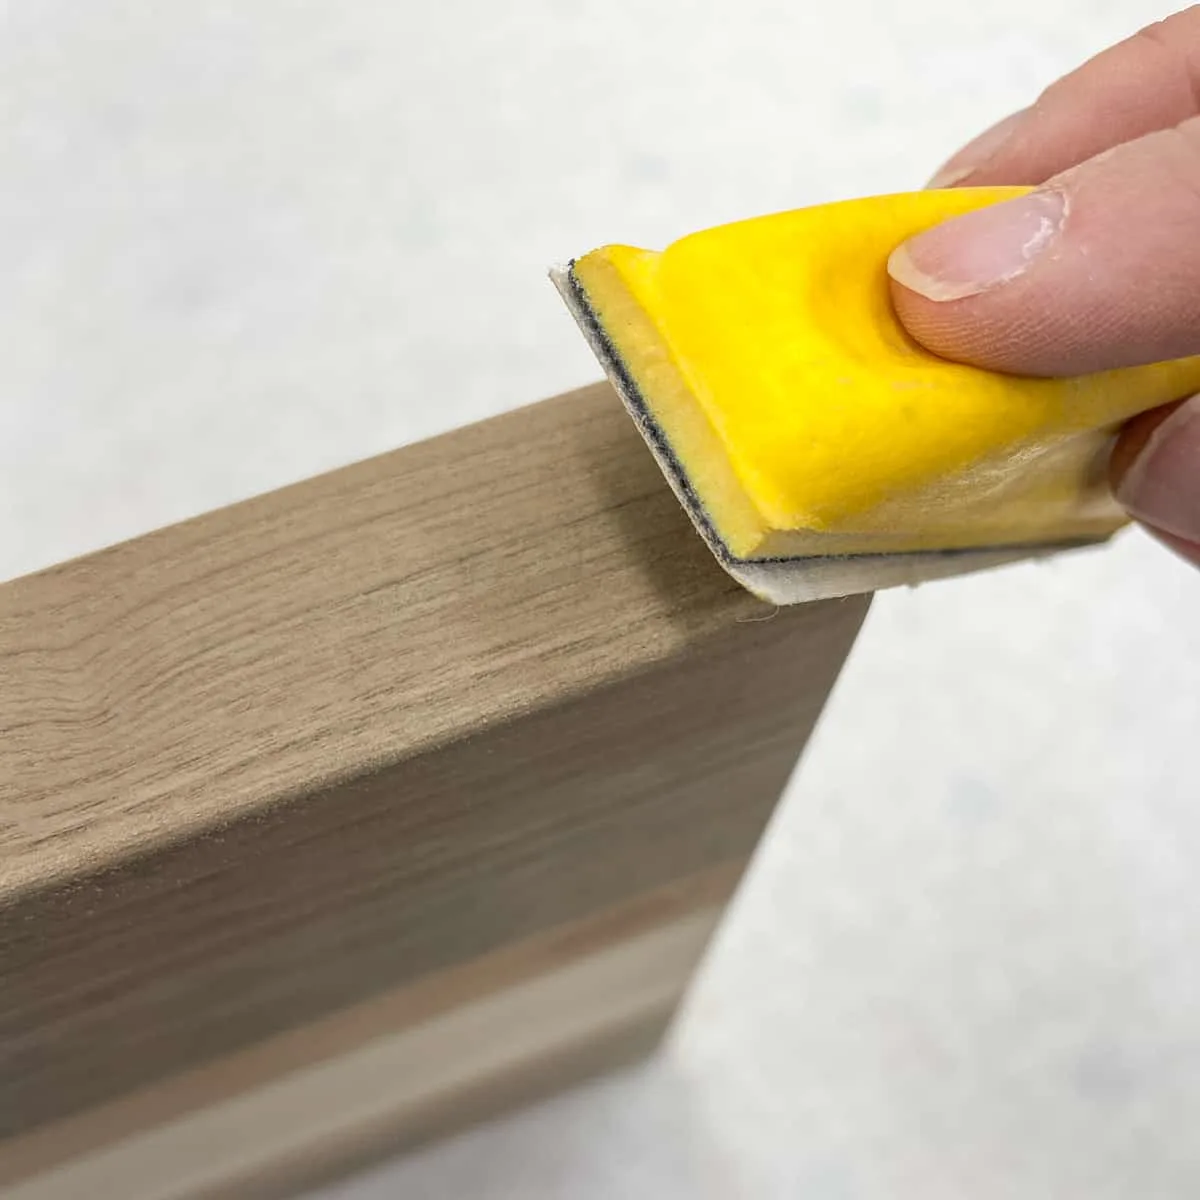
Sand and round over the edges
Even though the track saw leaves a nice, clean edge, I still sanded up to 220 on both ends to remove any saw marks and close up the wood pores.
Then I eased over the sharp corners with a small sanding block and 220 grit sandpaper. You could also use a small roundover bit and a palm router for a more consistent curve.

If you plan to use this cutting board for slicing up meat fresh off the grill, you might want to consider adding a juice groove around the perimeter. This will prevent the meat juices from spilling off the sides and making a mess.
The video below shows you how to make a simple juice groove jig for your router. I chose to keep mine flat for chopping vegetables and fruit to prevent knife marks in our new butcher block countertop.
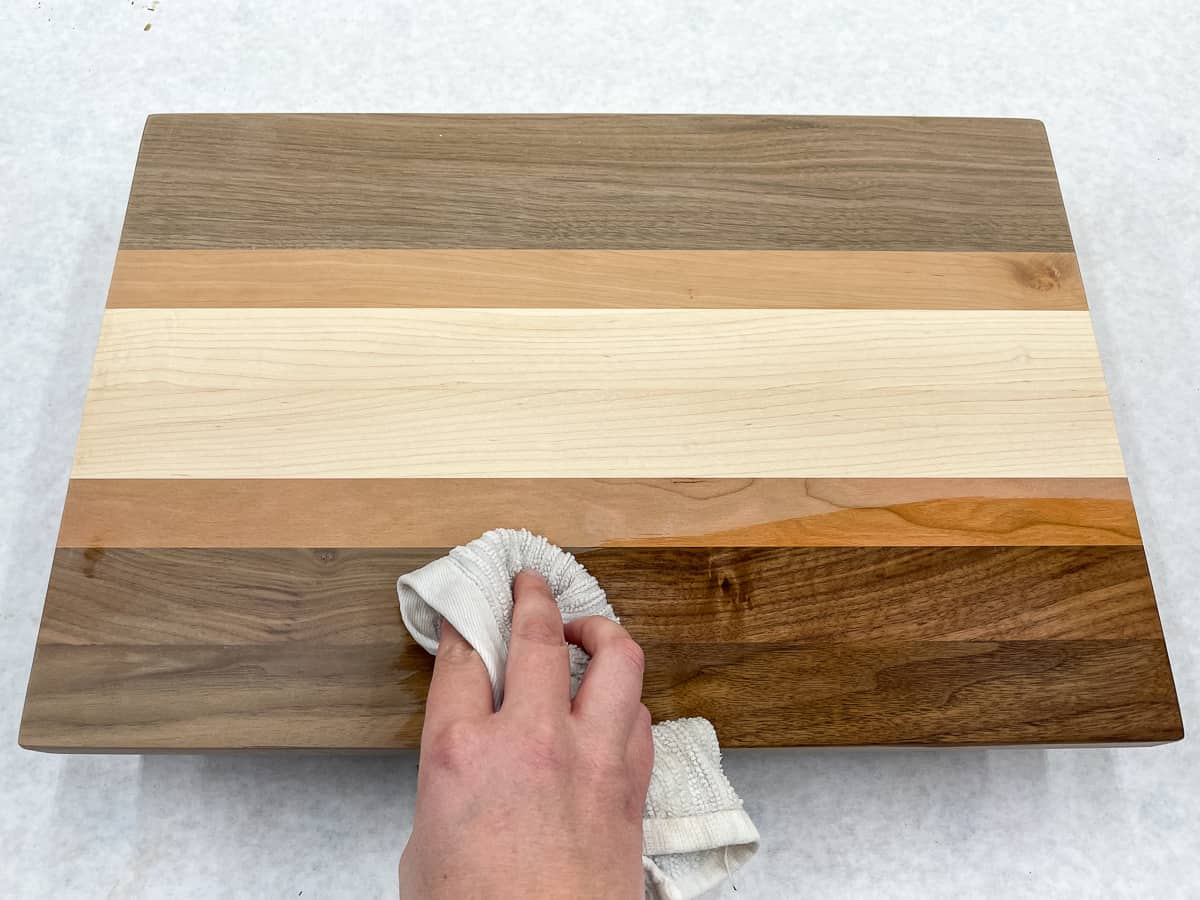
Pop the grain with water
After all that sanding, the wood fibers will be laying nice and flat along the surface. But once those fibers come into contact with water, they'll spring back up and it'll feel rough again!
By "popping the grain," you can prevent this from happening in your finished piece. All you have to do is spray or wipe the cutting board surface with some water, and allow it to dry.

Then, sand it again with 220 grit sandpaper. This will knock off all those wood fibers that would have popped up after you washed the board for the first time. You'll be surprised at how smooth the board feels after this step!
Apply a food safe finish
Wipe off all the sanding dust before applying a food safe finish to your new cutting board. I'm using Walrus Oil's cutting board oil, which is the same finish I applied to my wood countertops.
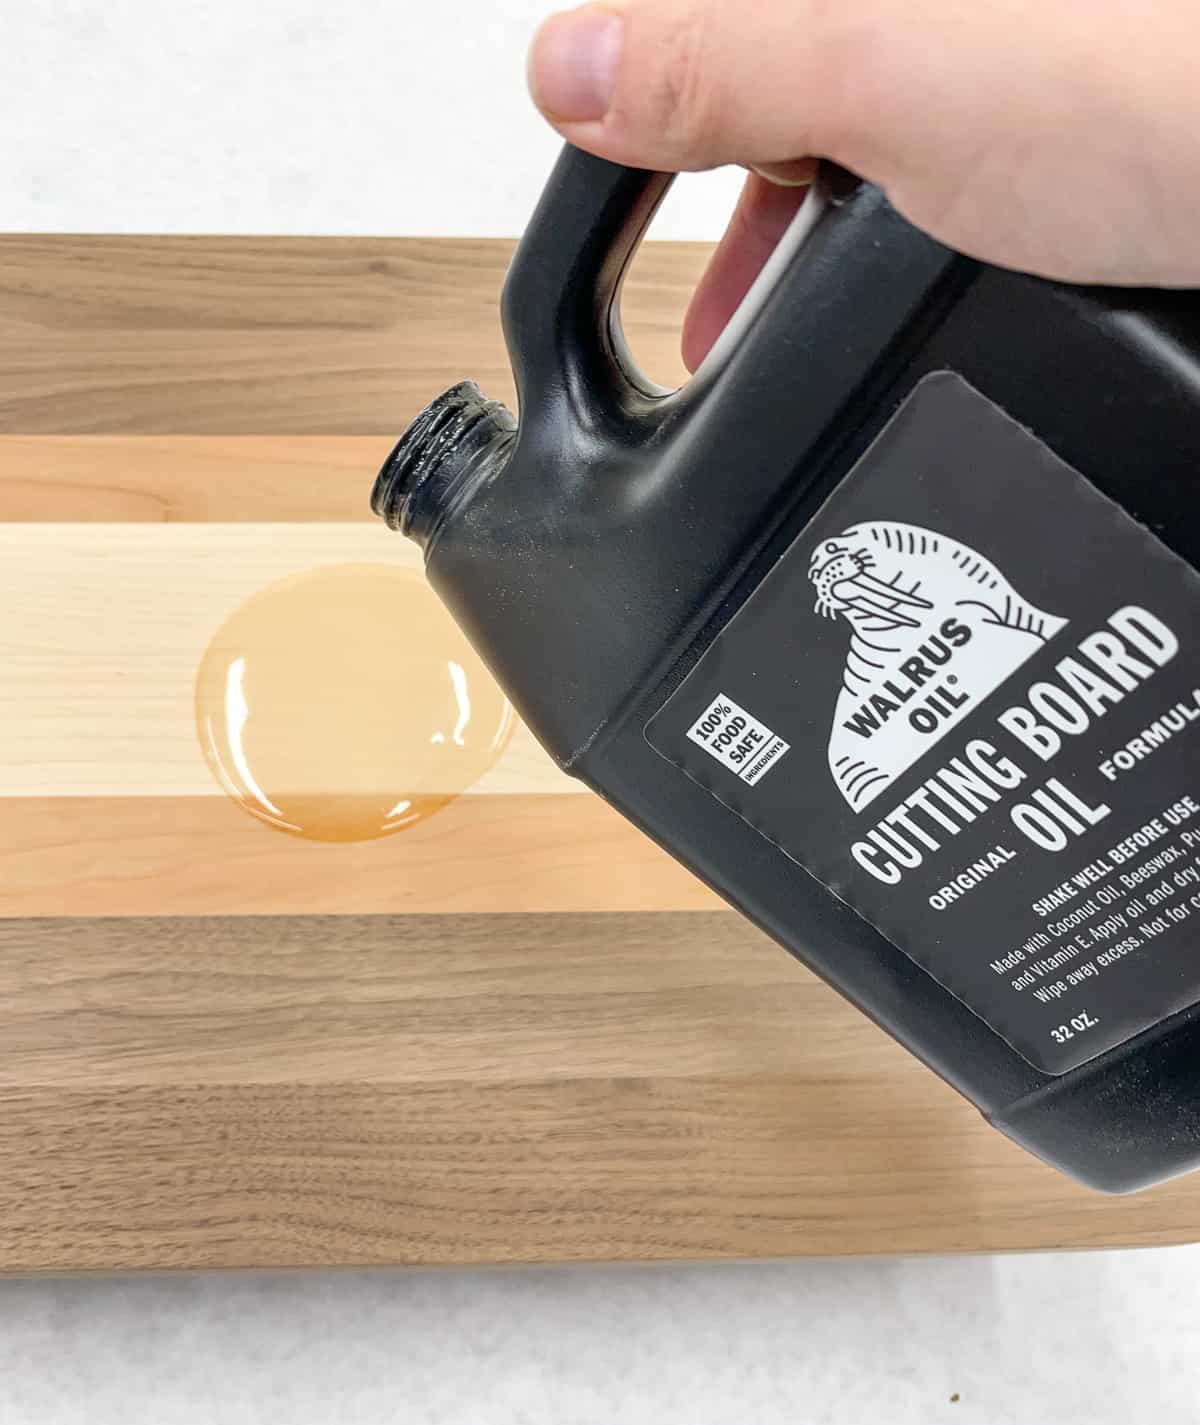

Just pour it on, then use a rag to wipe it over the entire surface. I recommend propping up the cutting board up on painter's pyramids so that both sides can soak up the oil at the same time.

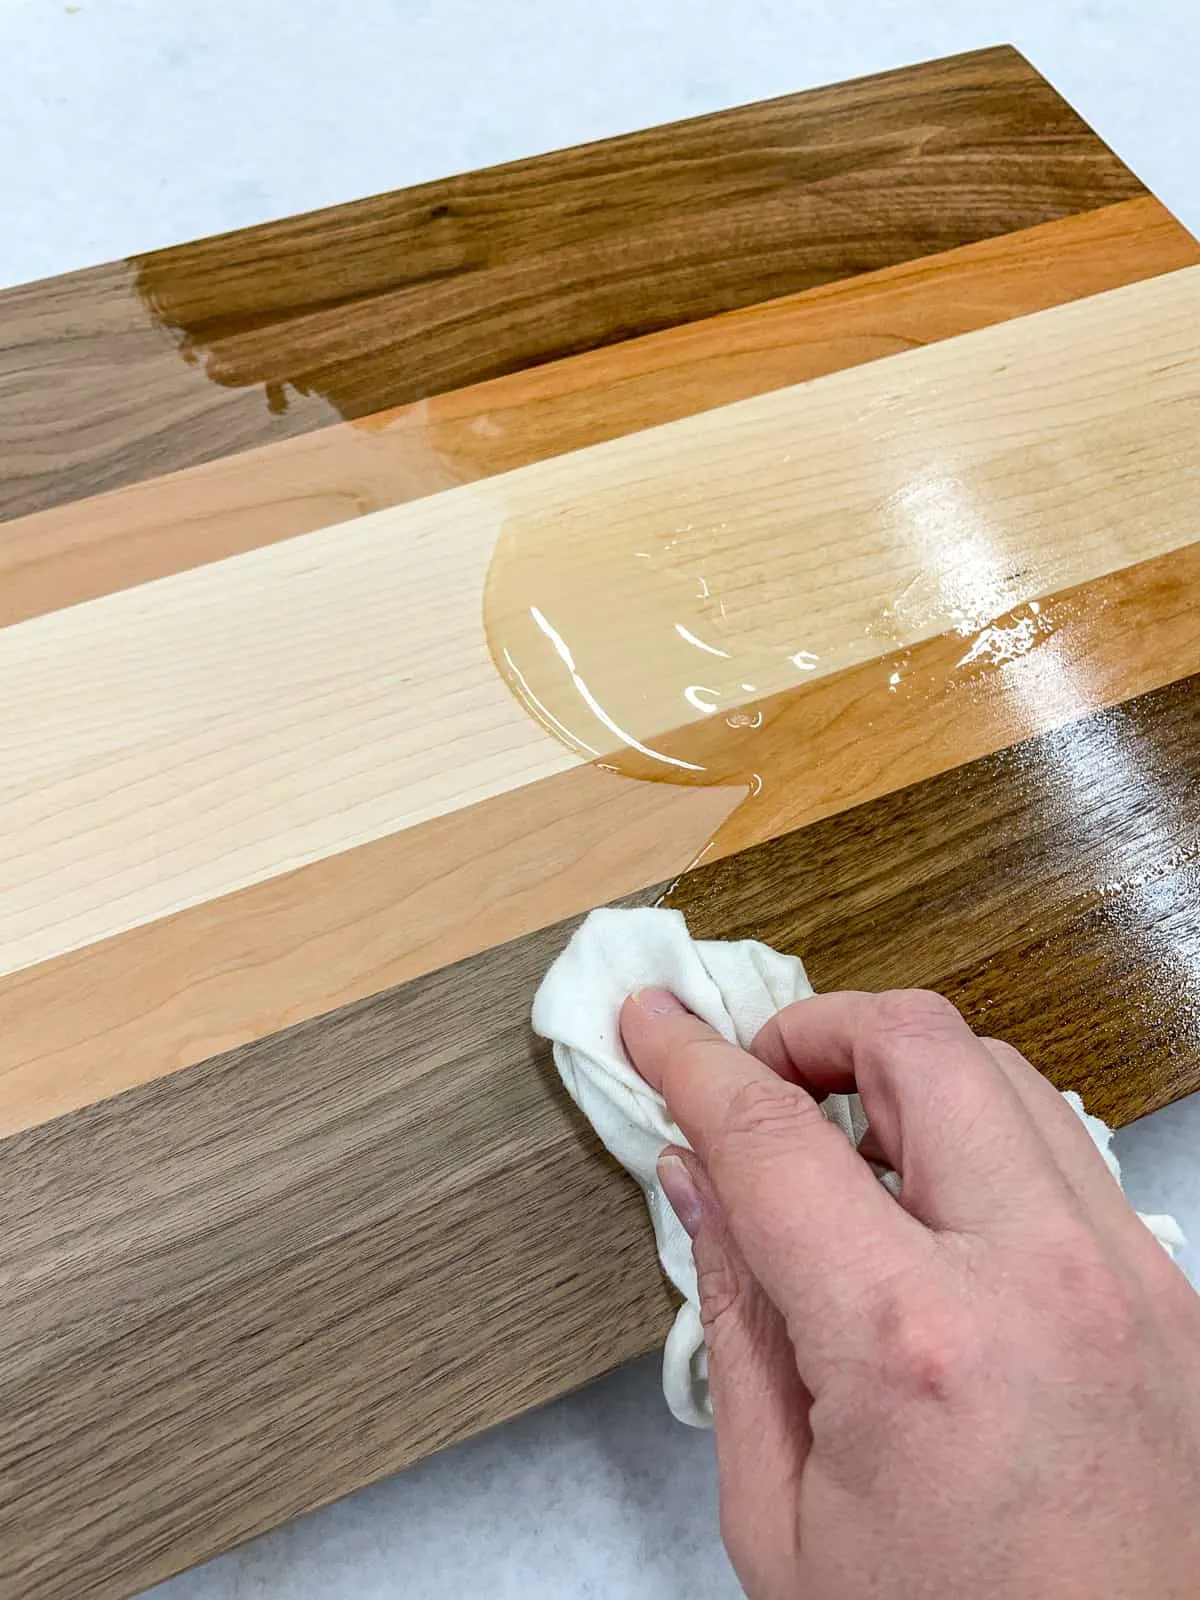
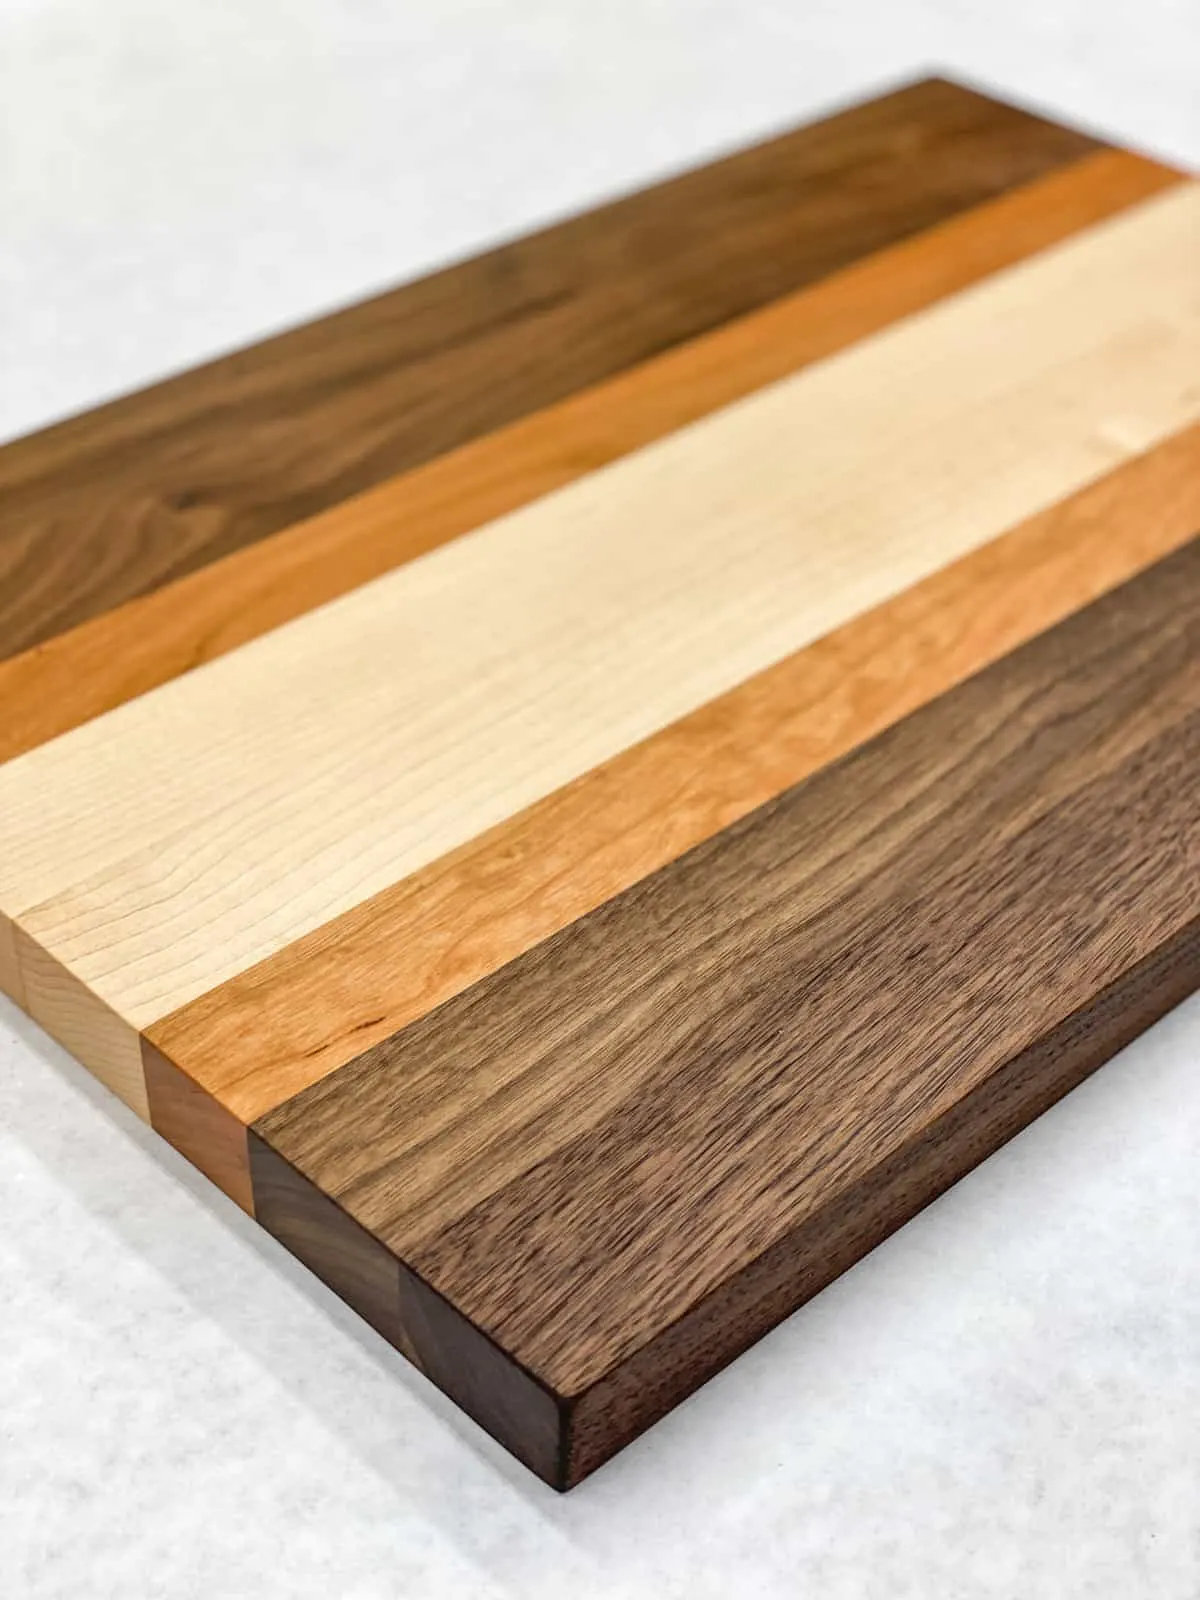
The oil really brings out the beautiful colors of the wood! Allow the cutting board to soak up as much oil as possible, then wipe off the excess. If you want to add stability, you can screw little rubber feet to the underside.
I've been meaning to make a wooden cutting board for ages, but the thought of all that milling kept pushing it to the back burner. With this cutting board kit, I was able to make one in less than a day!


I was really impressed with how tight the glue lines came out. I doubt I would be able to get these wood strips milled up as nicely as the ones that came in this cutting board kit from North Castle Hardwoods!

These kits are a great gift idea for a beginning woodworker who doesn't have a full workshop with lots of expensive tools. All they need is a sander, a saw and some clamps!

Check out these other woodworking project ideas!