Learn how to build this DIY nightstand with a drawer on top and a shelf underneath. Get the plans to make your own bedside table today!


I've had the idea for this modern bedside table floating around in the back of my head for-e-ver! It all started when I picked up a few pieces of gorgeous curly maple that came from a local guitar maker. I've hoarded stored them on my garage shelves for months while I pondered how to best use them.
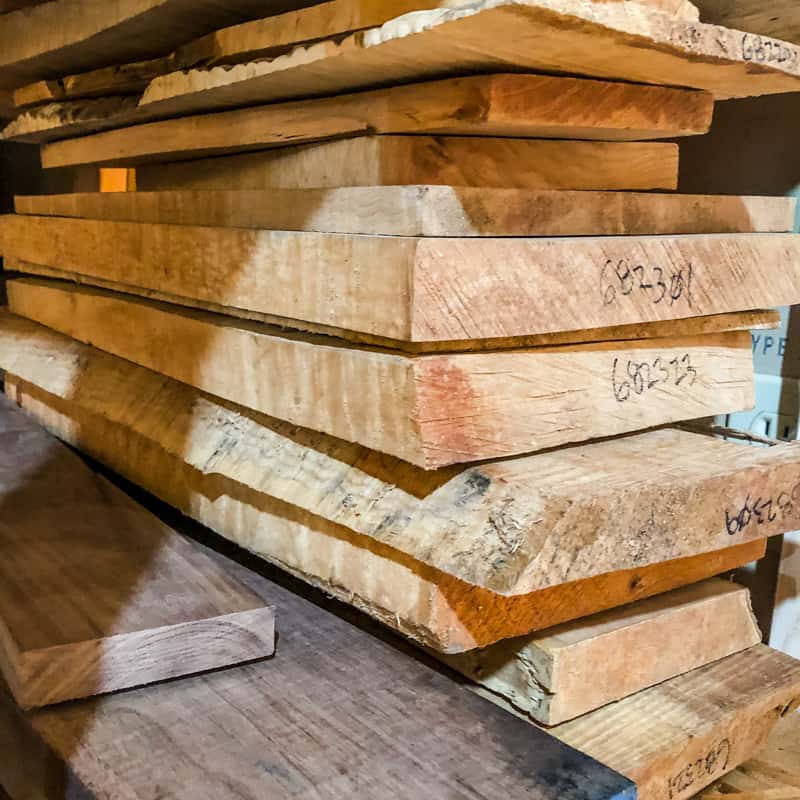

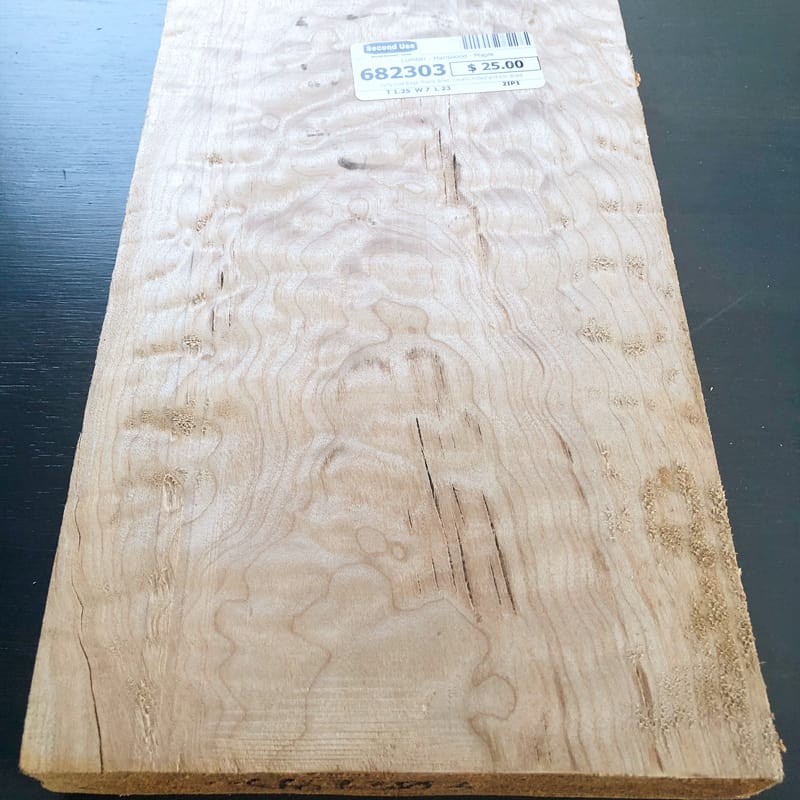
They were the perfect size for a drawer front, but I needed to build the right piece of furniture to really show off the fantastic three-dimensional grain.

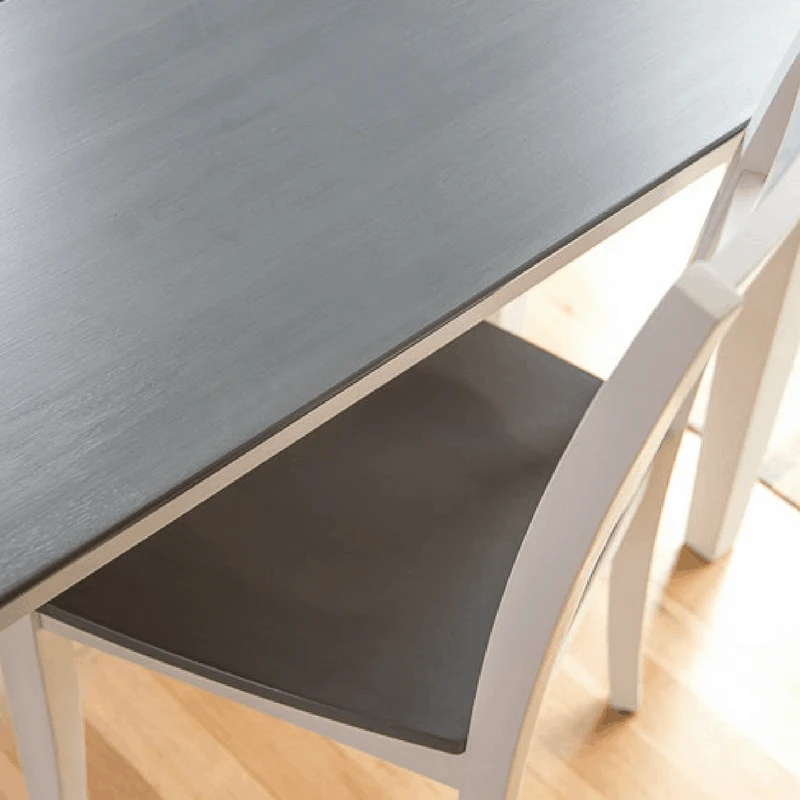
I'm a huge fan of two-toned furniture like our dining table with gray wood stain on top of a white painted base. The crisp white serves as a blank canvas to show off the wood grain of the table. I wanted the same two-toned look for my nightstand.

This post contains affiliate links for your convenience. Purchases made through these links may earn me a small commission at no additional cost to you. Please visit my disclosures page for more information.
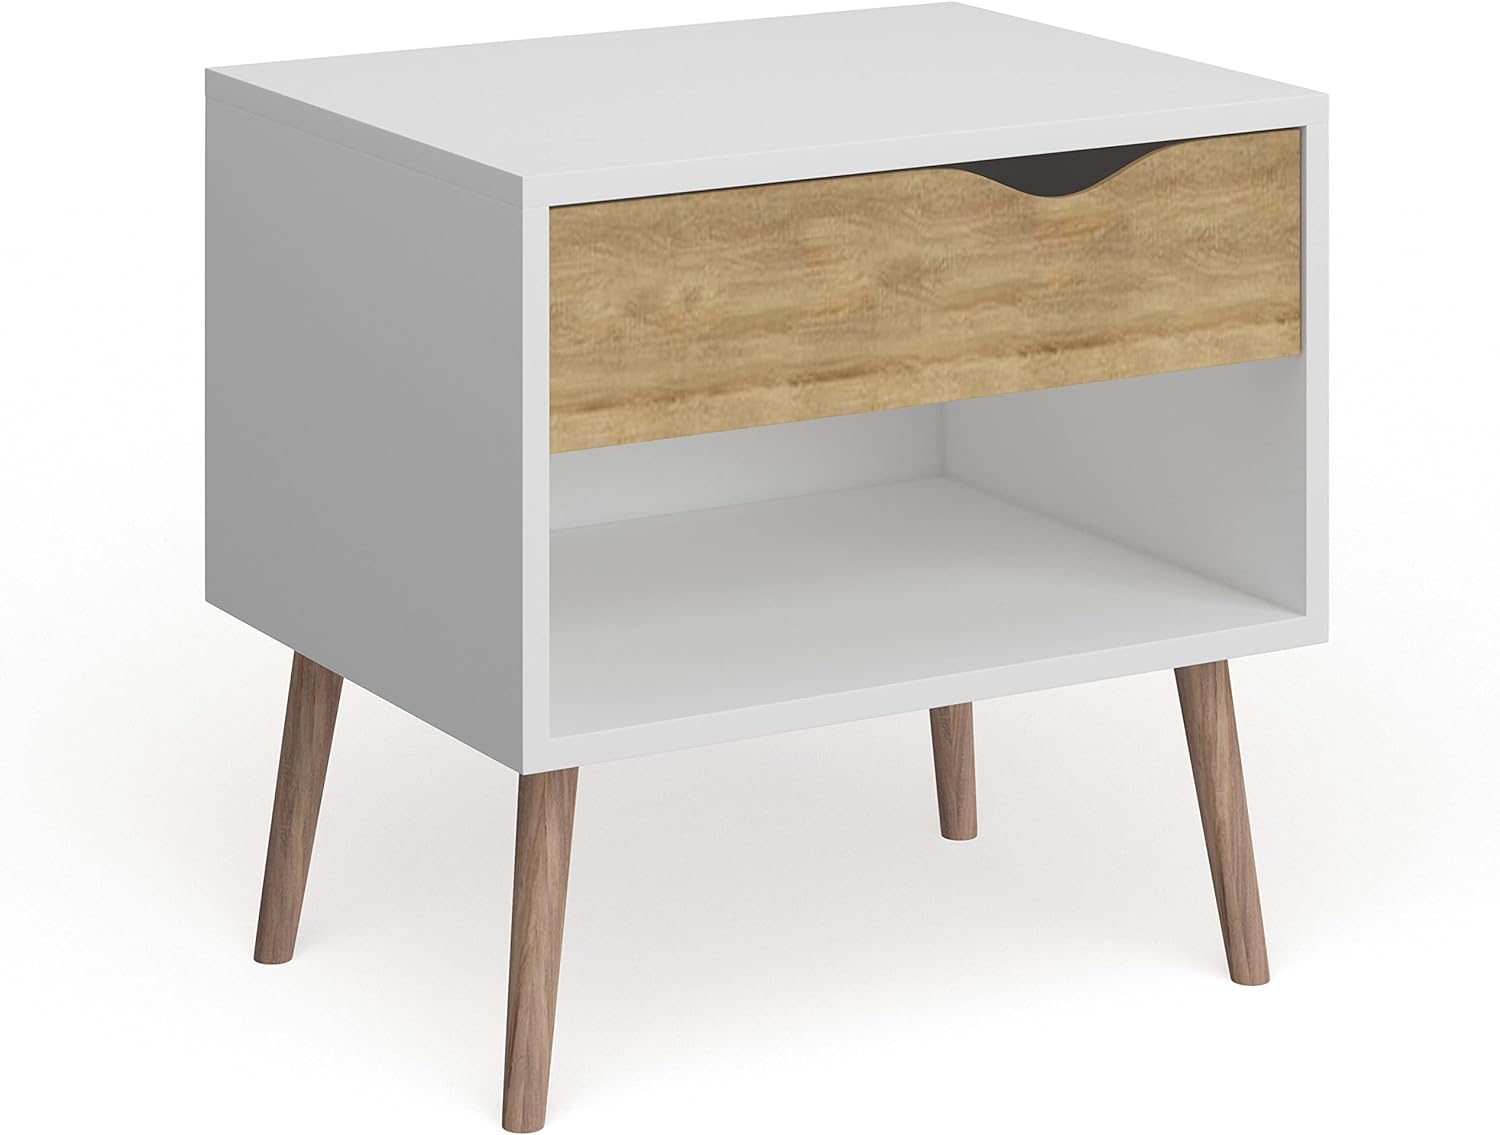
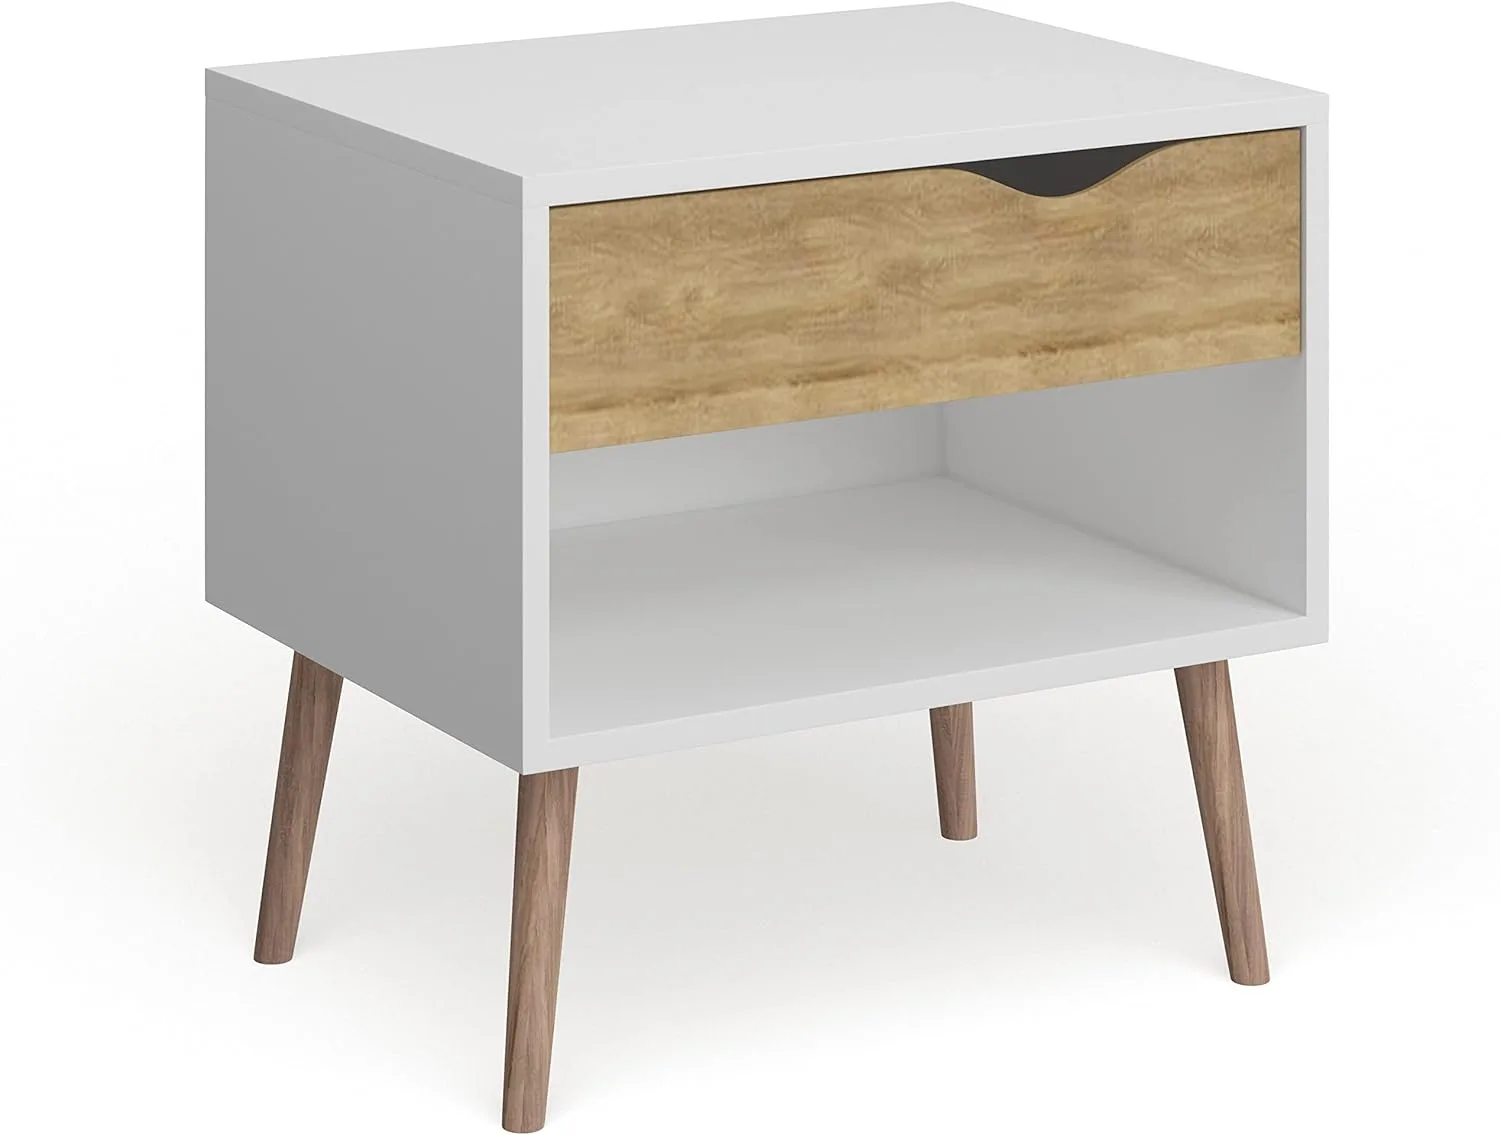
I did a quick search of white nightstands, and found my inspiration on Amazon right away! The notched top drawer adds subtle interest to the wooden drawer front, instead of detracting from it with a drawer pull. And the simple design would be easy to build myself!
Here's how to make this easy DIY bedside table!
Materials Needed
- ¾" plywood or 1 x 6 boards
- I used poplar 1 x 6 boards that I edge glued together to create panels. If you use plywood, you'll need to cover up the exposed edges with edge banding or wood filler.
- 2 x 2 boards for the legs
- 1 x 6 board of gorgeous wood for the drawer front
- 1 x 4 board for the drawer box
- Scrap of ¼" plywood for the drawer box bottom
- 1 ¼" pocket hole screws
- Figure 8 table top fasteners
- Wood filler
- Wood glue
- 16" drawer slide
- Sandpaper (80, 150 and 220 grit)
- Paint
- Clear wood finish for the drawer front
- Double sided tape or carpet tape
Tools Needed
- Miter saw
- Table saw
- Jig saw or scroll saw
- Pocket hole jig
- Check out my guide on how to use a Kreg Jig for more info!
- Drawer slide jig (optional)
- Drill
- Orbital sander
- Tapering jig (or make your own!)
How to Build a Bedside Cabinet
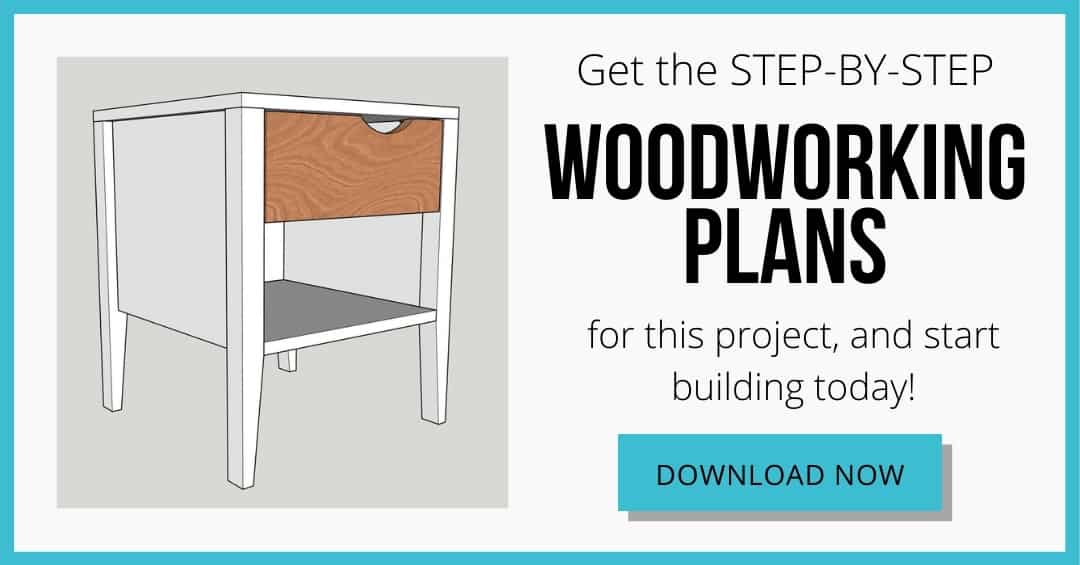
Download the woodworking plans
Start by downloading the woodworking plans for this project. Print them out and take them with you when you buy your materials, and to the workshop or garage for help while you build!

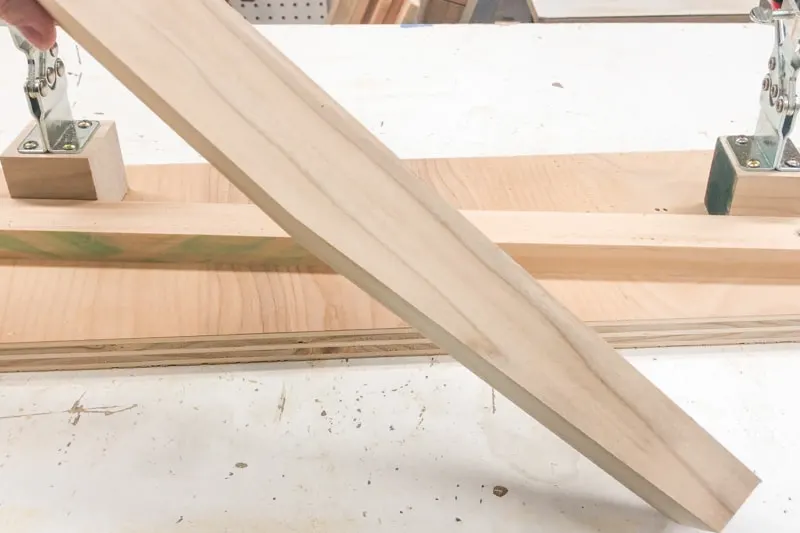
Cut and taper the legs
The 2 x 2 legs are integrated into the cabinet part of the nightstand, but tapering the bottom makes them a little less chunky. You can leave them straight if you don't want to do this extra step.
I used this tutorial to make my own tapering jig, but you can also buy pre-made versions like this one.
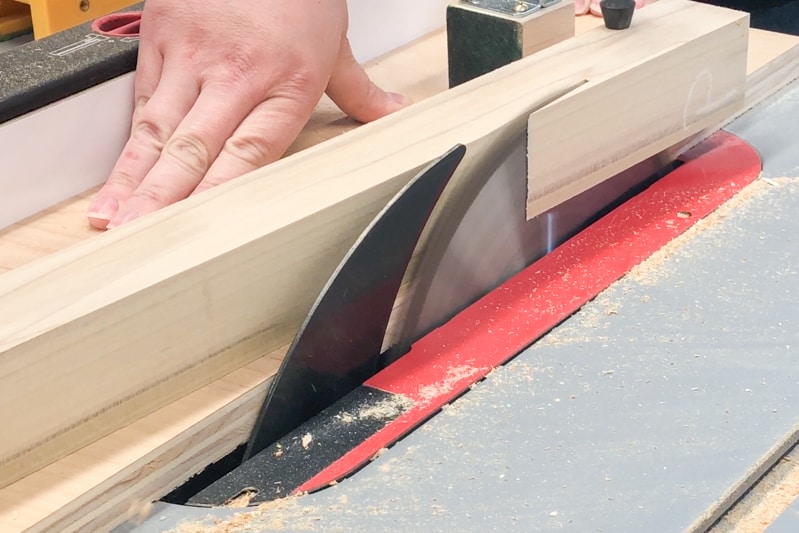

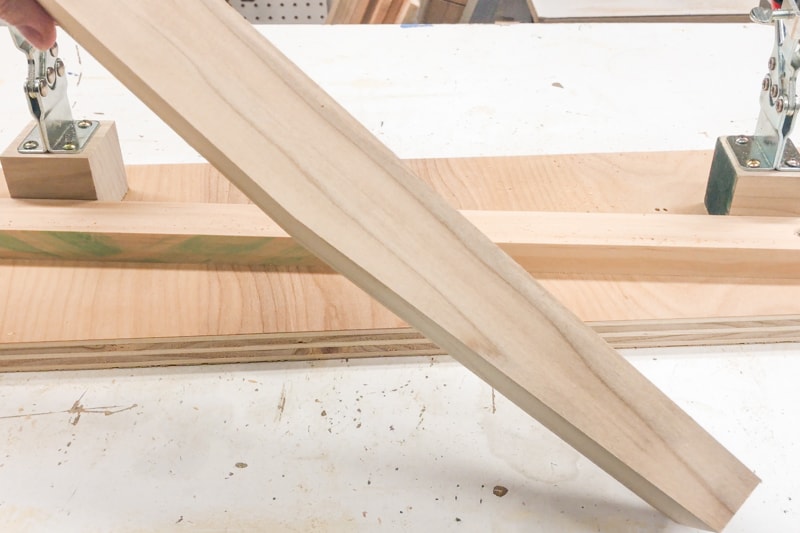
I only cut the taper on one side of each leg, so they have a square profile when looking at it from the side. You can taper more than one side if you want a more delicate look.
Cut and glue up the panels
I wanted solid wood nightstands, so I skipped the plywood and went for poplar 1x6 boards instead. Poplar has a tighter grain than pine, so the paint has a smooth finish. You could also use hardwood plywood and apply edge banding to cover up the exposed front edges.
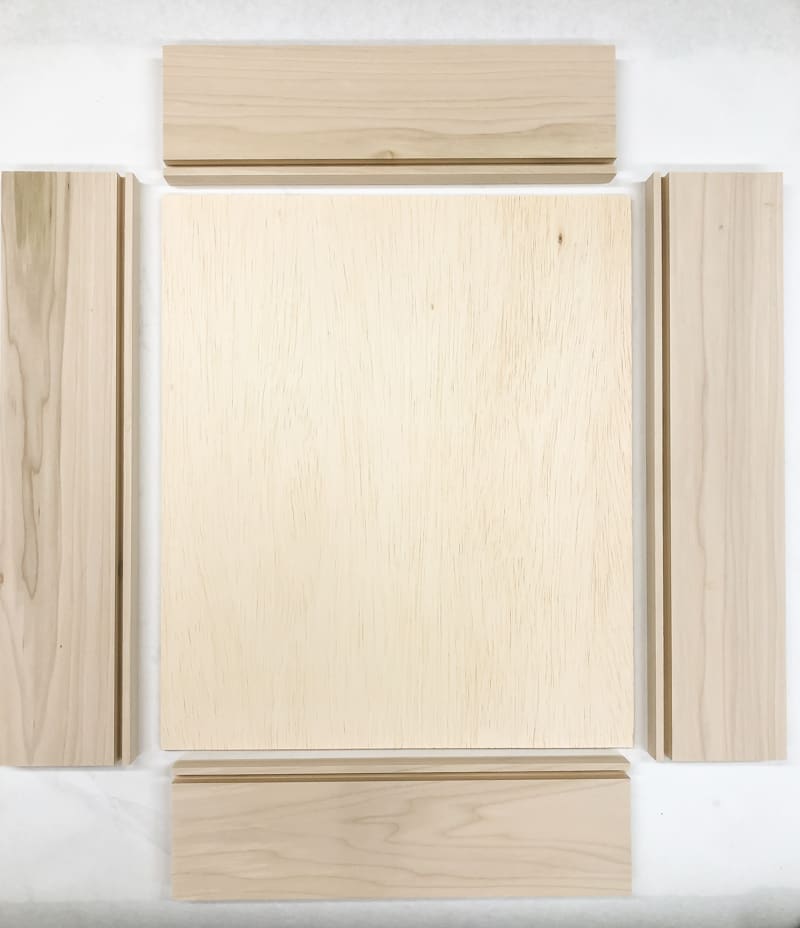
Cut the 1x6 boards according to the plans, then glue up the panels. Bessey REVO clamps apply even pressure along the edge while holding everything together while the glue dries.

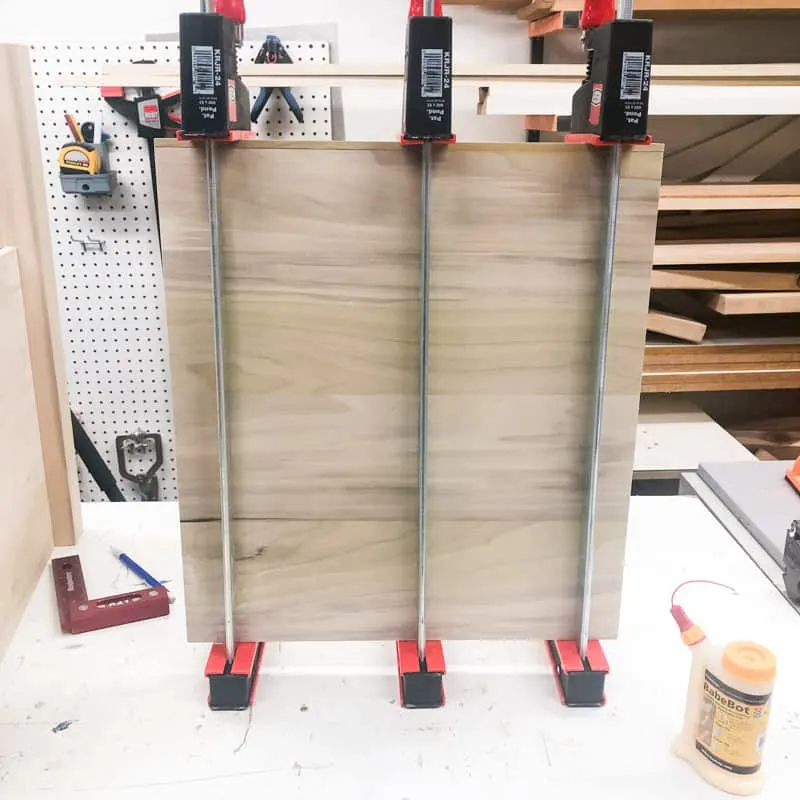
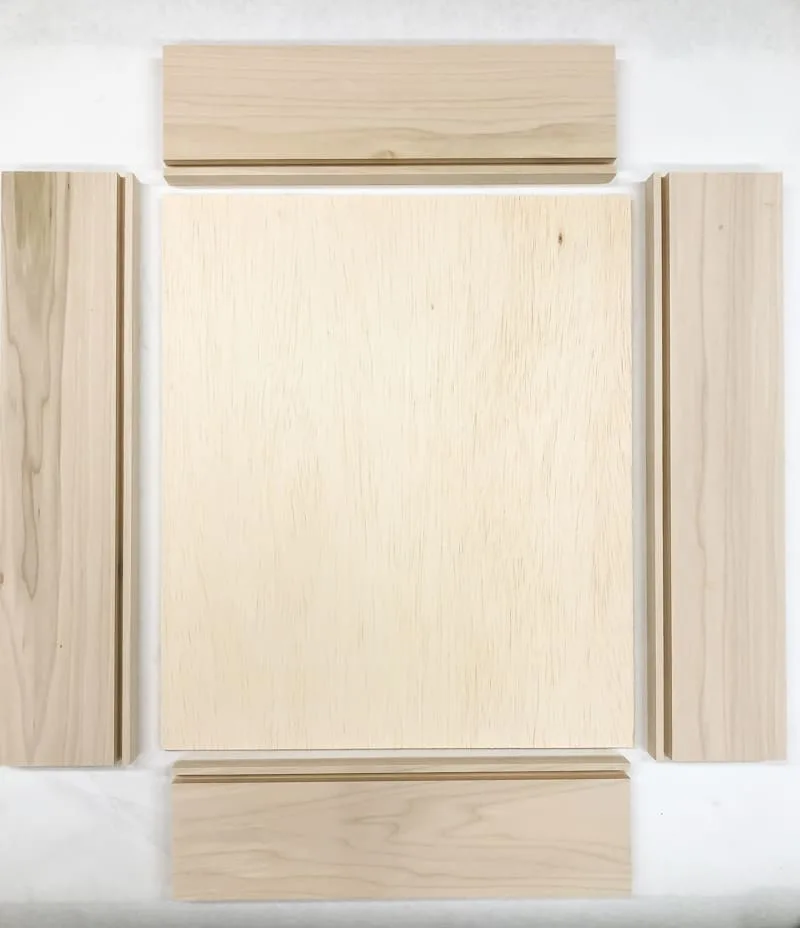
The sides, top and bottom panels are slightly different sizes, so I marked each one with a pencil so they didn't get mixed up. These will be cut to the exact dimensions required for each panel after the wood glue dries.

Sand each panel with progressively finer grits until you can't feel the seam between the boards anymore.
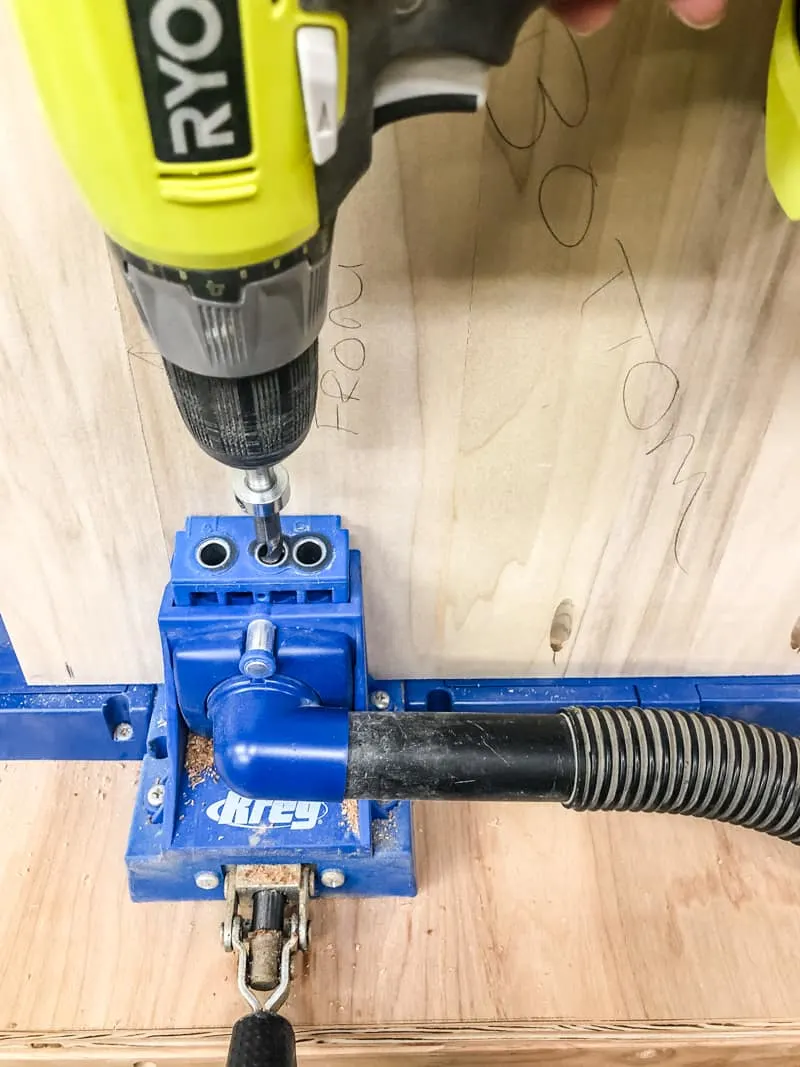
Drill pocket holes in the panels
All the panels except the top are attached with pocket holes. Drill three into each side as indicated in the plans.

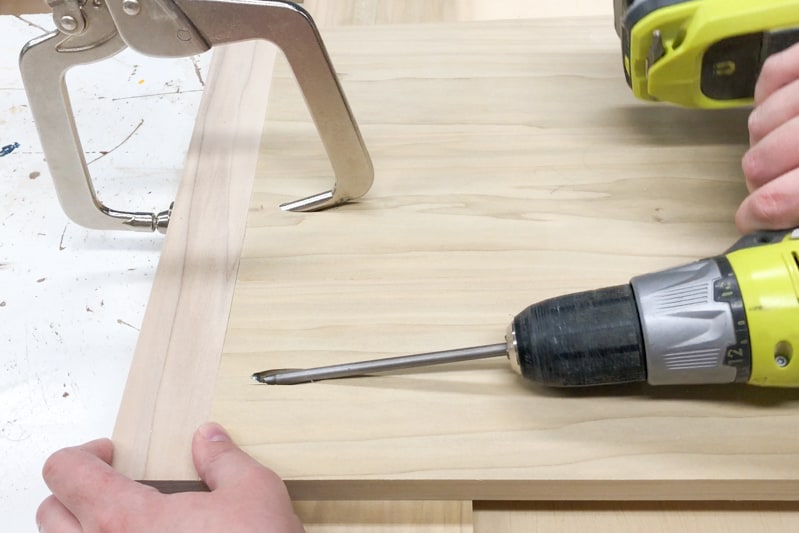
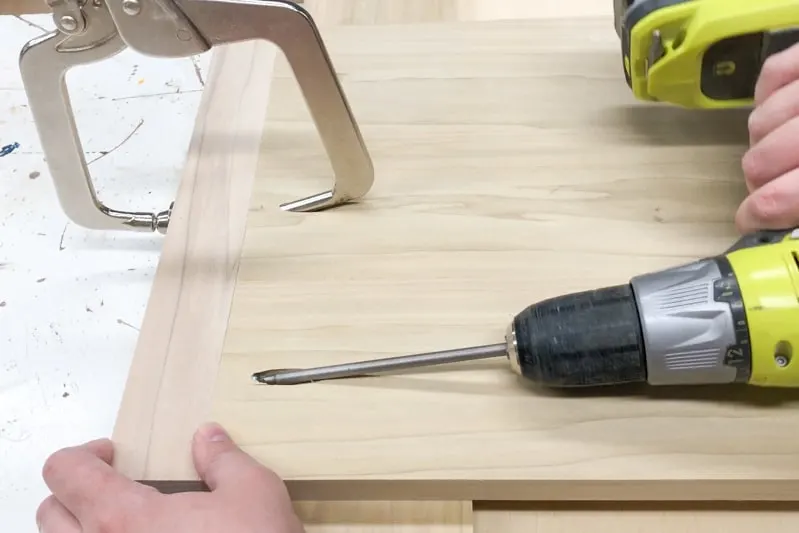
Attach the panels to the legs
The two side panels and the back panel all attach to the legs with 1 ¼" pocket hole screws. They should be flush with the inside edge of the legs. Use a ¾" board as a spacer underneath so you can match up the edges easily.
I should have put together the two side parts first, then attached them to the back. The way I did it turned out a little awkward, but it worked out okay!

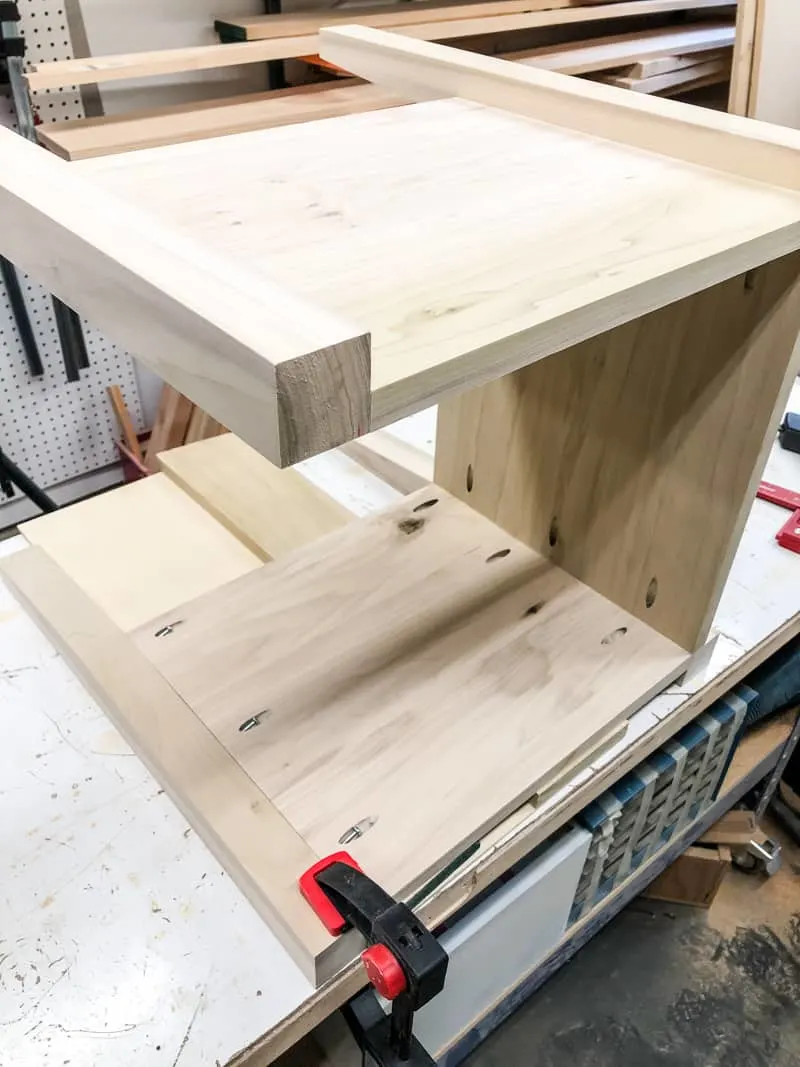
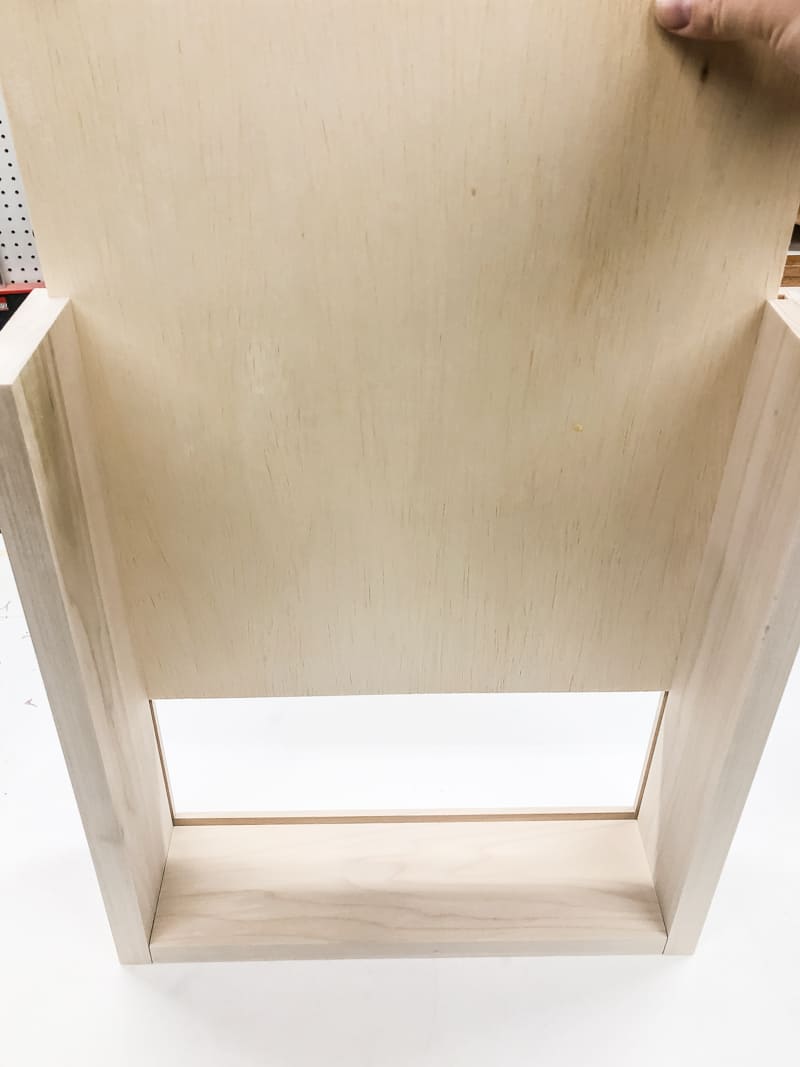
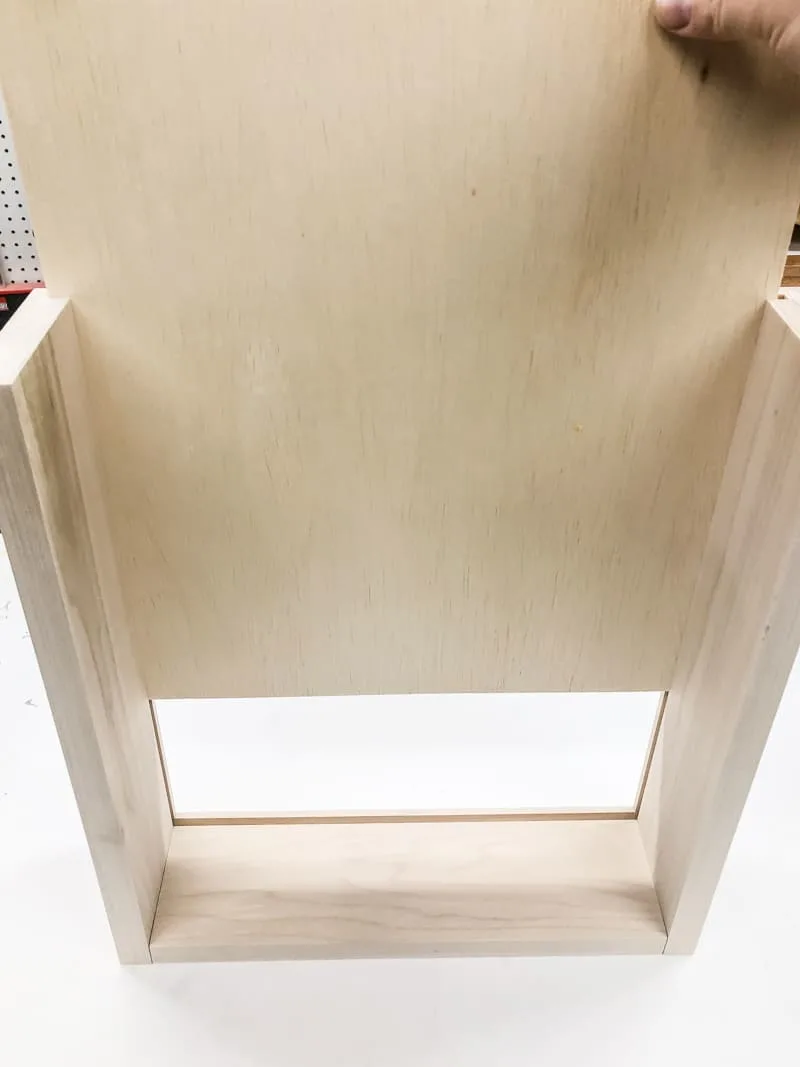
Attach the bottom
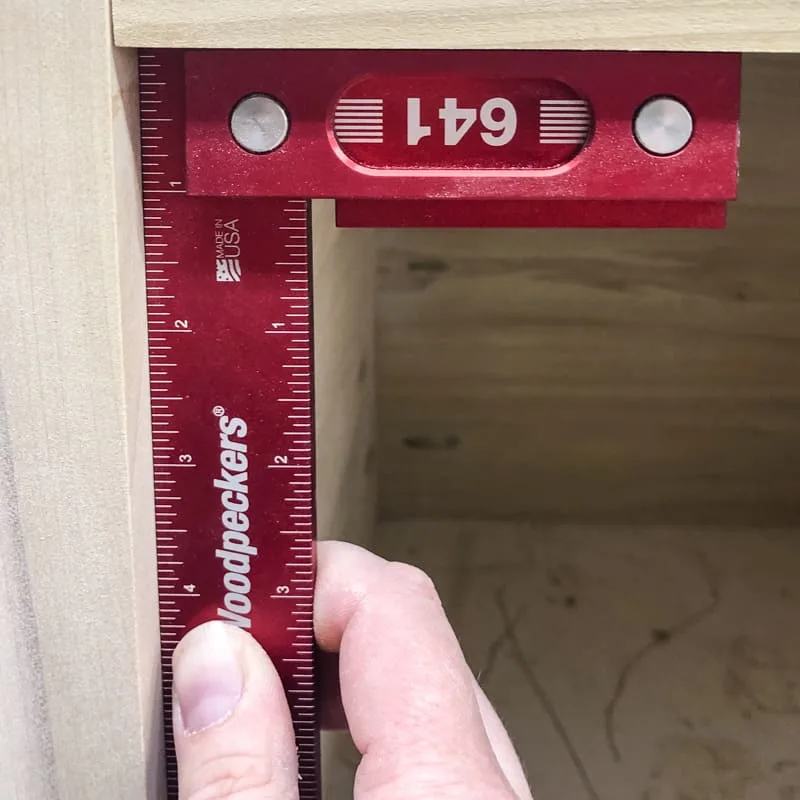
This is the true test to see how square your nightstand is! If everything is cut and assembled correctly, the bottom should fit snugly between the panels just above the start of the taper on the legs. Use a clamp to hold it in place while you level it out.

Check to make sure the bottom is square with the legs before you screw it in place with 1 ¼" pocket hole screws.

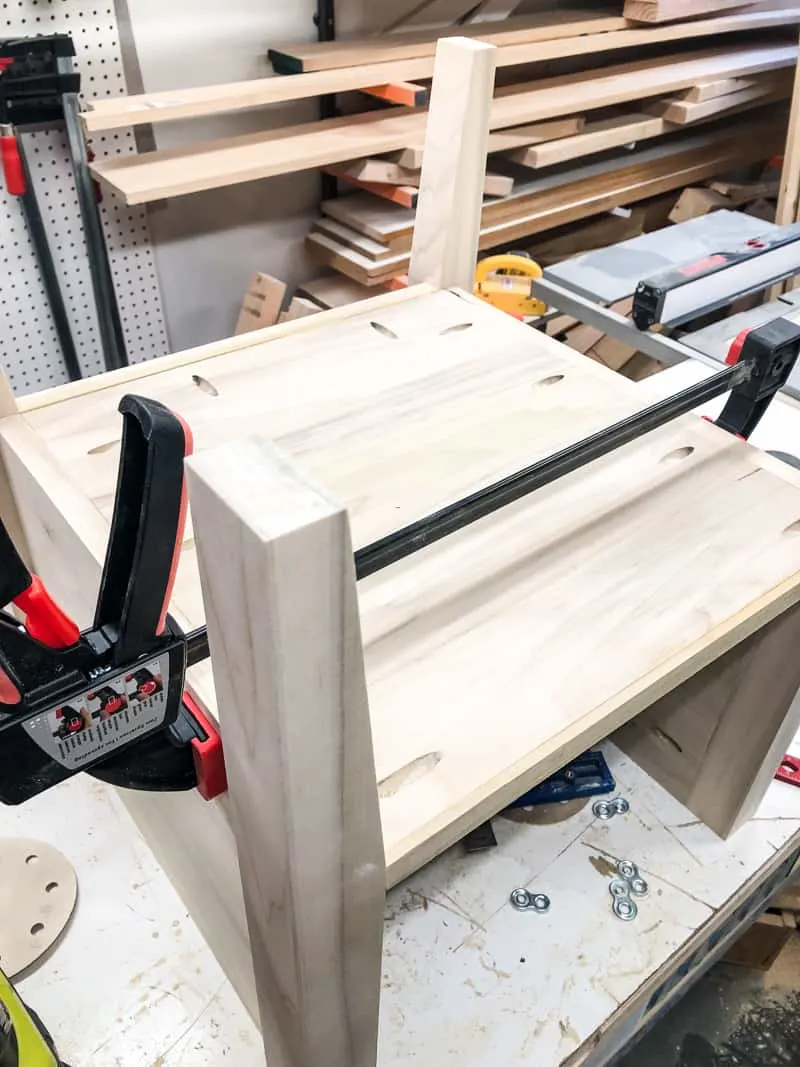
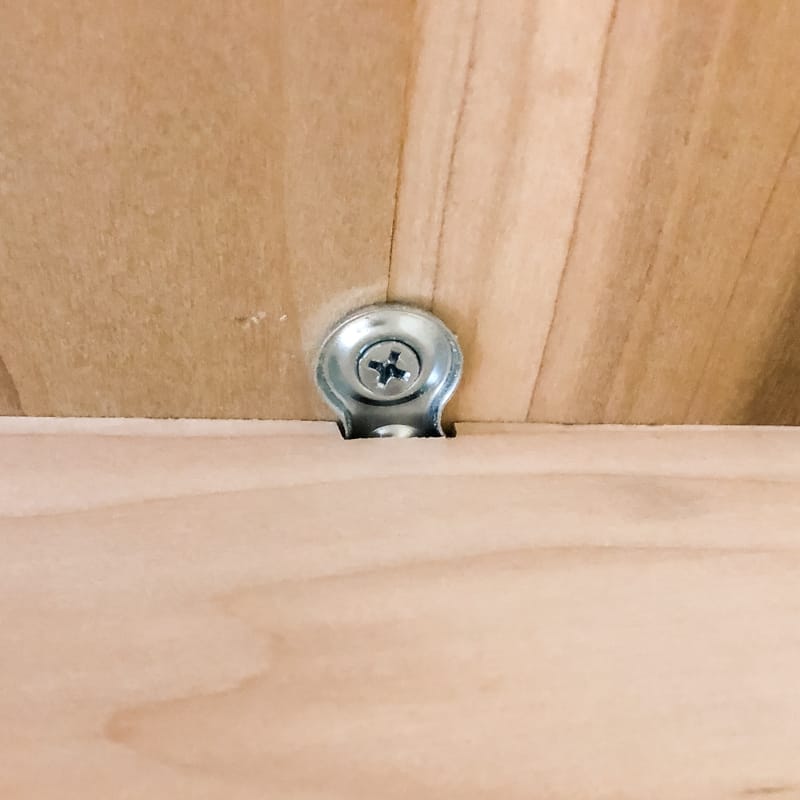
Attach the top with figure 8 fasteners
The top sits on the ends of the legs and the edges of the panels. I cut mine to fit exactly, but in retrospect, you should leave it a little wider in both directions so you don't see the tops of the legs when the wood expands and contracts with the seasons.
Attach the top to the base with figure 8 table top fasteners. These little pieces of hardware allow for wood movement, and attach the top invisibly.

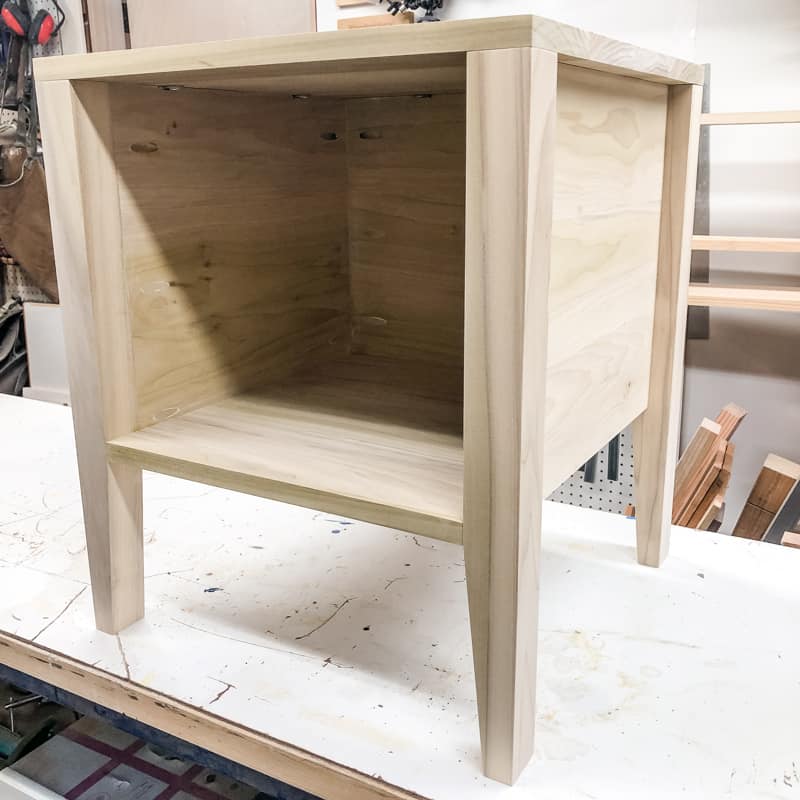
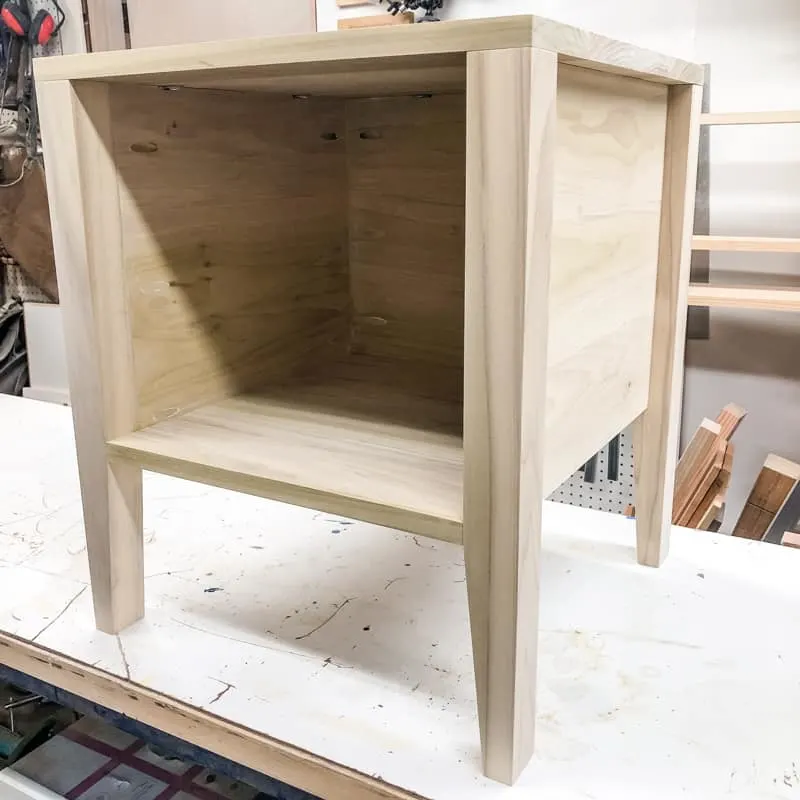
With the entire nightstand except the drawer assembled, now you can paint! I wanted to hide the exposed pocket holes, so I used wood filler and sanded them smooth before applying two coats of Benjamin Moore Advance paint in Decorator's White.
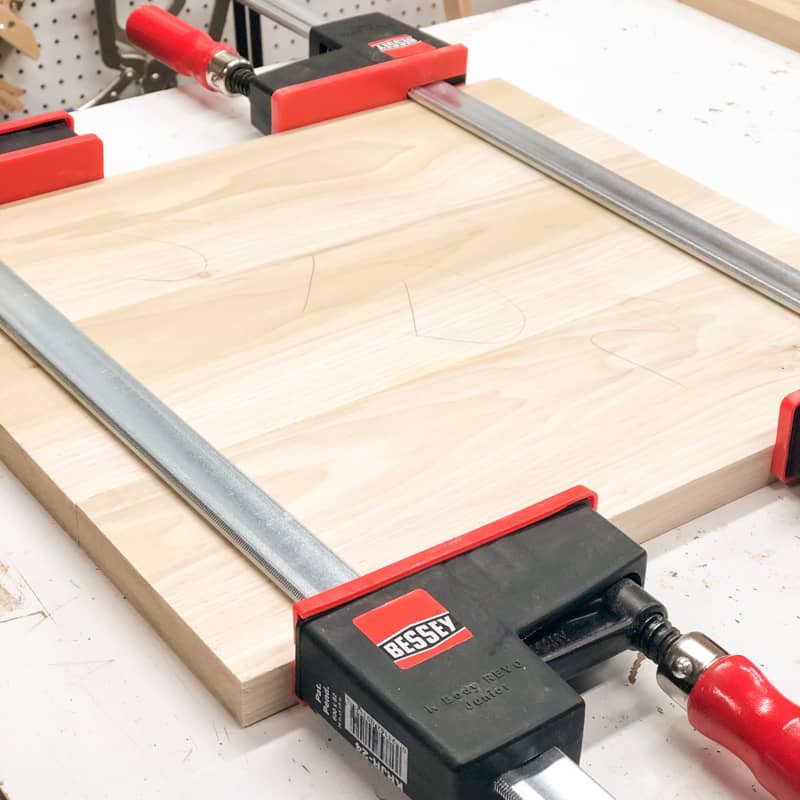
Cut the drawer front
Here's where things got a little nerve-wracking! I didn't want to ruin the beautiful curly maple wood, and I had the perfect piece for this project. I only had one shot to make the perfect drawer front!
I cut it down to 6" high, then measured the width of the opening and cut the drawer front ⅛" shorter. This will leave a 1/16" gap on each side to allow the drawer to open and close smoothly.
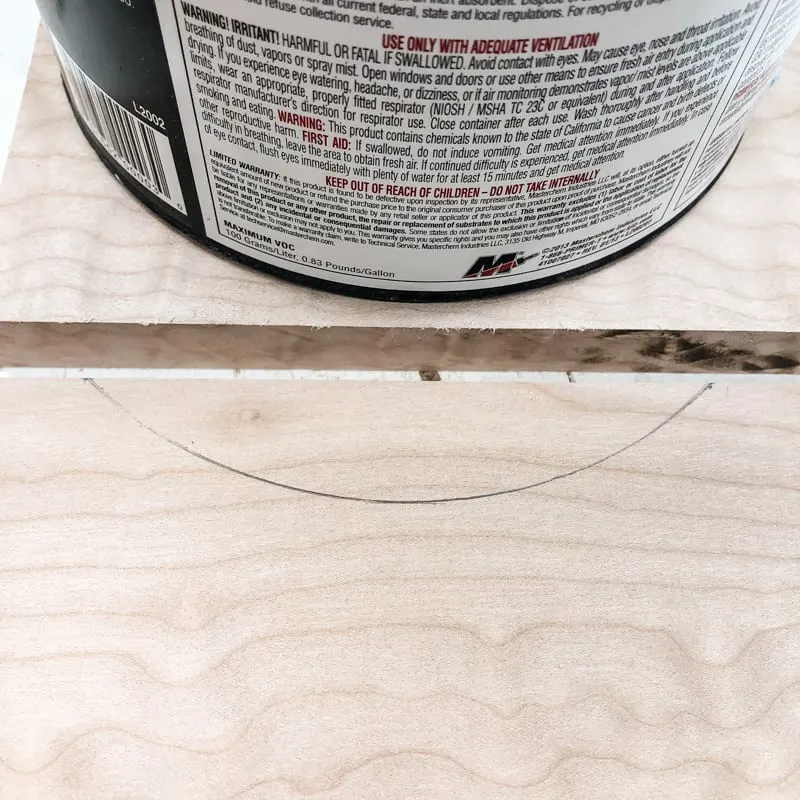
To draw the offset notch for the drawer pull, I measured 3" from one side, 7" from the other, then 1" down. Then I lined a gallon paint can up with the marks and traced the curve.

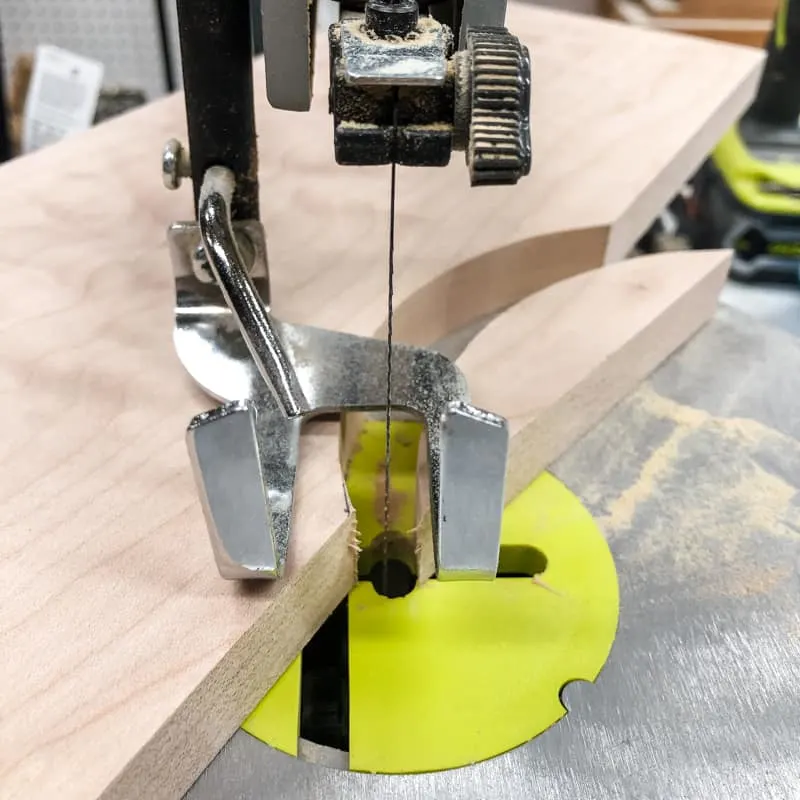
I used my scroll saw to cut out the notch. You could also use a jigsaw, but I wanted the extra control and precision of the scroll saw.

Sand the drawer front until it's perfectly smooth, then apply your desired finish. I used dewaxed shellac and wood dye to really make the grain pop!
After the shellac was dry, I sanded it back and applied a second coat. I wanted a super matte finish, so I just applied a light layer of General Finishes Arm-R-Seal top coat on top. You can learn more about this finishing process in the video below.
Assemble the drawer box
Use the 1 x 4 board to build the drawer box. The two long sides should be the same length as the drawer slides. The front and back of the box are the width of the cabinet, minus the thickness of the drawer slides.
There are several different ways to make a drawer, so choose the one that works best for you. I wanted a recessed bottom, so I cut a dado ¼" from the bottom of each piece that can fit the ¼" plywood snugly.
Drill pocket holes in the ends of the shorter pieces, then attach one end to the two side pieces with 1 ¼" pocket hole screws. Slide the ¼" plywood bottom into the grooves.
Finally, attach the remaining piece to the end of the drawer box. Paint the drawer box if desired.
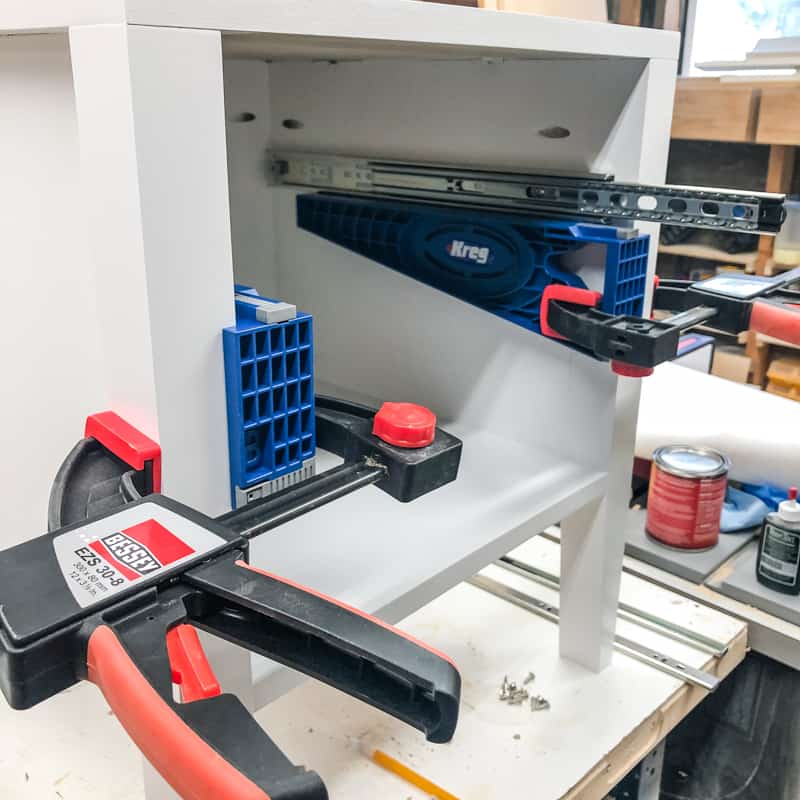
Attach the drawer slides
Believe it or not, this is my first time installing a drawer! This drawer slide jig took out a lot of the guesswork. I used 16" full extension drawer slides. You can learn more about the different types of drawer slides here.

Attach the drawer front
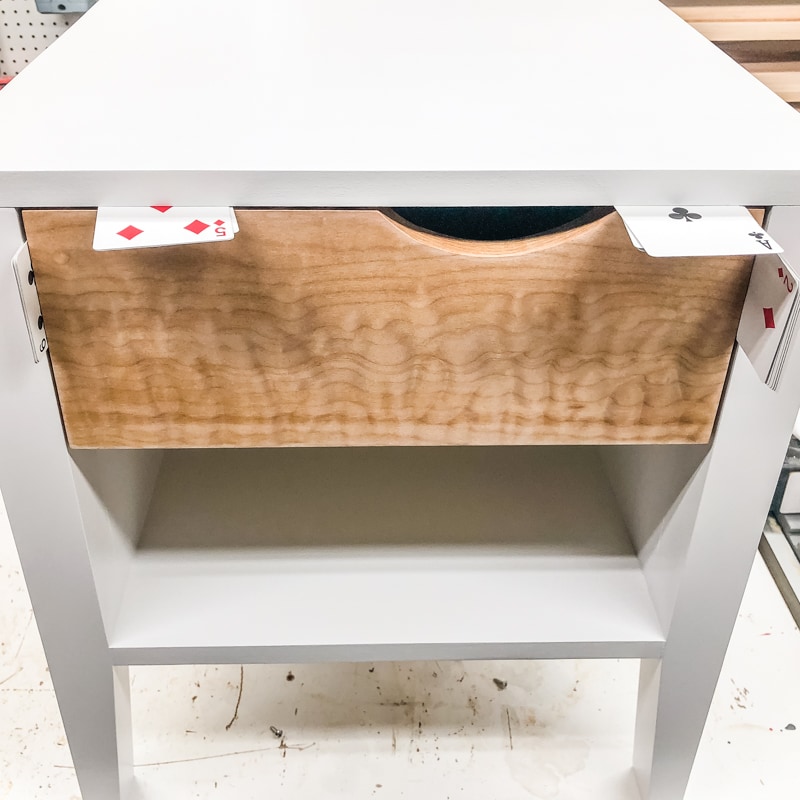
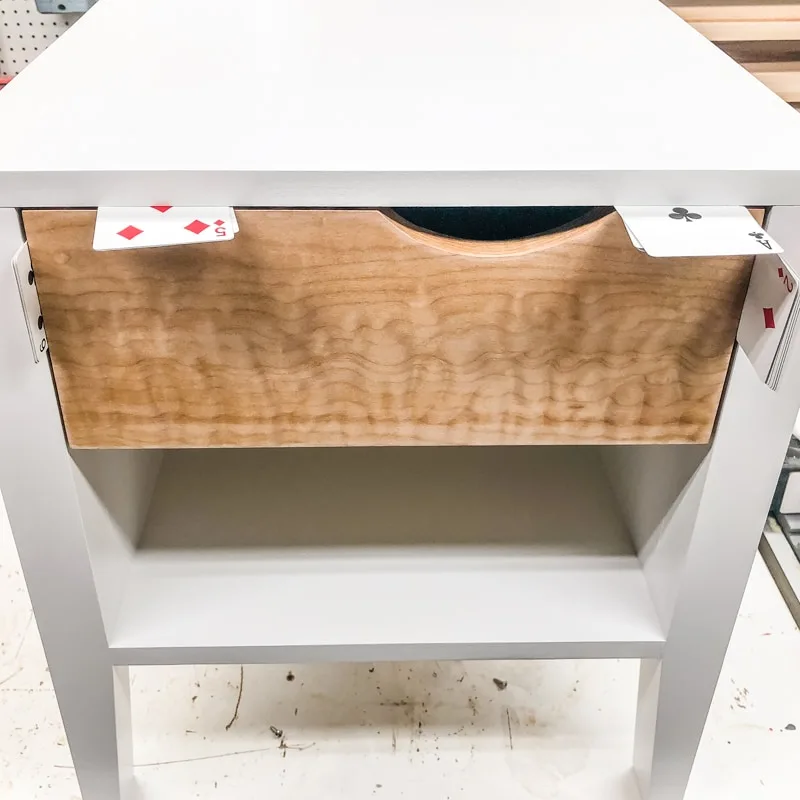
The trick to getting the perfect reveal around the drawer front is a simple deck of playing cards! Four cards is the exact thickness of the 1/16" reveal.
Apply a strip of double sided tape (I used carpet tape left over from my DIY rug project) to the front of the drawer box. Peel back the protective paper.
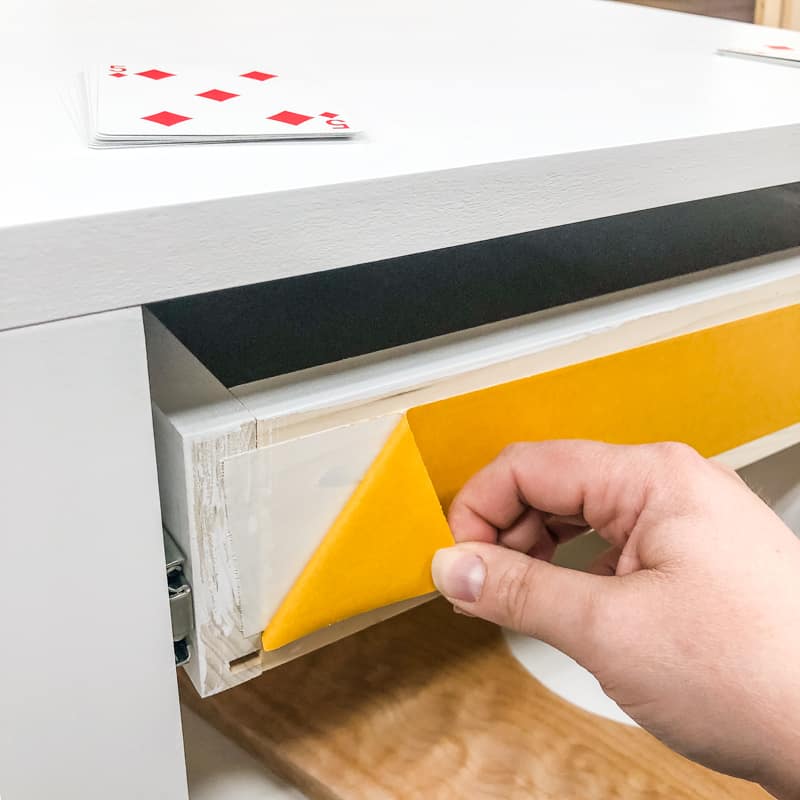

Place four stacks of four cards within easy reach. Balance two stacks on top of the drawer front, then press it lightly in place. Then wedge the other two stacks on either side. When all the card stacks fit evenly around the drawer front, press down firmly on the double sided tape.
Now carefully pull out the drawer and screw it in place from the inside.
Your new nightstand is complete!
This is by far the nicest piece of furniture I've built so far! I really took my time to get the details right, and it turned into the perfect modern nightstand!
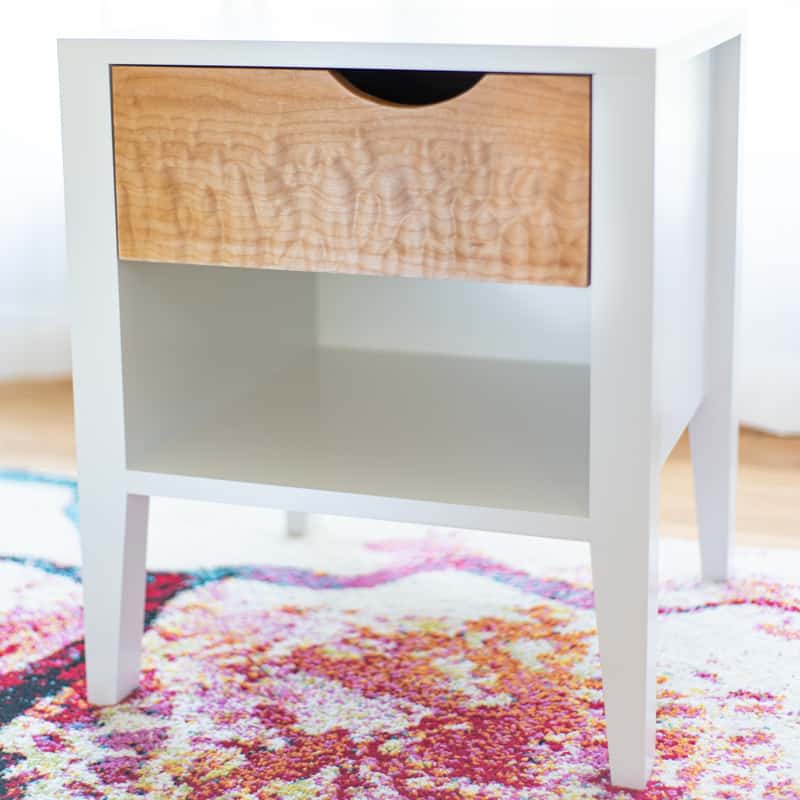

The curly maple drawer really pops against the solid wood white frame. The shelf below is perfect for books and magazines, and the drawer provides extra storage for smaller items.
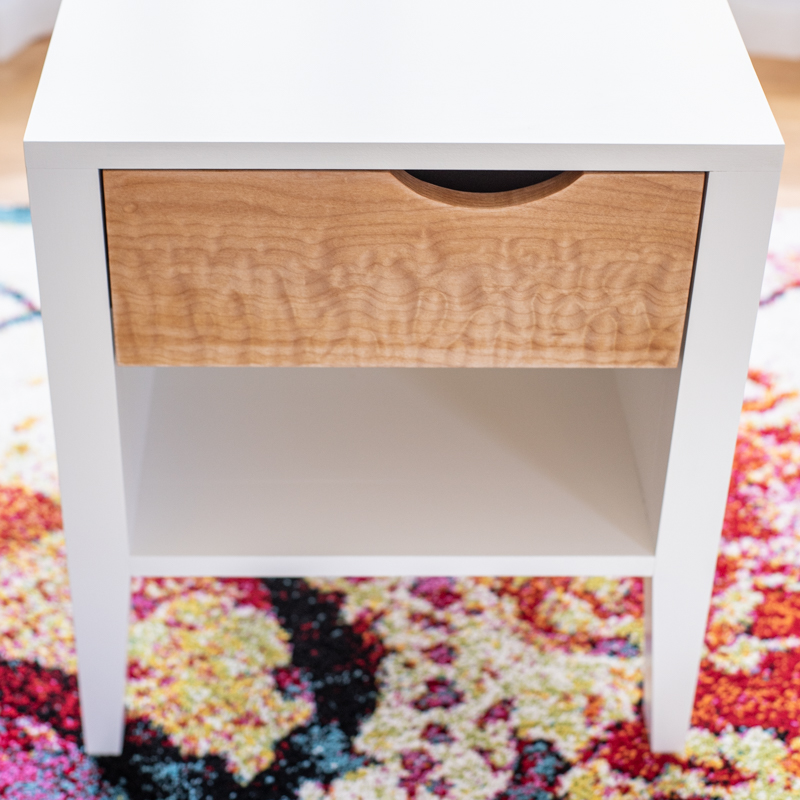

There's no drawer hardware to detract from the beautiful wood here! Just a simple curved notch that fits your hand perfectly.


Want to make your own nightstand? Download the woodworking plans below and get building! I'd love to see photos of your finished project!
Need more DIY nightstand ideas? Here are some end table projects that would look great as bedside tables too!
Check out these other DIY furniture project ideas!
The Furnshop
Tuesday 11th of June 2019
This is really a great tutorial of DIY nightstand with notched drawer. Many thanks for sharing this post.