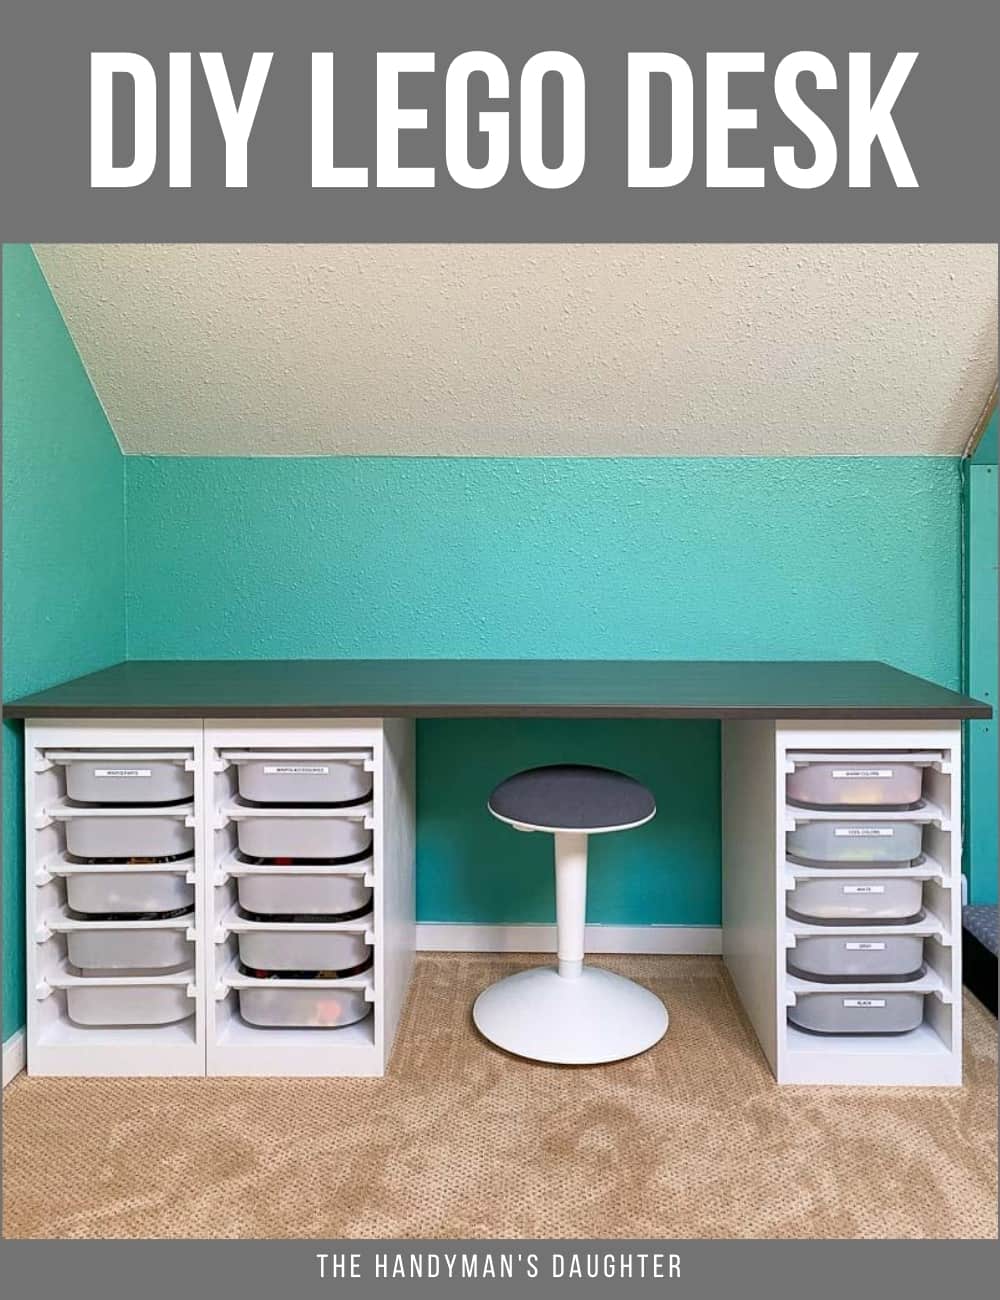
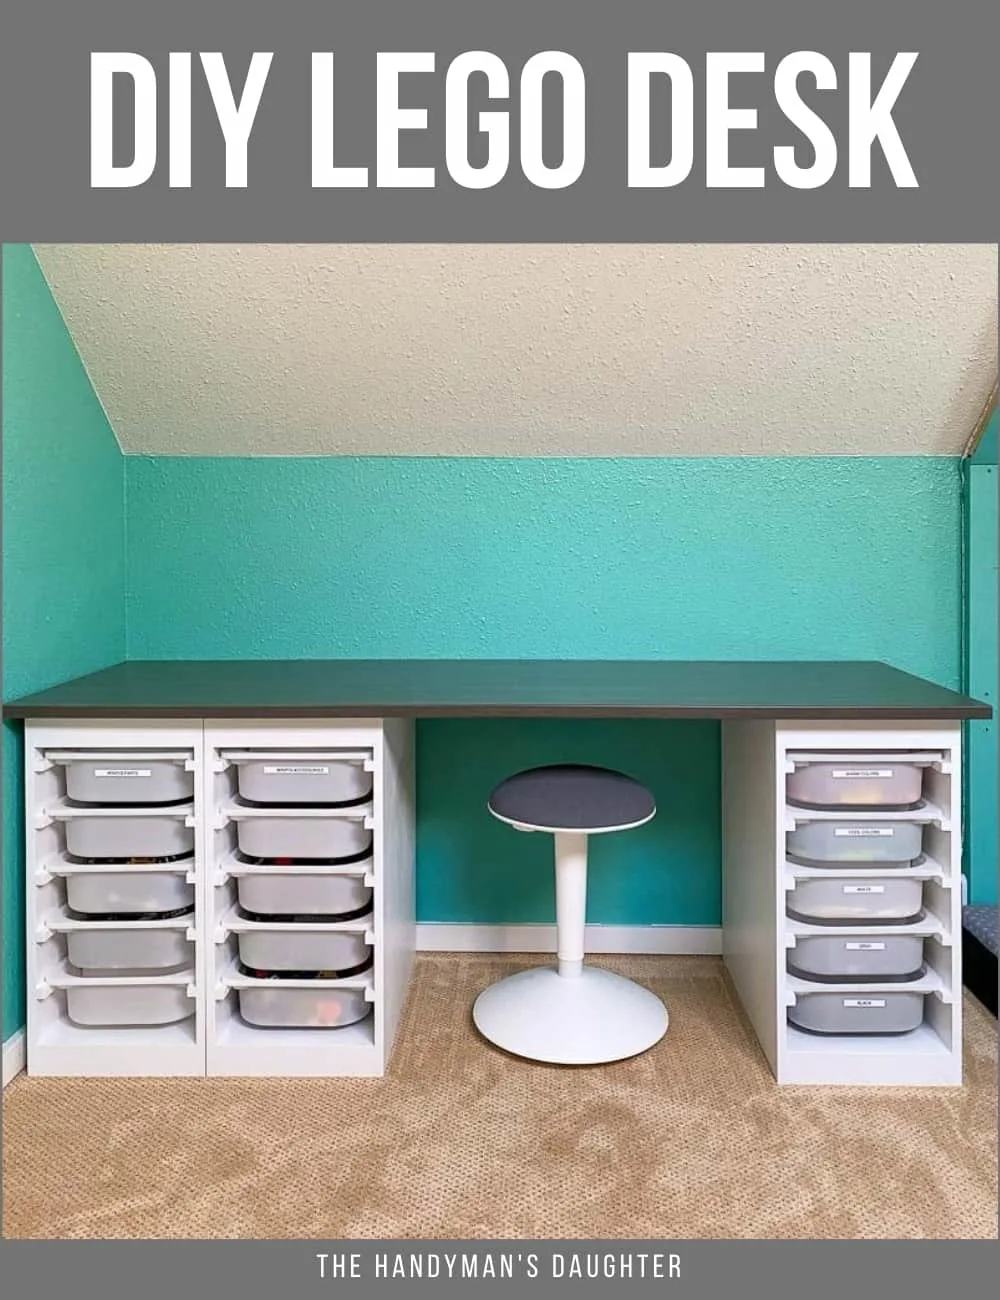
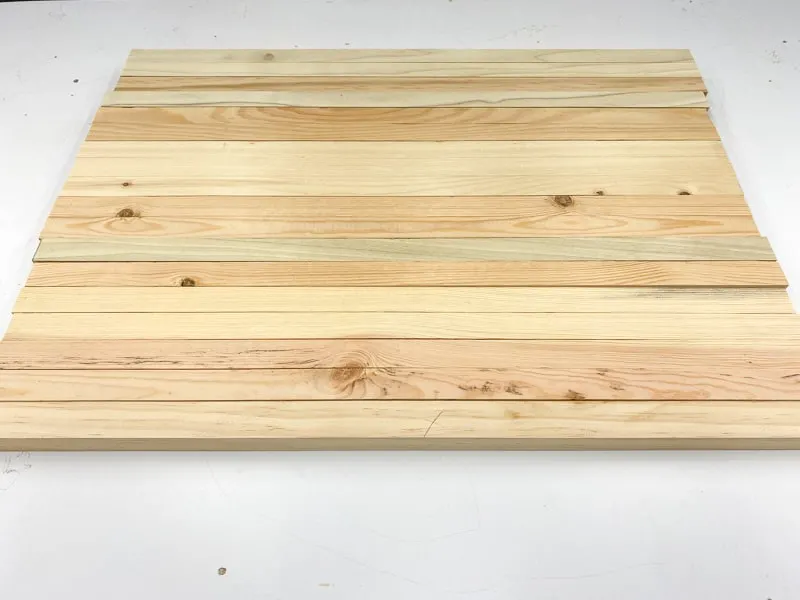
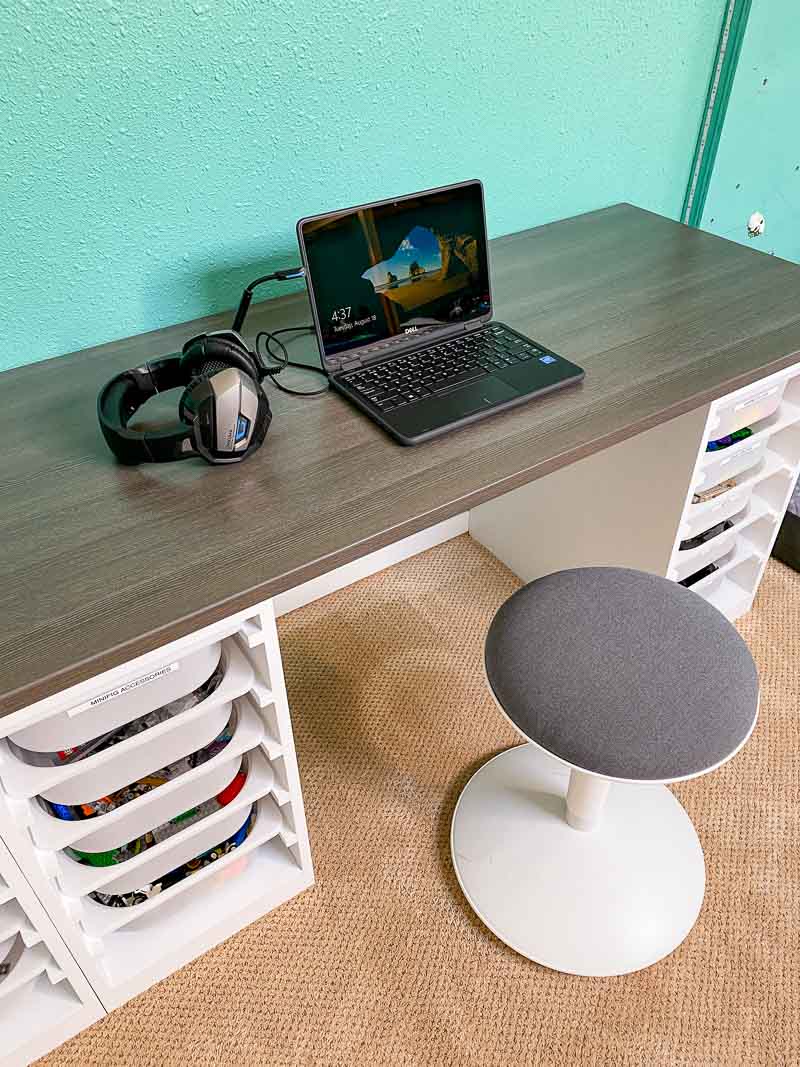
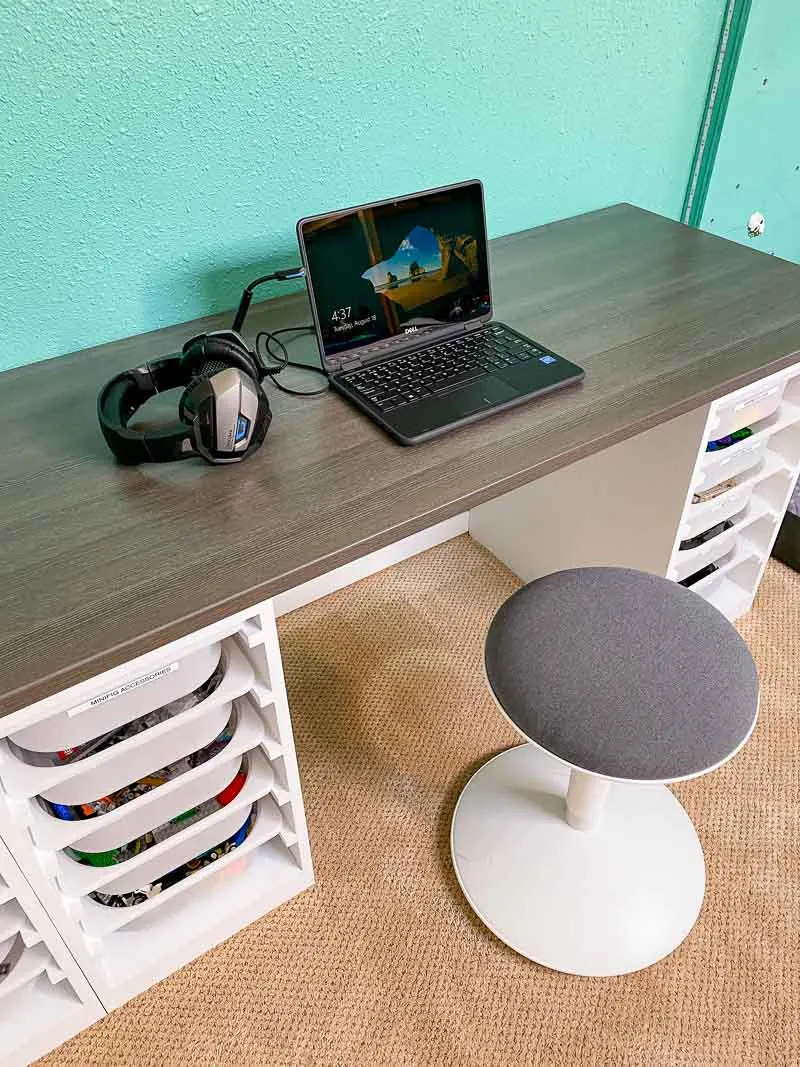
This DIY Lego desk features 15 IKEA Trofast bins for tons of storage space! It can also be used as a craft desk or workstation!

This fall, my son starts middle school (when did that happen?!?) and he needs a desk in his room for homework. But I wanted to build him a desk that would be useful even when he's not studying.
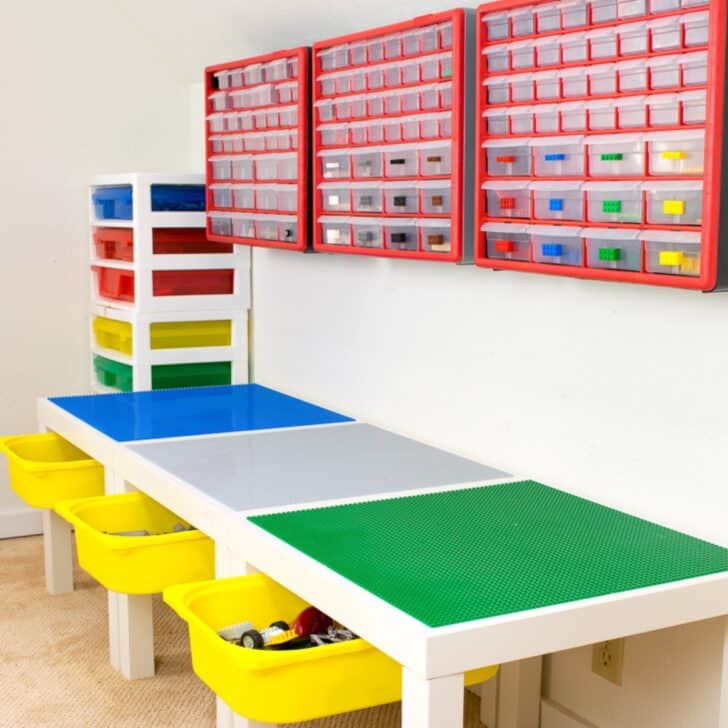
My son wants to be a Lego set designer when he grows up. He has hundreds of thousands of pieces in his collection, and they're EVERYWHERE! Over the years, I've made a few different Lego tables to try to contain the chaos and display his Lego creations.
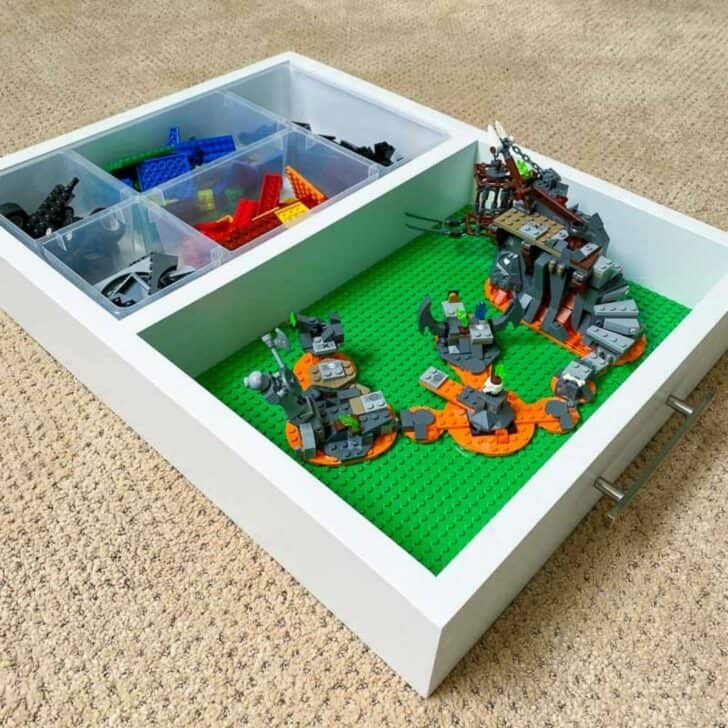
First, there was the super simple IKEA Lack version with bins for storage underneath.

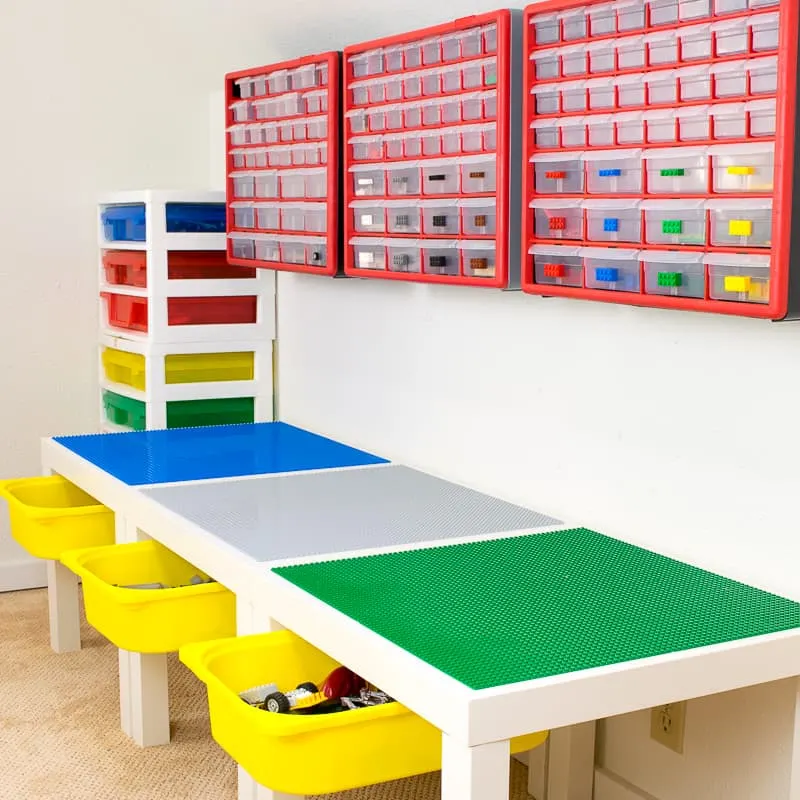
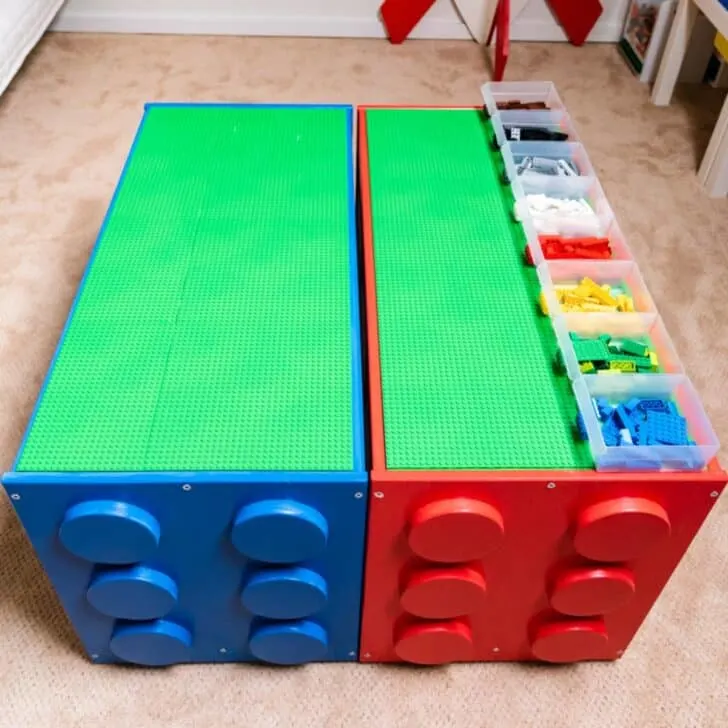
As his Lego collection grew, I added these two IKEA Trofast Lego tables that I painted to look like giant Lego bricks. They were perfect for storage, but he was already getting a little too big to build at them comfortably.
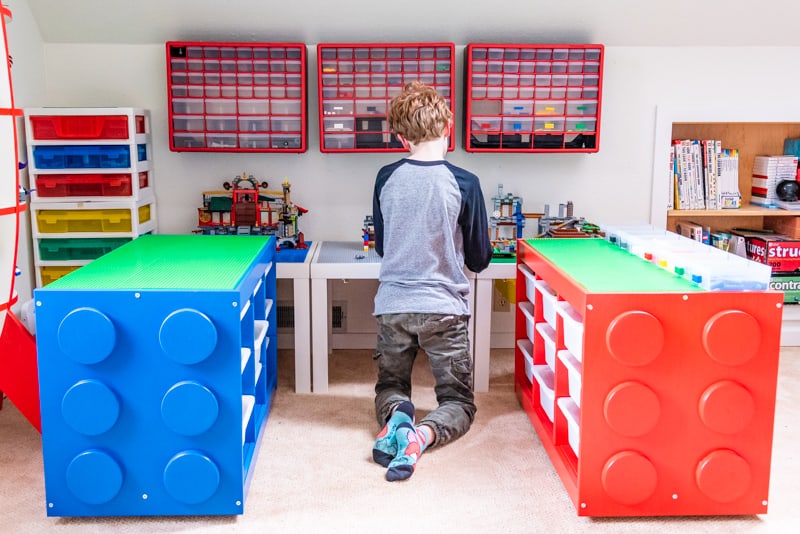
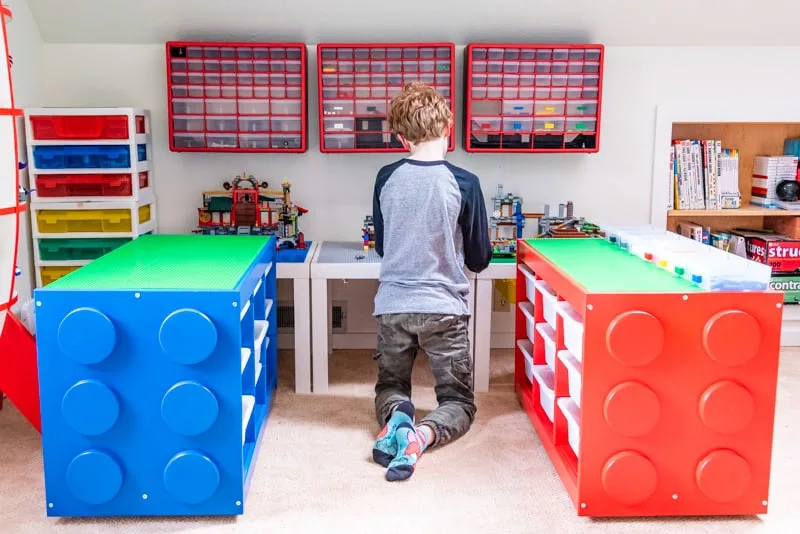
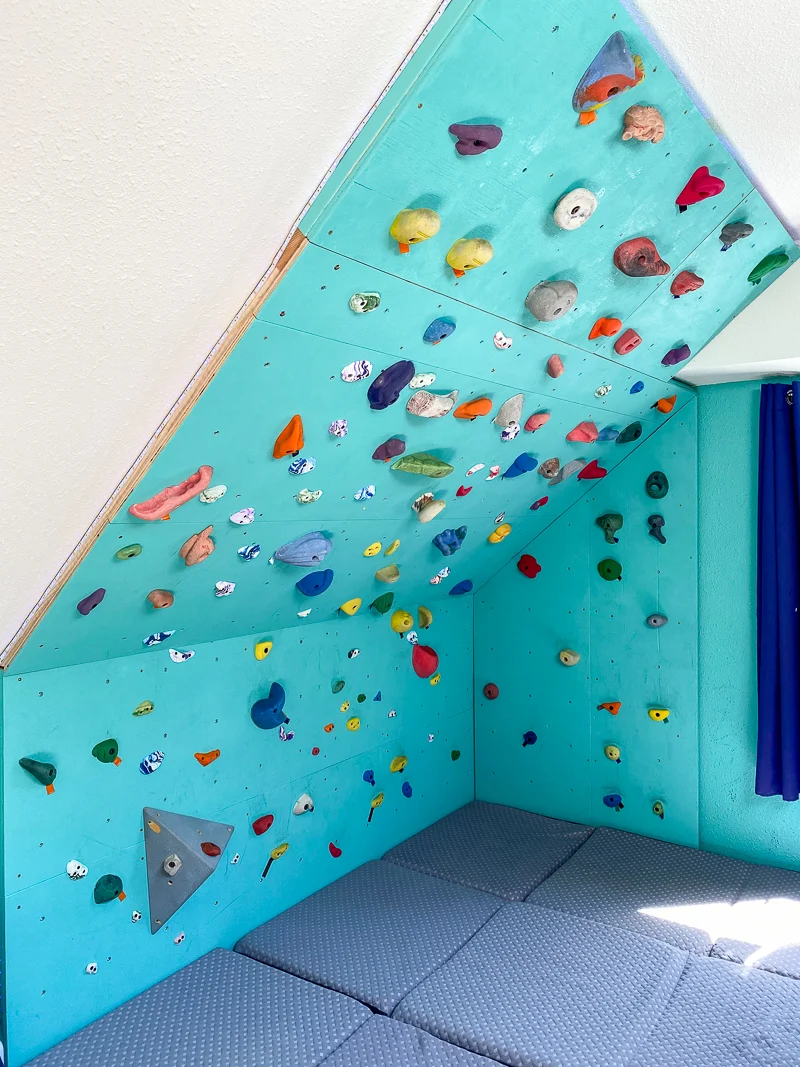
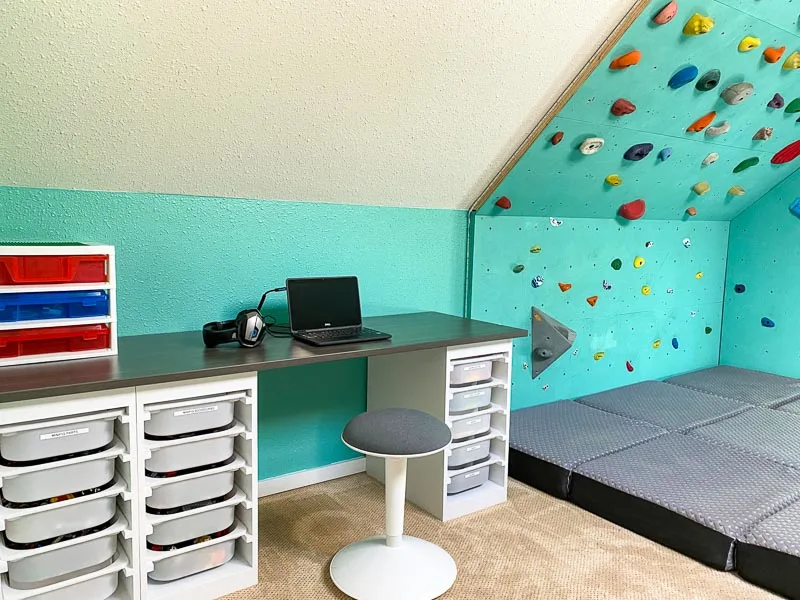
With everything so low to the ground, it's inevitable that Lego pieces will end up all over the floor! With the new addition of a climbing wall in his room, building on the floor just wasn't a good idea anymore. You think stepping on a Lego is painful? Try falling on it from the top of the wall!

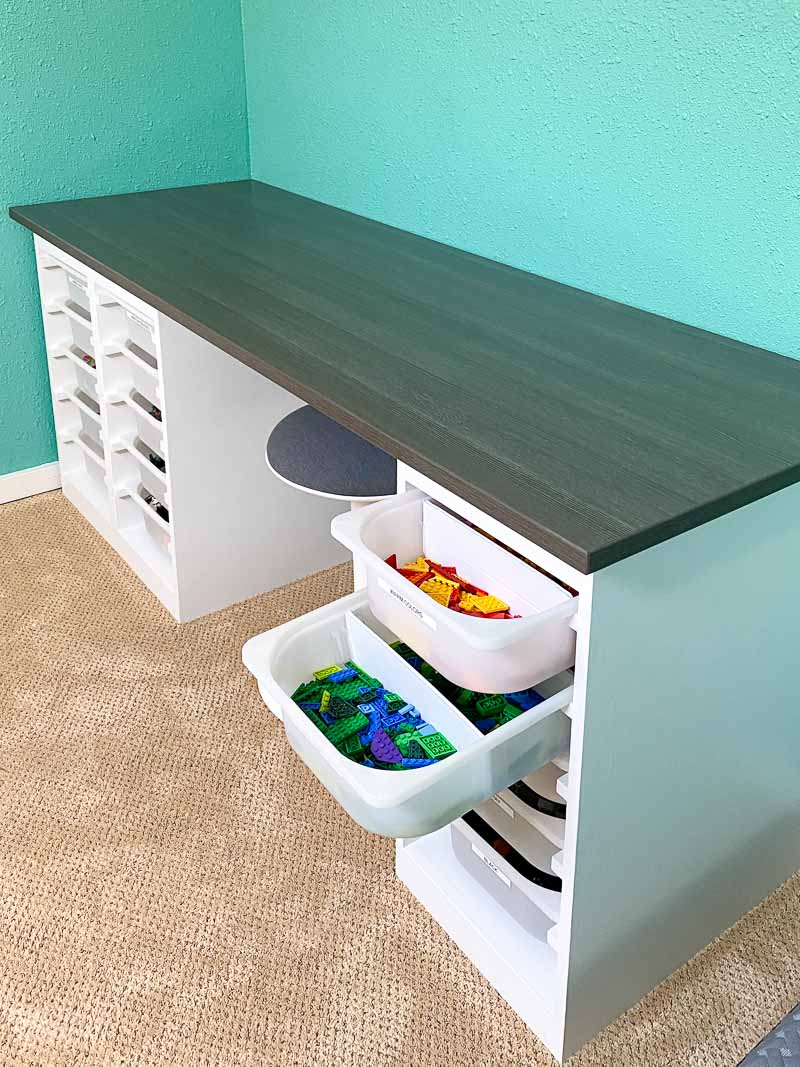
This new DIY Lego desk has a huge surface for building, space to sit and work, and tons of storage for all those parts and pieces. As he grows older, I can switch out the IKEA Trofast bins for shelves or drawers as needed without changing the desk itself.
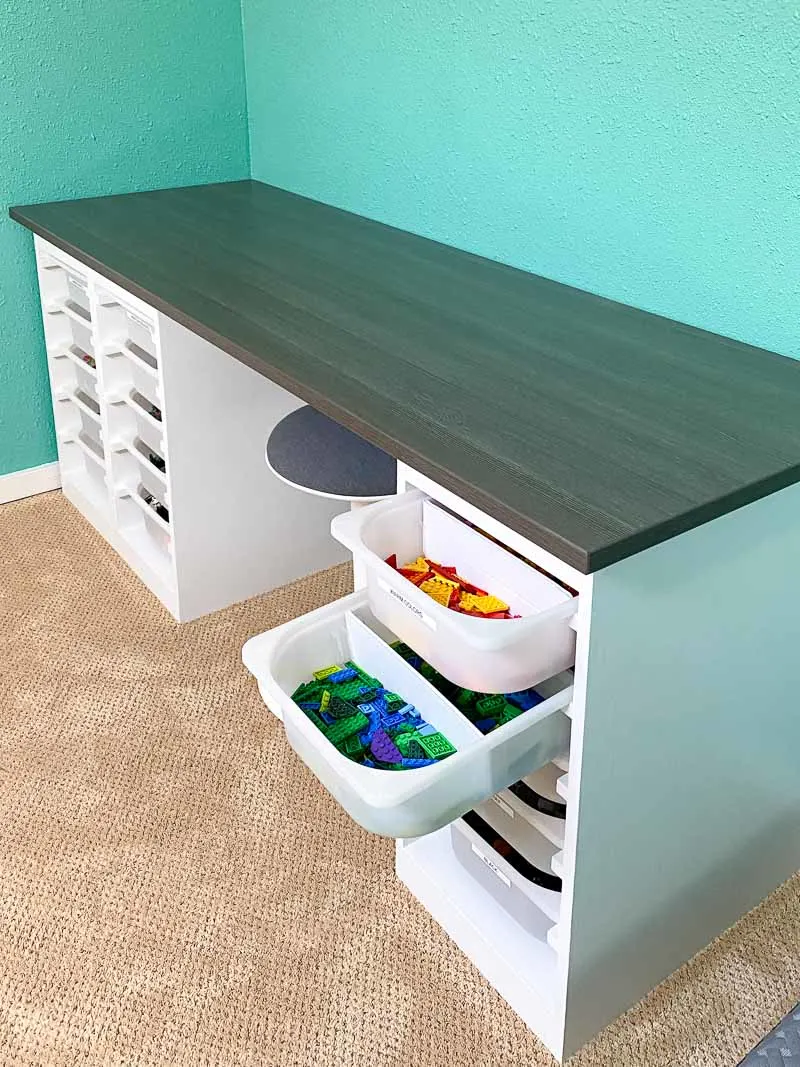
I also made it modular, so we can easily remove one of the drawer units and trim down the top if he wants a smaller desk in the future. You could make this desk with as few as two units, or make it span an entire wall with more!
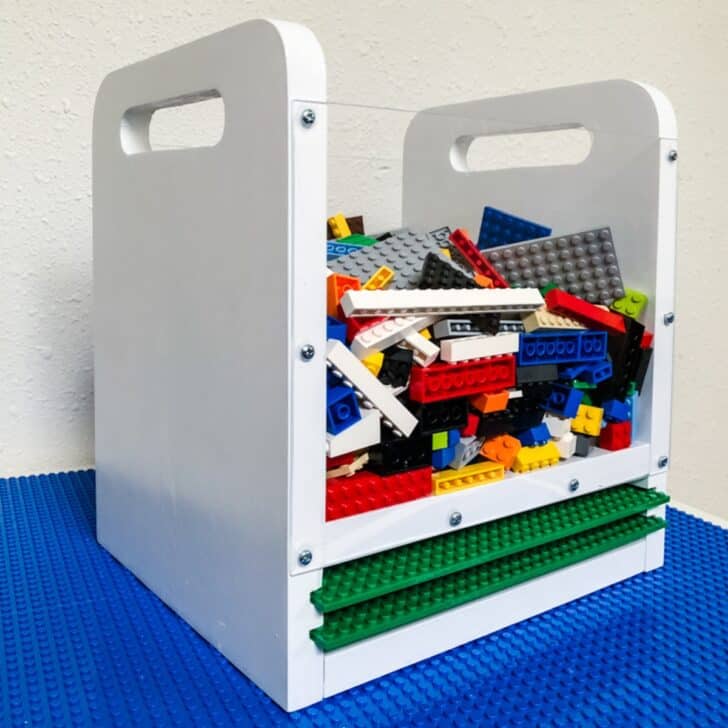
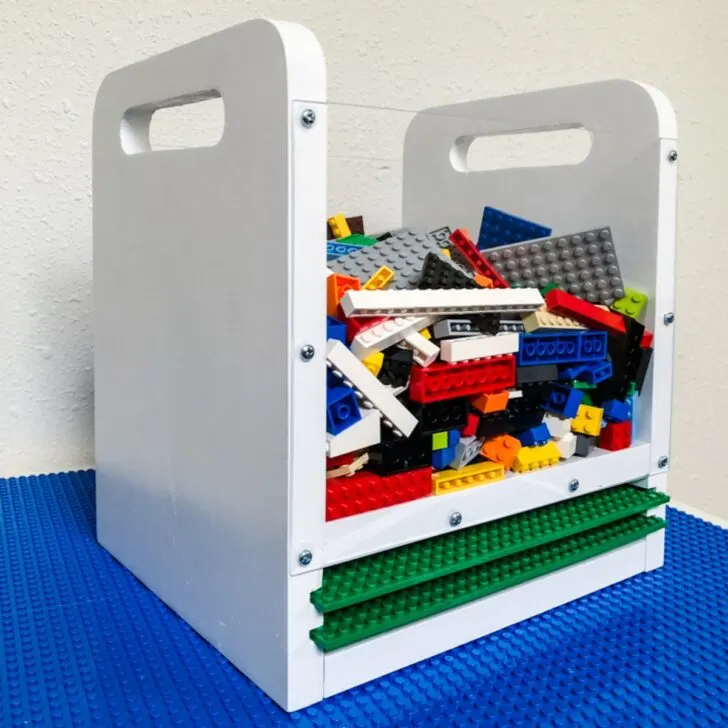
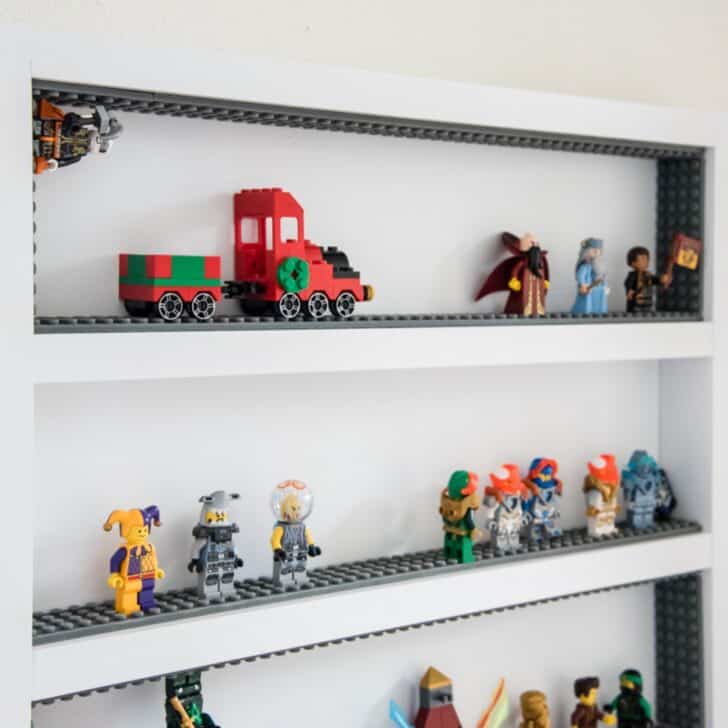
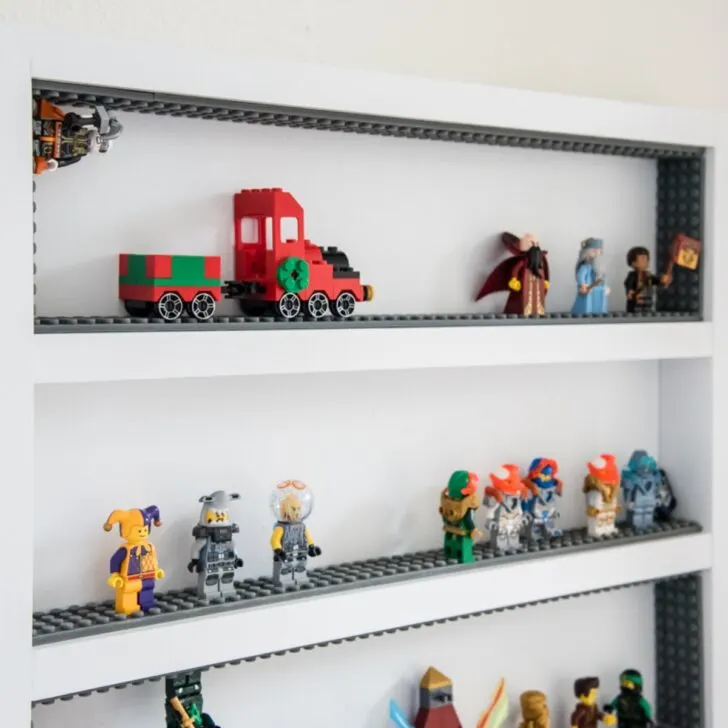
Want to make a smaller, floating version? Check out these DIY wall mount storage bins!
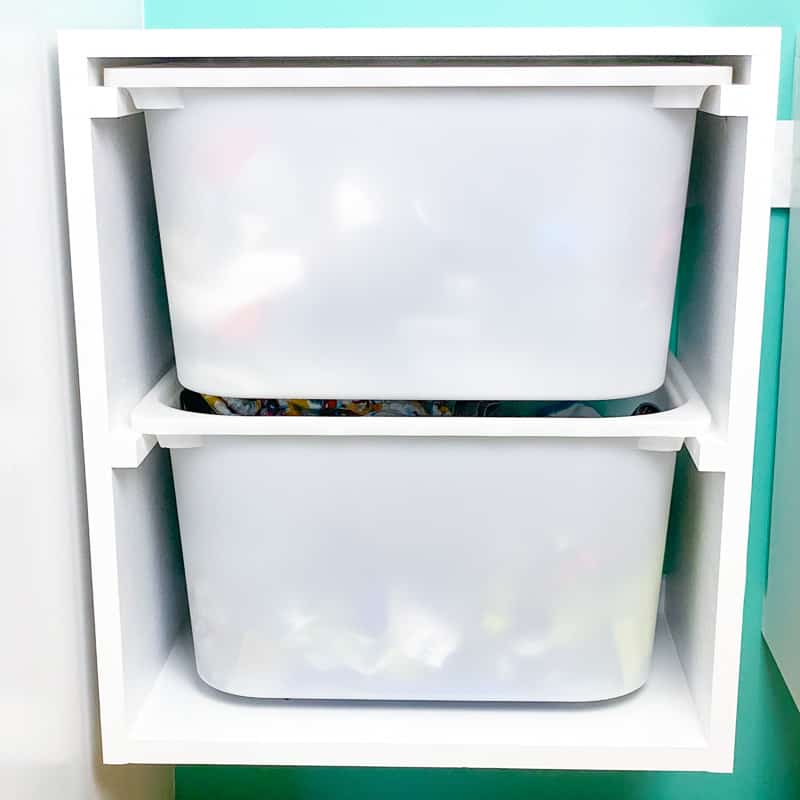

These basic bins are so easy to incorporate into any room that needs a bit of storage. Check out my list of amazing IKEA Trofast hacks for more ideas!
Want to make your own Lego desk? Let's get started!
This post contains affiliate links for your convenience. Purchases made through these links may earn me a small commission at no additional cost to you. Please visit my disclosures page for more information.
Materials Needed
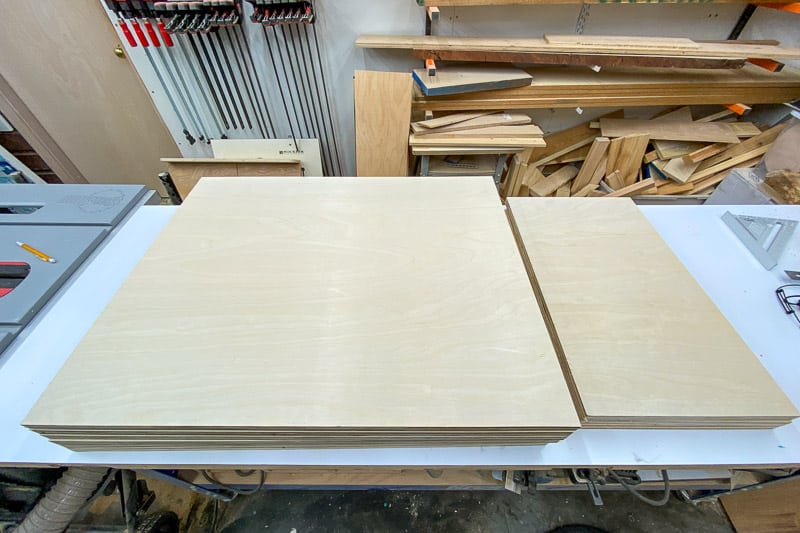
This list is for one drawer unit. Multiply the amount of wood needed depending on how many units you want to make for your desk. The woodworking plans include a plywood cut diagram for all three drawer units to help get the most use out of the material.
- ¾" plywood
- You'll need a half sheet (48" x 48") for one drawer unit.
- You can build all three drawer units with one full sheet of plywood, plus a smaller scrap piece!
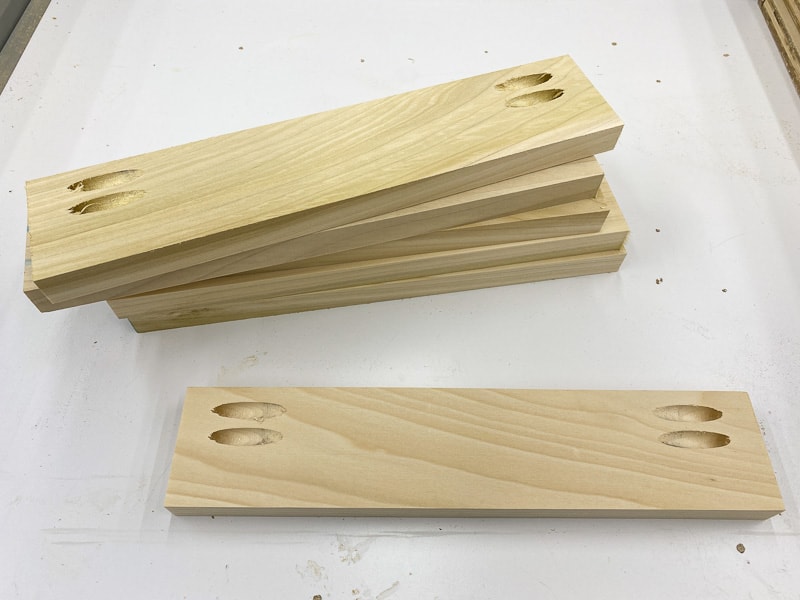
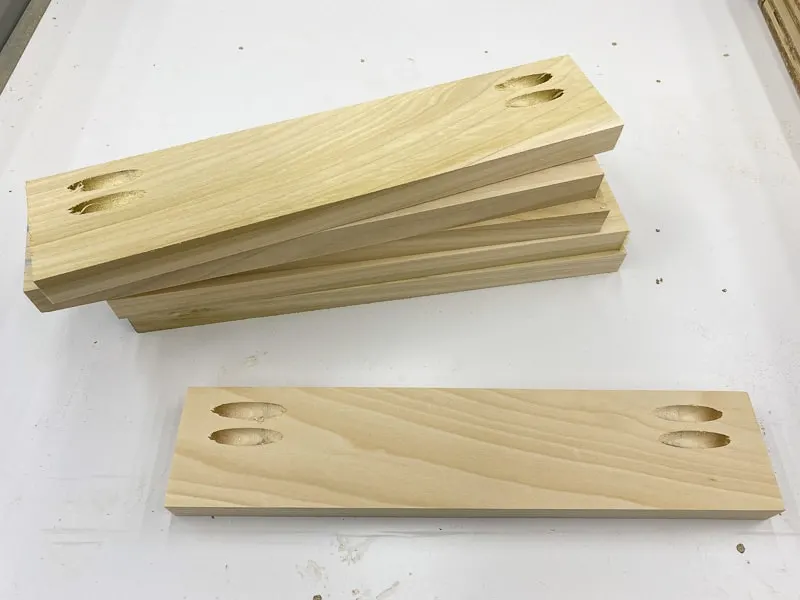
- 1x3 boards
- You'll need two boards per drawer unit.
- You'll be ripping one board into thin strips at the table saw for the drawer runners. You could also use ⅝" or ½" square wooden dowels if you don't have a table saw.
- Pocket hole jig
- Don't have one? Learn more about the Kreg Jig R3 and K5 to see which one is right for you.
- 1 ¼" pocket hole screws
- Wood glue
- Clamps
- Brad nailer and 1 ¼" brad nails
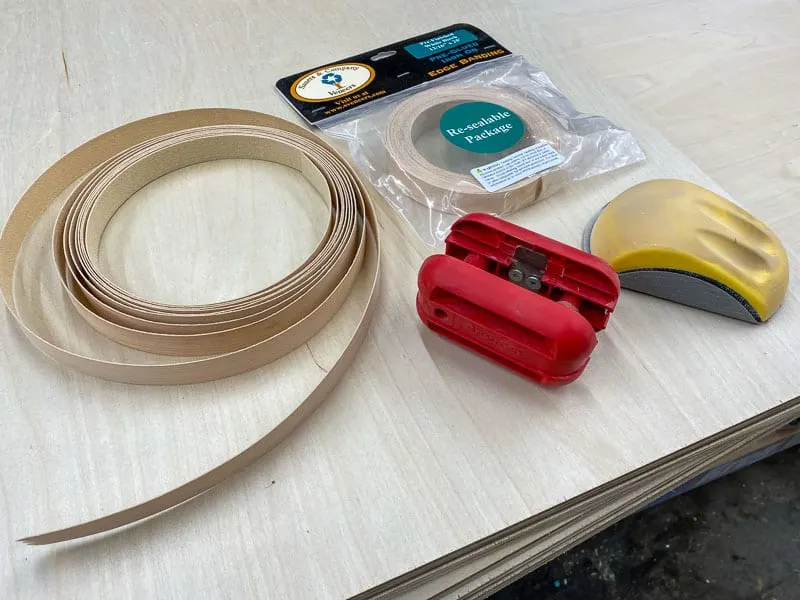
- Edge banding
- Table saw or circular saw
- Paint and paint brush
- Desk top
- You can make one out of plywood, but I think a laminate desk top like this one will hold up better to wear and tear.
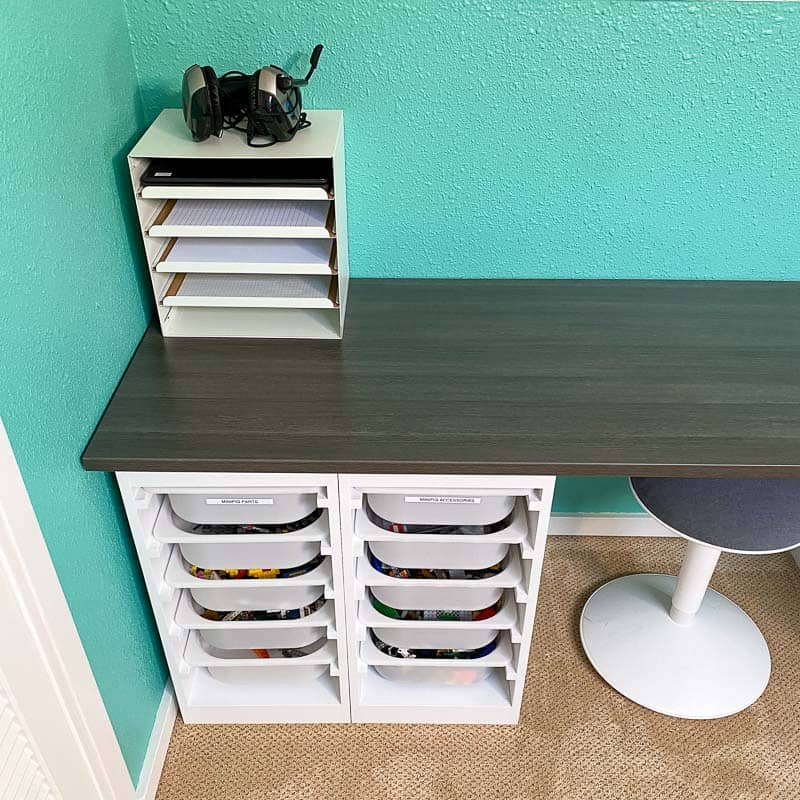
- 5 IKEA Trofast bins (per drawer unit)
How to make a Trofast desk
Before you begin, download the woodworking plans for this project by clicking the box below! It includes a cut diagram, all the dimensions, and step-by-step instructions in a convenient printable PDF format.
Cut and prep the plywood
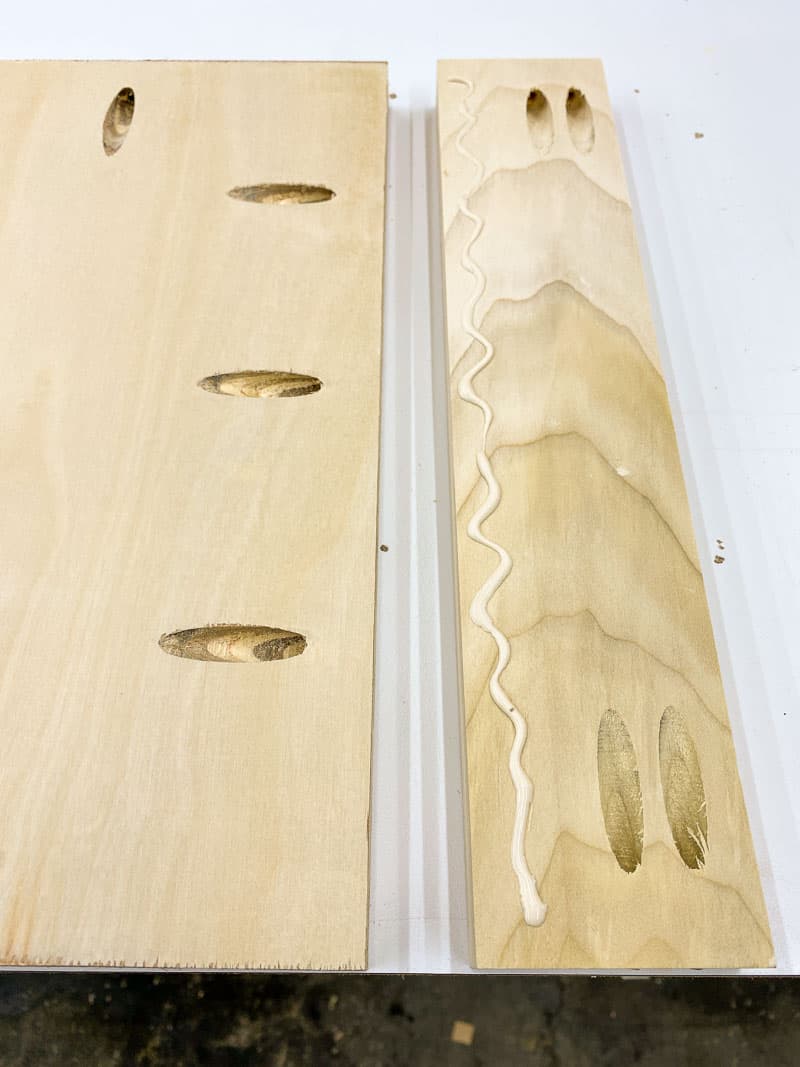
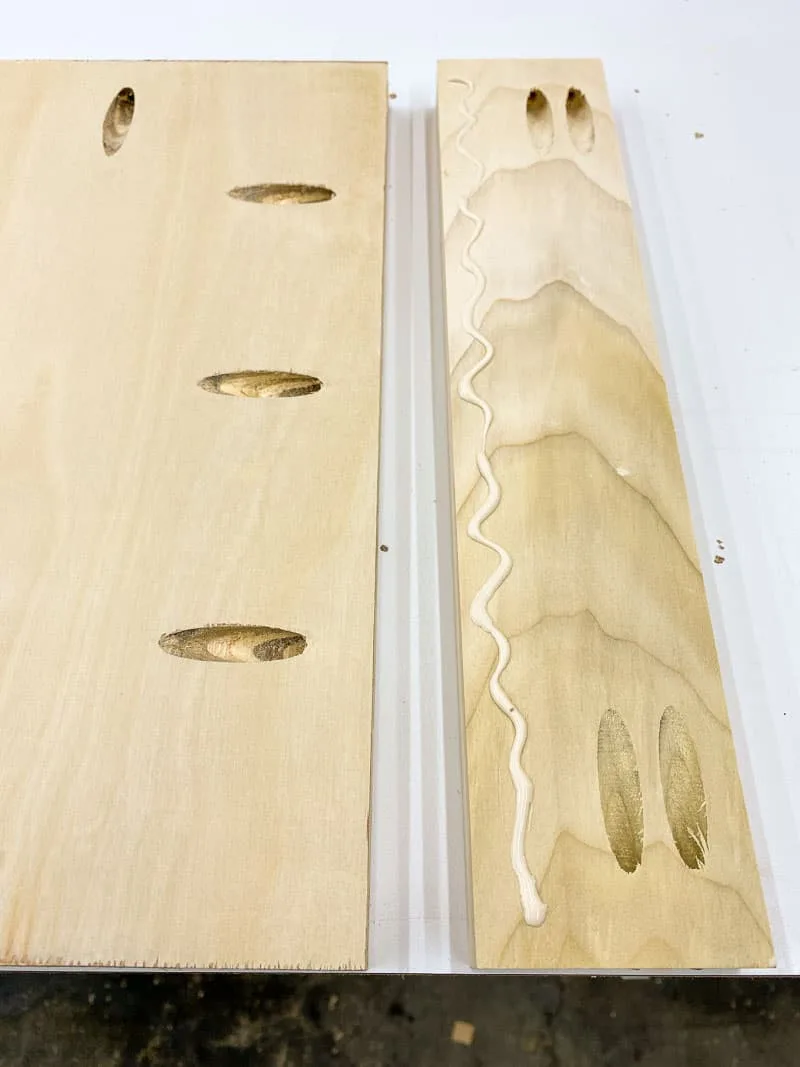
You'll need to cut two side pieces and a bottom piece out of ¾" plywood. Save any scraps for later.

Drill pocket holes around the perimeter of the bottom piece. I recommend setting the stop collar on the drill bit a tiny bit short of the ¾" mark so you don't blow through the sides with the screws during assembly.
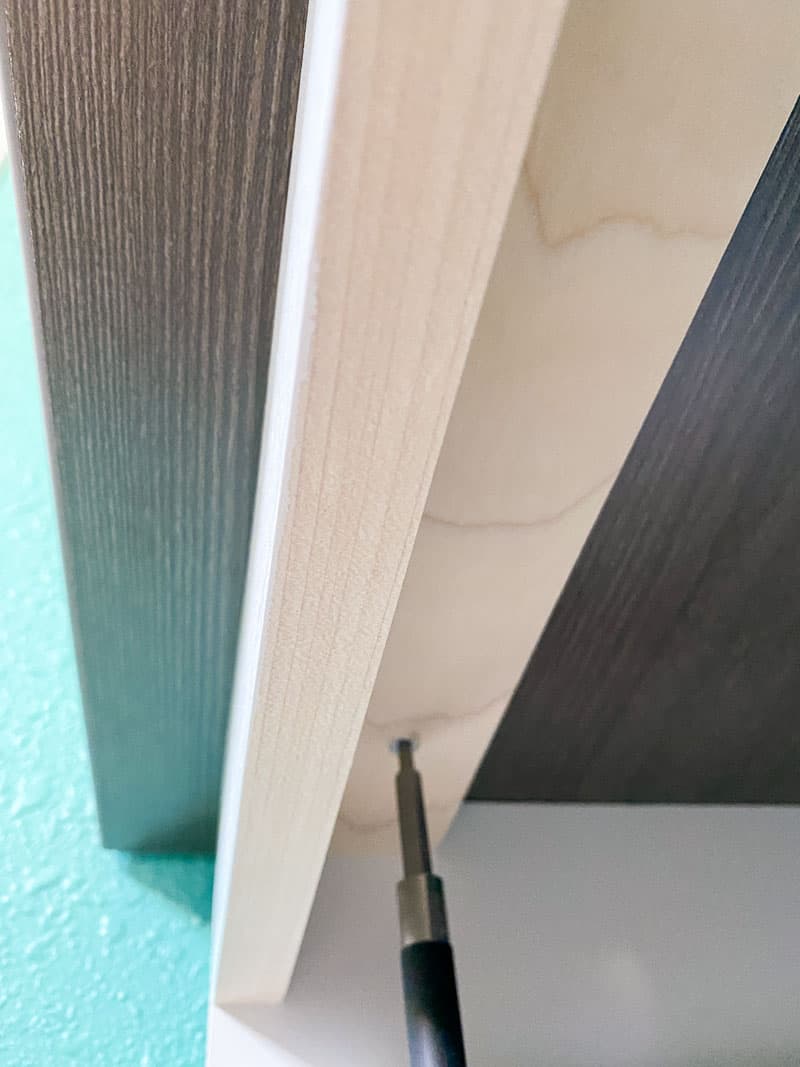
Apply edge banding to one long edge of each of the side pieces. This will finish the exposed plywood edge and make painting or staining easier later on. Learn more about how to apply edge banding here!

Assemble the base
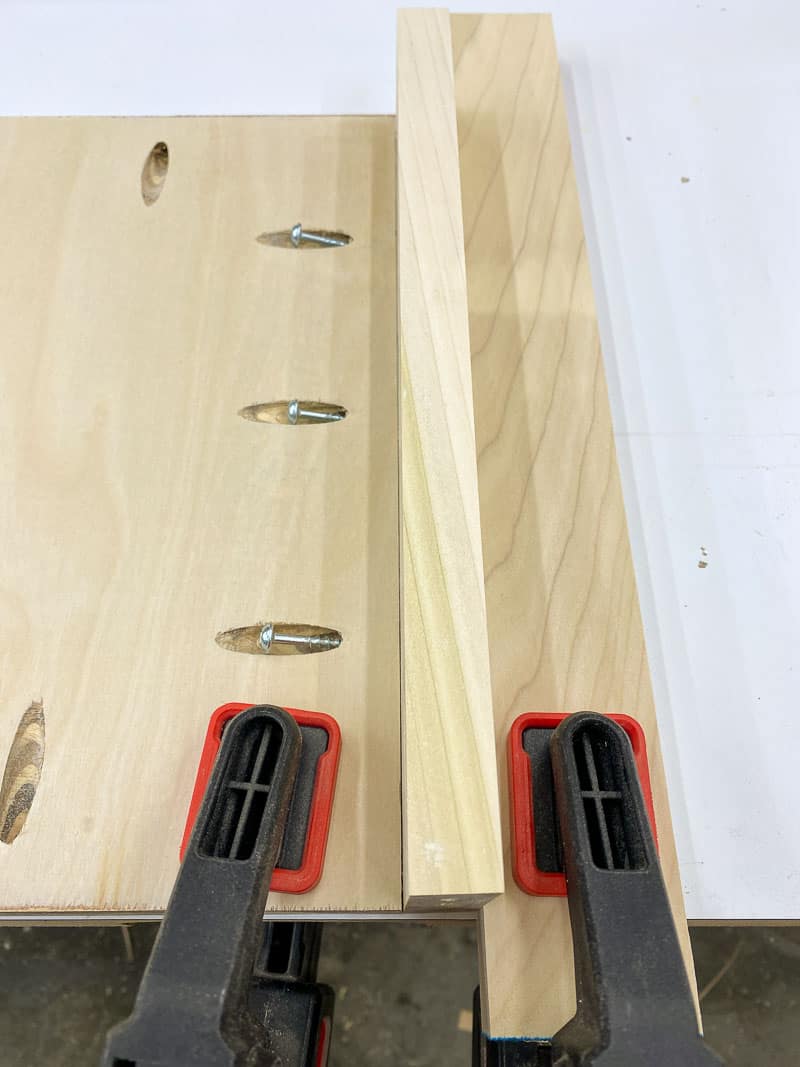
Drill pocket holes in the front and back pieces of the base, offset to one side like this.
Apply wood glue along the edge without the pocket holes, and line it up with the matching edge of the bottom plywood piece.
Attach the front and back to the plywood bottom with 1 ¼" pocket hole screws. I like to clamp a scrap piece of wood to the workbench to hold the upright piece in place while I drive in the screws.

The base should look like this when completed.
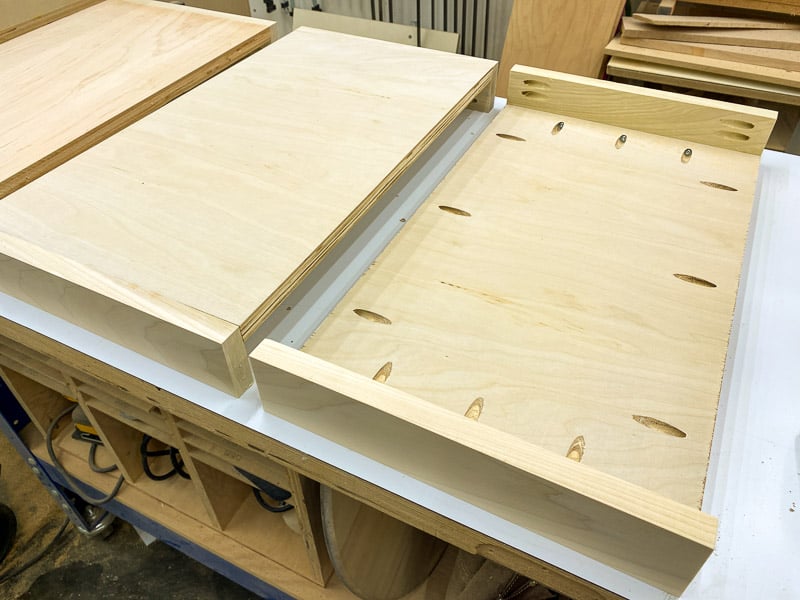

Cut the drawer runners
To test the fit, I clamped the sides to the base, then clamped the bin in the middle of the base. Those tiny Bessey clamps came in handy!

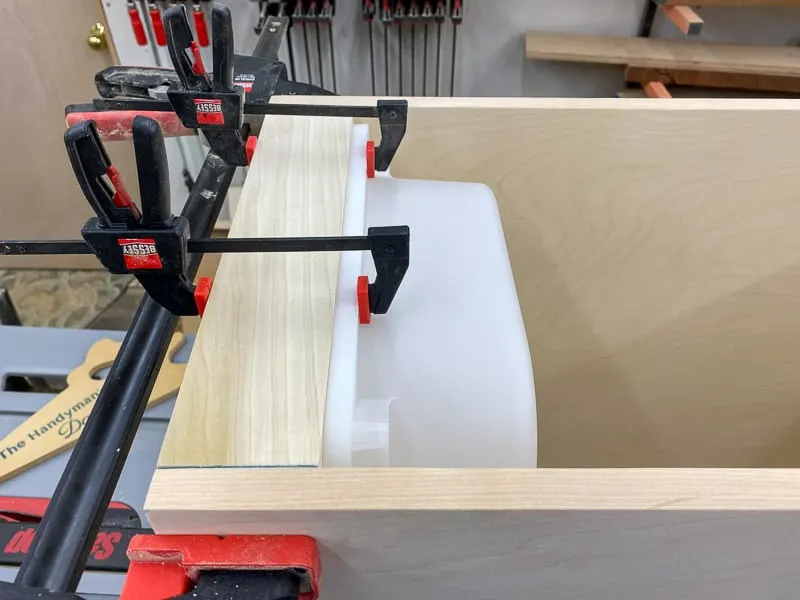
I measured the space under the lip of the bin, then clamped various thicknesses of scrap wood underneath the lip to see which worked best. I found that ¾" plywood (which is actually slightly less than ¾" thick) allowed the bin to slide smoothly while still holding it securely in place.
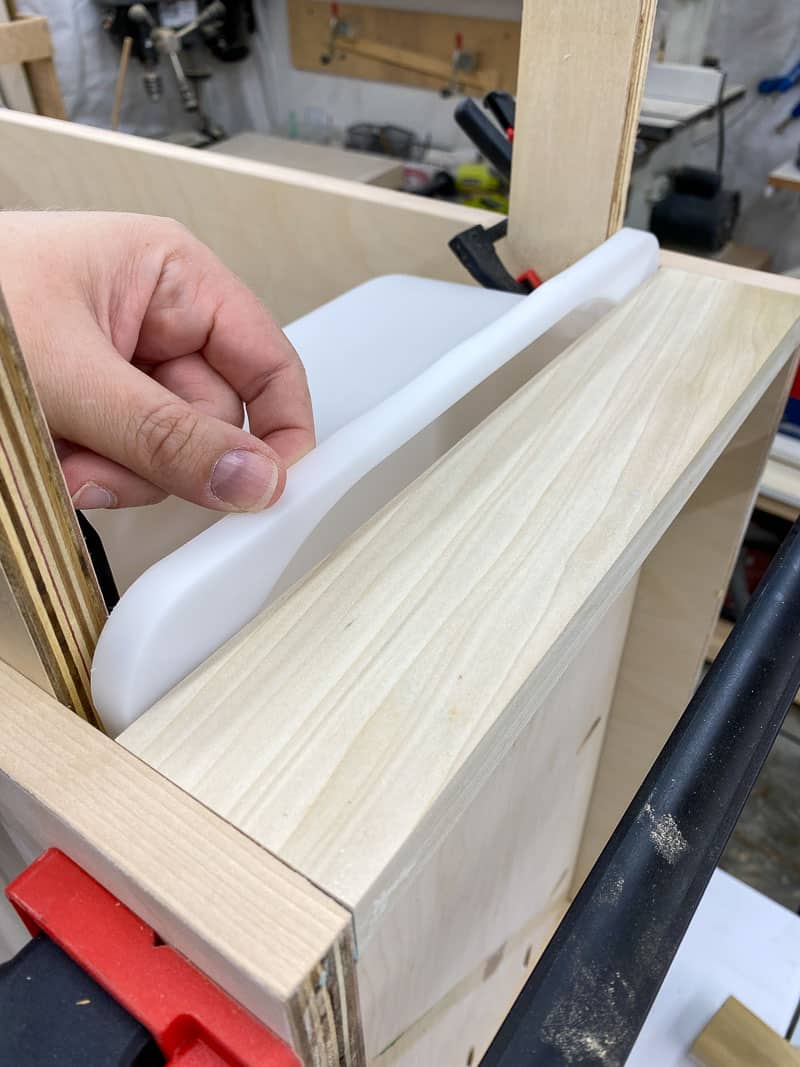

But I didn't want to use plywood for the runners, because the thin veneer can easily chip with all that wear and tear. So I set my table saw to the exact thickness of the plywood scrap.

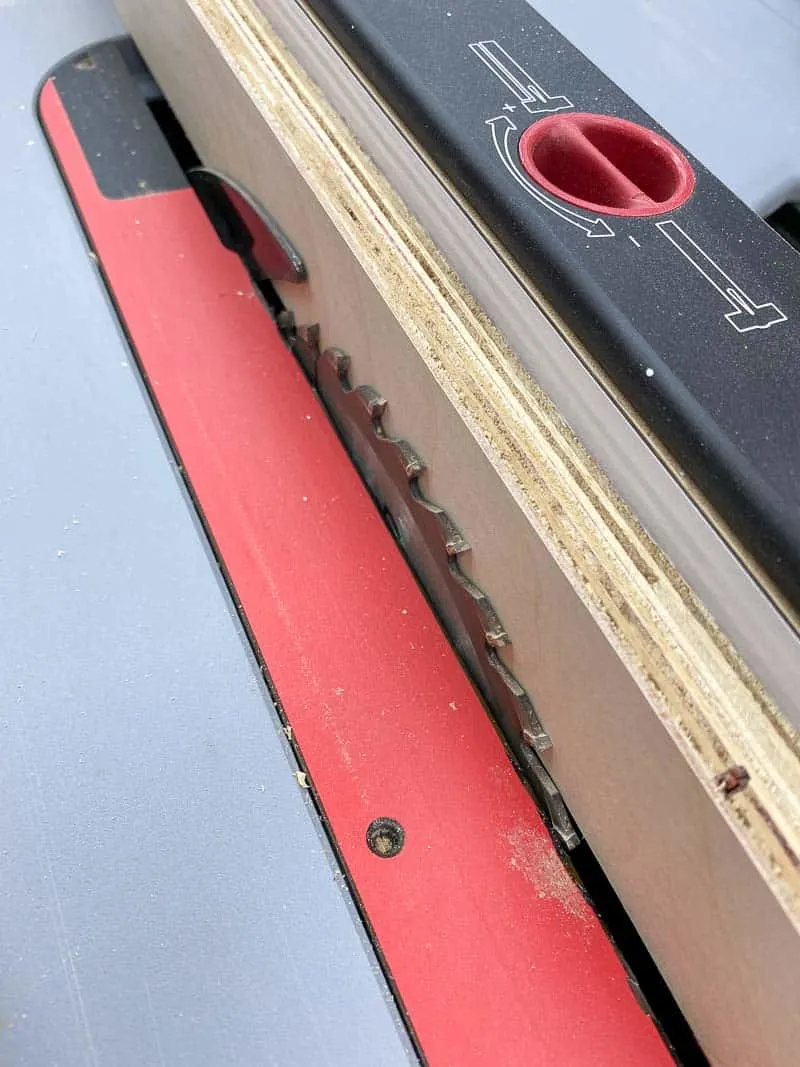
I dug around in my scrap wood lumber cart for every random piece of 1x2, 1x4 and 1x6 board I could find. I cut each piece to length first, then ripped as many runners as I could get out of each scrap. You'll need ten runners per drawer unit.
Make sure to mark which side is "plywood width" as you cut! You can see the first one with an X on it is slightly shorter than the rest. The X will go against the plywood sides in the next step.
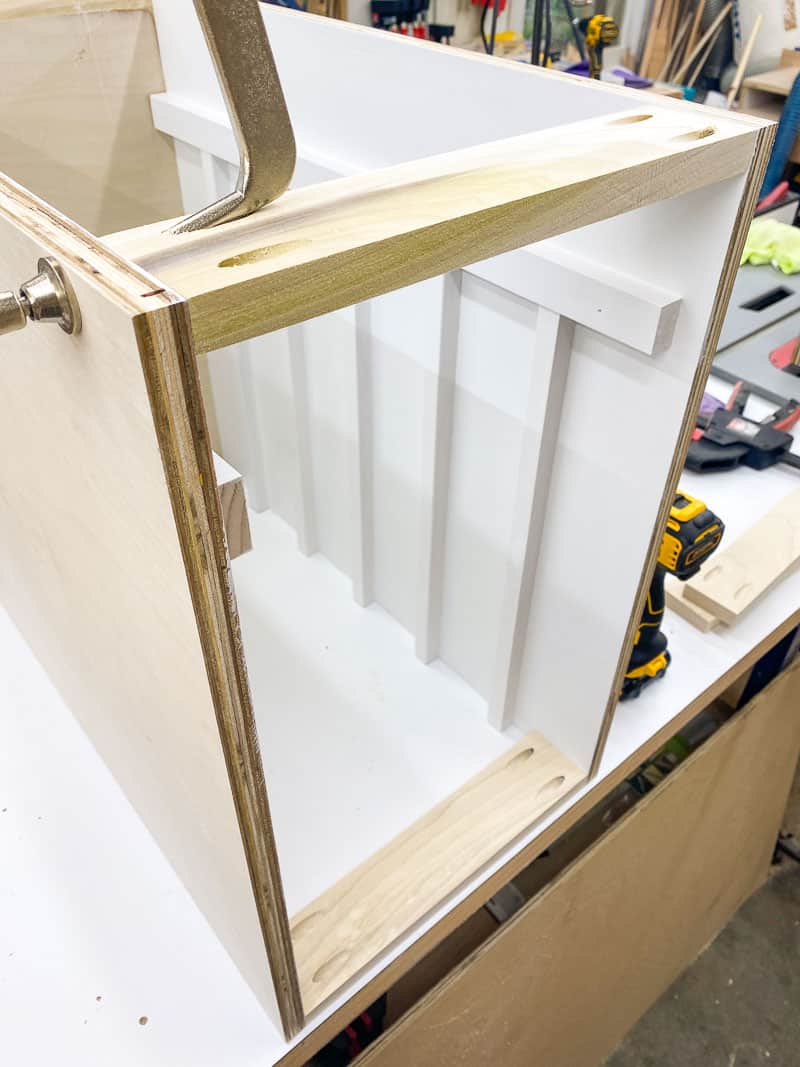
Attach the runners to the sides
This process goes a LOT faster if you cut yourself a couple of spacers first. Otherwise, you'll be doing a ton of measuring, and that can lead to errors!
Attach the drawer stop that sits towards the back of the unit first. The Lego desk is deeper than the bins, and this prevents them from sliding too far. It should be installed on the side furthest from the edge banding.
I used a scrap of 1x2 as a spacer at the top, and one of the drawer runners as a spacer on the side. Attach it to the plywood with wood glue and brad nails.
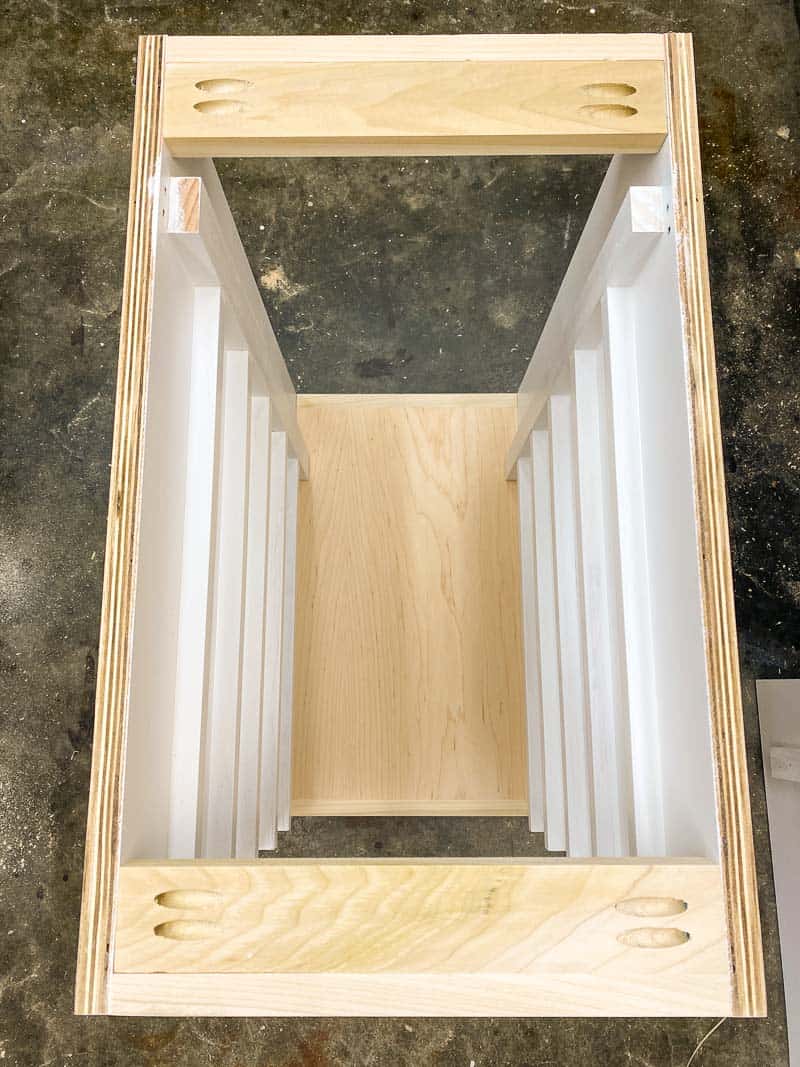
Cut a spacer from scrap plywood or 1x4 board (I just used a scrap of preprimed trim I had laying around) and align it with the top edge. Glue and nail the first runner, then move the spacer to the other side of the runner and repeat until all five runners are in place. This is so much easier than measuring and marking each one individually!

When you make the other side panel, make sure it's a mirror image of the first one! I found it helpful to place the two panels flat on the workbench next to each other with the edge banding sides facing each other.
Then attach the drawer stop on the right side of one panel and the left side of the other, before adding the runners pointing towards the edge banding. I forgot to get a photo of this step, but I show it clearly in the plans in case it's confusing!
Once the runners are installed, give the corners a quick sanding to break that sharp edge. This is much easier when they're already tacked in place!
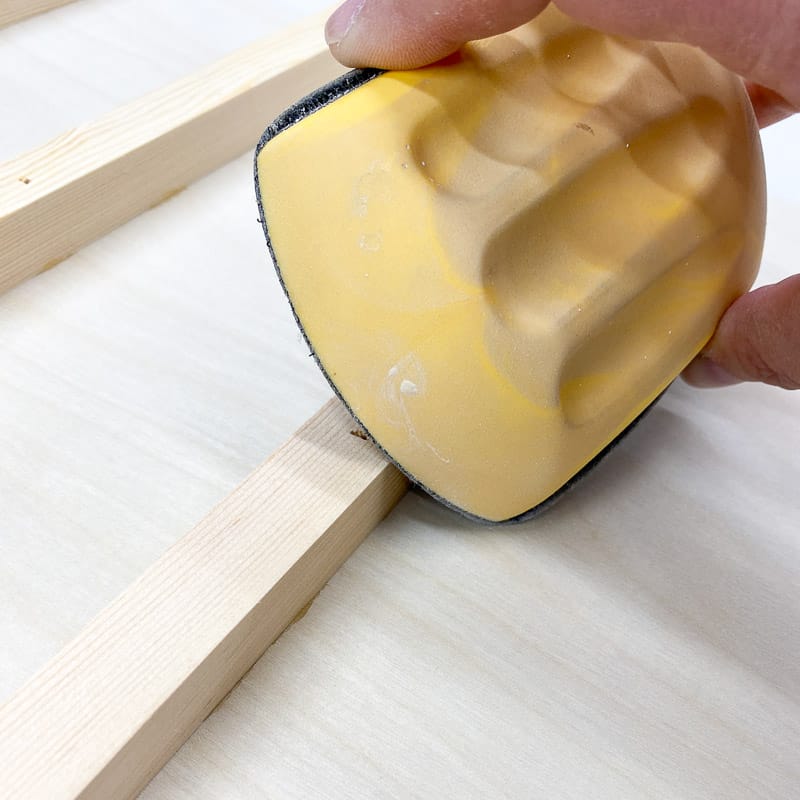

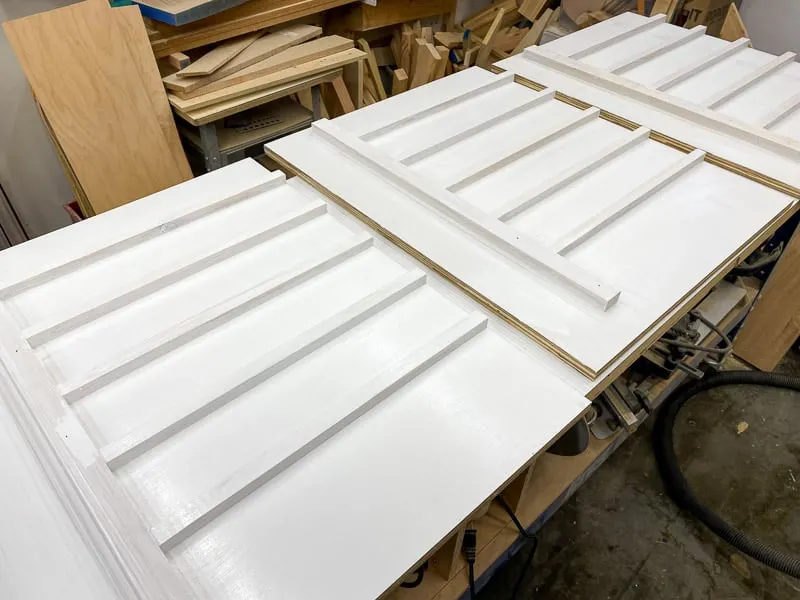
I recommend painting the sides with the slats before you start assembling the desk. It's much easier when the pieces are laying down flat, and there's lots of little surfaces that would be hard to reach with a brush or sprayer once it's all put together!

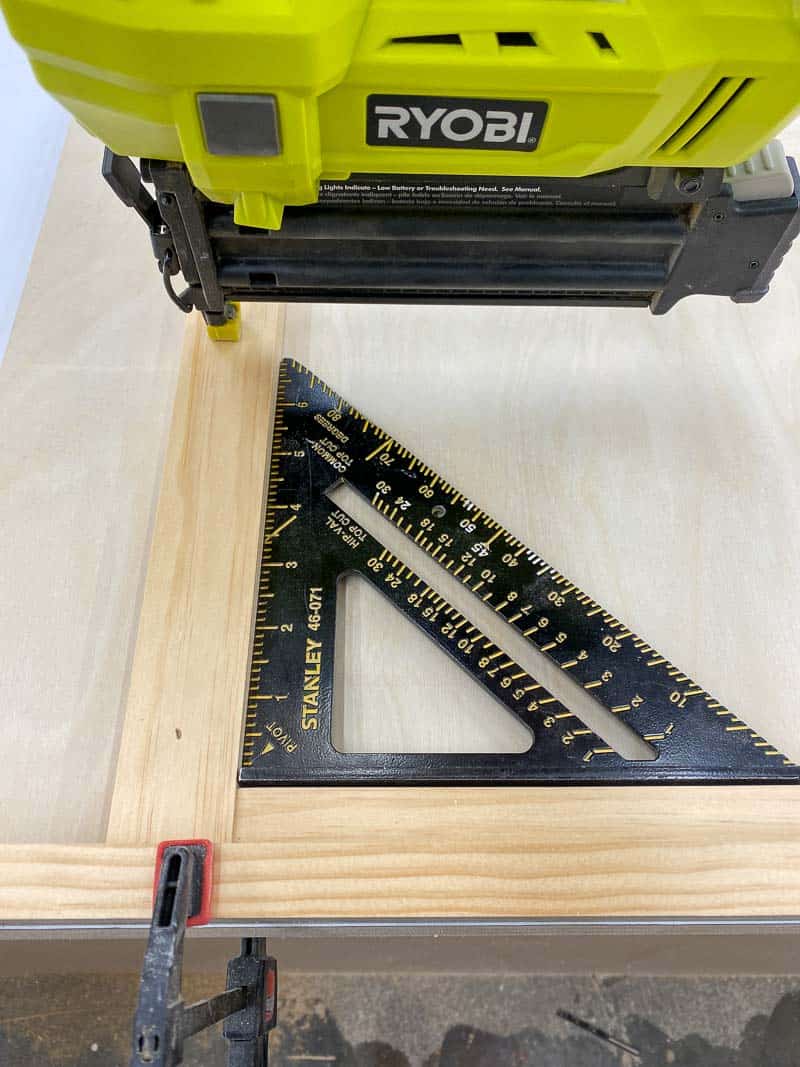
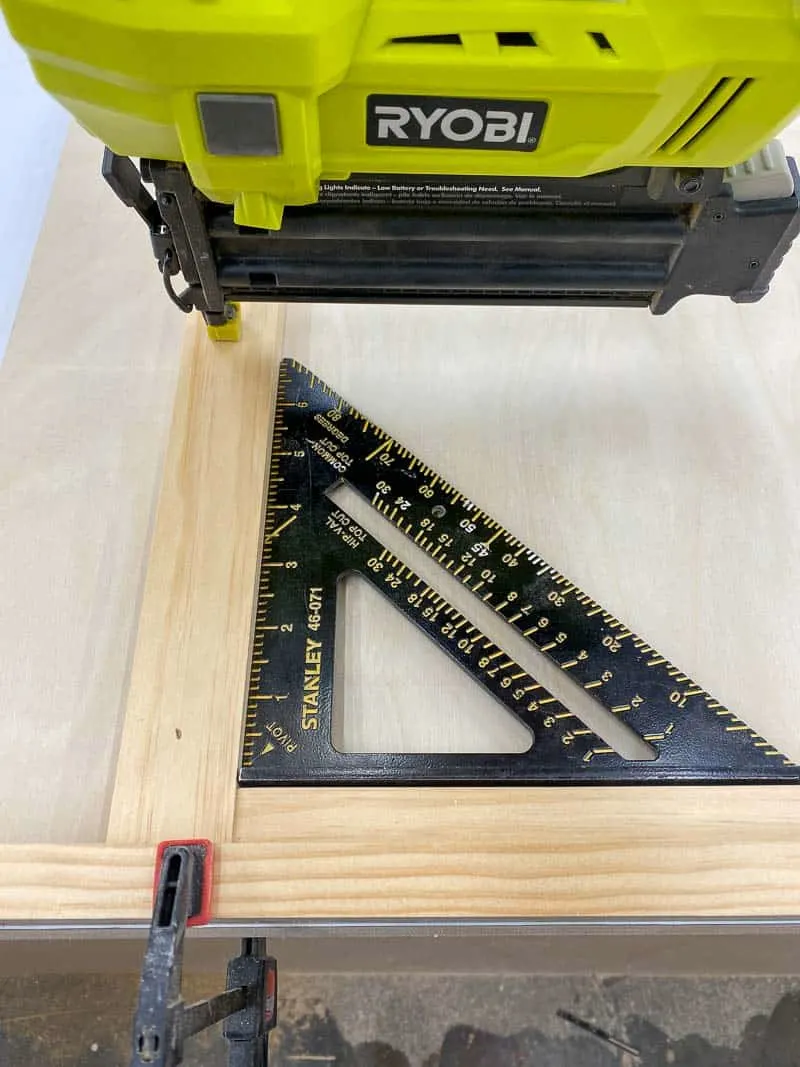
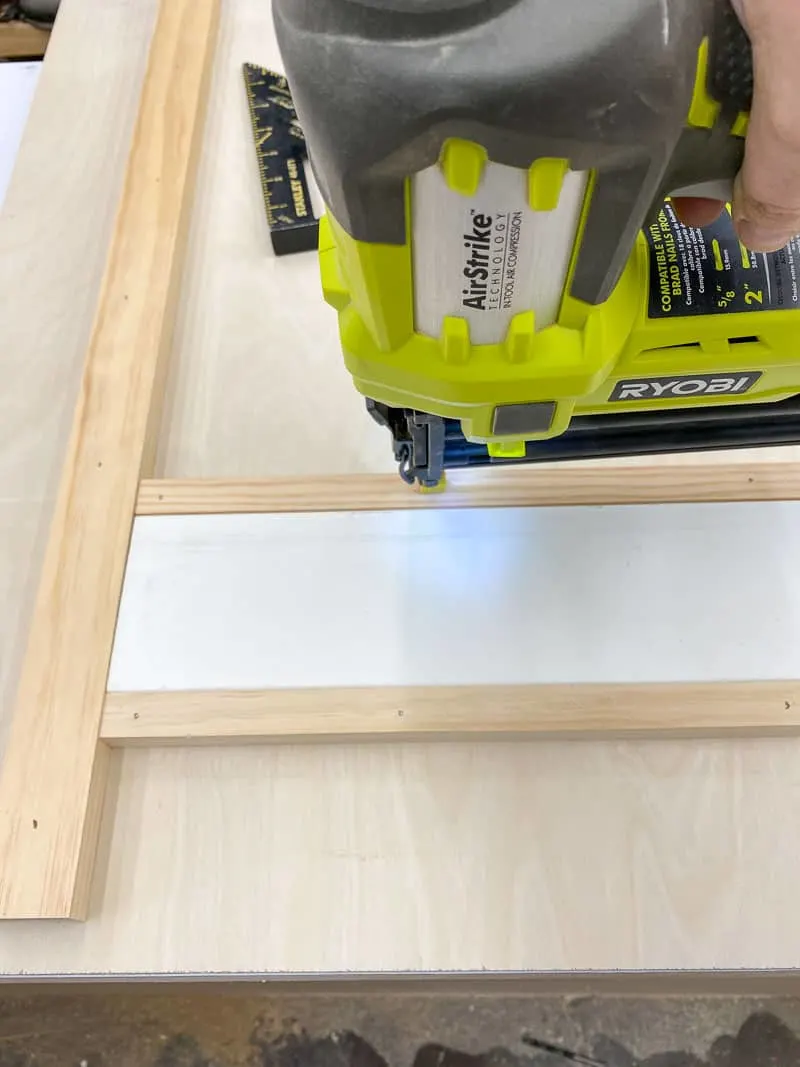
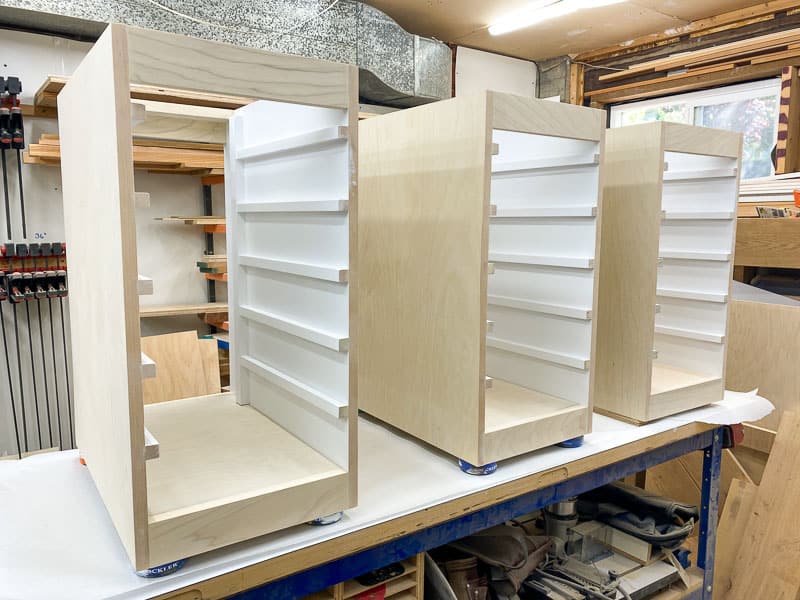
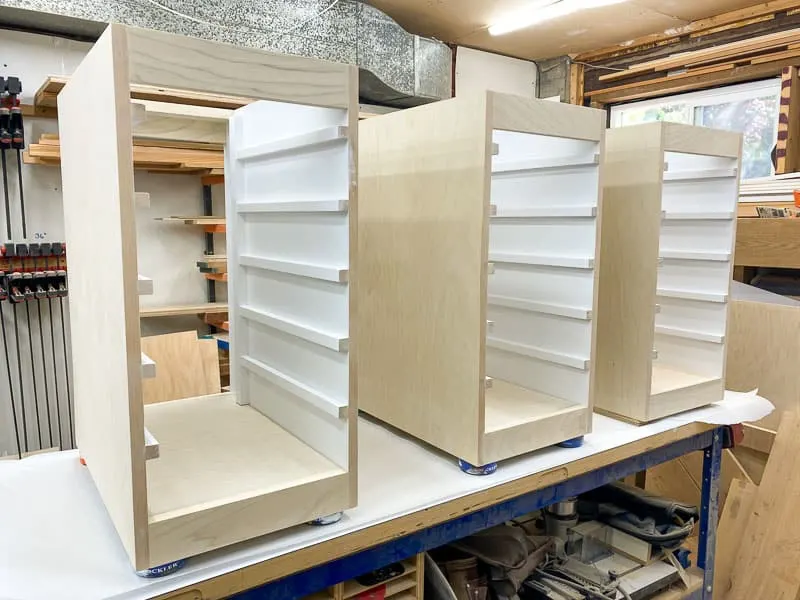
Assemble the drawer unit
The rest of this build goes pretty quick! Clamp the two sides to the base with the edges flush and the drawer runners facing up. Attach the base to the sides with pocket hole screws.
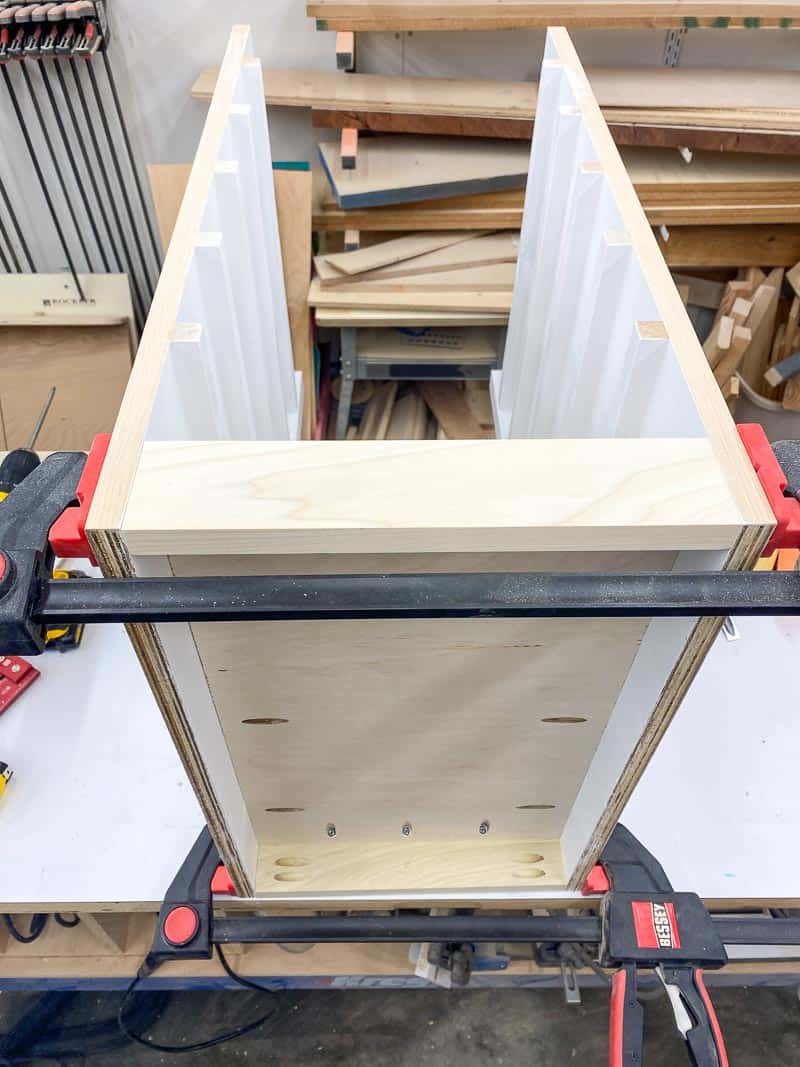
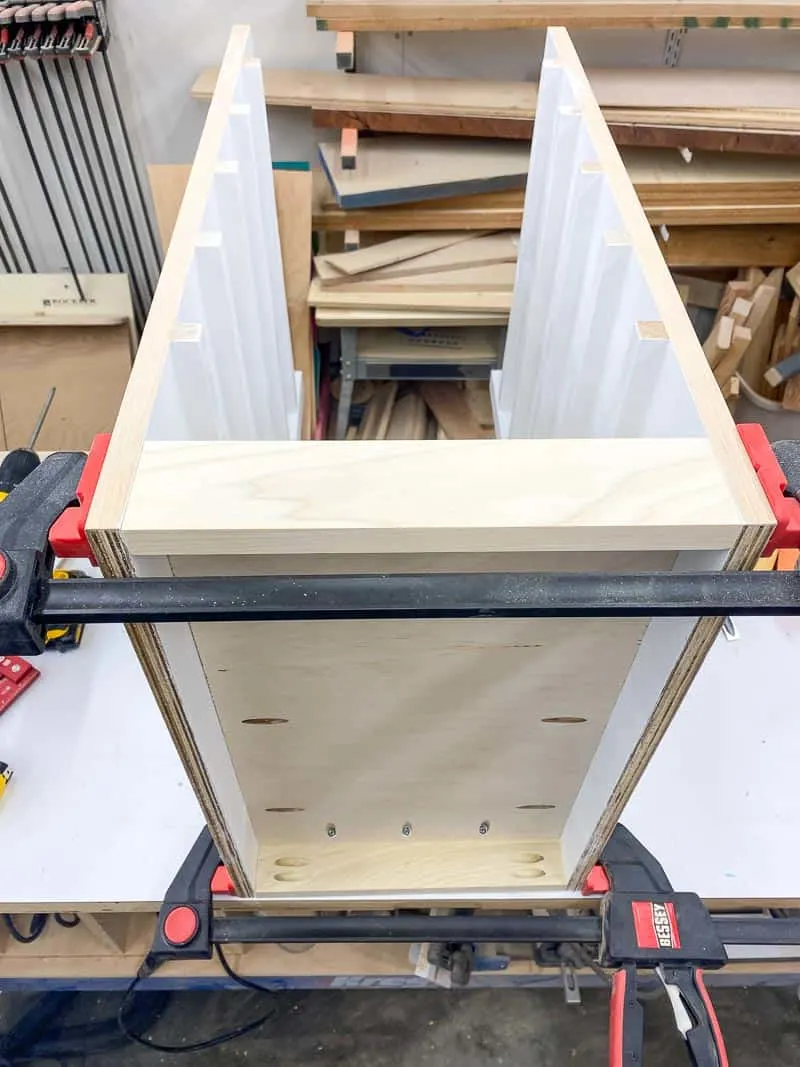
Now flip it over so that the back is facing up. Attach the front and back pieces to the top edge with the pocket holes facing up and the edges flush.

Now stand the drawer unit upright on the floor and attach the stretchers behind the front and back pieces, flush with the top. You might want to predrill holes in the center of these pieces first to make attaching the desktop a little easier later.

I found that these drawer units are plenty sturdy without a back, plus it makes it easier to access the outlet behind the desk if it's left open. But feel free to tack on a ¼" plywood back, especially if the back will be visible in the room. Now they're ready for paint!
Assemble the desk
While the paint dried, my son helped clear out the area for the new desk. Then I dragged each drawer unit upstairs and arranged them in their final destination. I ended up removing that IKEA Trofast shelf from the wall because it stuck out too far into the desk area.

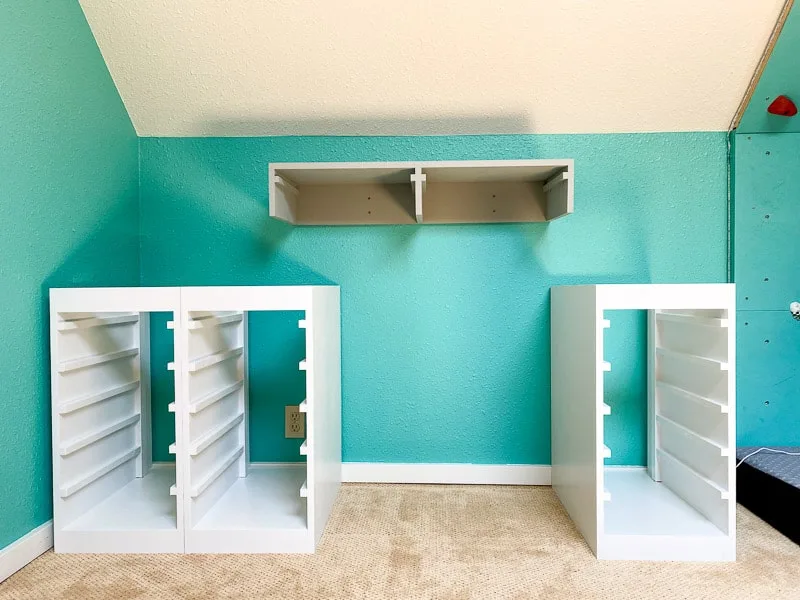
Originally, I planned to make the top out of either plywood or an IKEA desk top. But my local IKEA was sold out of the top I wanted, and I was worried that painted plywood wouldn't hold up well with all those plastic pieces scratching it up.
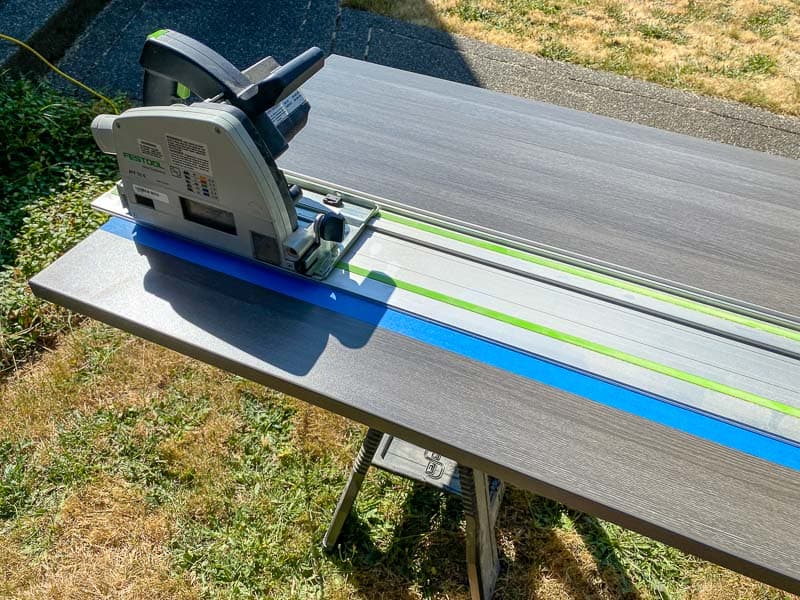
I finally settled on this laminate desktop from OfficeMax (which was delivered the next day!) It was a little too wide for the space, so I trimmed off about six inches with my track saw. Painter's tape along the cut line helped prevent any chipping. Make sure to sand that cut edge, because laminate is super sharp!

Place the top over the drawer units, and screw it down through the stretchers from the underside.

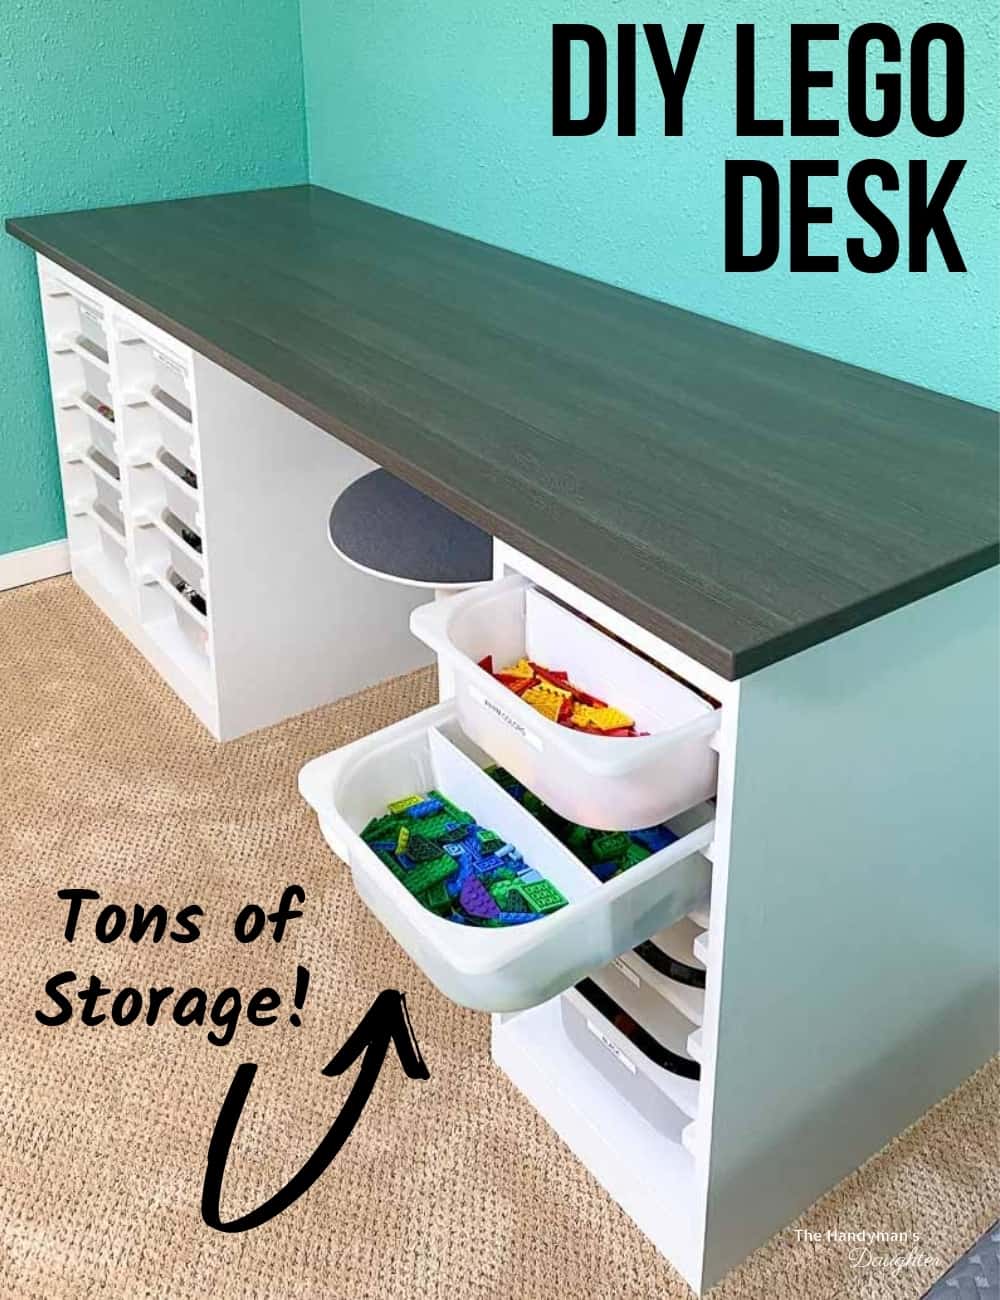
Load up the bins with Lego!
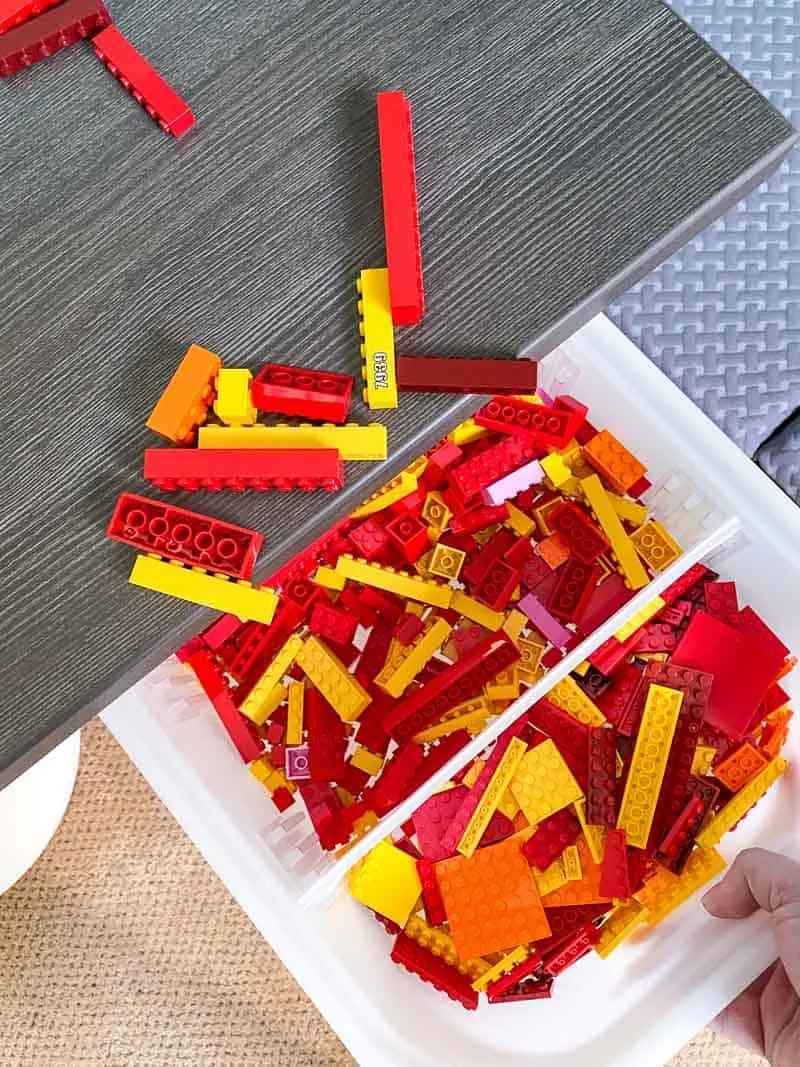
With fifteen brand new bins to fill, I insisted that he get them organized right from the start. I added these simple drawer dividers to separate the pieces by size, and each bin is sorted roughly by color.

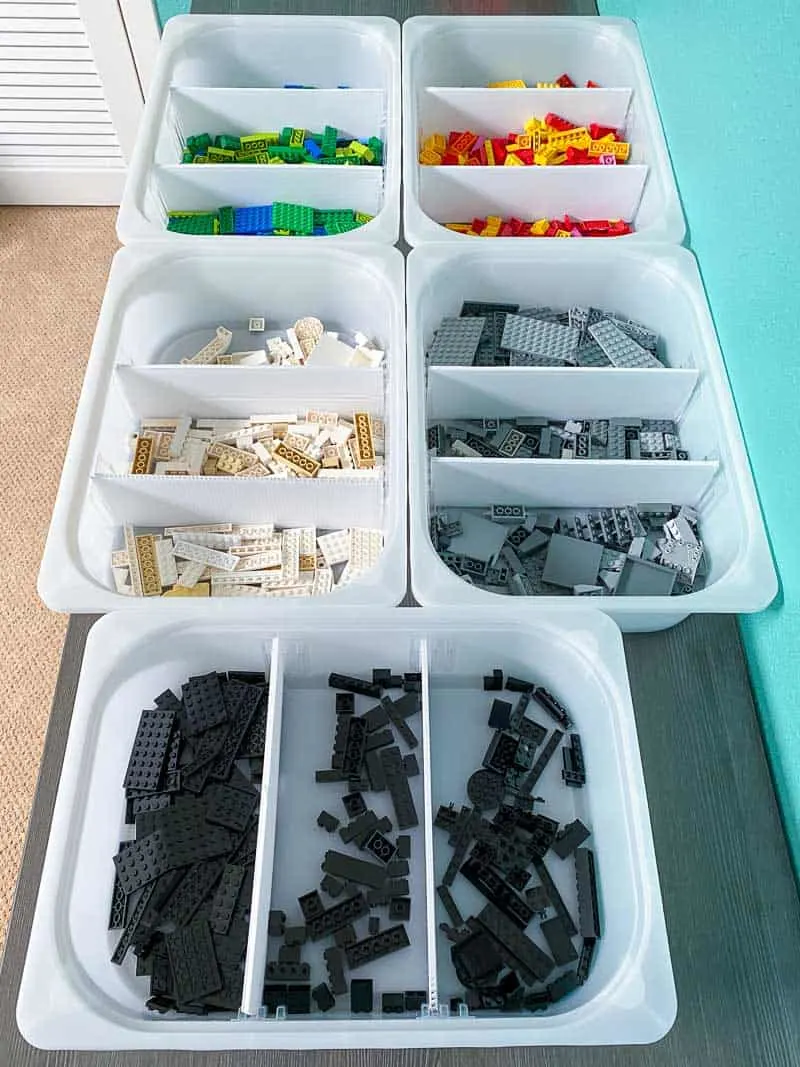
The bins slide easily on their runners, and they're held much more securely than the grooves or plastic runners in the Trofast units you can buy from IKEA!

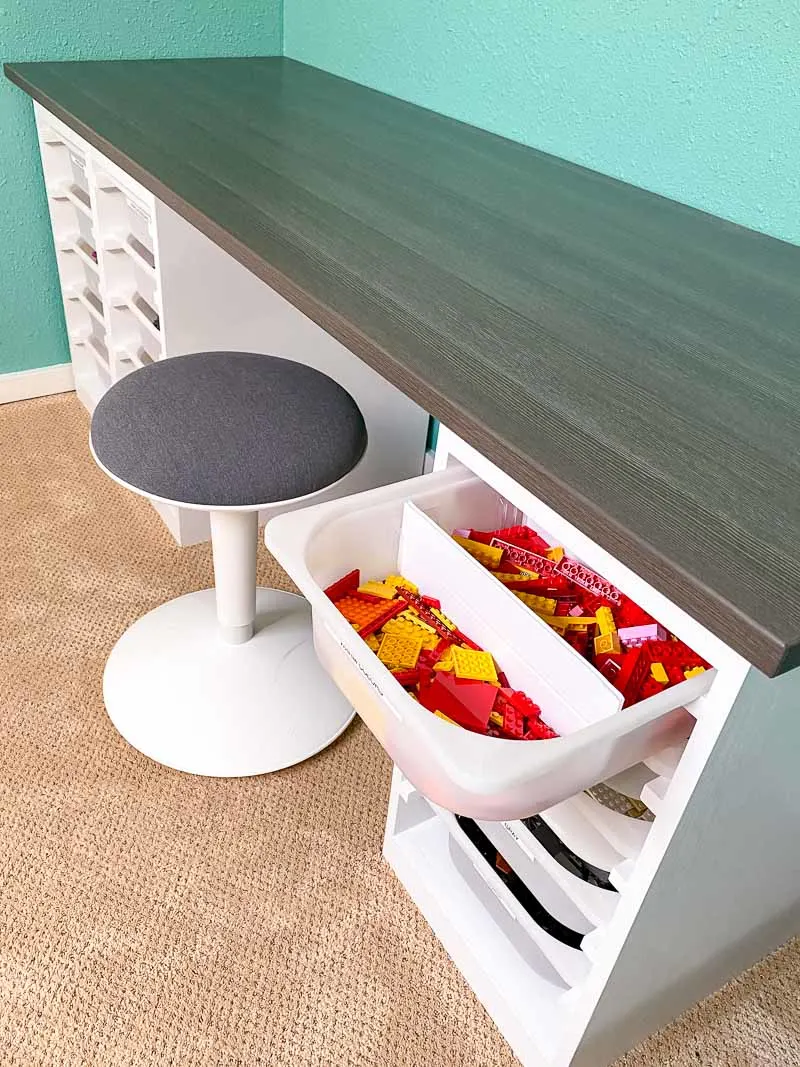
He can fit a work-in-progress into a single bin, and take it out to build some more. When he played on the floor before, pieces would get lost during clean-up time and he would have to go hunting for them the next day.

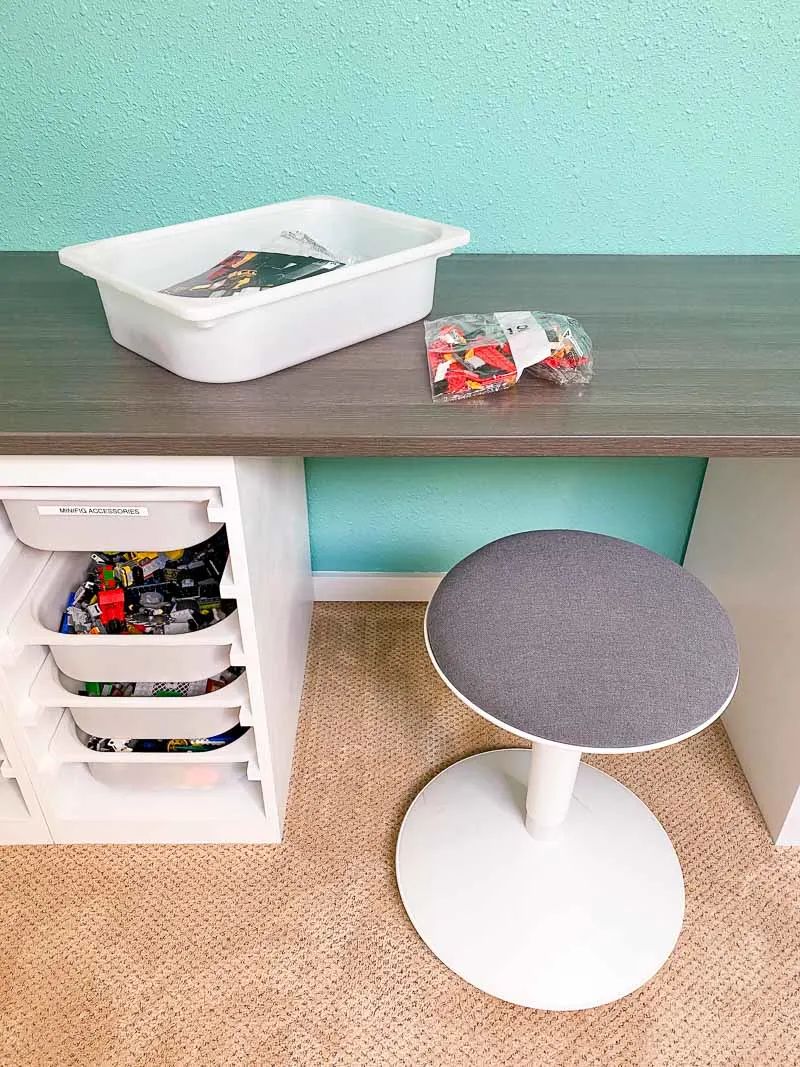
When it's time to do schoolwork, everything can be put away quickly by sliding the parts into a bin. I plan to make a few trays with baseplates attached so he can work on a complicated scene without having to move it around too much.

Now he's ready to work AND play, just in time for the school year to start!

Although with a room this fun, who knows how much work will actually get done?!?

Want to build your own Lego desk? Grab the woodworking plans and get building!