Upcycle old bifold doors or turn a sheet of plywood into this DIY toy box! I'll show you how to make this toy box both ways!

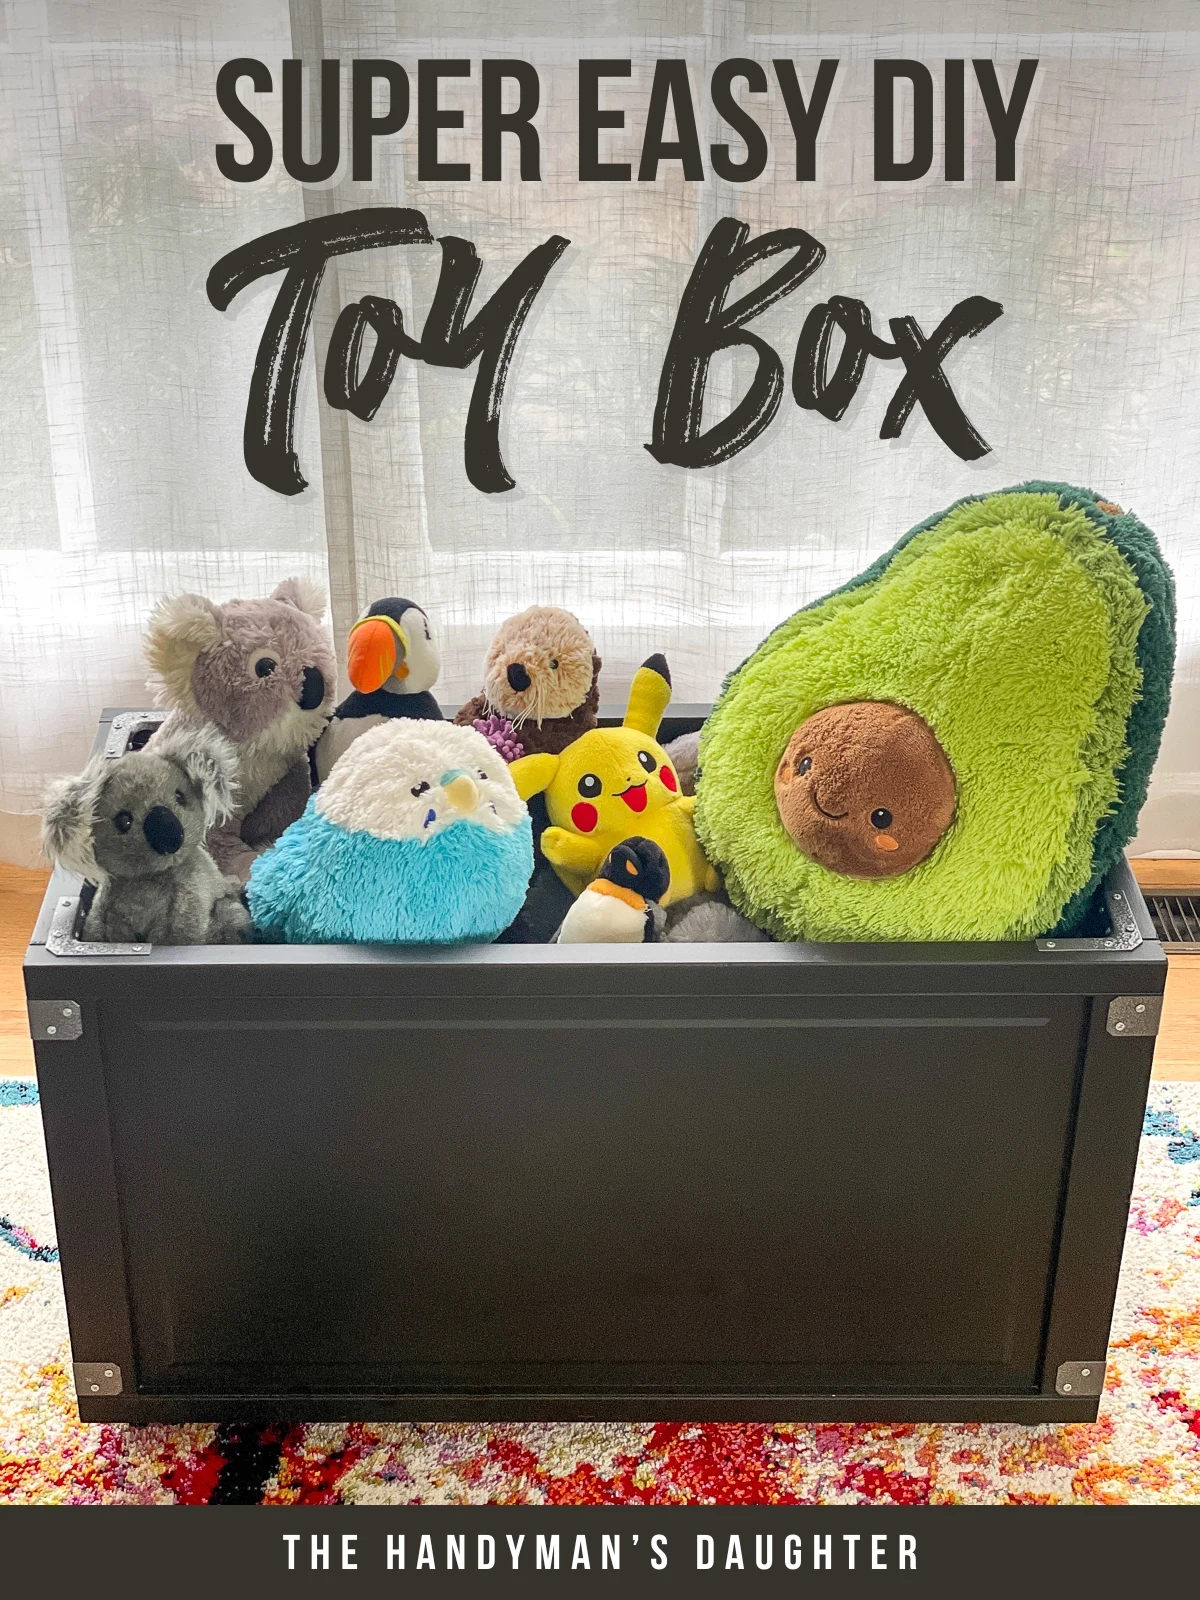
Want a quick and easy way to put away toys at the end of the day? This simple DIY toy box is the perfect solution!
The open top allows you to toss all the toys in the bin, and there's no heavy lid to slam on little fingers. It's on wheels, so you can roll it into a closet or the corner of the room when not in use.
Best of all, you can make this toy box using upcycled materials or a single sheet of plywood. I found two bifold doors at my local architectural salvage yard for just a few bucks!
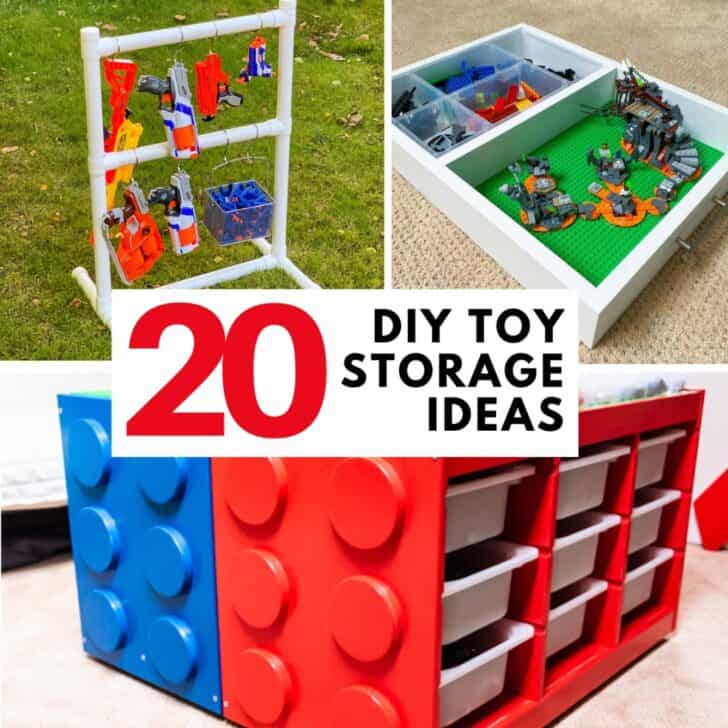
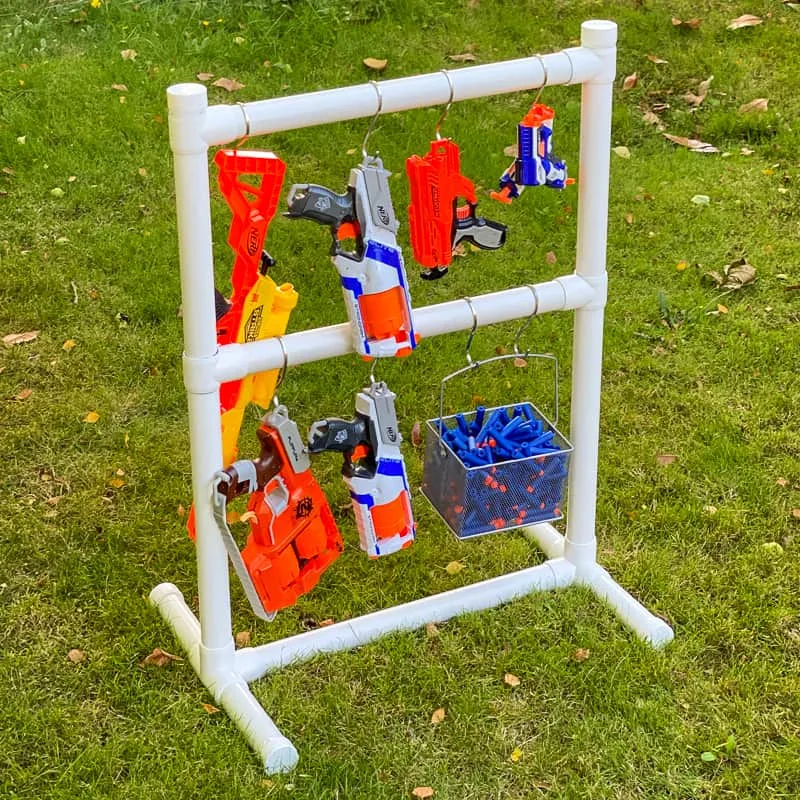
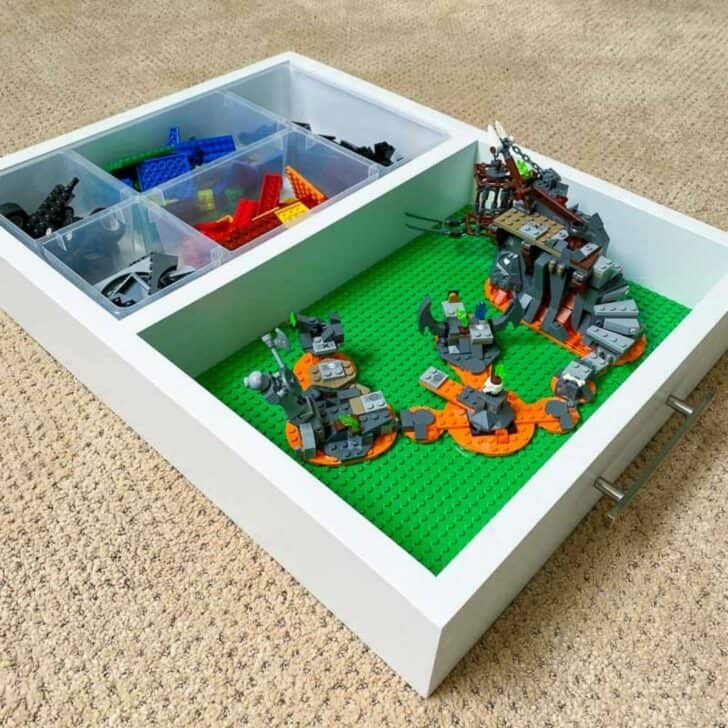
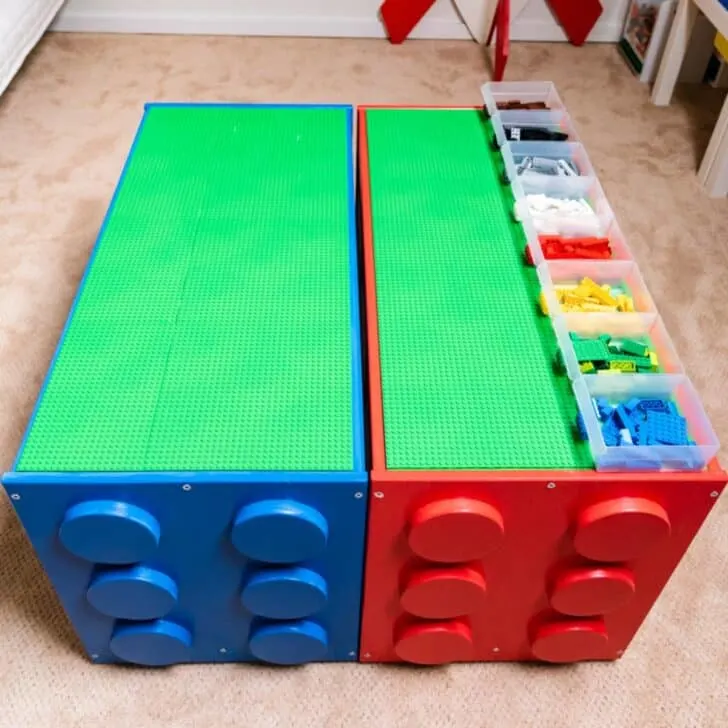
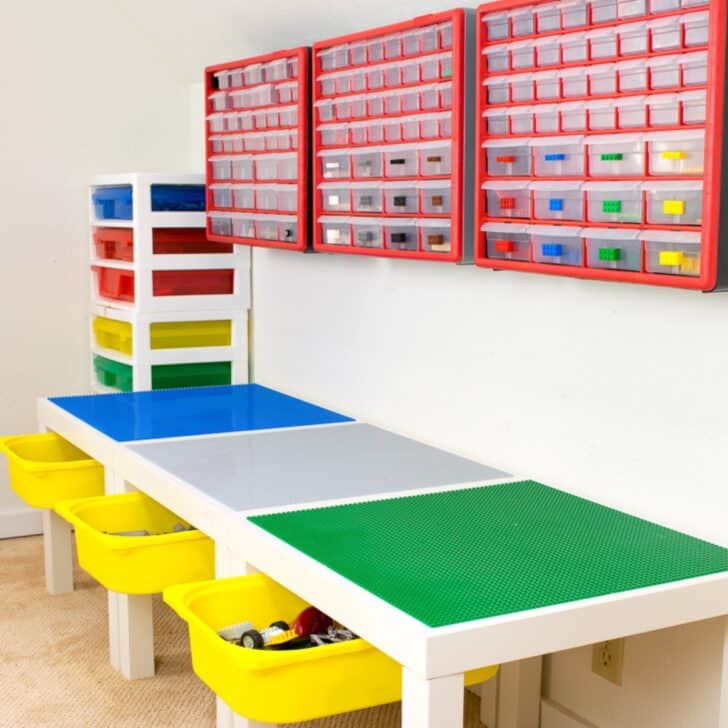
Not quite what you were looking for? Check out these other DIY stuffed animal storage ideas or these toy storage ideas for small spaces!
This post contains affiliate links for your convenience. Purchases made through these links may earn me a small commission at no additional cost to you. Please visit my disclosures page for more information.
Materials Needed
- Set of two bifold doors or one 4'x8' sheet of ¾" plywood
- ¾" plywood for the bottom
- Casters
- Metal colored spray paint (optional)
- Angle brackets (optional)
- Corner brackets (optional)
- Circular saw or track saw
- Pocket hole jig
- 1 ¼" pocket hole screws
- 24" clamps
- Wood glue
- Paint
How to Build a Toy Box
For this tutorial, I'll show you photos of how I built my toy box with bifold doors, as well as illustrations of the steps for making one out of plywood.
Cut the pieces
I found this set of wooden, three-panel bifold doors for only $10! The smaller upper panels and lowest larger ones were the perfect size for the sides. The raised panels give an extra detail that I couldn't get with plain plywood.
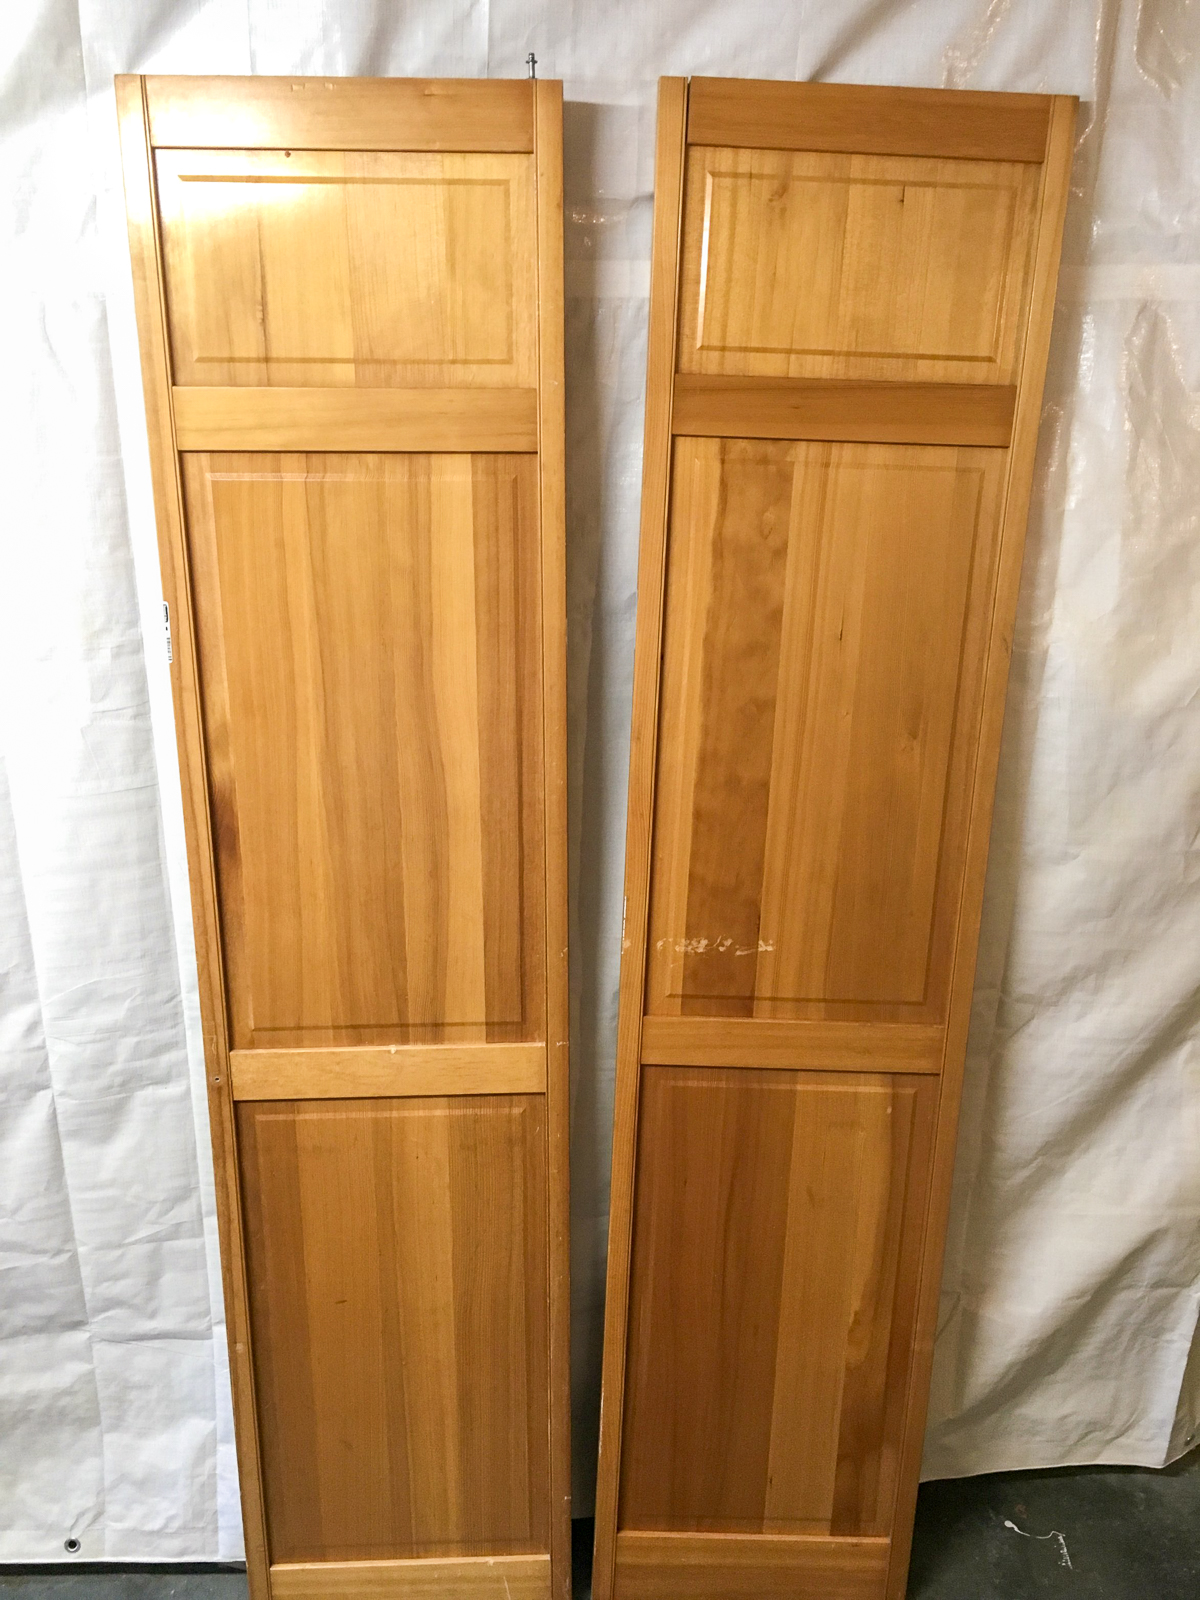

I measured two inches from the inside edge of each raised panel, and used a circular saw to cut them down to size.

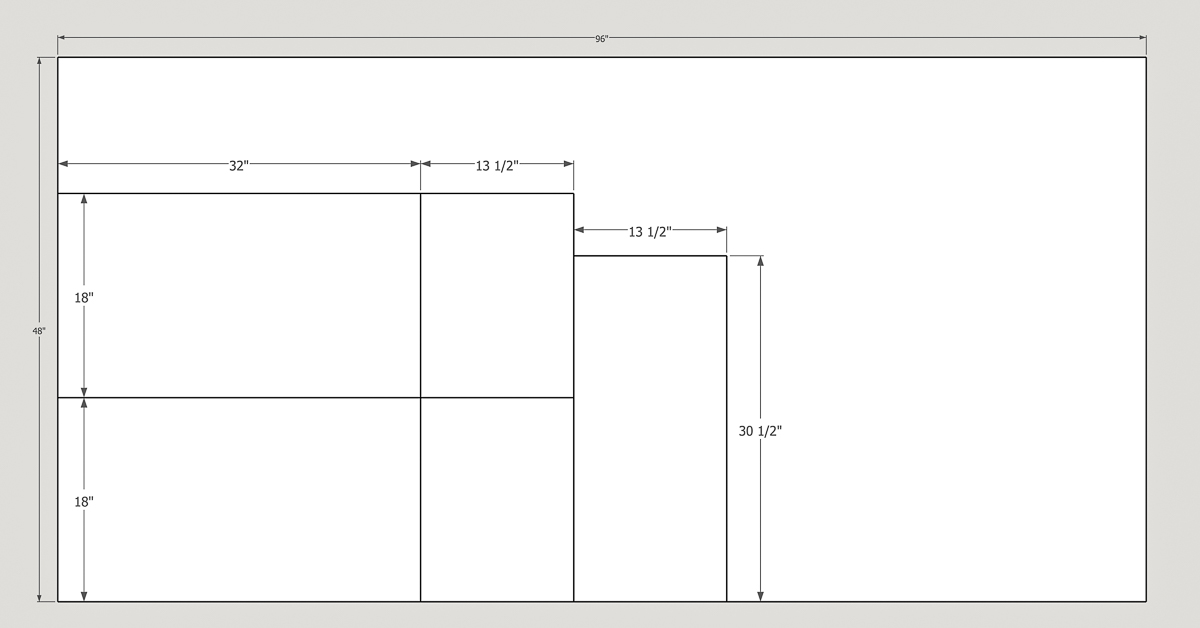
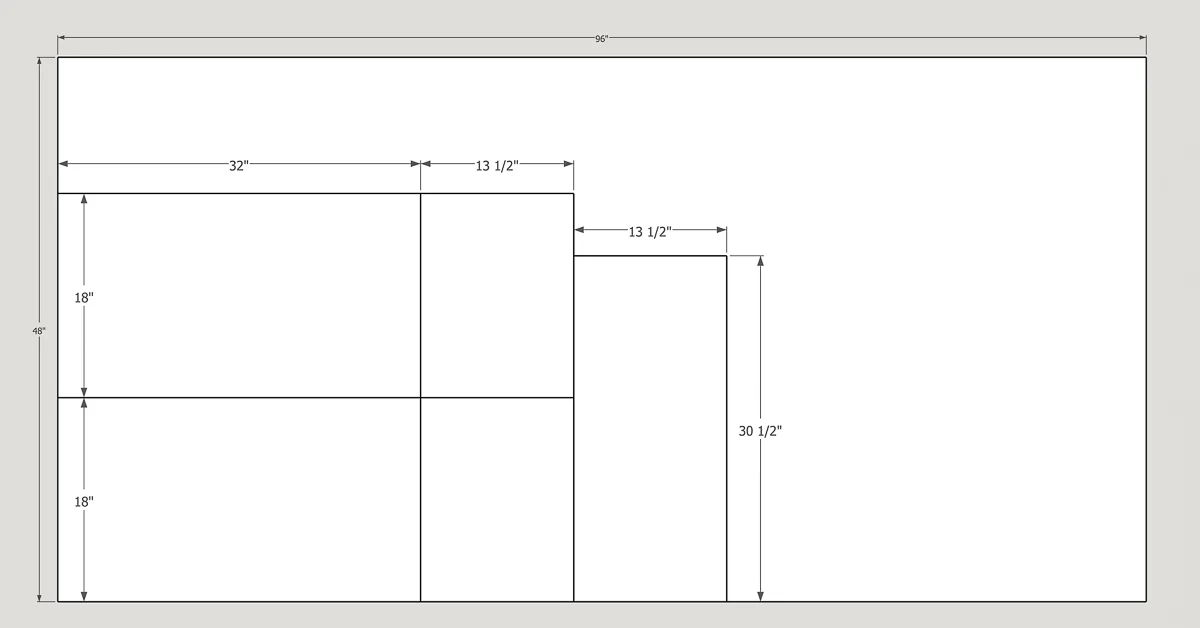
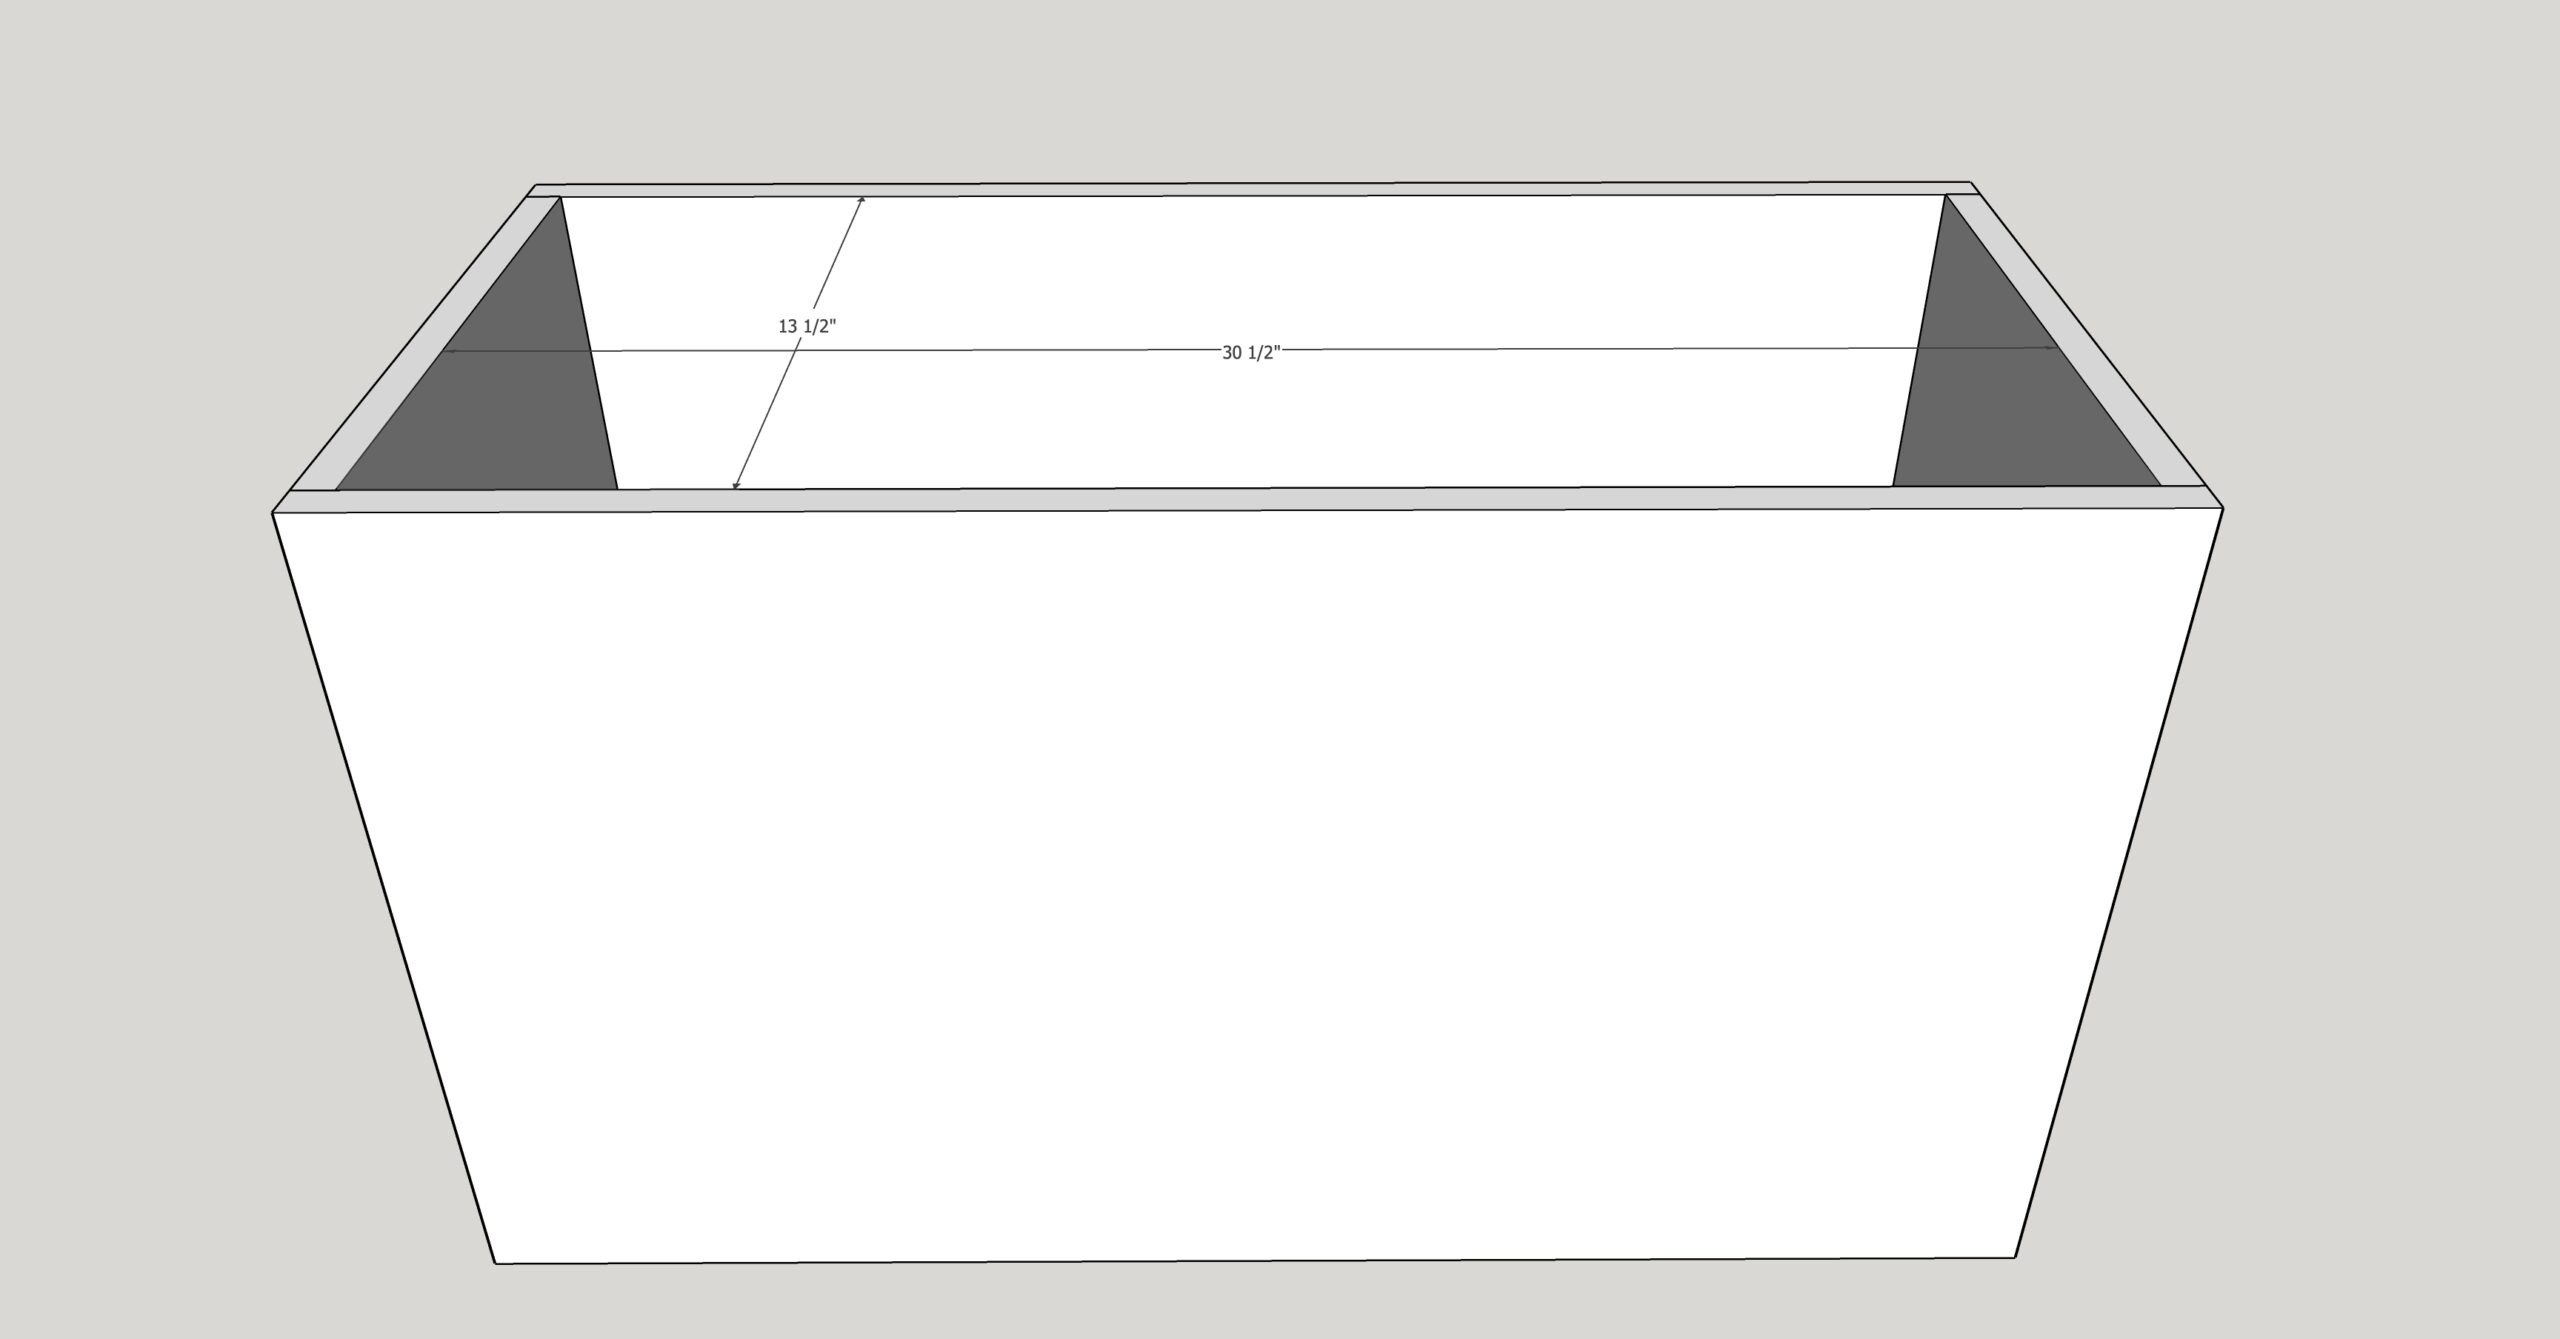
Here's the cut diagram if you're building the toy box out of plywood. You'll need a little over a half sheet.
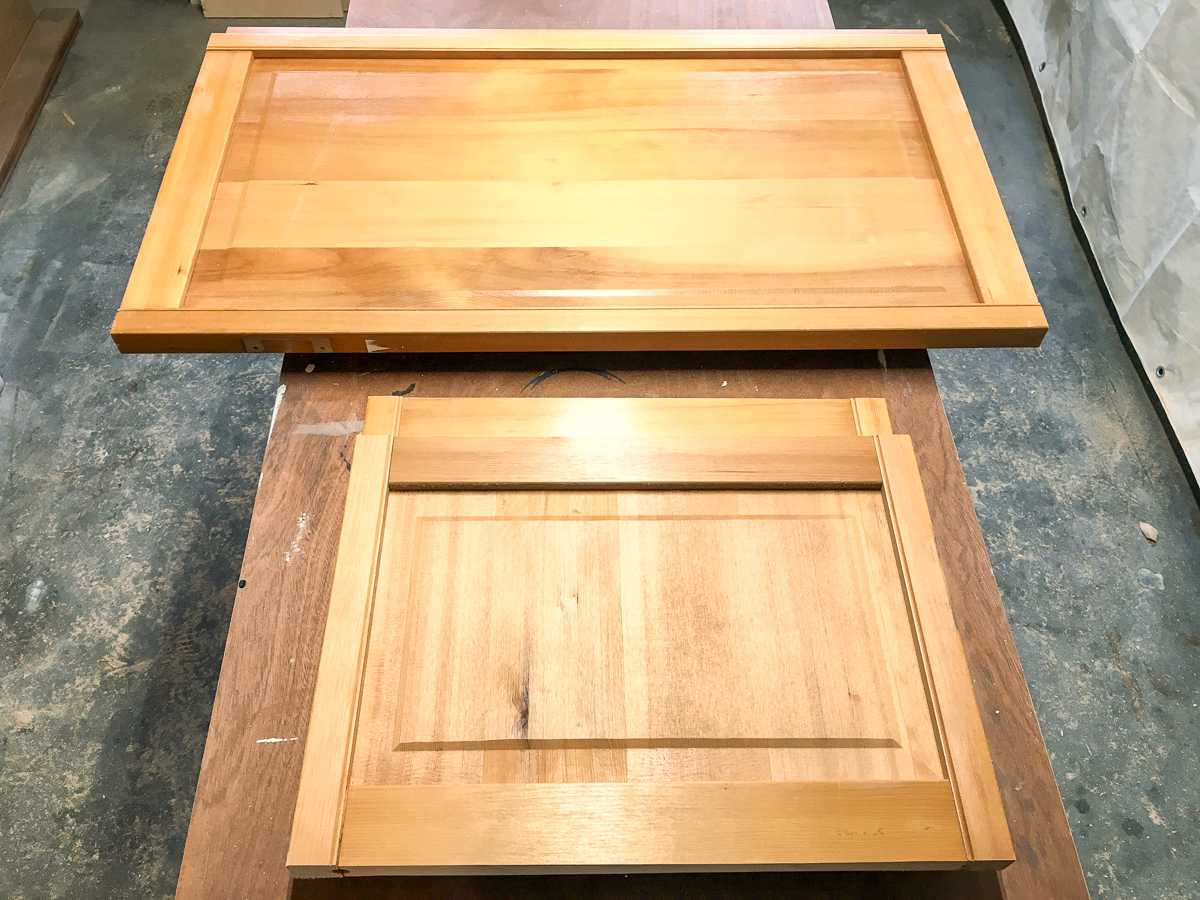
Test fit the pieces together
Dry fit the panel pieces together, using 24" clamps to keep everything in place. The sides should go between the front and back. Measure the interior dimensions to determine the size of the bottom piece.
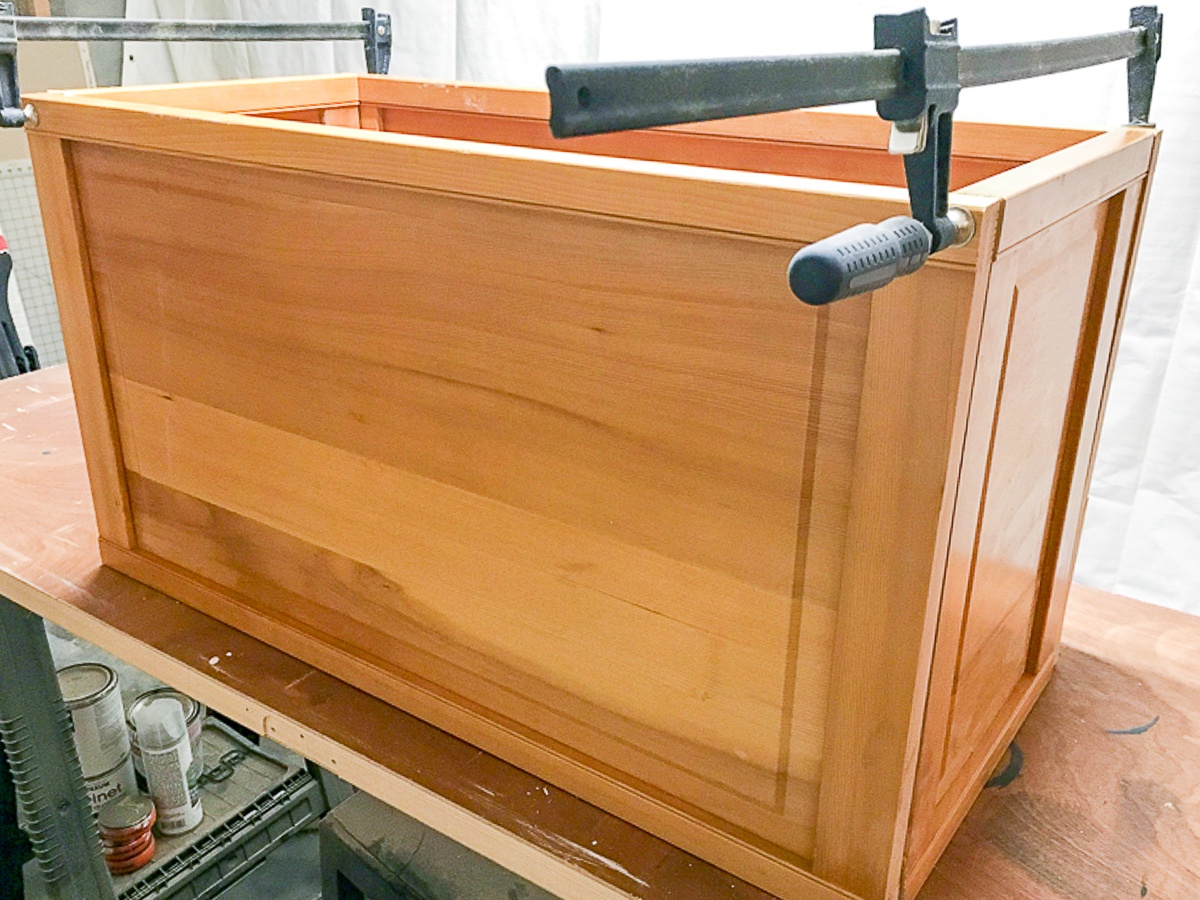

This is helpful even if you're building with plywood, because the thickness can vary slightly. Measure the interior space from front to back, then side to side, and cut the bottom to fit.

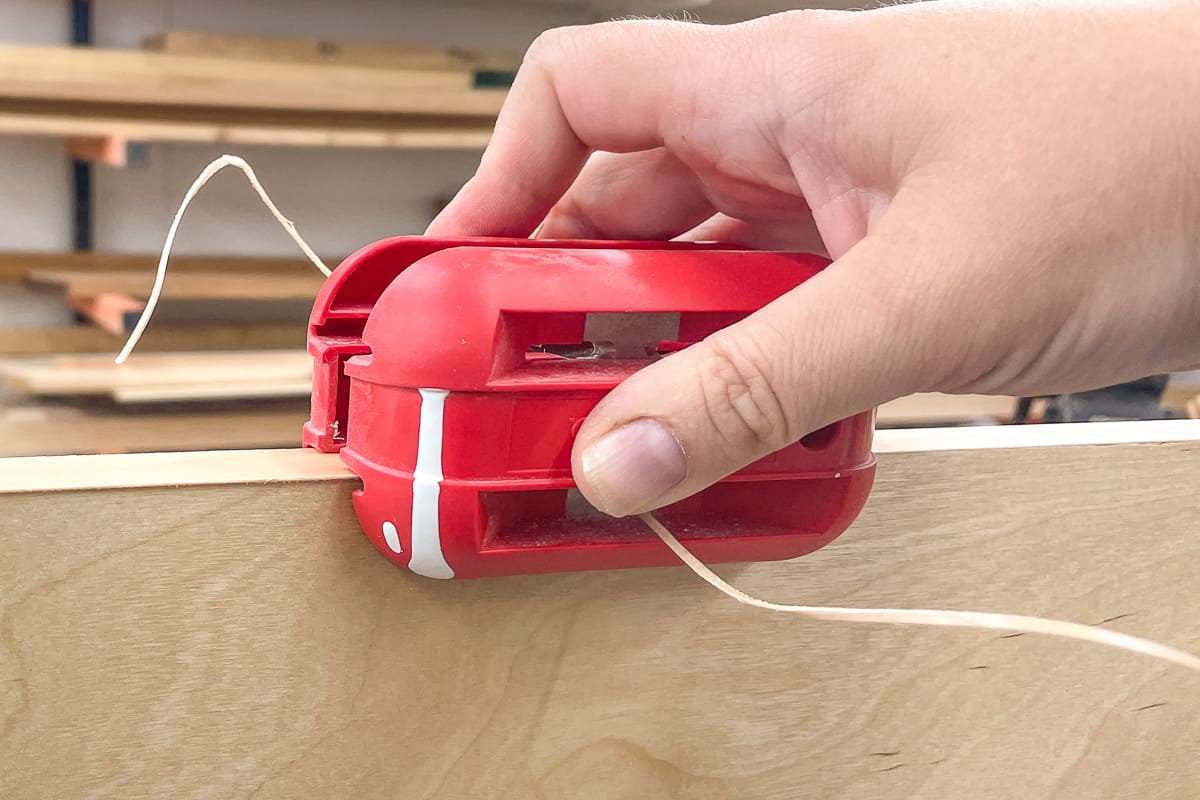
Apply edge banding
It's much easier to cover up plywood edges before assembly. If I were building this toy box from scratch, I'd use iron-on edge banding to make it look like solid wood.
You'll need to apply it to the top edge of all four sides, as well as the sides of the front and back pieces.

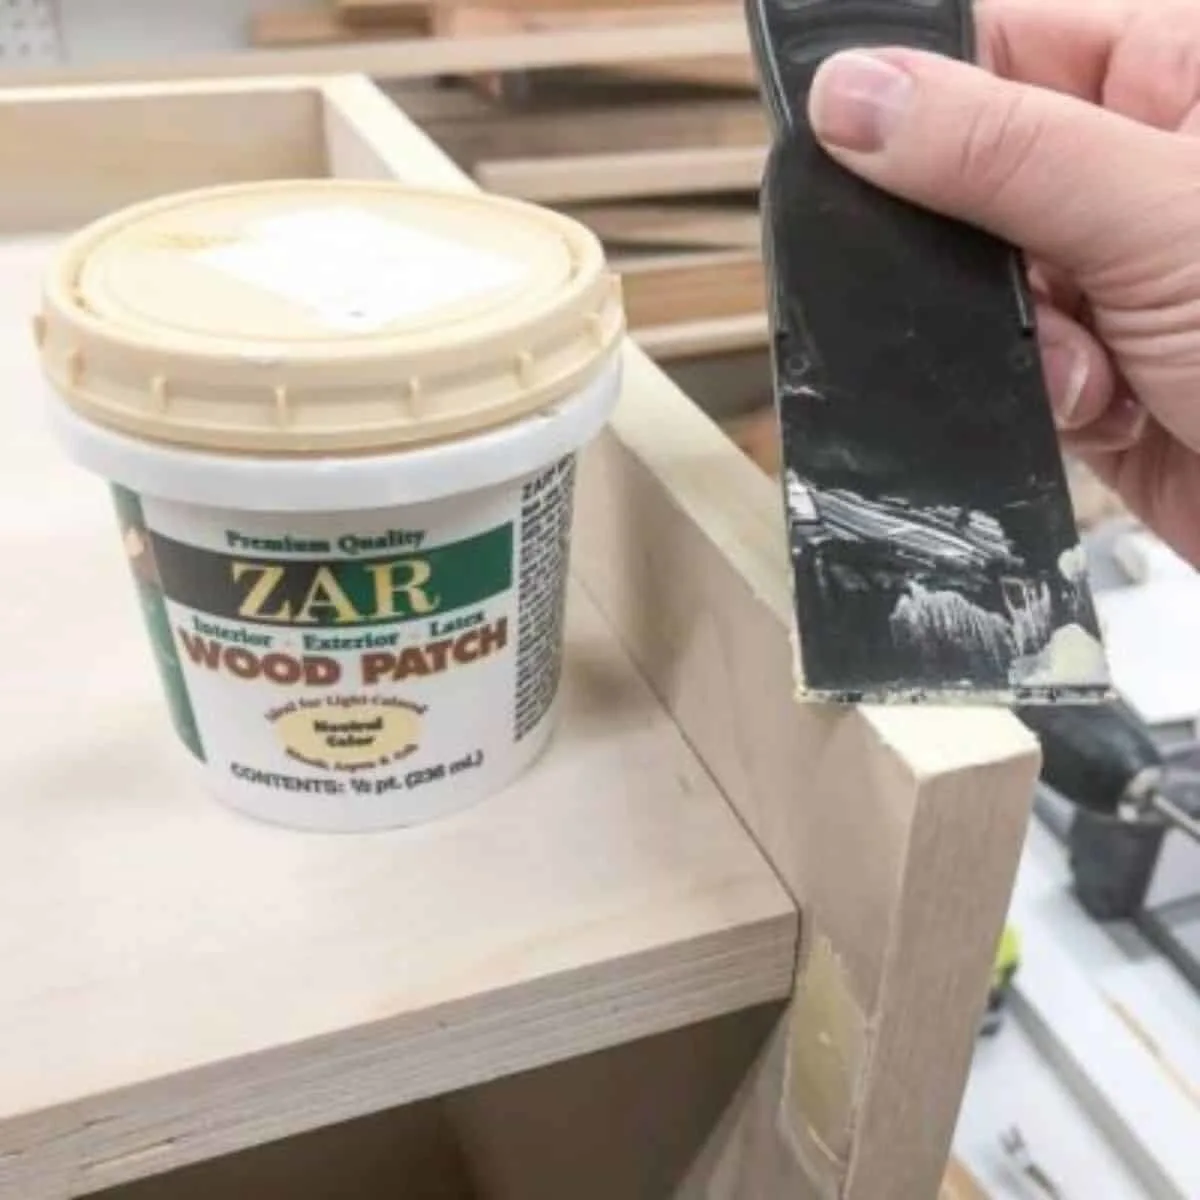
If you plan to paint your toy box, you can also use wood filler after it's assembled. This will also hide any gaps between the panels.

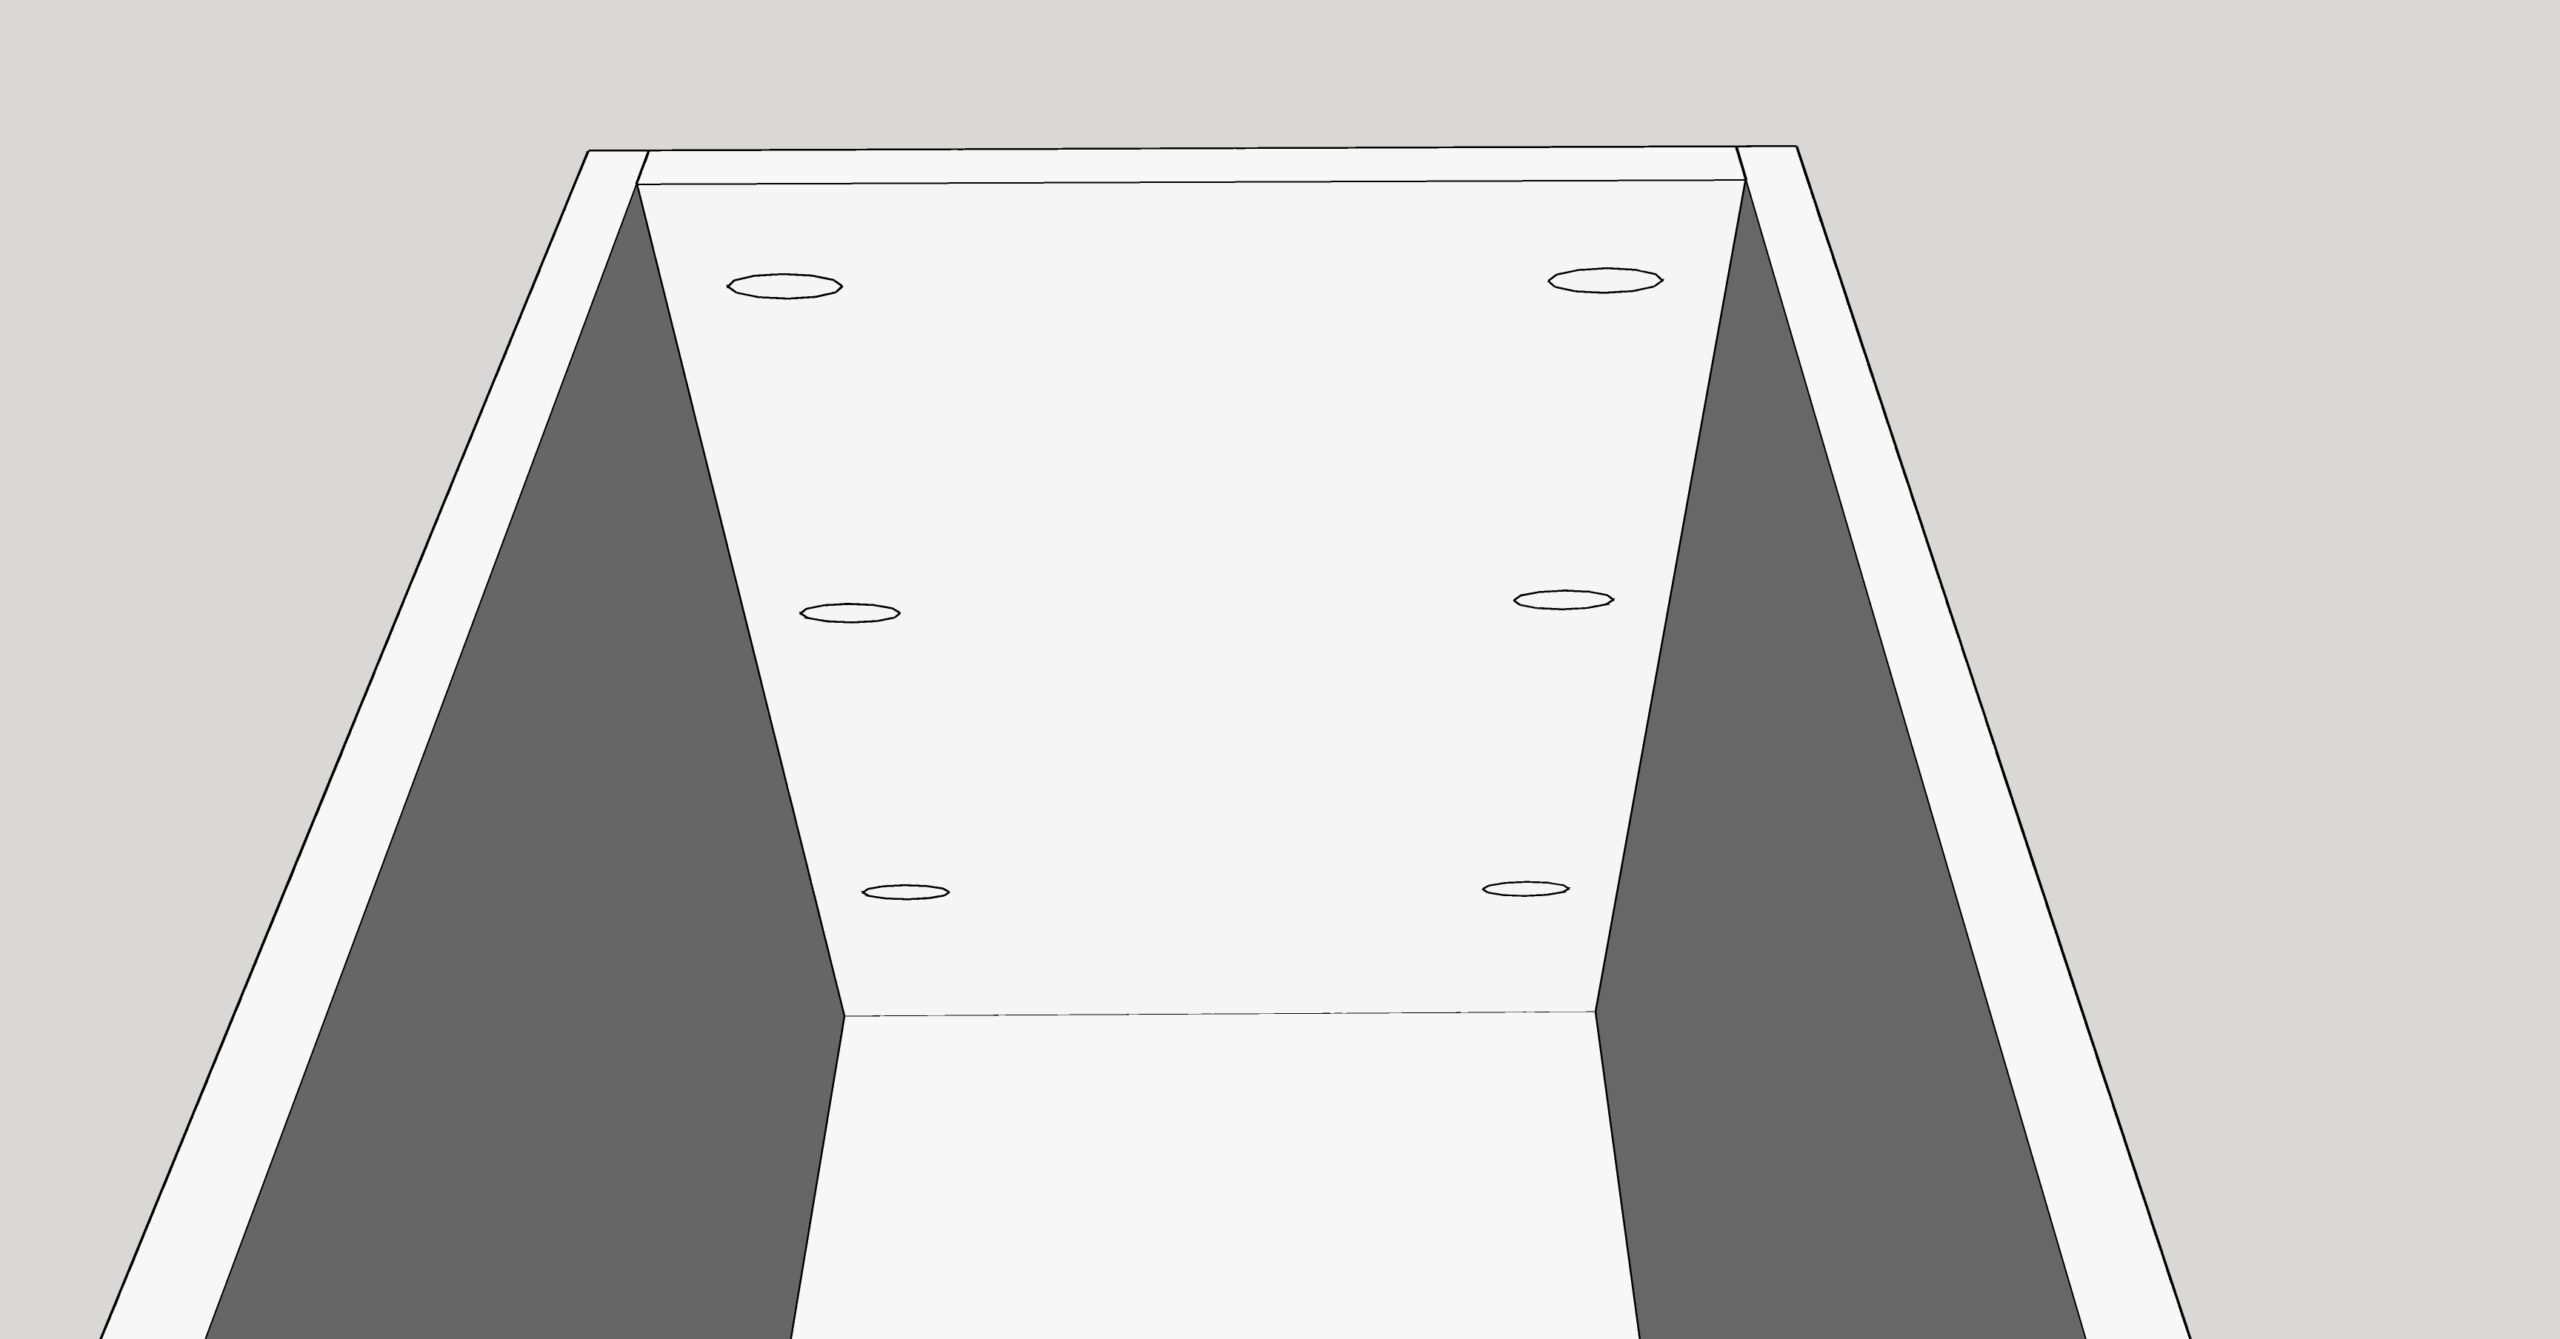
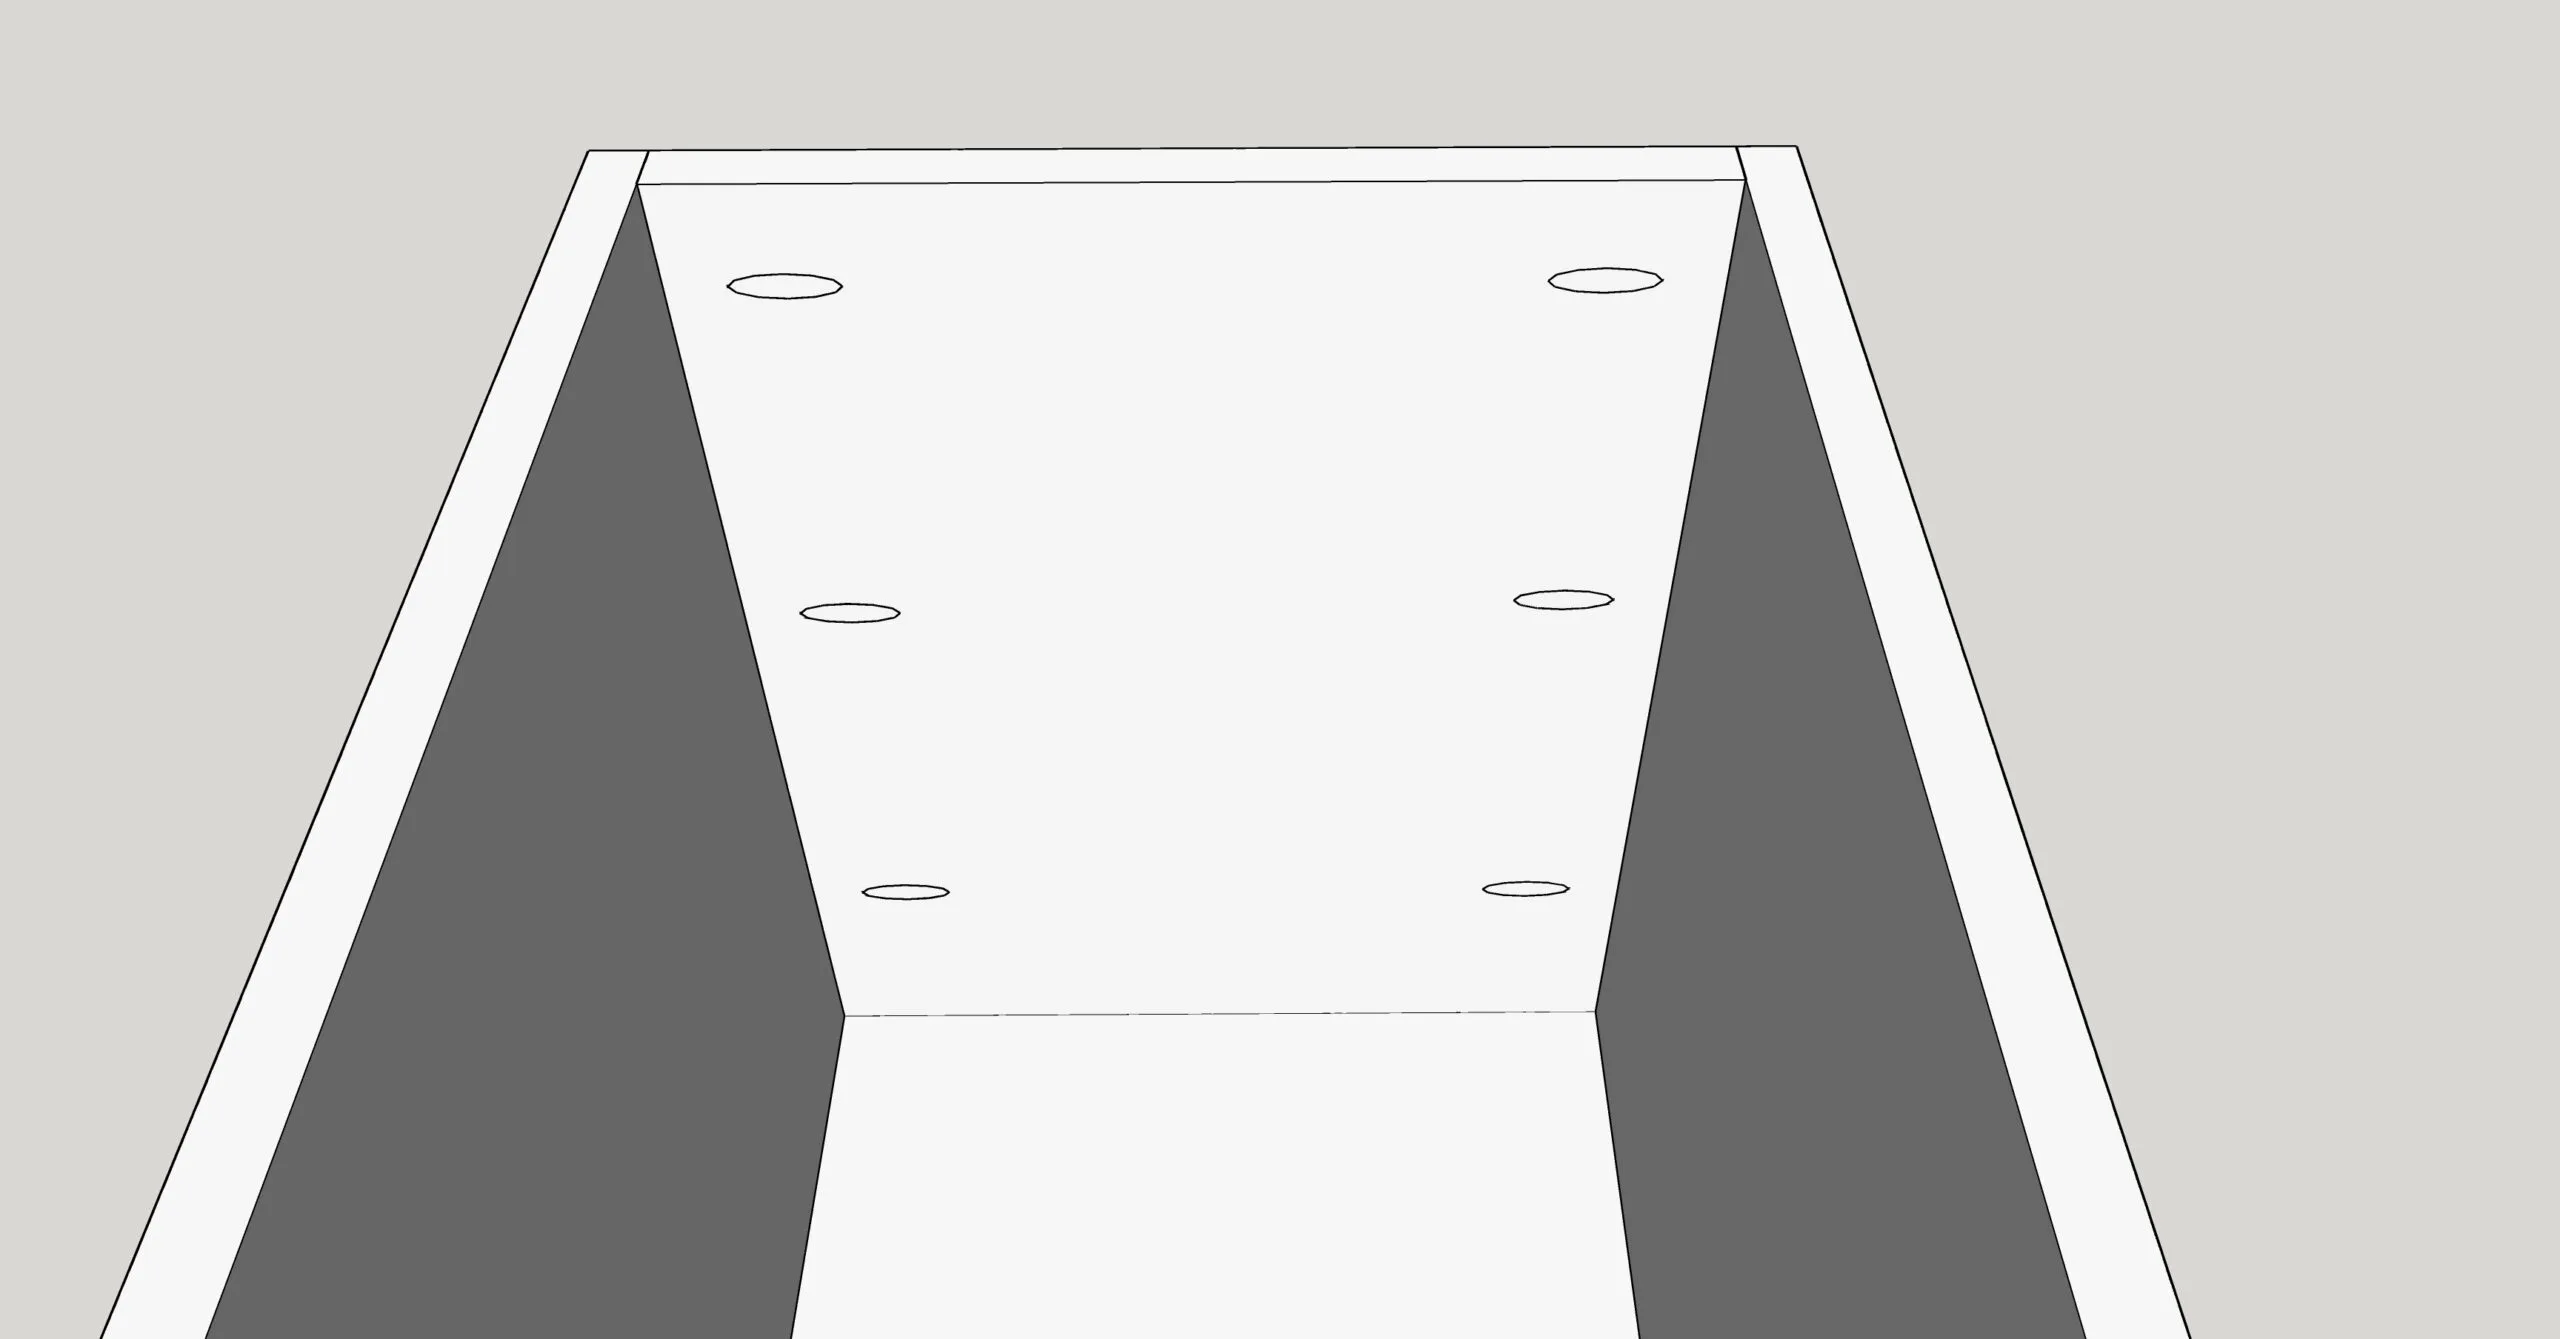
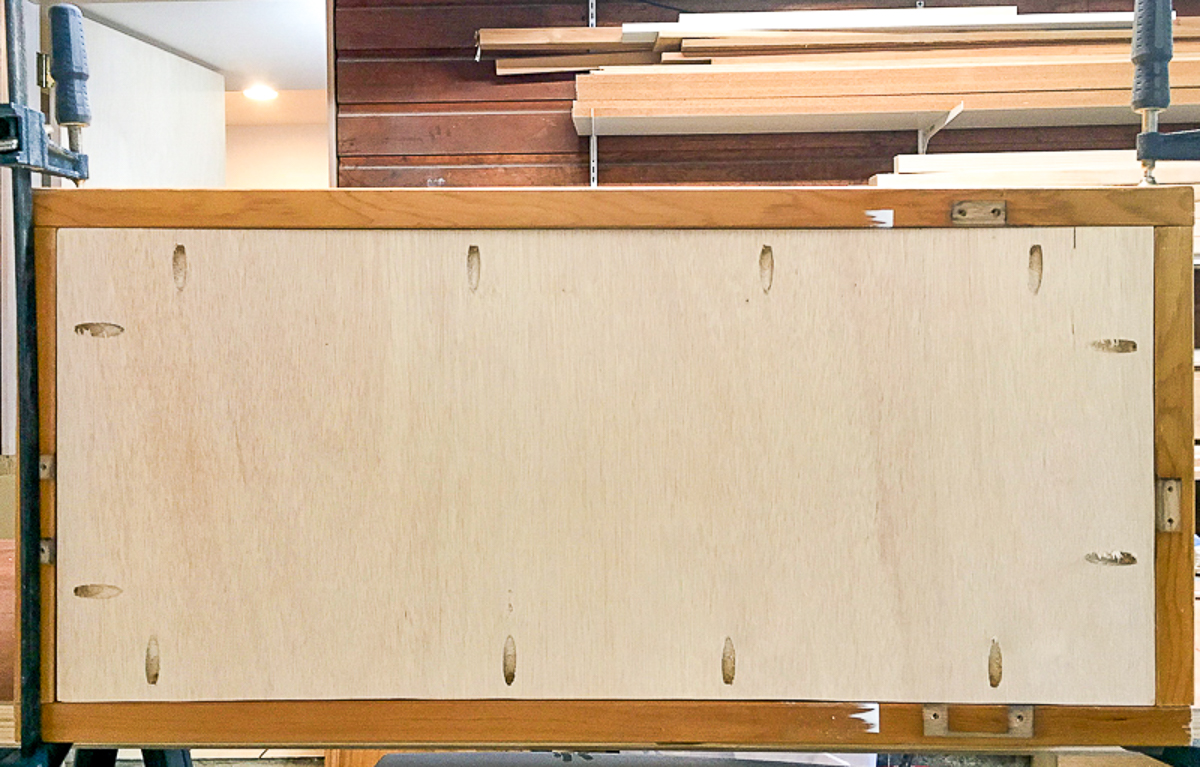
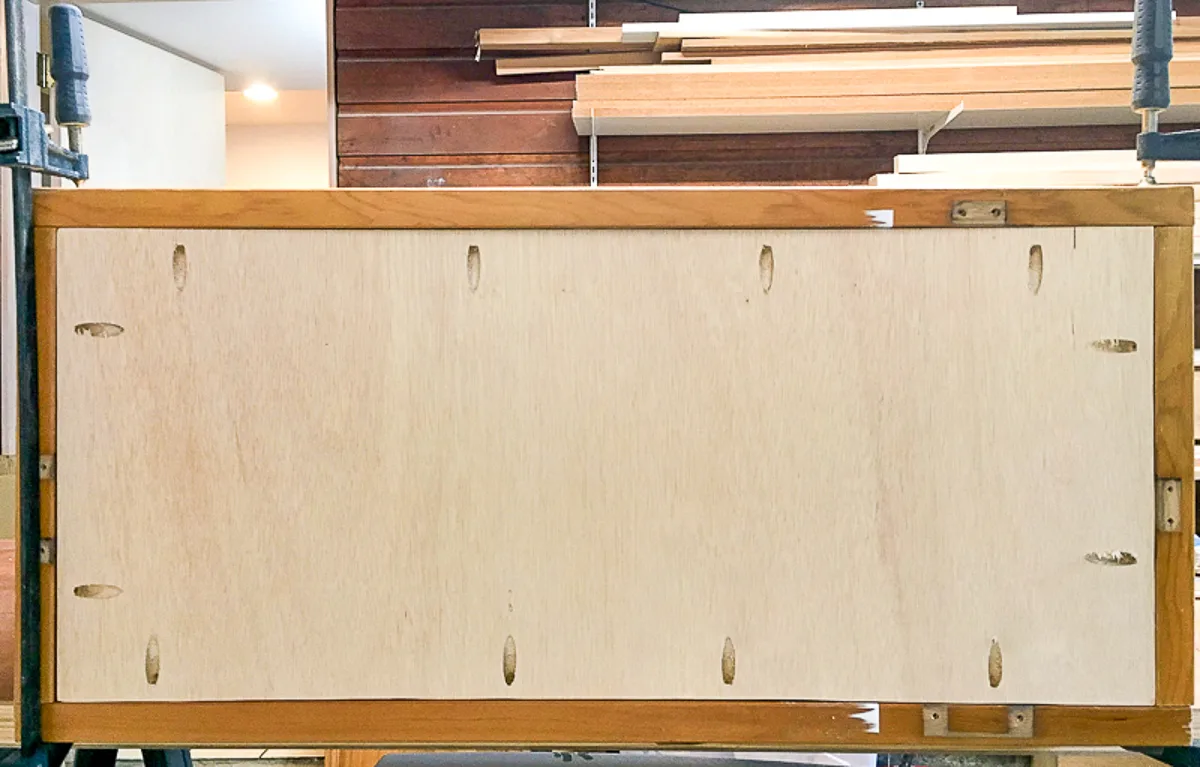
Drill the pocket holes
Drill pocket holes around the perimeter of the plywood bottom and the long edges of the side pieces.
Assemble the toy box
Clamp the sides of the box together, checking that it's square by measuring across the diagonal in both directions. If you get the same measurement, it's square. If not, squeeze across the larger diagonal to adjust it.
Fit the bottom into the opening, then screw it in place with 1 ¼" pocket hole screws.
Keeping the clamps in place, flip the box upright and screw the sides to the front and back with more 1 ¼" pocket hole screws.
Paint or stain your toy box
You can get really creative with painting your toy box with your child's name or different designs or colors to match your decor.
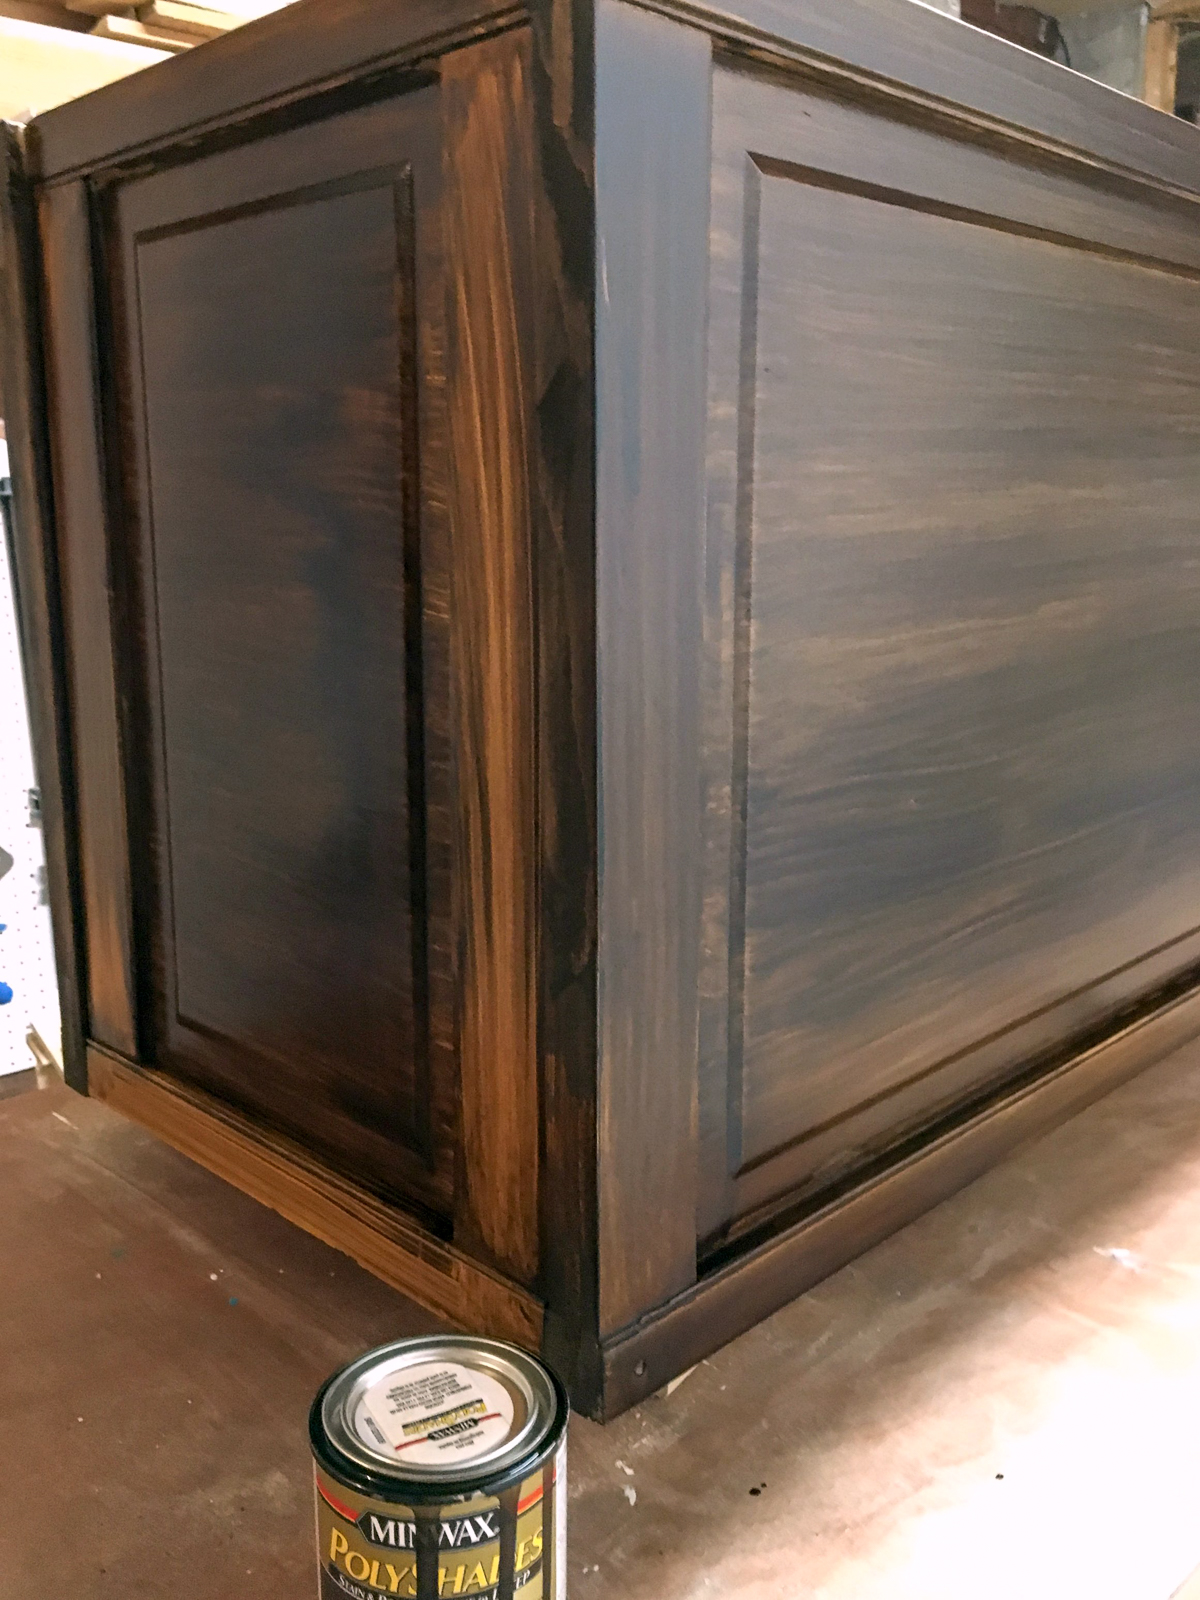
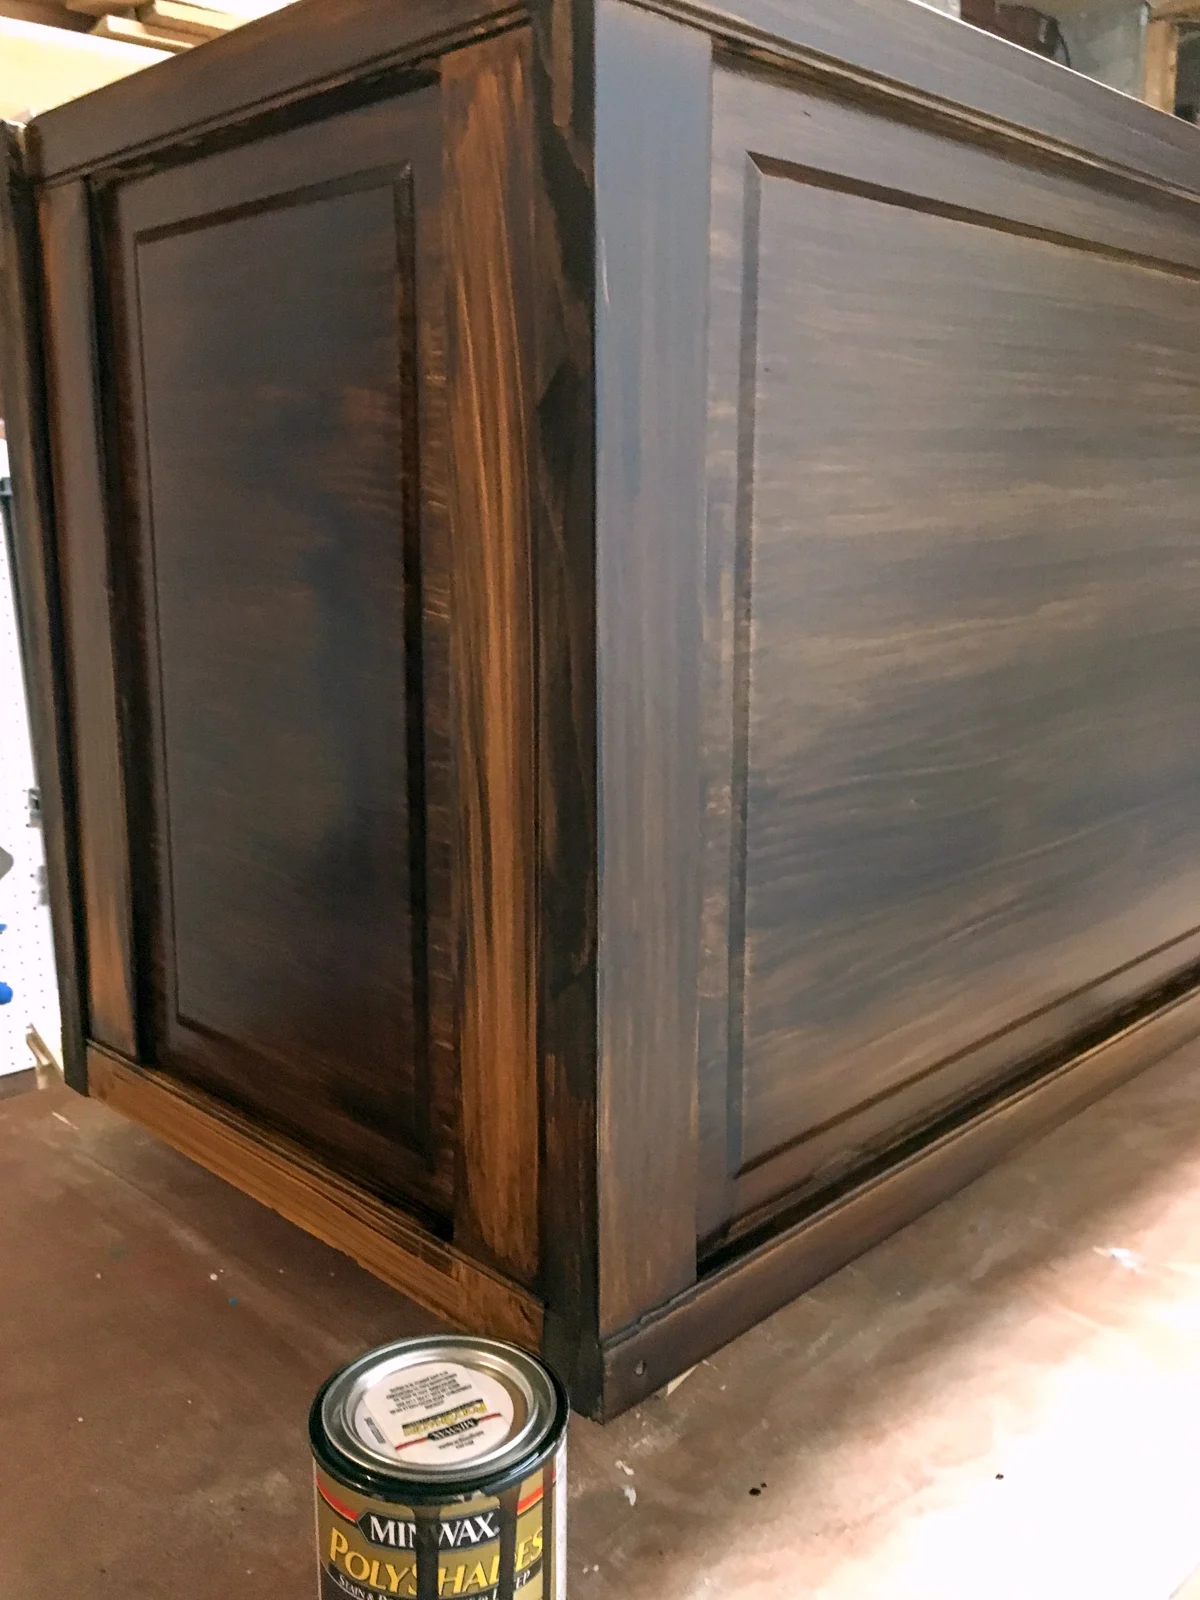
I wanted to change that orangey oak to a dark brown, but was feeling lazy and didn't want to sand all the pieces down to bare wood. I decided to try Minwax's Polyshades stain, which says it can be used on previously stained and sealed surfaces, and a light sanding is all the prep you need.
Wrong! This stuff goes on like wood colored paint, and just sits on the surface. The stain smeared like finger paint every time the brush went near it. It looked like I was trying to paint faux wood grain, badly!
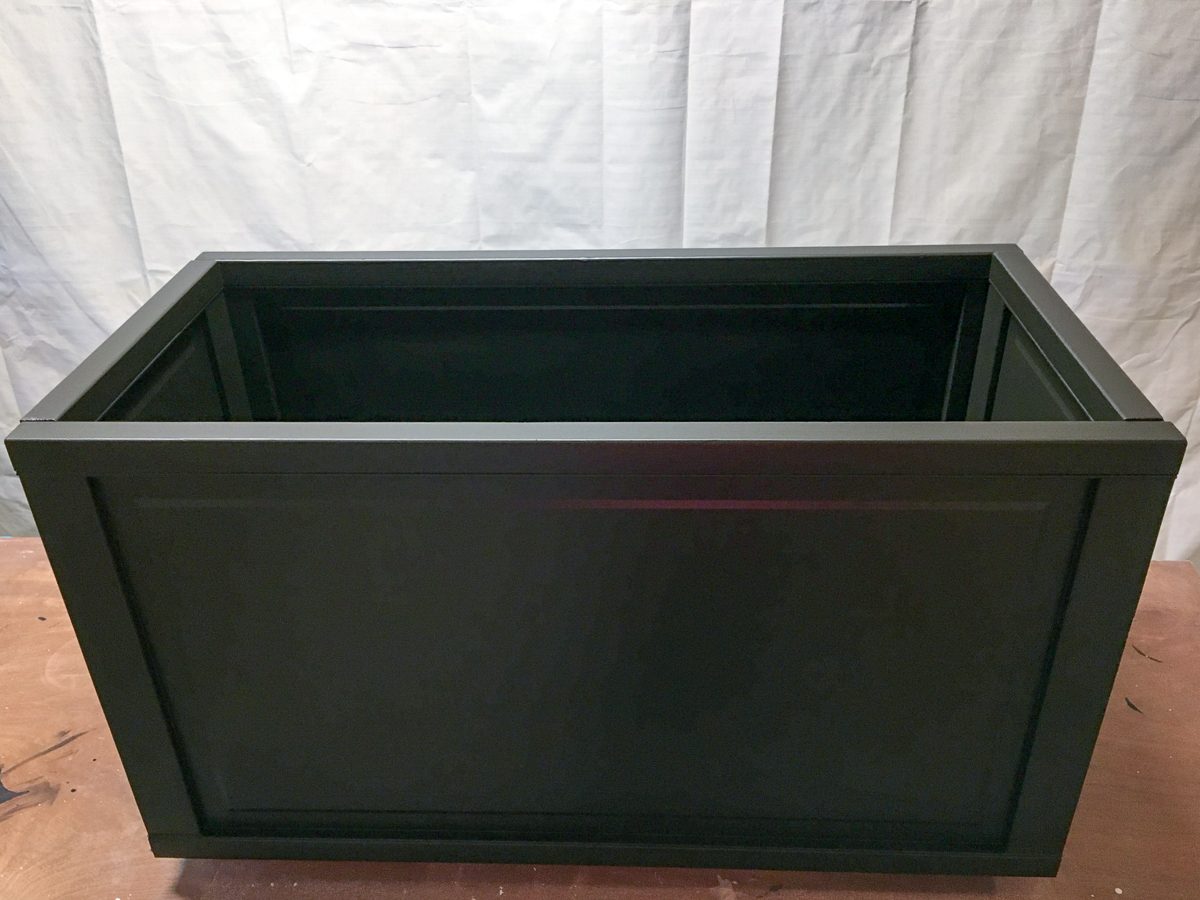
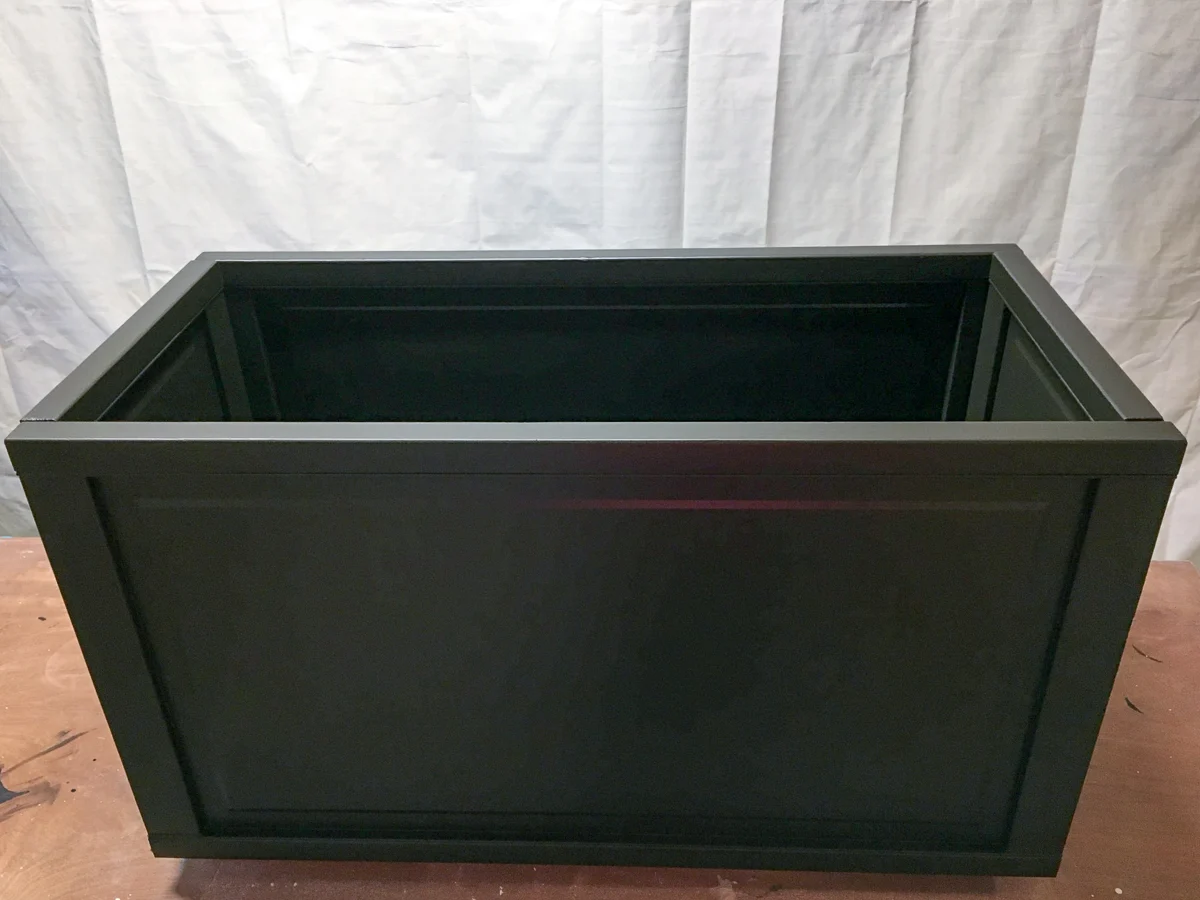
I gave up staining halfway through, and let it dry while I contemplated a solution. I decided to paint over the polyurethane with a dark espresso brown color to cover it up. Much better!
Spray paint the brackets (optional)
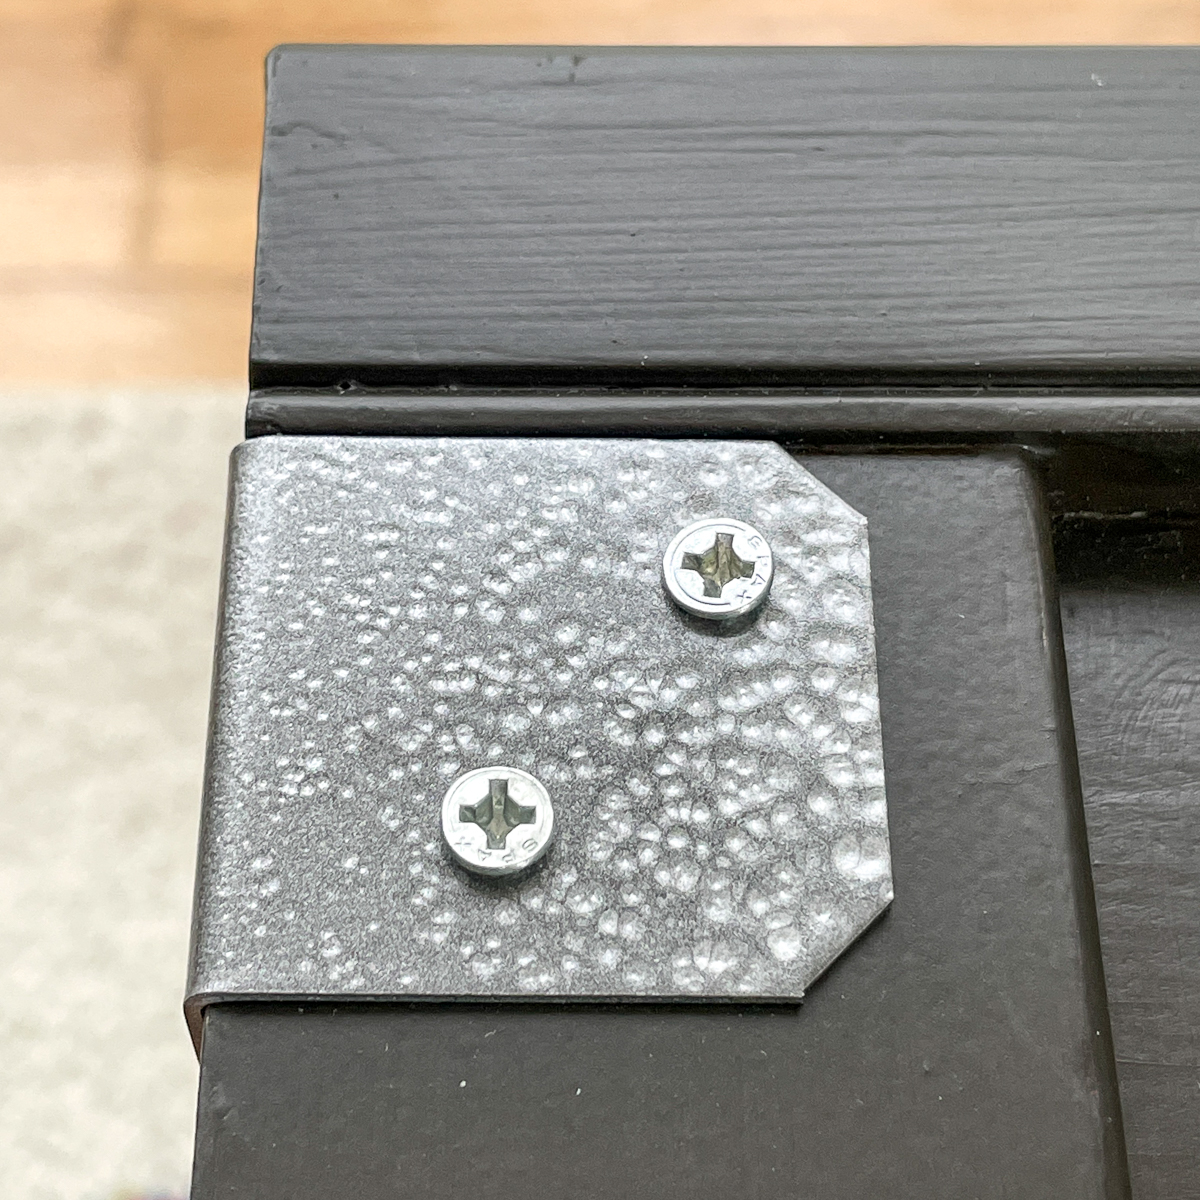
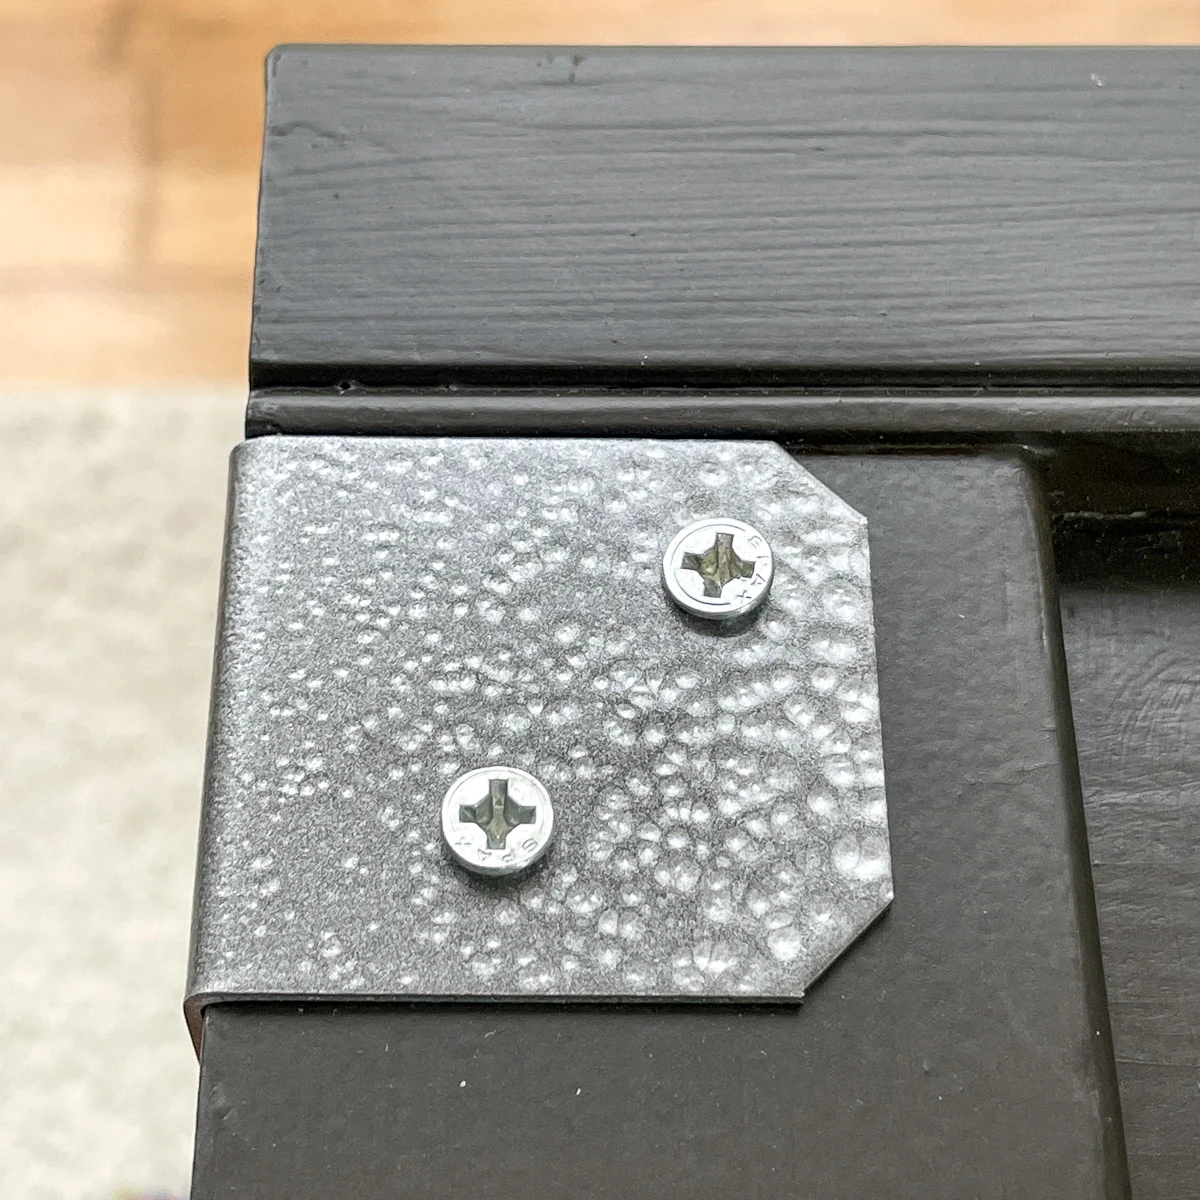
This big brown box was looking a little blah, so I decided to add a little bling with some metal brackets on the corners. I used similar brackets on these deck railing planter boxes I made, and it gives a boring box more dimension.
I used two different types of metal brackets, but they look a little too industrial as is. To give them an aged look, I applied a coat of Rustoleum's Forged Hammered Antique Pewter spray paint.

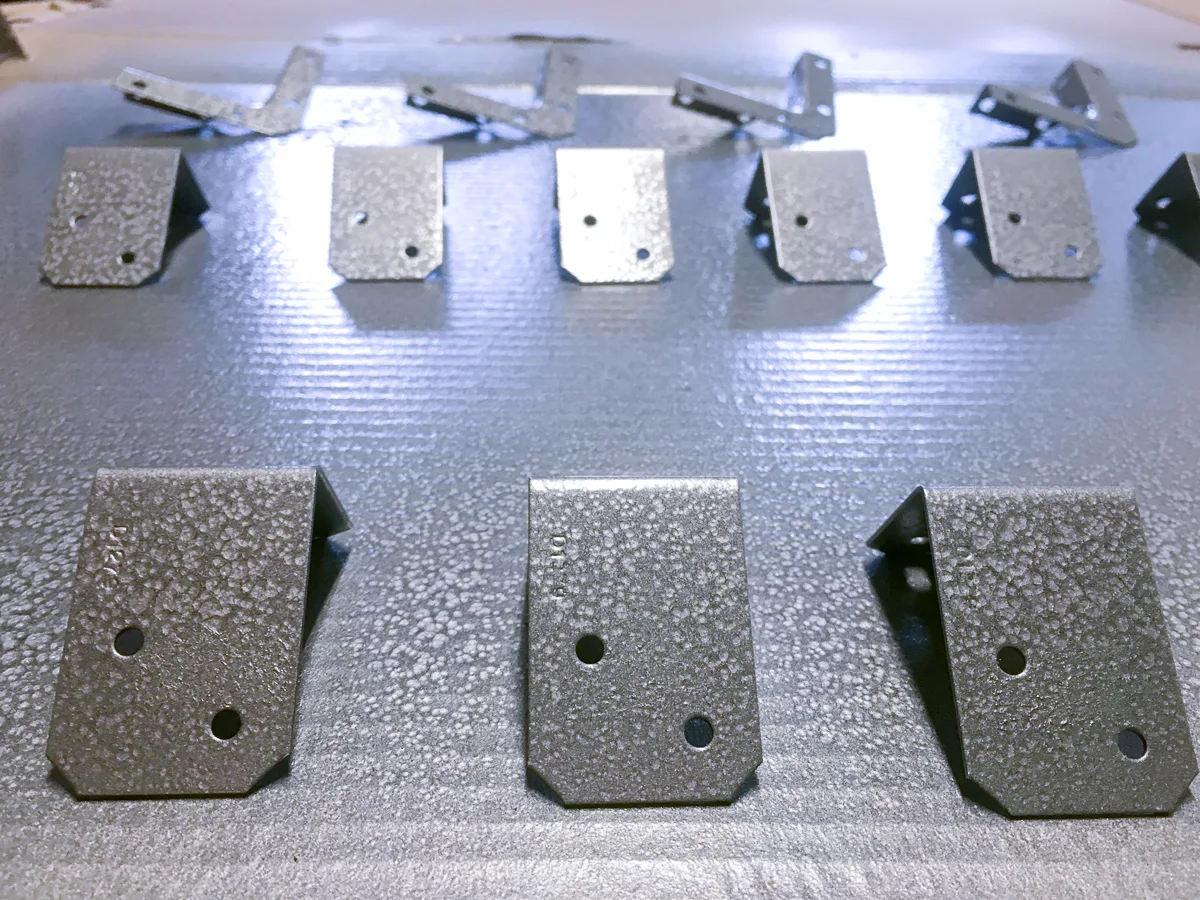
The trick for working with this stuff is to do everything you're NOT supposed to do with spray paint! I applied it fairly thick, just a few inches away from the brackets. It looked flat at first, then magically beaded up to create that hammered texture. So cool!
Attach the brackets and casters (optional)
Use short wood screws to attach the brackets to the inside and outside corners of the box. It helps to drill pilot holes first, so the screws go in smoothly without splitting the wood.
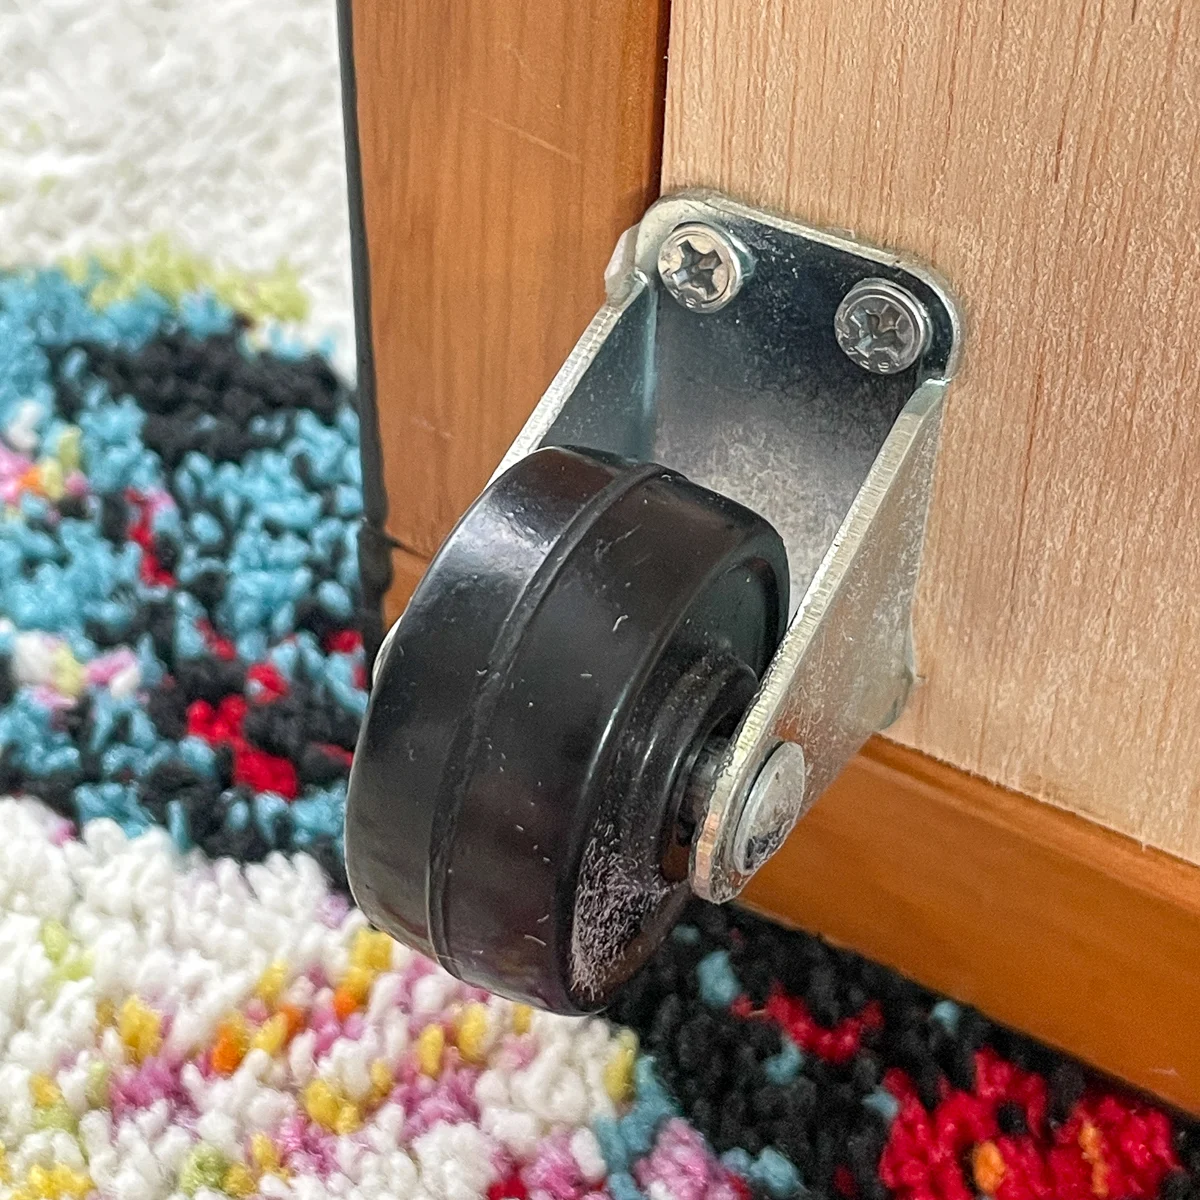
I wanted to be able to roll the toy box around to make it easier to clean up at the end of the day. Just flip the box over and screw 2" casters to the plywood bottom. You can get locking casters if you want it to stay in place while your little one is reaching in for toys.

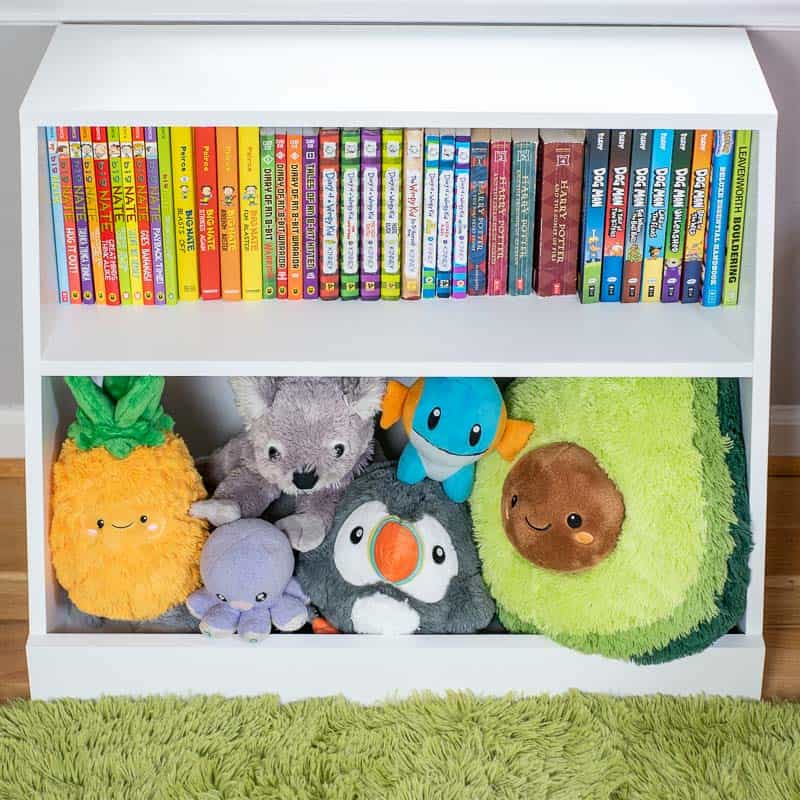
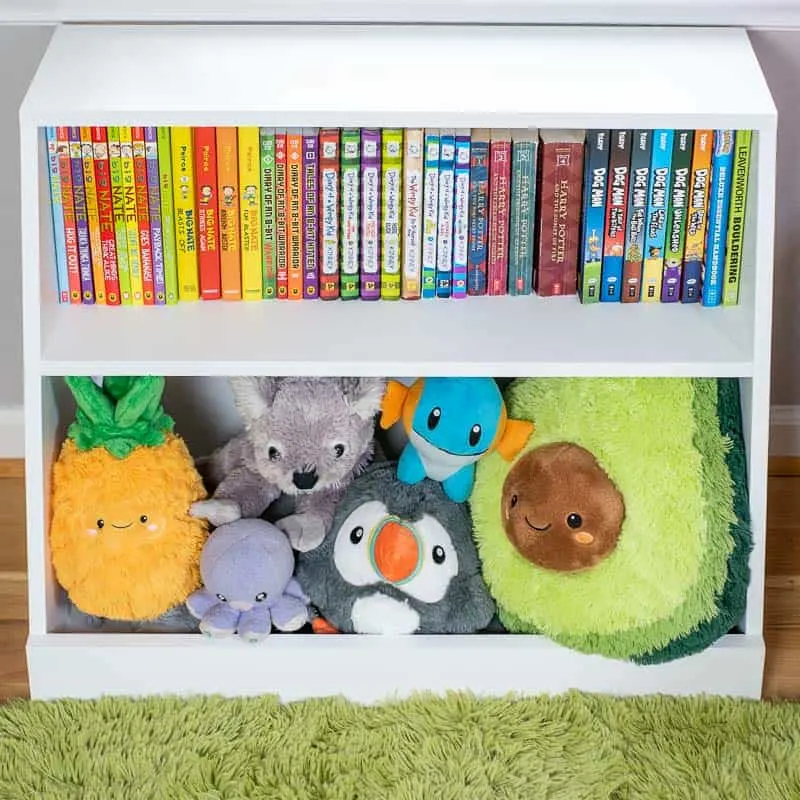
Fill your new toy box with toys!
We try to keep most of my son's fuzzy friends in the DIY stuffed animal zoo I built for him, but they seem to multiply weekly! Clean up is easy when you toss everything into the toy box, and there's no lid to slam down on little fingers.
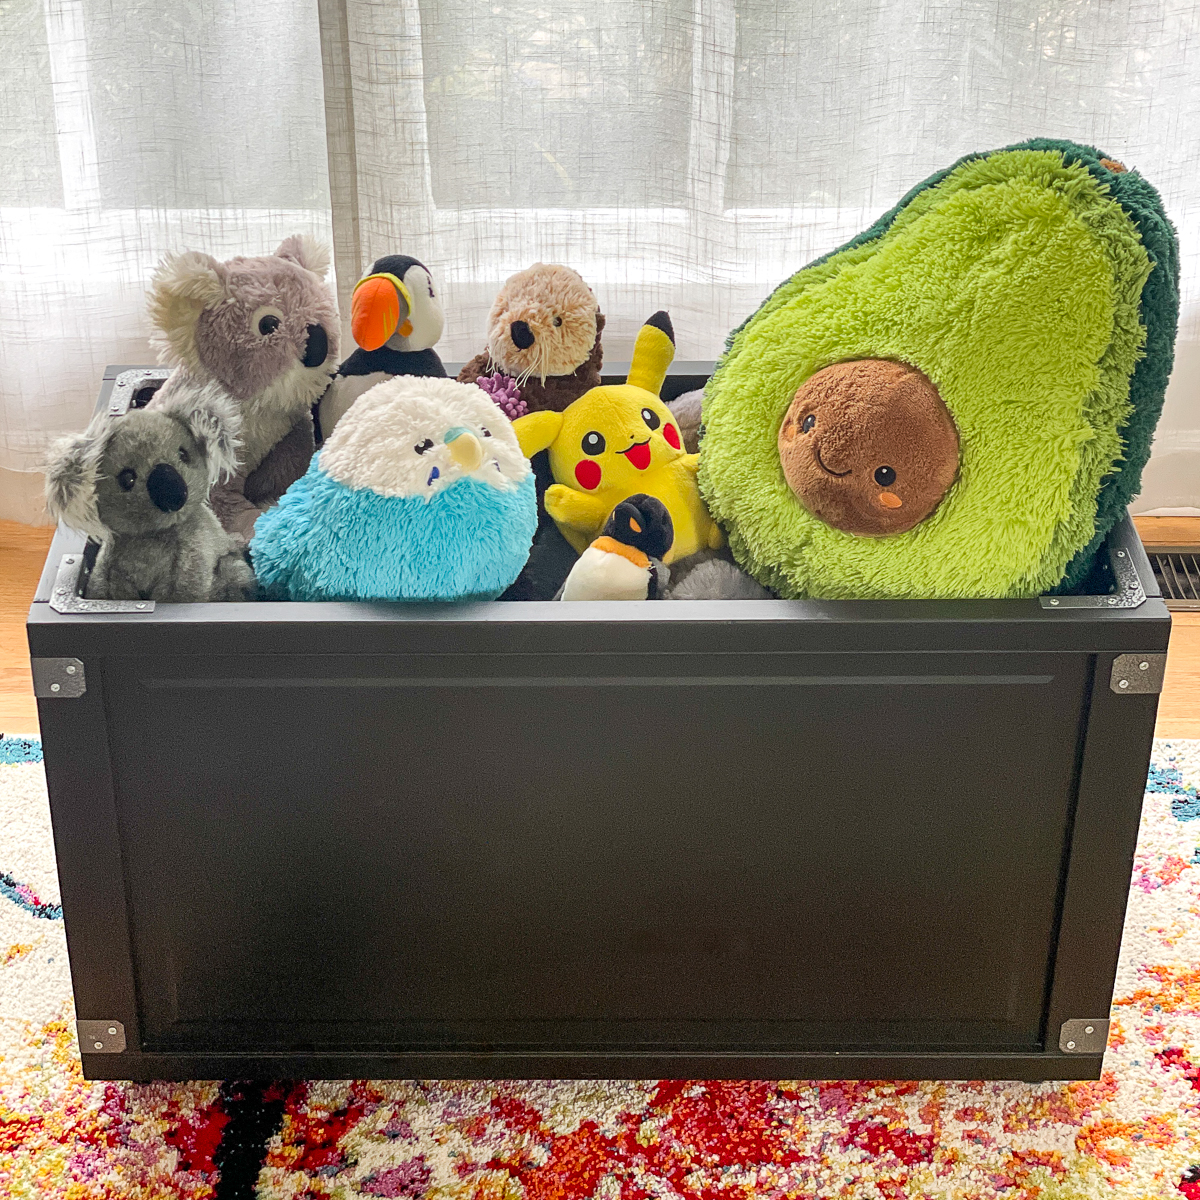
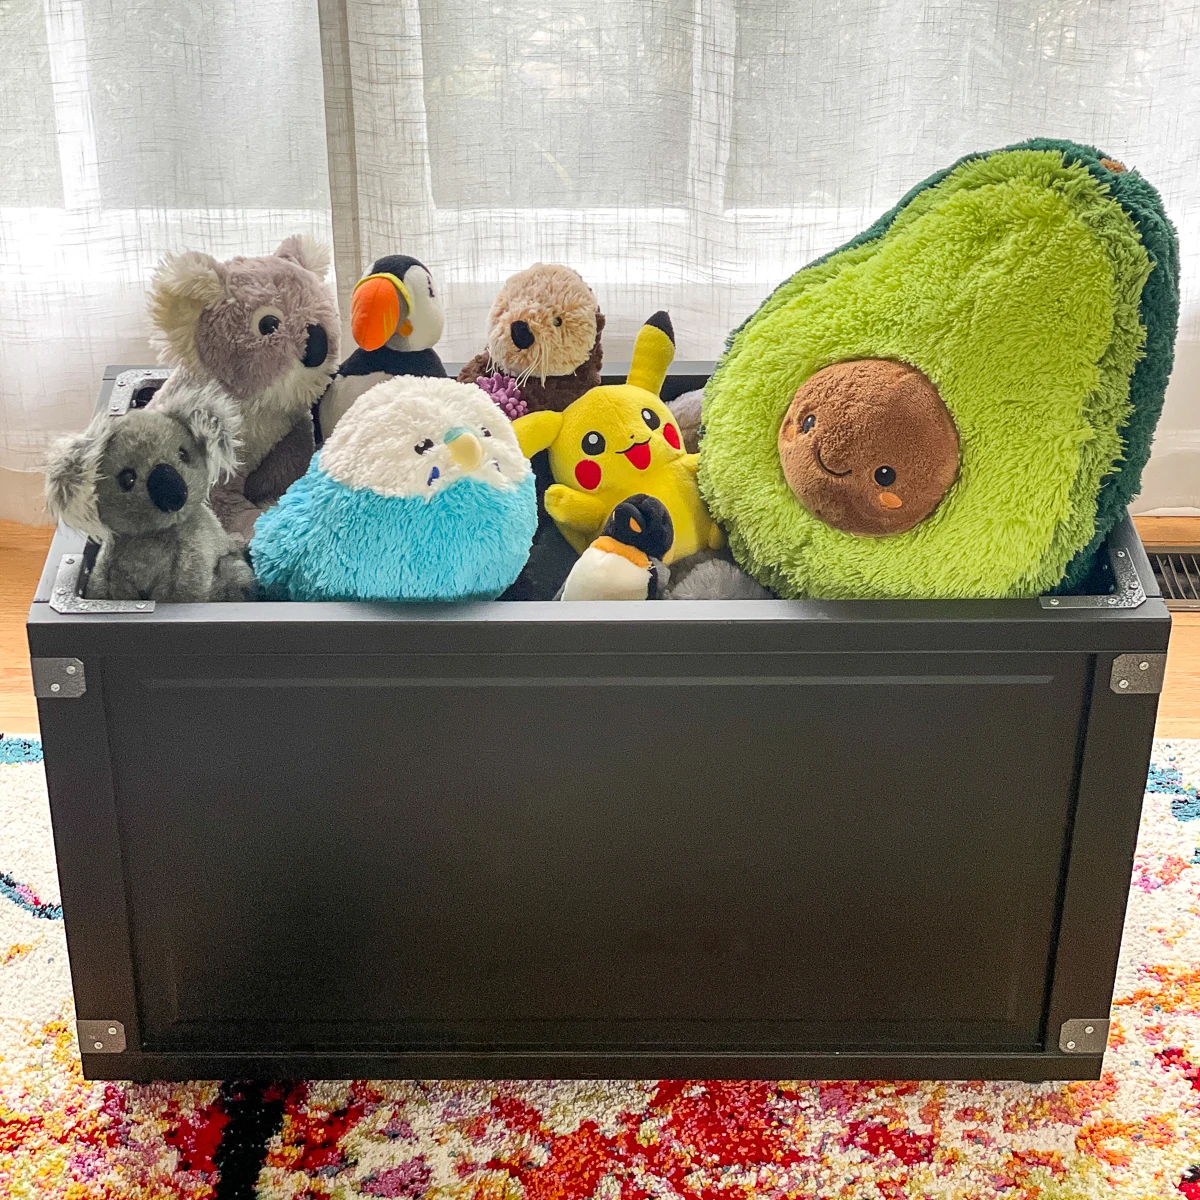
It fits a surprising amount of toys for a fairly small footprint! The wheels make it easy to move around or hide away.
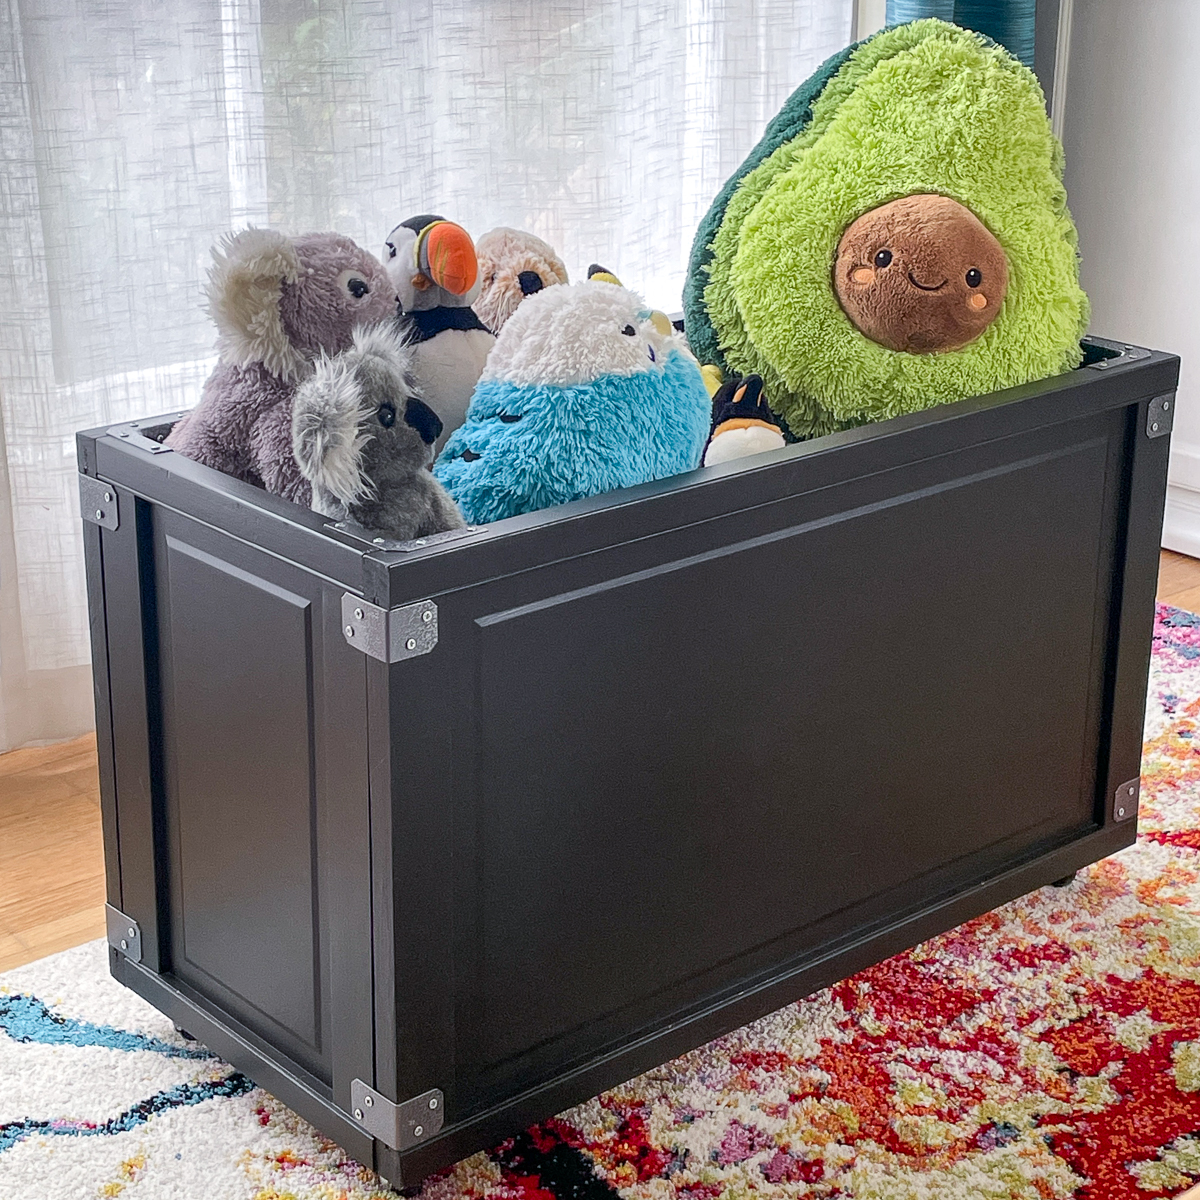

I love how this DIY toy box turned out! It's a great project for beginners, and really helps keep those toys and stuffed animals in one spot!