Need more kitchen storage? Want to fill that awkward nook with a custom cabinet? I'll show you how to build a pantry out of a single sheet of plywood!
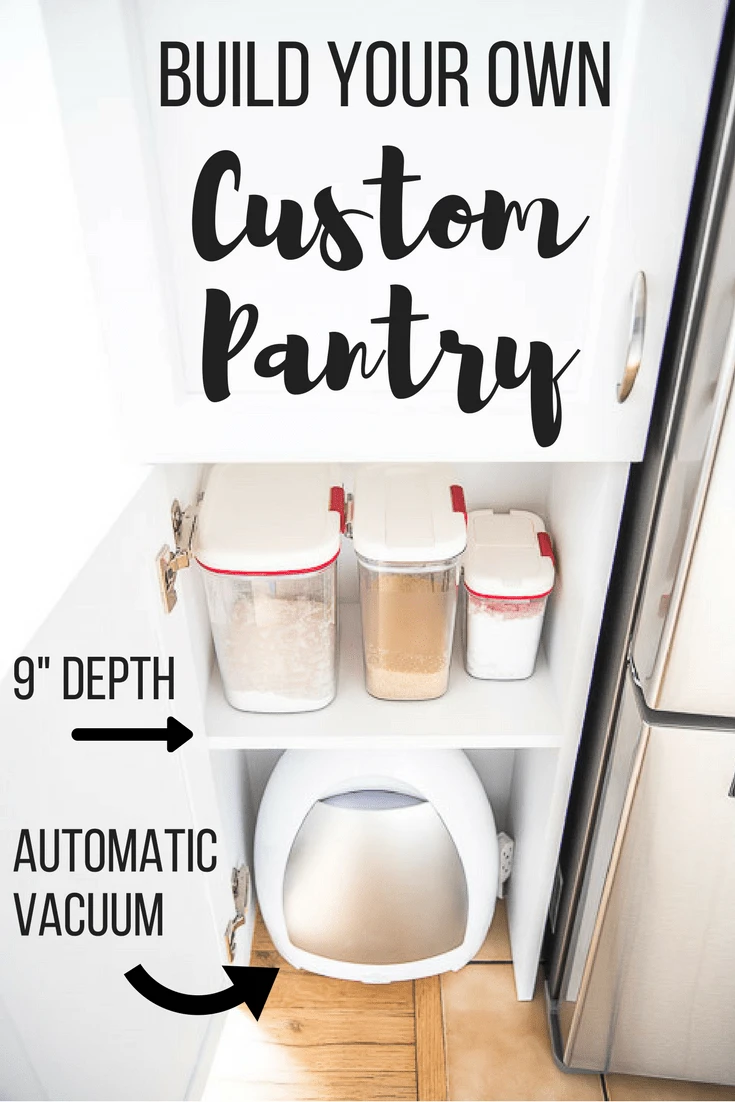
We had an awkward space in the kitchen that was begging for some sort of storage. But you can't just buy a 9" deep cabinet at the local home improvement store!
I'll show you how to build a pantry out of a single sheet of plywood, and finish it off with new cabinet doors, so it blends in with the original kitchen.
This post is sponsored by CabinetDoorMart.com and contains affiliate links for your convenience. Purchases made through these links may earn me a small commission at no additional cost to you.
Last week, I showed you how to use a concealed hinge jig to drill holes for the hinges of my pantry. Now you'll get to see those gorgeous doors from Cabinet Door Mart in their new home! But first, I'll show you how to build a pantry for yourself.
Things to Consider When Building a Pantry Cabinet
When you build your own pantry, keep the proportions of the rest of the kitchen in mind. While having a floor to ceiling cabinet would have given us a little more storage, it would have looked out of place because none of the other cabinets go that high.
I matched the door height to the dimensions of another tall cabinet in the kitchen. Even though the doors are a different style, you don't notice at first because the proportions are the same.
Check out my post on how I painted these 80's melamine cabinets with oak trim, and the amazing before and after photos!
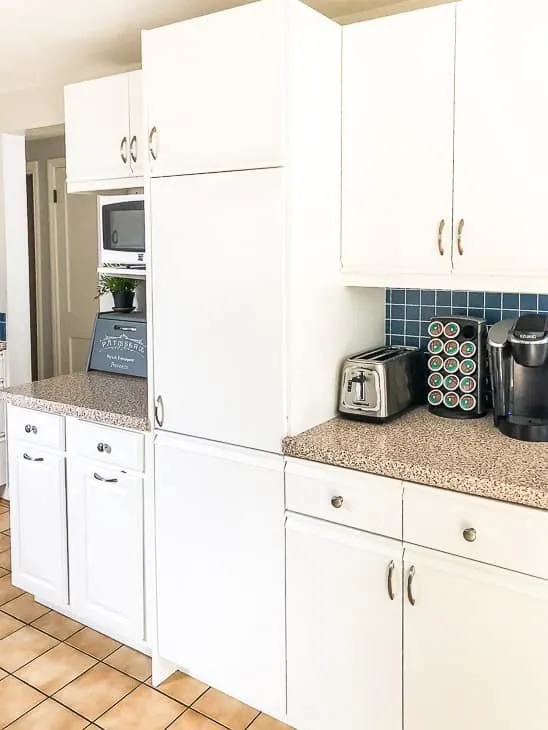
Also keep in mind the dimensions of the door handles when deciding on the depth of the cabinet. I didn't think about this beforehand, and it was almost a disaster! Luckily, the refrigerator door stops less than an inch from the cabinet door handles. Whew!
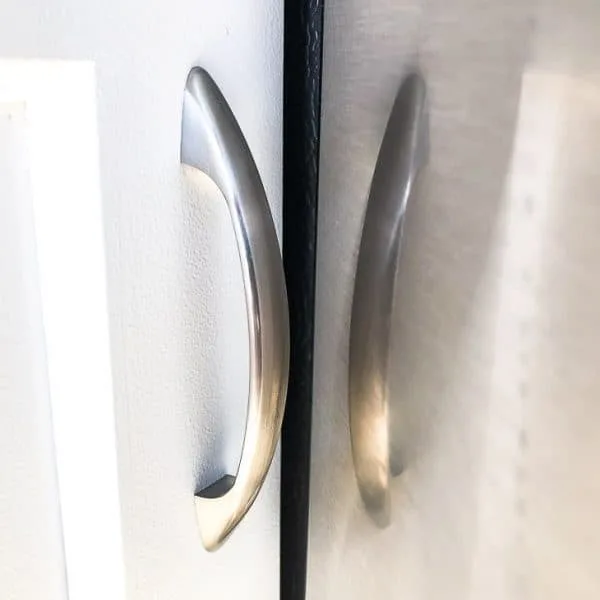
Before drilling the hinge holes, think about which way you want the door to open. It felt more natural to have mine open from the left, but the doors would bump into the corner of the fridge and leave dents in the wood.
Check out this post on the different parts of a cabinet if you've never built one before! I also have a full tutorial on how to build a base cabinet if you don't want a tall pantry.
With all those issues sorted out, it's time to build! My pantry dimensions will probably be different from yours, but I've provided the cut list I used to get you started.
Materials
- 1 sheet of ¾" cabinet grade plywood
- Save yourself the trouble of ripping a huge sheet of plywood at home by having it cut at the store! I had them cut the long pieces so I could get everything into my car, then cut the shorter ones on the table saw at home.
- Pocket hole jig
- Check out my tutorials on how to use a Kreg Jig and how to use pocket holes if you're not familiar with this tool. It's a total game changer!
- 1 ¼" pocket hole screws
- Drill
- Sander and sandpaper
- Edge banding
- Edge banding trimmer
- Iron
- Square
- Corner clamps (optional, but really helpful!)
- These are the ones I used. Love them!
- Cabinet doors
- Cabinet Door Mart can create custom sized doors for your pantry!
- Hinges
- Concealed hinge jig
- Paint or stain to match existing cabinetry
- 2 ½" cabinet screws
- Level
- Shims
- Stud finder
Prepare the Cut Pieces
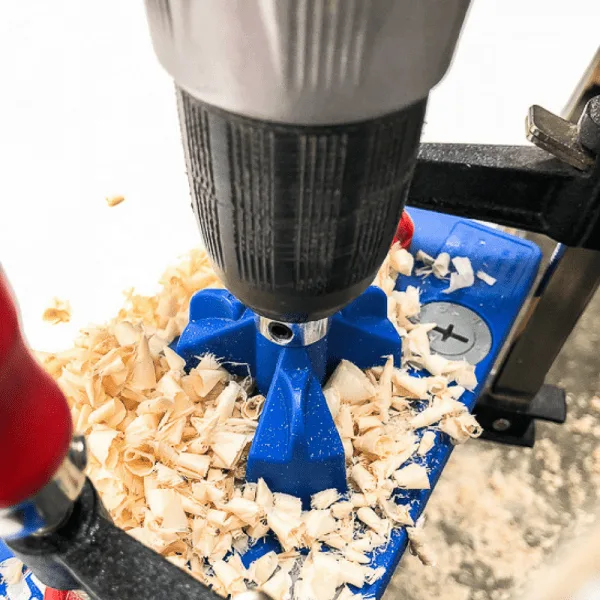
Start by drilling pocket holes in the back and shelf pieces. I used the Kreg R3 along both long edges of the back piece, and on three sides of the shelves. The long edge with the cleanest cut should be the one without the pocket holes.
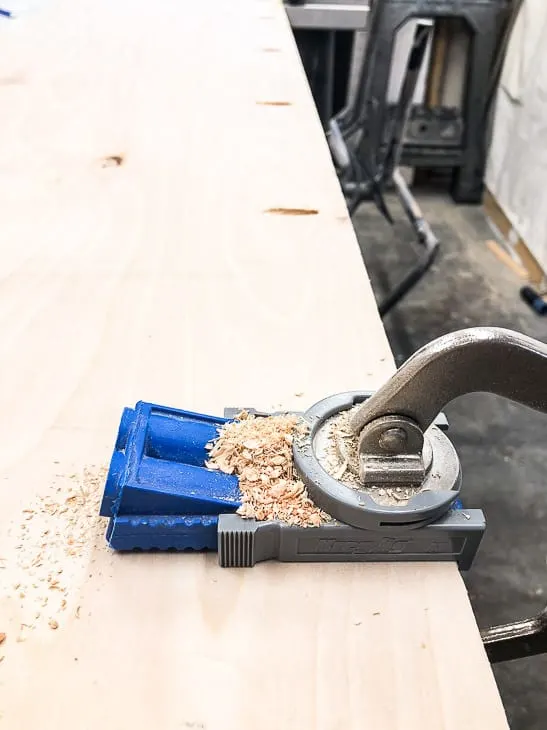
Give all the pieces a good sanding to remove any rough spots or splinters. Remove all the sanding dust.
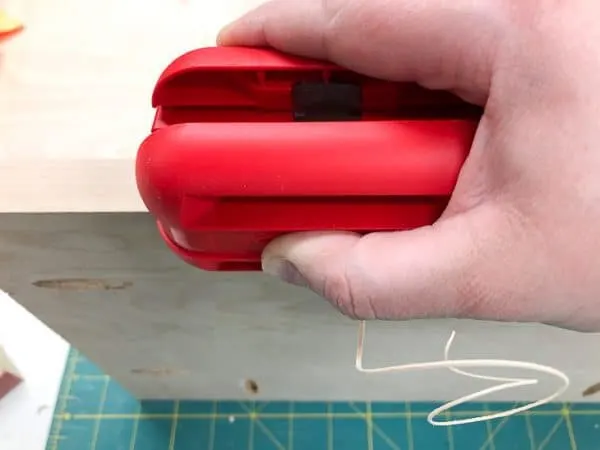
Plywood edges aren't the prettiest thing to look at, and they can be kinda rough. I use edge banding to give them a finished, professional look. Here's my tutorial on edge banding with all my tips. You only have to apply edge banding to the front edge of the side pieces and shelves.
Assemble the Pantry Cabinet
Start by attaching the top and bottom shelves to the back. Keep the pocket holes hidden by positioning the back to face the wall, and the top and bottom pieces facing the floor and ceiling.
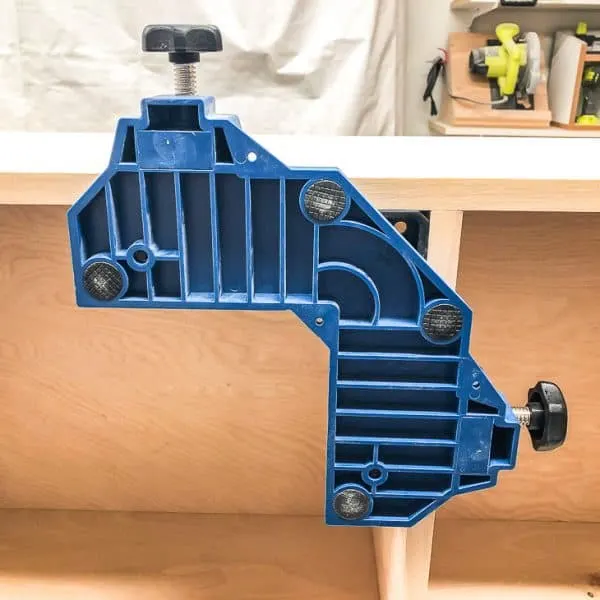
When putting together these big plywood pieces, it helps to have a second set of hands to hold them upright. I'm usually alone in the workshop, so I invested in some new corner clamps that worked amazingly well! Everything is held tight at a perfect right angle, so all I have to do is screw the pieces together.
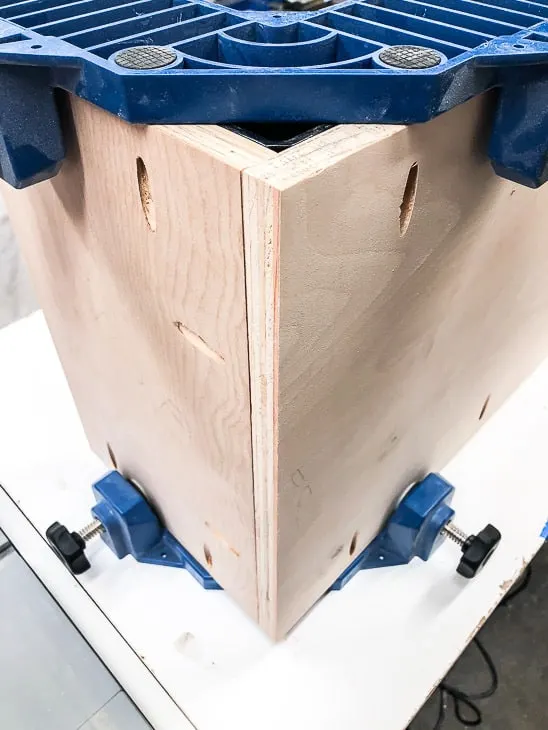
Position the other shelves at the points where the cabinet doors meet. Use 1 ¼" pocket hole screws to attach them to the back. If you want adjustable shelves, drill shelf pin holes in both sides of the cabinet first.
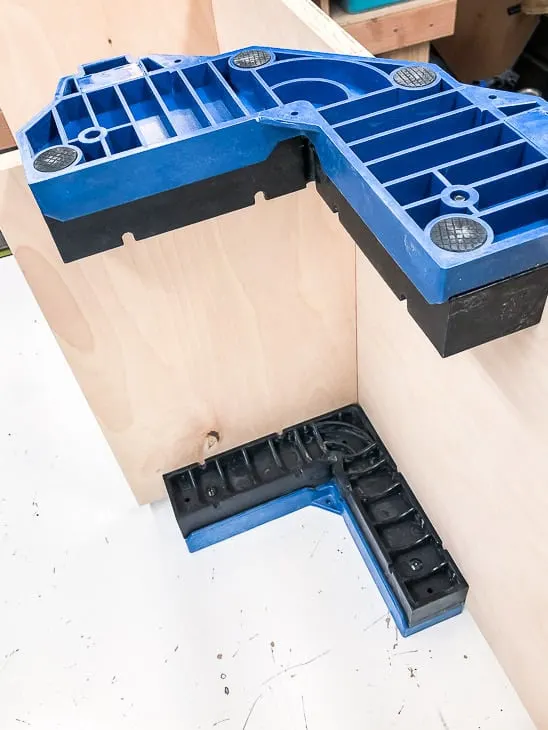
Next, attach the sides, making sure to position the edge banding towards the front of the cabinet. I used the corner clamps underneath to hold the shelves at a 90 degree angle while attaching the first side.
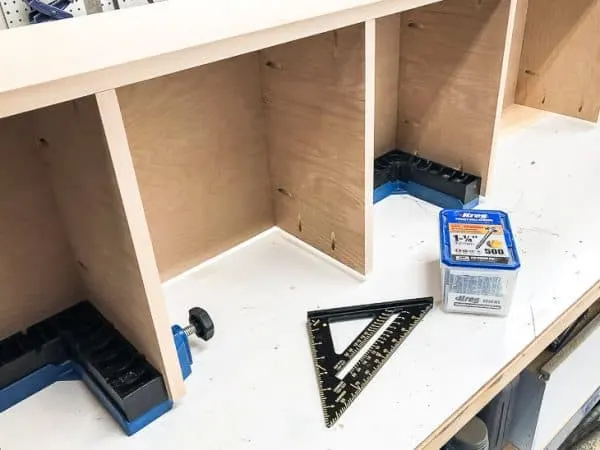
Then I clamped them to the face while I screwed in the other side.
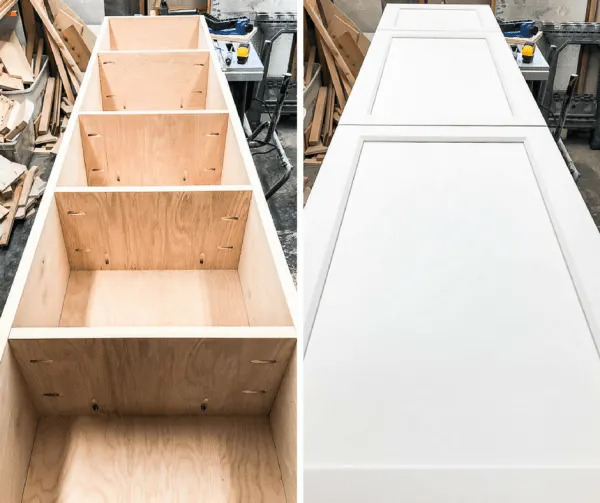
If everything is square, your cabinet doors should line up with the edges of the pantry. I breathed a huge sigh of relief when my new Cabinet Door Mart doors fit perfectly!
Paint and Install the Pantry Cabinet
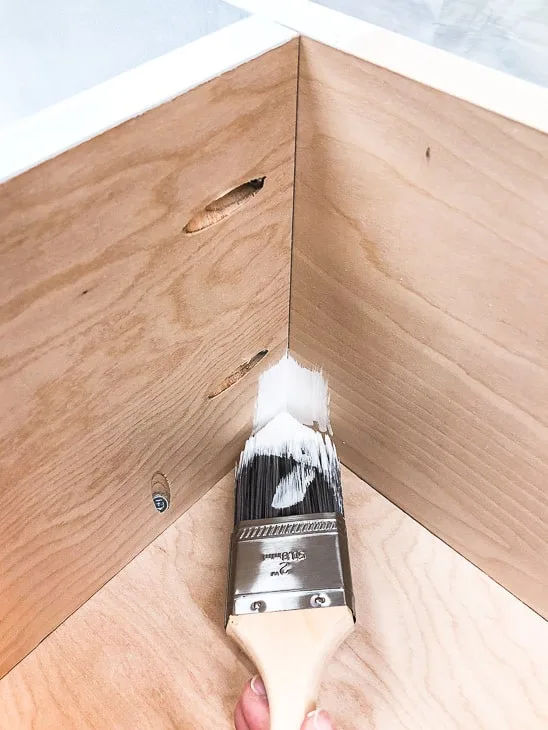
It took two coats of primer and two coats of paint (Decorator's White by Benjamin Moore) to get complete coverage on the plywood. This double angled paintbrush made getting into those interior corners much easier!
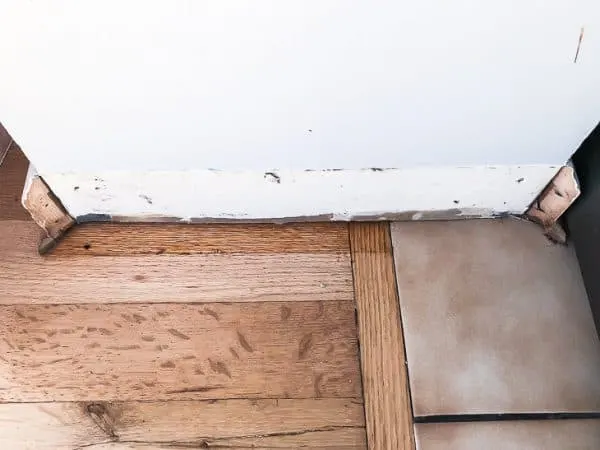
Remove any baseboards that might be in the way of your new pantry cabinet.
Find the studs in your wall, and mark their position on the inside of the cabinet. You can learn how to find a stud in the wall here.
If your floor is uneven, stick shims under the cabinet until it's level. My pantry straddles the line between the tile floors of the kitchen and hardwood floors (and our house is over 70 years old, so nothing is flat anymore), so there's a bit of a height difference. I plan to extend the baseboard trim to the front of the cabinet to hide the gap.
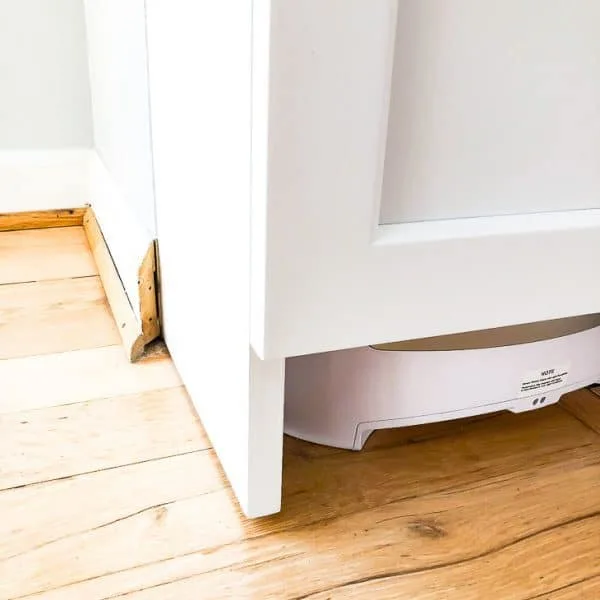
Drill through the back of the cabinet and into the studs with 2 ½" cabinet screws to hold it in place on the wall. Now you can slide out the shims.
I left off the bottom shelf and the toe kick to accommodate our automatic vacuum. One of the best parts about building your own cabinets is the ability to customize them to suit your needs!
Now we can sweep crumbs straight into the vacuum without even opening the cabinet door. The vacuum senses the movement of the broom and turns on automatically!
Install the Cabinet Doors
I had already drilled the hinge holes for the cabinets. The hinges just drop into the holes and screw into the pilot holes made by the jig.
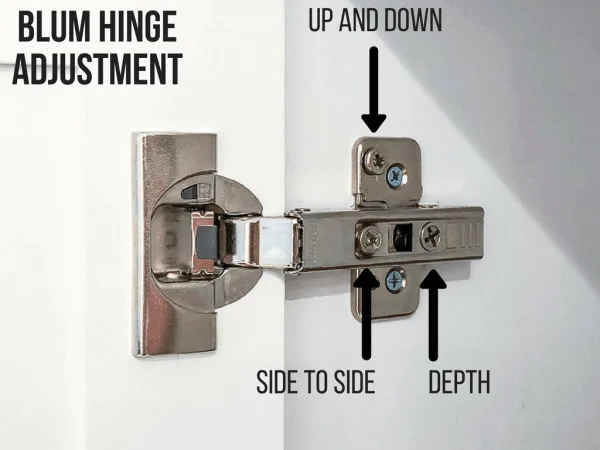
Install the other side of the hinge to the inside of the cabinet. The two halves of the hinges click together easily. Adjust the position of the door by turning one of the three screws on the cabinet side of the hinge.
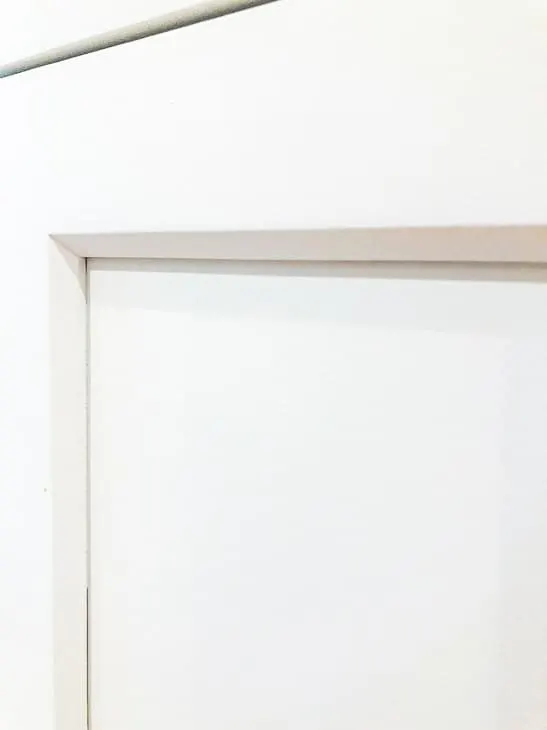
I love the clean, modern look of the Artesia doors from Cabinet Door Mart! They have the classic look of Shaker style doors, but with a little added detail of beveled edges.
Organize Your New Pantry
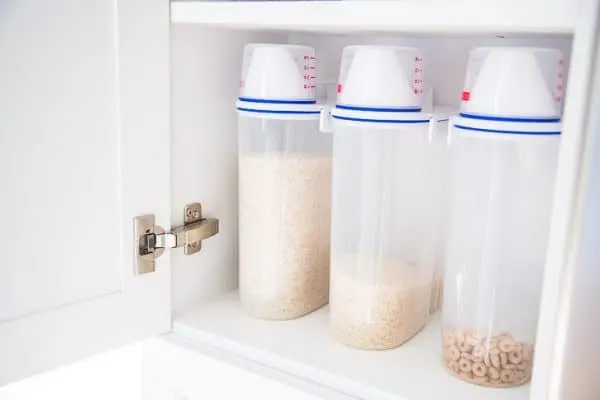
We plan to use this new pantry to hold all the household staples, and I'm determined to keep it organized! I have separate plastic containers for brown sugar, flour, and white sugar to keep all the baking supplies together.
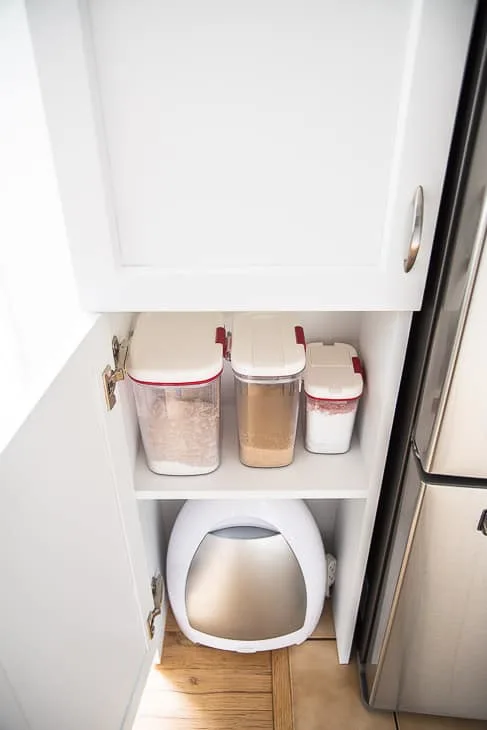
We buy rice in bulk and keep it in the basement, but these containers make it easy to store smaller quantities in the kitchen. The attached measuring cup is an added bonus!
These stackable bins are perfect for storing snacks and breakfast bars.
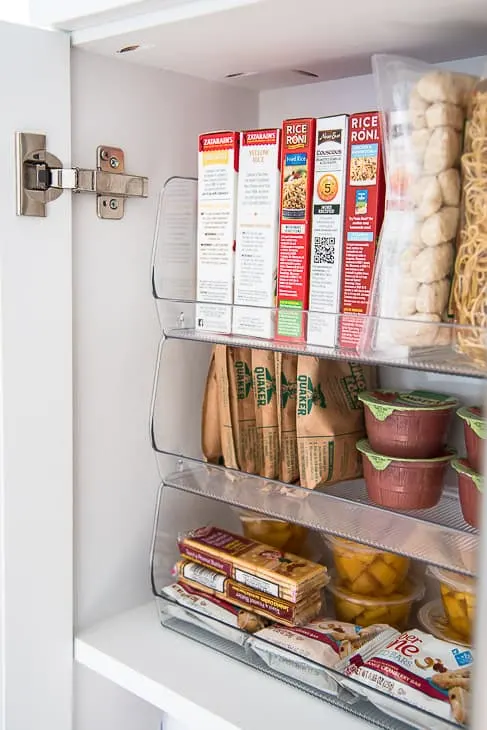
It's amazing how much storage space you can get out of just 9 inches of cabinet depth!
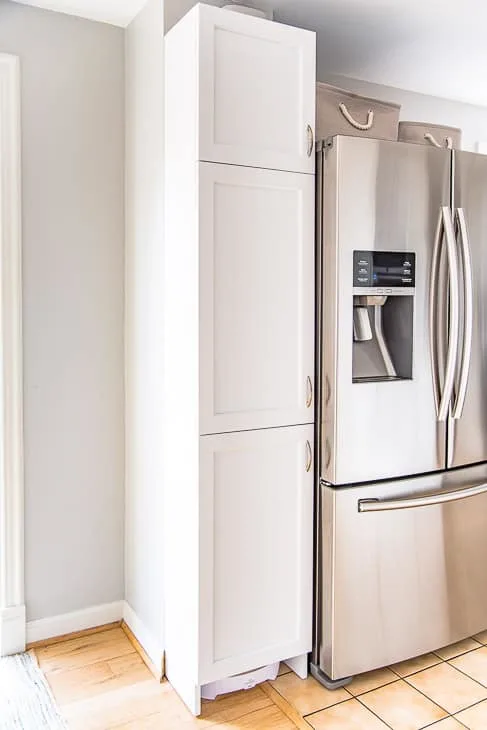
I'm so glad I finally got around to building this pantry. Not only does it give us more storage, but it also extends the length of the kitchen visually, making it look bigger! It's a big change from our previously cluttered corner.
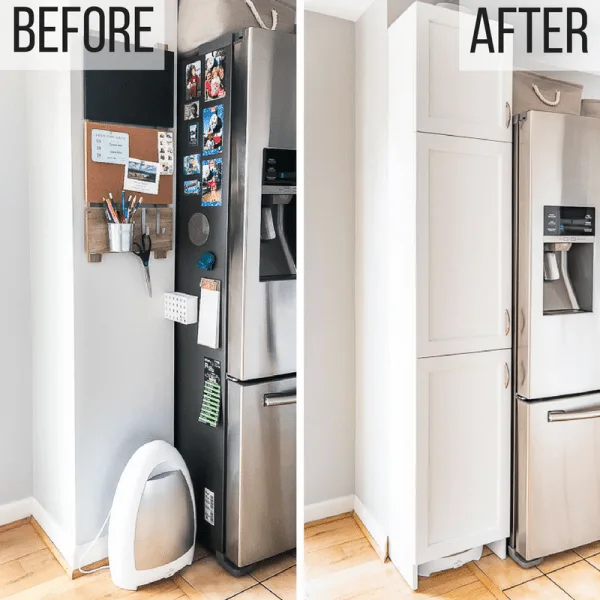
Now that you've learned how to build a pantry cabinet, go make one for yourself! This project would also be great for narrow bathroom storage, or even a craft cabinet. All it takes is a single sheet of plywood!
Check out these other kitchen remodel projects!

Susan
Tuesday 10th of April 2018
So-ooooo wish you were my neighbor, Vineta, so I could beg you to make one of these cabinets for me! :) Congrats, you're featured at the This Is How We Roll Link Party this week.
Sherry
Wednesday 4th of April 2018
I will feature this tomorrow at Home Sweet Home!
Vineta
Wednesday 4th of April 2018
Thank you so much, Sherry!
Richella Parham
Wednesday 4th of April 2018
What a great project! So much utility in such a small space. Brilliant!
Thanks so much for joining the Grace at Home party at Imparting Grace. I'm featuring you this week!
Sherry
Wednesday 4th of April 2018
What a useful project!! Love it. Thanks for sharing at Home Sweet Home!
Jann Olson
Tuesday 3rd of April 2018
What a perfect little pantry. Looks great and so handy! Thanks for sharing with SYC. hugs, Jann