

The miter saw is one of the easiest tools for beginners to learn! Get all my tips on how to use a miter saw, how to get straight, accurate cuts, and more!
Without a doubt, the miter saw is one of the most frequently used power tools in my workshop. It's also a great woodworking tool for beginners, and I built a lot of things all while learning how to use a miter saw correctly.
It gives you clean, precision cuts every time with the option of angled cuts between 45 degrees and 90 degrees. Whether you're crafting a picture frame or installing baseboards, a miter saw can be your best friend.
In this article, I'll demystify the miter saw. I'll guide you through its basic operations, share tips for achieving clean cuts, and highlight safety practices to ensure you get the best results. Let's get started!
This post contains affiliate links for your convenience. Purchases made through these links may earn me a small commission at no additional cost to you. Please visit my disclosures page for more information.
What is a miter saw?
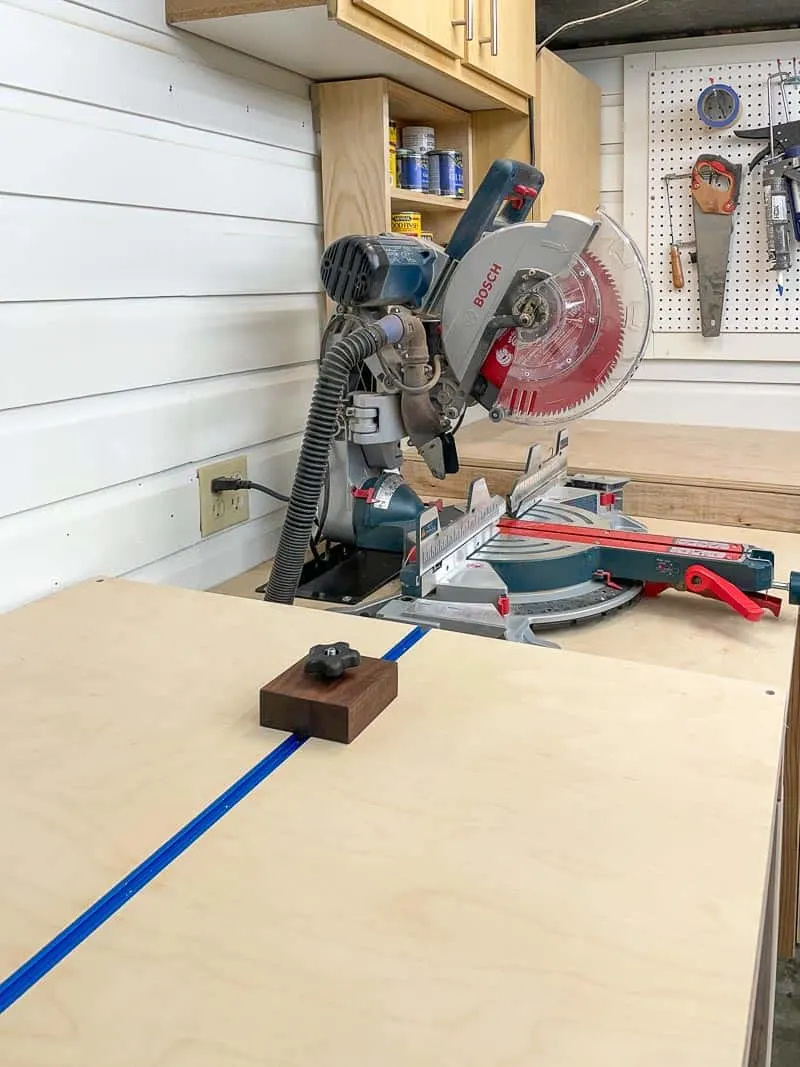
A miter saw is a basically a circular saw that pulls down on a handle with a base that swivels. This saw is used to make crosscuts and mitered (angled) cuts on wood or other material.

It's an inexpensive tool that's easy for a beginner to use. You can usually find an entry level miter saw for less than $200, or find a used one on Craigslist.
How to Use a Miter Saw
The miter saw is easy to use right out of the box! With some basic knowledge, you can build almost anything!
Miter Saw Set Up
Set up the miter saw in an area where you have room to move an eight foot long piece of lumber without hitting anything. It can be as simple as a couple boards on sawhorses, or a custom miter saw station. You can find lots of different miter saw table ideas with woodworking plans to get you started here!
Make sure the miter saw is securely attached to the work surface, either with clamps or screws. The last thing you want is for the saw to move around while you're making a cut!

Check if Your Miter Saw Cuts Straight
Believe it or not, some miter saws aren't calibrated to cut perfectly straight right out of the box. Rough handling during shipping or imprecise factory settings can knock the blade or fence out of alignment. A quick check after you set up your miter saw can save you a lot of frustration when you start building!
First, check to see if the blade is perpendicular to the table. With the saw unplugged, lift the blade guard. Lower the blade and place a square next to it. You shouldn't see any light or gaps between the blade and the square.
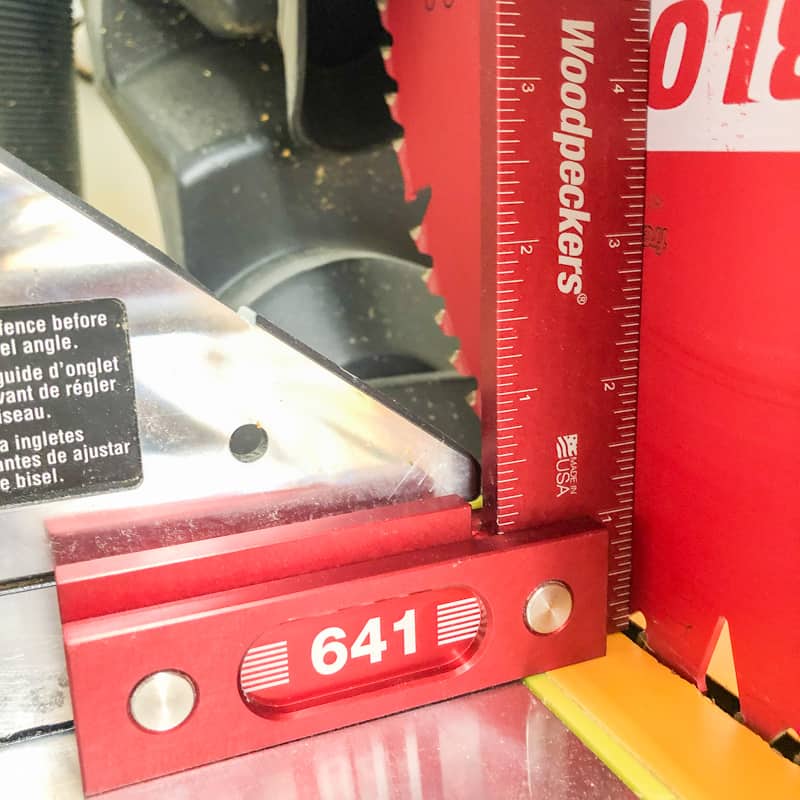

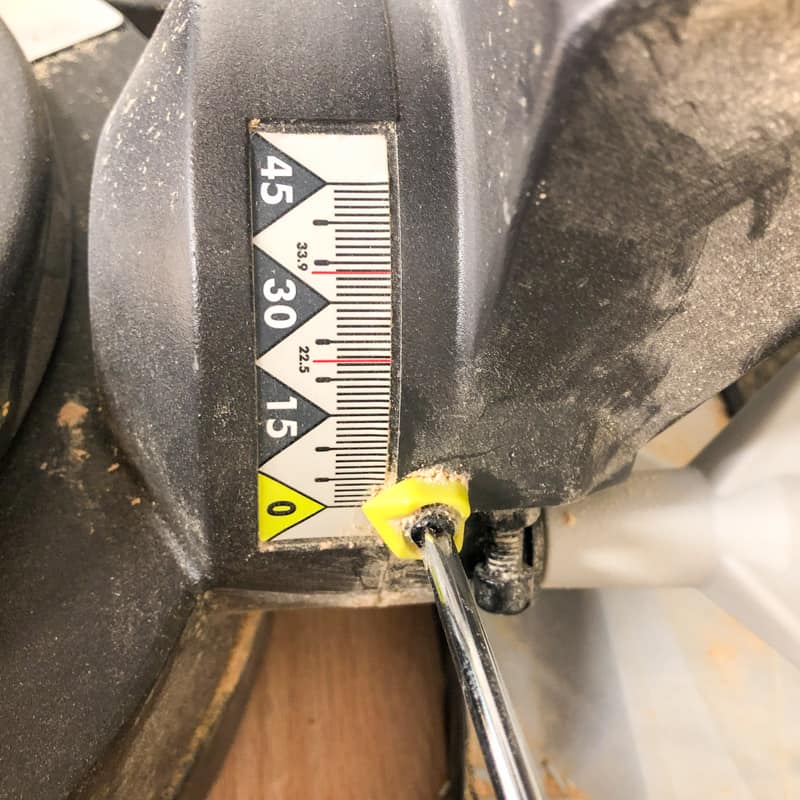
If the blade is slightly off, adjust the bevel tilt on the saw until it's straight. Then reset the bevel gauge to 0 at the new angle.

Next, check to see if the blade is perpendicular to the miter saw fence. Instead of standing the square upright, lay it flat with one edge against the fence and the other against the blade. Avoid the teeth and butt the square up to the flat part of the blade.

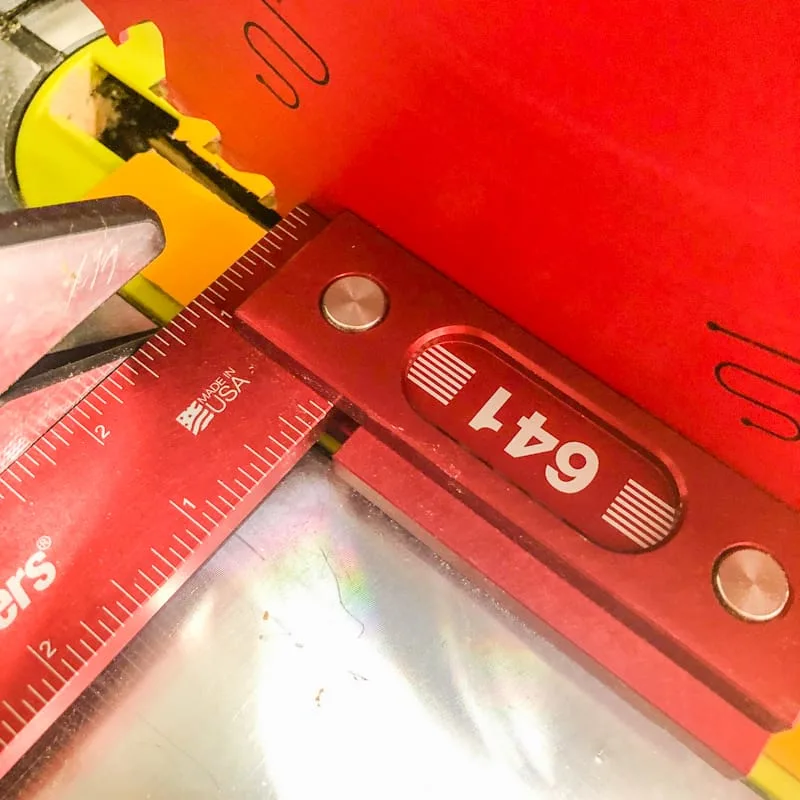
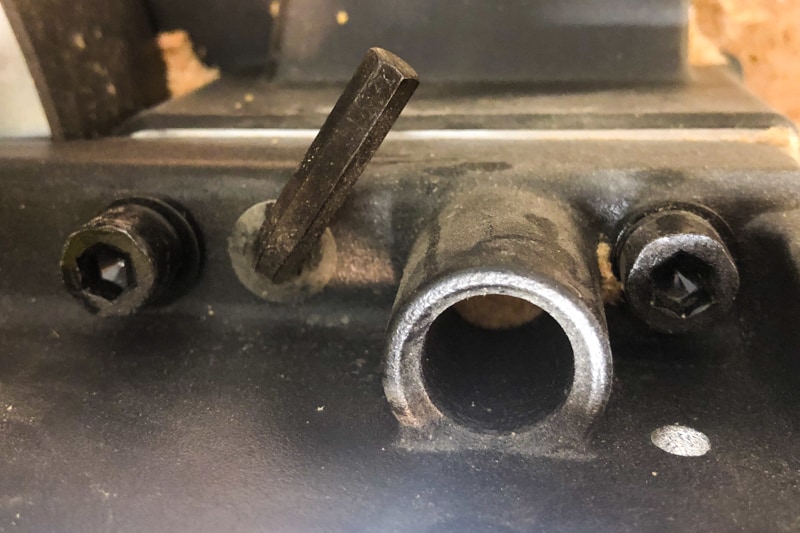
If there's any gap, you'll need to adjust the fence to correct the angle. There are typically bolts on the back of the fence that you can loosen to make this adjustment. Mine even has the hex wrench you need stuck right next to them!

Use a straight edge such as a metal ruler or level to fine tune the fence, then tighten the bolts and check again.
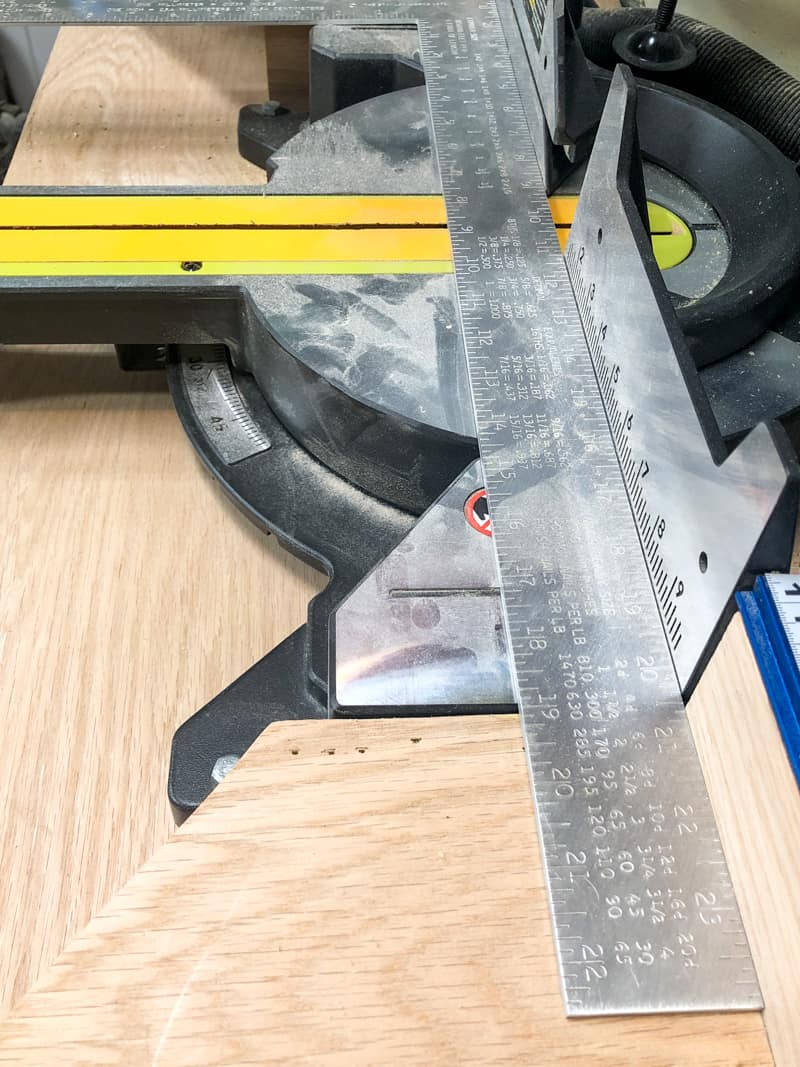

Test out your miter saw adjustments on a thick piece of wood like a 2x4. Your cut should be a perfect 90 degrees both vertically and horizontally!

You only need to do this when you first set up your saw, and whenever you notice your cuts aren't quite straight anymore. Now you can get started on your first project!
How to Cut with a Miter Saw
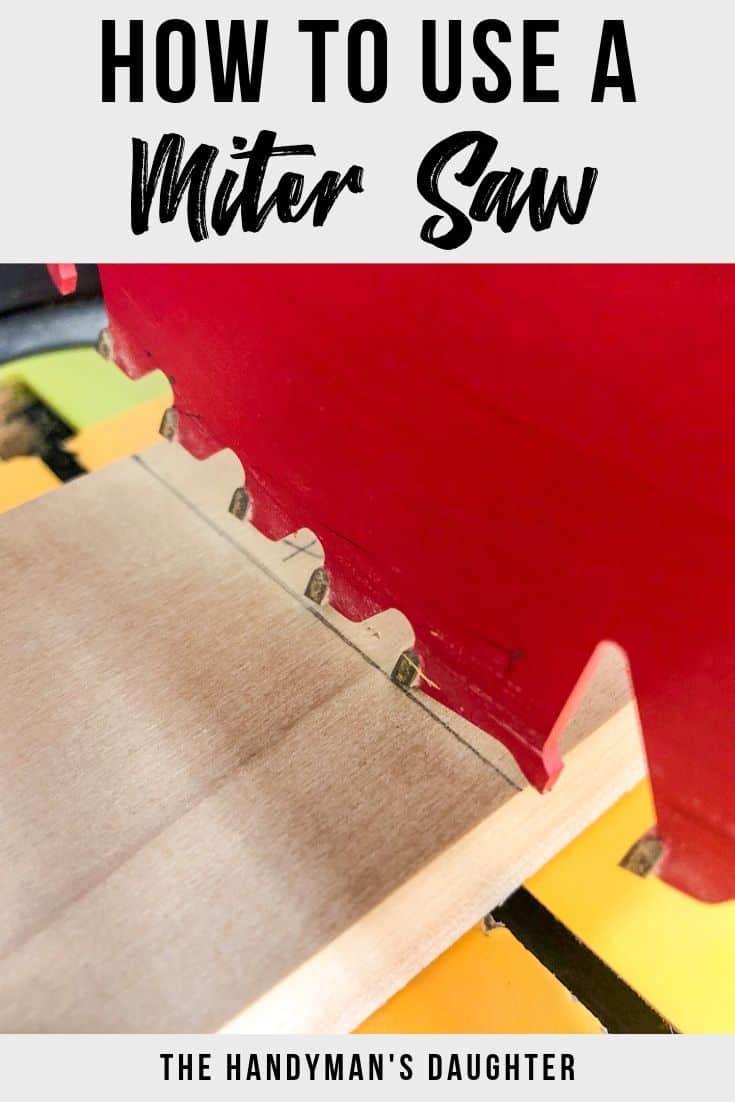
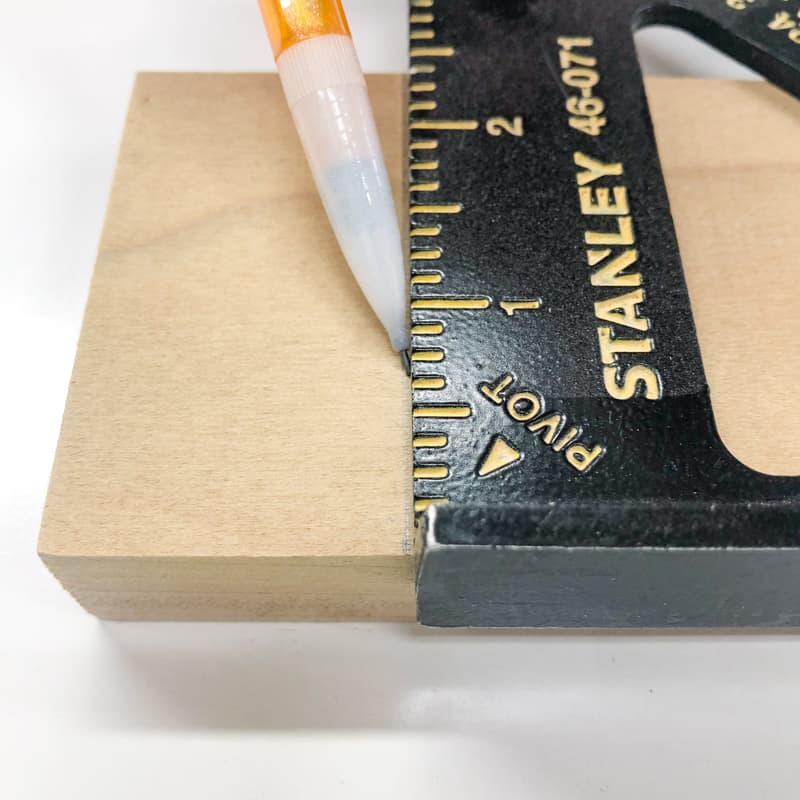
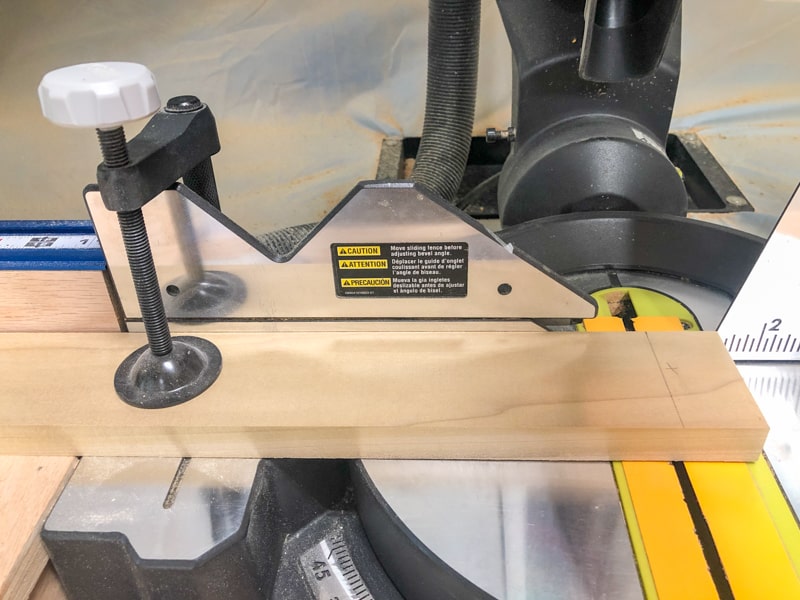
Measure the board length you need for your project with a tape measure. Draw a line on the board where you want to cut using a pencil and a speed square. Mark the side of the line beyond your measurement (a.k.a. the waste side) with an X.

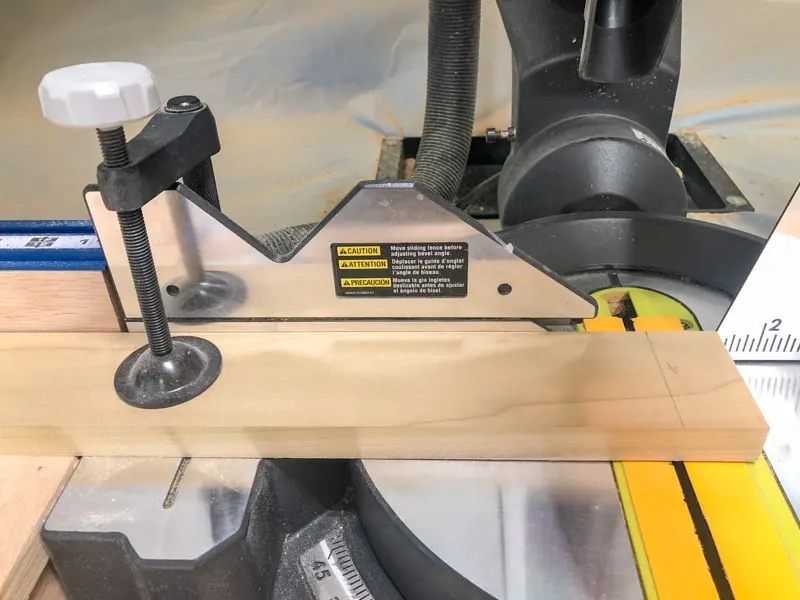
Place the board on the miter saw with the back edge against the fence. Without turning the saw on, lower the blade and align the board with the teeth so that they are just touching the waste side of the line.

When you make the cut, either hold the board firmly in place, or clamp it down. Most miter saws have a hold-down clamp you can use. Keep your hands more than six inches away from the blade when it's moving!
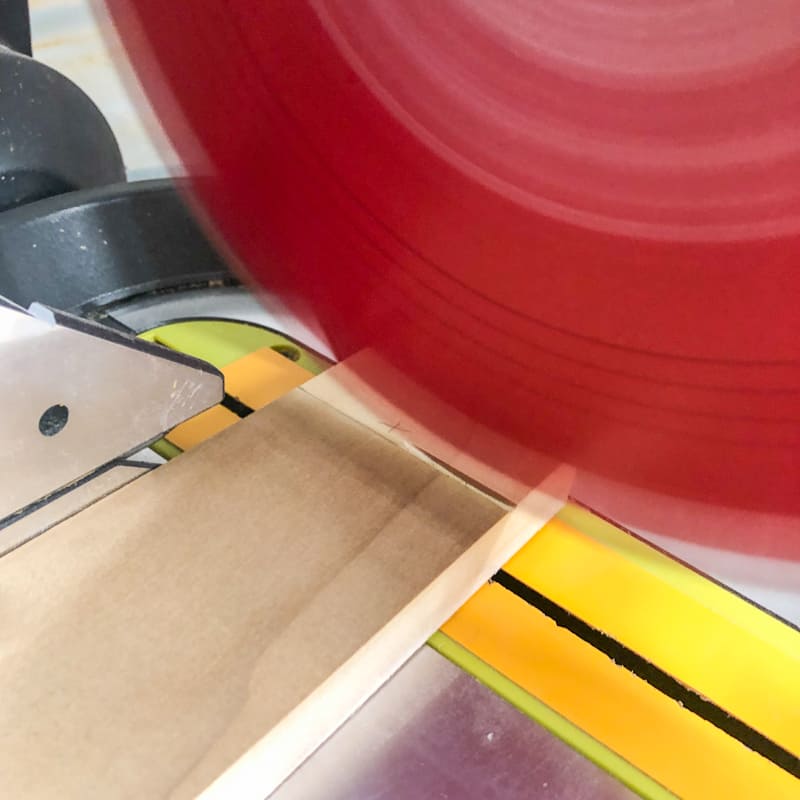
Put your safety glasses and ear protection on. Turn the miter saw on, and allow the blade to get up to top speed before making the cut.
Lower the blade slowly to cut completely through the board, then release the trigger and hold the blade in the lowered position until it comes to a complete stop.

Making Repeated Cuts with a Miter Saw
Usually a project will require you to make more than one piece of the same size. Instead of measuring and marking each and every cut, you can save a lot of time and prevent errors by setting up a stop block.
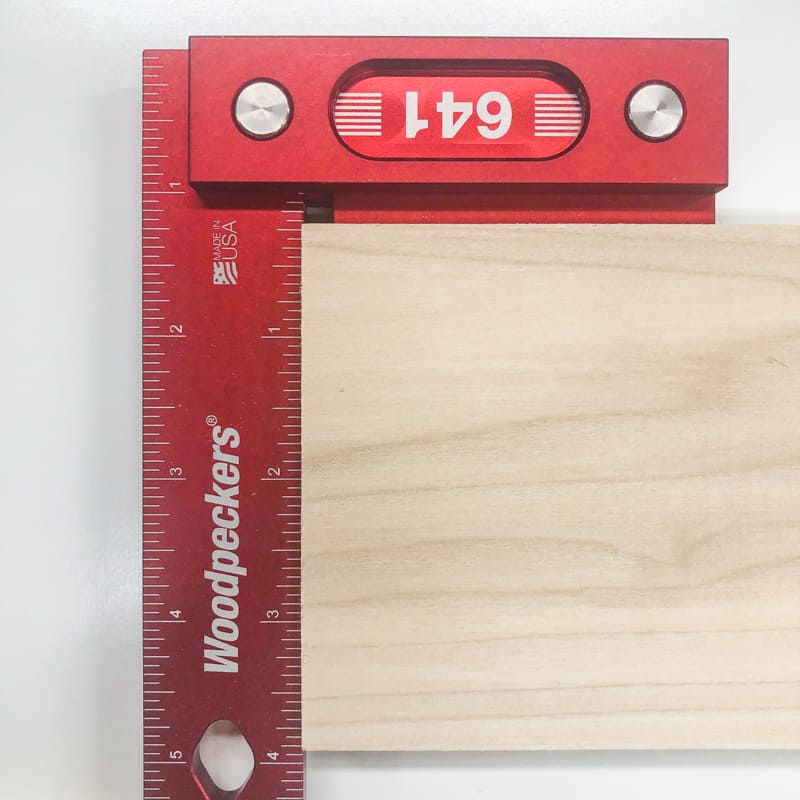
A miter saw stop block can be just a piece of wood that you temporarily screw down or clamp to your workbench at a specific spot to make sure you get the same measurement on each cut. If you use the miter saw a lot and have a dedicated stand for it, you might want to consider a stop track like this one.
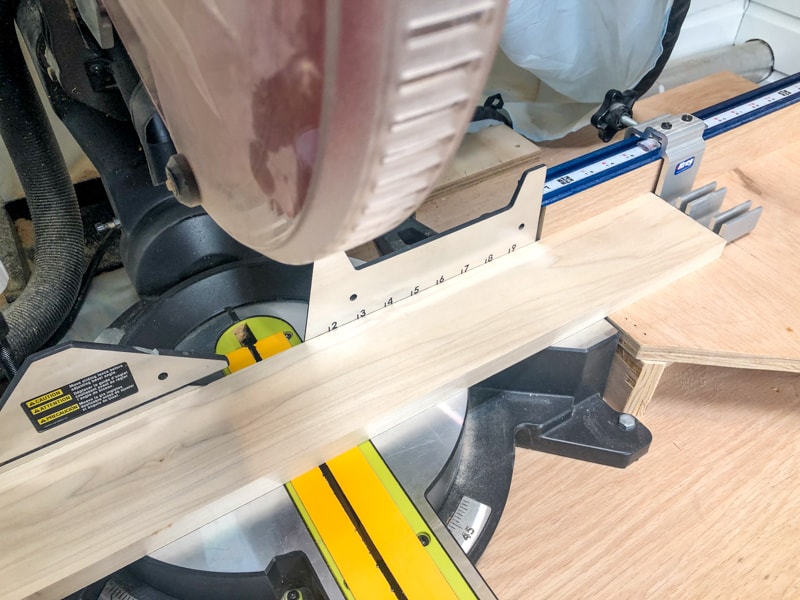

This adjustable stop block is calibrated to the saw blade, so I can use the ruler on the fence to tighten the block at any measurement. It saves me so much time! You can read more about how I set up the stop track system here.


You can also use a stop block integrated into the surface of your miter saw station! I recent rebuilt my old miter saw stand to fit more tools into my already cramped workshop space.

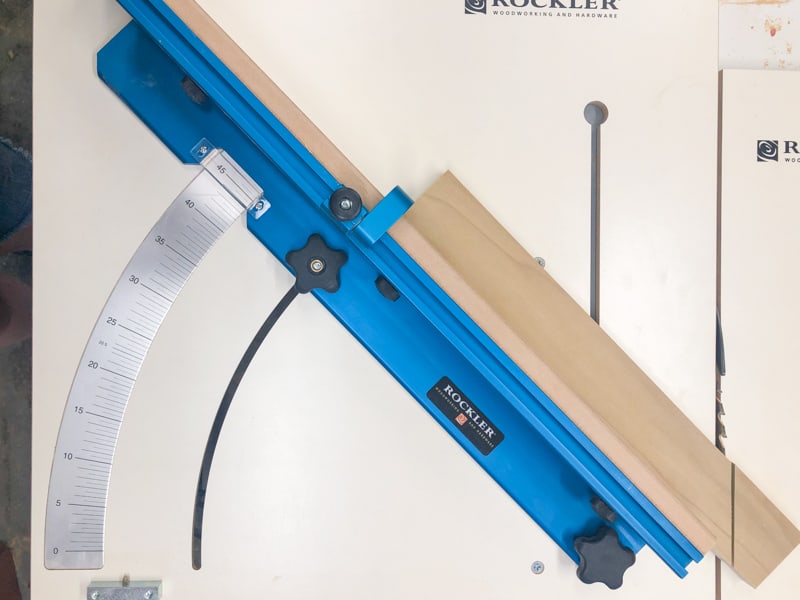
How to Make a Mitered Cut
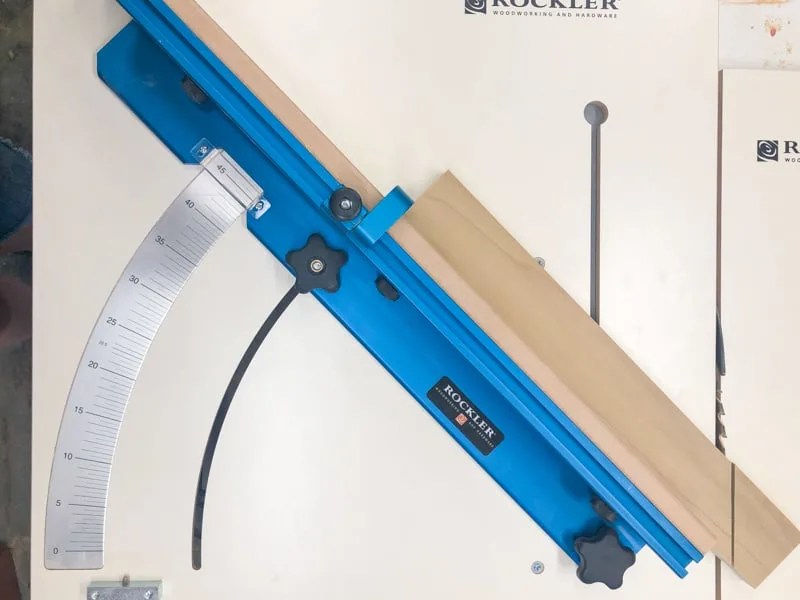
As the name of the saw implies, a miter saw is great for cutting mitered or angled cuts. Think of the corners of a picture frame that fit together at 45 degree angles.
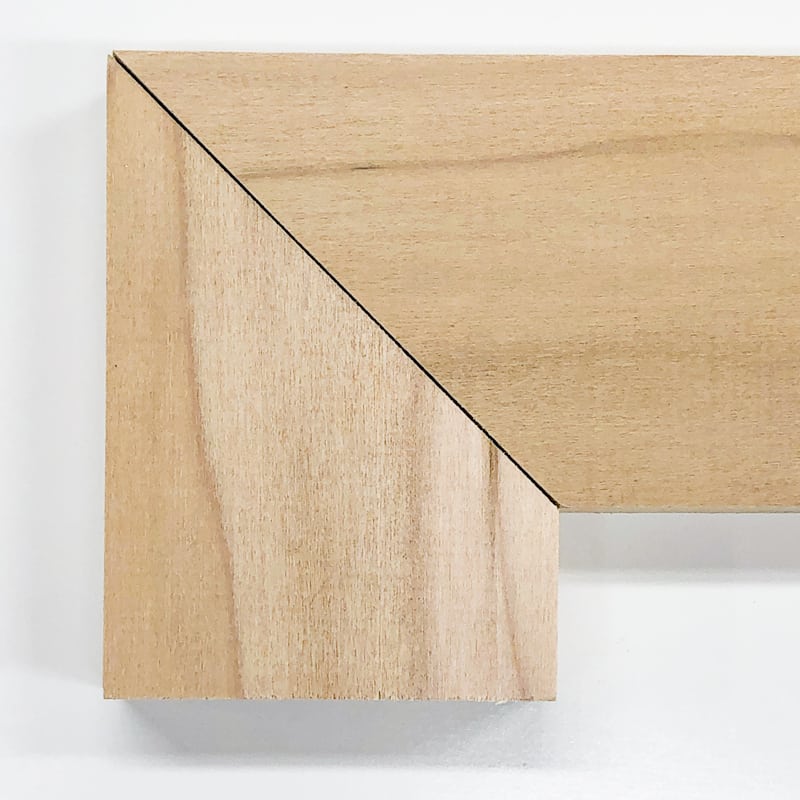

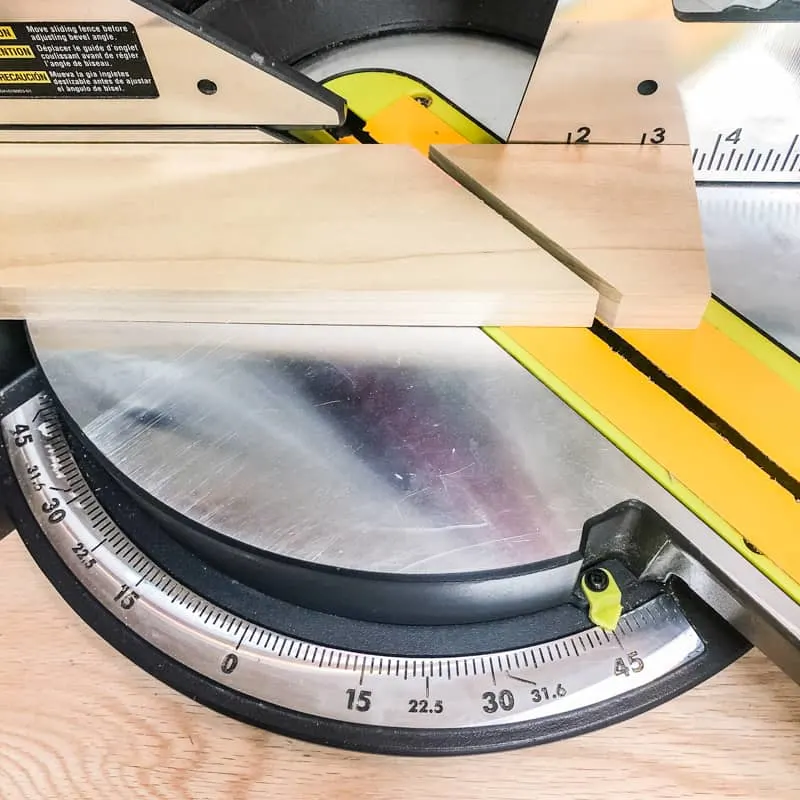
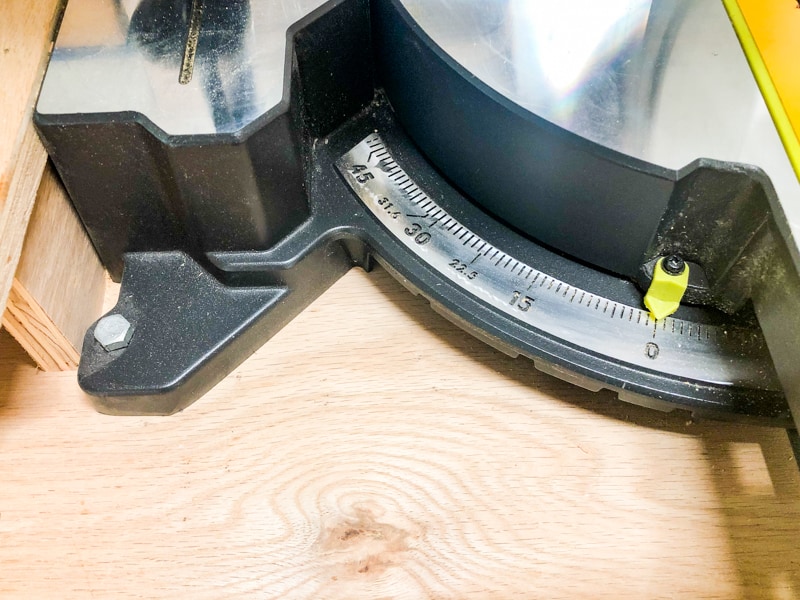
To make a mitered cut, loosen the knob on the front of the saw and swivel the base to the 45 degree mark. There should be a positive stop that locks the saw in place once you get it to the right spot. Tighten the knob on the front of the saw.

If you're trying to get an exact fit for something like the frame for this DIY entryway mirror, it can be tricky to get it right on the first try. I recommend cutting it a little bit long, then testing it out. It's easier to remove a tiny bit extra than it is to add it back on!
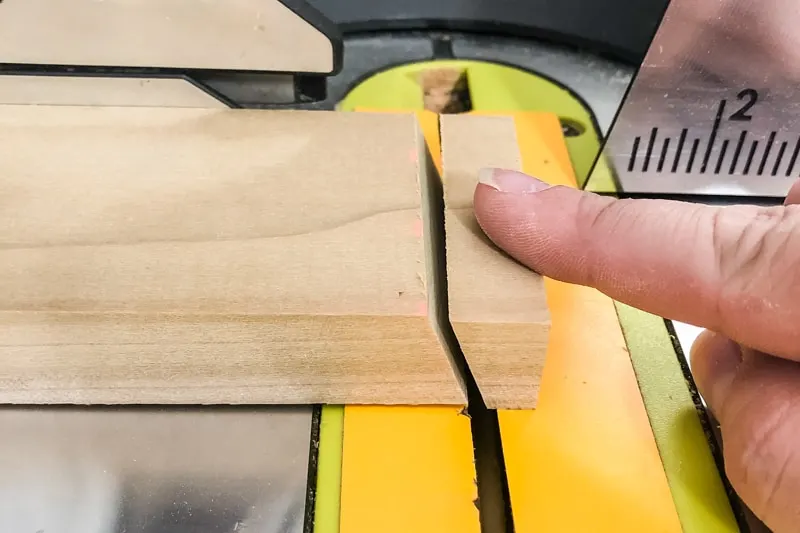
How To Cut a Tiny Bit Off a Board
It can be soooo frustrating when a board doesn't quite fit! Sometimes the measurement was slightly off, or a warped board is causing issues later on in the build. Luckily, there's a way to fix it easily!
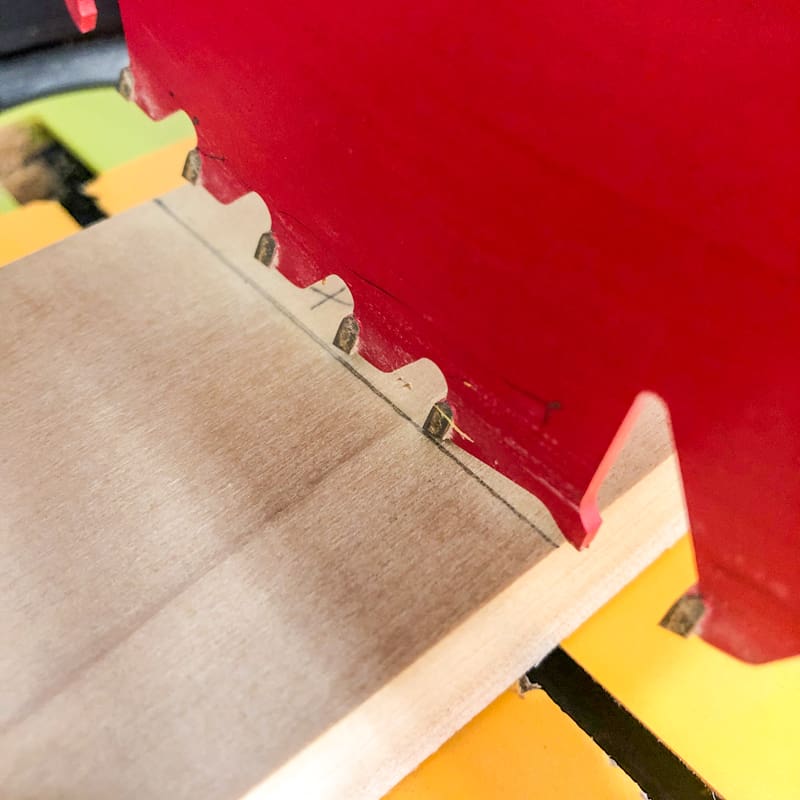
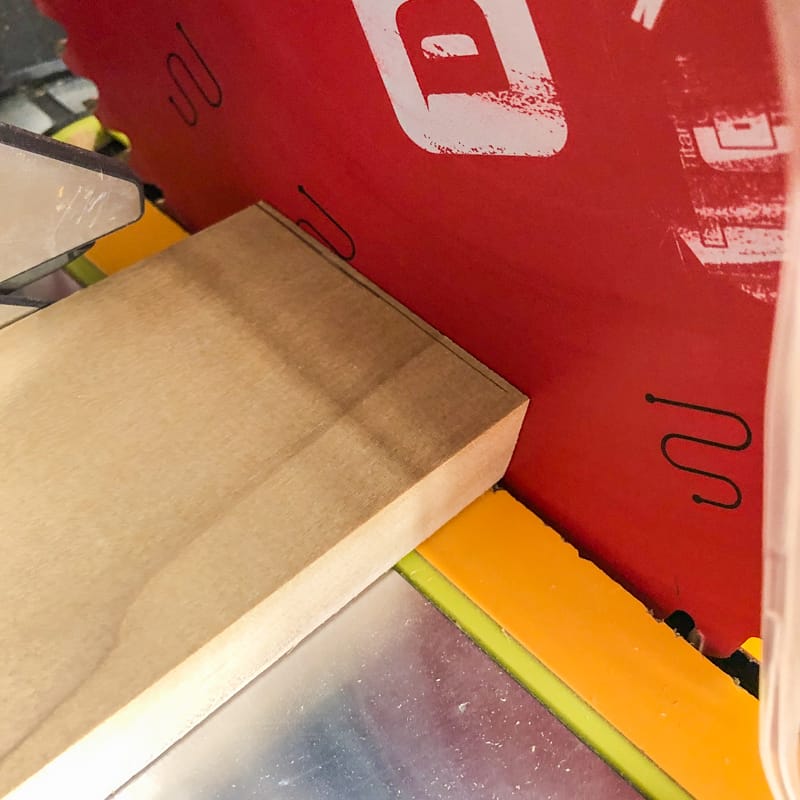
Instead of trying to line up the miter saw blade with a pencil mark that you can barely see at the end of the board, you're going to use the blade itself as the marker.
I've marked the end of this board with 1/16" that needs to be removed. Good luck trying to eyeball that cut accurately!
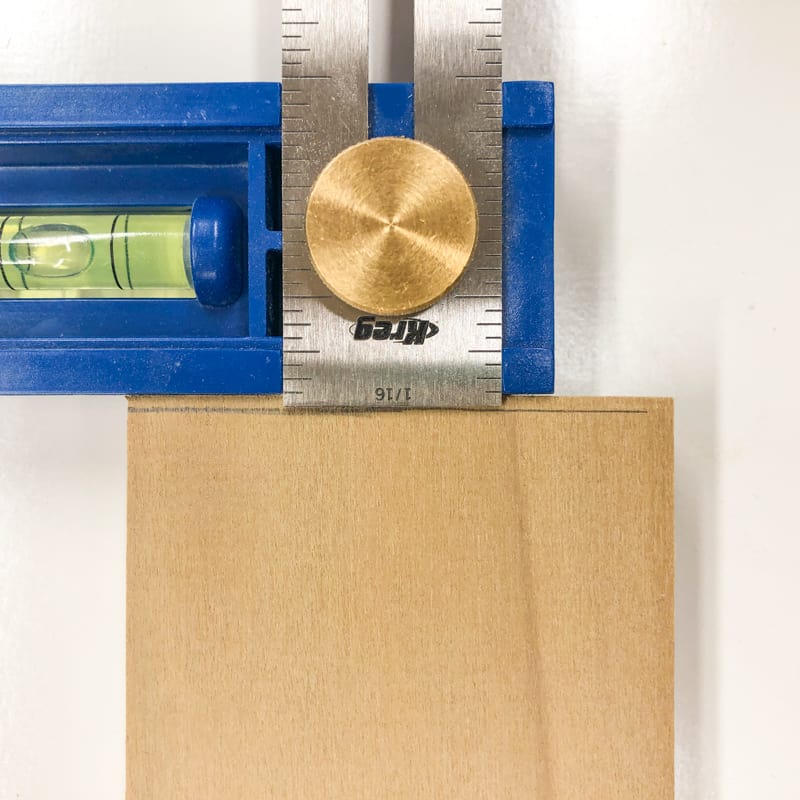

With the saw off, lower the blade all the way. Place the board so that it rests against the fence and the flat part of the blade.
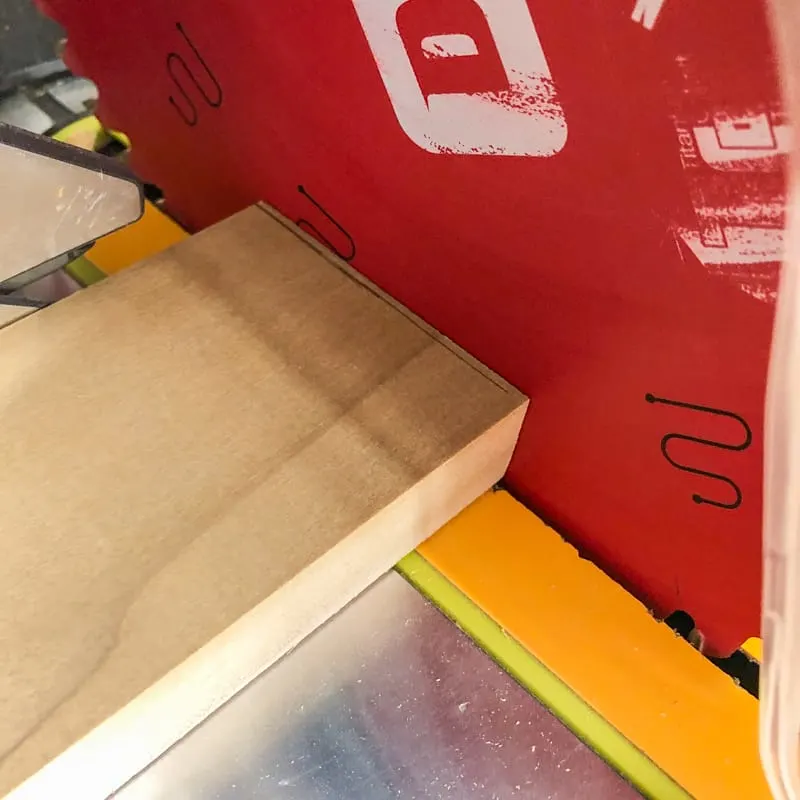
Hold the board firmly in place while you lift the blade up. You'll feel the teeth catch on the edge. Just make sure the board stays put!
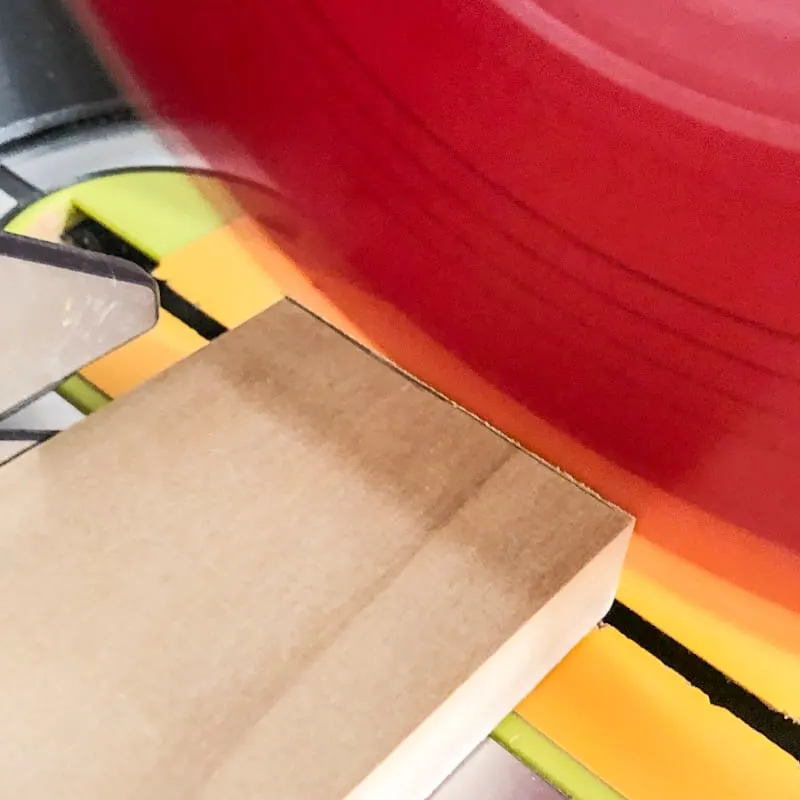
Now turn on the blade and make the cut as usual. The difference between the flat part of the blade and the teeth is 1/32", so repeat the process for a perfect fit!

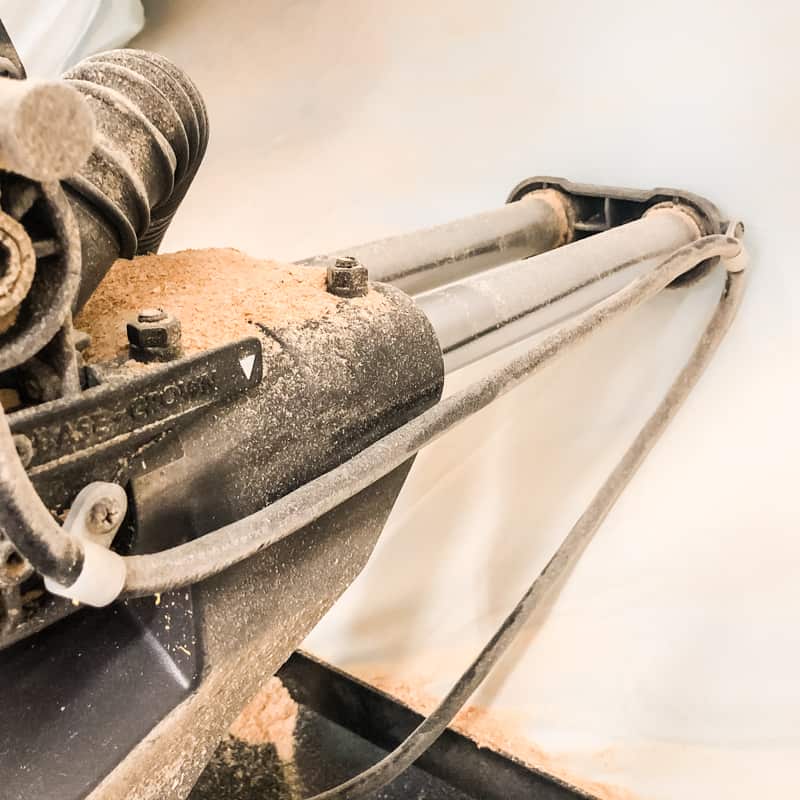
Miter Saw Dust Collection
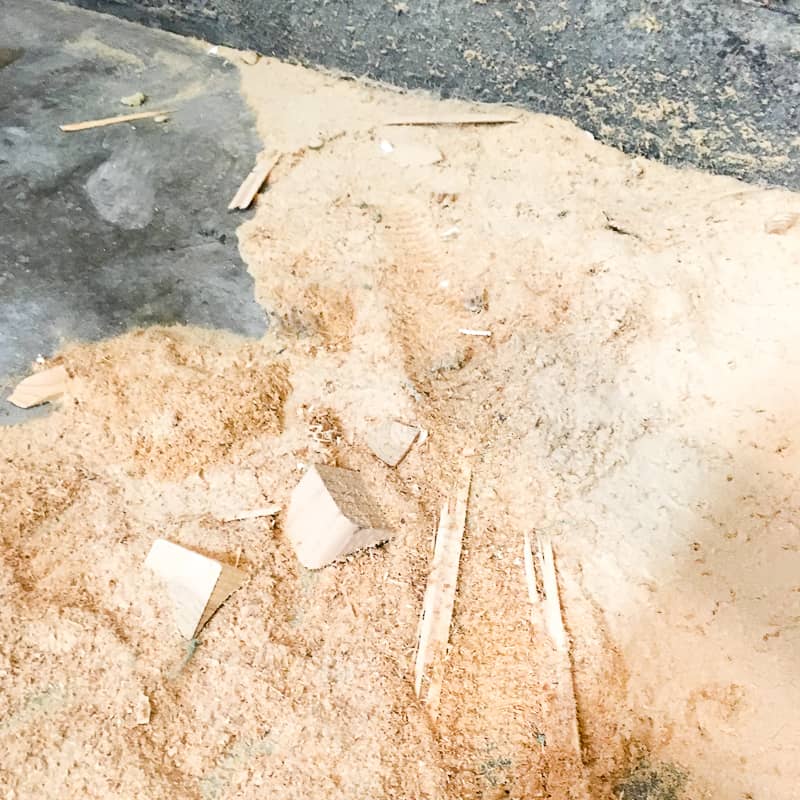
One drawback to the miter saw is that it makes a mess! Sawdust goes flying everywhere, and that little dust bag on the back does next to nothing. Letting it pile up is a recipe for disaster!

I've done a lot of research to find miter saw dust collection ideas for every workshop. I even came up with my own miter saw dust hood that can attach to a shop vacuum or my wall mount dust collector.


If I'm cutting more than just a few pieces, I throw on a dust mask to protect my lungs from the finer particles floating around. But if you're outside, you can let the wind take care of it instead!
Miter saw safety
Of course, I can't finish off this guide without talking about safety! Your instruction manual is full of dire warnings about hacking off limbs and severing arteries, but common sense should prevail when using the miter saw.
- Always wear safety glasses and ear protection.
- Unplug your saw when you are finished with it or when changing the blade.
- Wear gloves when changing the blade so you don't cut your hands.
- Use the blade guard and keep your hands away from the moving blade.
- Avoid cutting pieces shorter than 6" that puts your hands too close to the blade.
- Don’t take your hand off of the handle until the blade stops moving.
Different types of miter saws
When you're shopping for your first miter saw, you might get overwhelmed by all the different types and terms. Here's a quick rundown of some of the features you might want.
Compound miter saw
The basic miter saw only makes vertical cuts because the cutting blade is perpendicular to the workbench. The compound miter saw allows you to make cuts in the vertical and horizontal planes at the same time. This is accomplished by tilting the blade to the left or right to create a beveled edge.

Some miter saws even tilt in both directions, so you don't have to struggle with flipping the board around to make bevel cuts at opposing angles. You can learn more about single vs double bevel miter saws here!
The compound miter saw is best for cutting molding – especially crown molding. To wrap trim around a corner, you need to cut angles on both the vertical and horizontal axis simultaneously. With a few quick adjustments on a compound miter saw, you can cut moulding like a pro!
Sliding compound miter saw
If you are just getting your shop set up, a basic miter saw or a compound miter saw will probably handle most of your wood cutting needs. However, if you are going to be regularly cutting boards wider than 8 or 9 inches, you may want to consider a sliding compound miter saw.
Learn more about the difference between a sliding and non-sliding miter saw here!
Instead of having the cutting head mounted in a fixed spot, it's mounted on rails and can move forward and backward. This flexibility is an excellent advantage if you cut wider boards regularly.

The drawback to the sliding rail mechanism is that it takes up a lot of space in the workshop. My sliding compound miter saw needs to sit about a foot away from the wall, leaving a lot of empty space behind my miter saw stand.
I recently switched to a new style of miter saw that works with a robotic-like arm instead of a rail. This allows the blade to reach out further to cut those wide boards and then fold back up to save space. Since the arm is vertical rather than horizontal, you can position it closer to the wall!

Tool Comparisons
Wondering if you should get a miter saw or a different tool? Here's a quick guide to help you decide which one is right for your project.
Chop Saw vs Miter Saw
These two saws are frequently confused with each other, but they are not quite the same. A miter saw can make 90-degree cuts as well as mitered cuts (hence the name). Typically, a chop saw only makes 90-degree cuts.
The chop saw is normally used in commercial or industrial applications where the tradesman is making a lot of straight cuts on heavy material (beams, brick or metal pipe). Additionally, the chop saw is usually made to withstand a larger volume of cuts and will have a stronger motor.
Miter Saw vs Circular Saw
While both of these saws can do the same thing, there are some key differences. If you're on a budget, a circular saw will be the less expensive choice, but it comes with some downsides compared to the miter saw. You can learn more about the differences between a miter saw and a circular saw here!
Miter Saw vs Table Saw
A miter saw’s main function is to make a long board into shorter pieces, while a table saw is best for cutting down the length of a board to make it narrower. A table saw isn't really a replacement for a miter saw, although it's capable of doing the same things.
A table saw can be used to make 90-degree cuts on long boards, but it requires a crosscut sled or other methods that can be time consuming to set up. Also, the table saw is not very effective in making angle cuts without a jig.
I'm always happy to help you learn how to use a miter saw correctly! It's a simple tool that makes building your own furniture or tackling your home improvement to-do list much, much easier.
Check out these other woodworking tutorials!


Floranet
Wednesday 31st of July 2019
Your blogs are lovely!!