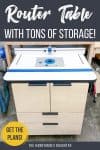
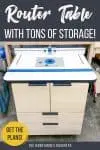
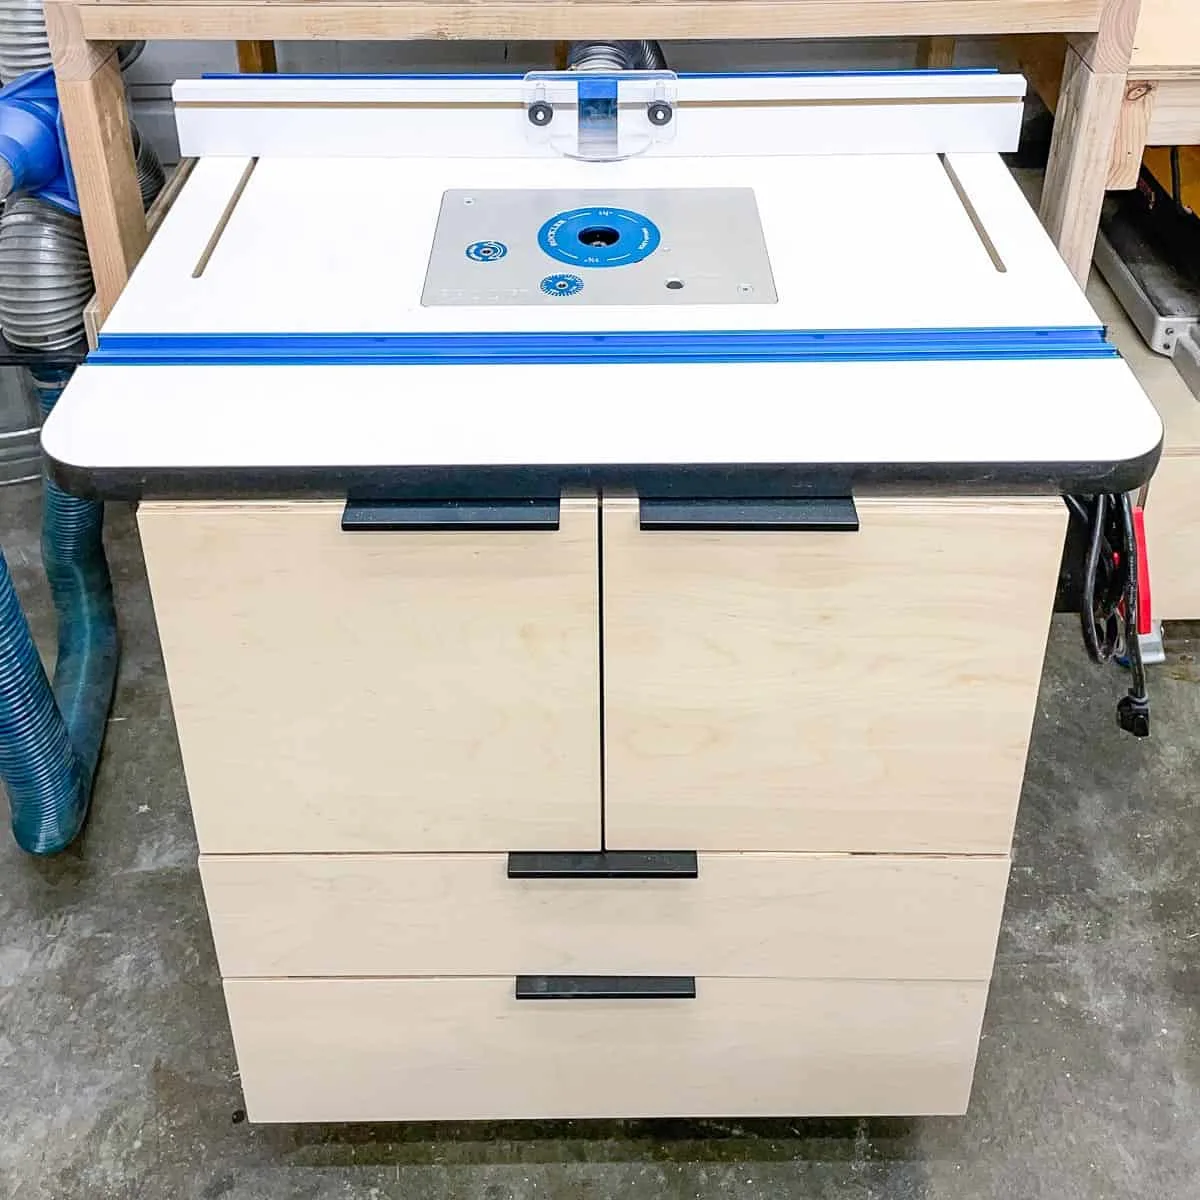
Build this DIY router table cabinet for your workshop! It fits most commercially available router tops and features two large drawers below!

I've wanted a router table in my workshop for ages, but I thought I didn't have the space. I tried a collapsible one, but it was a pain to set up and it was too small for most of the tasks I wanted to do.
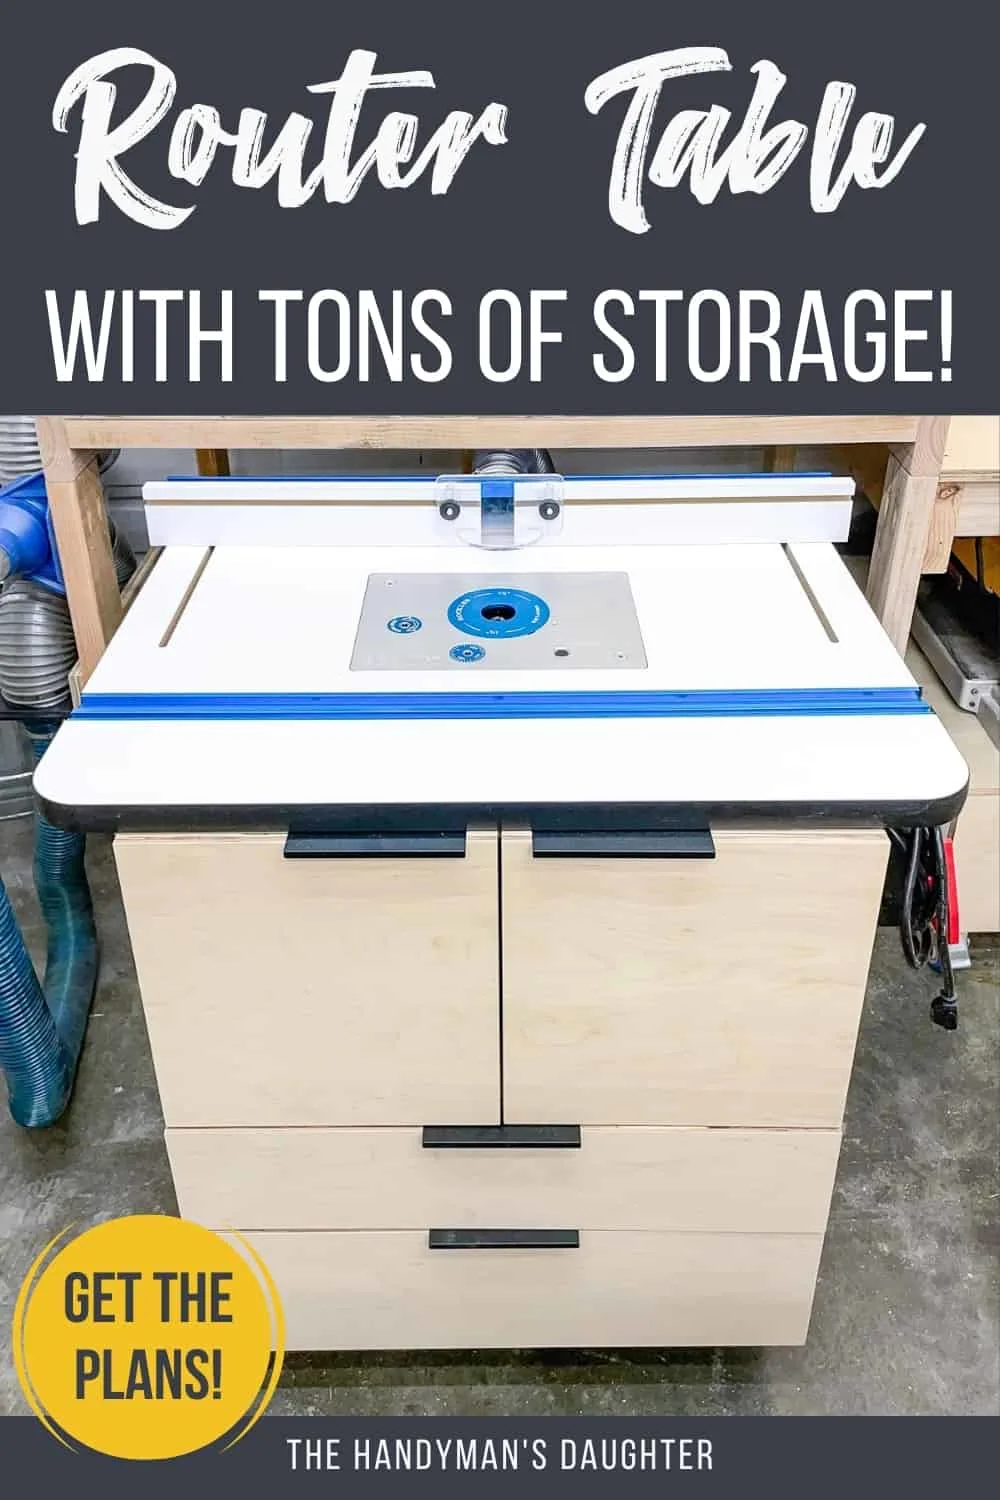
When I built my new miter saw station, I designed it so that a full size router table could roll underneath. Now I can fit the miter saw, router table, planer and benchtop sander all in one small footprint!
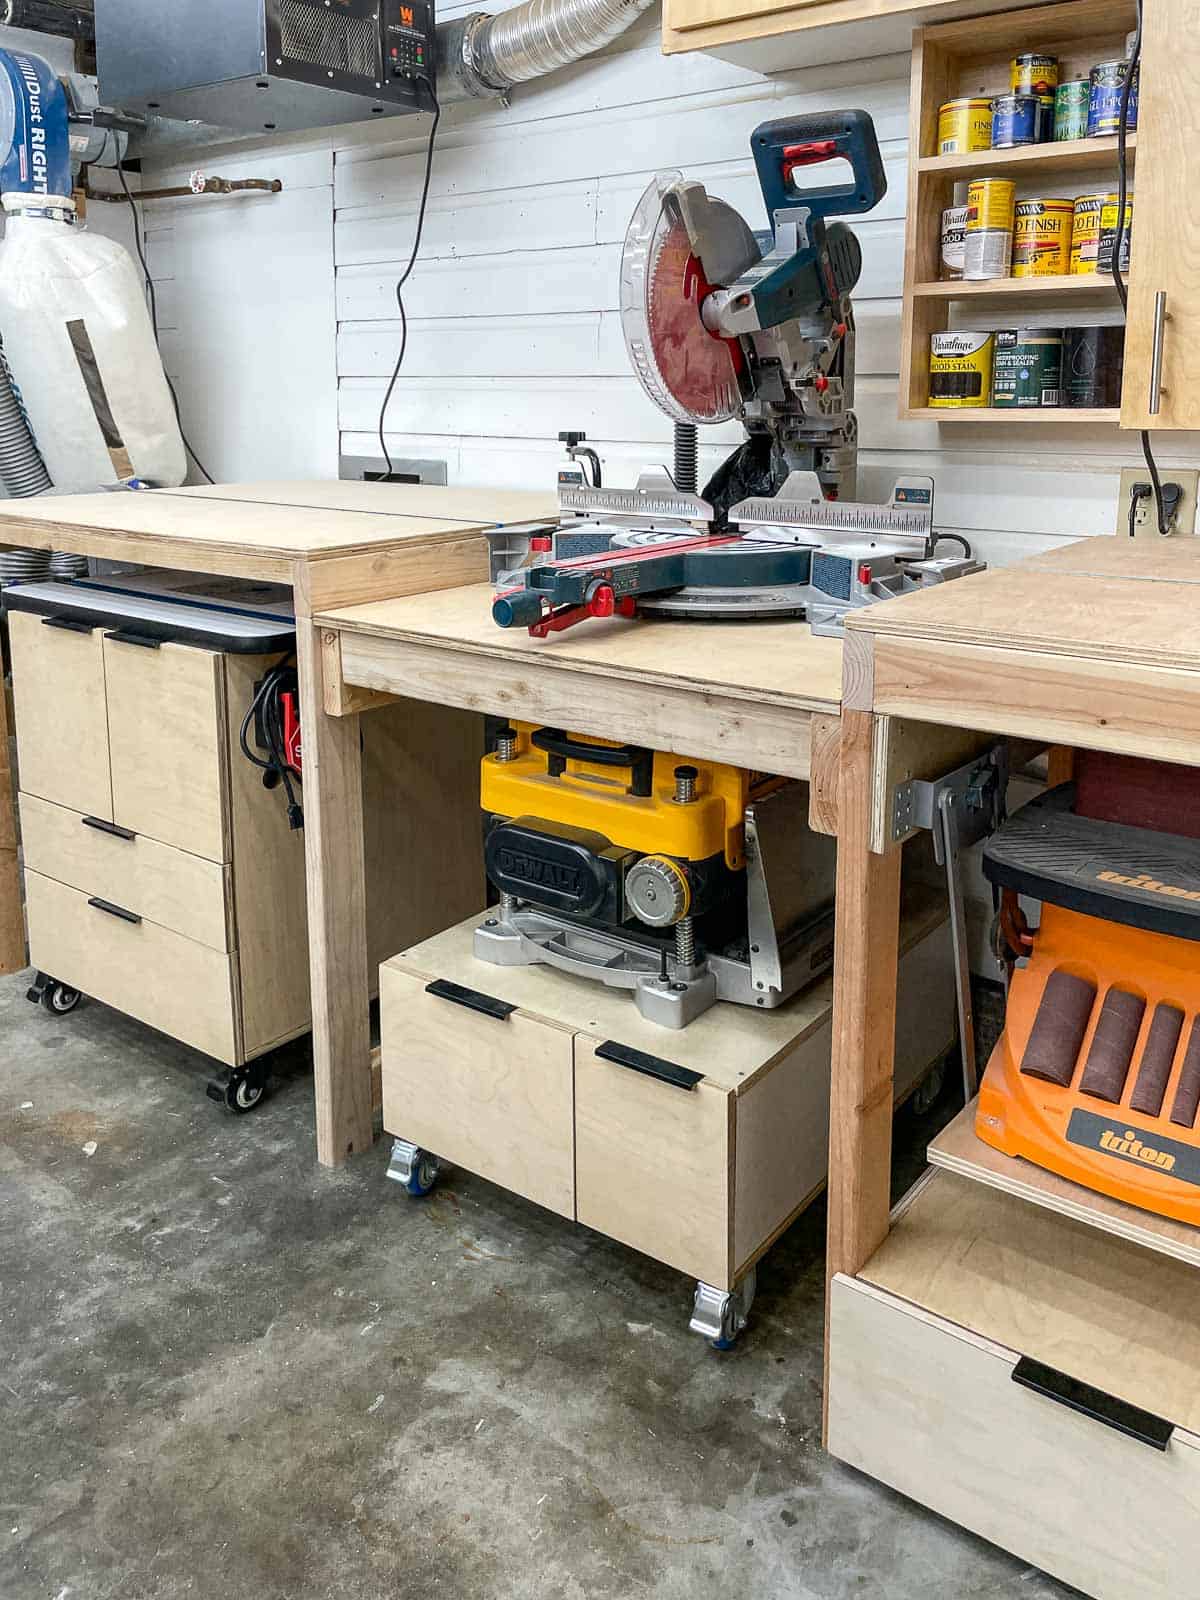

Click here to get the woodworking plans for all four of these projects together at a 20% discount!
Router tables aren't necessary in every woodworking shop, but I'm finding more and more uses for it now that I have one! I also feel much more comfortable using a router that's fixed in place, rather than handheld.
It's really taken my projects to the next level! Check out these DIY Shaker cabinet doors I made using rail and stile bits in my new router table set up!
This post contains affiliate links for your convenience. Purchases made through these links may earn me a small commission at no additional cost to you. Please visit my disclosures page for more information.
Mine is the same height as store bought router table options like these, but they're twice the price and don't have any storage underneath. In a small space like mine, you need every inch of storage you can get!
Let's get building!
Materials Needed
- One sheet of ¾” plywood
- One sheet of ½” plywood
- You could also use ¾” plywood for the drawer sides and ¼” plywood for the bottoms.
- 1 ¼” pocket hole screws
- 3” locking casters
- Two sets of 20” drawer slides
- Two sets of cabinet hinges
- Drawer and cabinet door pulls
- Router table top and fence
- Router dust bucket and dust collection hose (optional)
- Start/Stop button
- You can also turn off the router by reaching underneath, but the exterior stop button is much easier and faster in an emergency.
Tools Required
How to Build a Router Table Cabinet
Before you begin, don't forget to download these simple router table cabinet plans by clicking the box below! You'll get all the dimensions, a cut list and plywood cut diagram, and detailed instructions with 3D models of every step of the build!
Assemble the cabinet box
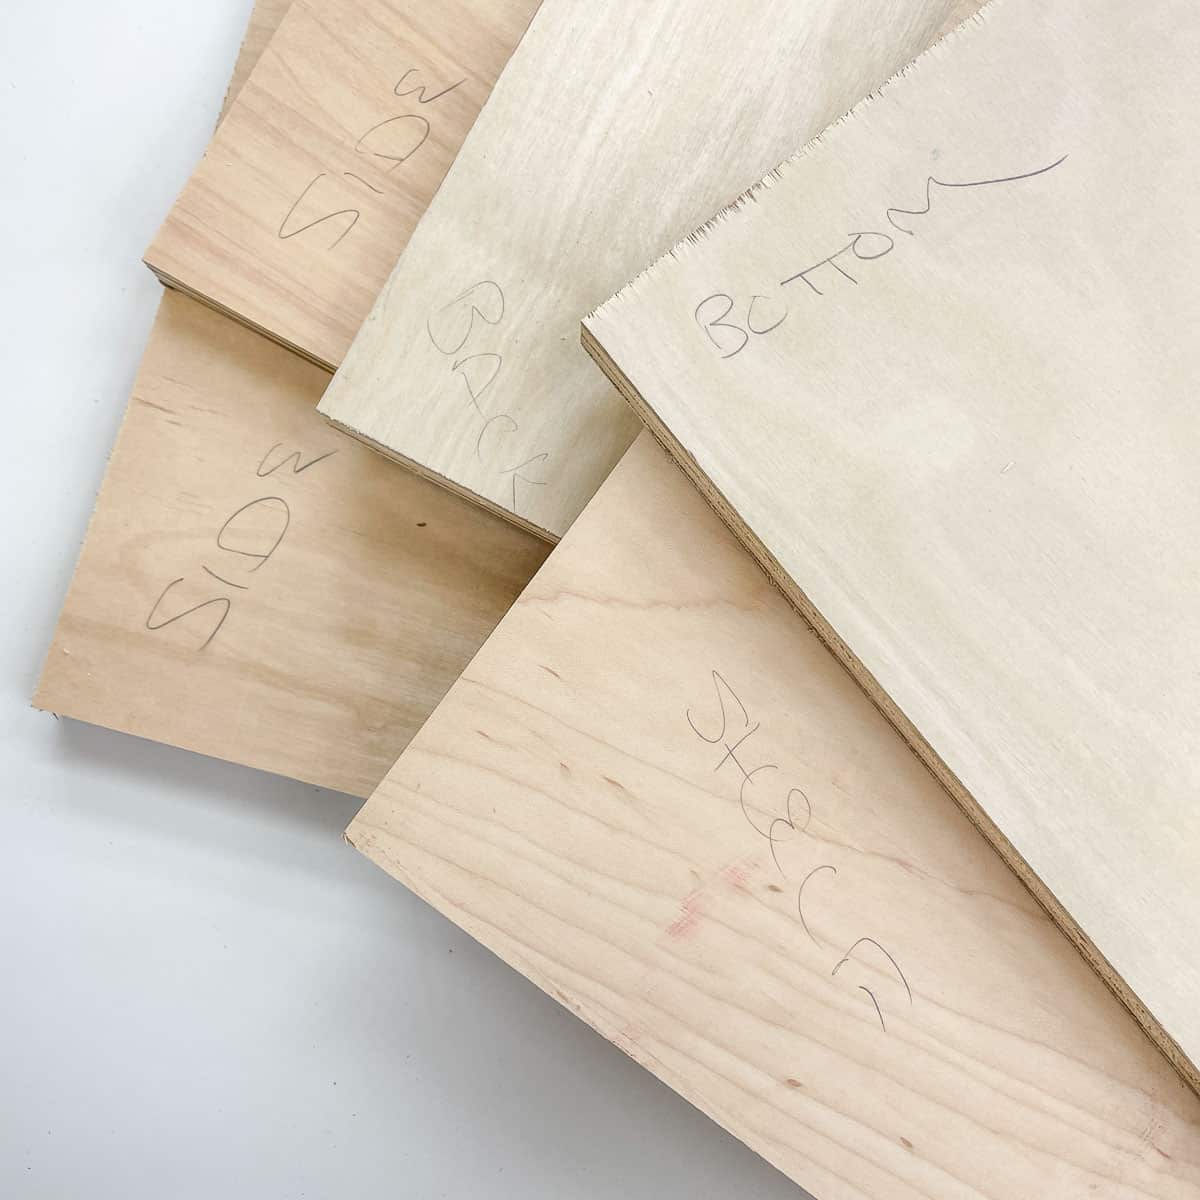
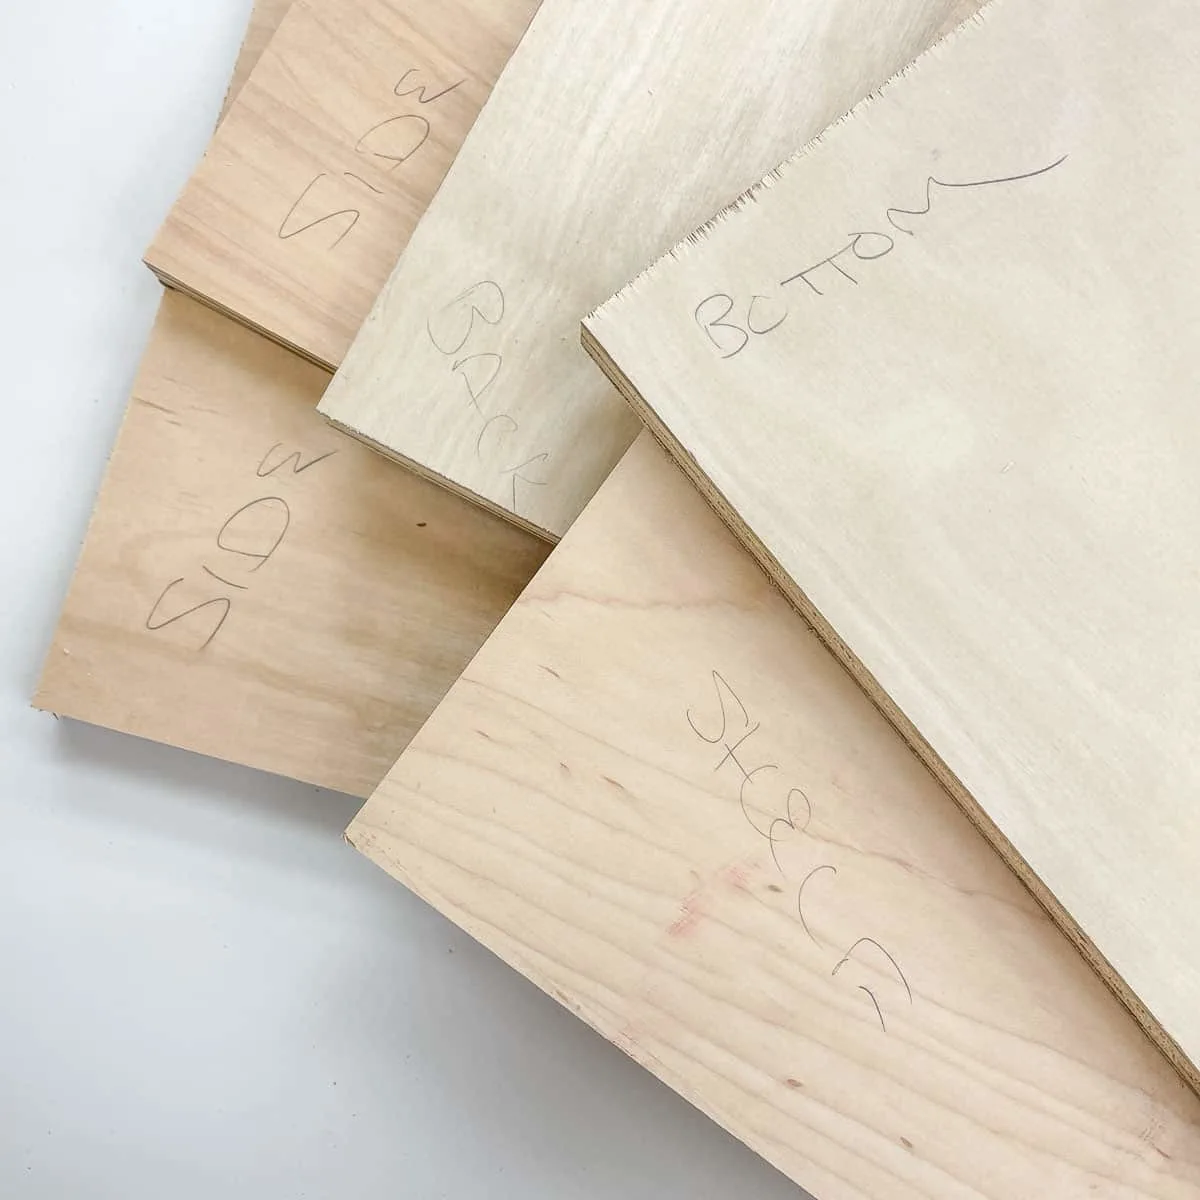
All the parts for the router table cabinet were cut from various pieces of plywood leftover from the rest of the miter saw station projects. I bought three sheets at the beginning, and I had JUST enough to finish without having to buy more!
Label all the parts as you cut them and check them off the list, so you don't mix them up. They're all slightly different, but similar enough to cause confusion while you're building!
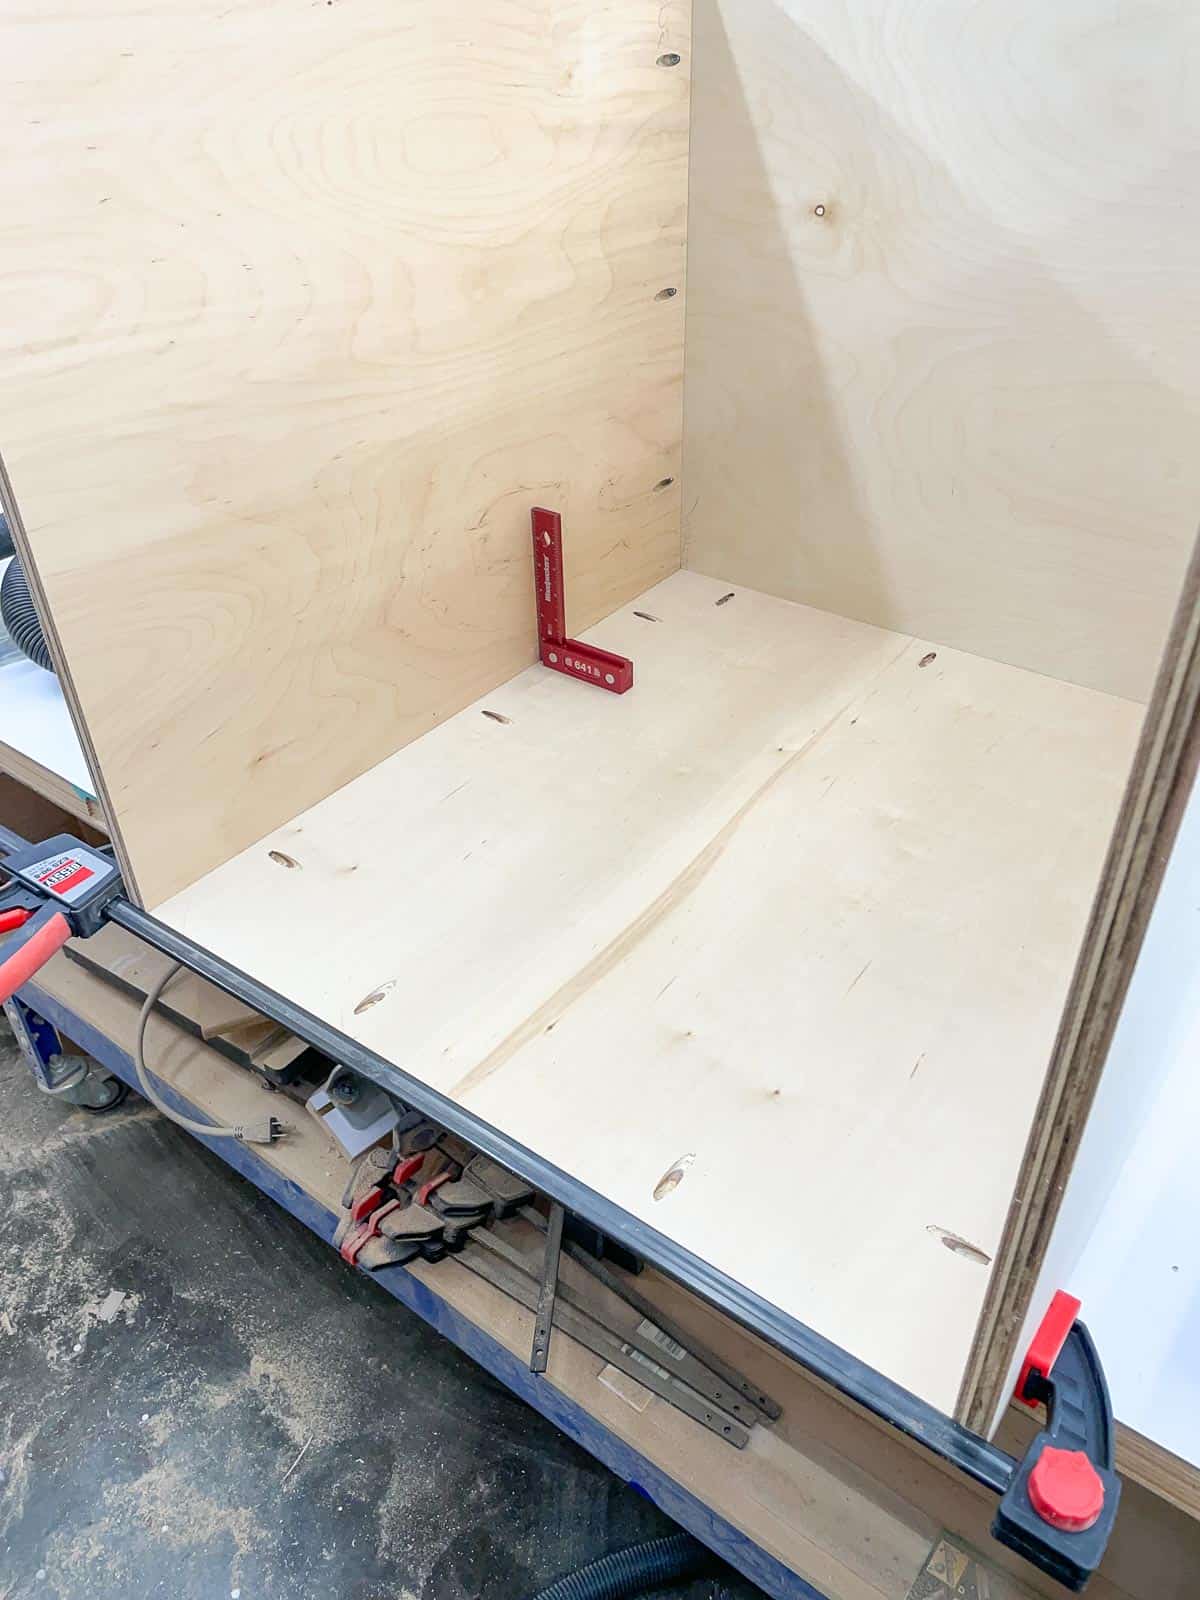
Drill pocket holes along both short ends of the side pieces, then align them with the bottom piece. I like to use right angle positioning squares and clamps to hold these bigger pieces upright while I drive in the pocket hole screws.
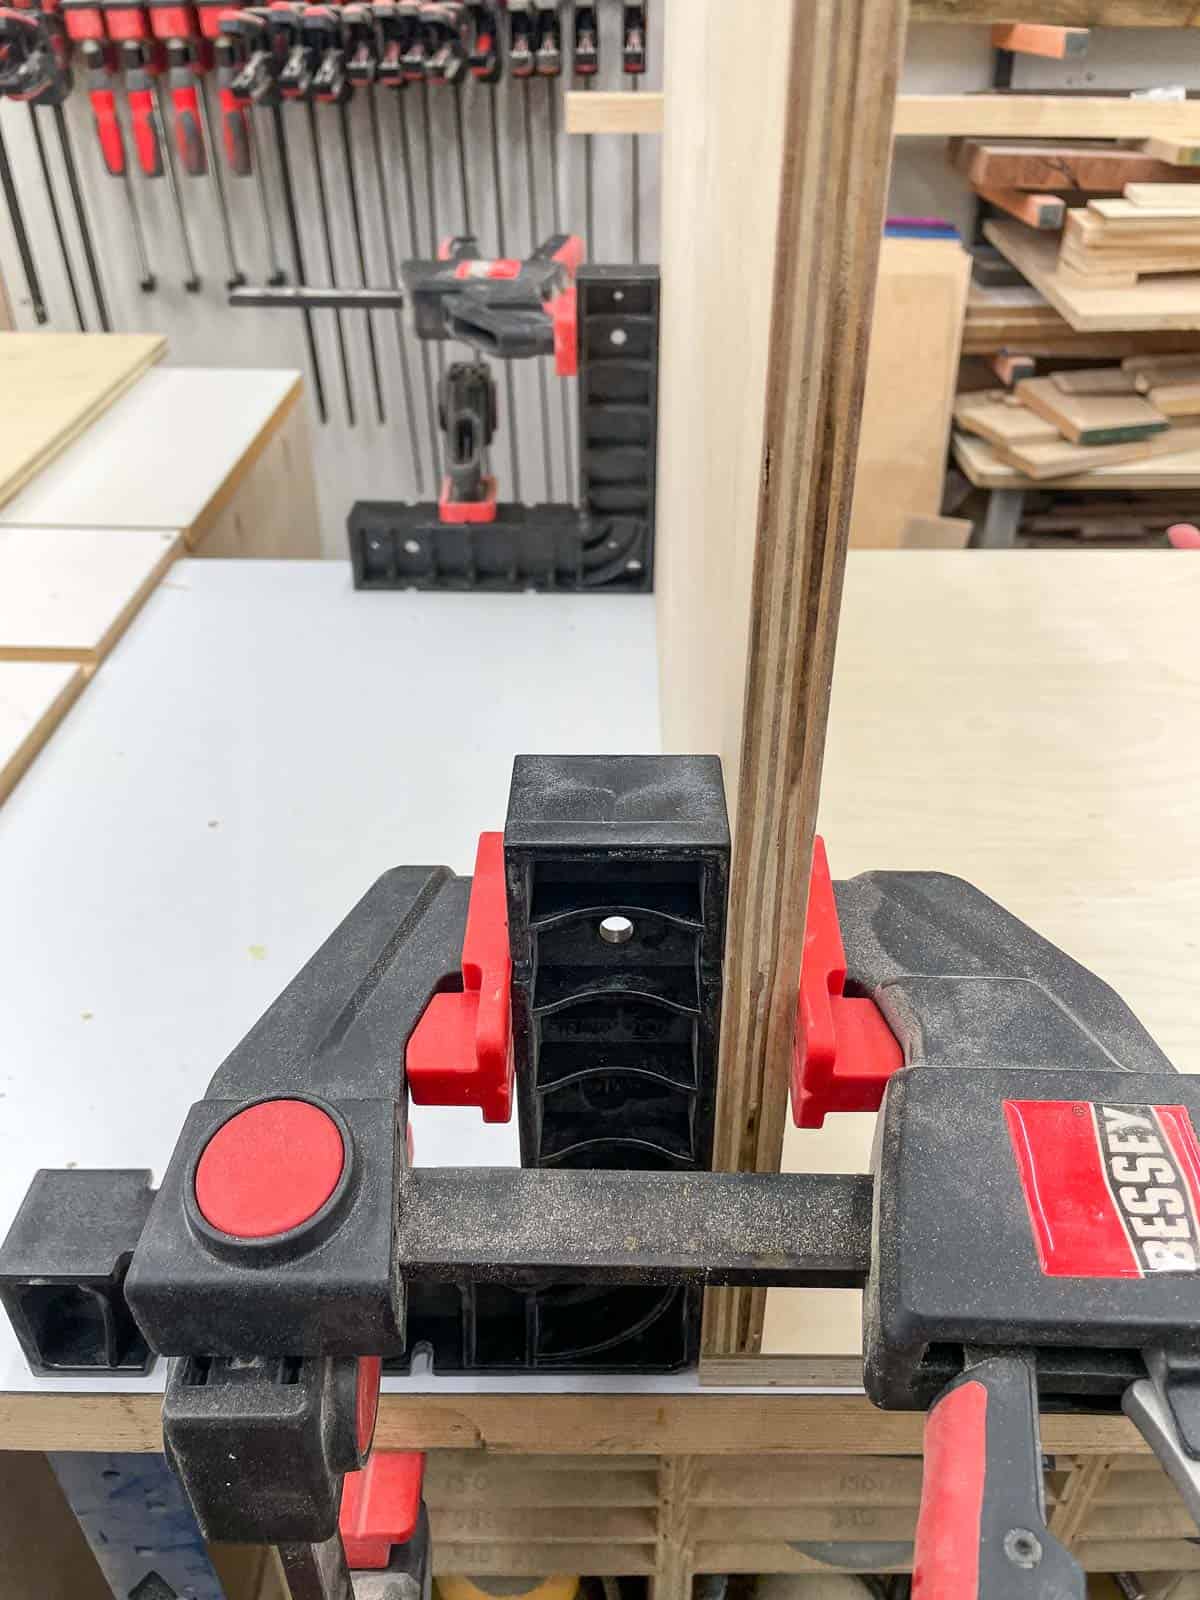

Then flip the cabinet down to attach the back with more pocket hole screws. I used a longer clamp to hold the sides tight while I drove in the screws. Check for square as you build!

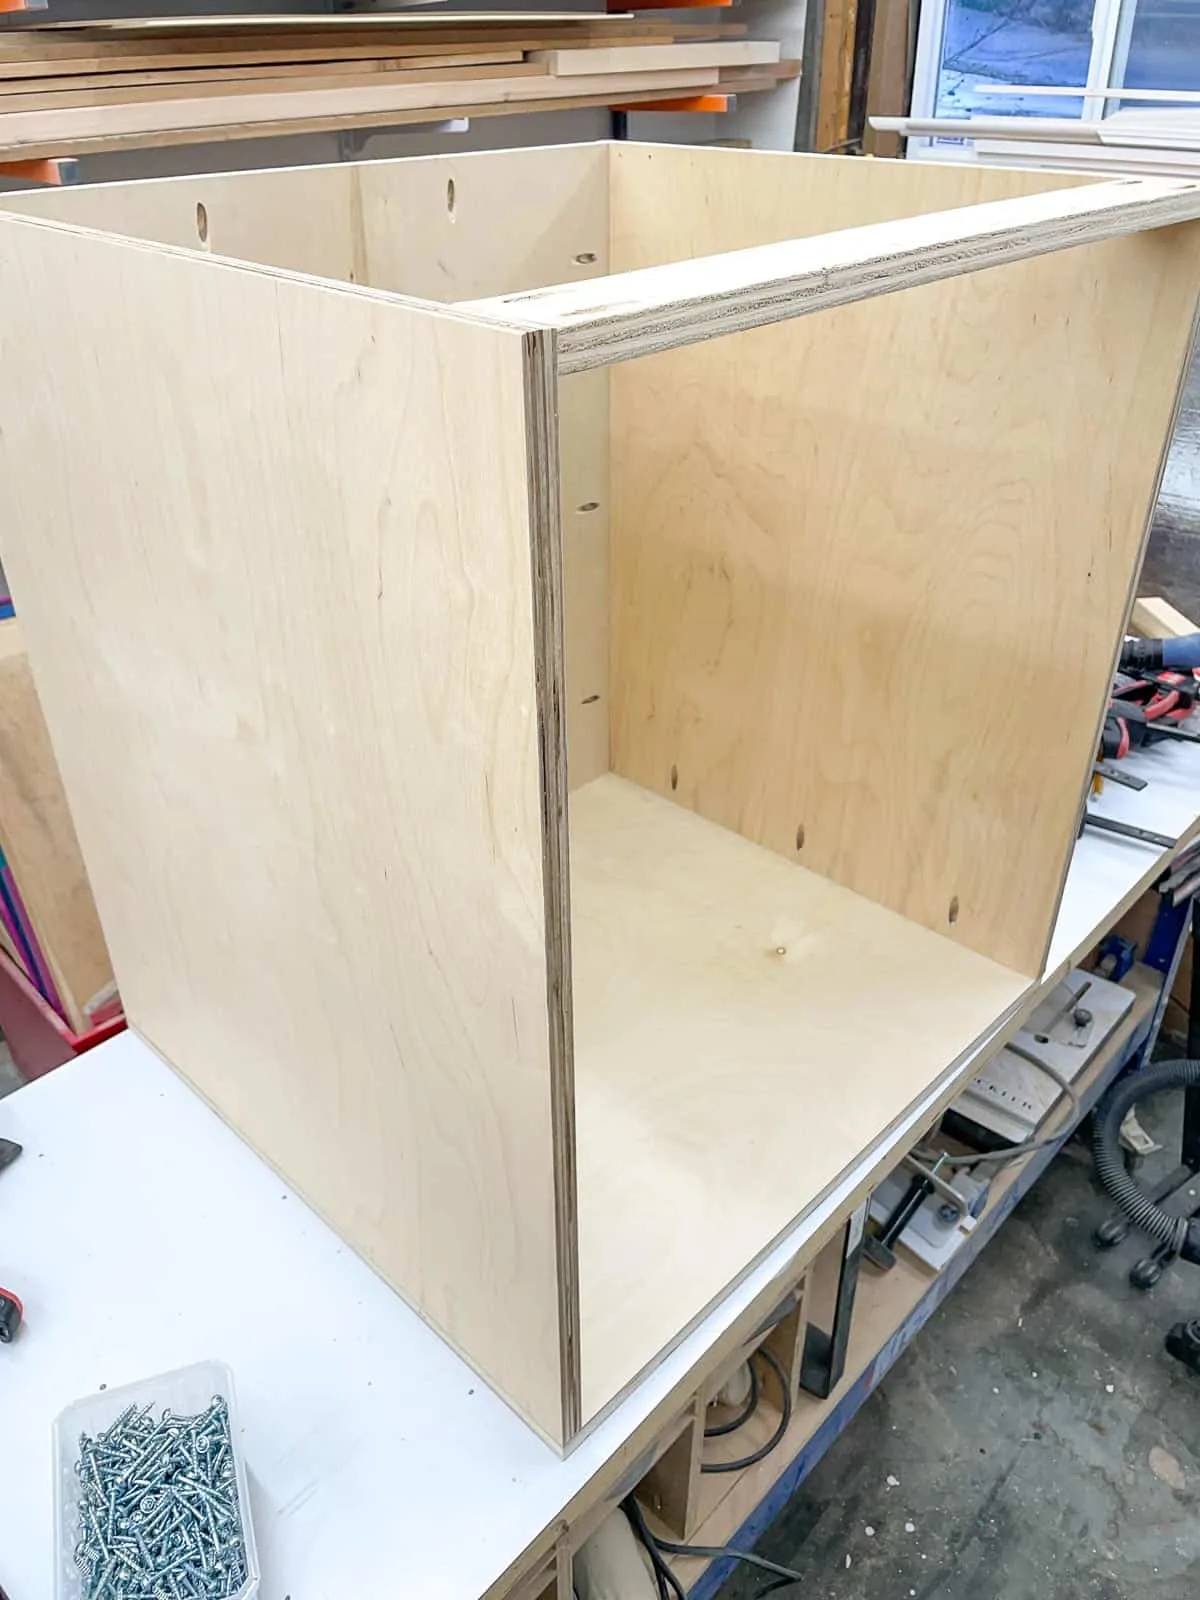
Finally, attach the stretchers across the top. This keeps the open front square, and gives you a place to attach the router tabletop to later on.

Install the interior shelf
The shelf separates the upper and lower section of the cabinet, and keeps sawdust from getting into the drawers below. I based the placement of my shelf on the Rockler dust bucket I'm planning to install inside.
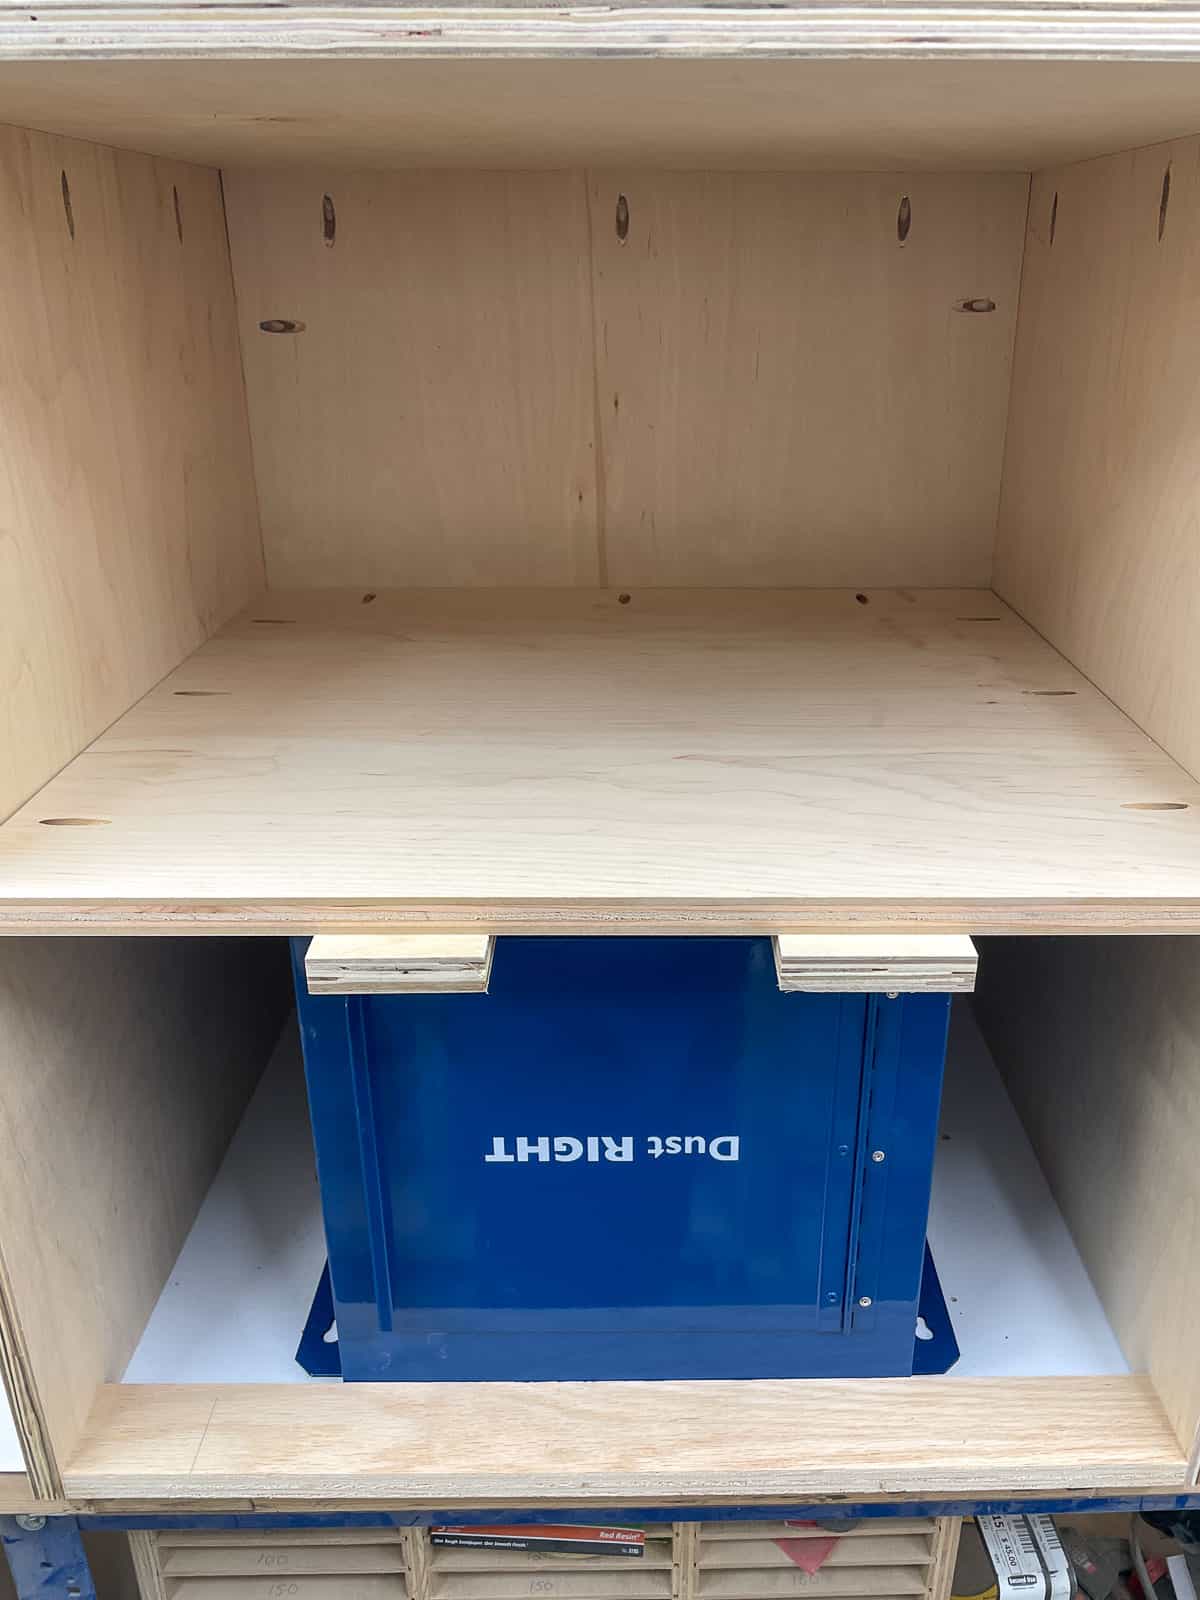

Flip the router table cabinet upside down and place the dust collection box inside. It should be sitting on the workbench, not on the stretchers, so it can mount directly to the underside of the tabletop. I used a couple of scraps of plywood to raise up the shelf off the bottom of the dust bucket, then screwed the shelf in place with pocket hole screws.
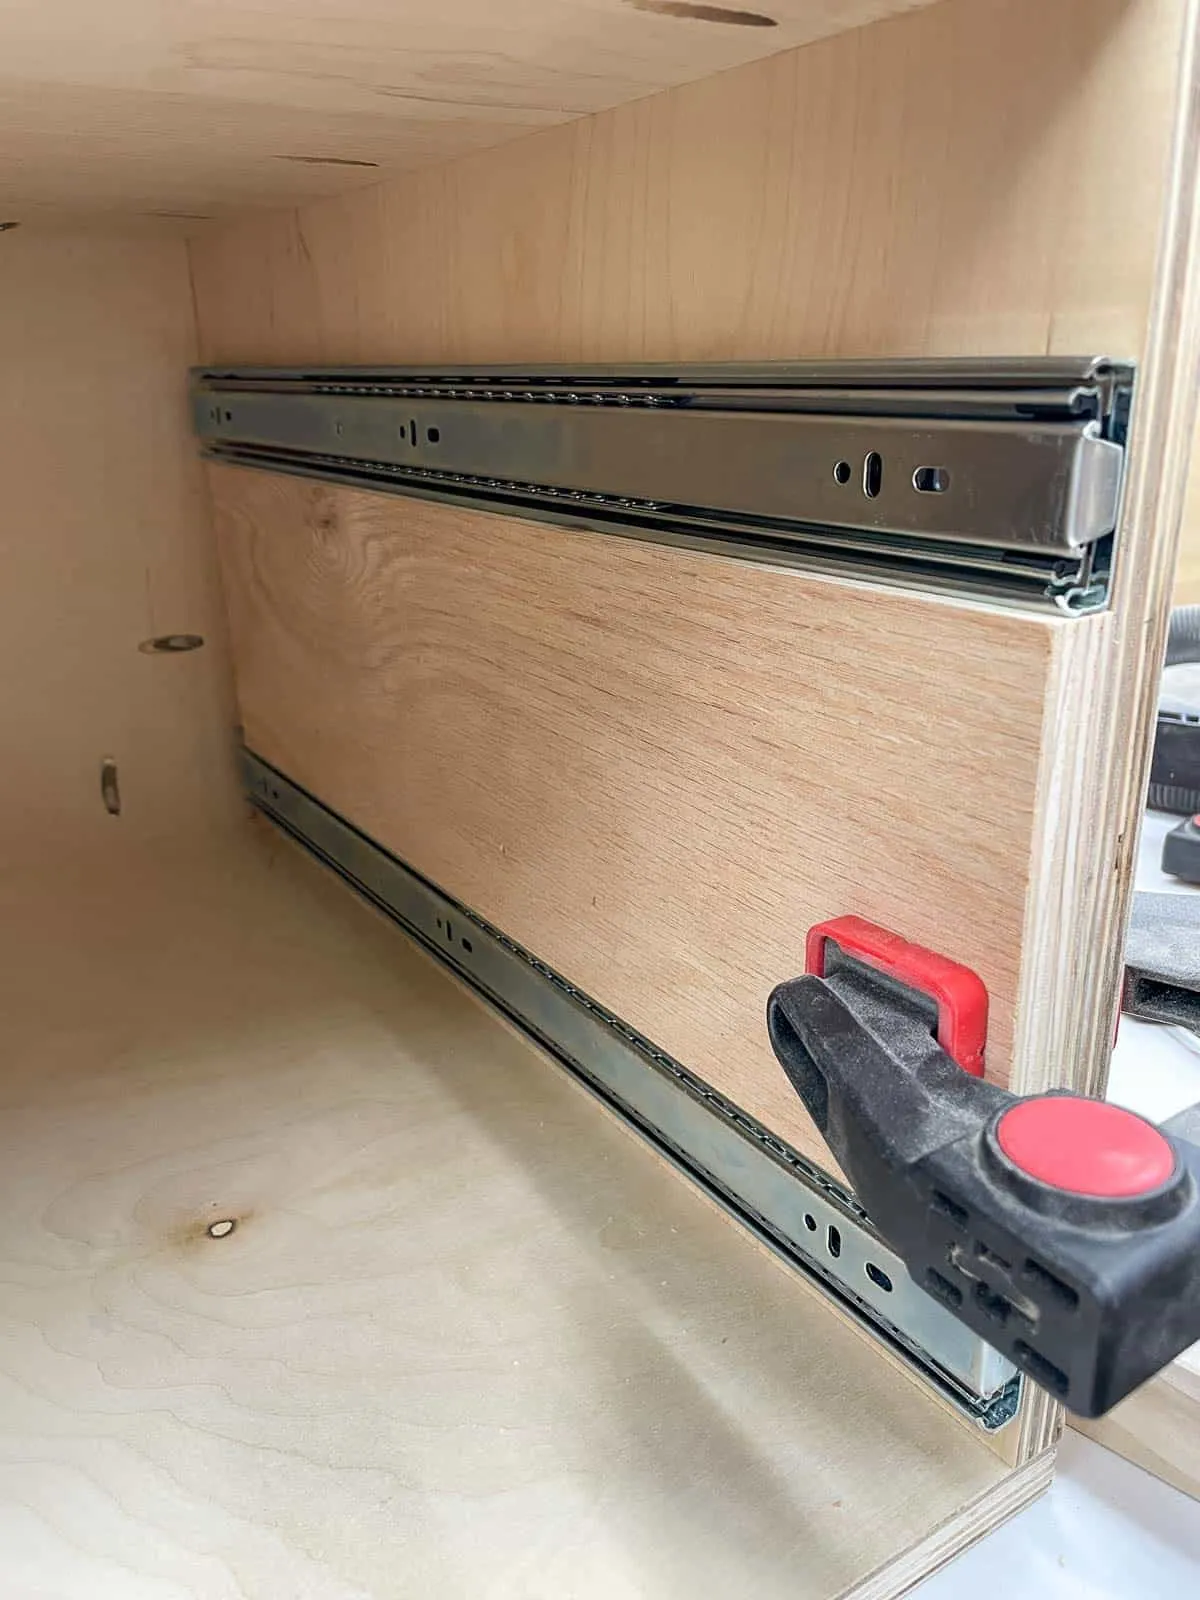
Install the drawer slides and casters
Now that the shelf is installed, it's easier to figure out where the drawers will go. I installed the bottom set of 20" drawer slides using ¾" plywood as a spacer underneath. Then I cut another scrap of plywood for a spacer between the two sets of slides.

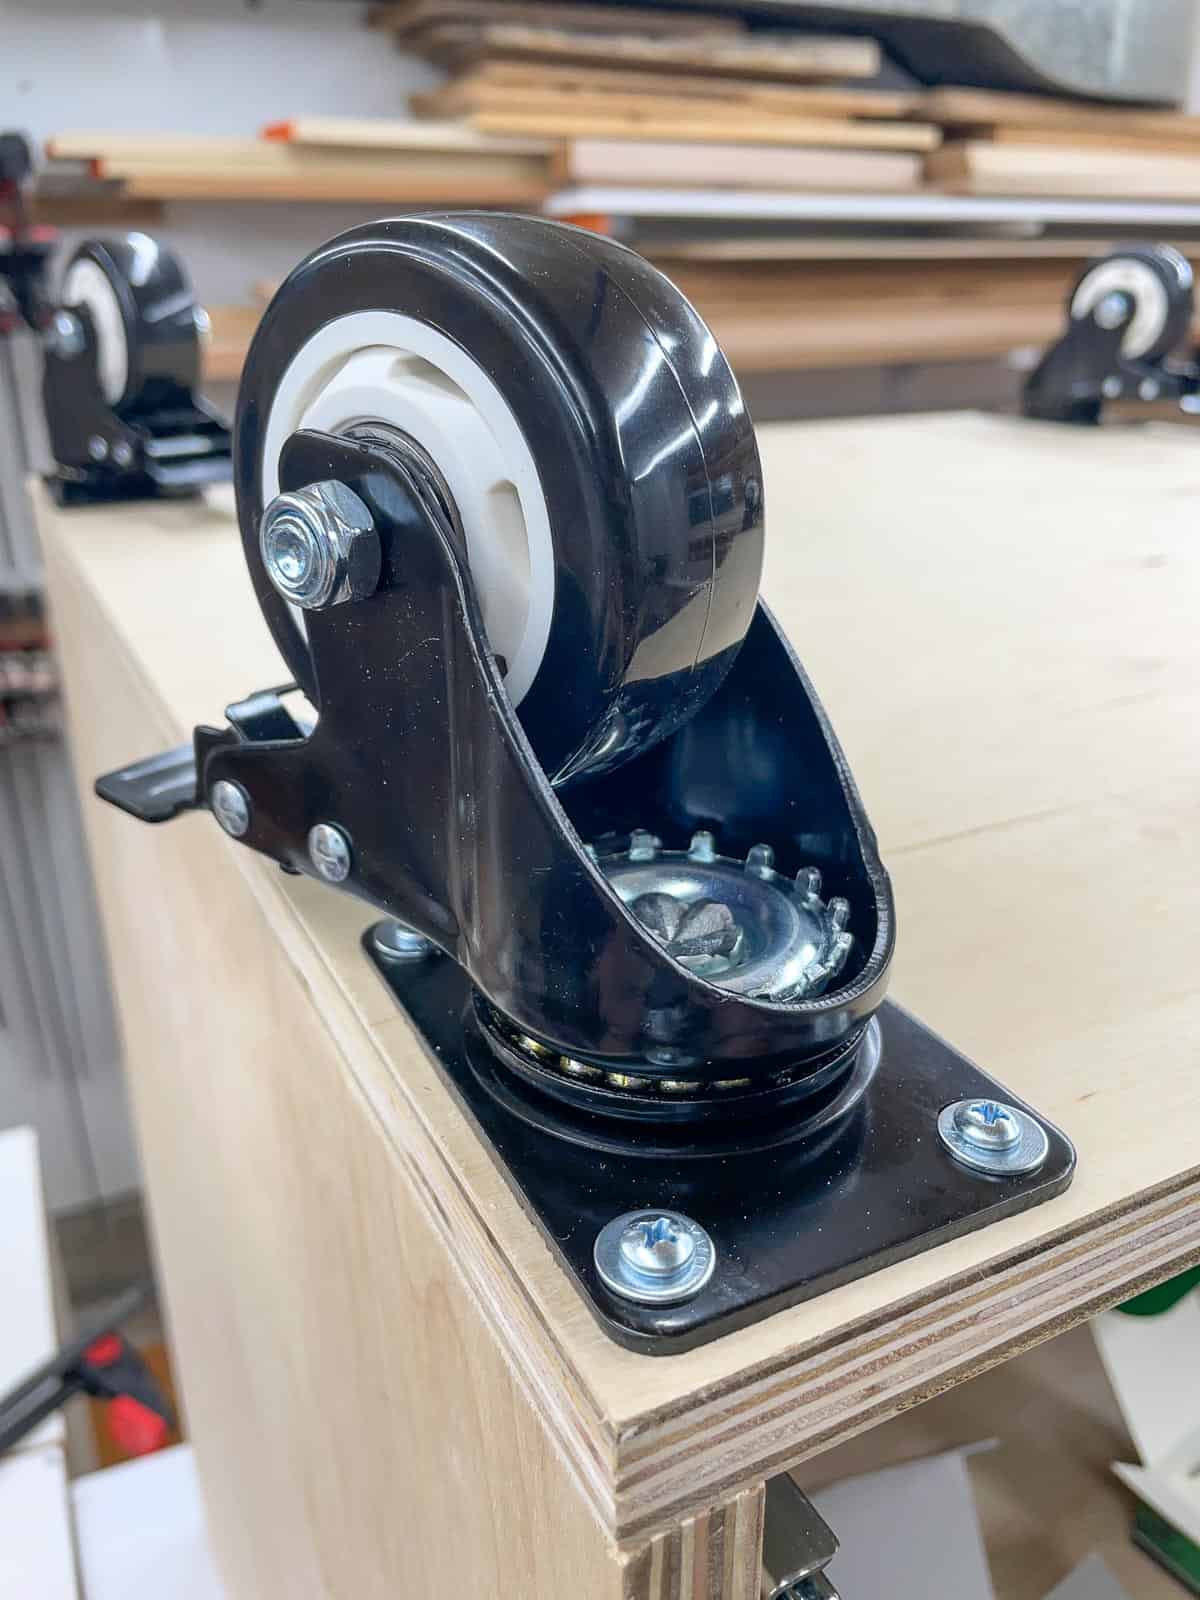
Then I installed the 3" locking casters on the bottom with washers and ¾" screws. Make sure your casters lock securely, so your router table doesn't roll away as you're using it!

Install the router table dust collection
One of my main goals for building this entire miter saw/router table system was to get better use out my wall mount dust collector. Now all of my tools are within ten feet of the dust collector with blast gates for each one, and I'm noticing way less sawdust around the workshop!
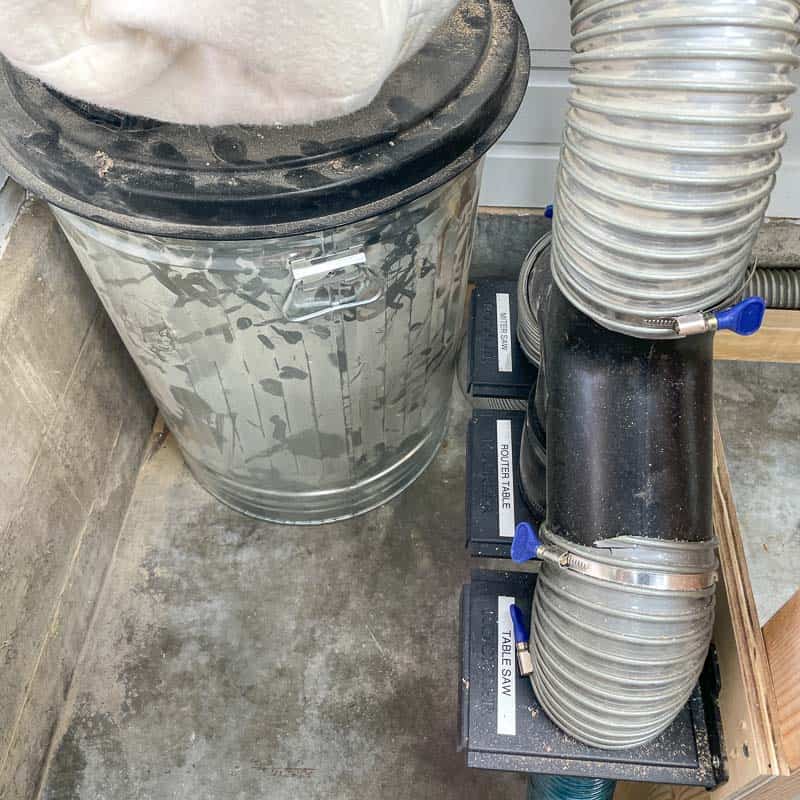

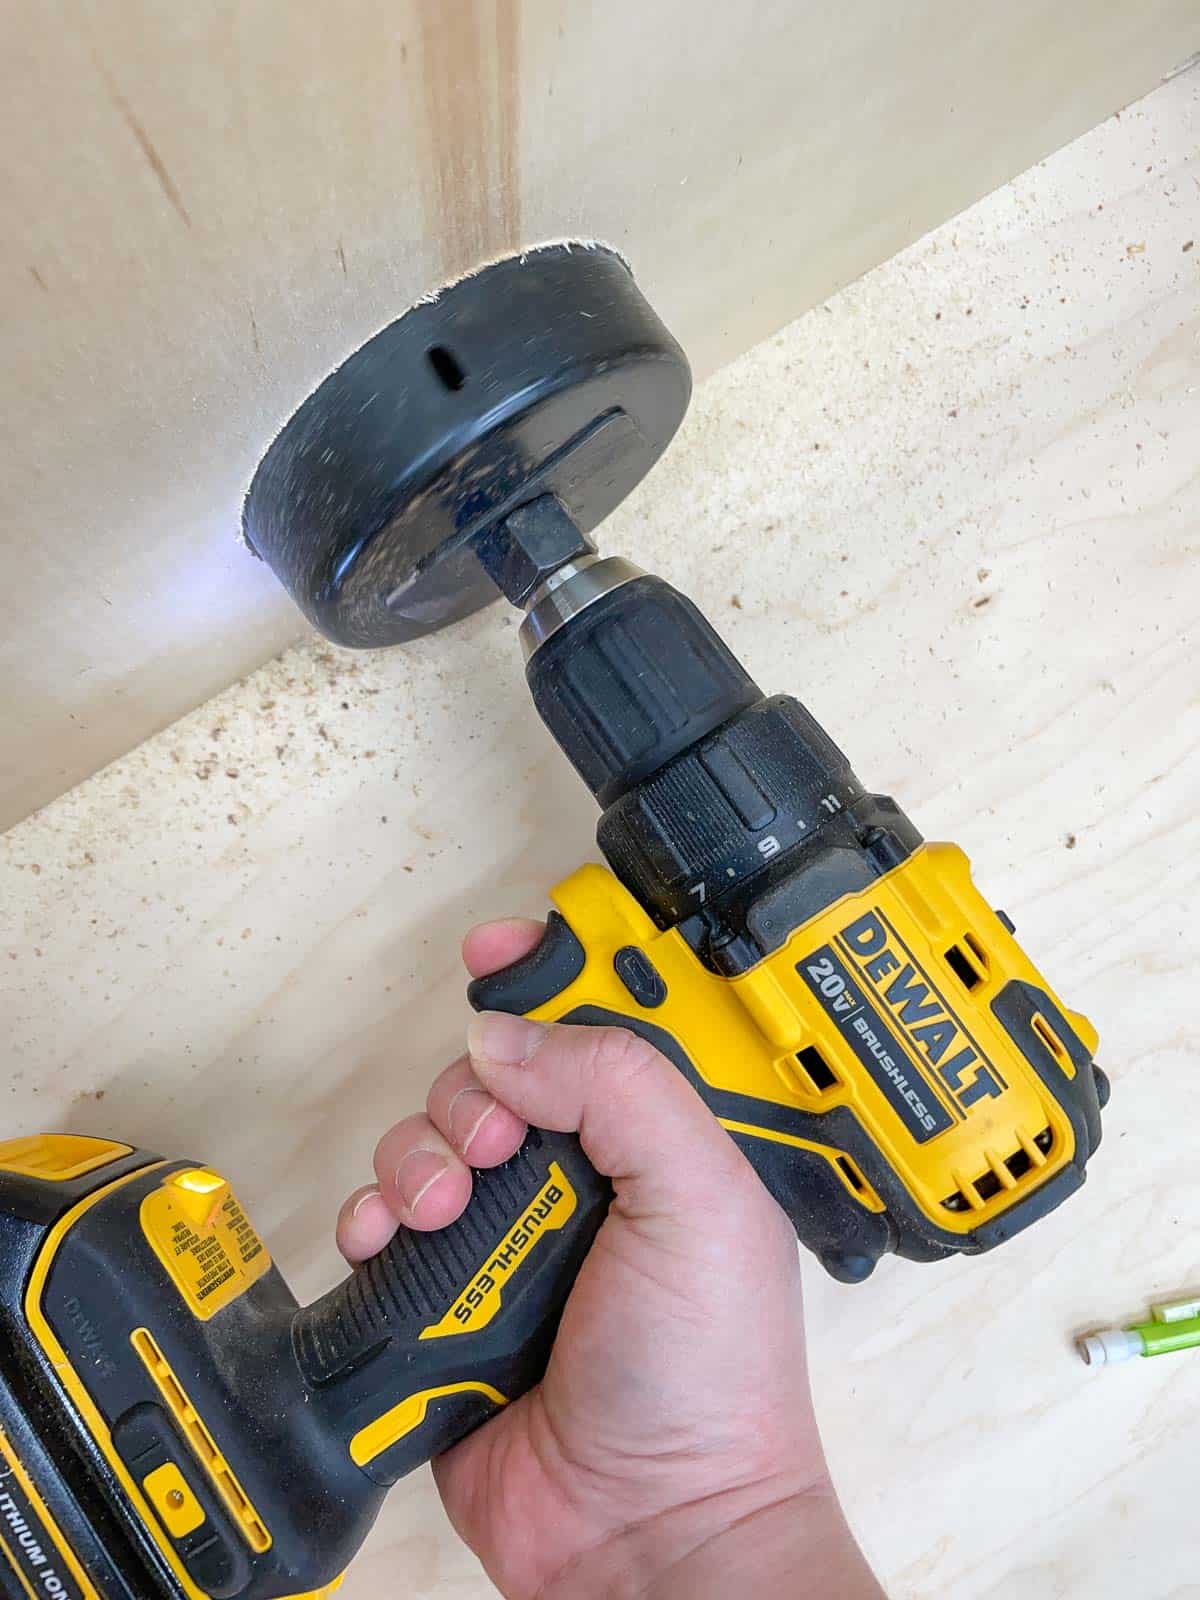
The Rockler dust collection box has two ports on the back. The 2 ½" connection goes to the fence on top, and 4" one goes to the dust collector. I cut holes for both in the back of the cabinet with hole saws. You could also use a jigsaw for this step.

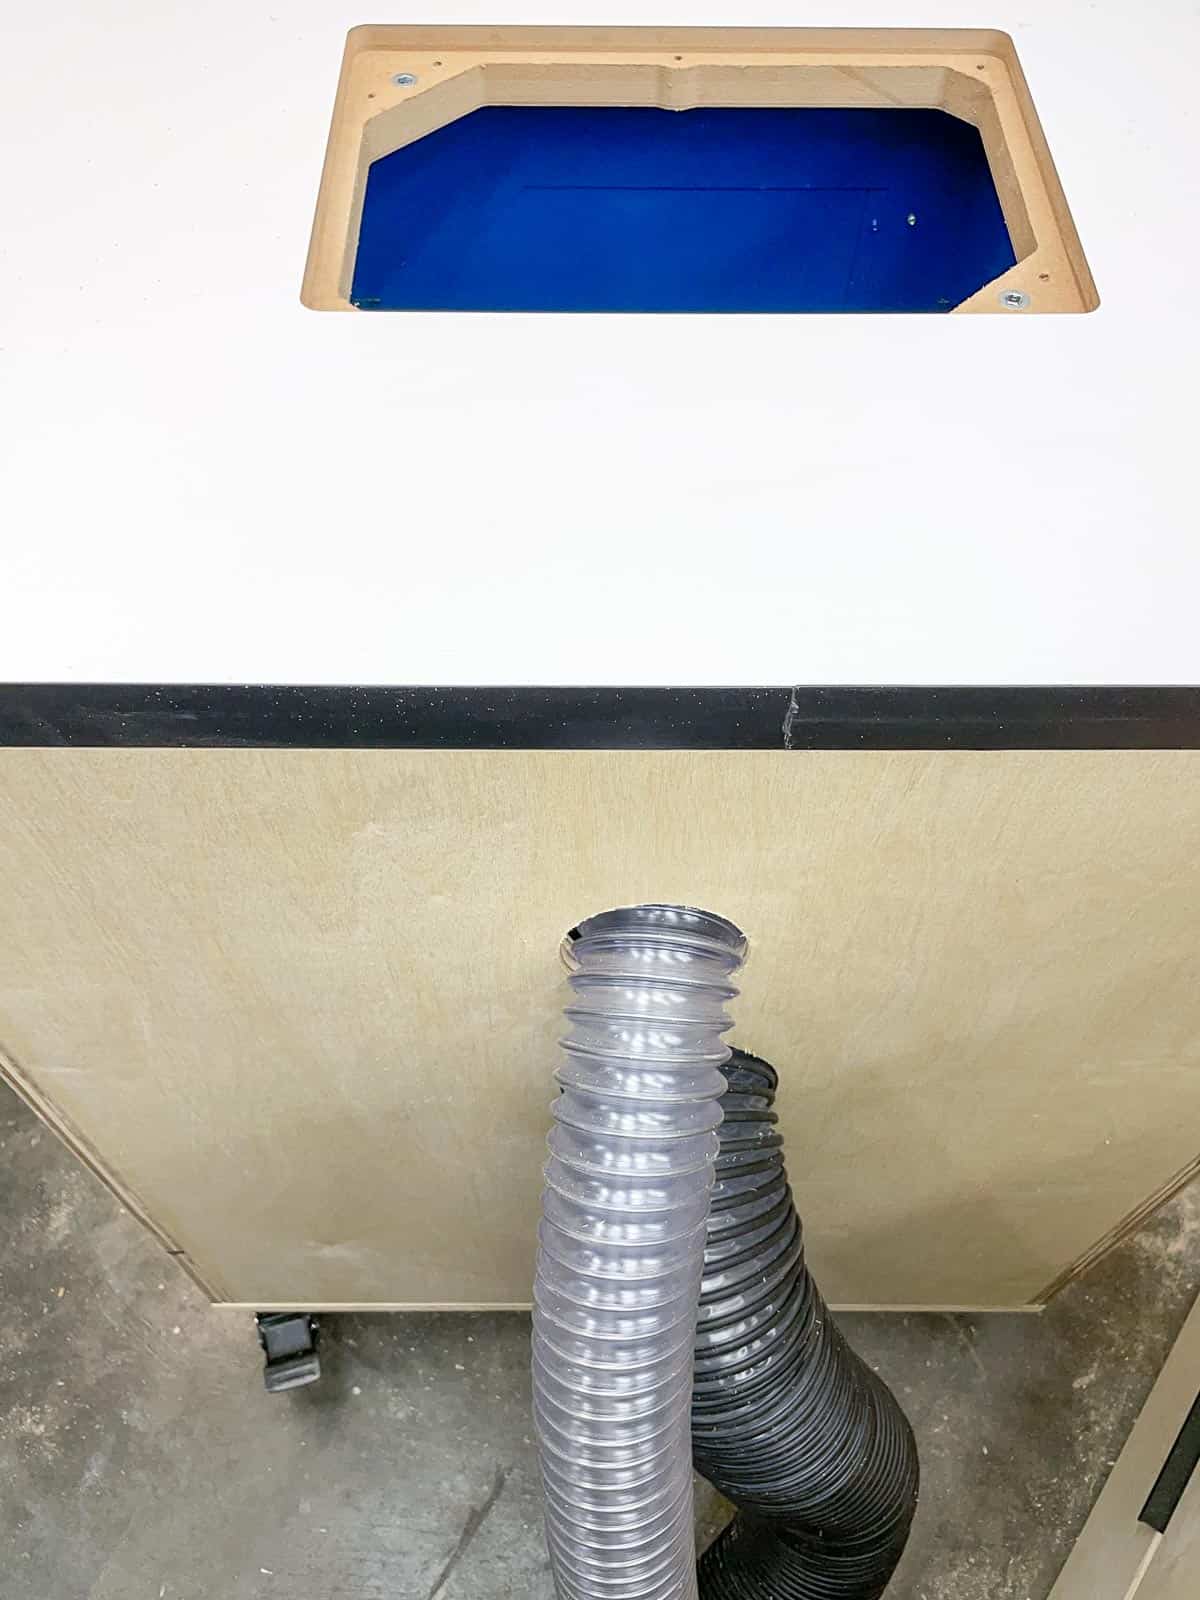
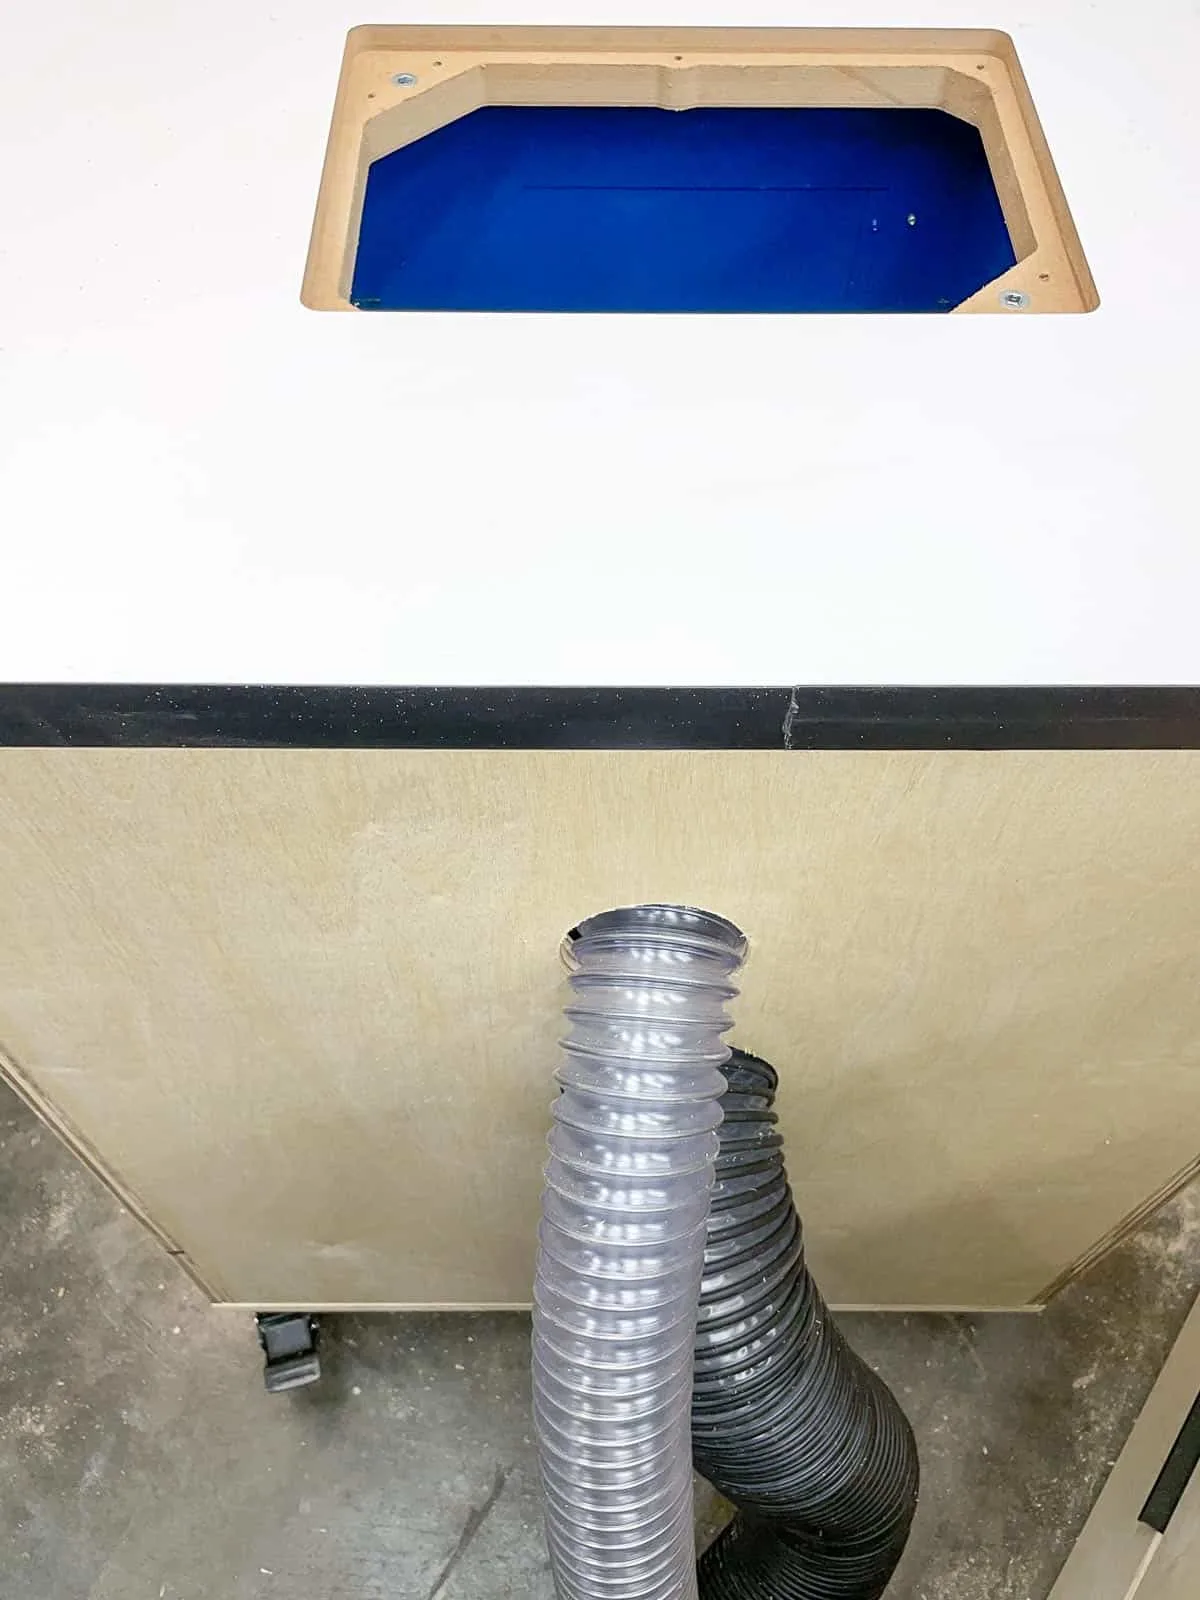
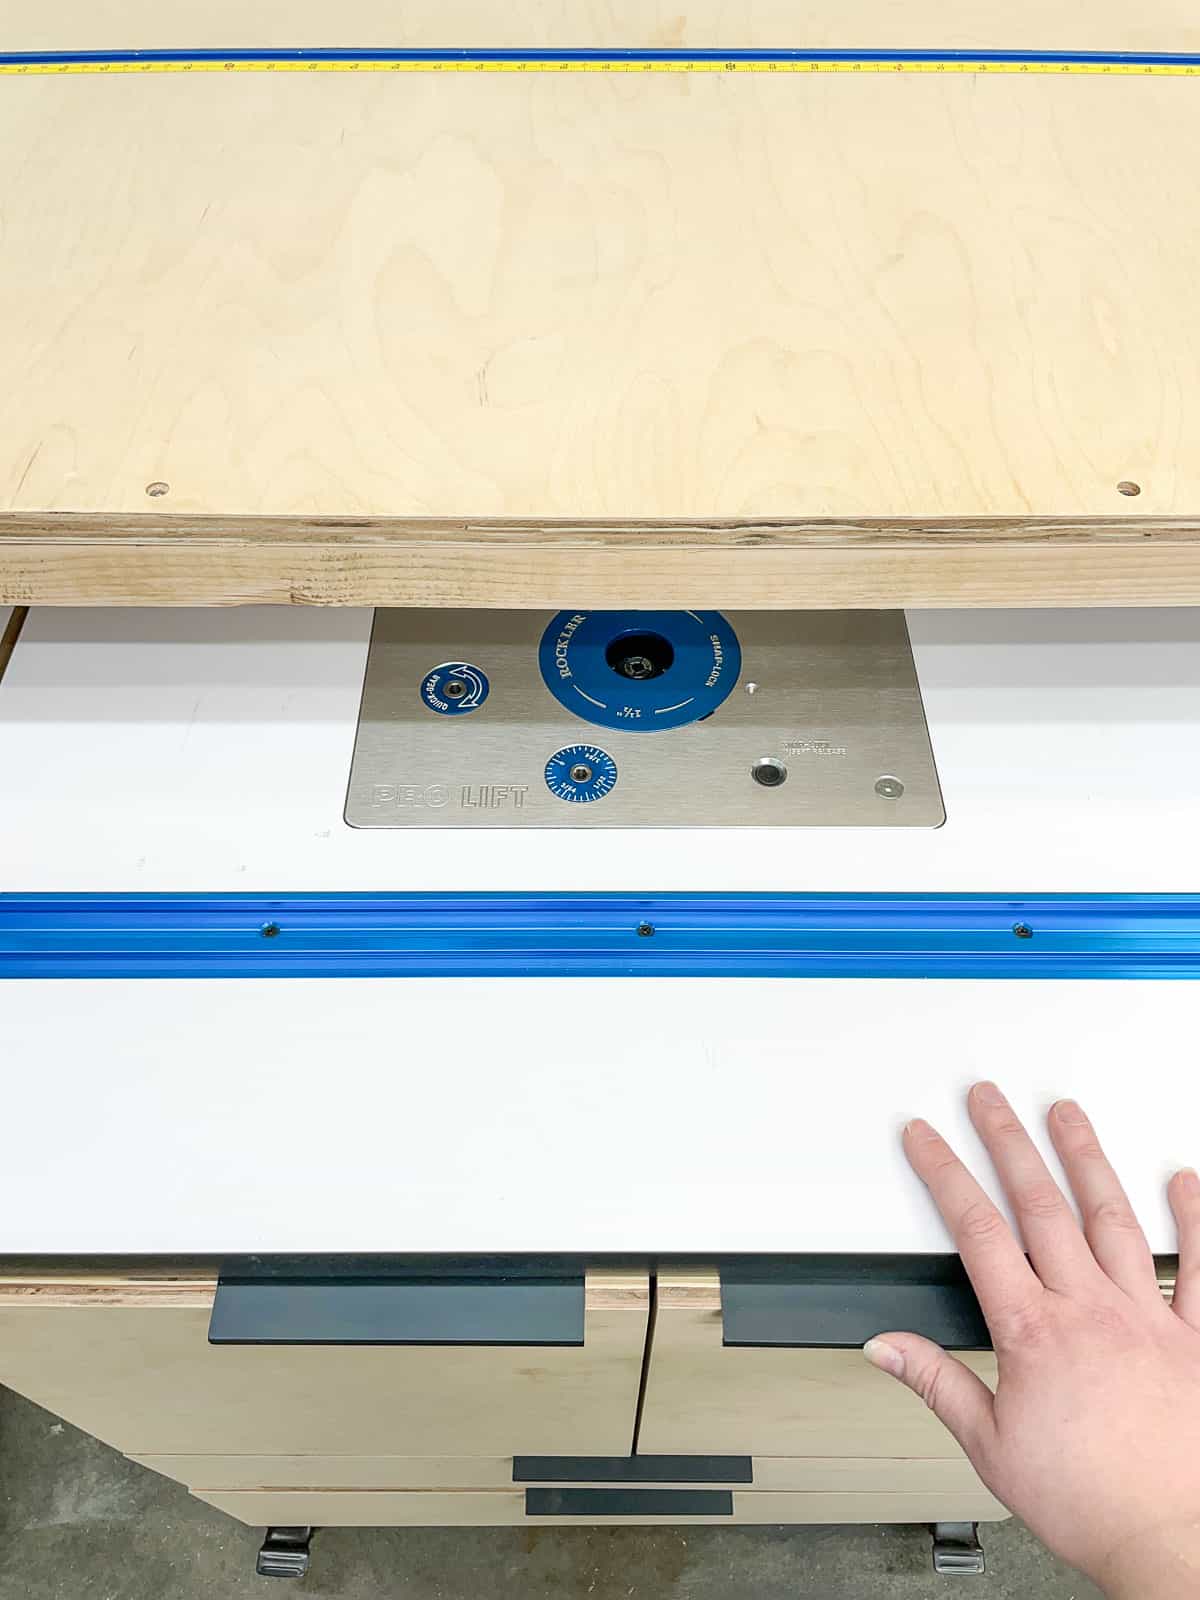
Once the dust bucket was screwed to the underside of the router plate opening, I connected the hoses and pushed them out the holes. Then I screwed the table top to the cabinet through the stretchers. Make sure your screws are short enough so they don't poke through your top!
My husband got me the Rockler laminate router table top and router lift for Christmas (lucky me!), so I didn't have to build my own top. If you'd rather save a few bucks, here's a great video on how to make your own router table top with miter gauge slot and fence.
Router table cabinet doors and drawers
Since this is just shop furniture, I used ¾" plywood for the cabinet doors and drawer fronts and didn't bother applying edge banding. Cut the two doors to cover the top opening and the surrounding plywood edges.
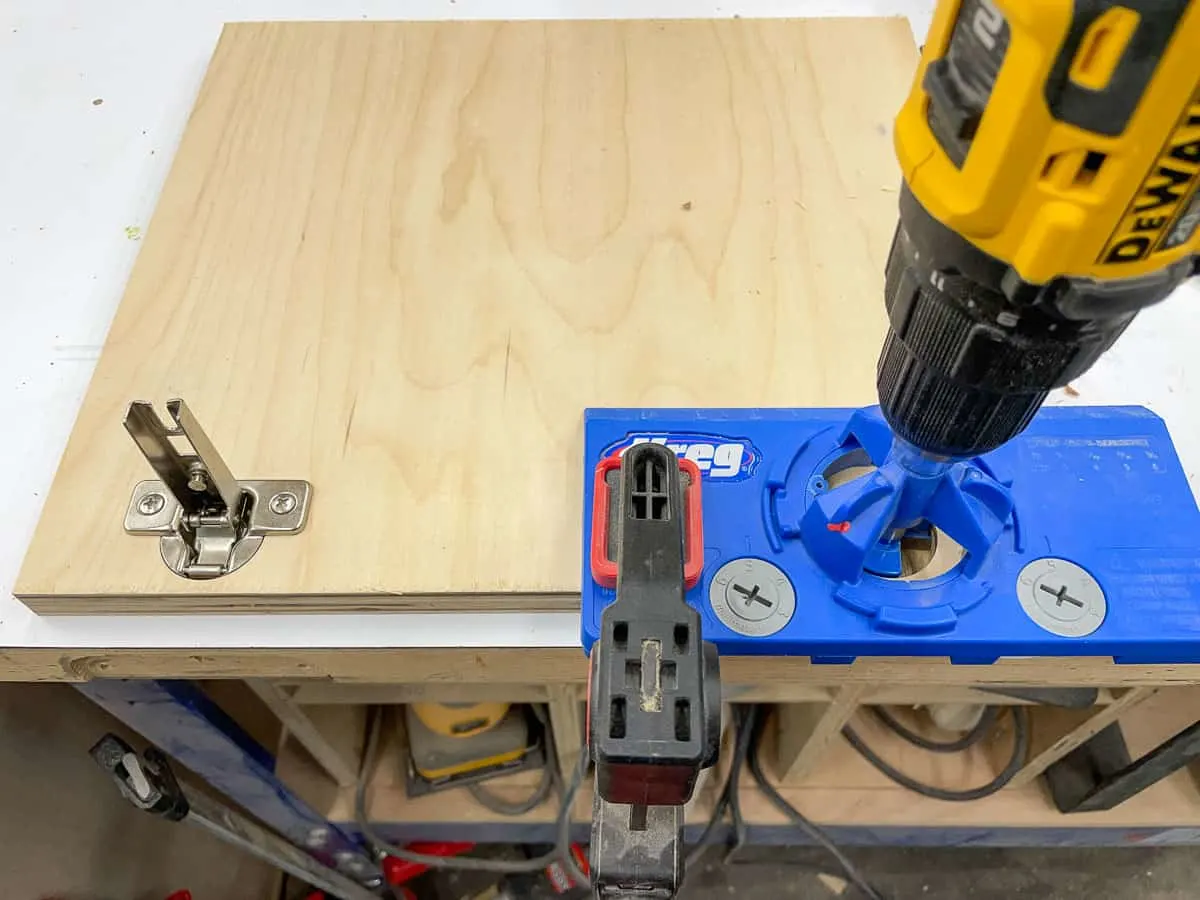
I installed these inexpensive full overlay cabinet door hinges using the Kreg concealed hinge jig. It's super easy to use, and creates perfect holes every time! I have a full tutorial on how to use a concealed hinge jig and how to install cabinet hinges too!

I quickly built the drawer boxes using ½" plywood, wood glue and brad nails. No fancy dovetails or dados here! Then I attached them to the drawer slides inside the cabinet.

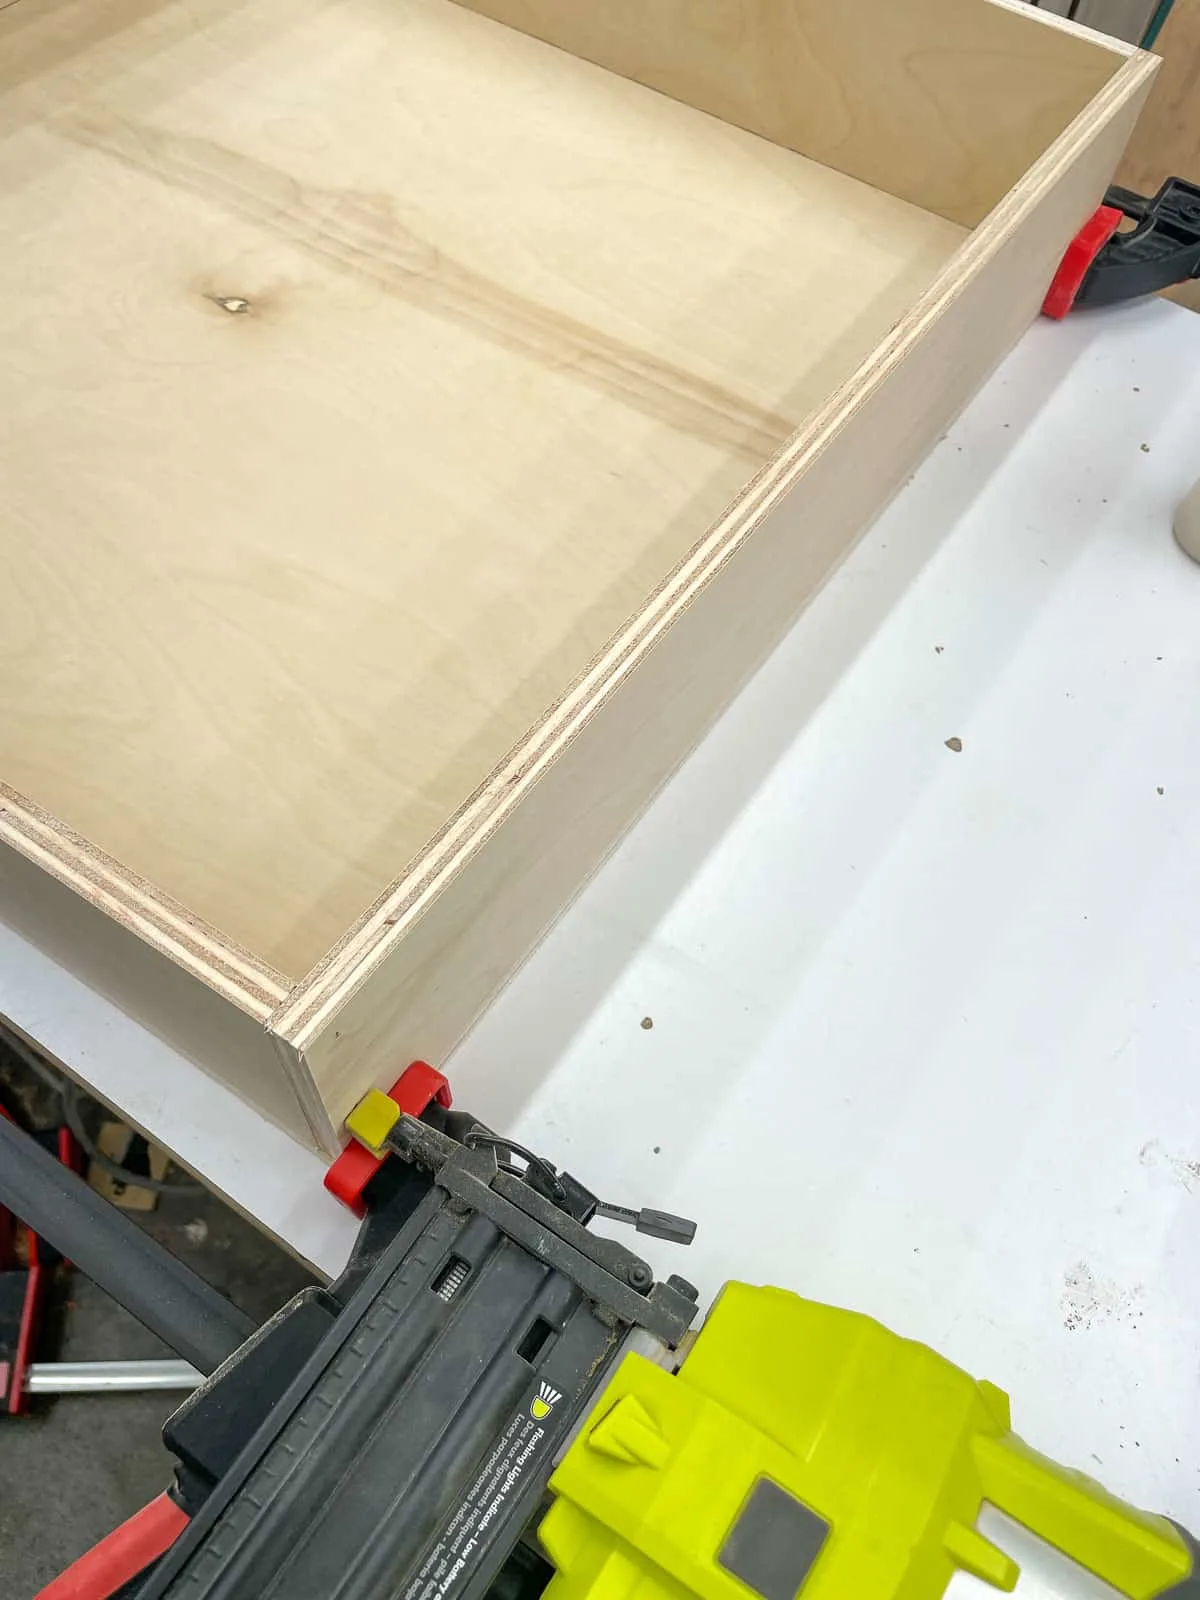
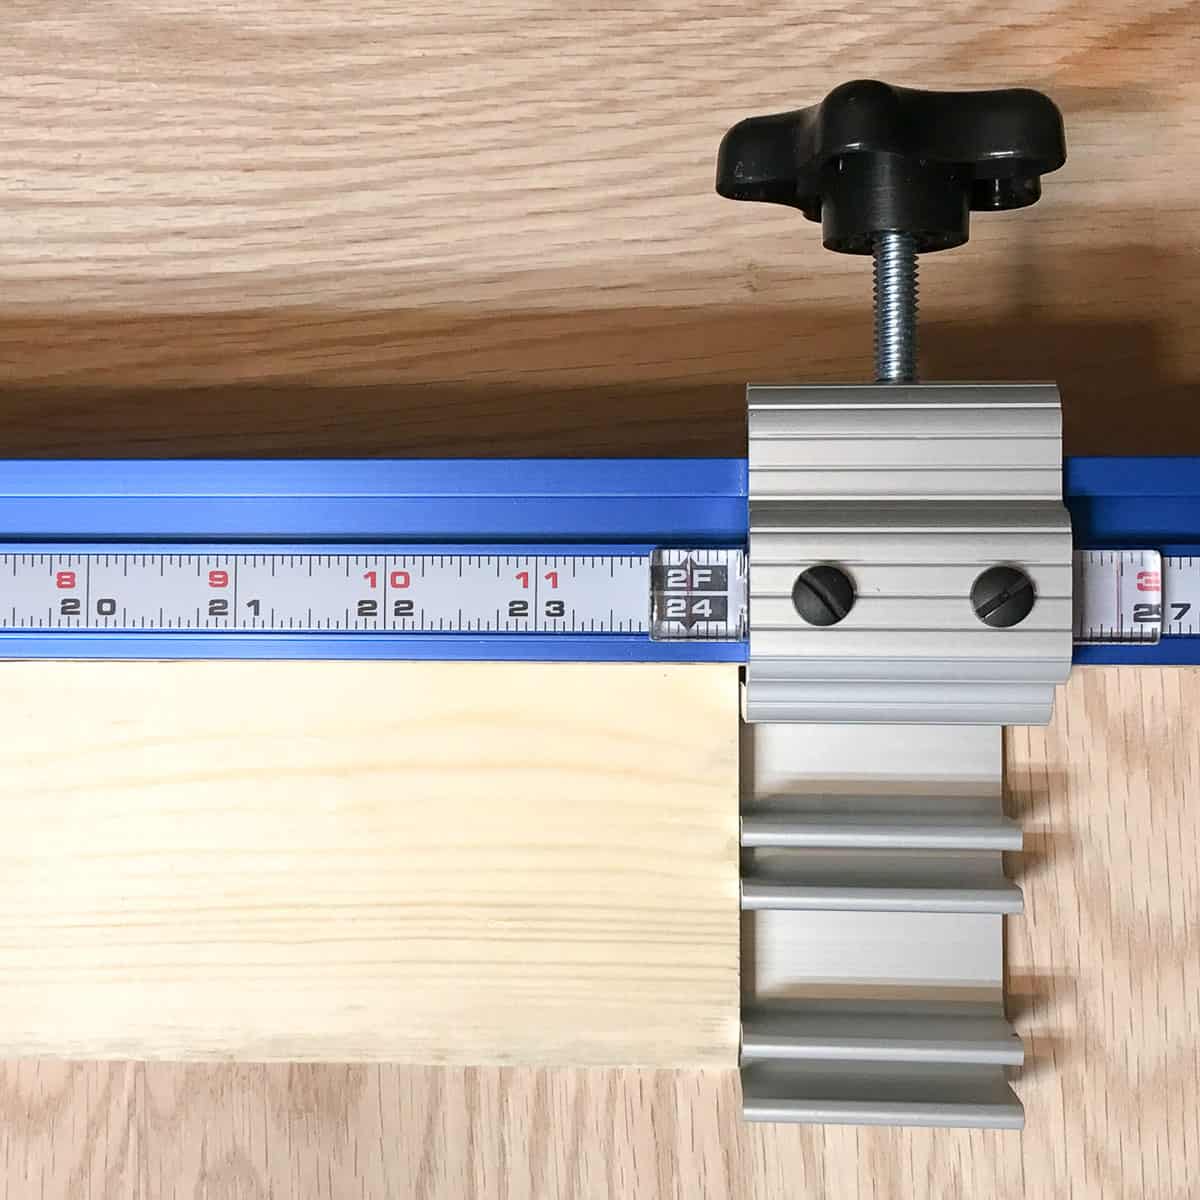
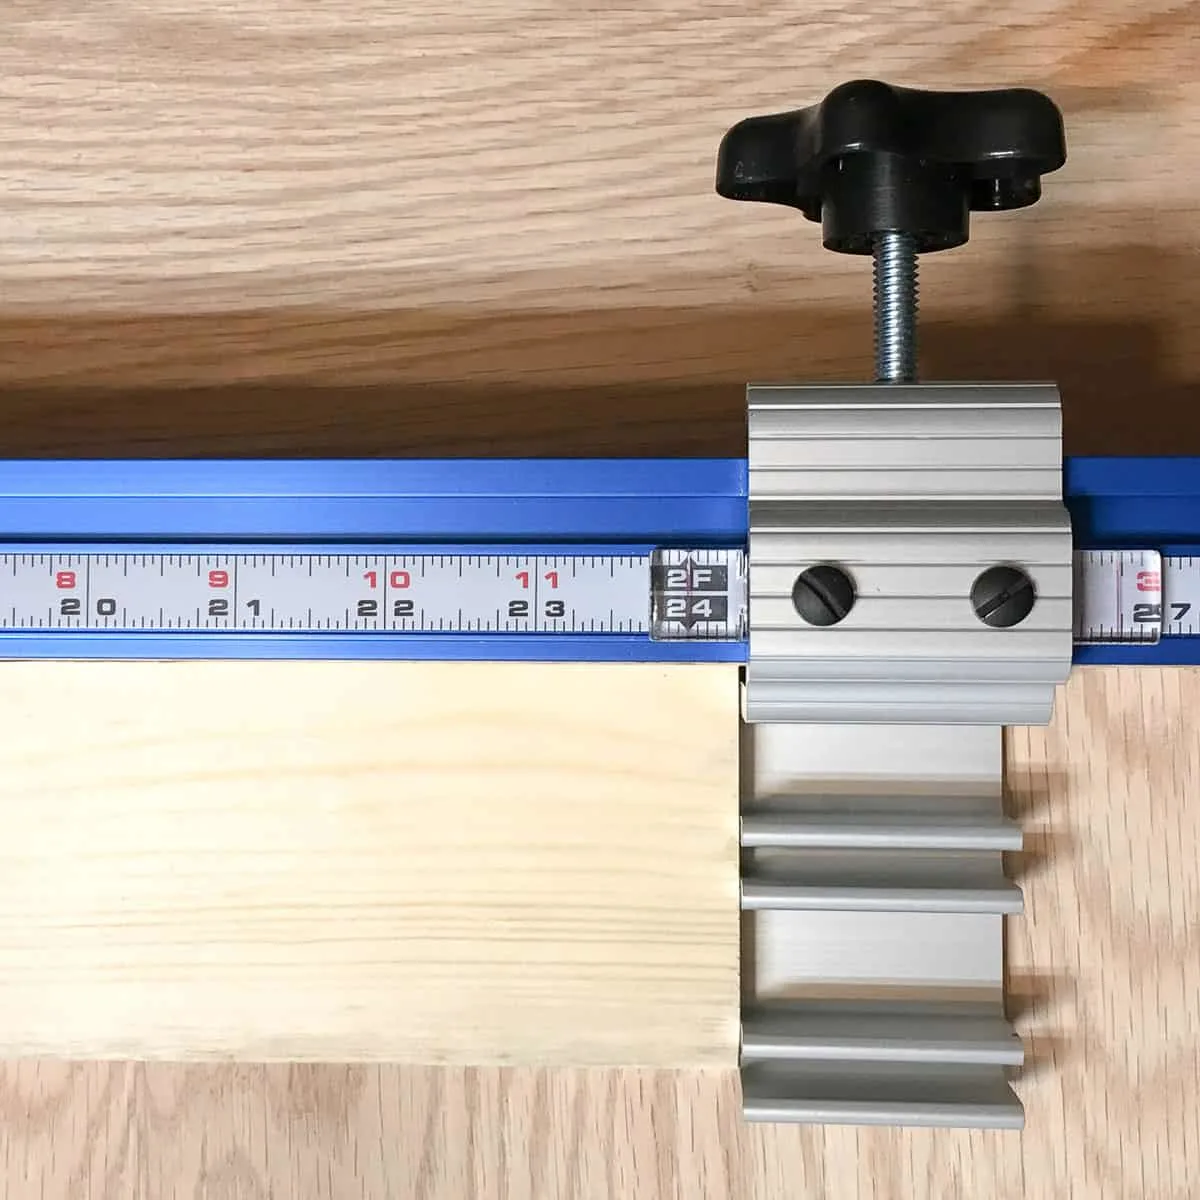
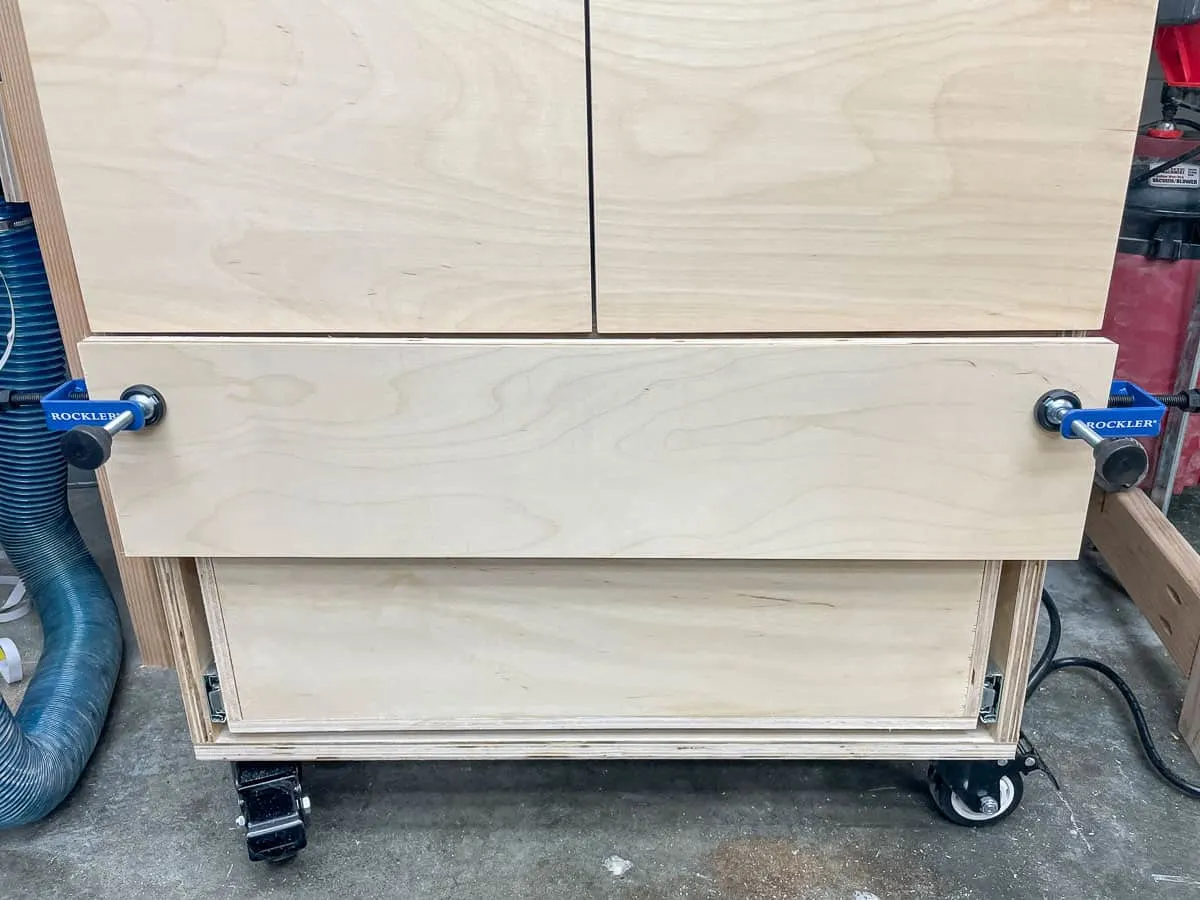
These overlay drawer front clamps make it really easy to get the perfect alignment! I matched the gap between the cabinet doors, then pulled out the drawer and attached the front from the inside.

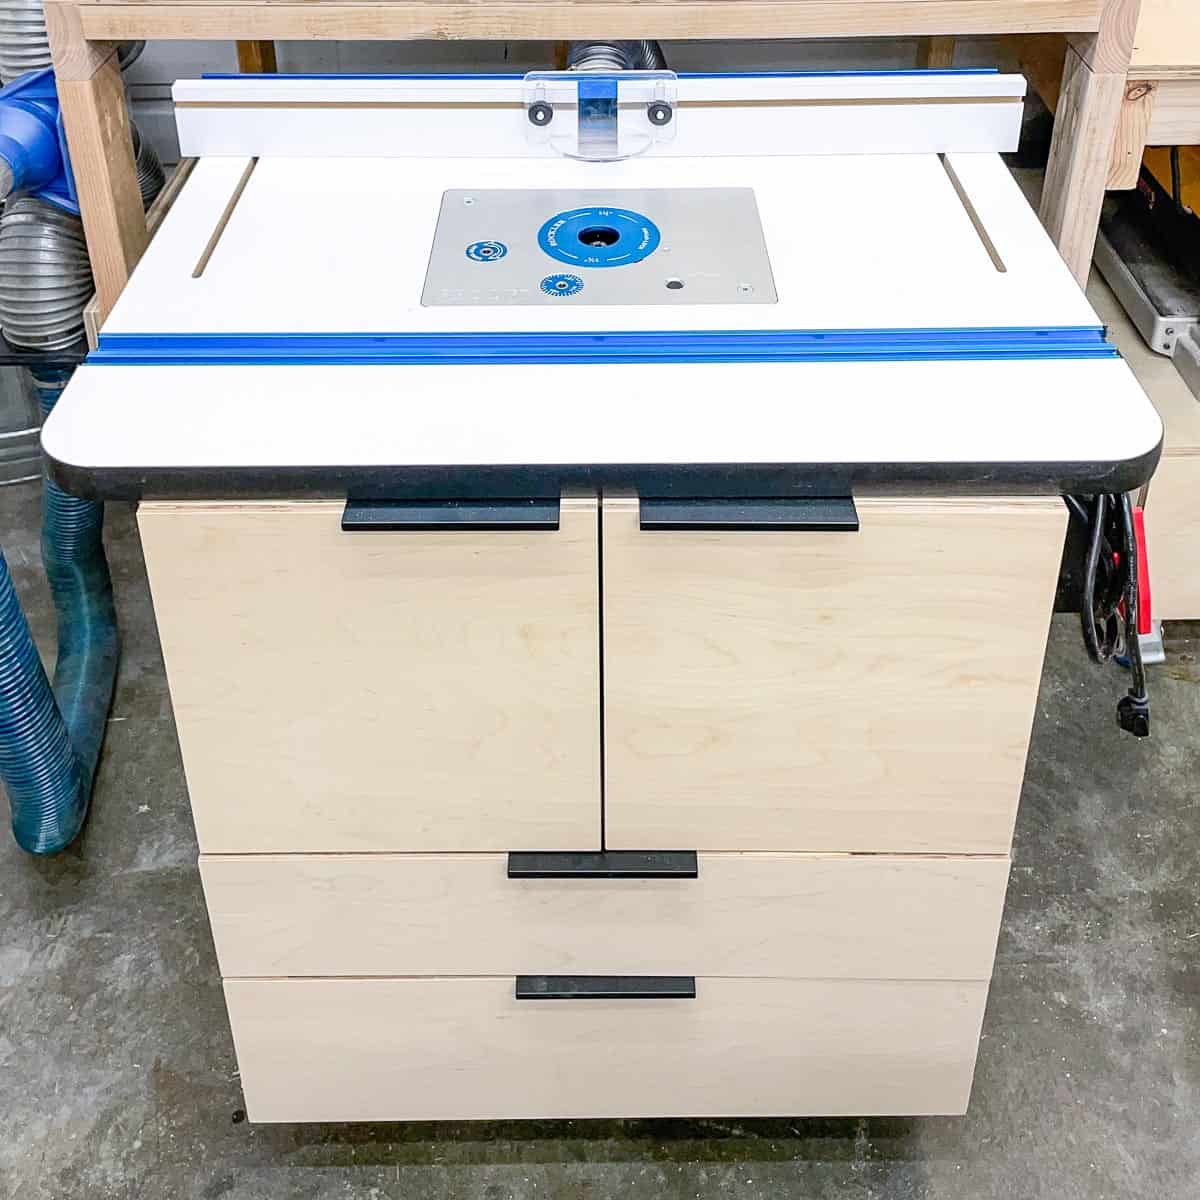
After installing the door and drawer pulls, plus the stop/start button on the side, I could finally call this router table project complete!
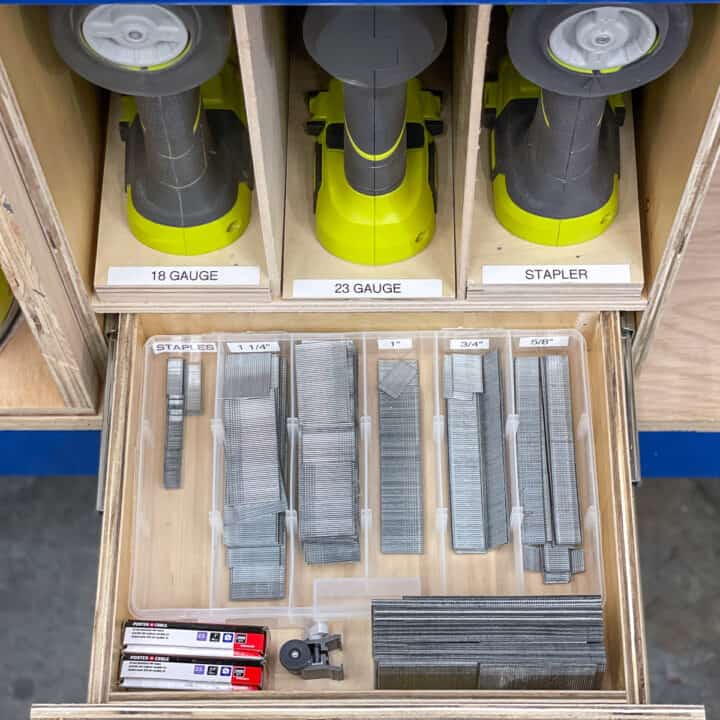
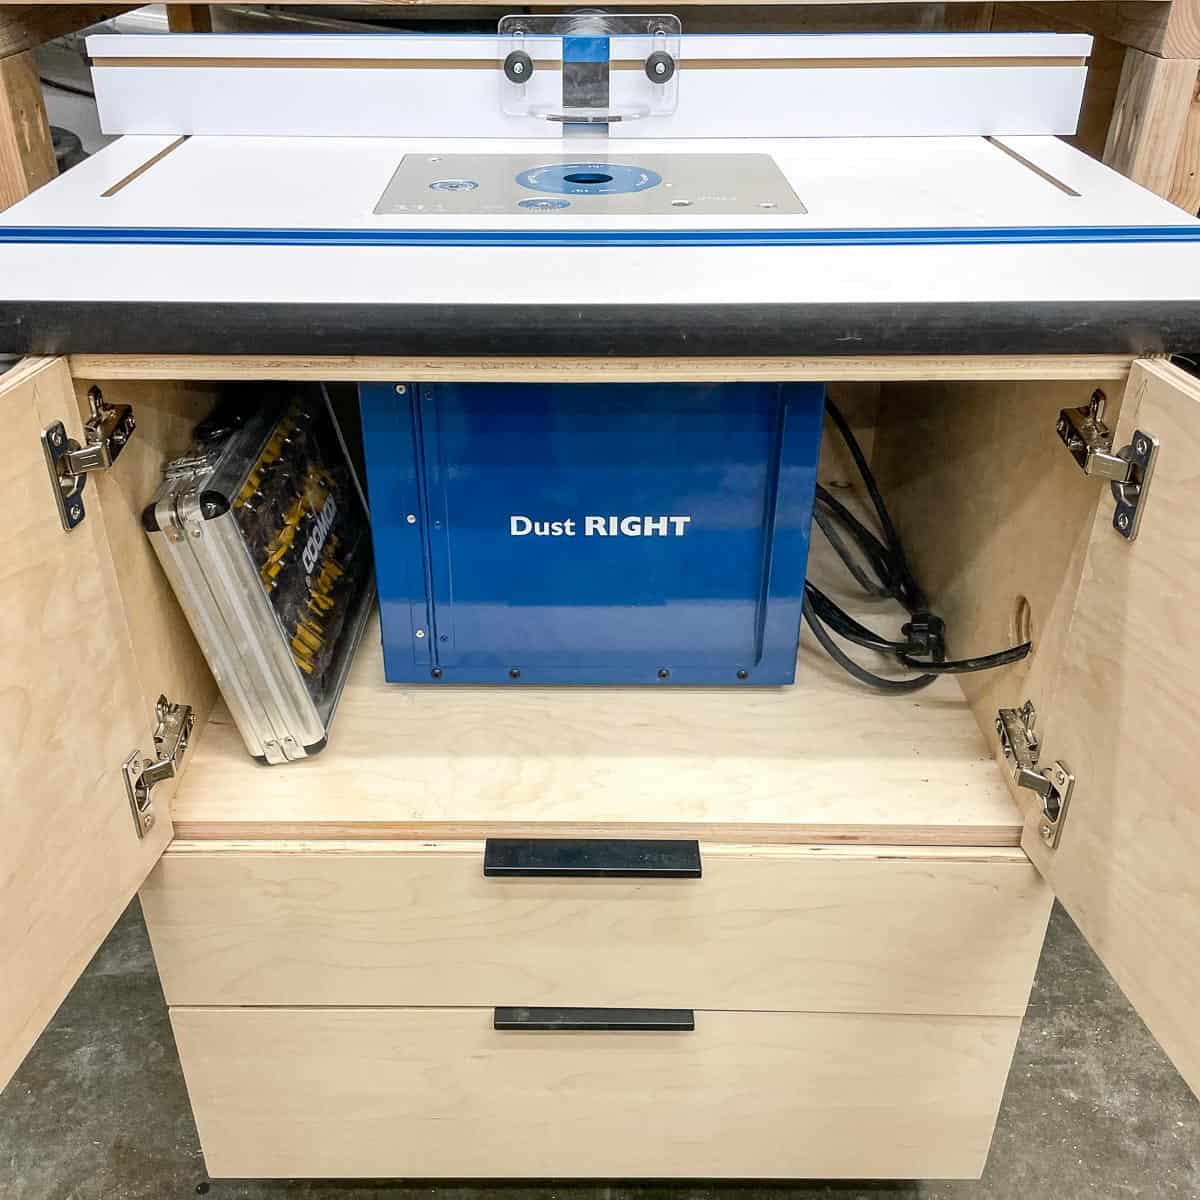
The cabinet doors open to reveal the dust bucket, a case of router bits, and the power cables. I'm planning to add some hooks to the inside of the doors for my frequently used accessories, like collet wrenches and featherboards.

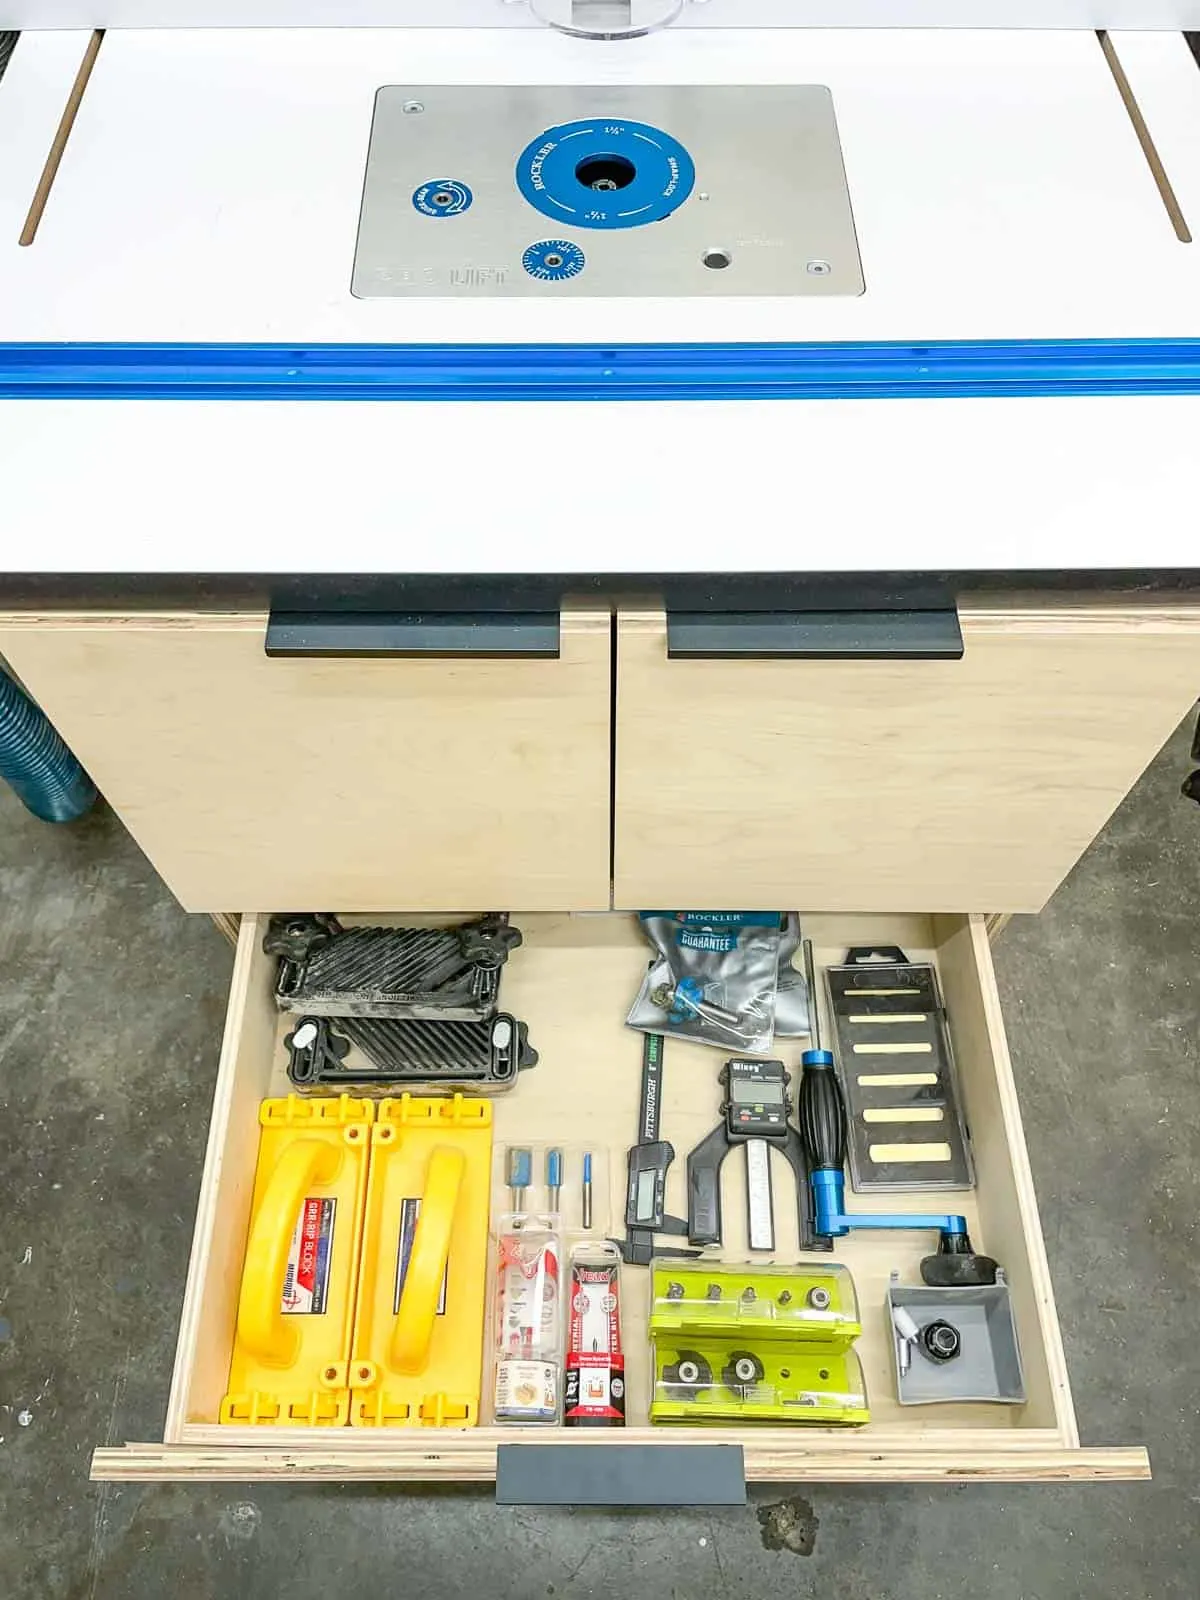
The drawers hold all the gadgets and gizmos you need for routing, plus extra storage for other tools around the shop.

The router motor is mounted on a lift that cranks up and down from above, so you don't have to reach underneath to adjust the height. I ended up buying a new router that's specifically made for use in tables or for a CNC so I can continue to use my big handheld plunge router for other tasks.
When I'm done using the router table, it rolls back under the workbench side of the miter saw station (with less than an inch to spare!) Just like I planned!

I've been designing this whole set up for my workshop for months, and I'm so happy to finally be finished! I love having these large work surface areas, and everything stores away when I'm done using it. It truly makes me smile every time I walk into the room!
If you have a really small workshop, you could fit all these tools into a 12' x 12' square space! All these big shop furniture pieces are on casters, so you can roll them out when you need them, then push them back when you're done! I have woodworking plans or a tutorial for everything you see in this photo.
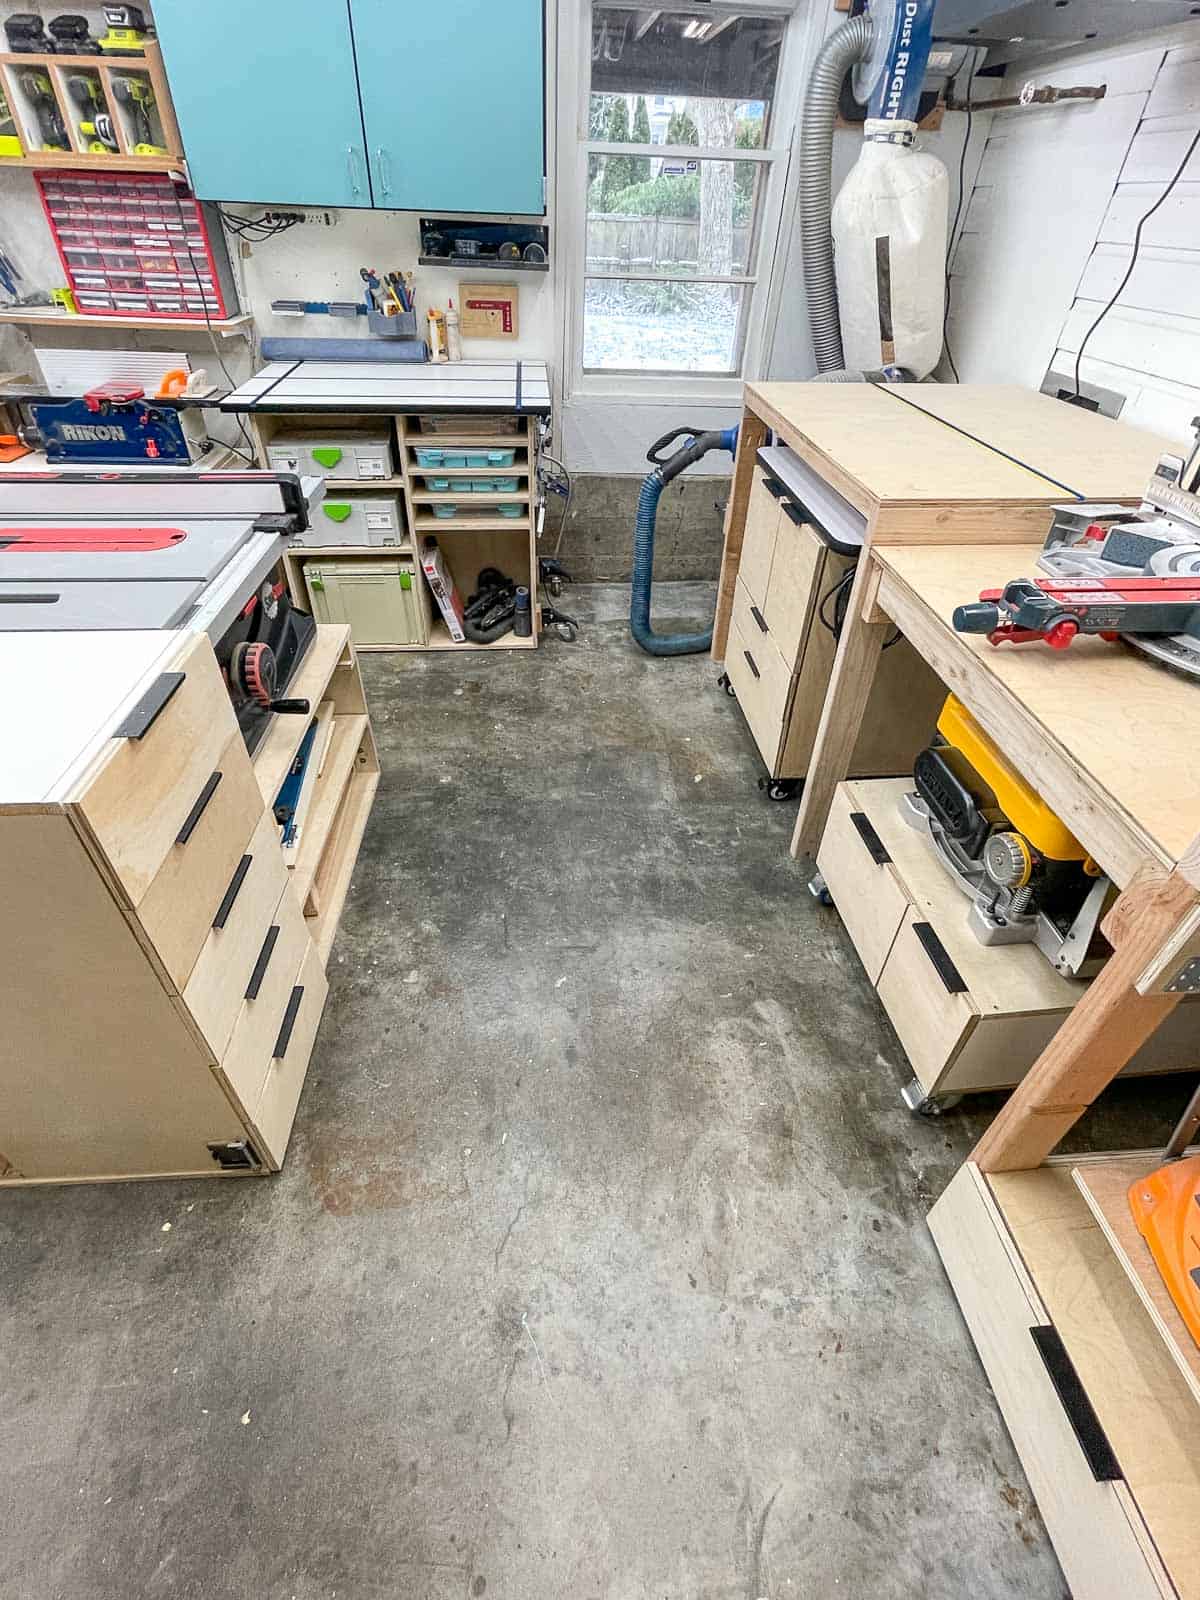
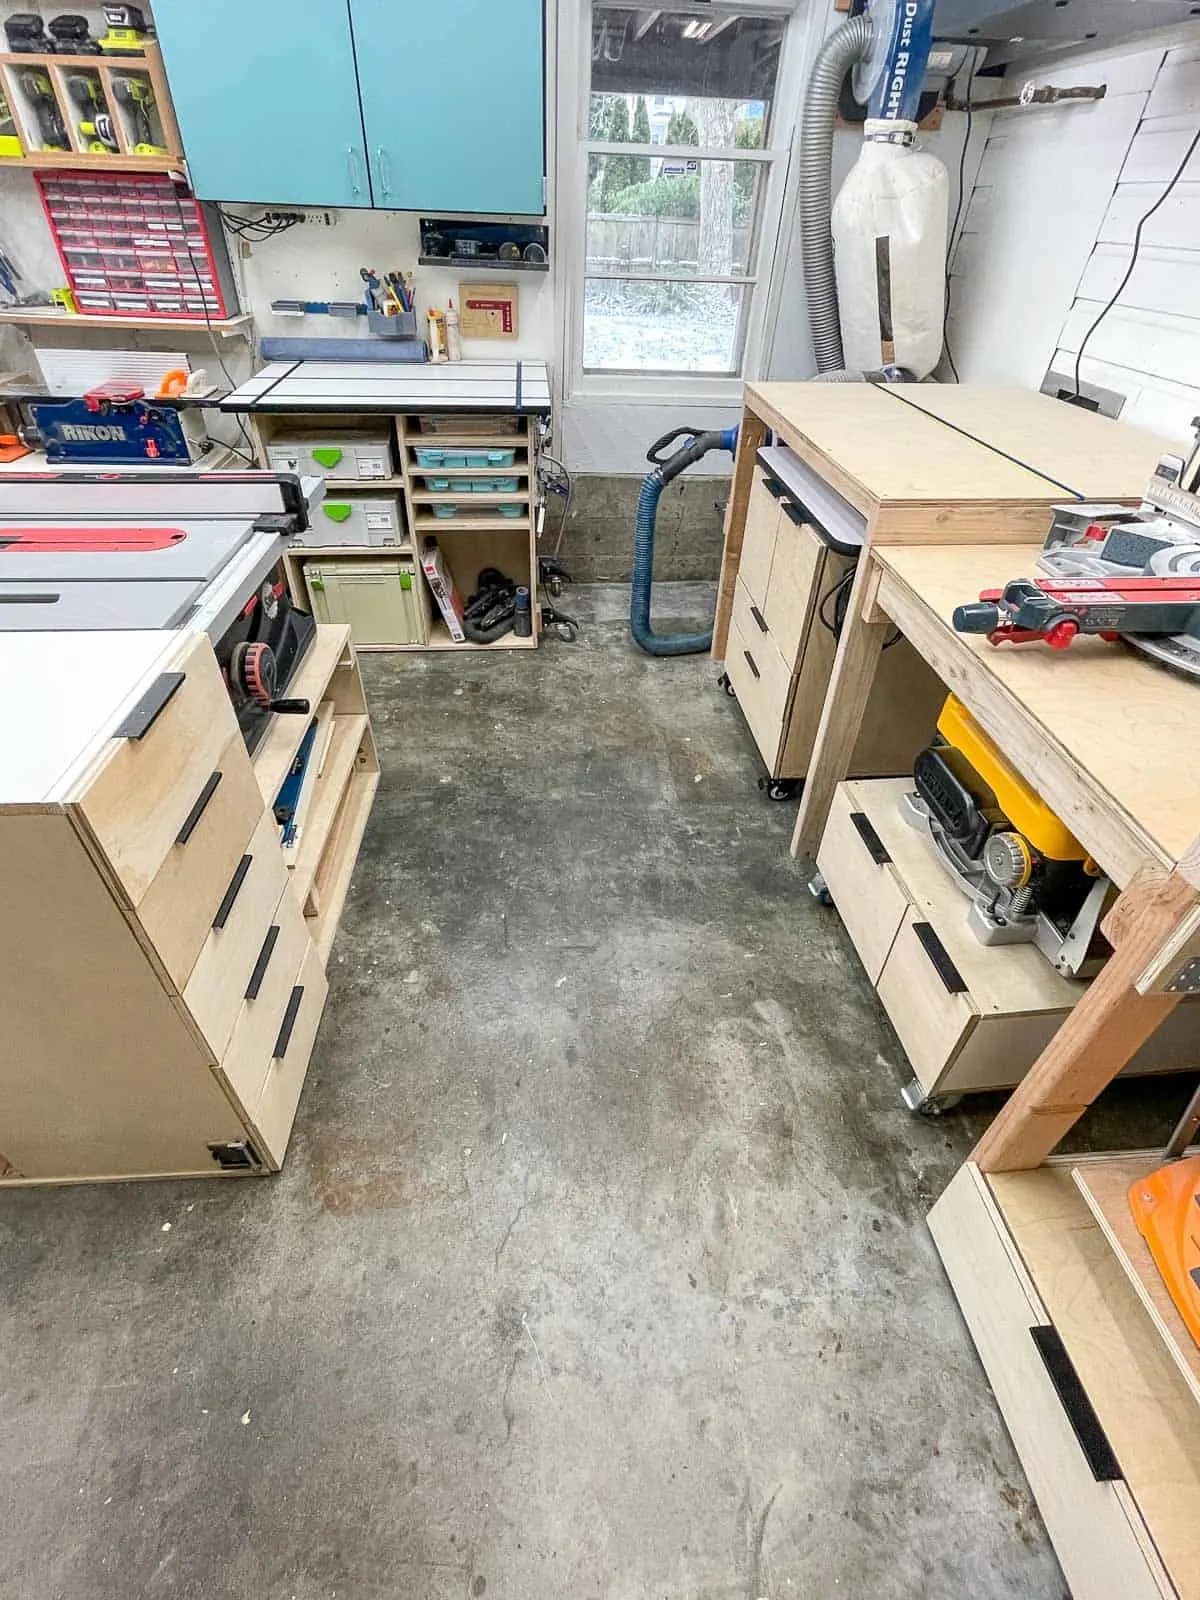
The only big tools you don't see in the photo are the band saw and drill press on the other side of the room. There's also a long workbench that serves as the table saw outfeed table and assembly area, and a lumber rack for bigger scraps. I also have a variety of clamp racks attached to the walls as well. You can fit a lot into a one car garage!
I hope these workshop projects help you visualize how you can turn even a small shed or corner of the garage into a functional space for woodworking. Don't forget that you can get the bundle of four plans for the entire miter saw station set up at 20% off here!